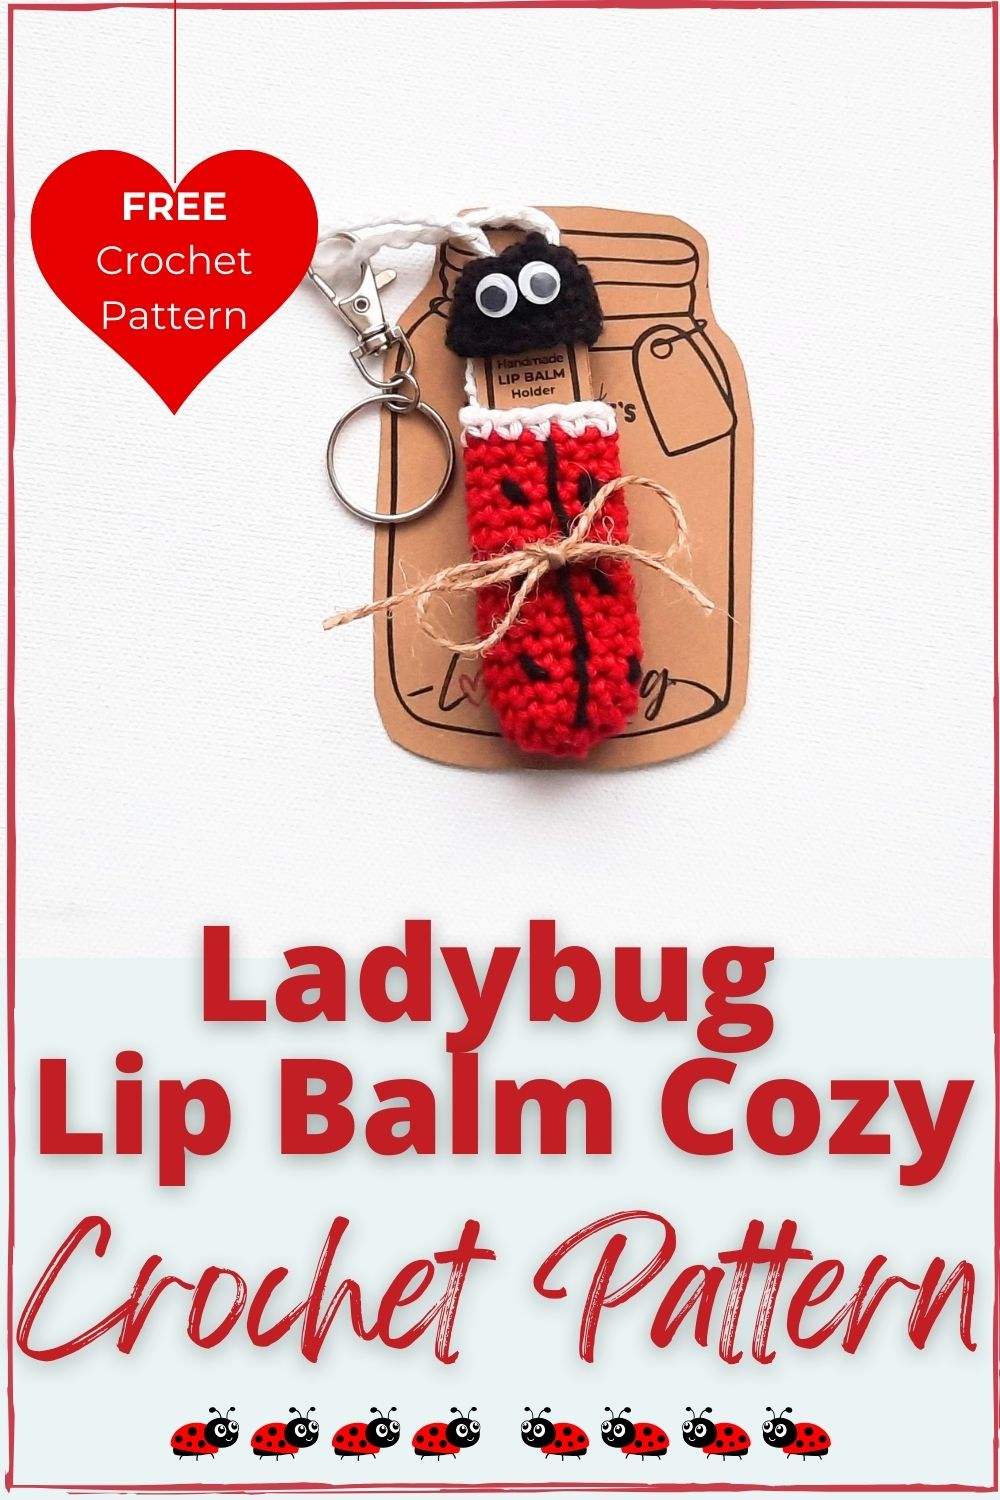
Ladybug Lip Balm Holder Keychain
Crochet Pattern
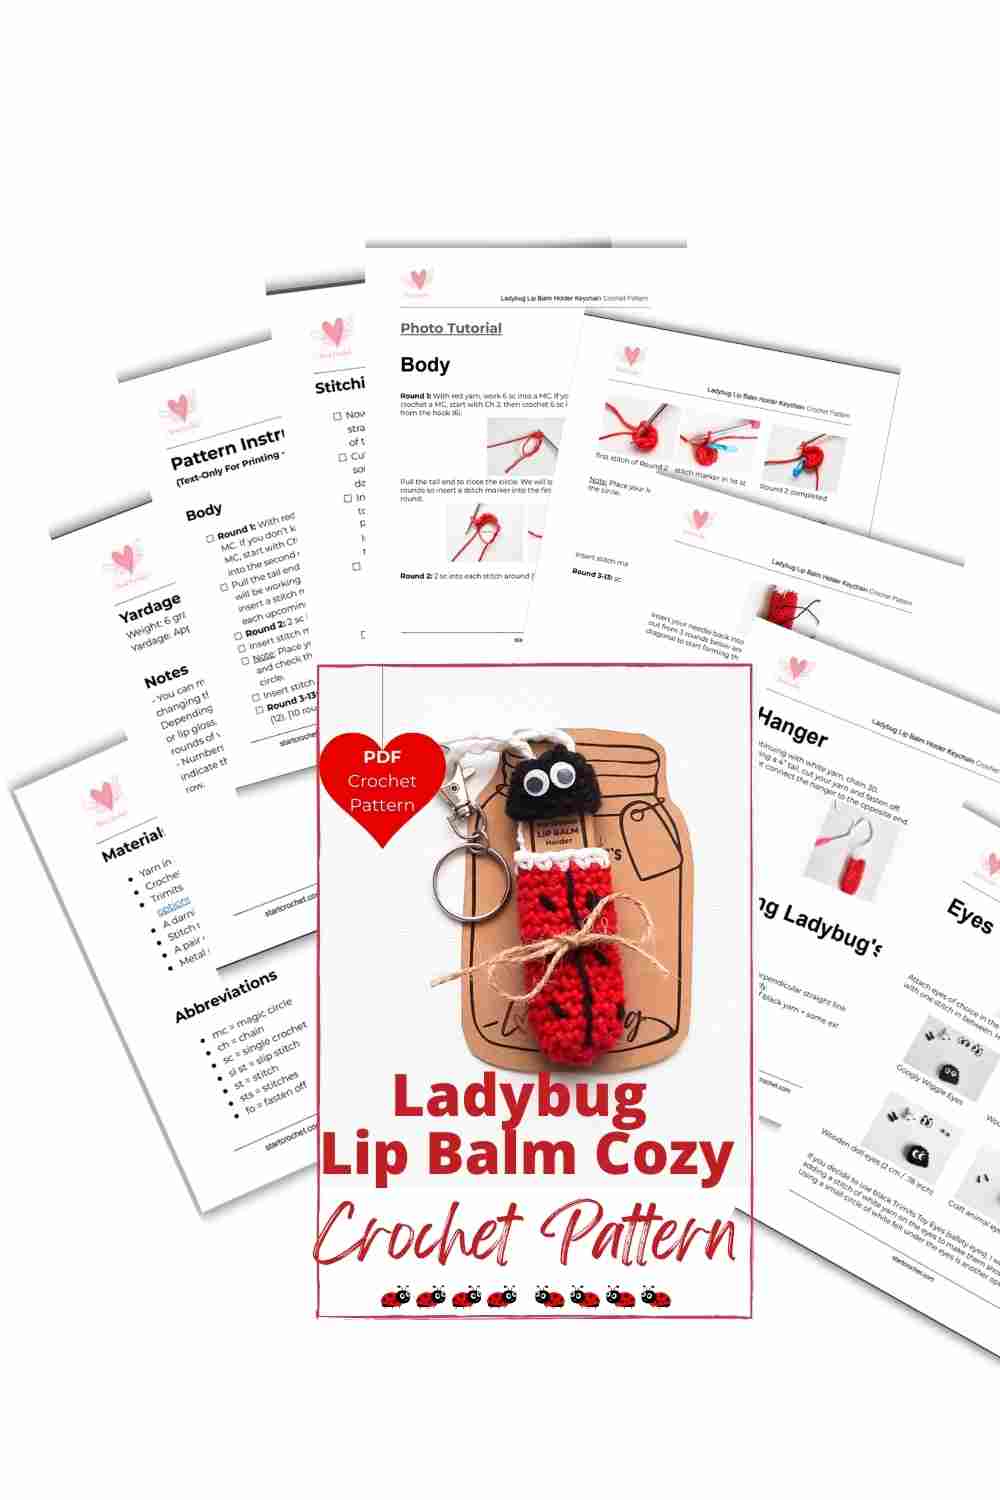
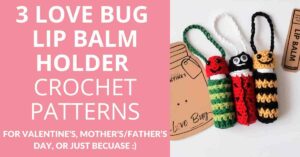
Let's make some cute & practical lip balm holders so you can give them to your friends and family and show them you care about the well-being of their lips (lol).
You won't just be wrapping those lip balms in cozy handmade cases...
You can also attach them to keychains, purses, or backpacks for easy access to lip balm throughout the day.
Personalize these chapstick/lipstick/lip balm holders by choosing the pattern that you know your friend or family-member will appreciate.
And add these pre-designed love bug notes for an extra personal touch.
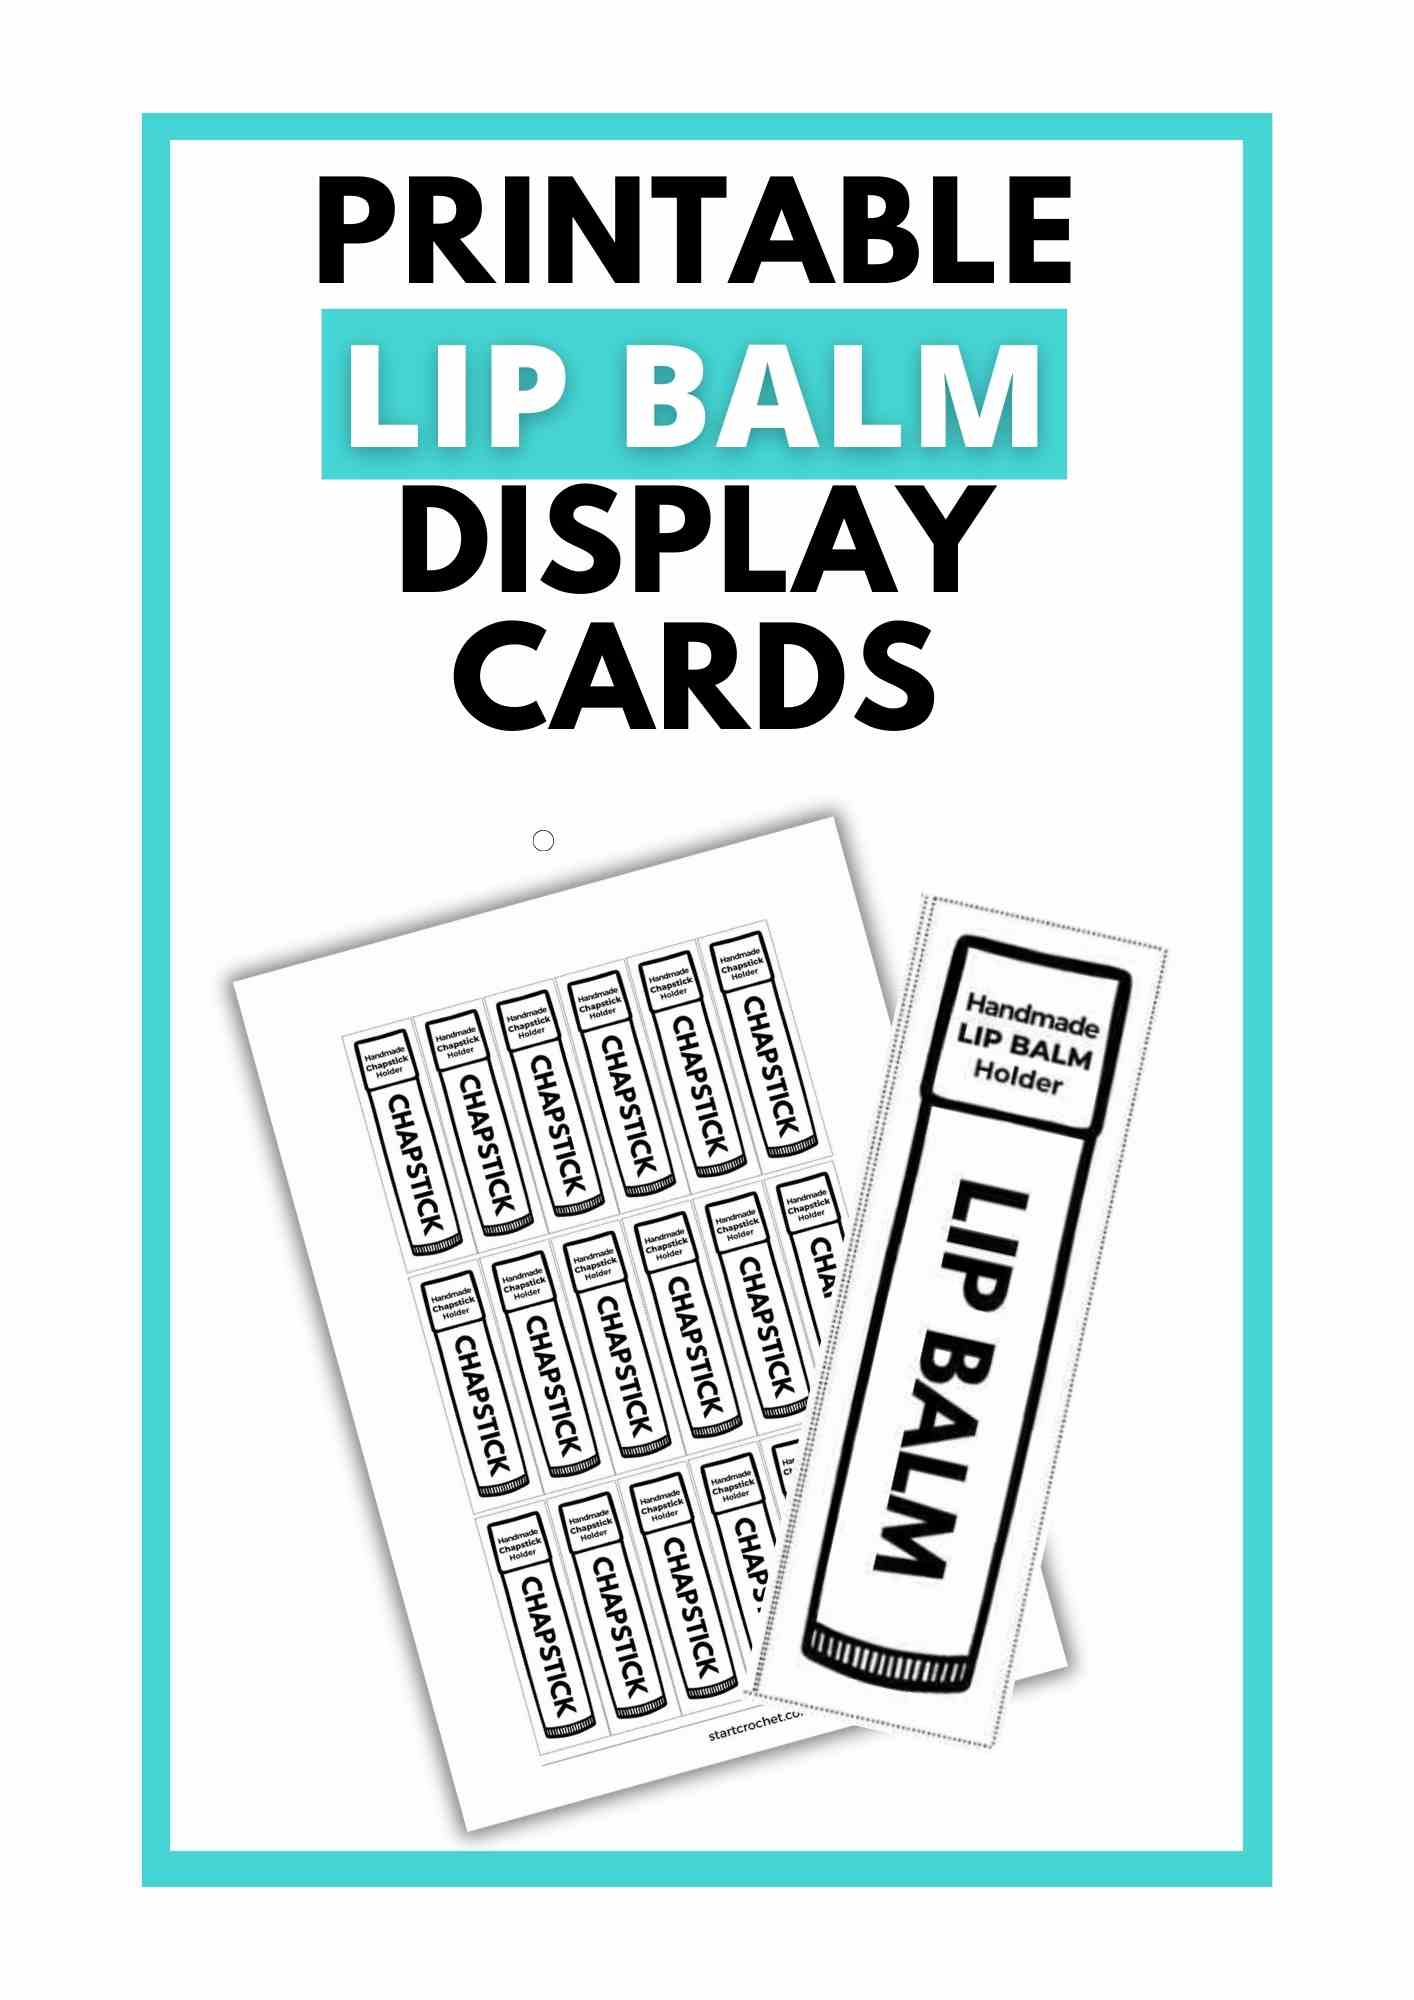
You could either insert a stick of lip balm, lipstick or lip gloss or you could simply print out these Lip Balm Cards I designed so that people know right away what it is you're giving them.
Let me show you how to make your very own Ladybug lip-balm holder. Click the button below to scroll down to the FREE PATTERN or purchase the PDF Printable version. You can also buy all 3 Love Bug Lip-balm cozy patterns for a discount.
Disclaimer: This post contains affiliate links, which means I receive a small commission, at no extra cost to you, if you make a purchase using the Start Crochet links. Please see my disclosure for more details.
Materials Needed
- Yarn in 3 colors - Ricorumi DK 100% cotton, 25 g (57.5 m) in Red & black & white.
- Crochet hook size E (3.5 mm).
- Trimits Toy Eyes Solid Black – 6mm, Googly eyes, or white Animal Eyes (see these15 eye options to choose from)
- A darning needle
- Stitch markers
- A pair of scissors
- Metal spring hook or keyring (optional)
Abbreviations
st = stitch
sts = stitches
fo = fasten off
Skill Level
- Easy
Subscribe To My Newsletter
Would you like to stay updated with new free patterns, crochet tips & tricks, and delightful crochet inspiration sent straight to your inbox? Please enter your Name & Email below.
Gauge
13 stitches and 11 rows = 5 cm in single crochet
Size
This lip balm holder measures approx. 3.3“ (8.5 cm) in height to the top of the hat.
Have you started several crochet projects and are worried you won't remember your hook size, the yarn you used or which pattern you were following? Download this Free Crochet Project Tracker and keep it in your projects folder.
Crochet Project Tracker
Free Printable
Keep track of your crochet projects with these printable sheets.
Your info is 100% secure and will never be shared.
Yardage
Weight: 6 grams
Yardage: Approximately 14 m (15.3 yards).
Notes
- You can make the pattern larger or smaller by changing the type of yarn and/or hook size. Depending on the size of your lip balm, lipstick or lip gloss, you might want to add a few rounds of white to increase height.
- Numbers at the end of each row (in brackets) indicate the number of final stitches in that row.
- Please ensure that your lip balm is the size of the bottom of the holder after round 2.
- Insert your lip-balm, lipstick or lip gloss into the holder when you get to almost the end to see if you need to add a few rounds to adjust height.
- We’ll be working in the round, so a stitch marker is advised.
- Please note that I use US crochet terms.
PDF Pattern To Download & Print
You may also purchase this pattern from Ravelry if you prefer.
Ladybug Lip Balm Holder Crochet Pattern Instructions
Body
- Round 1: With red yarn, work 6 sc into a MC. If you don’t know how to crochet a MC, start with Ch 2, then crochet 6 sc into the second chain from the hook (6).
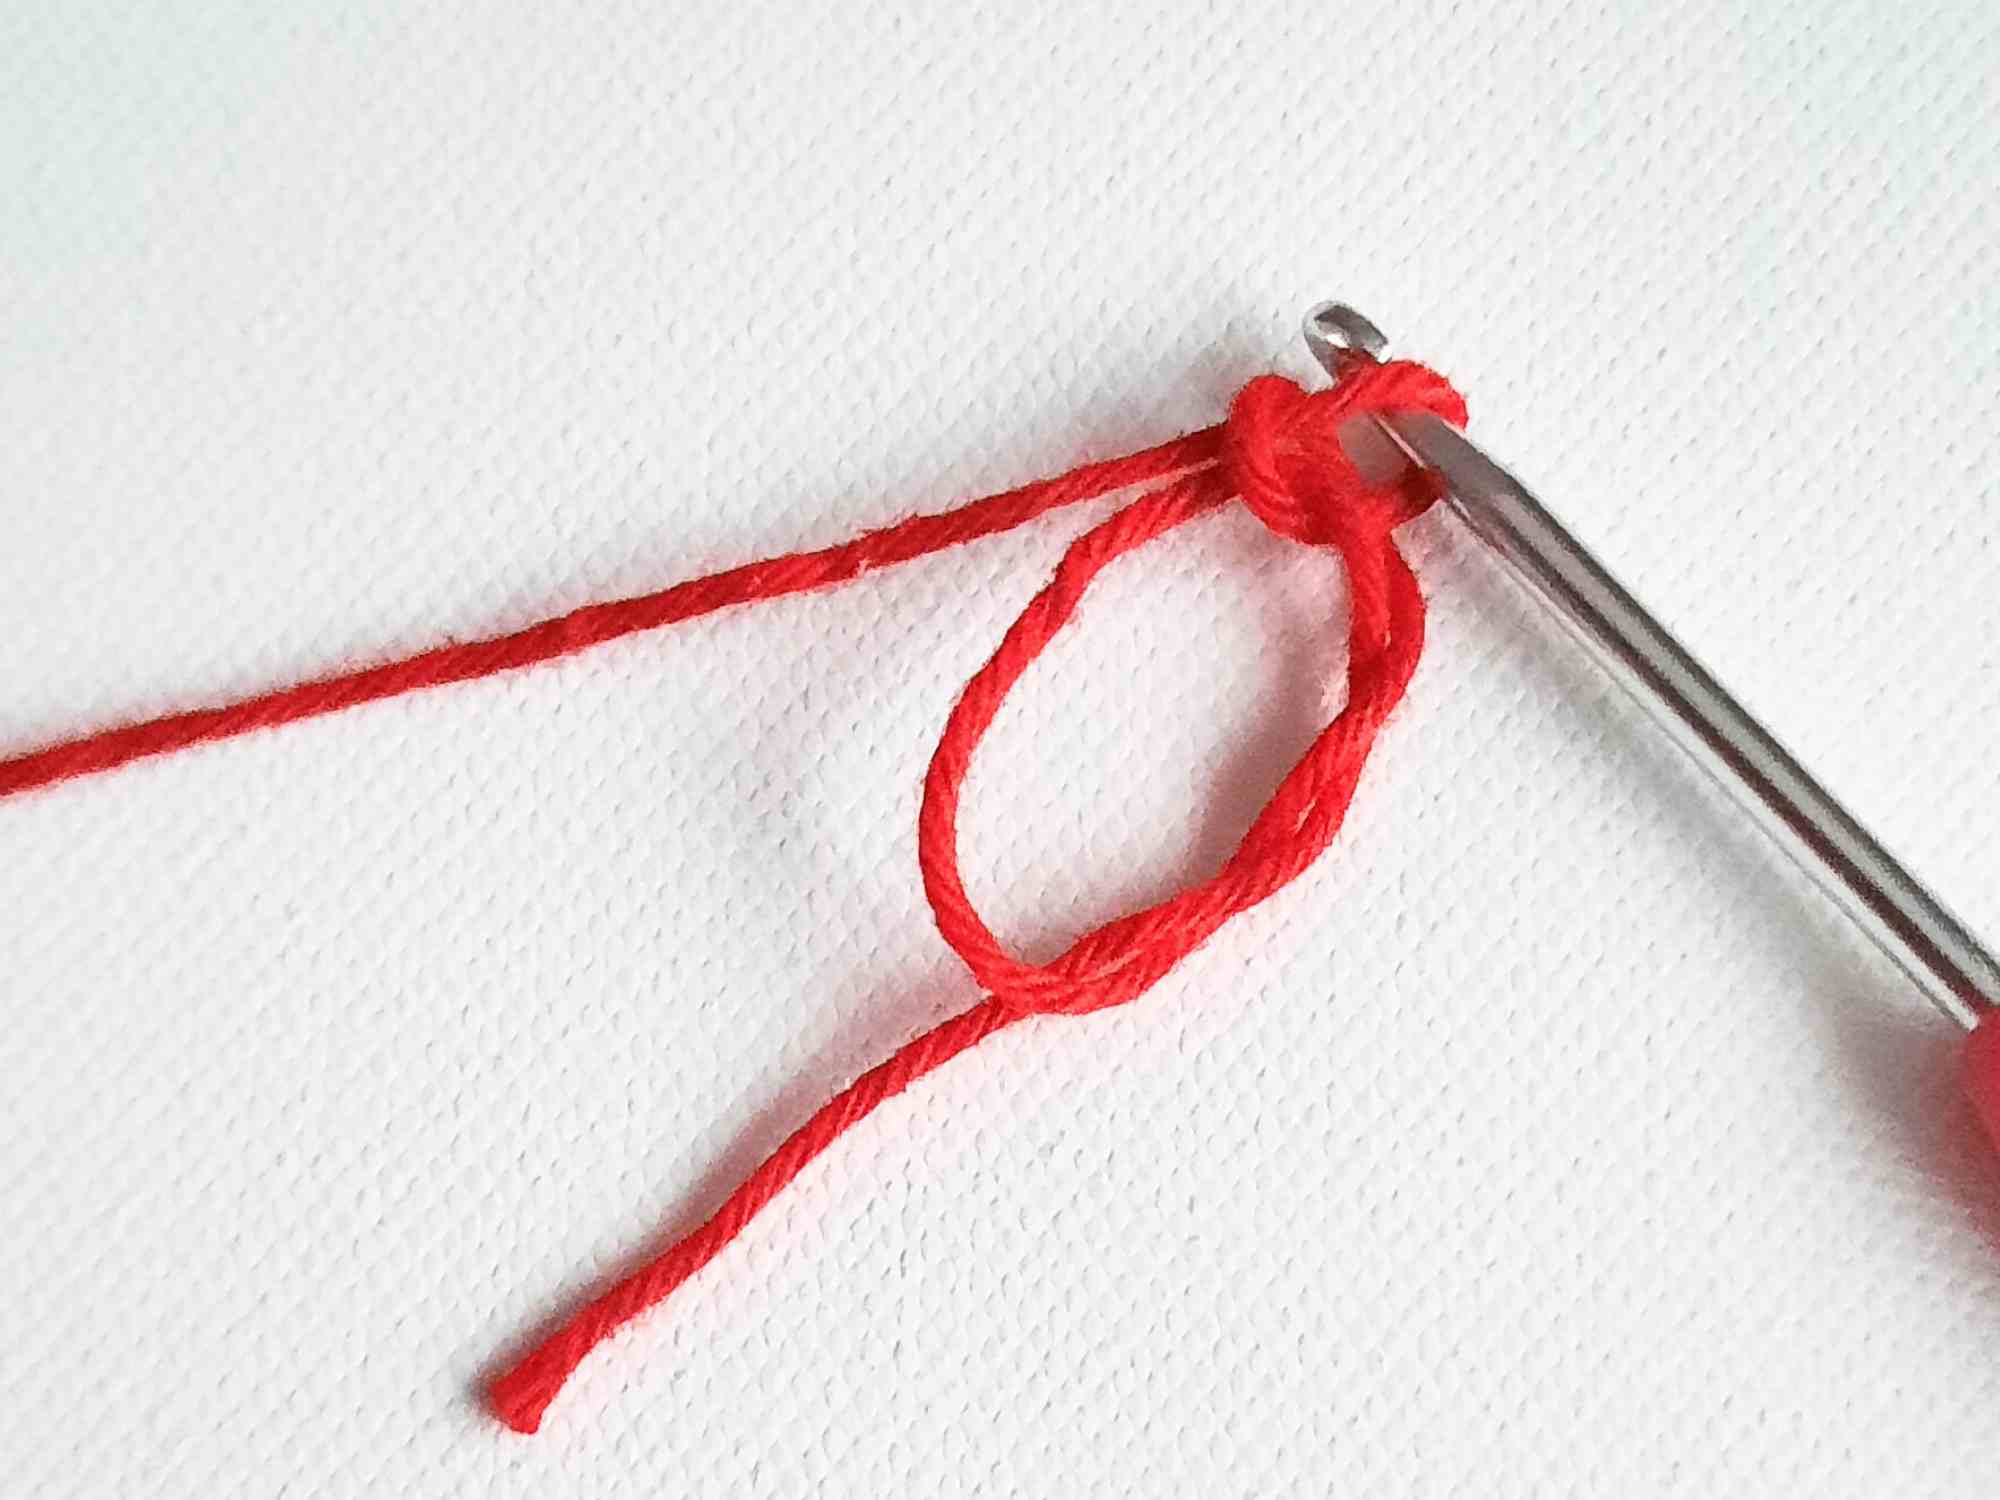
- Pull the tail end to close the circle. We will be working in continuous rounds so insert a stitch marker into the first st of each upcoming round.
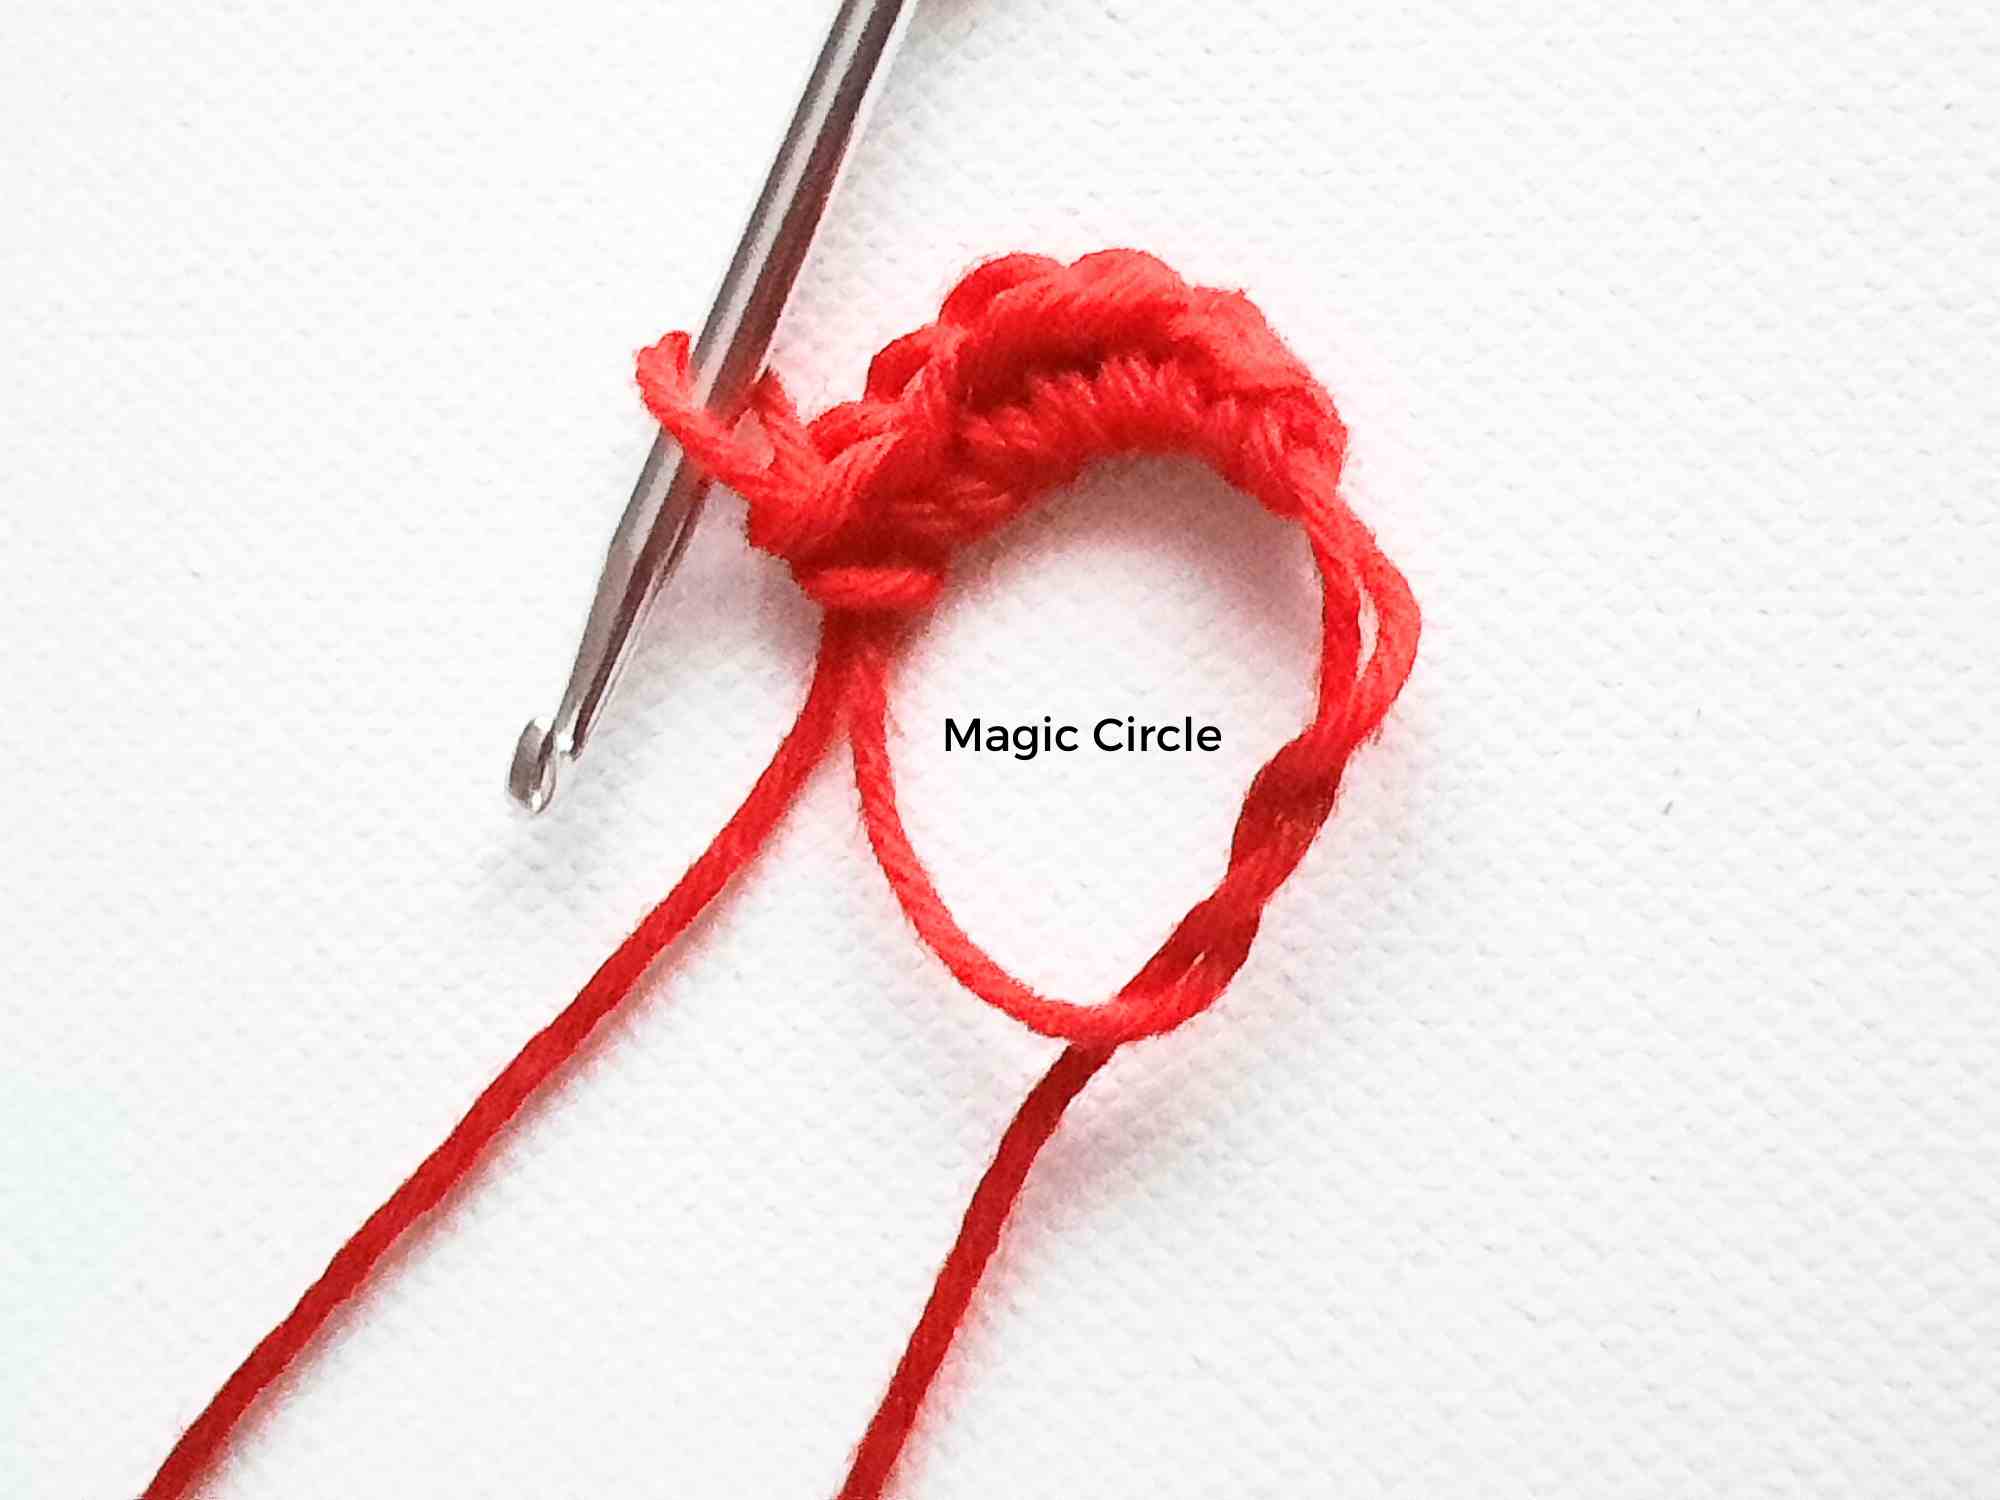
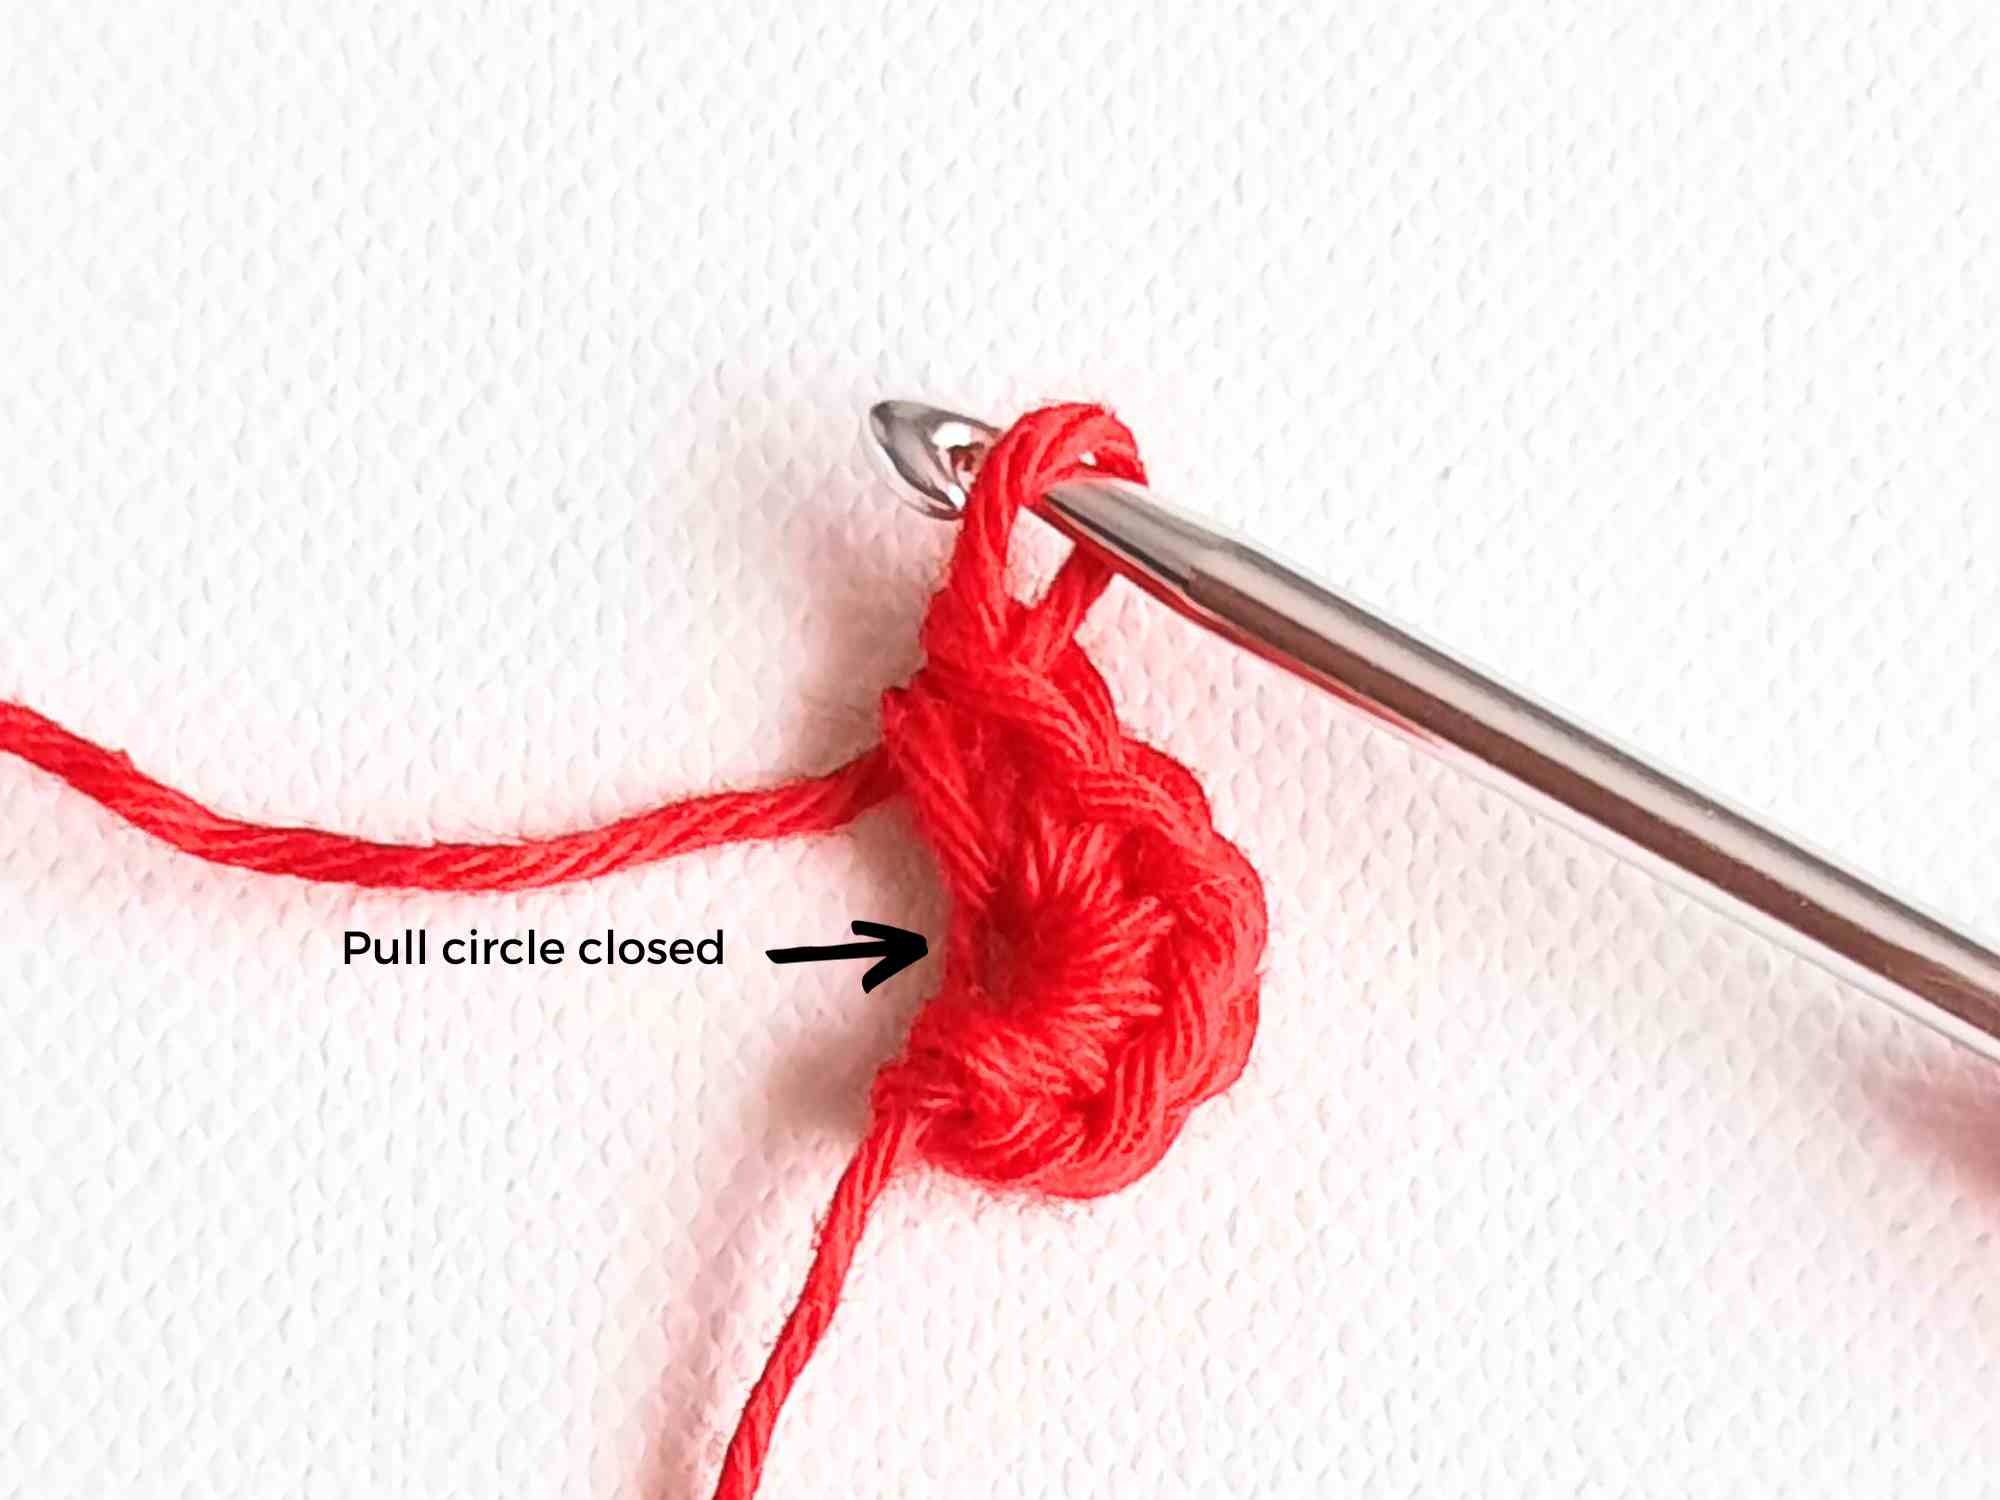
- Round 2: 2 sc into each stitch around (12).
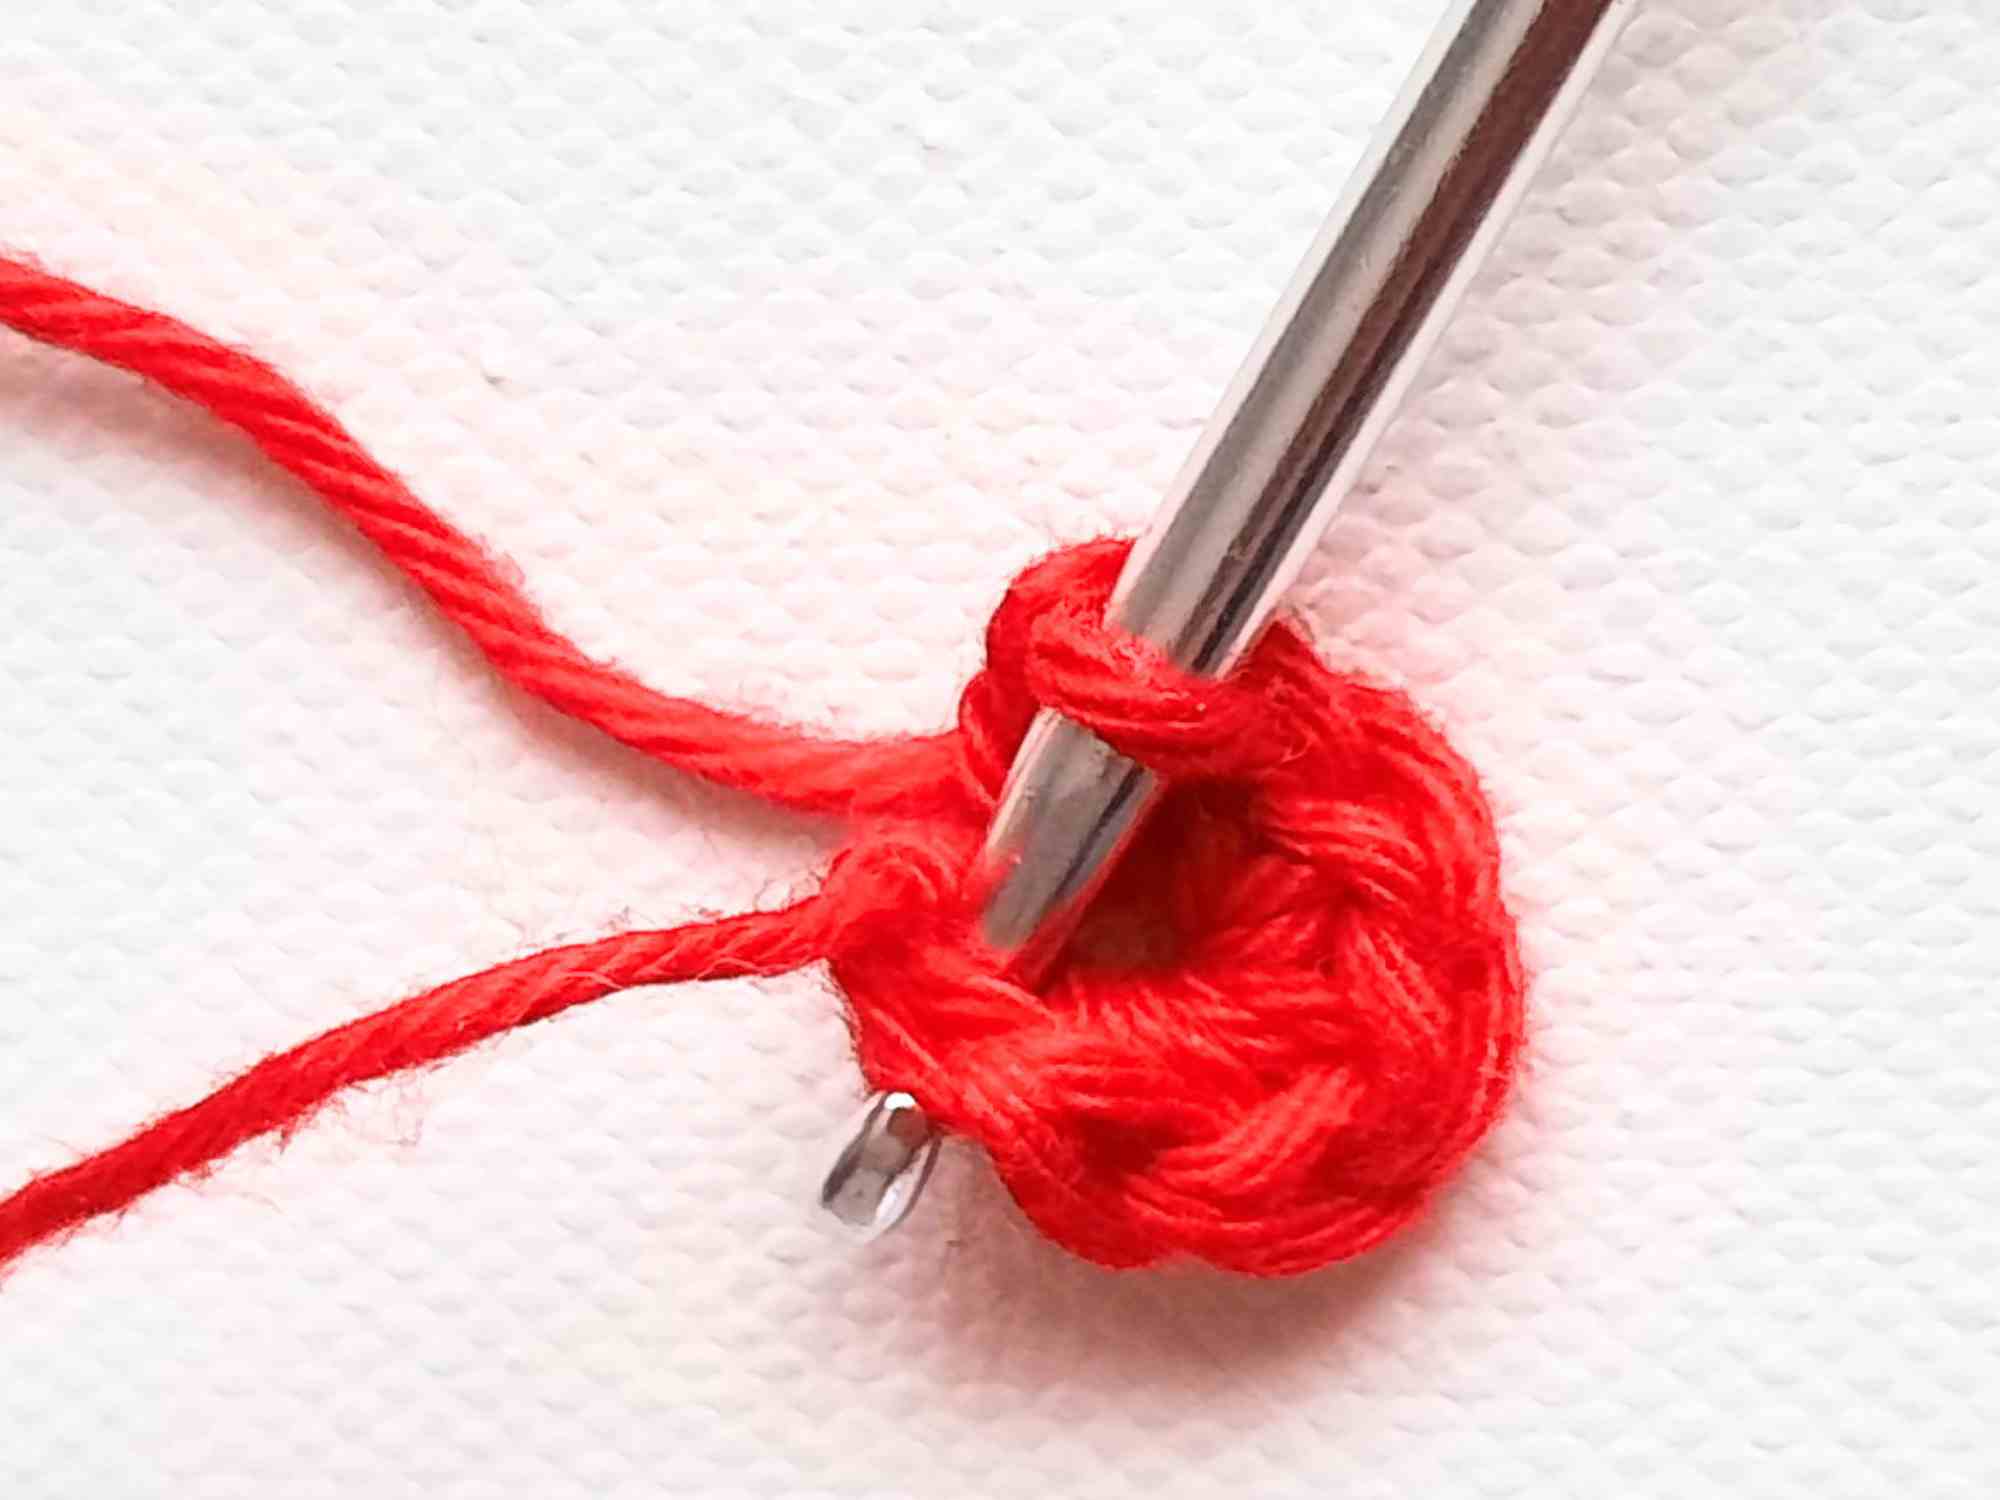
first stitch of Round 2
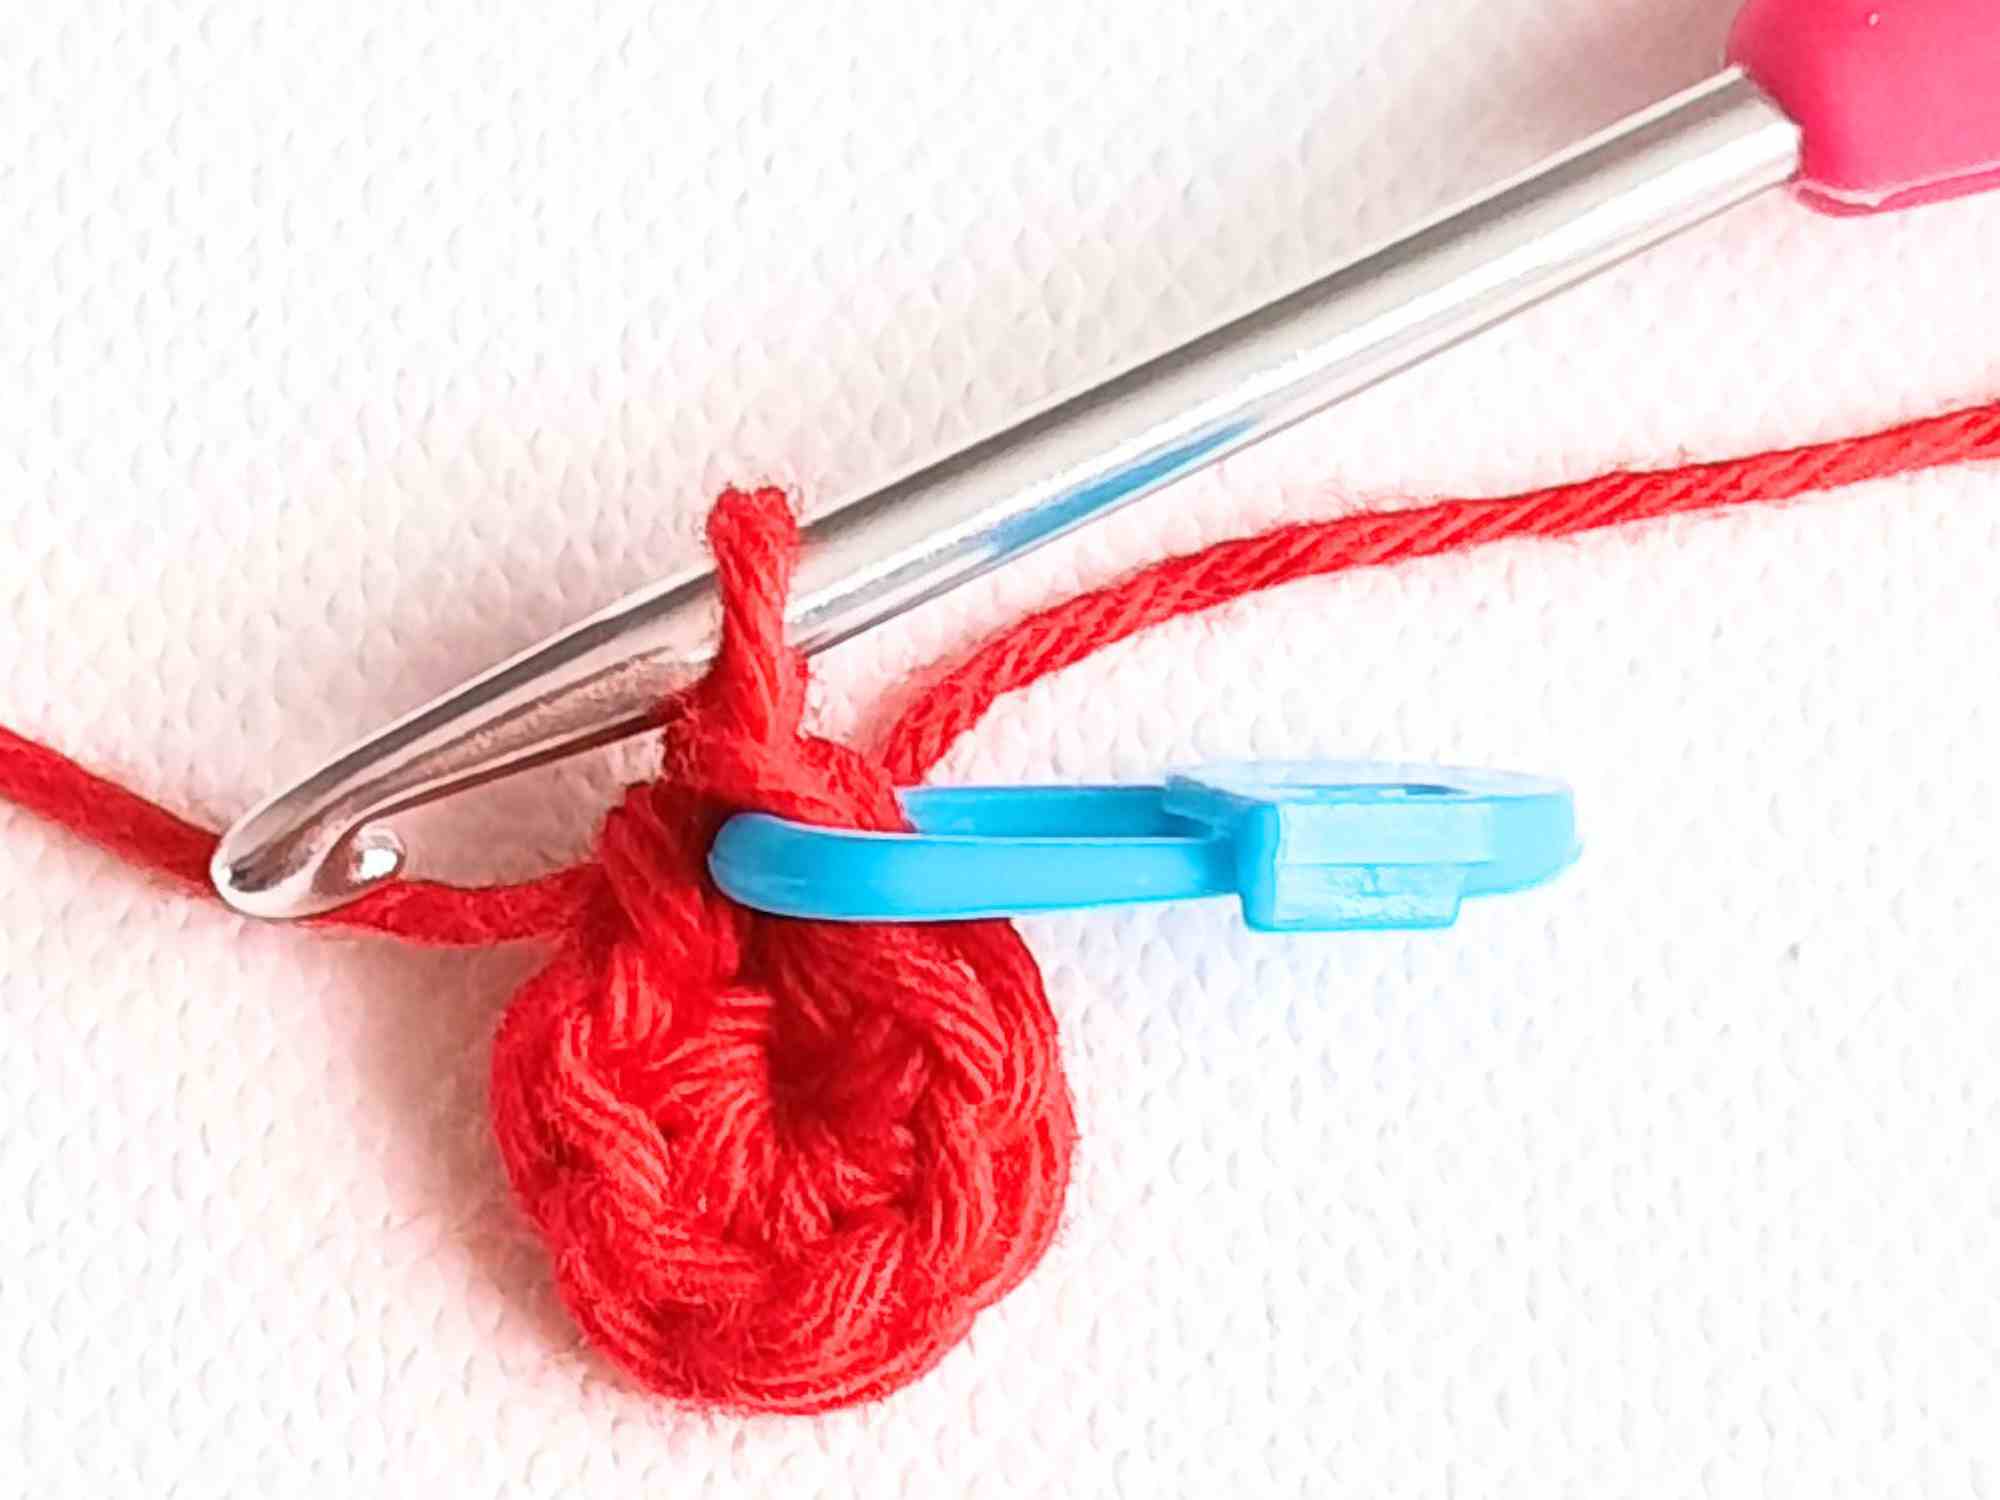
Insert stitch marker into first stitch
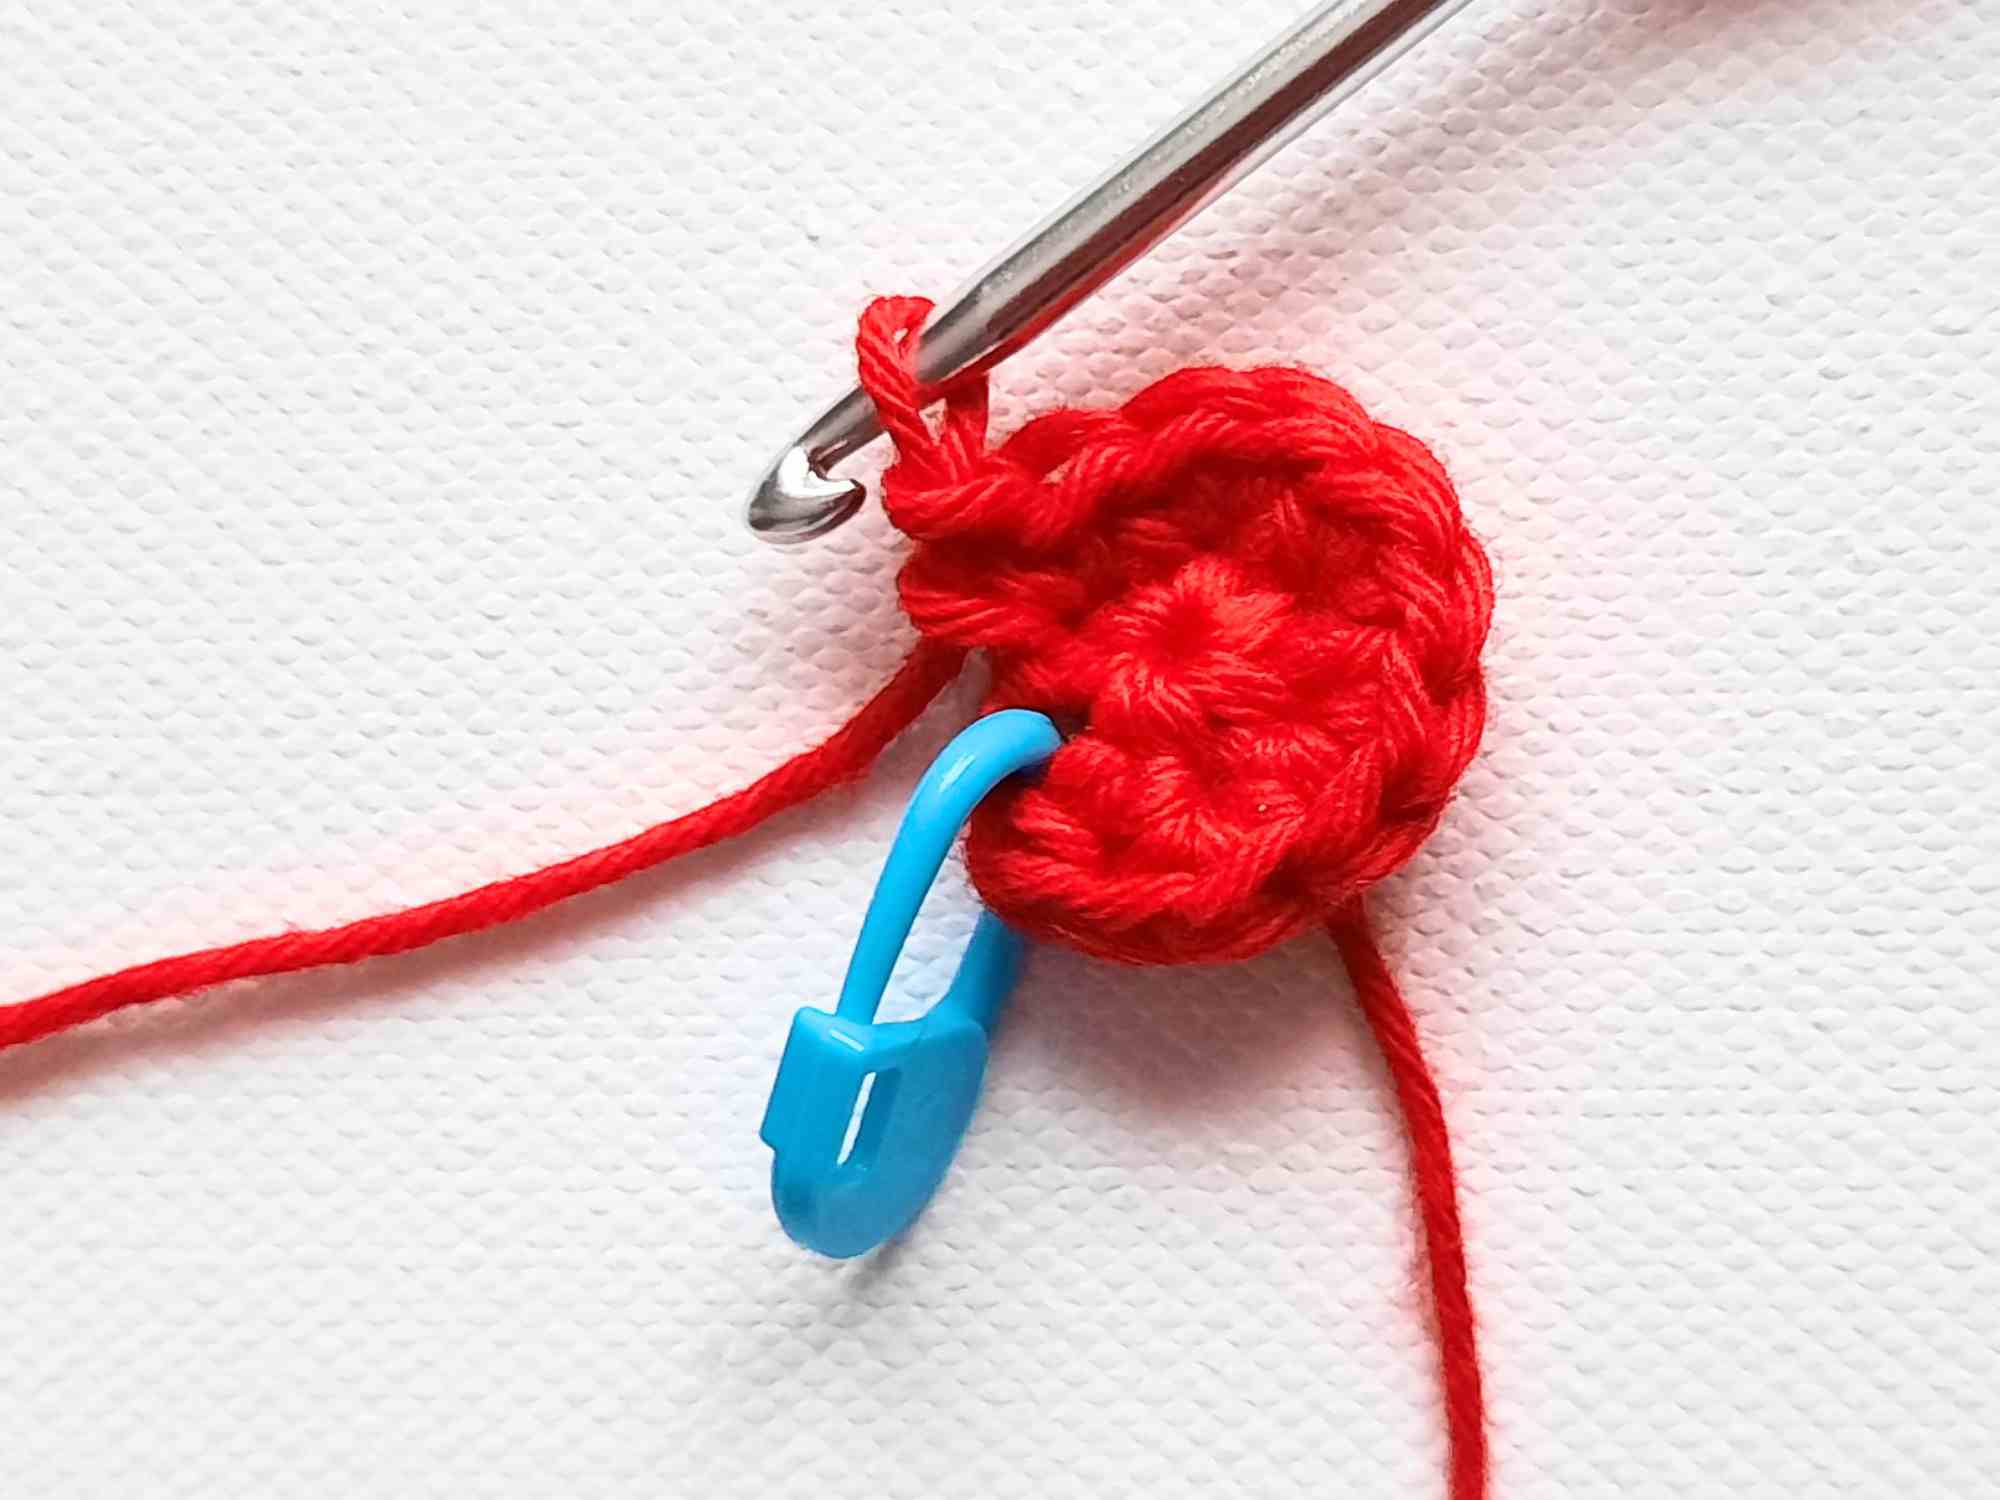
Round 2 completed
Note: Place your lip-balm on this circle and check that it fits well inside the circle.
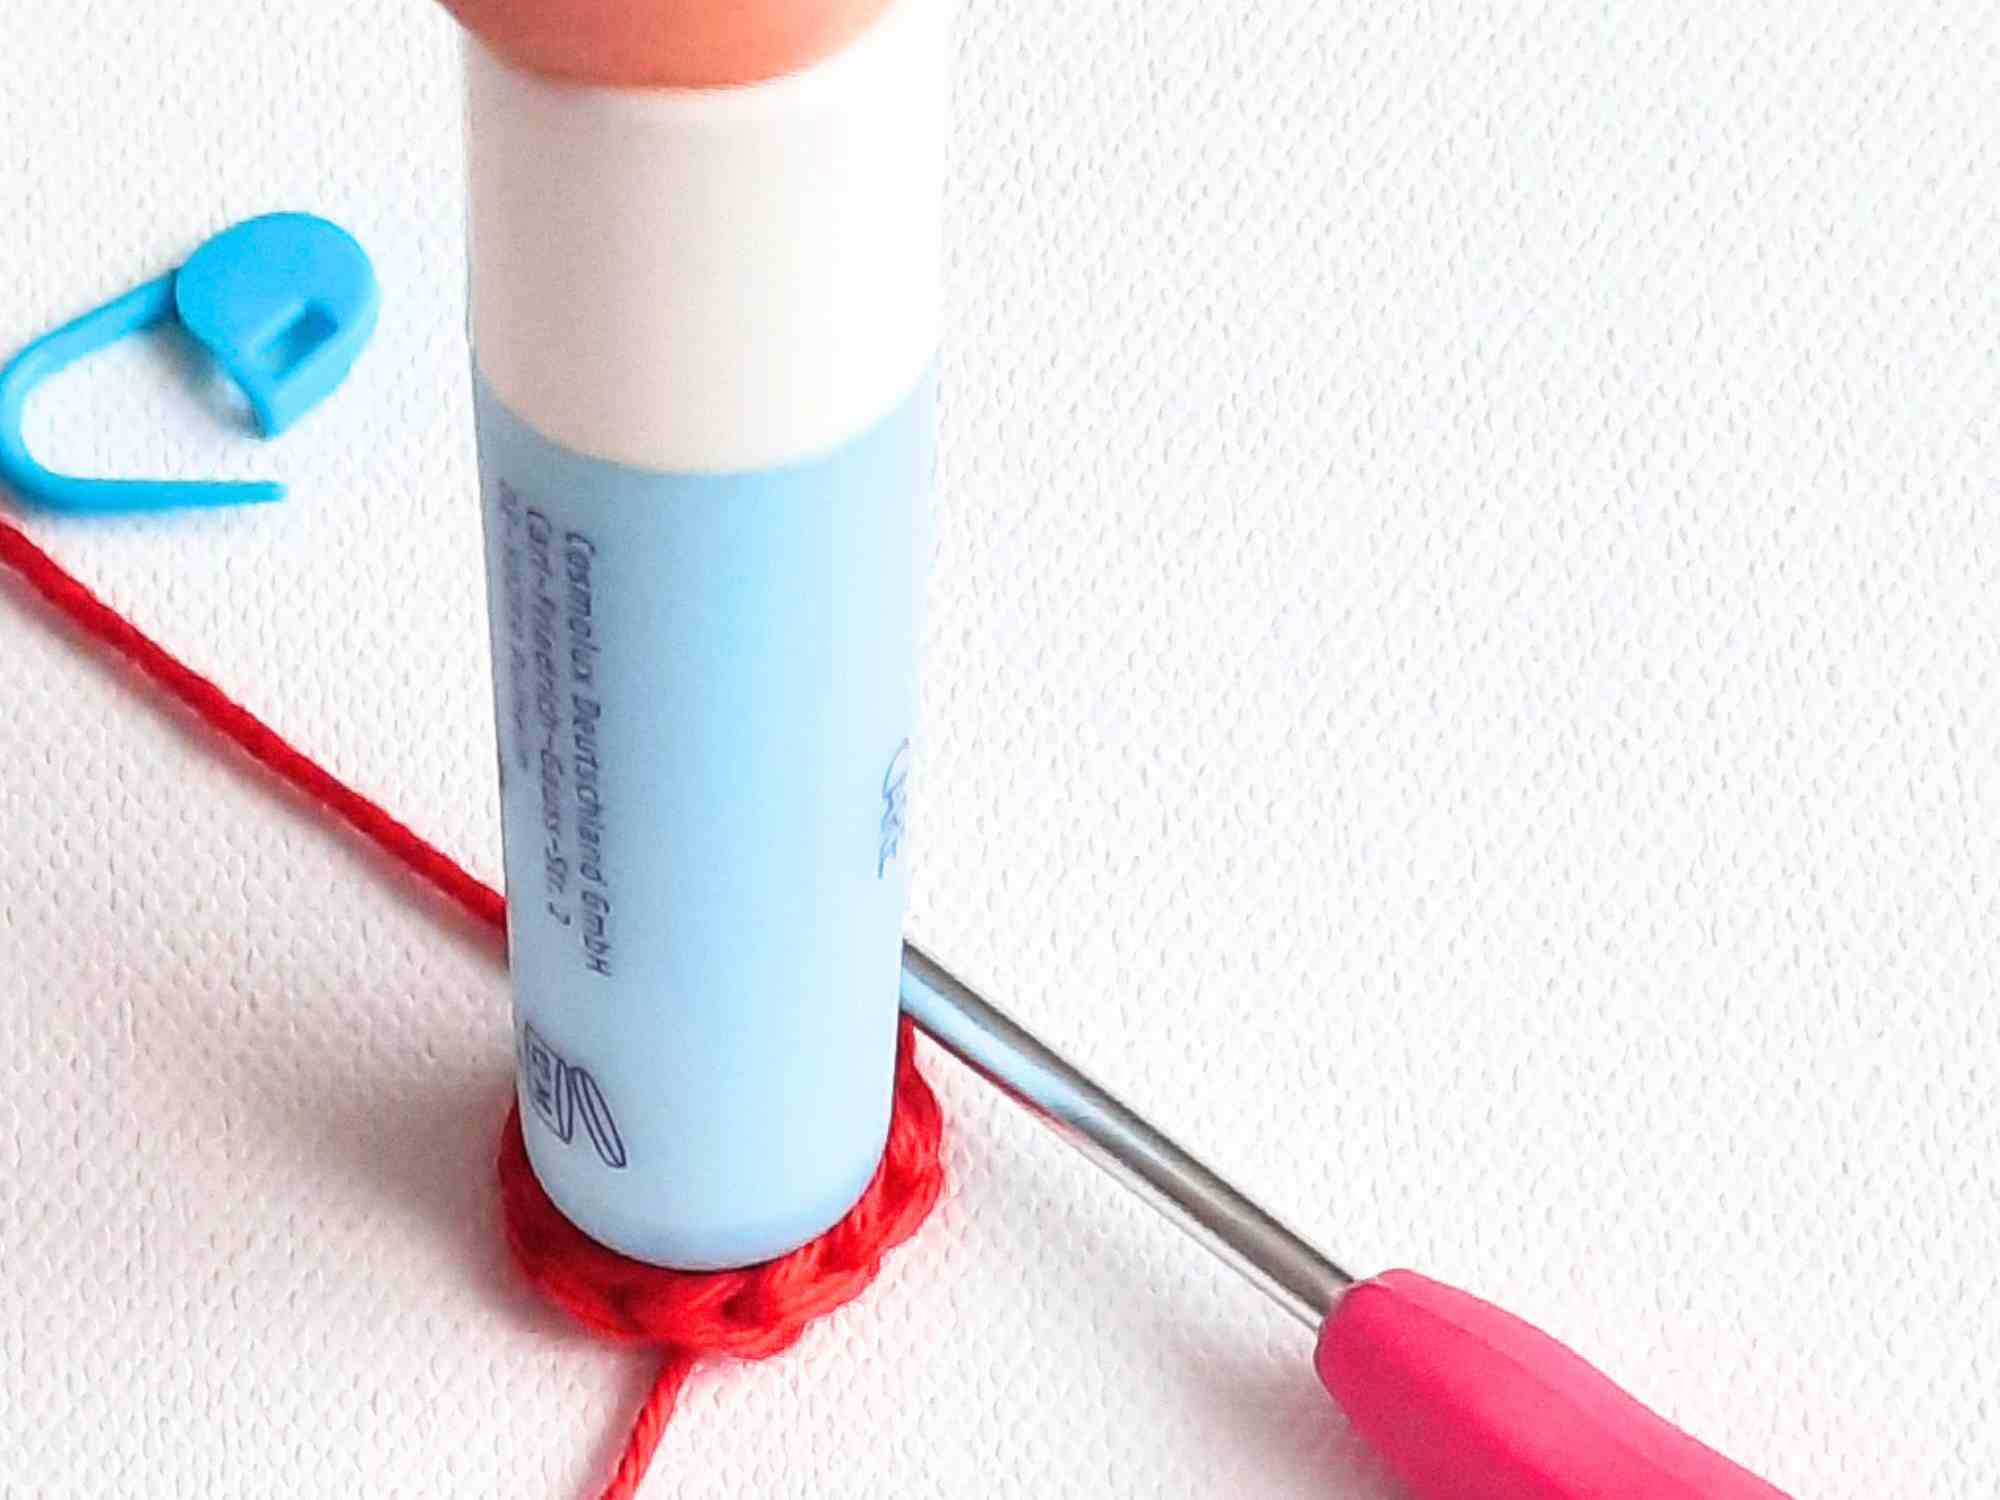
Insert stitch marker into first stitch
- Round 3-13: sc into each stitch around (12). [10 rounds]
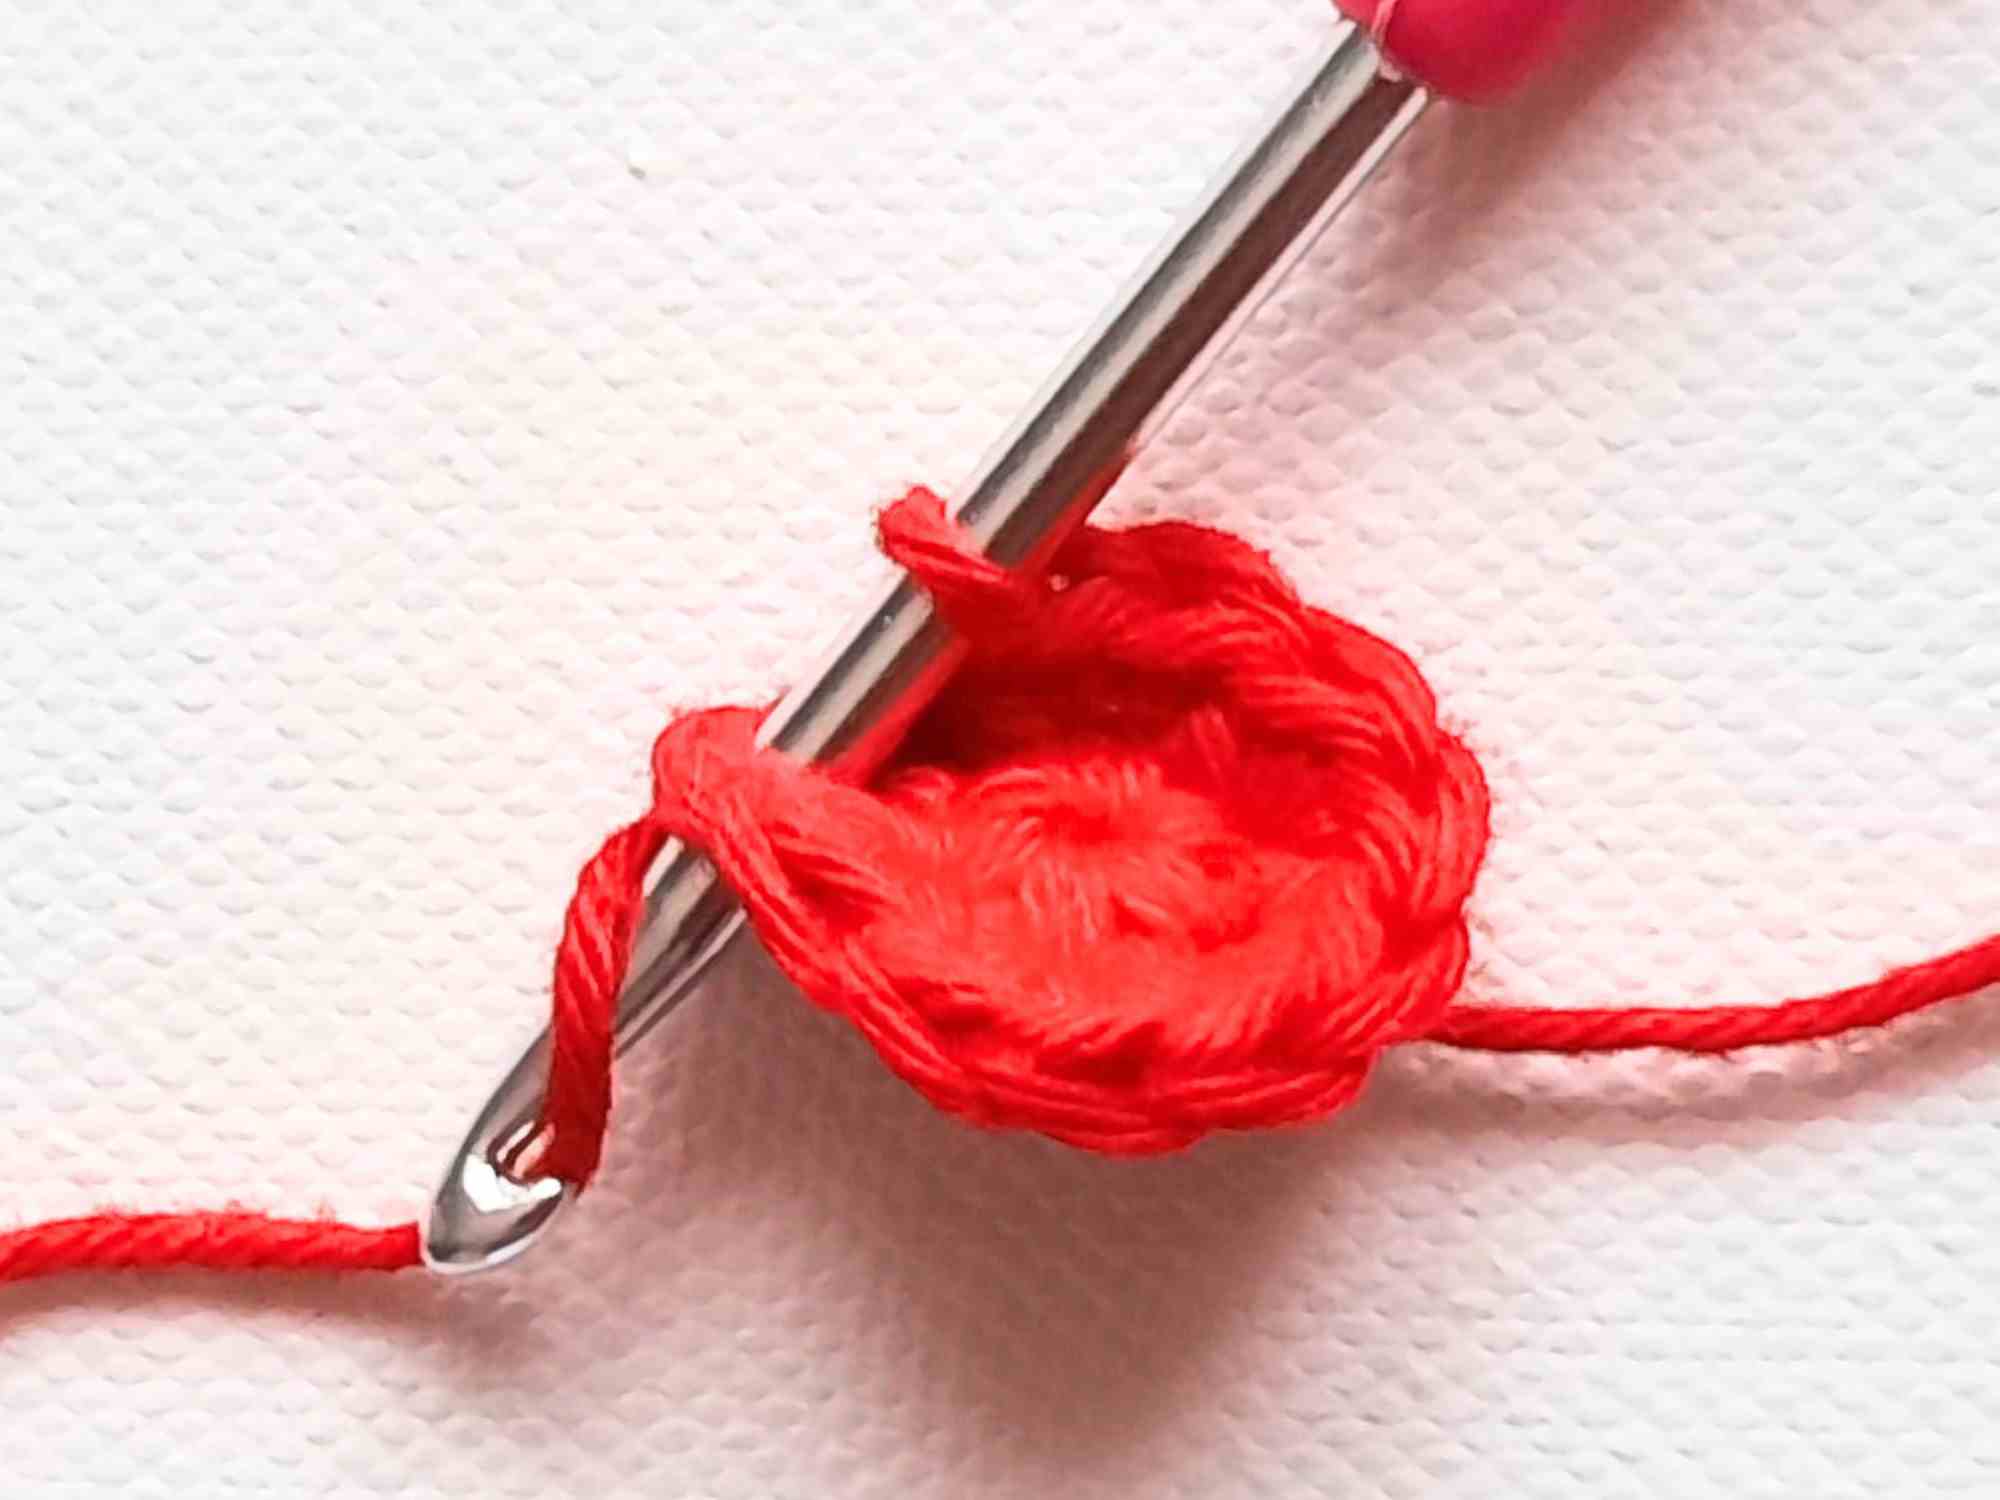
First st of Round 3
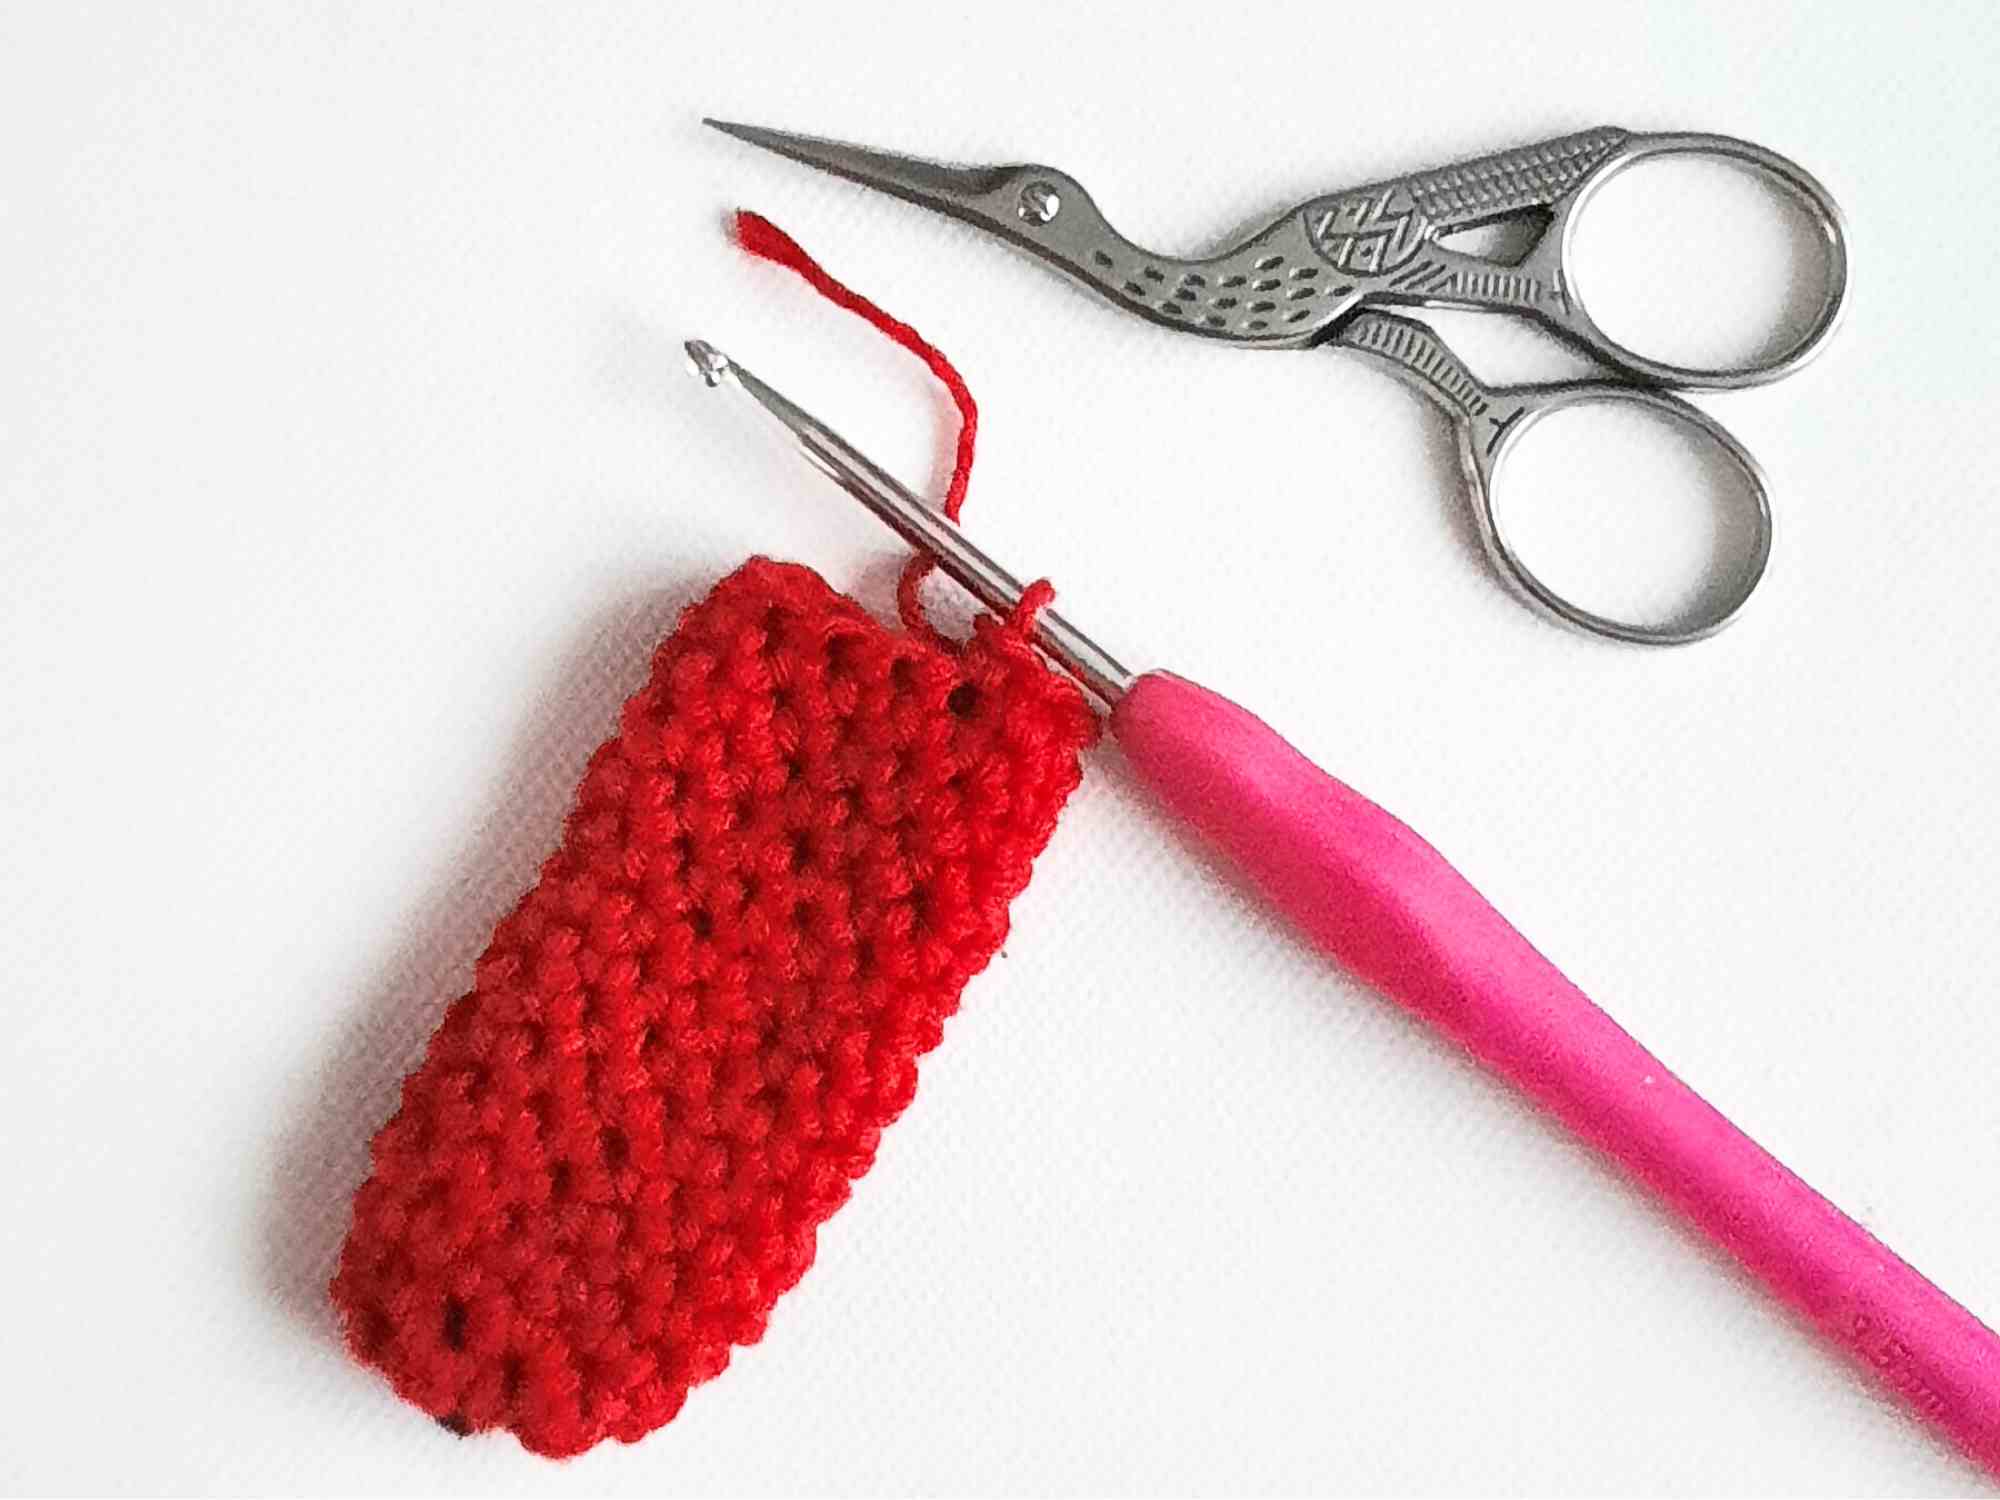
10 Rounds completed
- Join to the first stitch of the previous round with a slip stitch, cut red yarn leaving a 4" tail and fasten off.
Round 14: Join white yarn and sc into each stitch around (12).
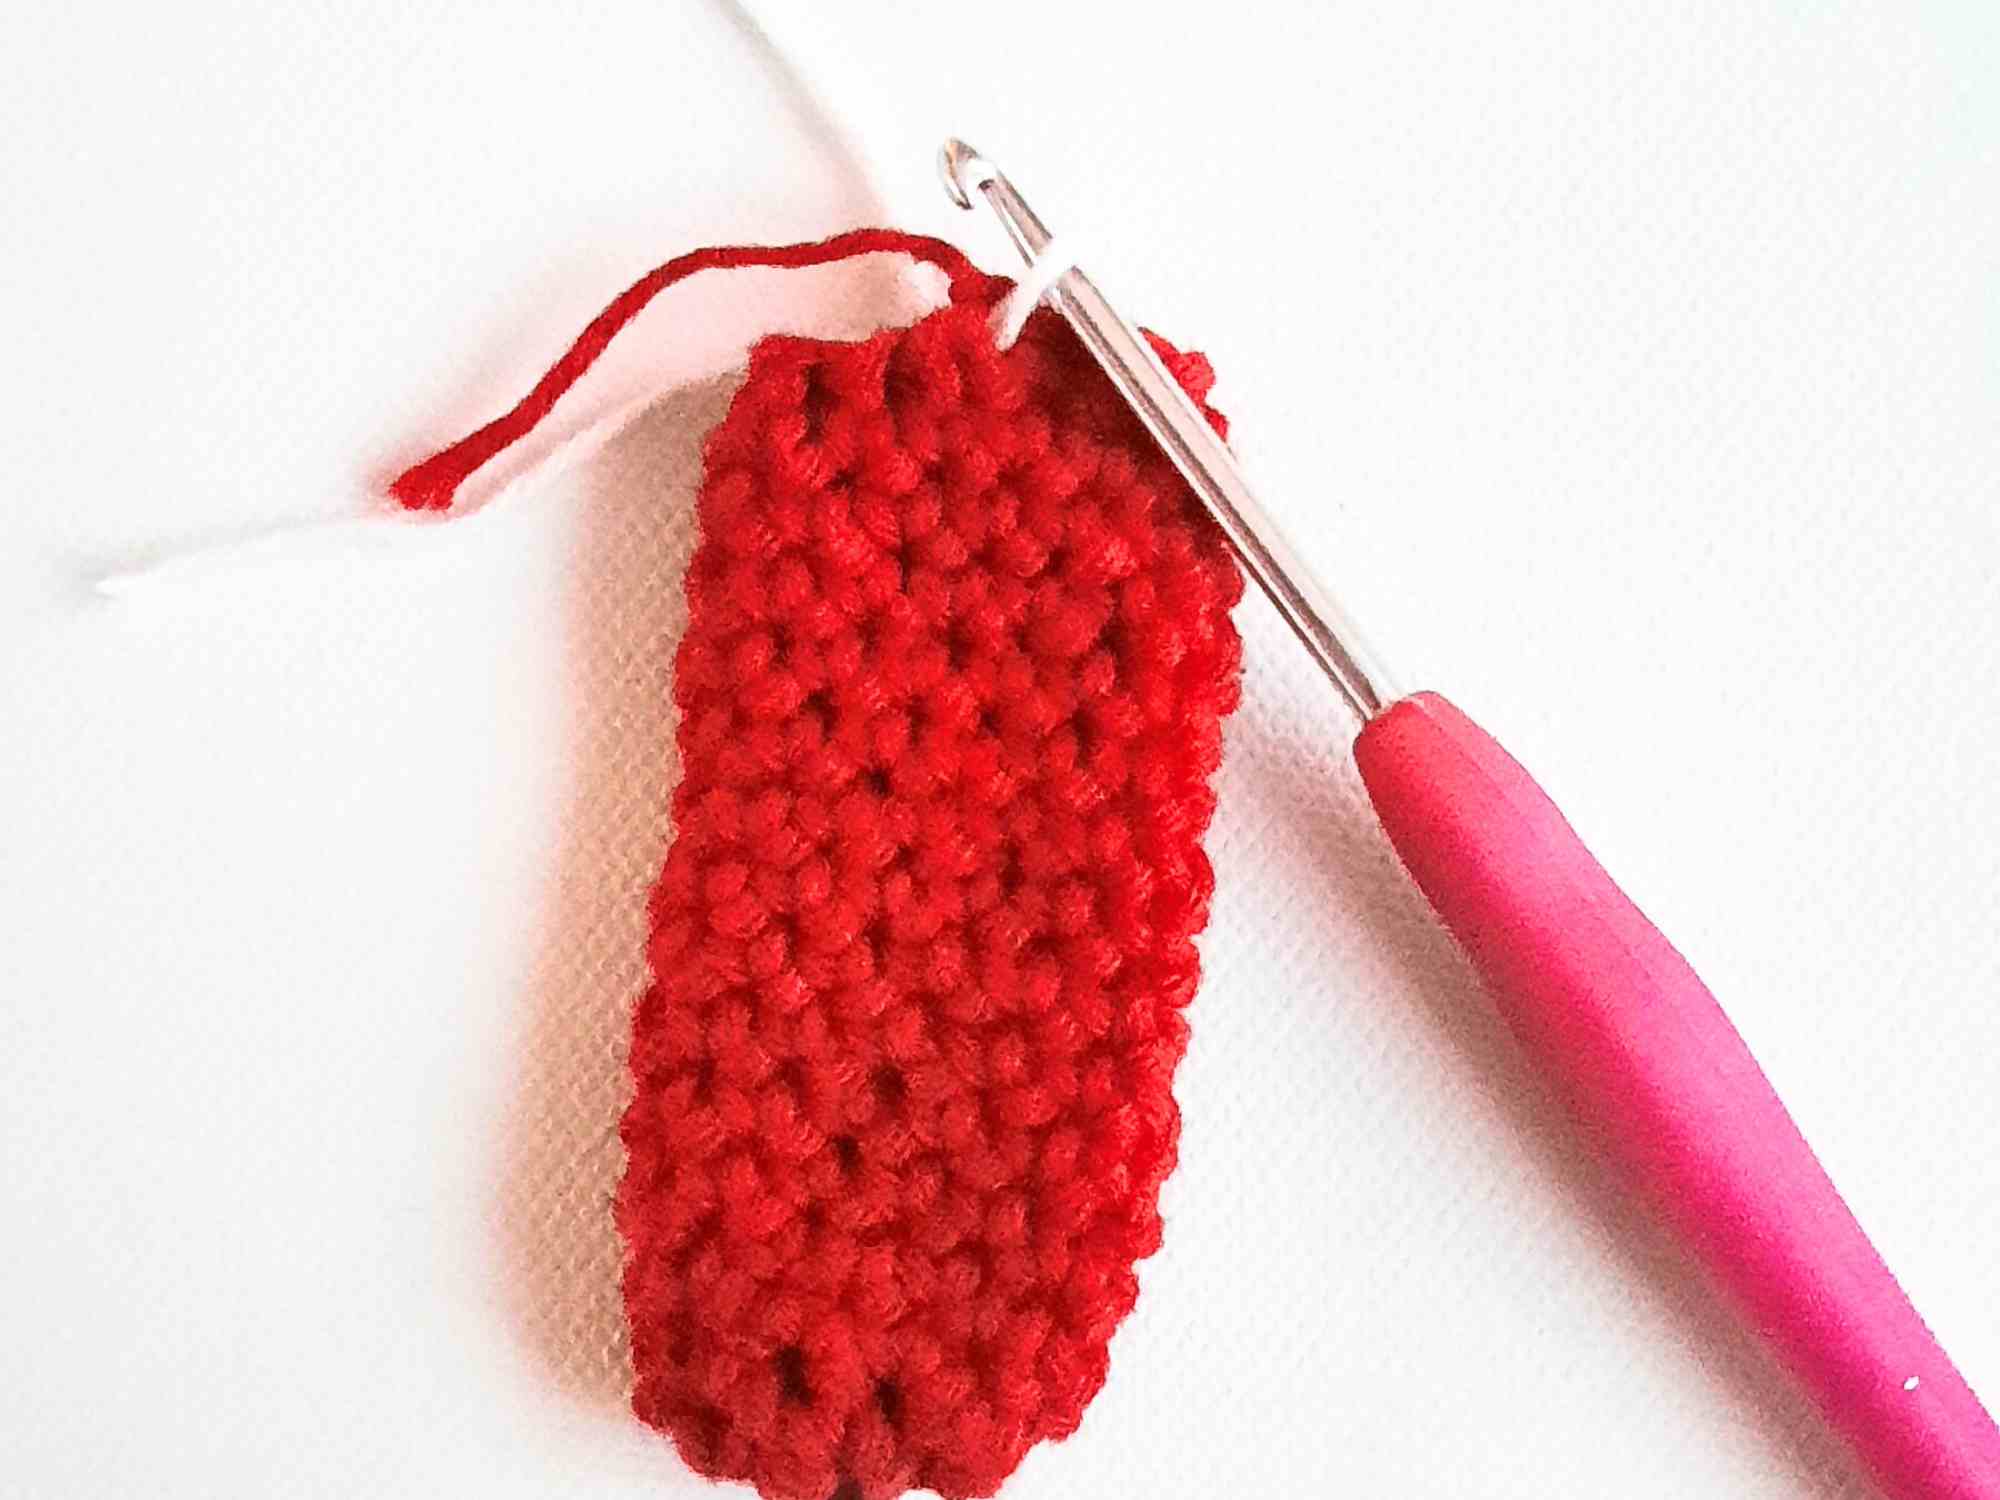
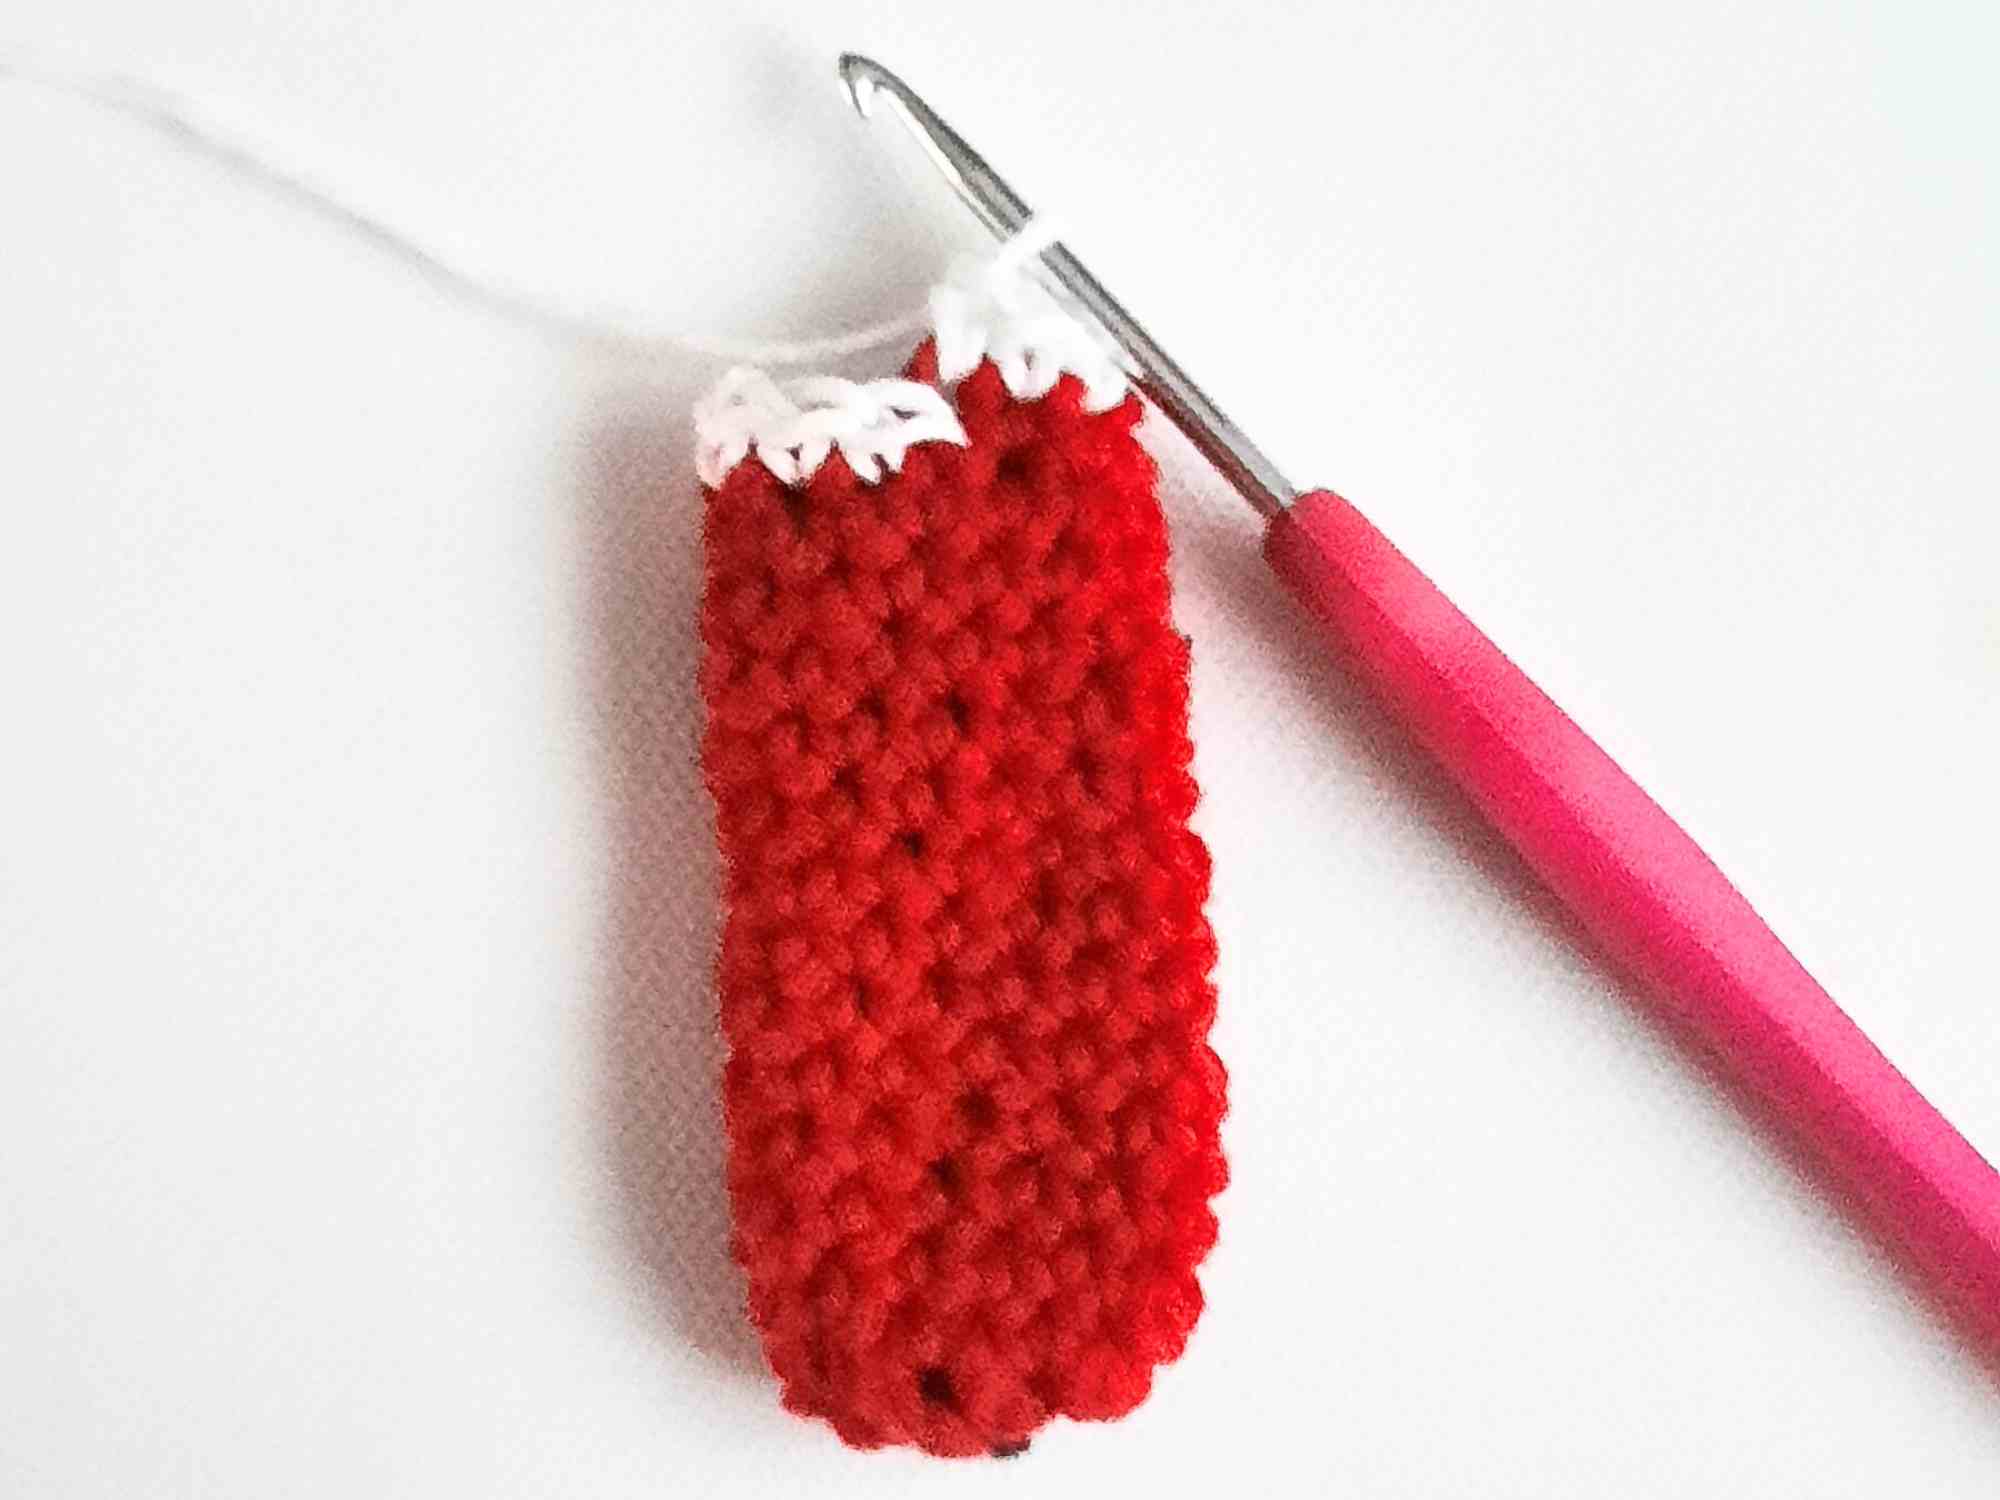
Note: It's best to crochet over your red & white yarn tails so you don't need to weave them in later.
- Slip stitch to join, do not cut white yarn & continue to hanger.
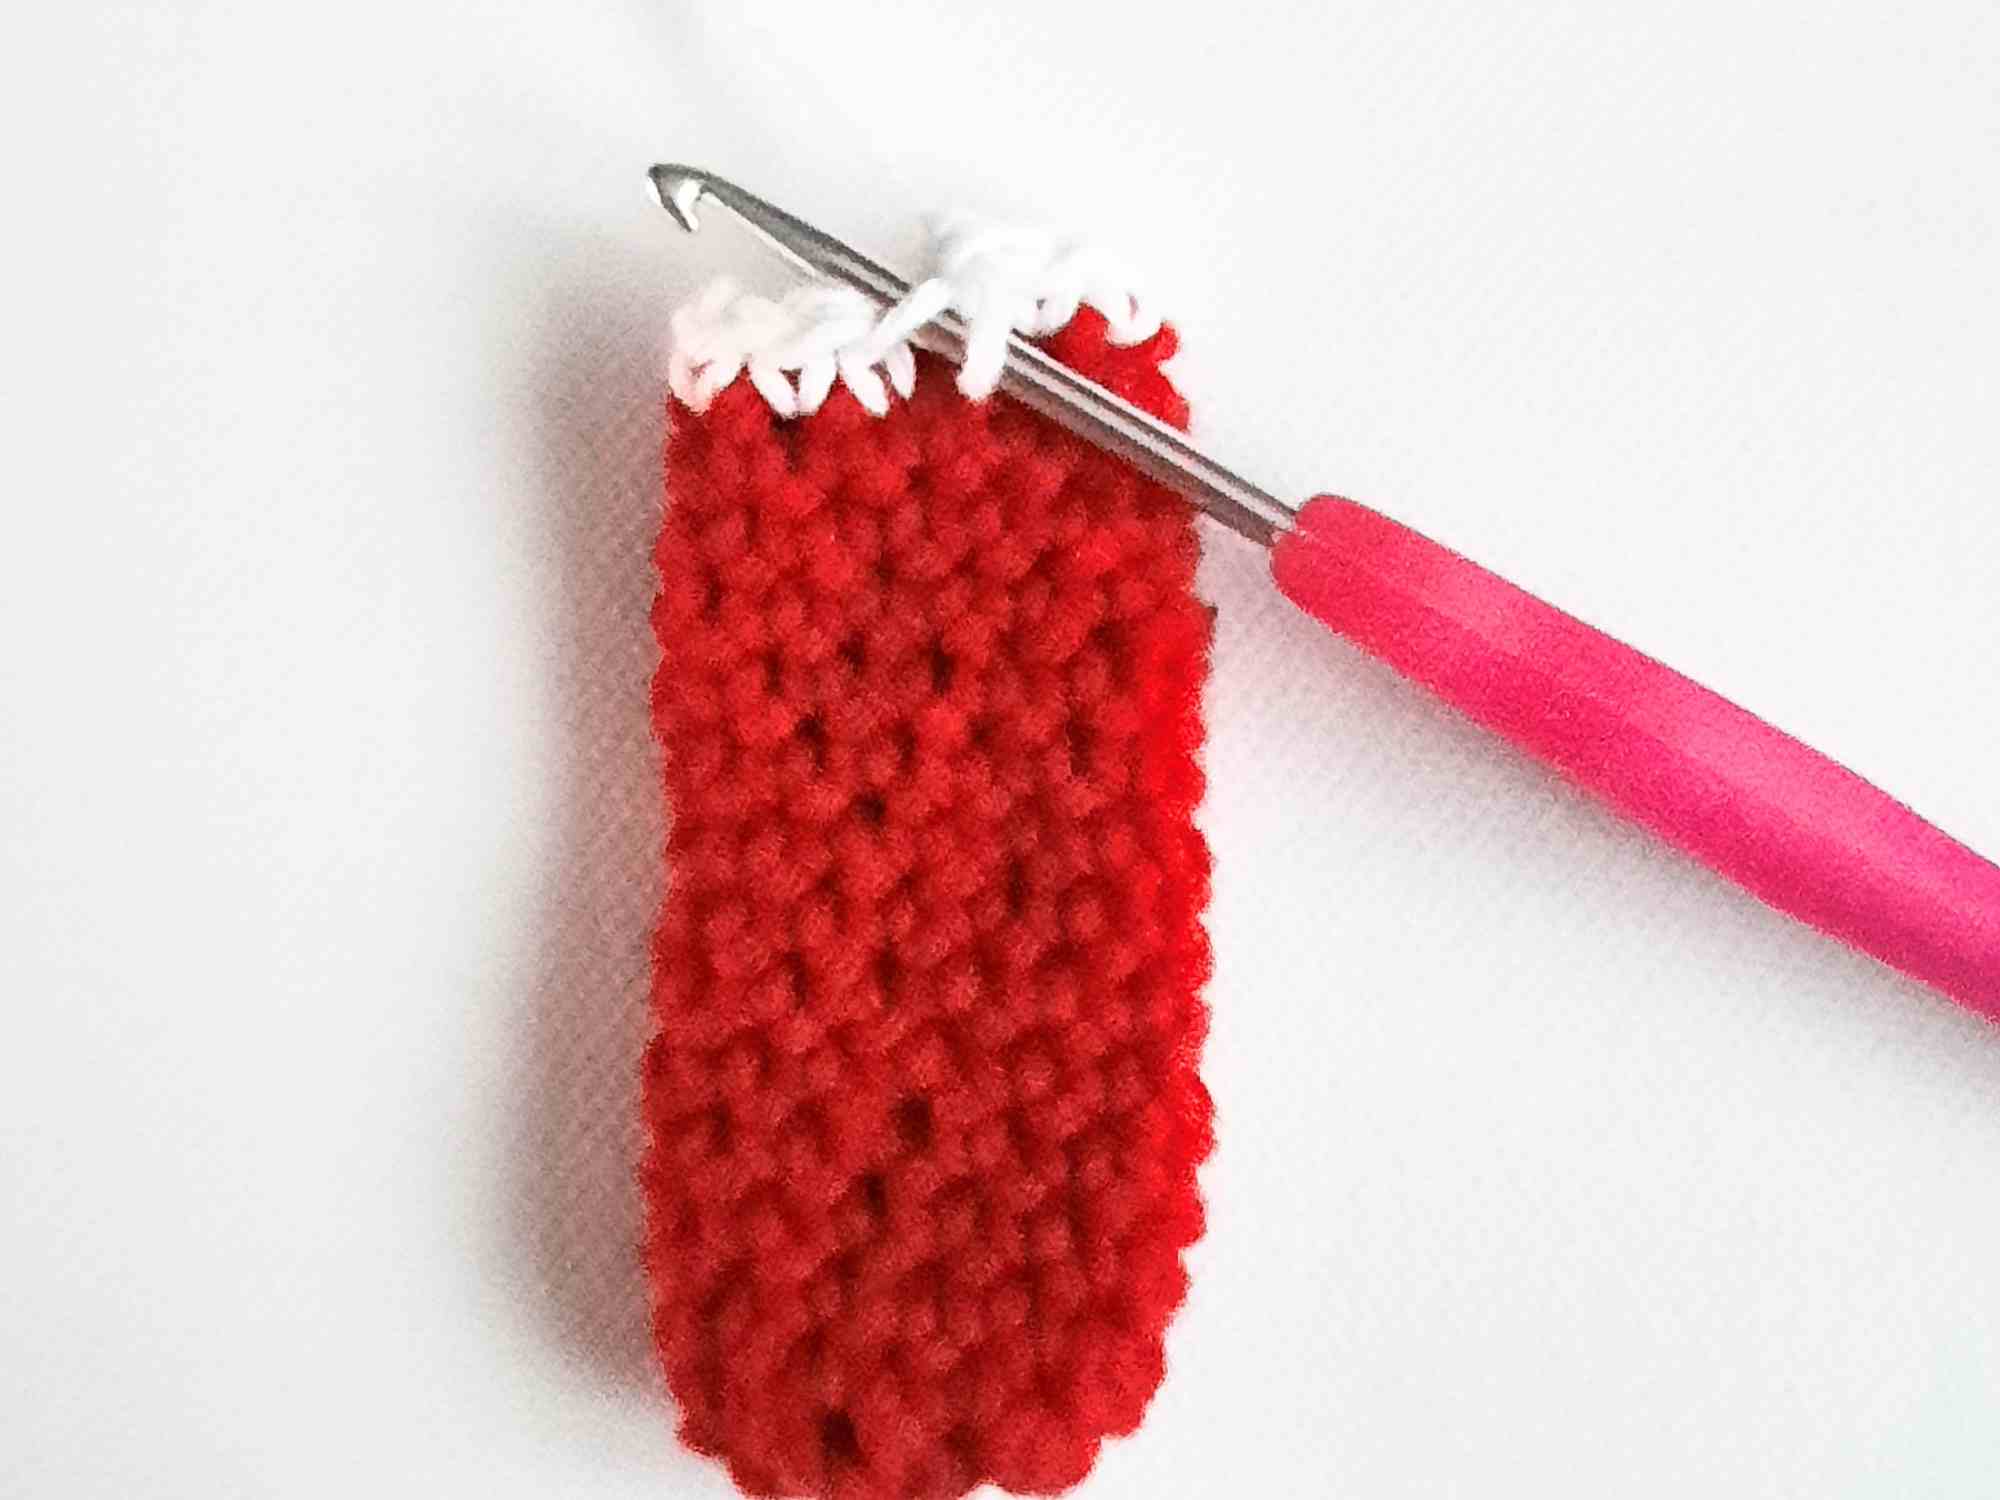
Hanger
- Continuing with white yarn, chain 30.
- Leaving a 4” tail, cut your yarn and fasten off.
- Do not connect the hanger to the opposite end.
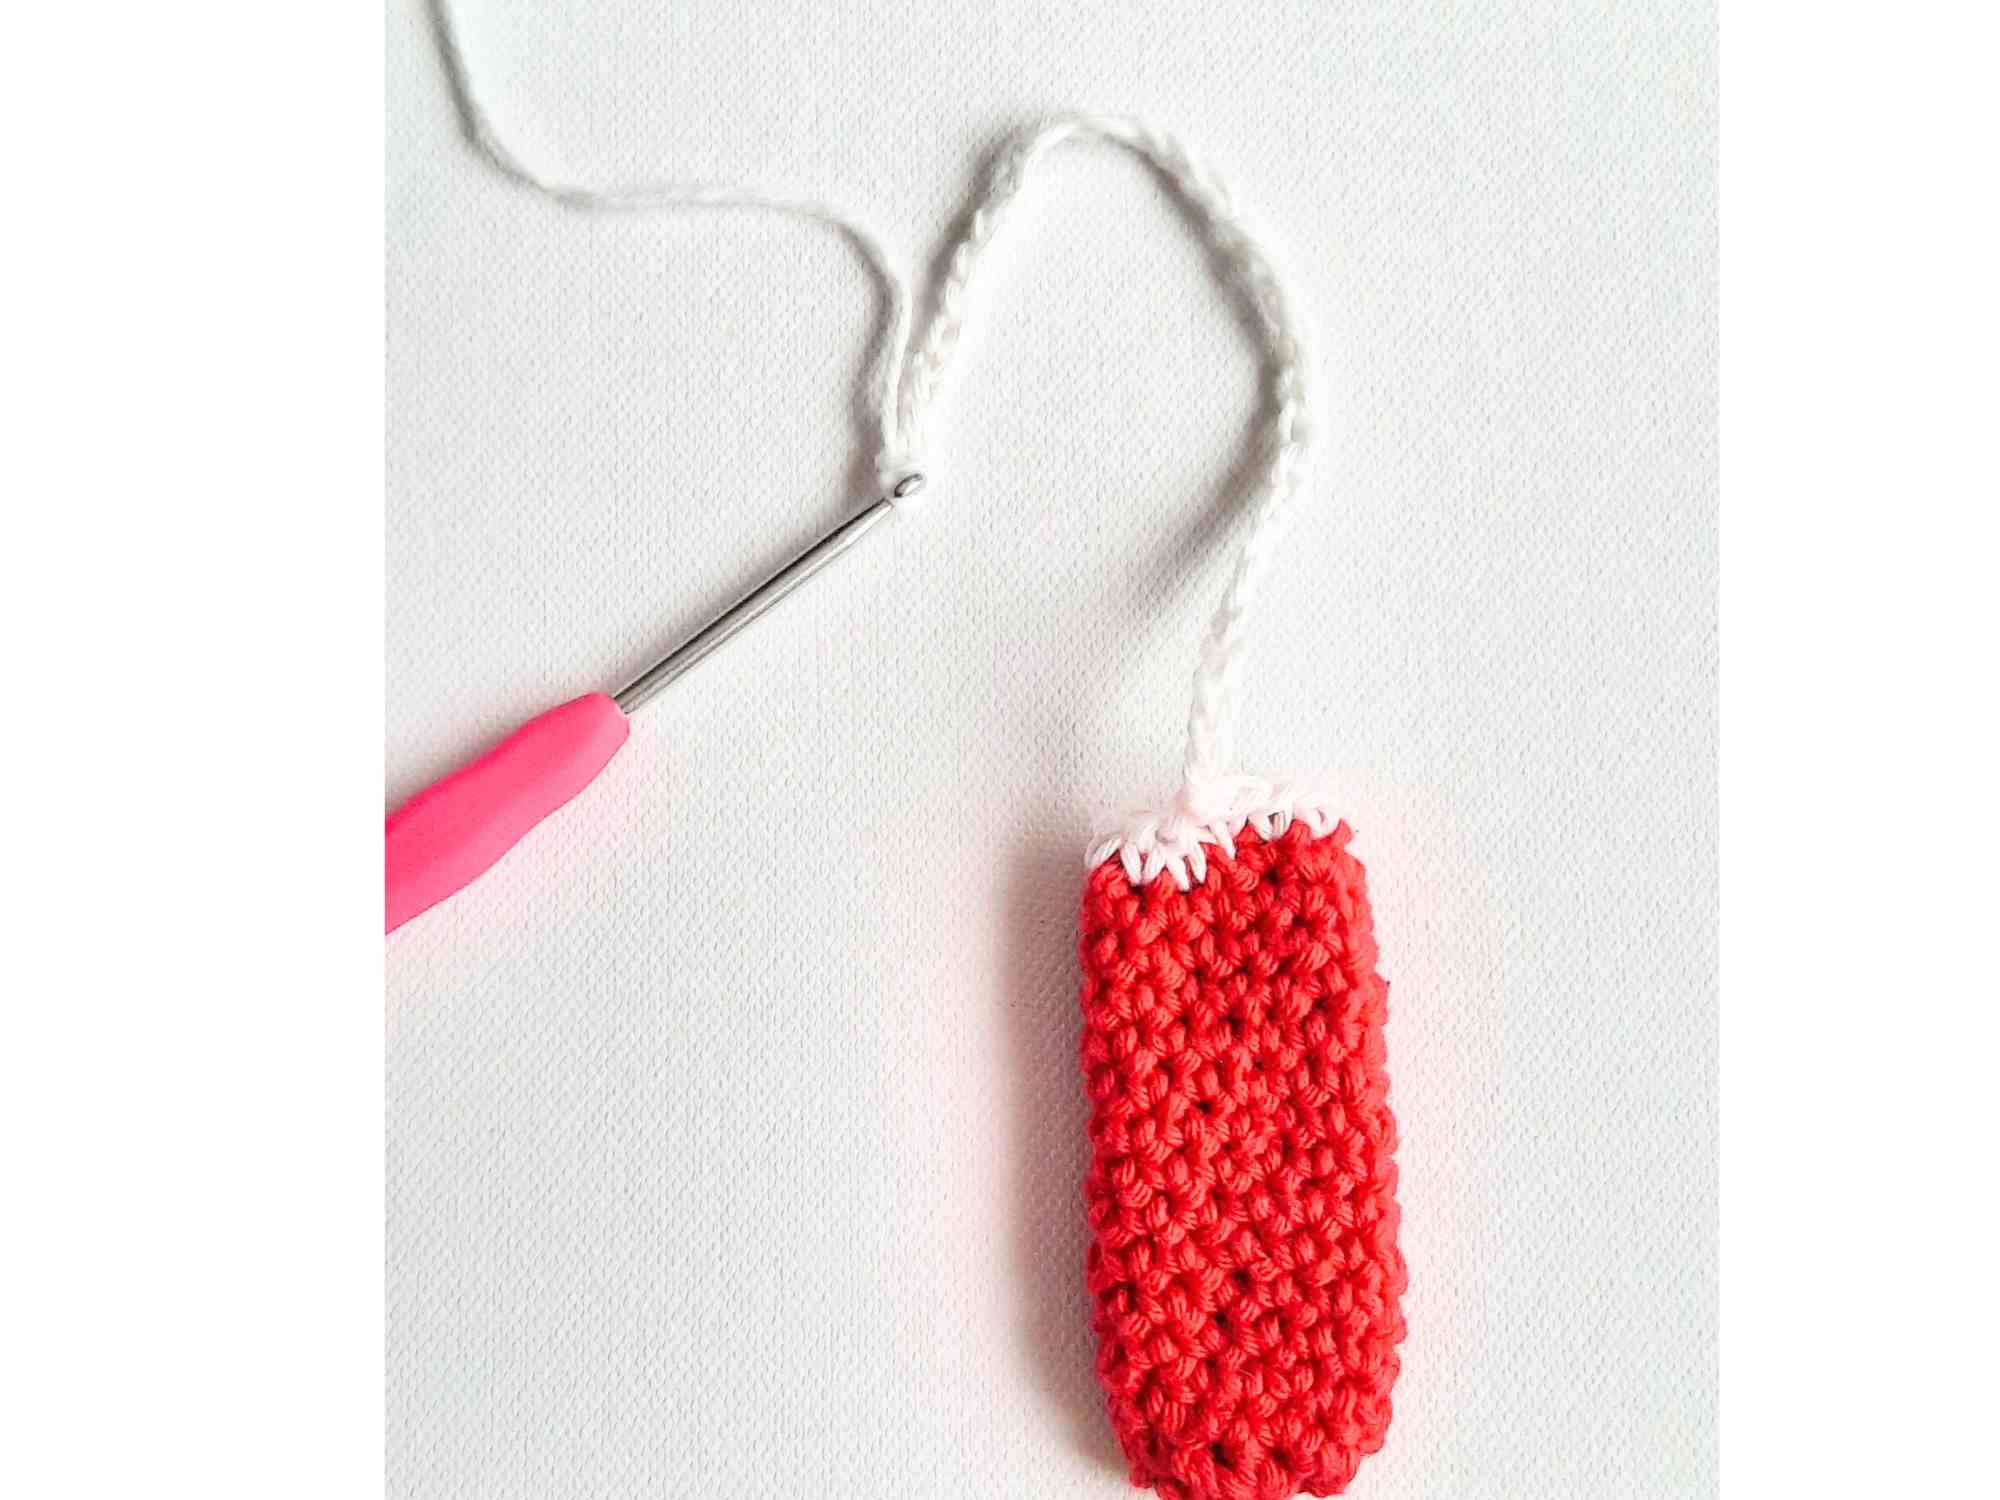
Stitching Ladybug's Stripe
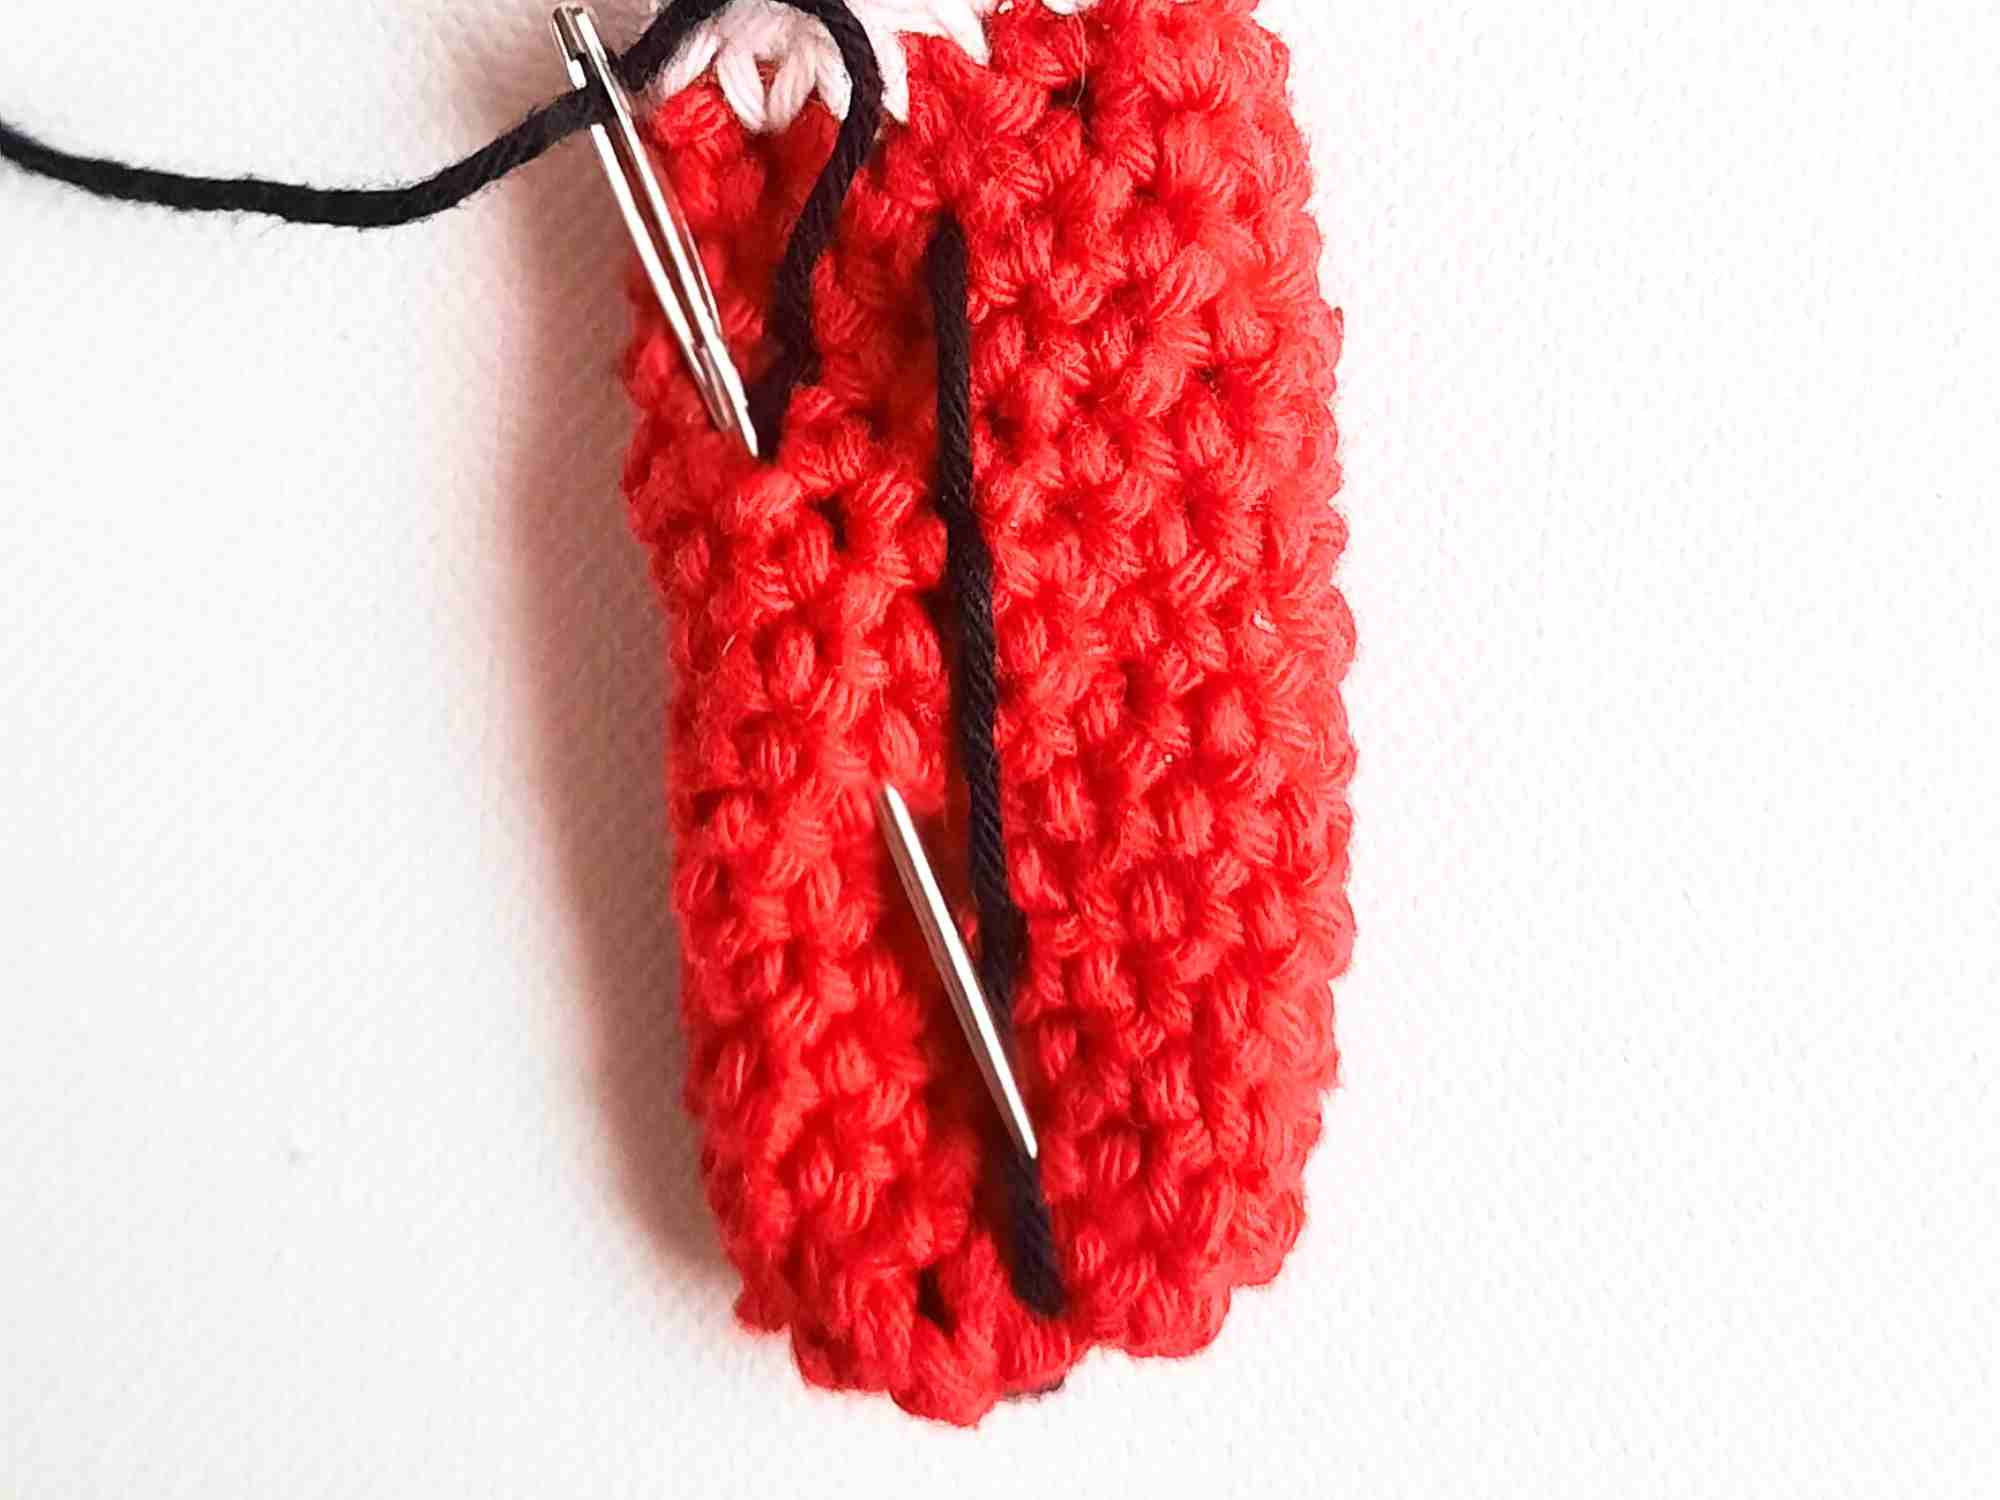
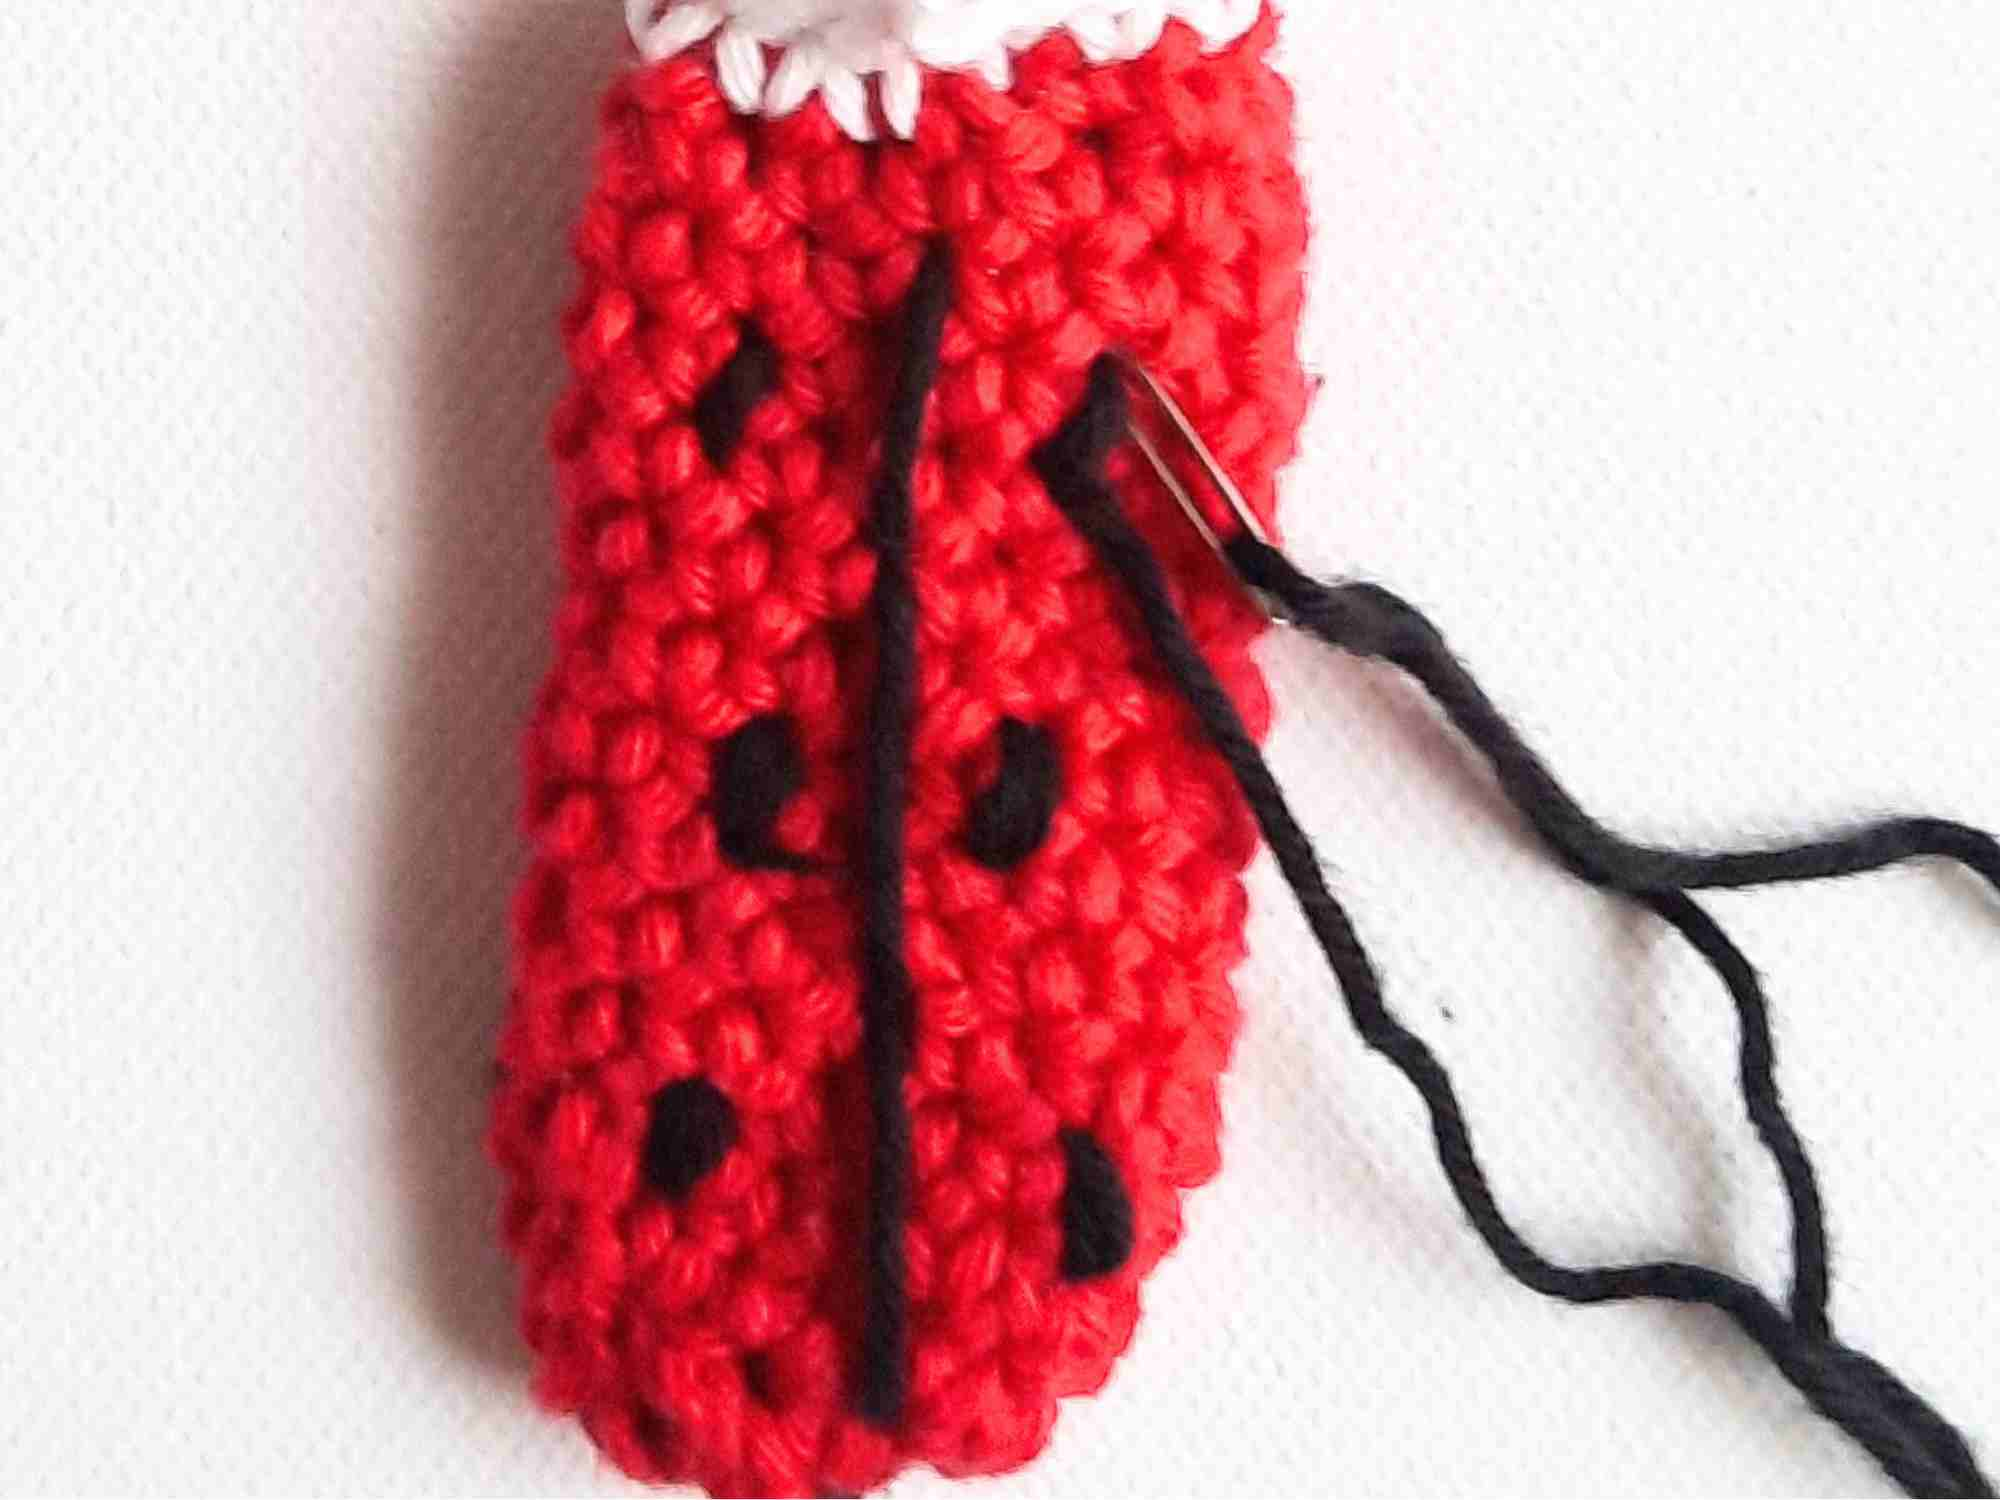
Now we'll be stitching a perpendicular straight line from the bottom to the top of the ladybug's body.
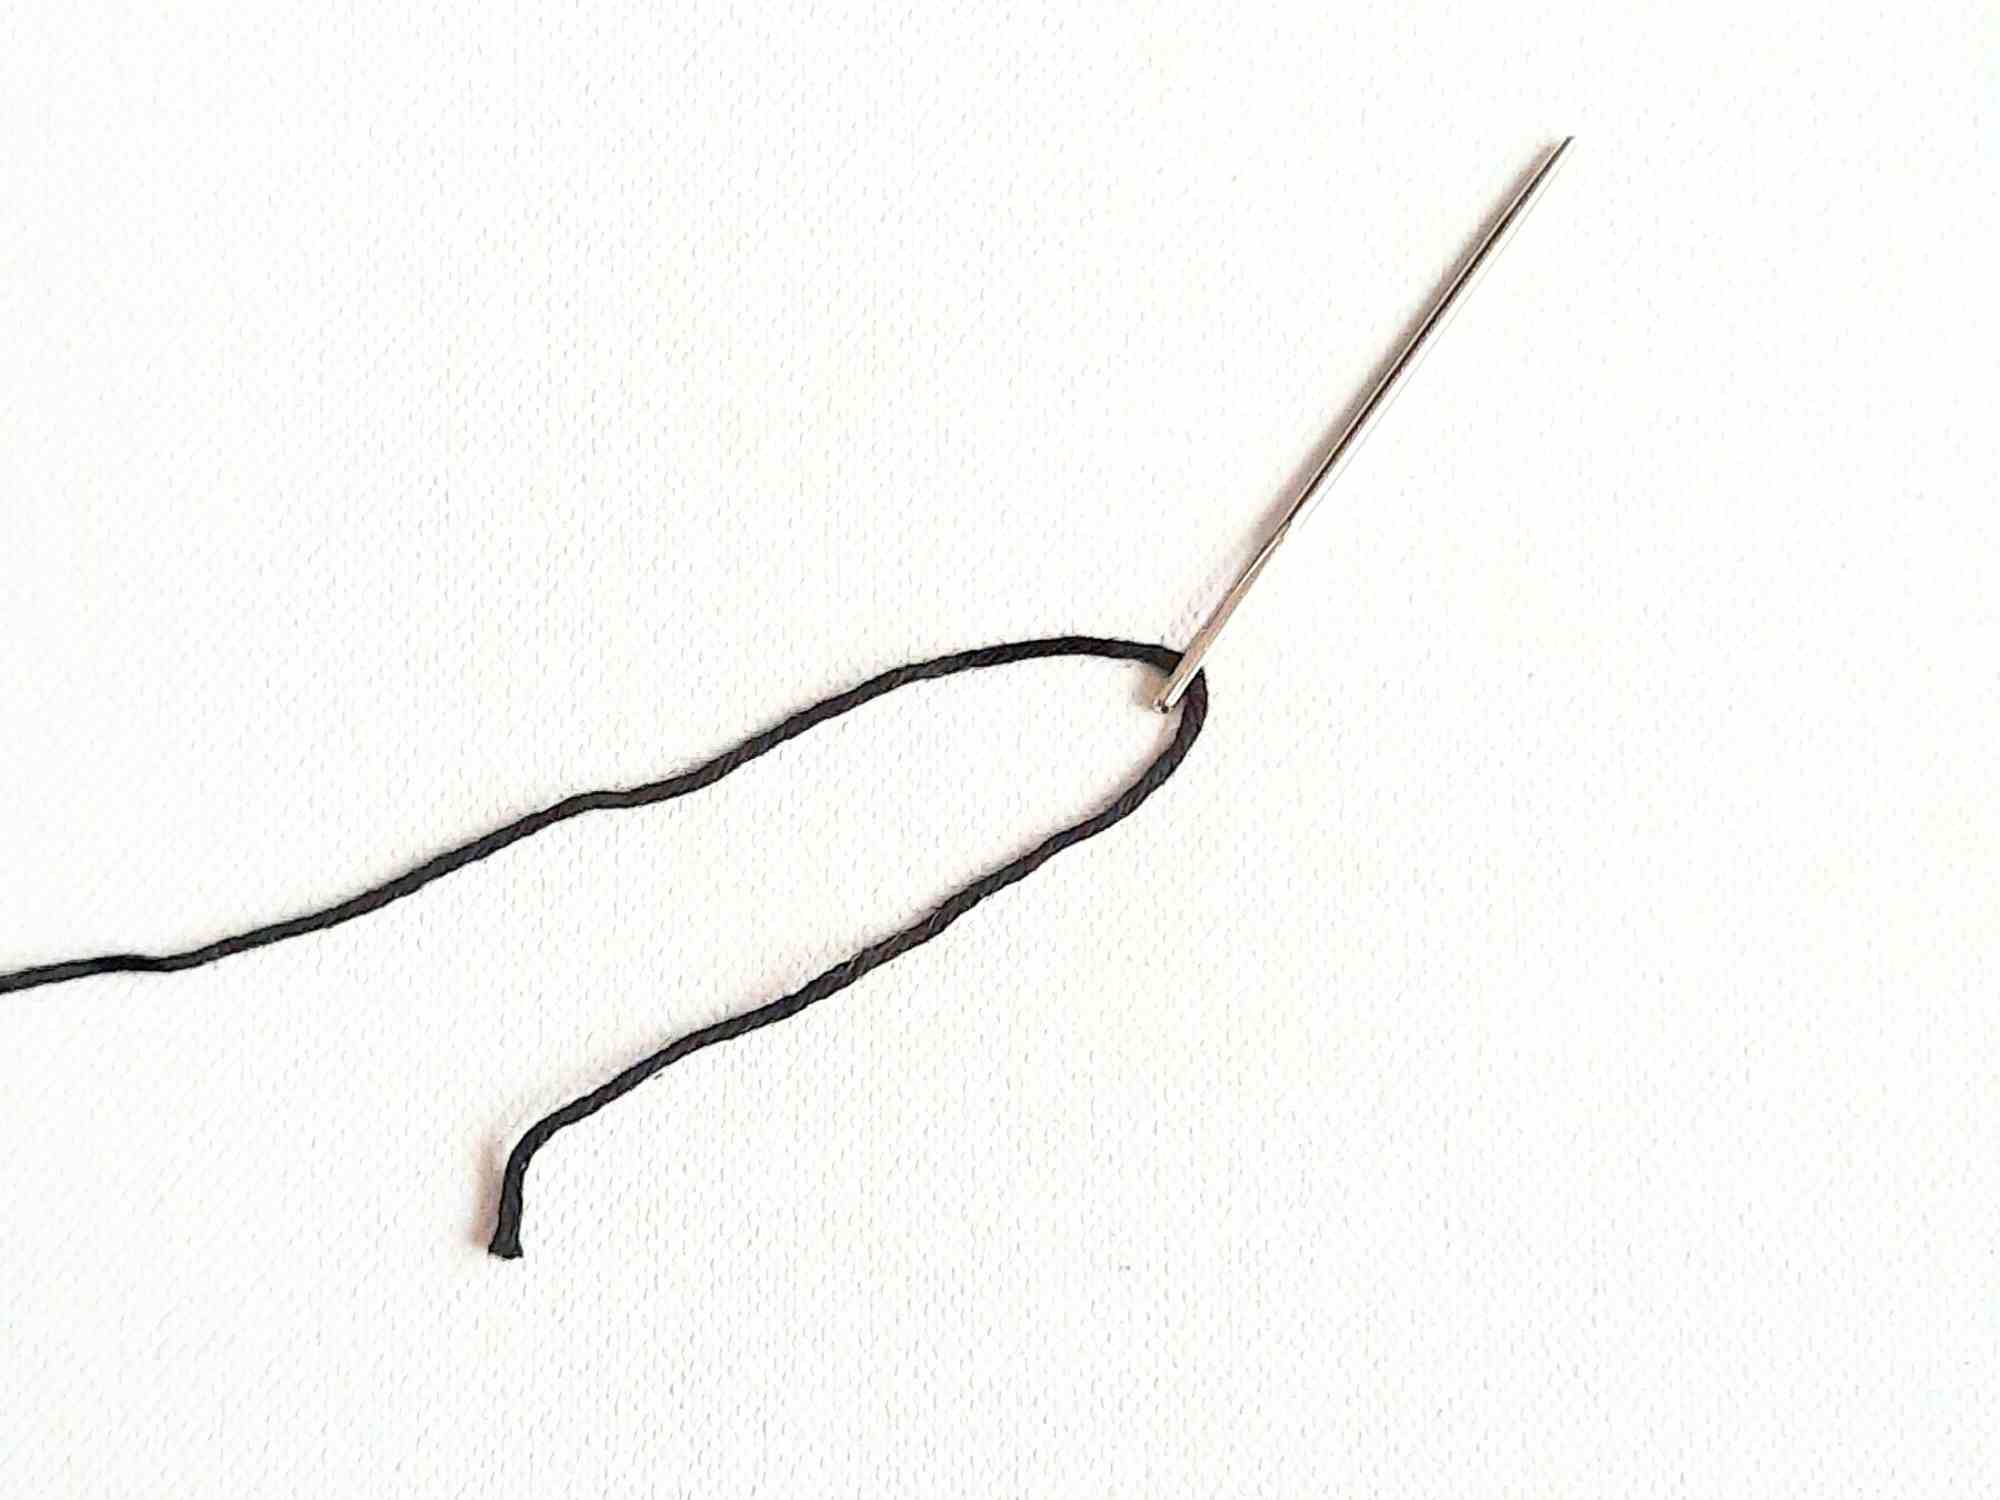
Cut about an arm's length of black yarn + some extra. Thread it through your darning needle.
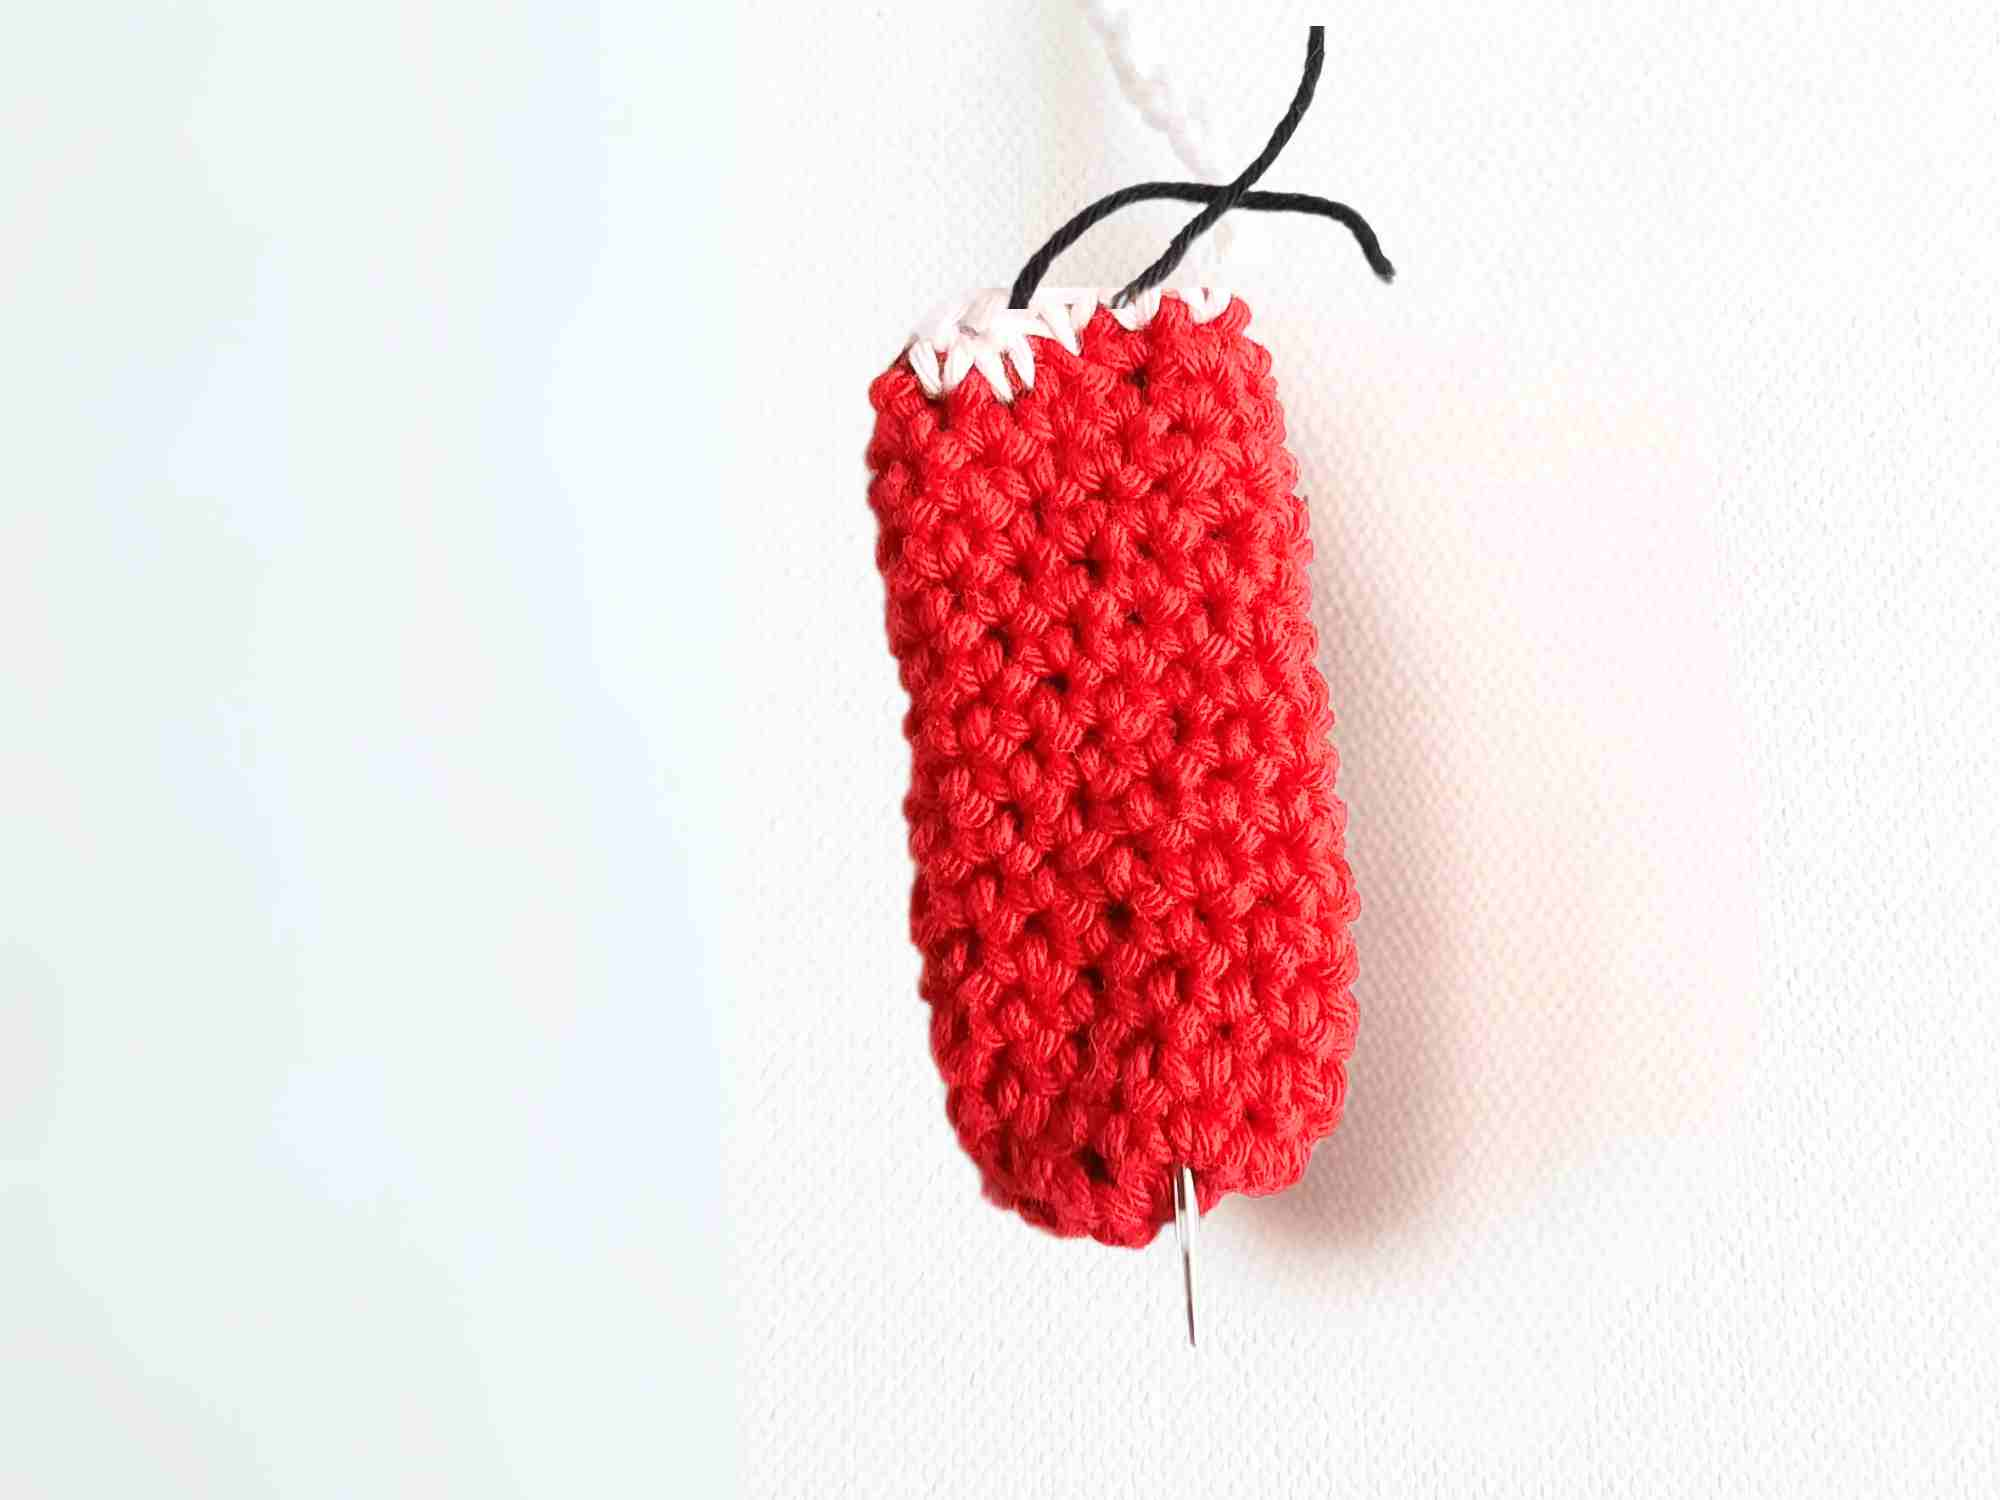
Insert your darning needle through the top opening of the body and out from Round 3 at the bottom center of your ladybug (so that handle is positioned on the side of the ladybug)..
Insert your needle into the body 3 rounds upwards in a perpendicular line and immediately outwards from the body another 3 rounds above. Pull your black yarn through to form a vertical line.
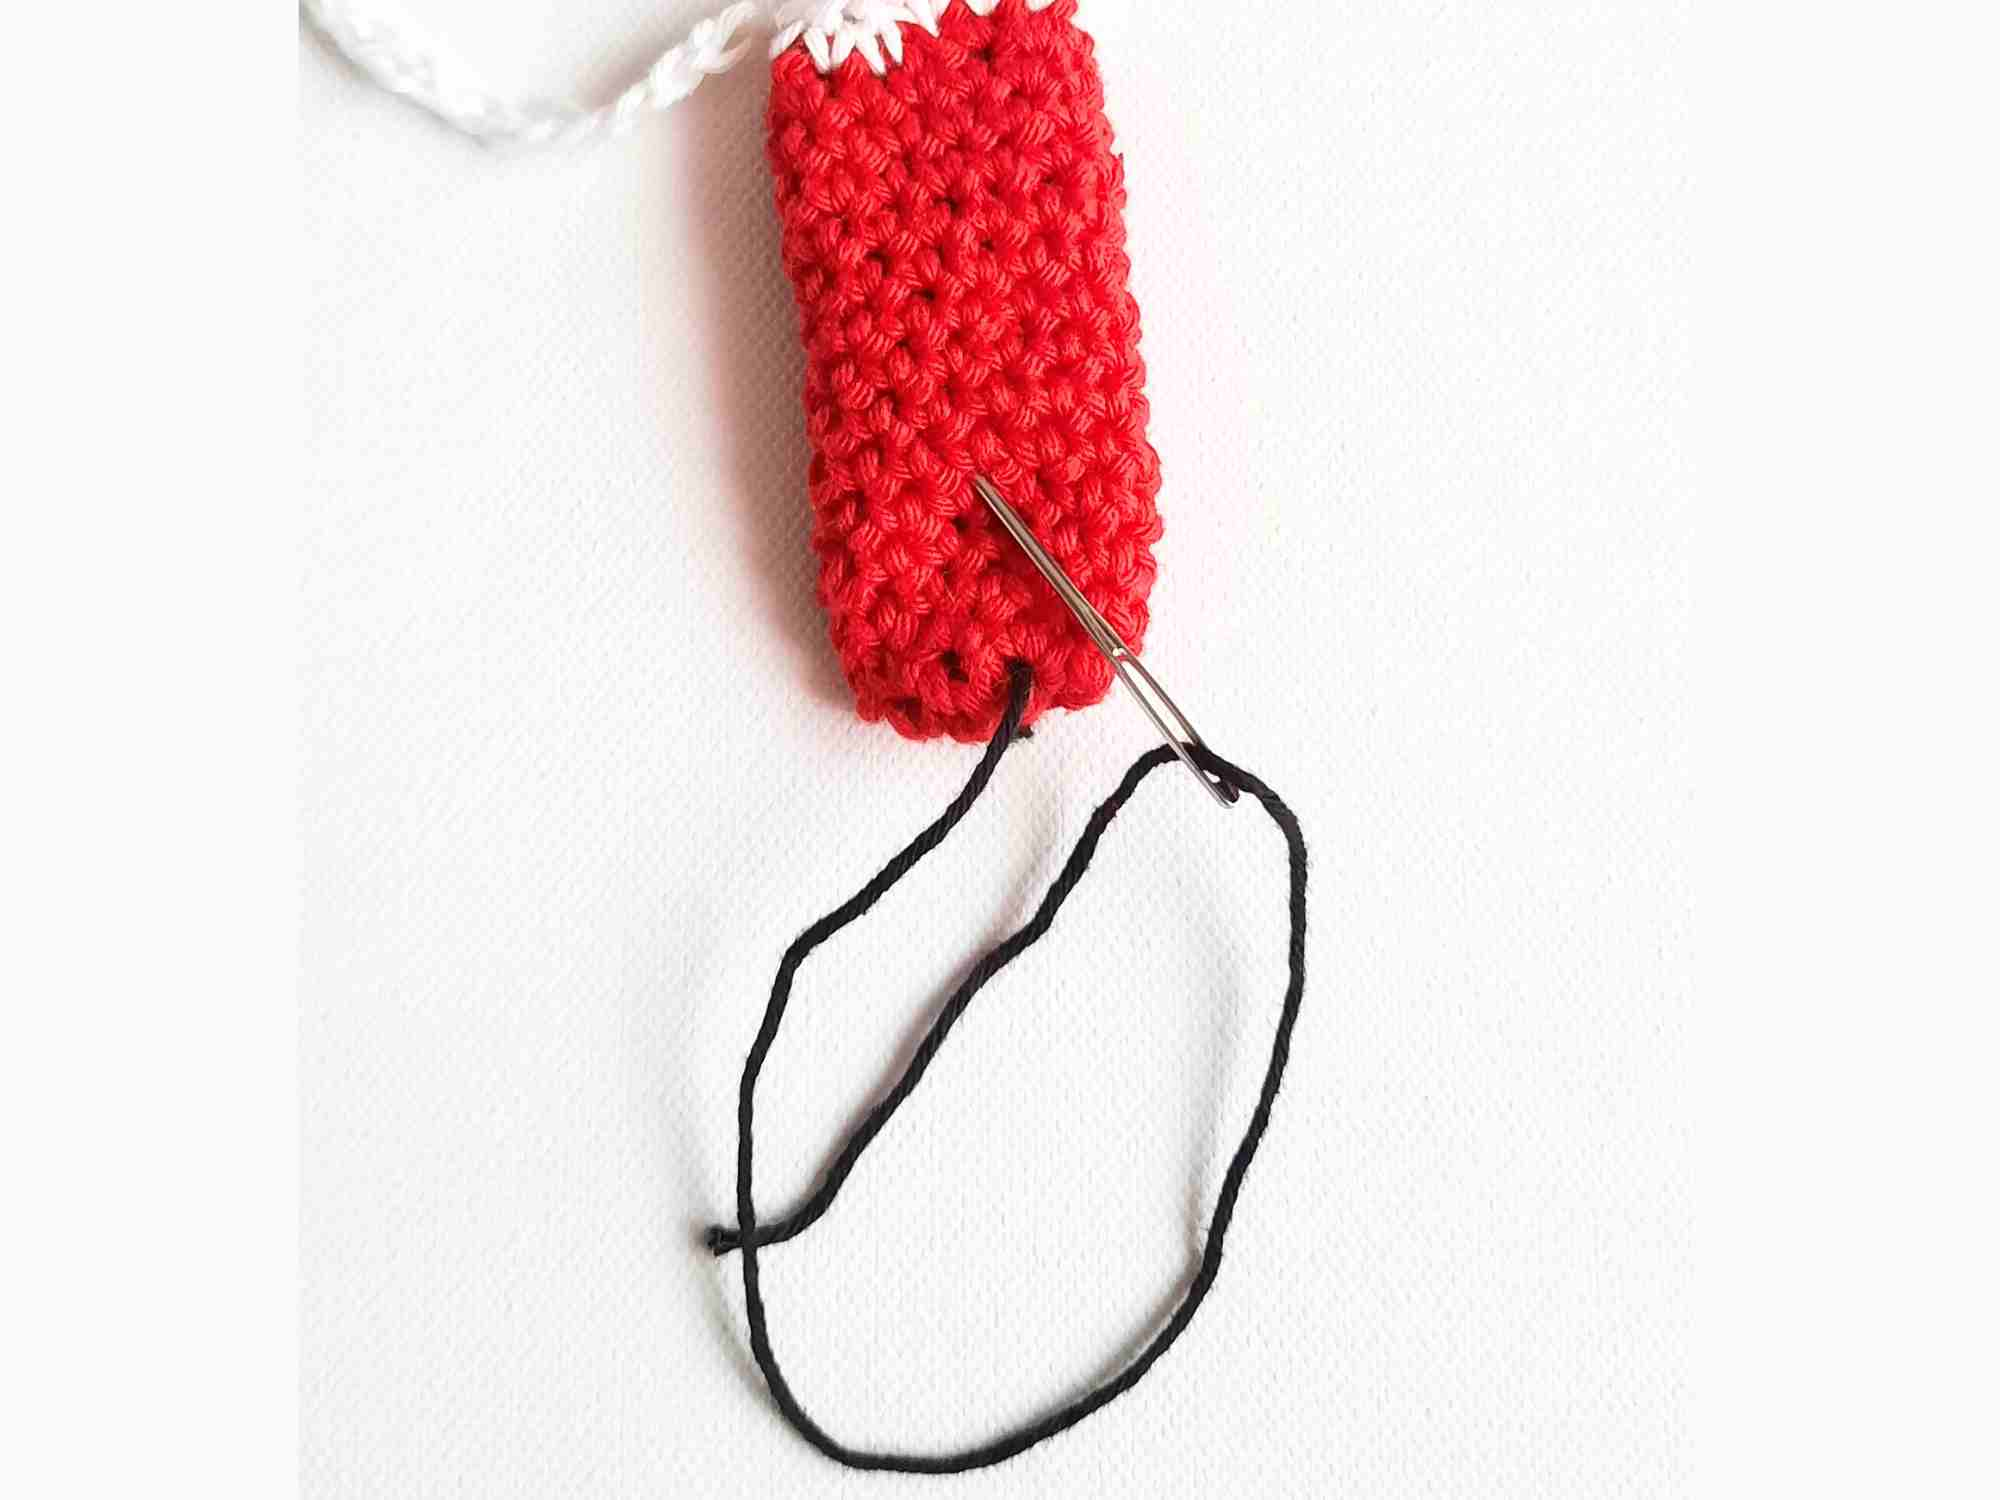
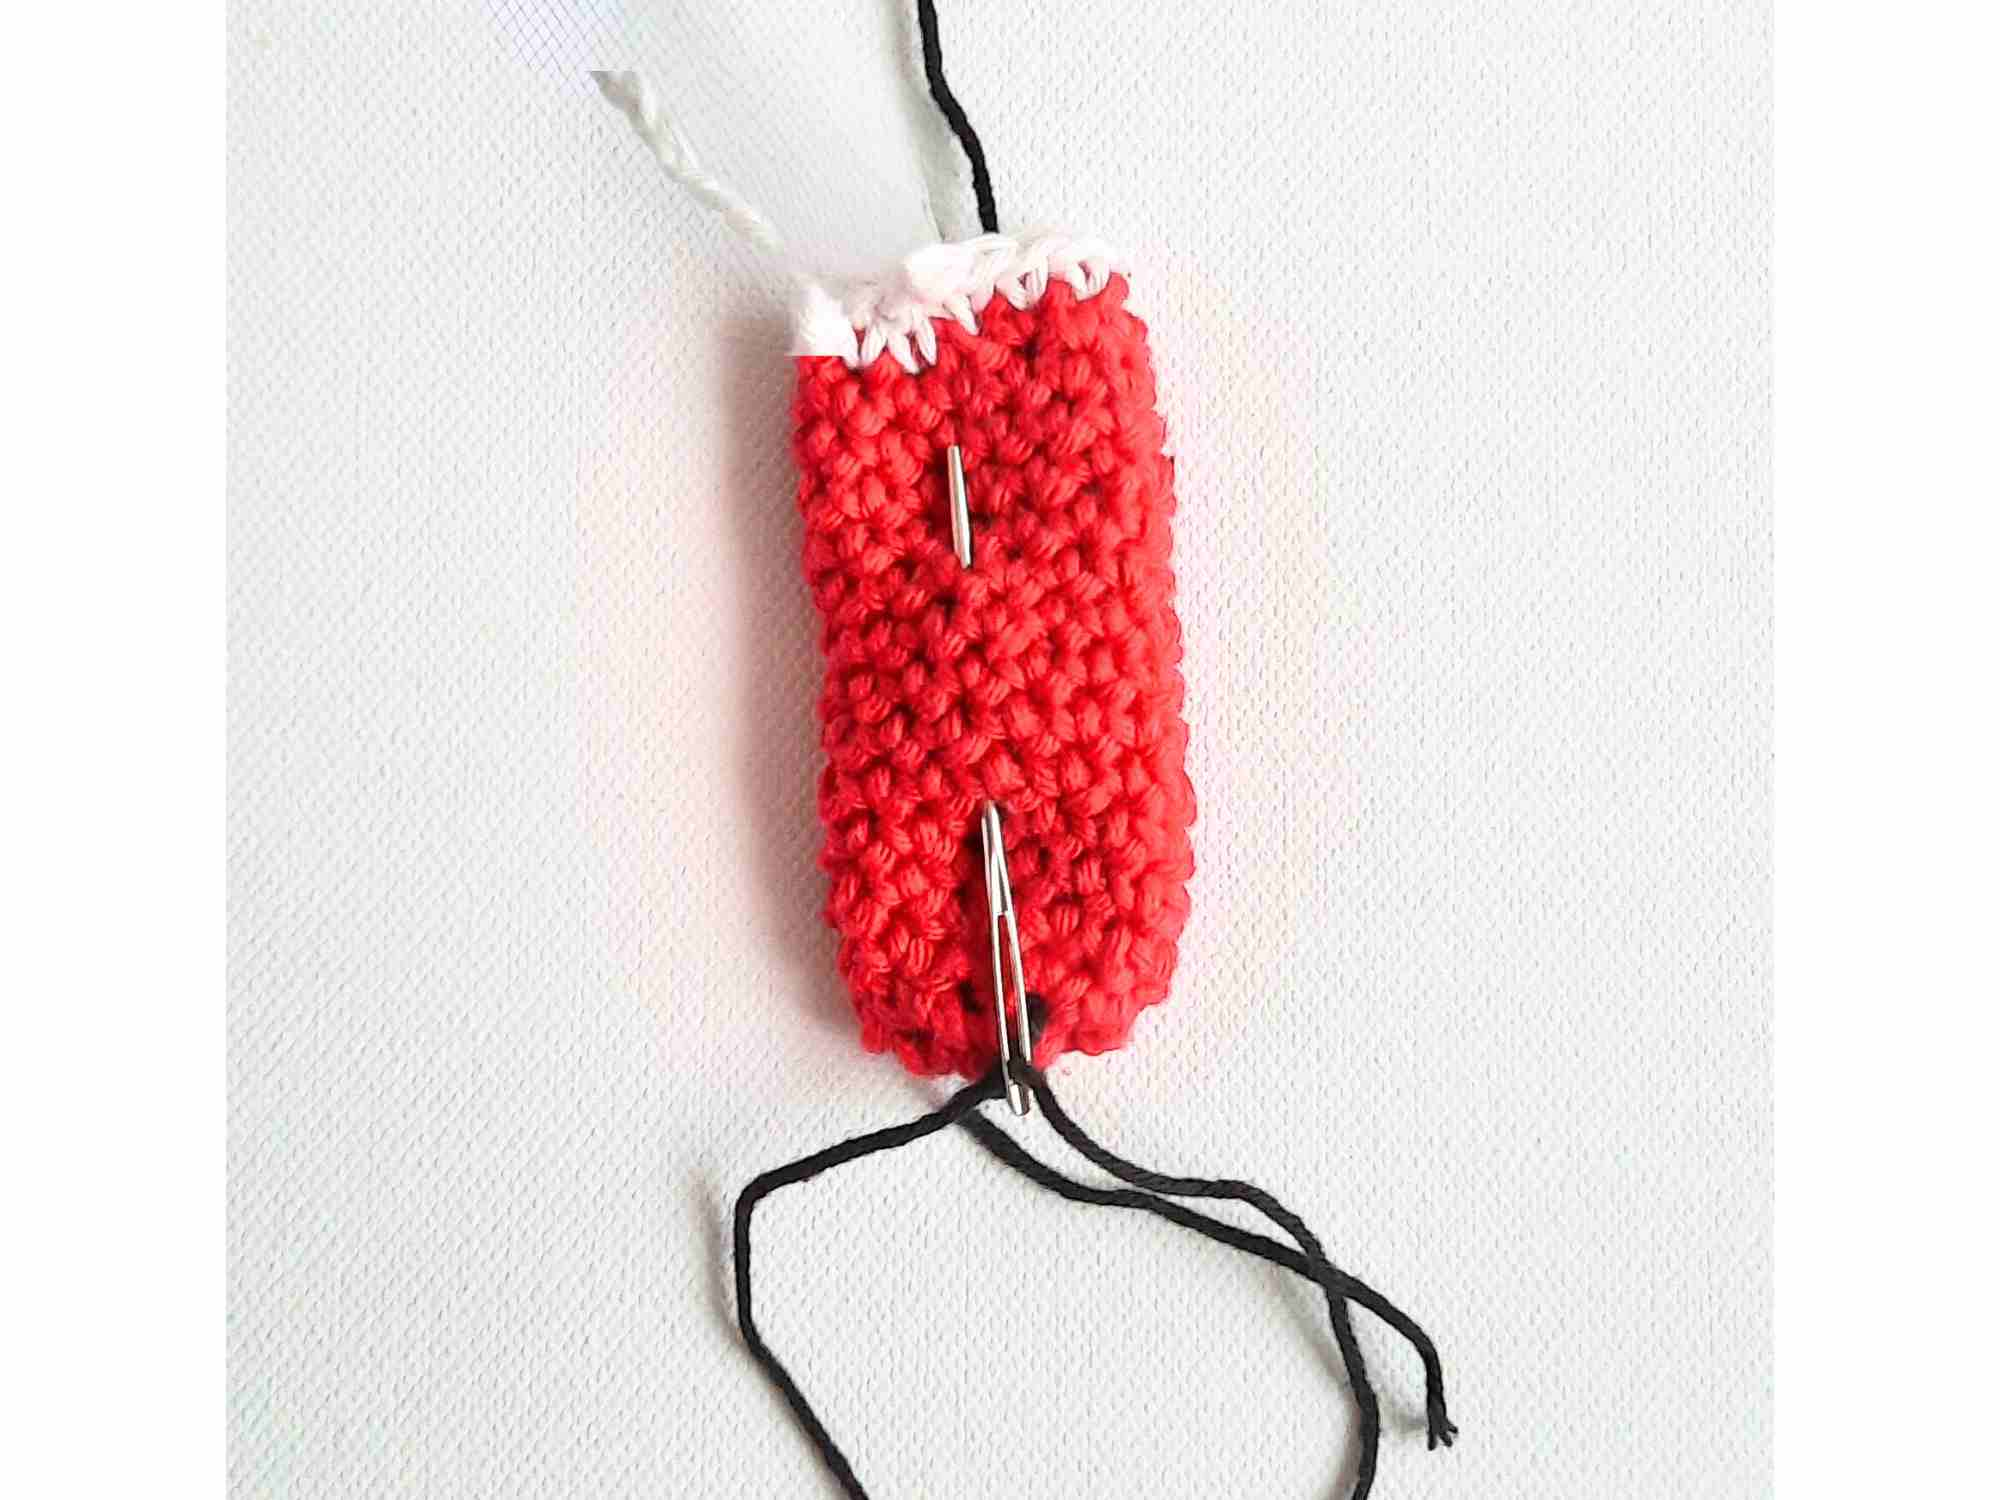
Insert your needle back into the same stitch where the black yarn came out from 3 rounds below and outwards 6 rounds above. You should come out just below the white rim. Gently pull through to form second section of the line.
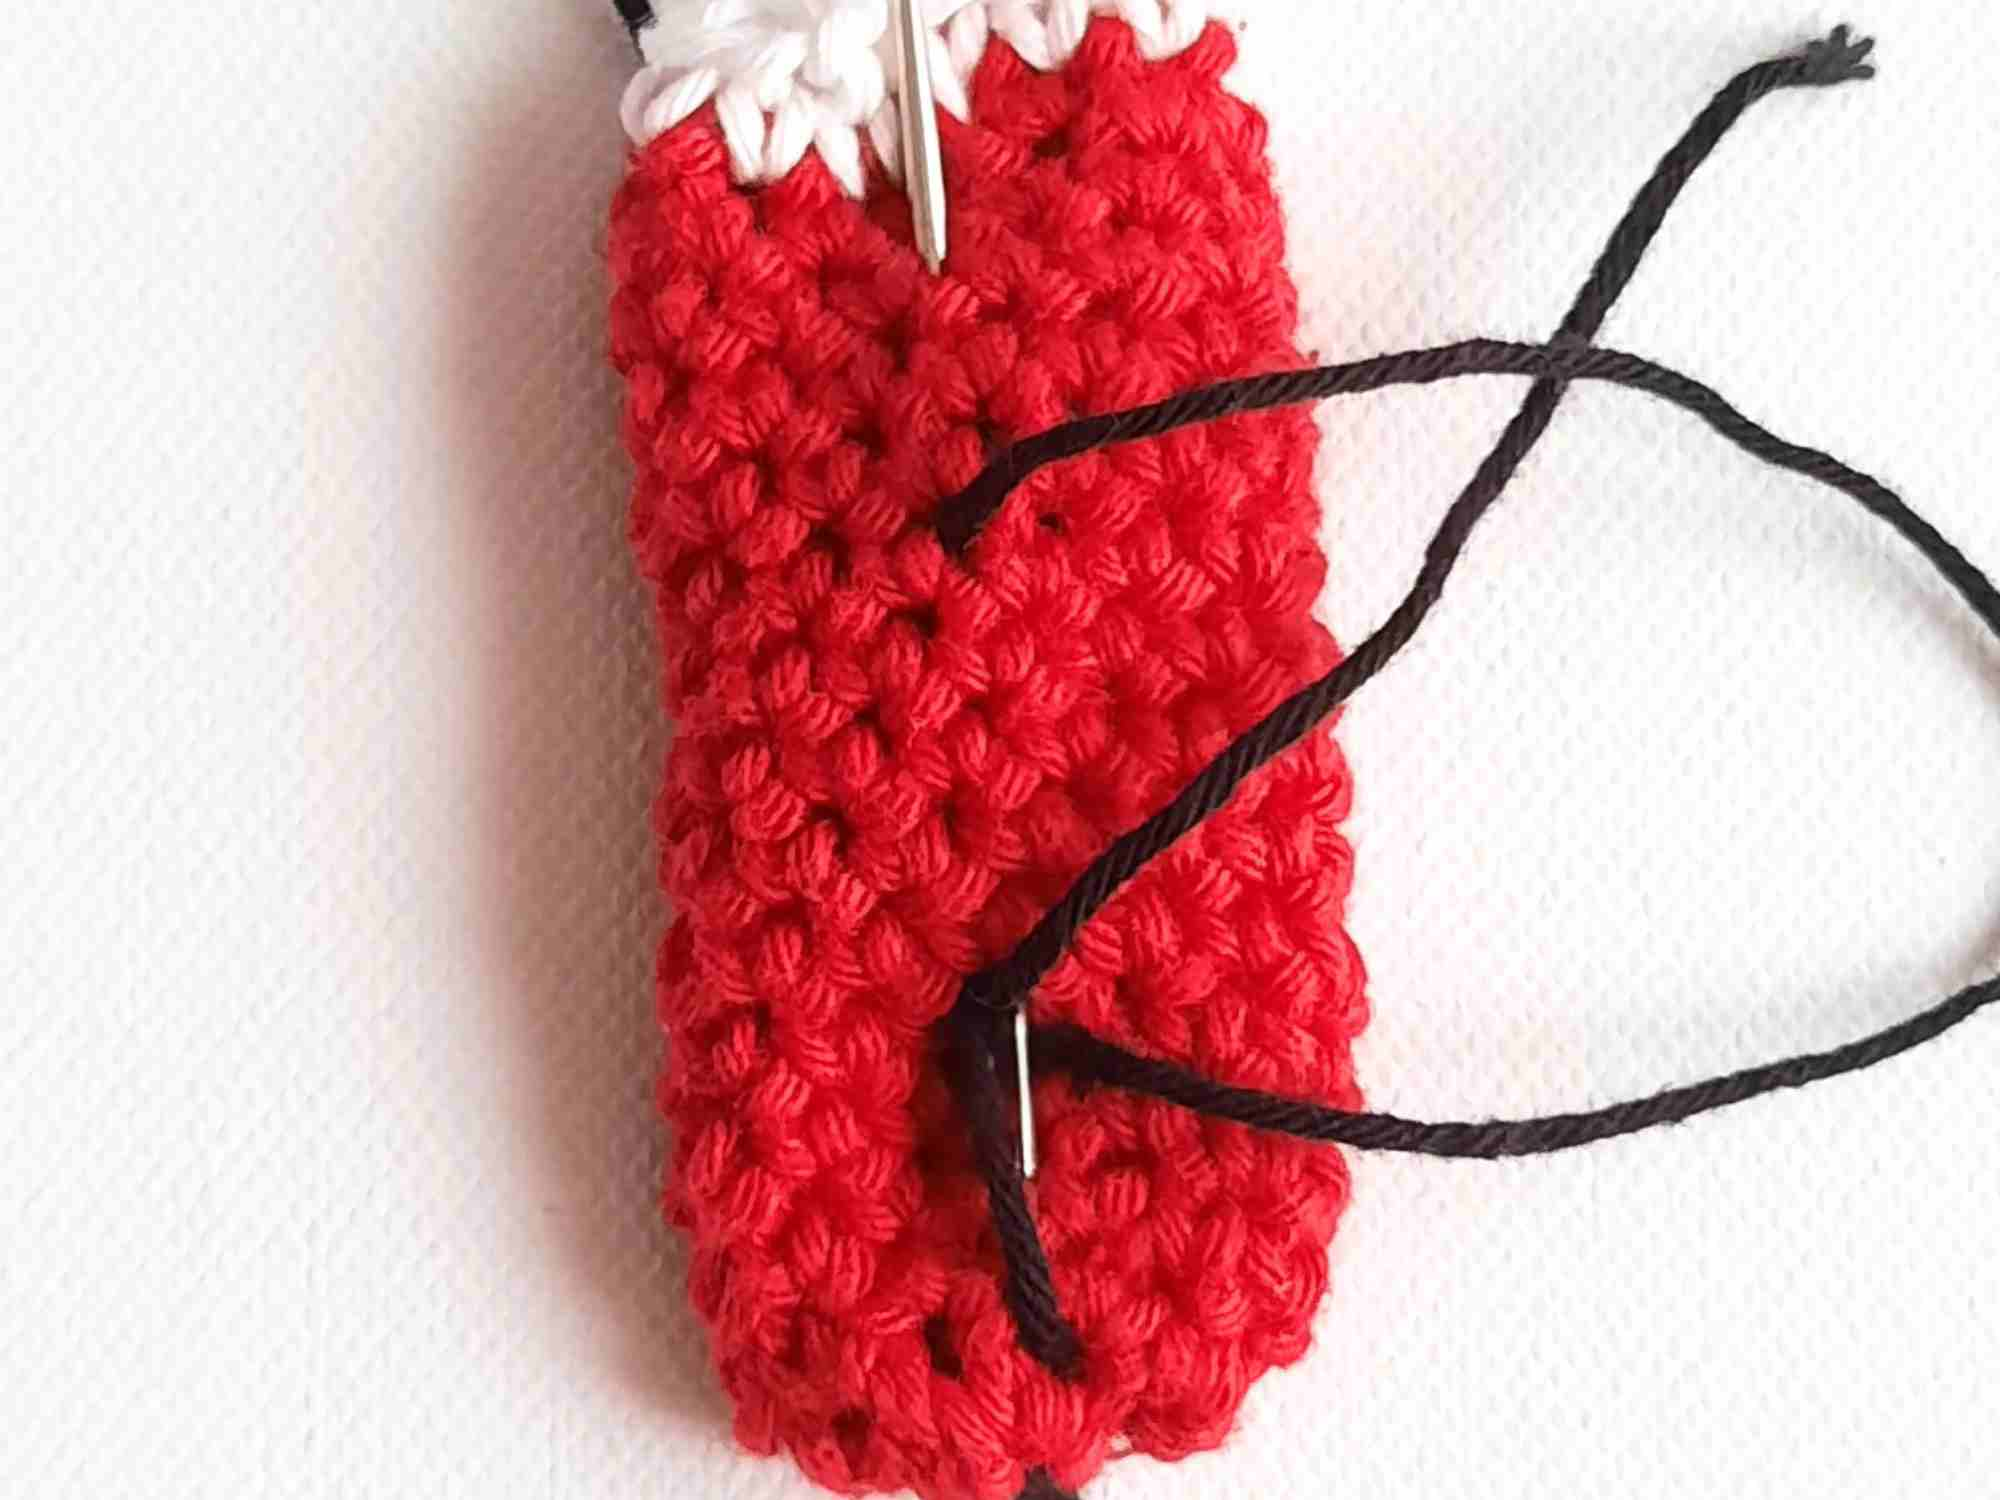
Insert your needle back into the same stitch where the black yarn came out from 3 rounds below and outwards 2 sts to the left & 2 upwards at a diagonal to start forming the first dot.
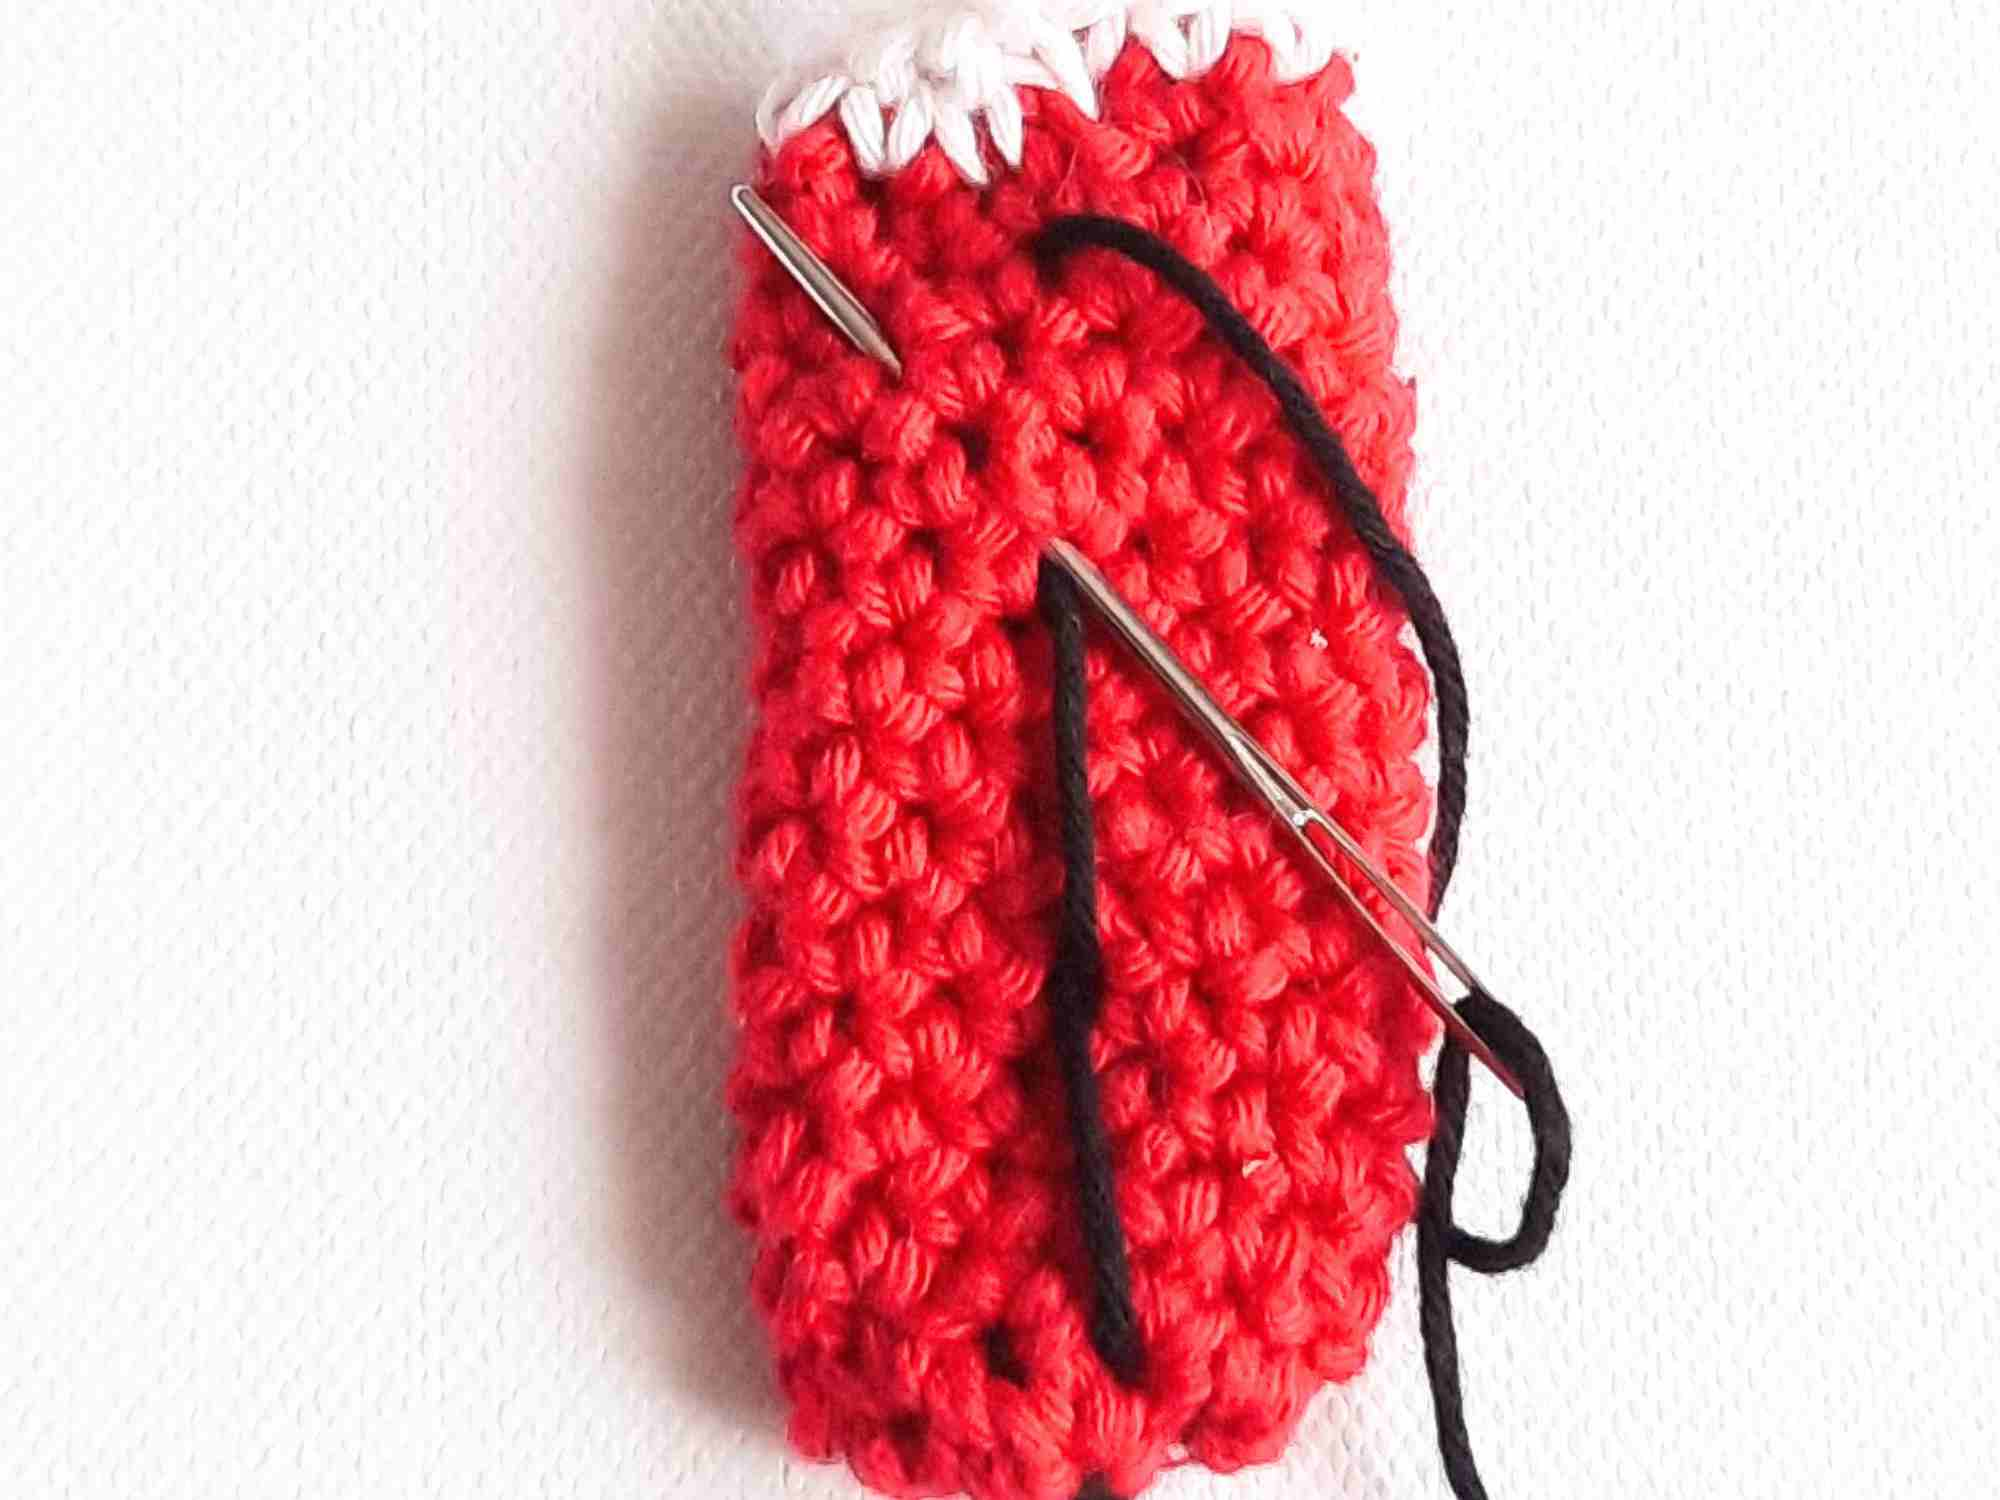
Your center stripe is now complete and your needle is positioned to start the first dot.
Stitching Ladybug's Dots
Continue with the rest of the black yarn on your needle and stitch 3 dots on either side of the stripe.
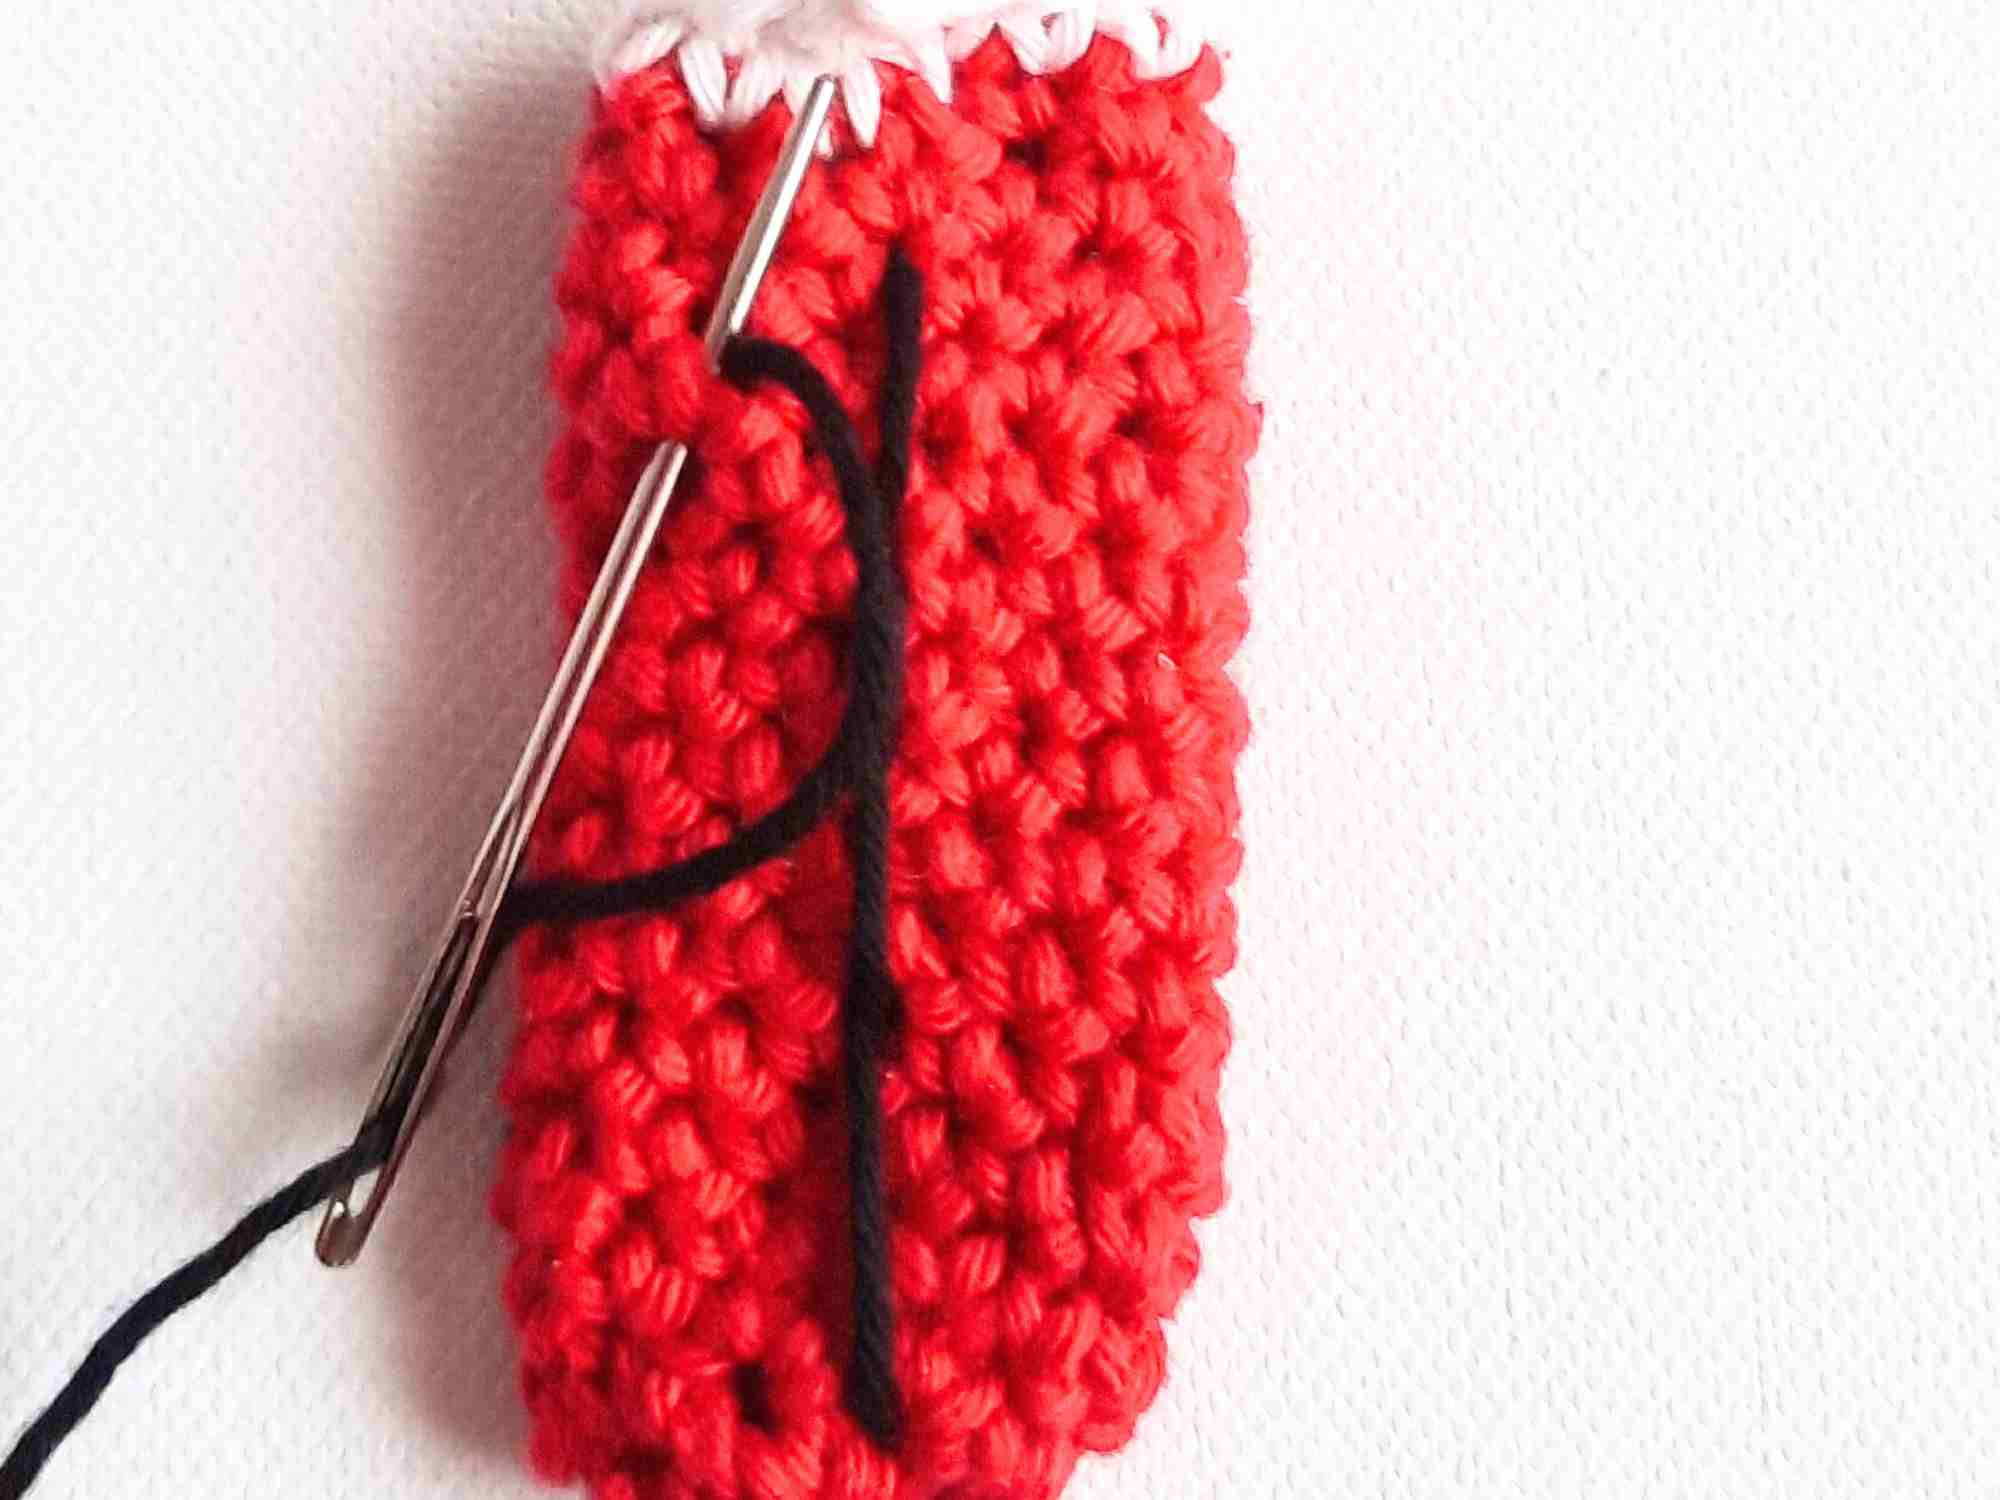
I started from Round 11 at the top and ended at round 4 near the bottom.
Each stitch should be a diagonal line from one round to the one below. Then repeat with another line to double it up. Before you finish the doubling up, come out of the body where you want to start your second dot.
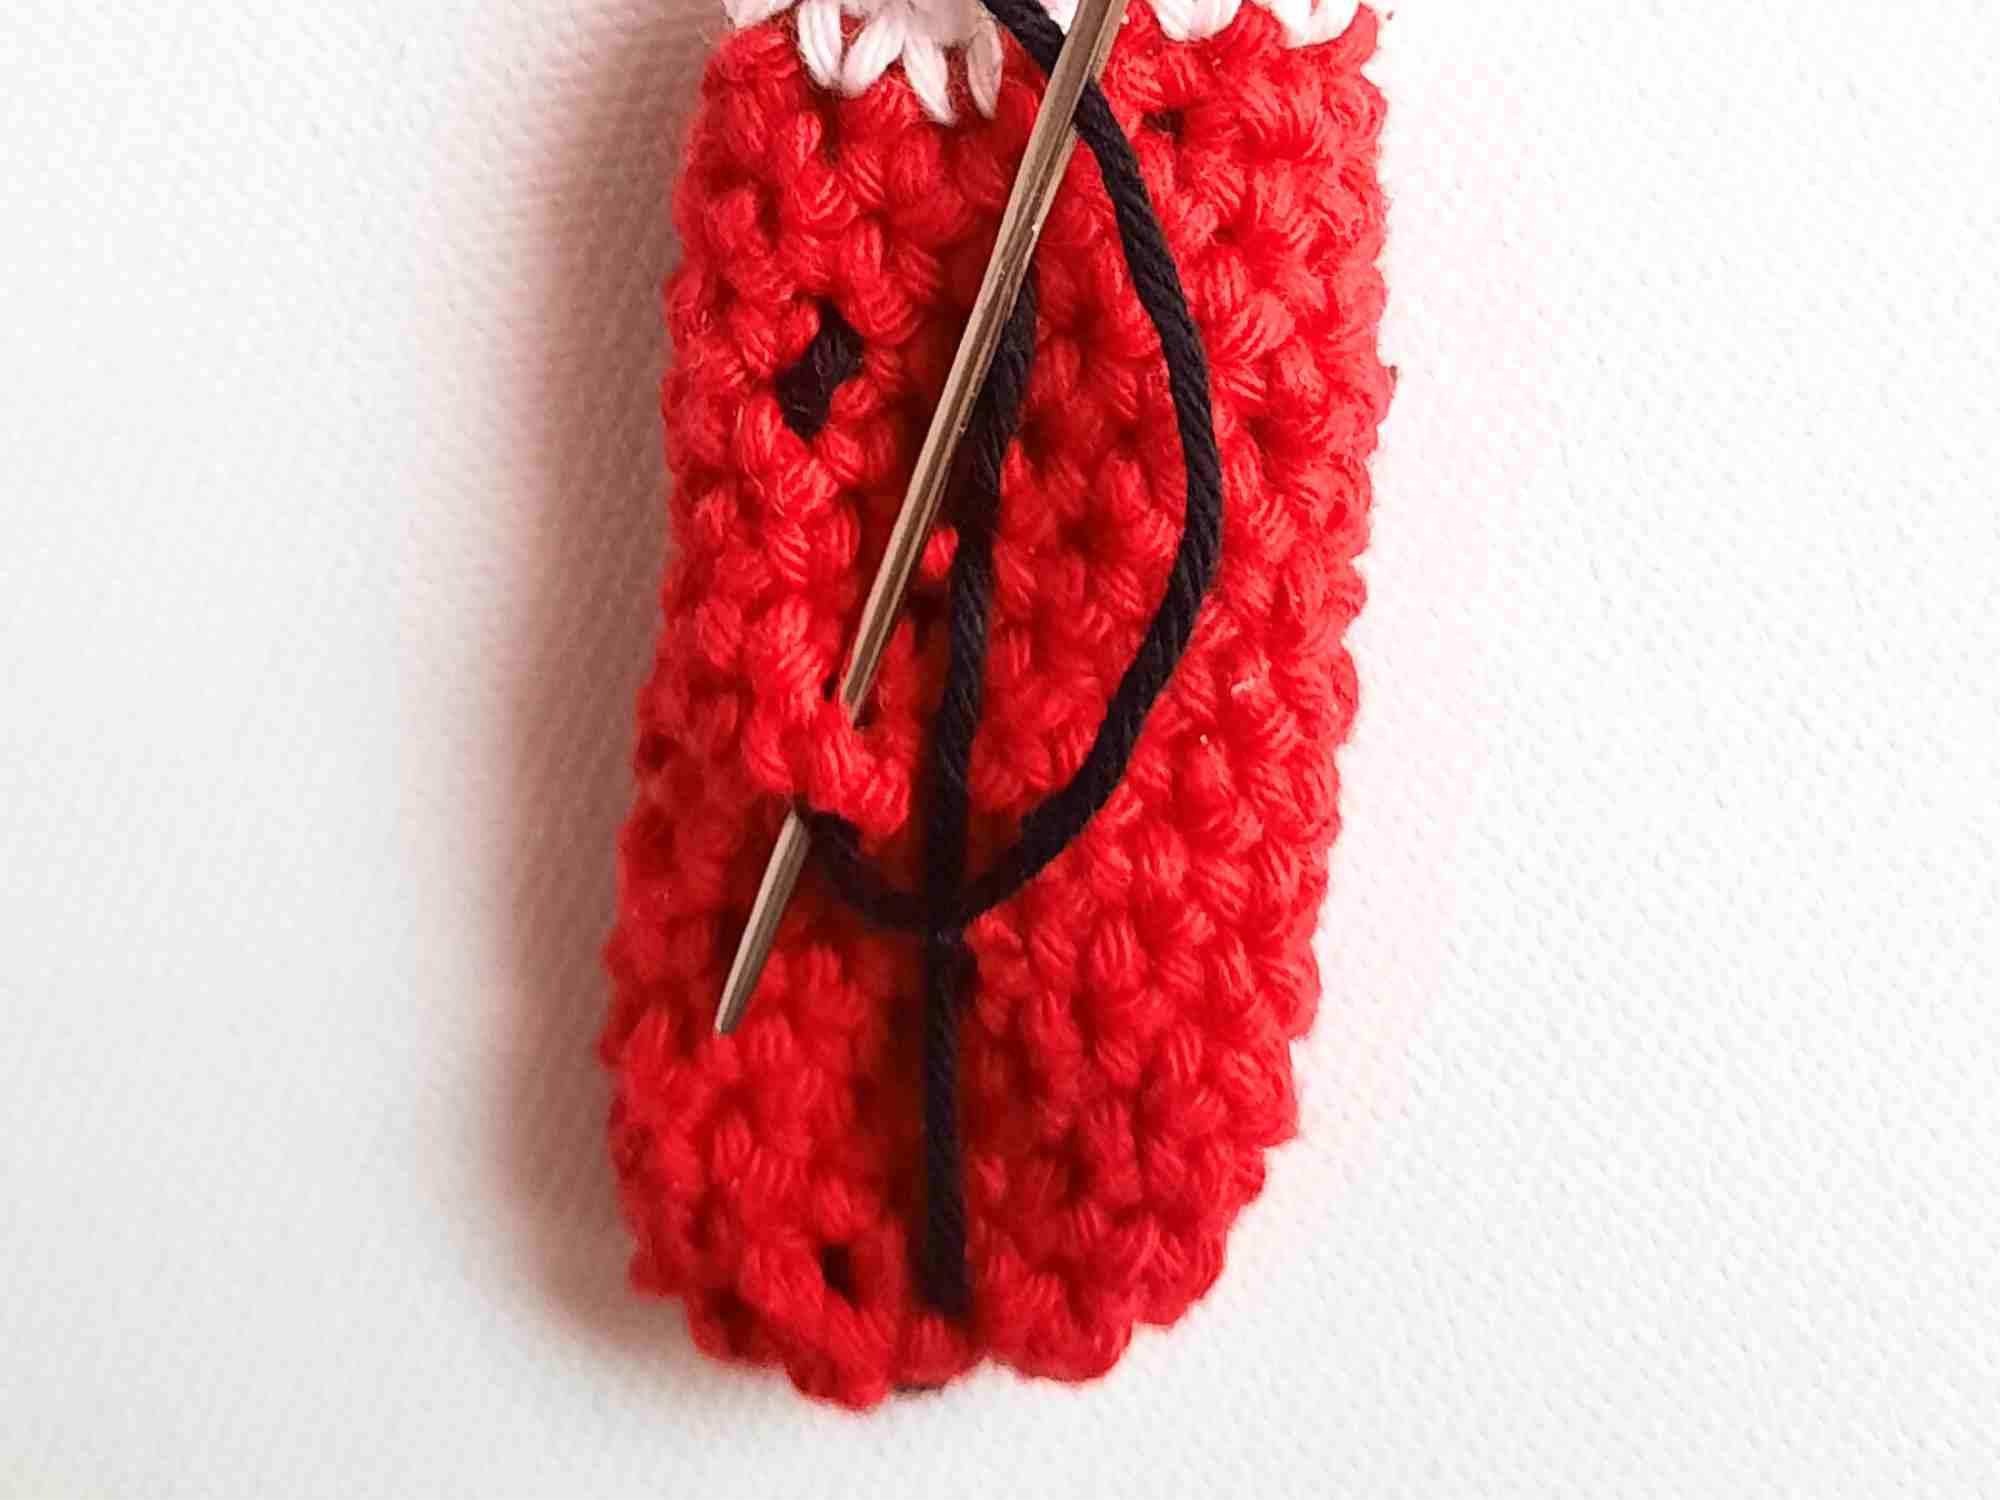
Leave a gap of 3 Rounds between each 2 dots vertically and shift them one dot horizontally so they're not exactly on top of each other.
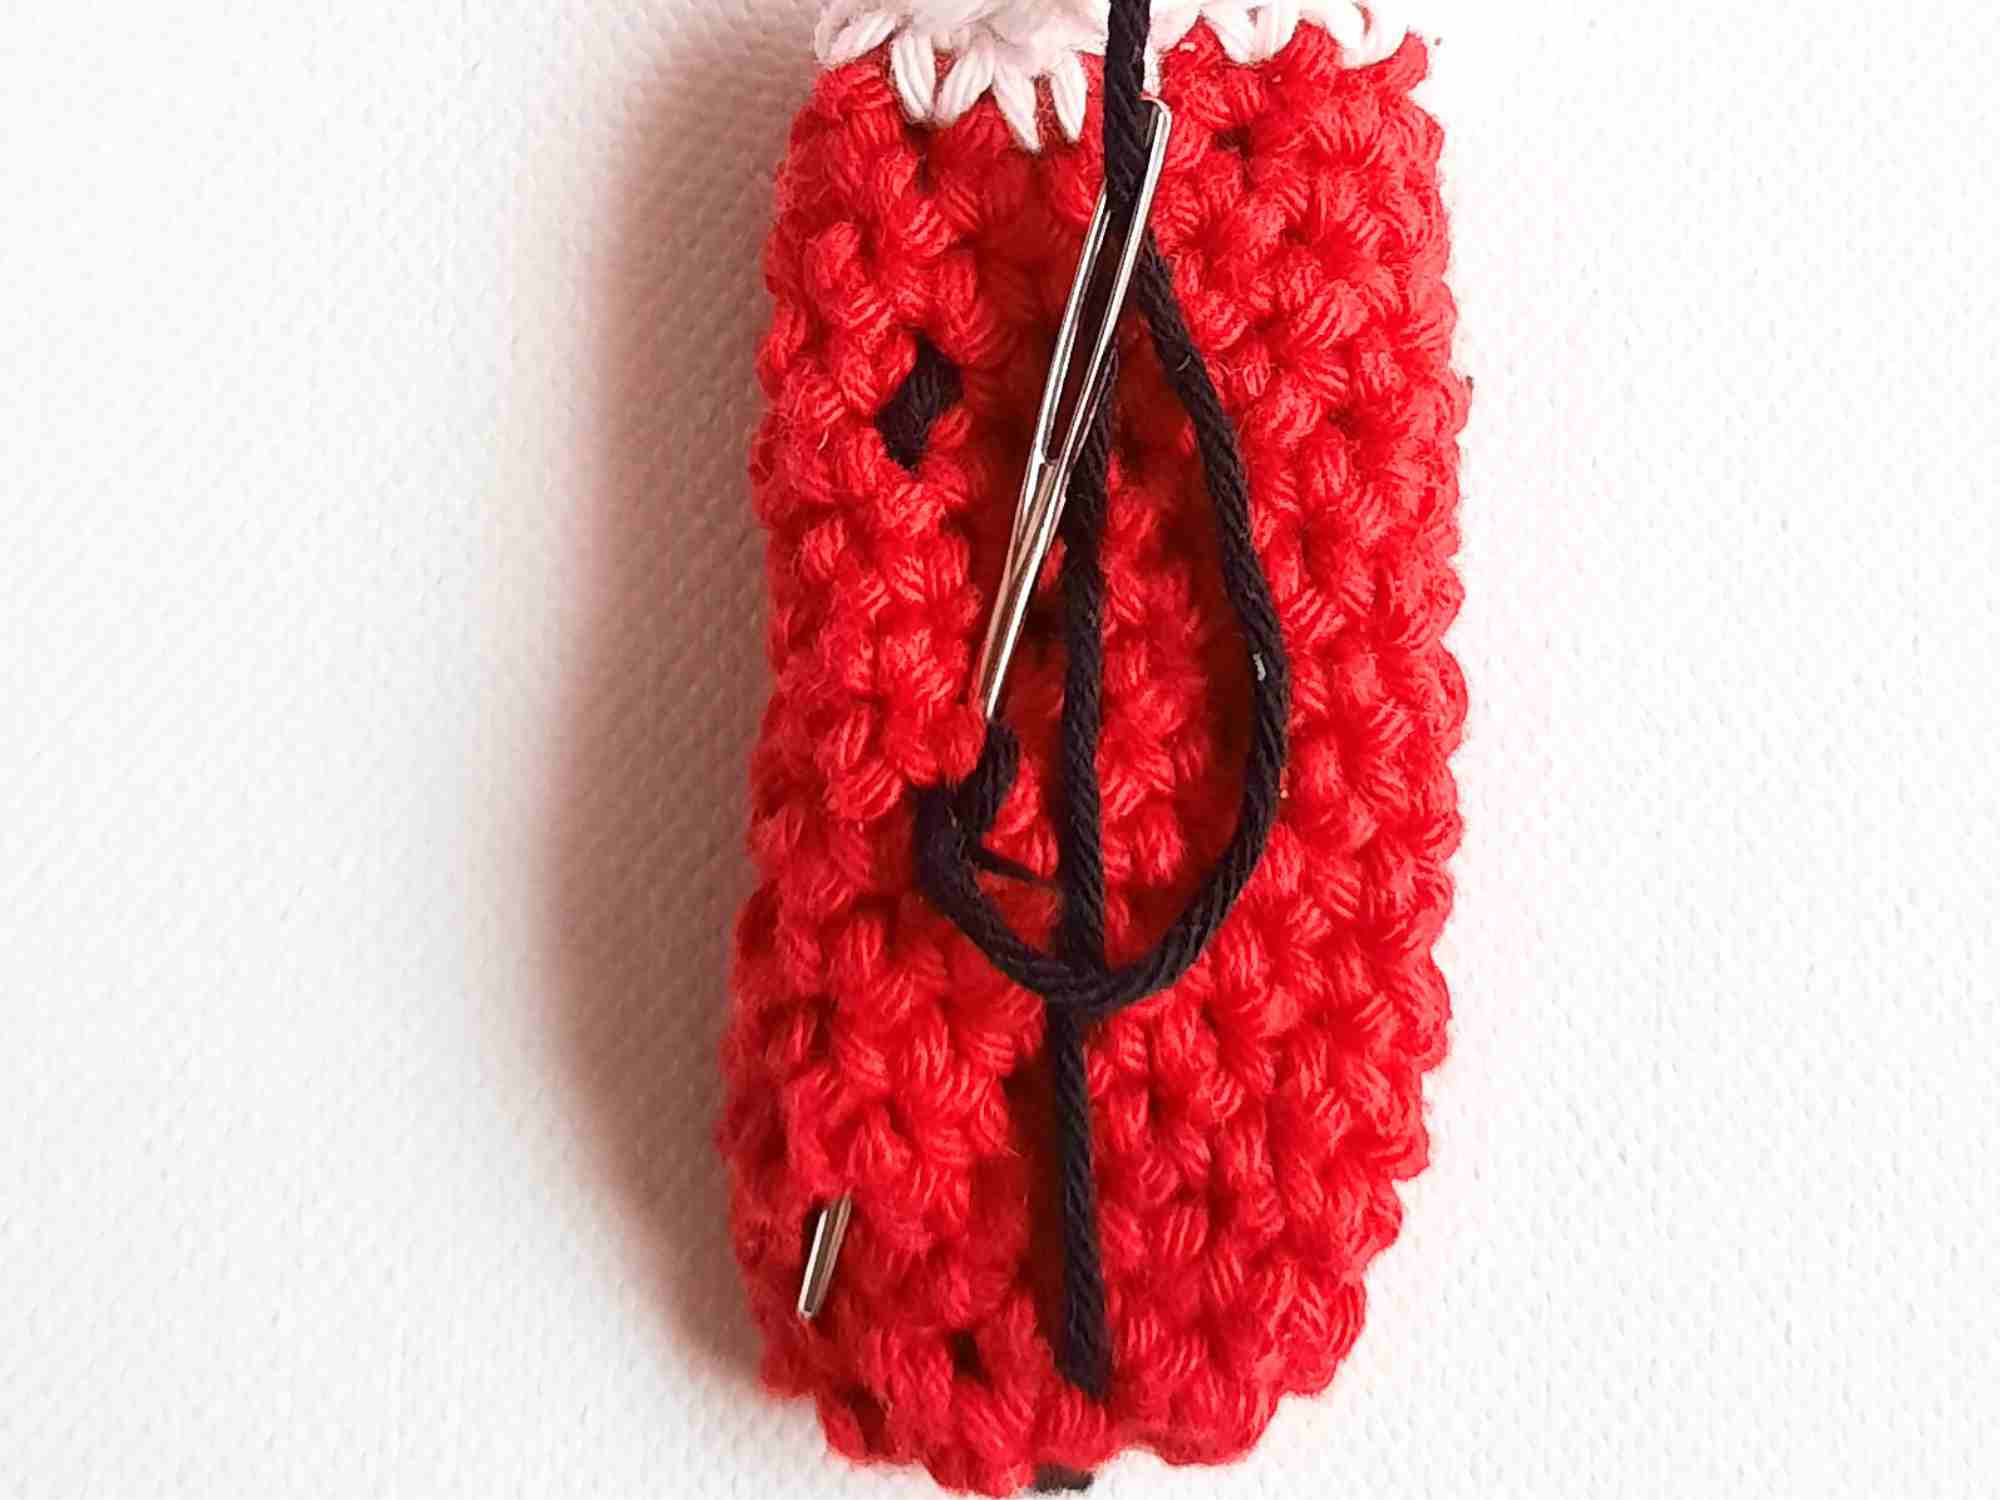
Repeat this process for all 6 dots.
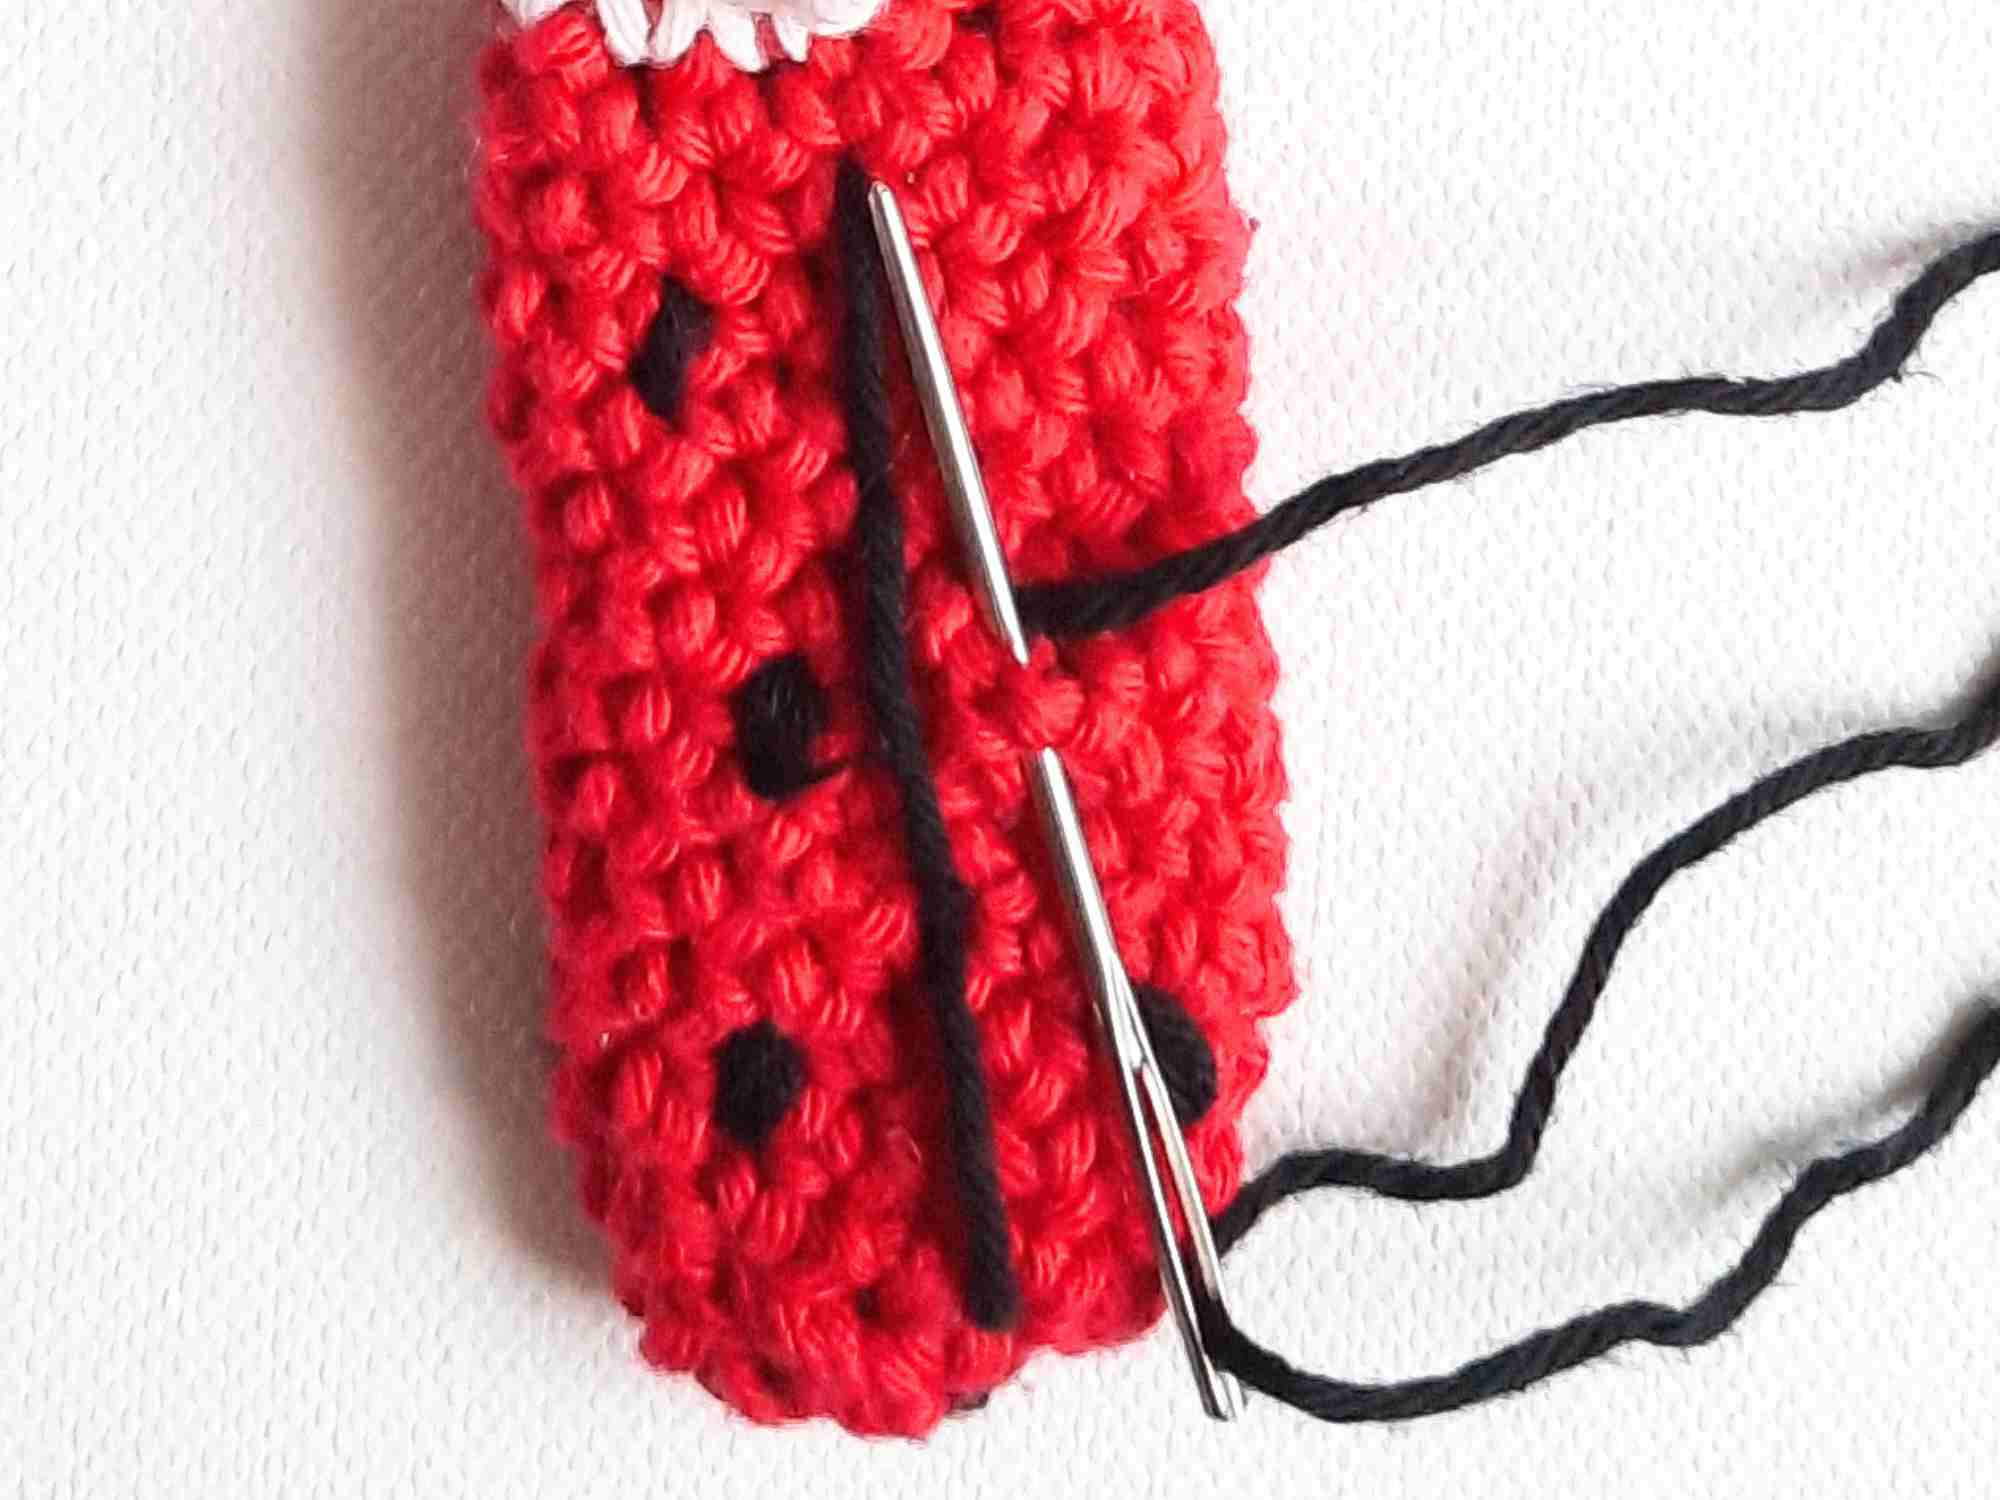
Come out at the top of your lip balm holder when you're done and weave in your end on the inside of the lip balm holder to secure.
Head
Note: We will be working in continuous rounds for the head, so using a stitch marker is advised to keep track of your stitches. Good source of light is advised for working with black yarn.
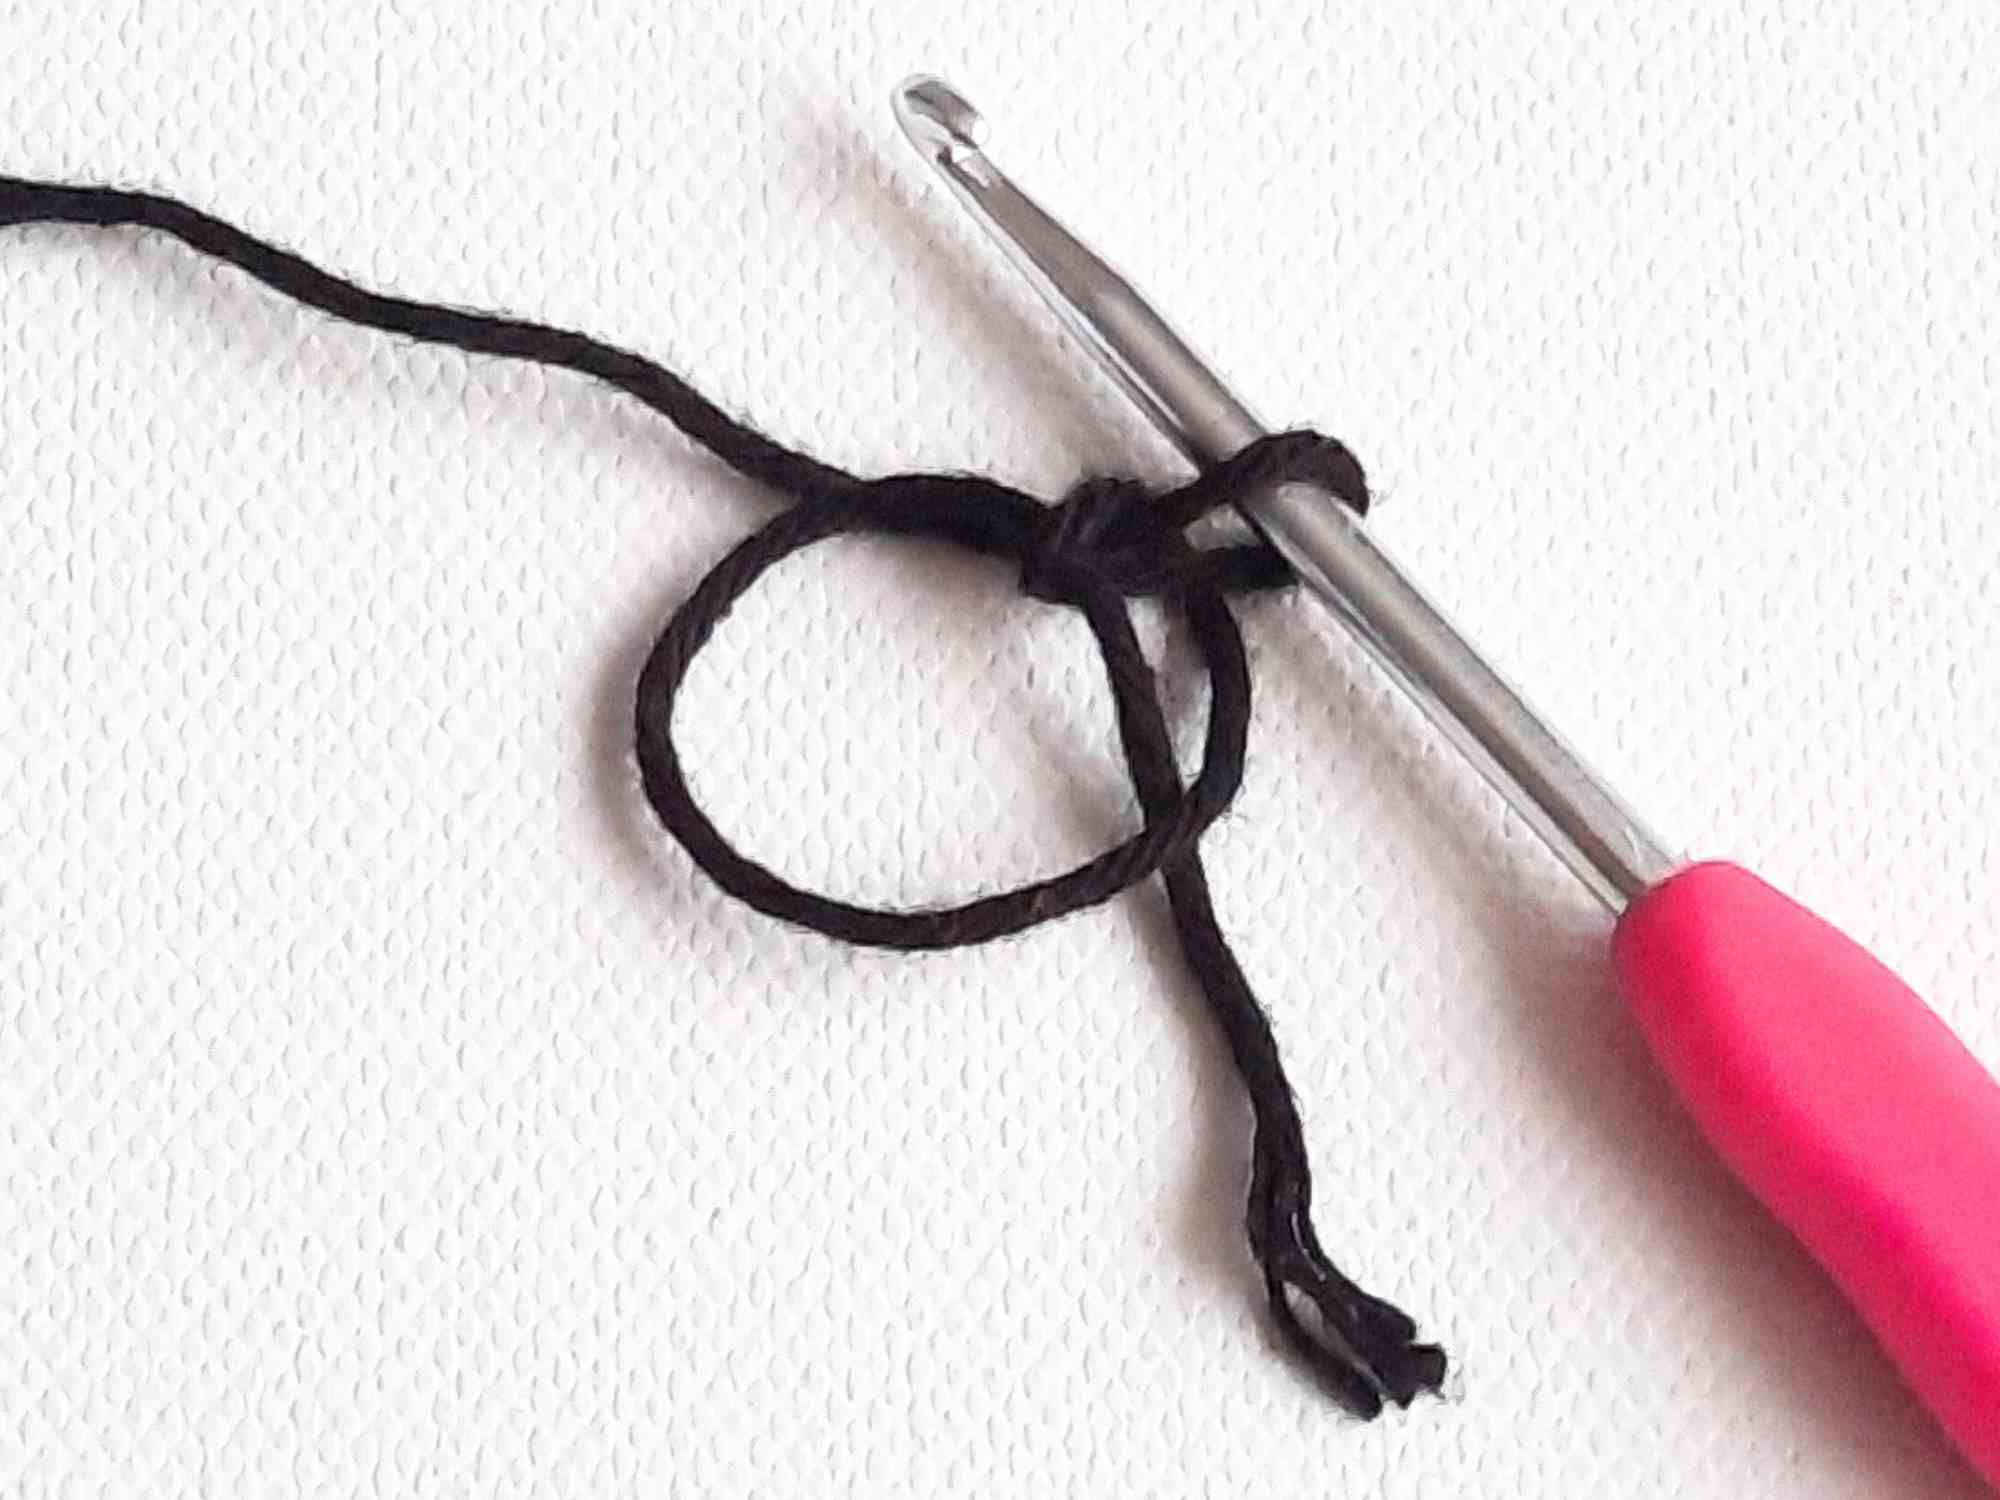
- Round 1: With black yarn, start by crocheting 6 sc into a MC. Pull your MC closed tight (6).
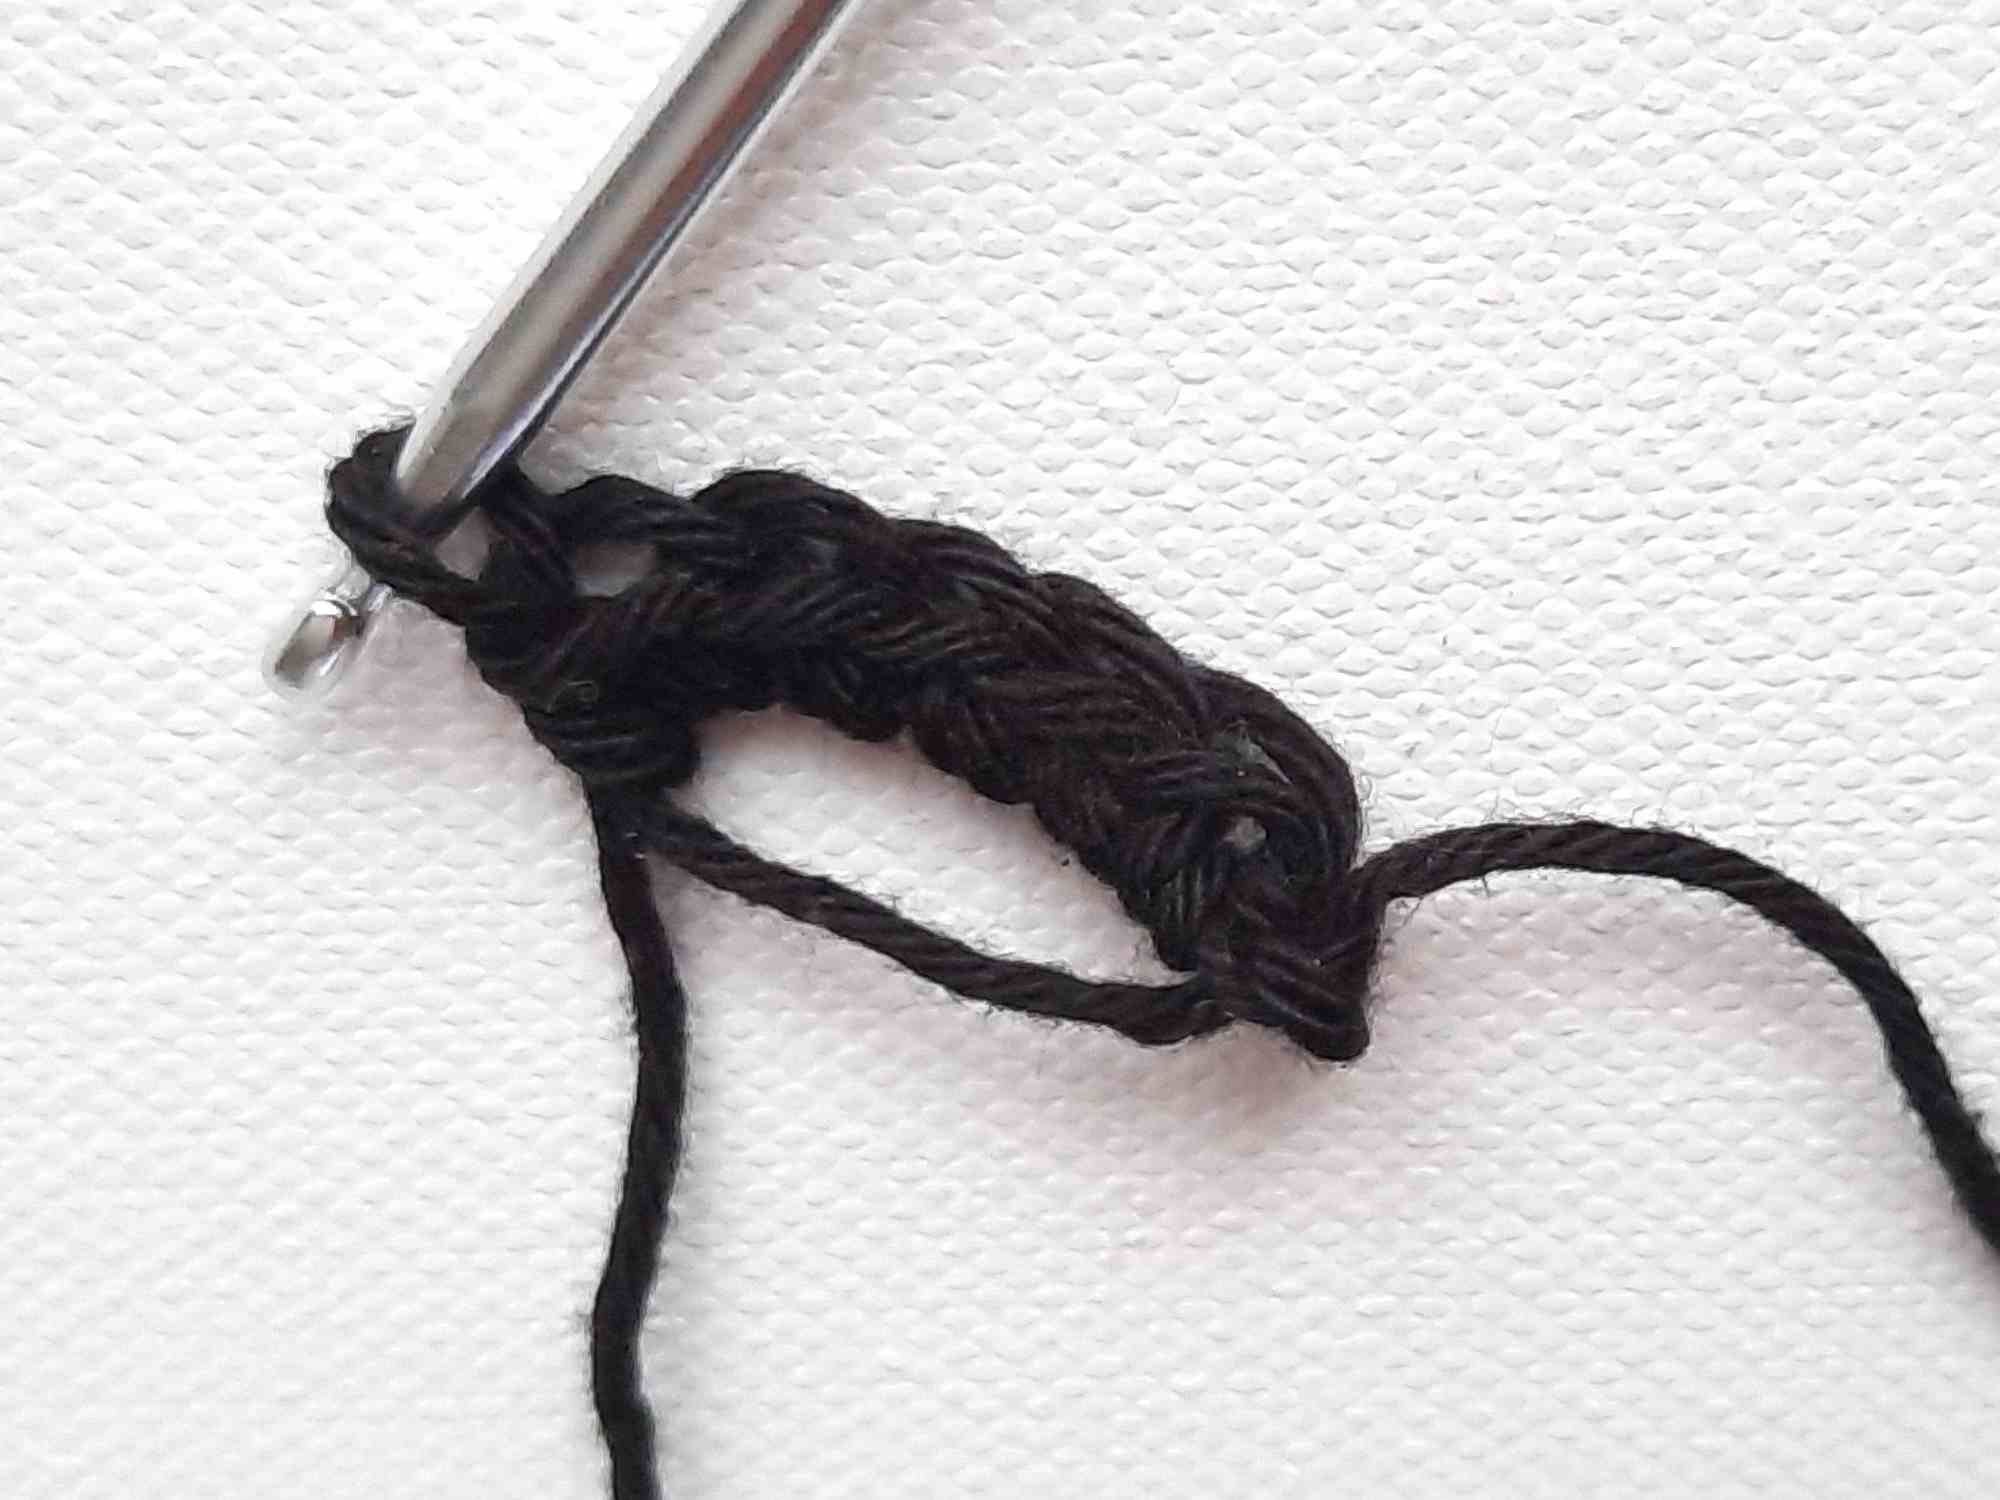
- Round 2: 2 sc into each st around (12).
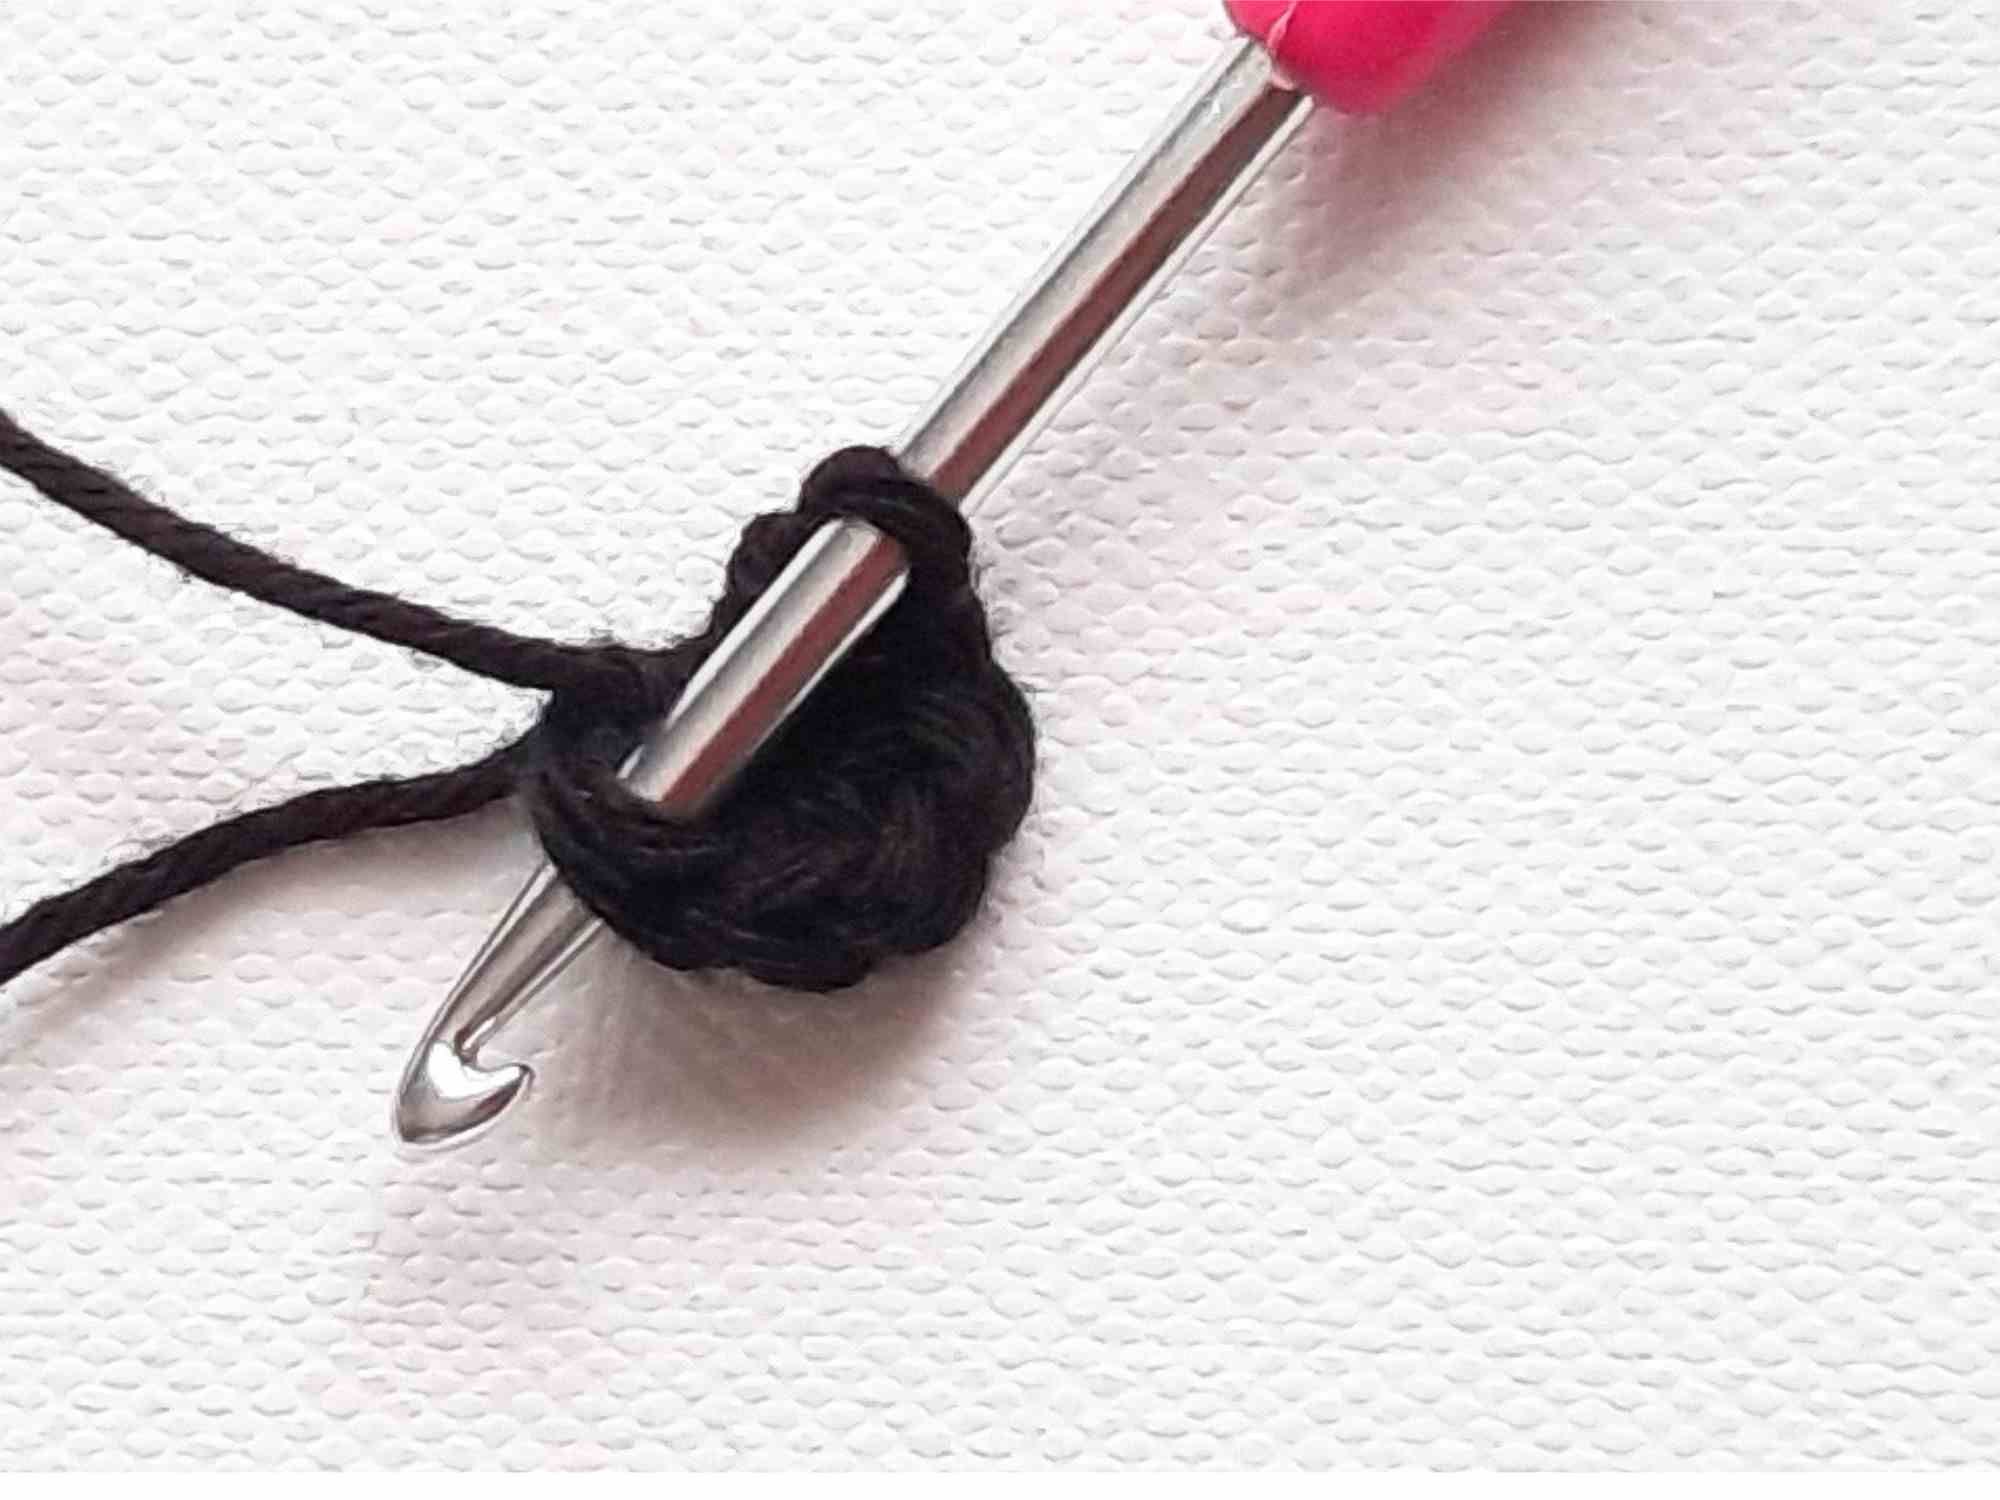
Place 2 sc into each stitch in a continuous round.
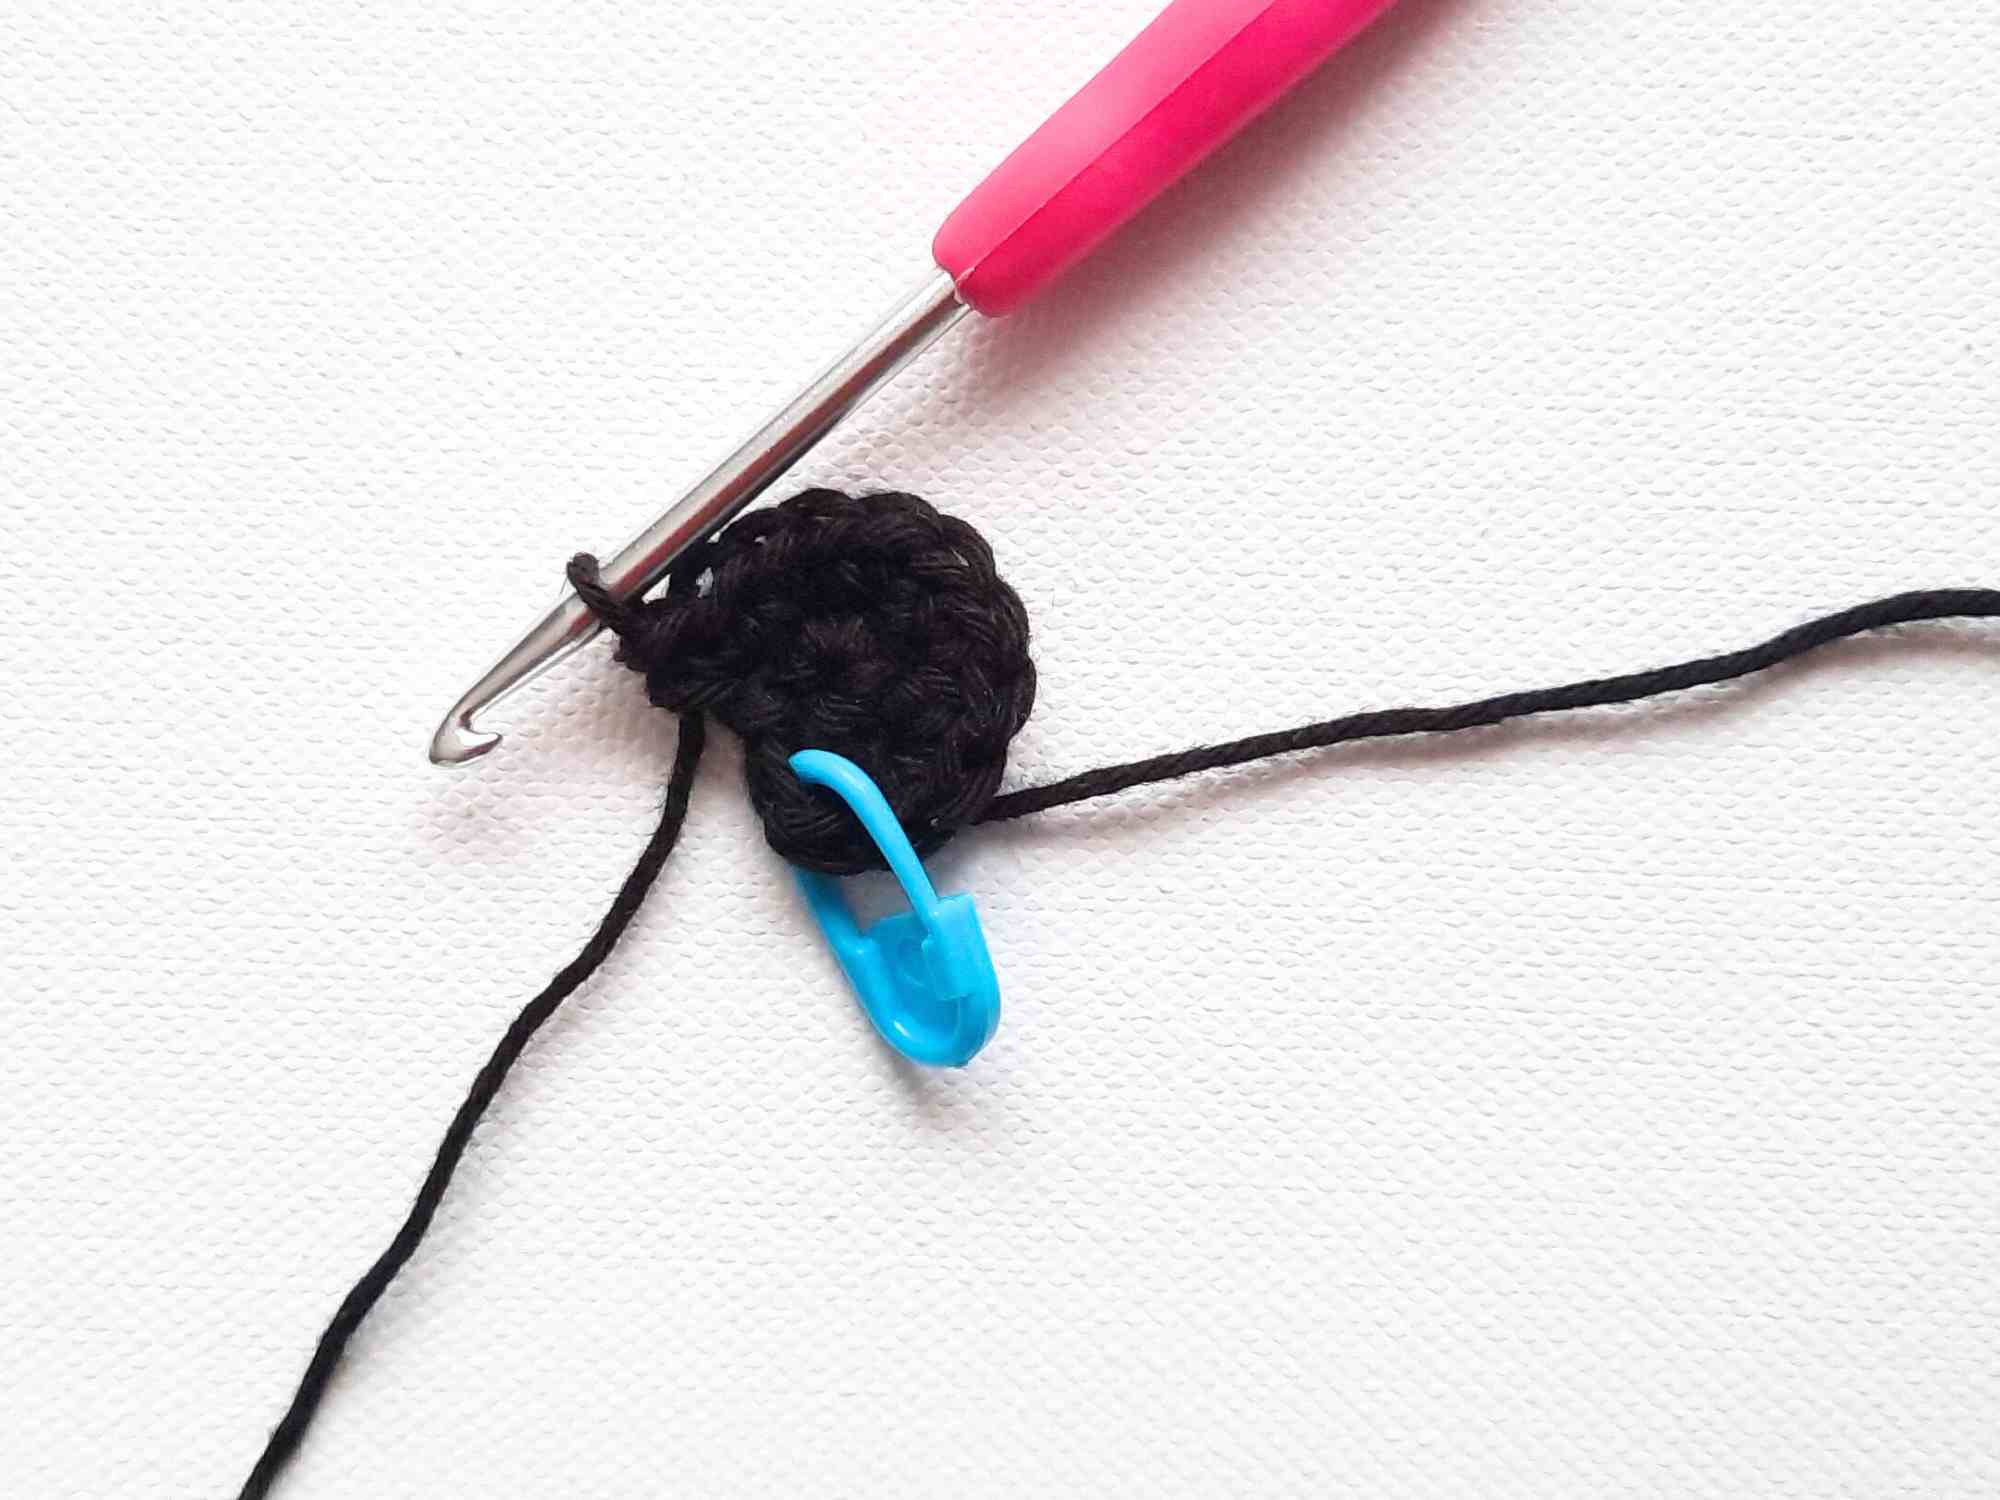
Place a stitch marker into the first stitch of each round.
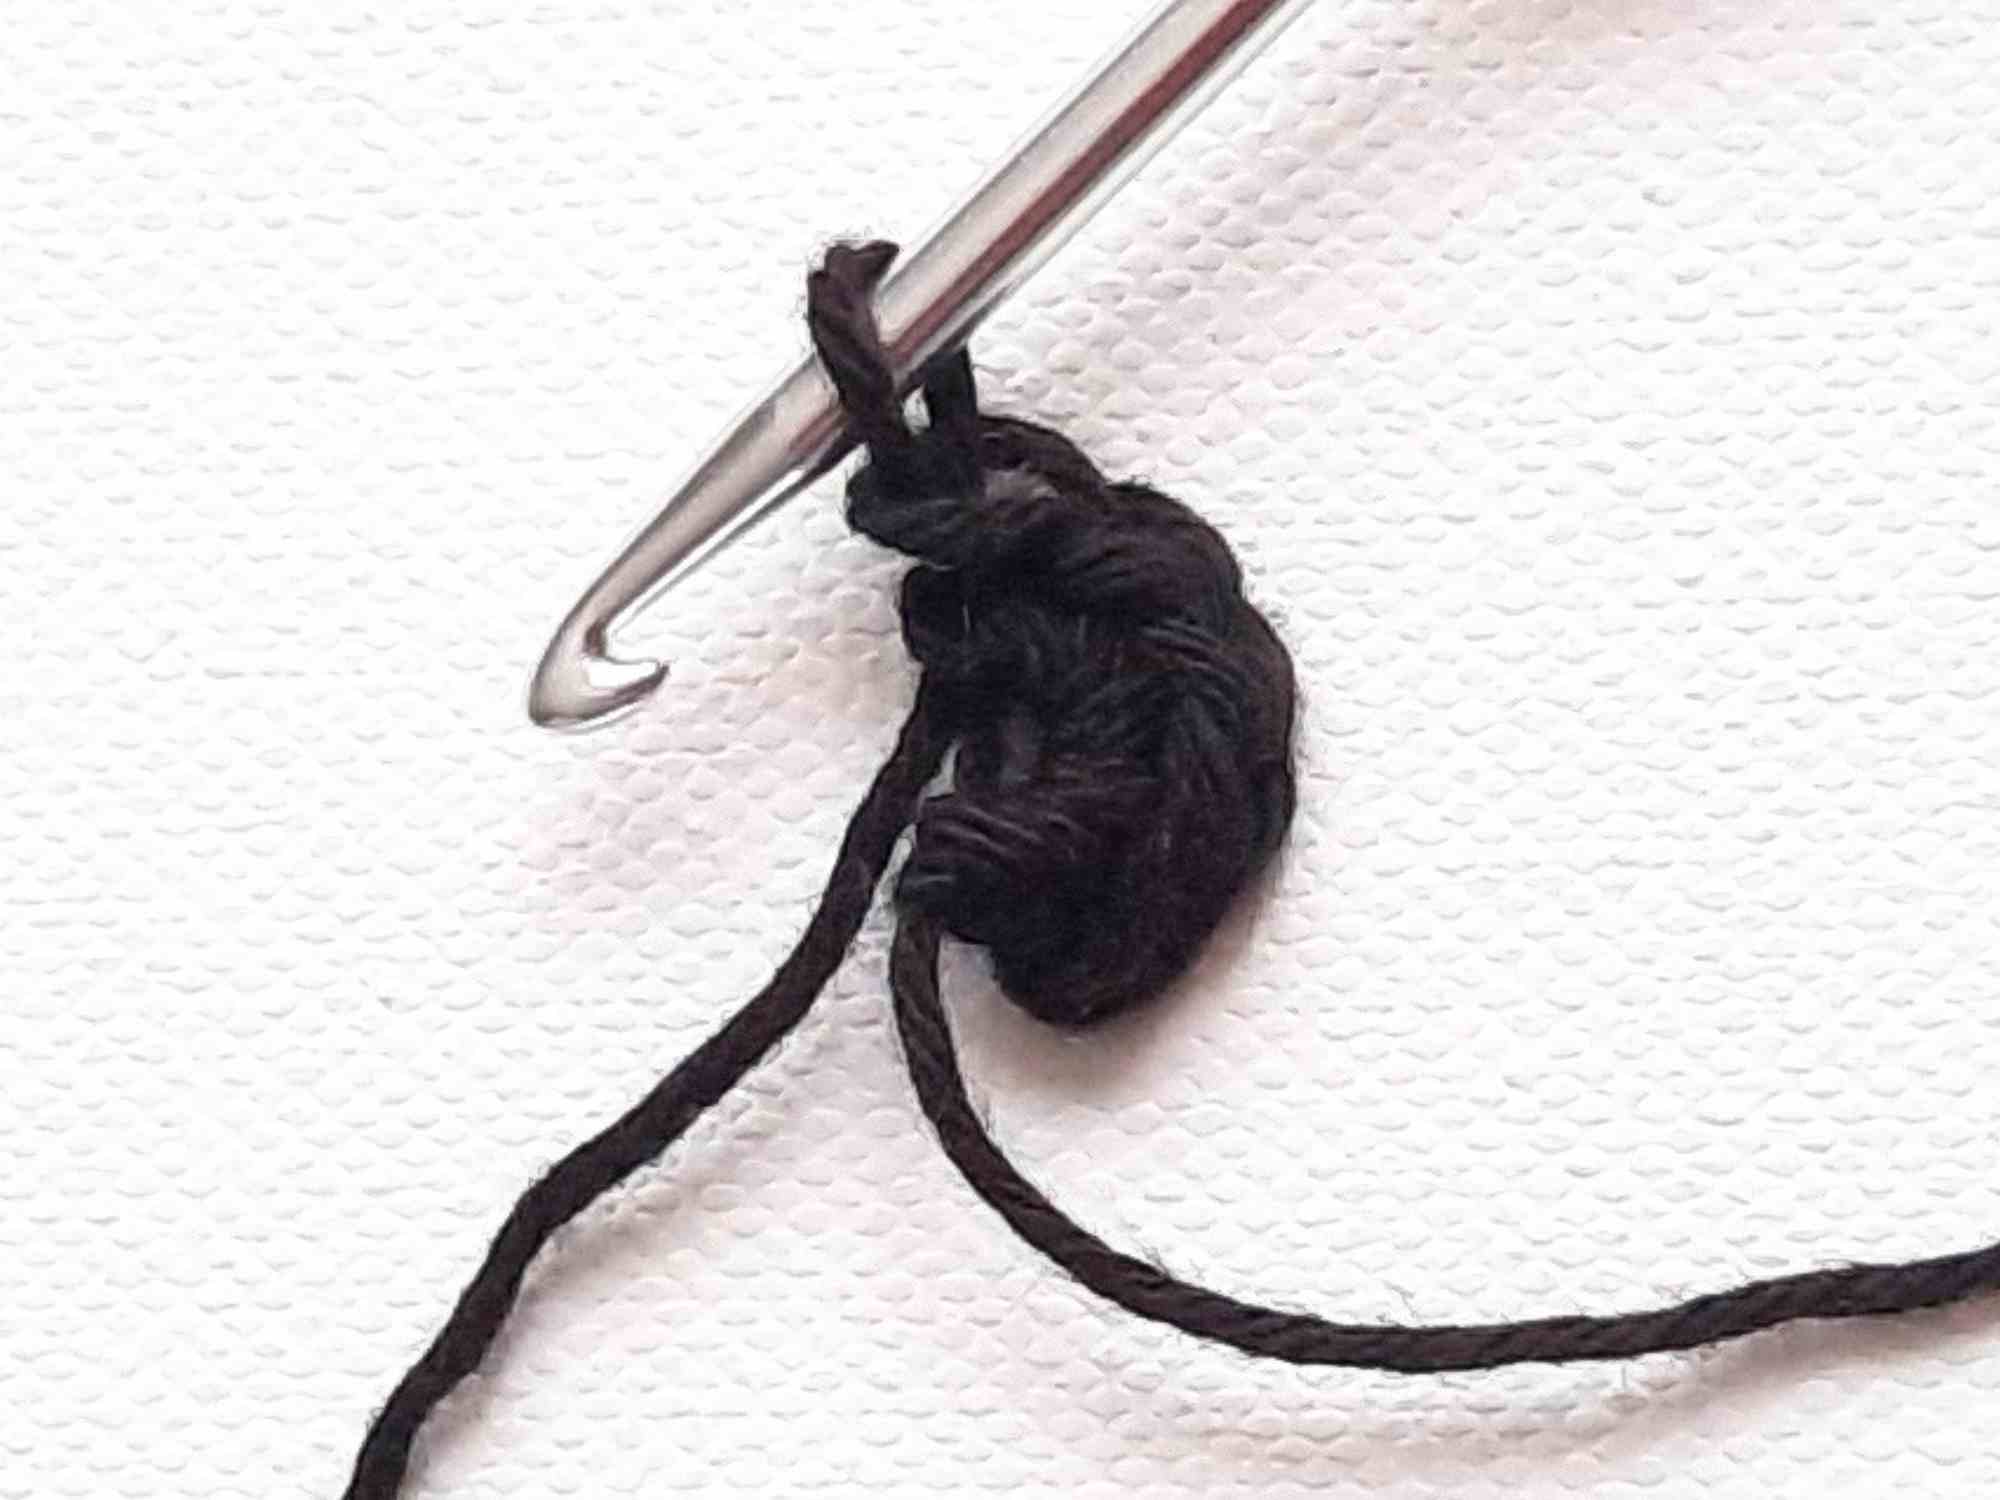
- Rounds 3-6: sc into each st around (12). [4 rounds]
- Leaving a 4” tail, cut your yarn.
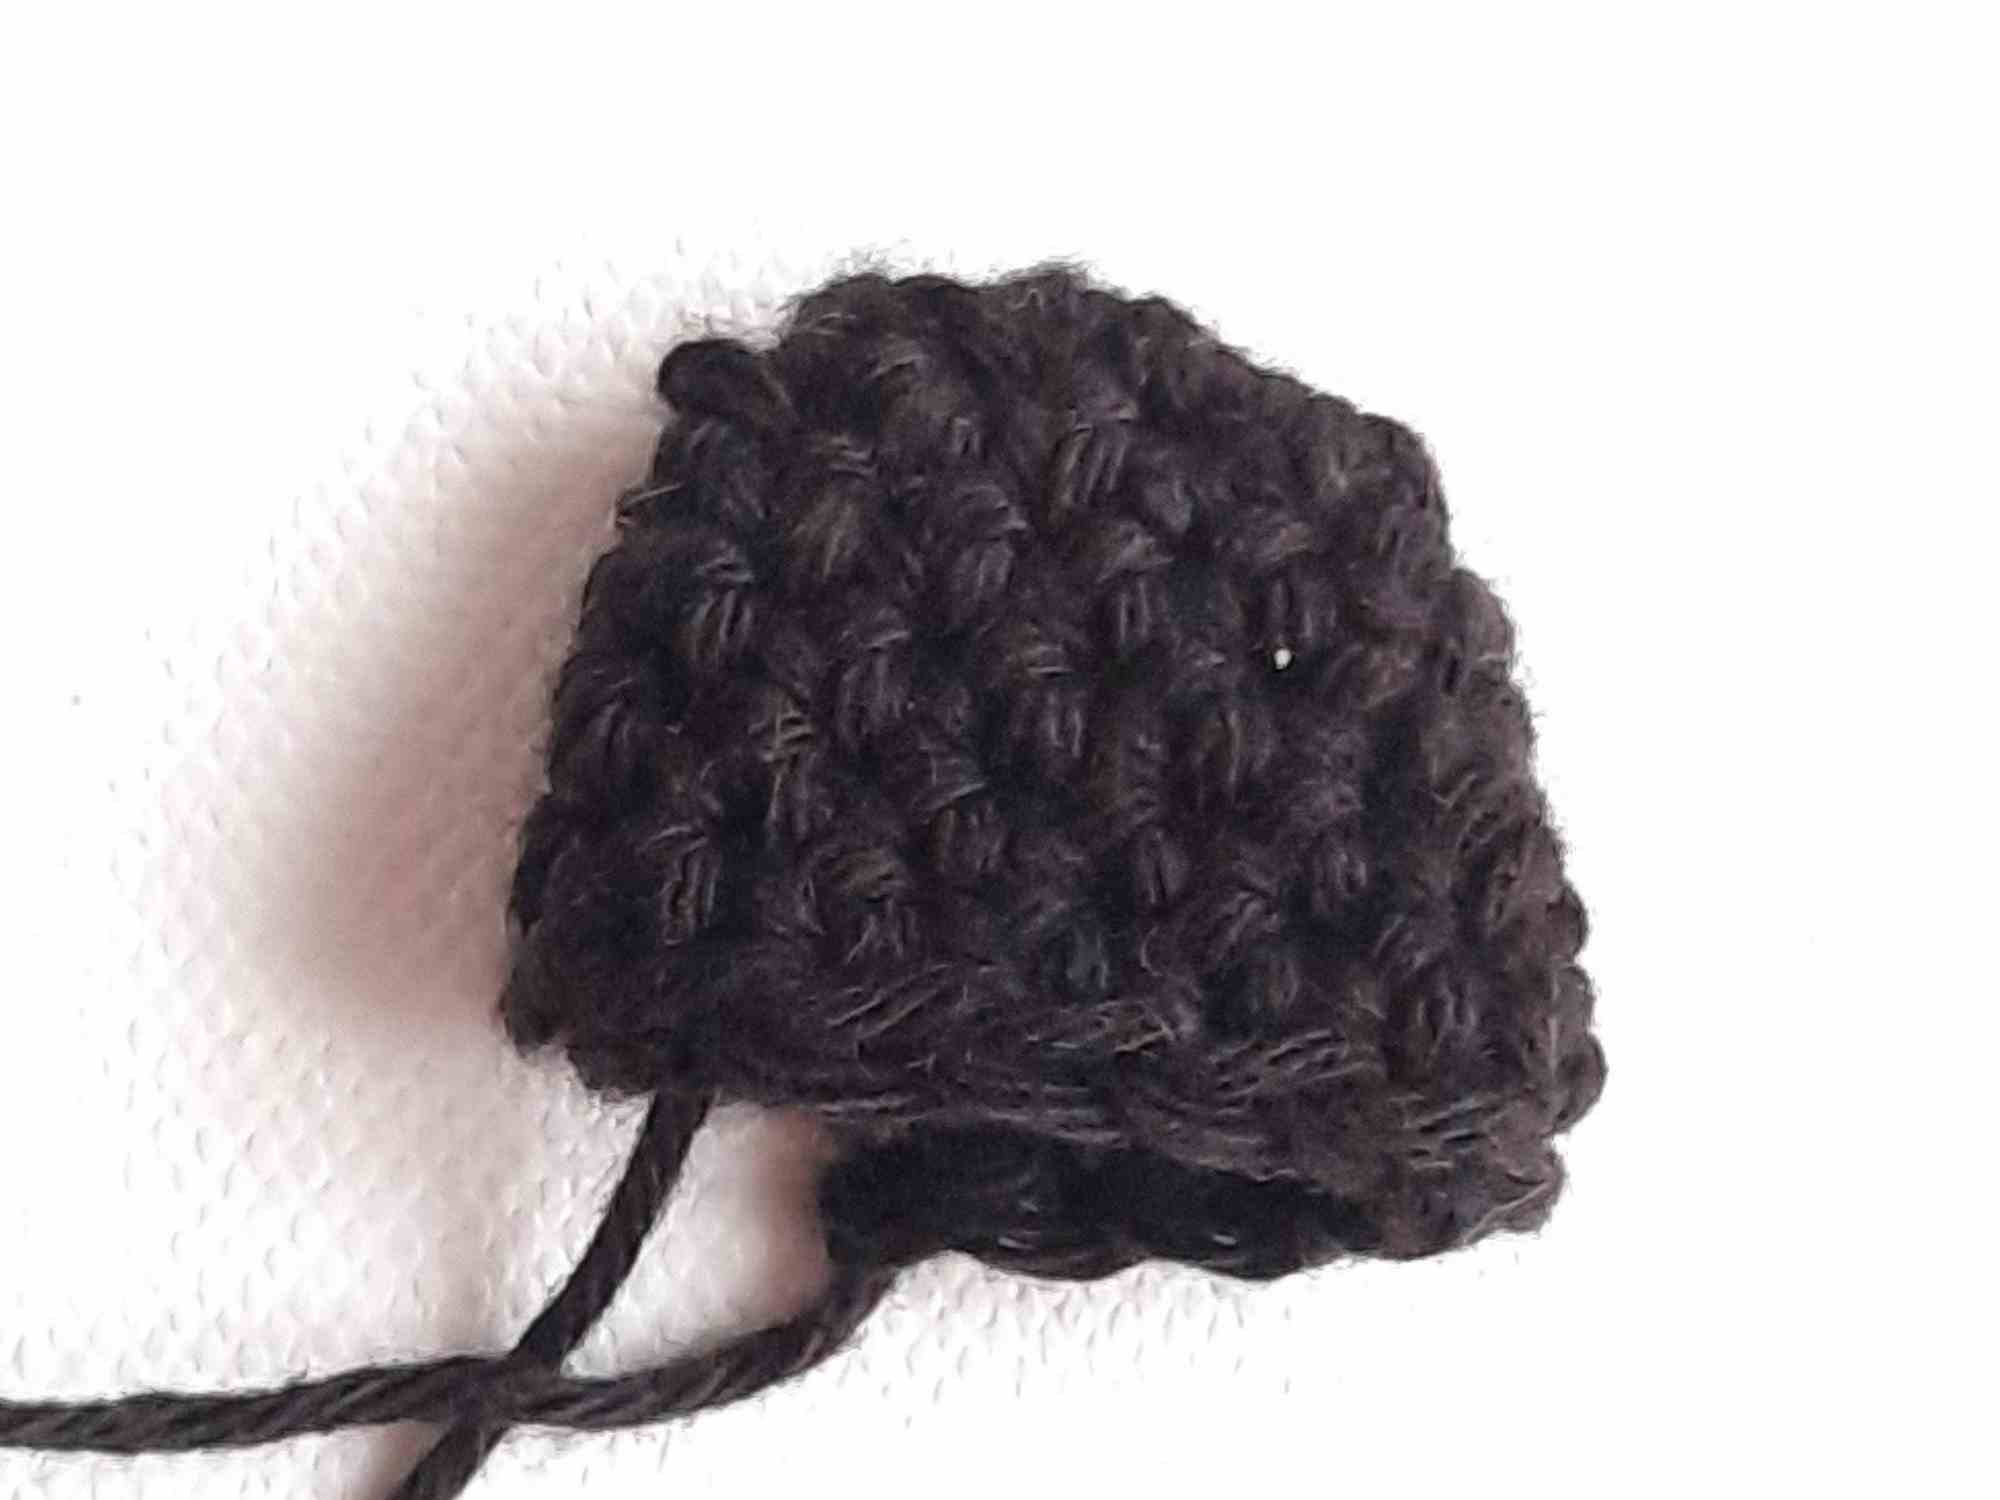
- Remove your stitch marker & join to the first stitch of this round. Try the seamless join for a clean finished look.
- Weave in ends with your darning needle and cut off excess yarn.
Eyes
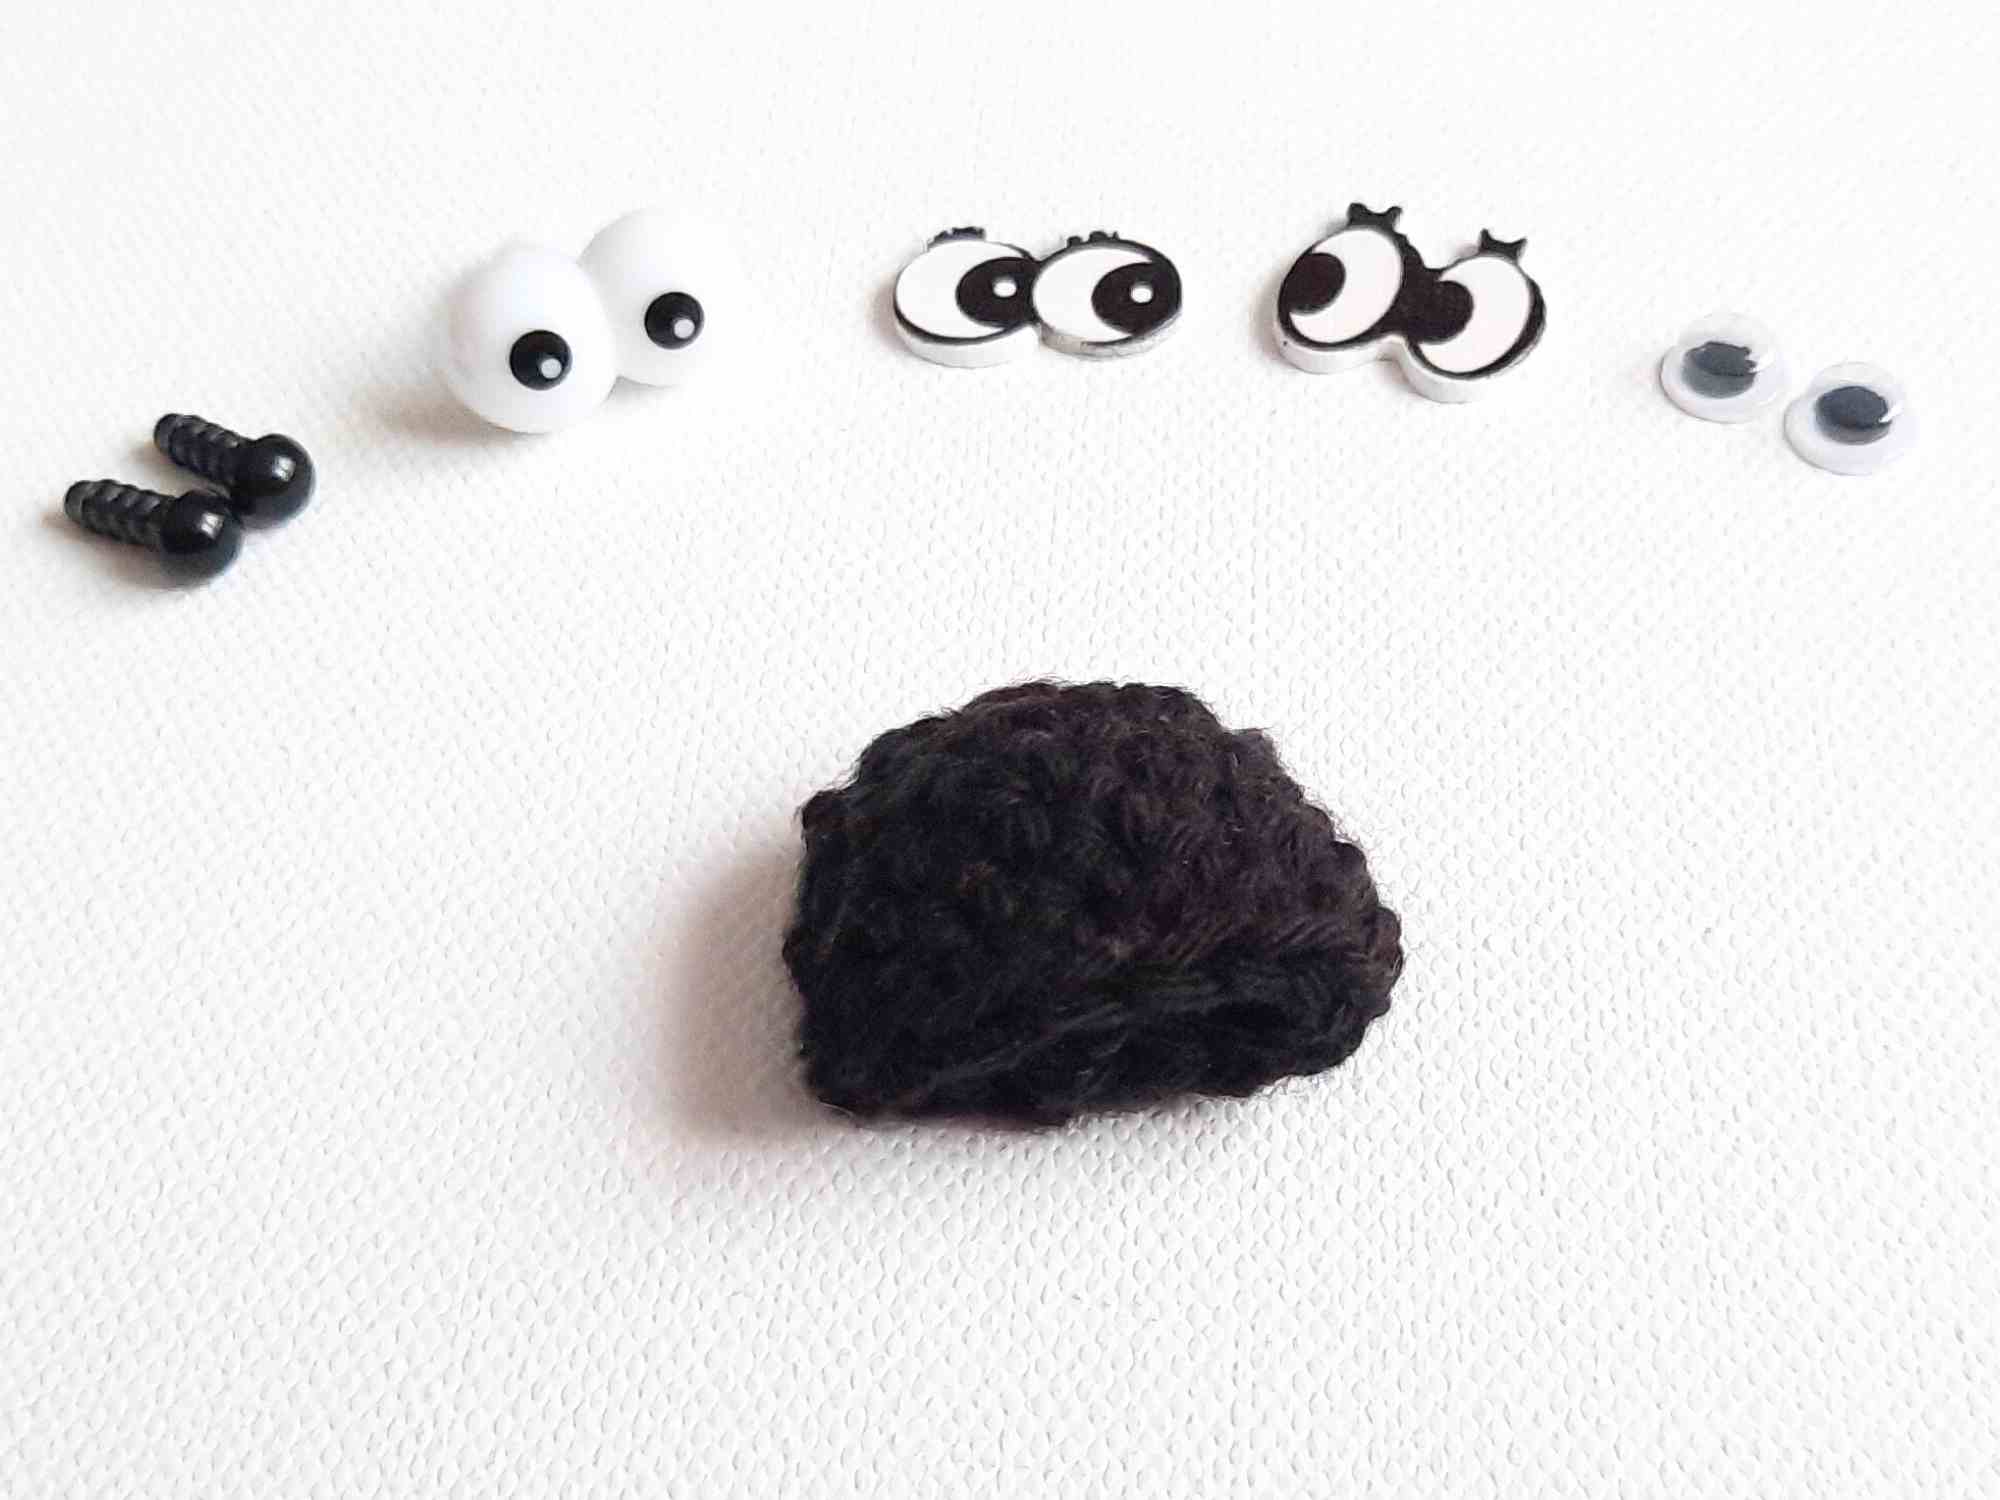
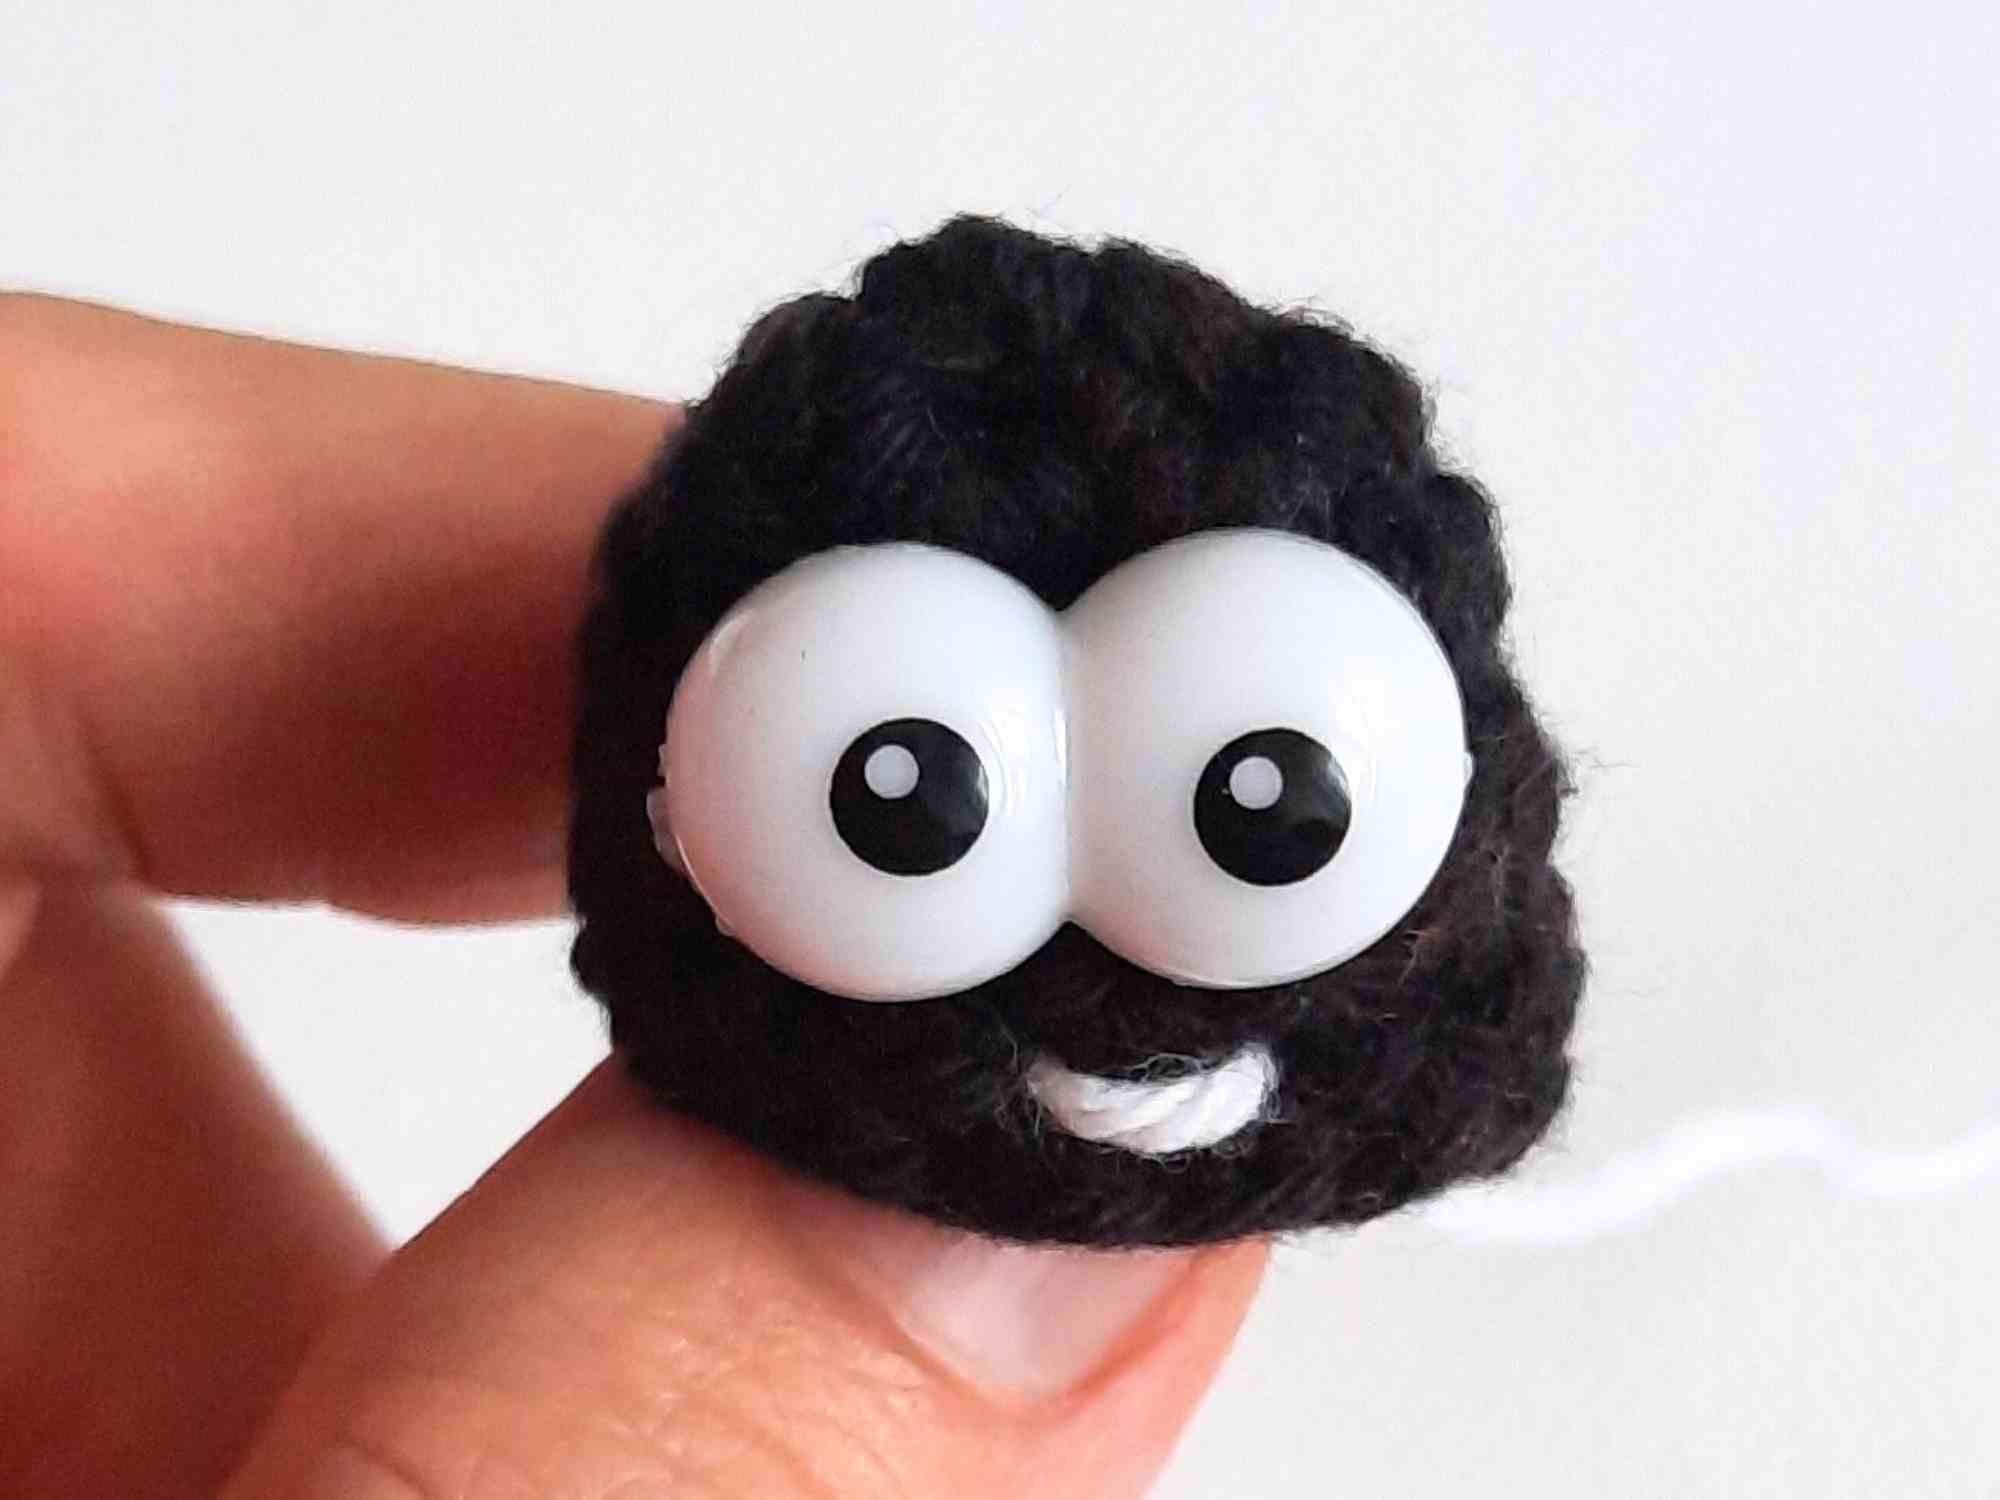
- Attach eyes of choice in the middle of the head between rounds 2 & 3 with one stitch in between. Here are some options:
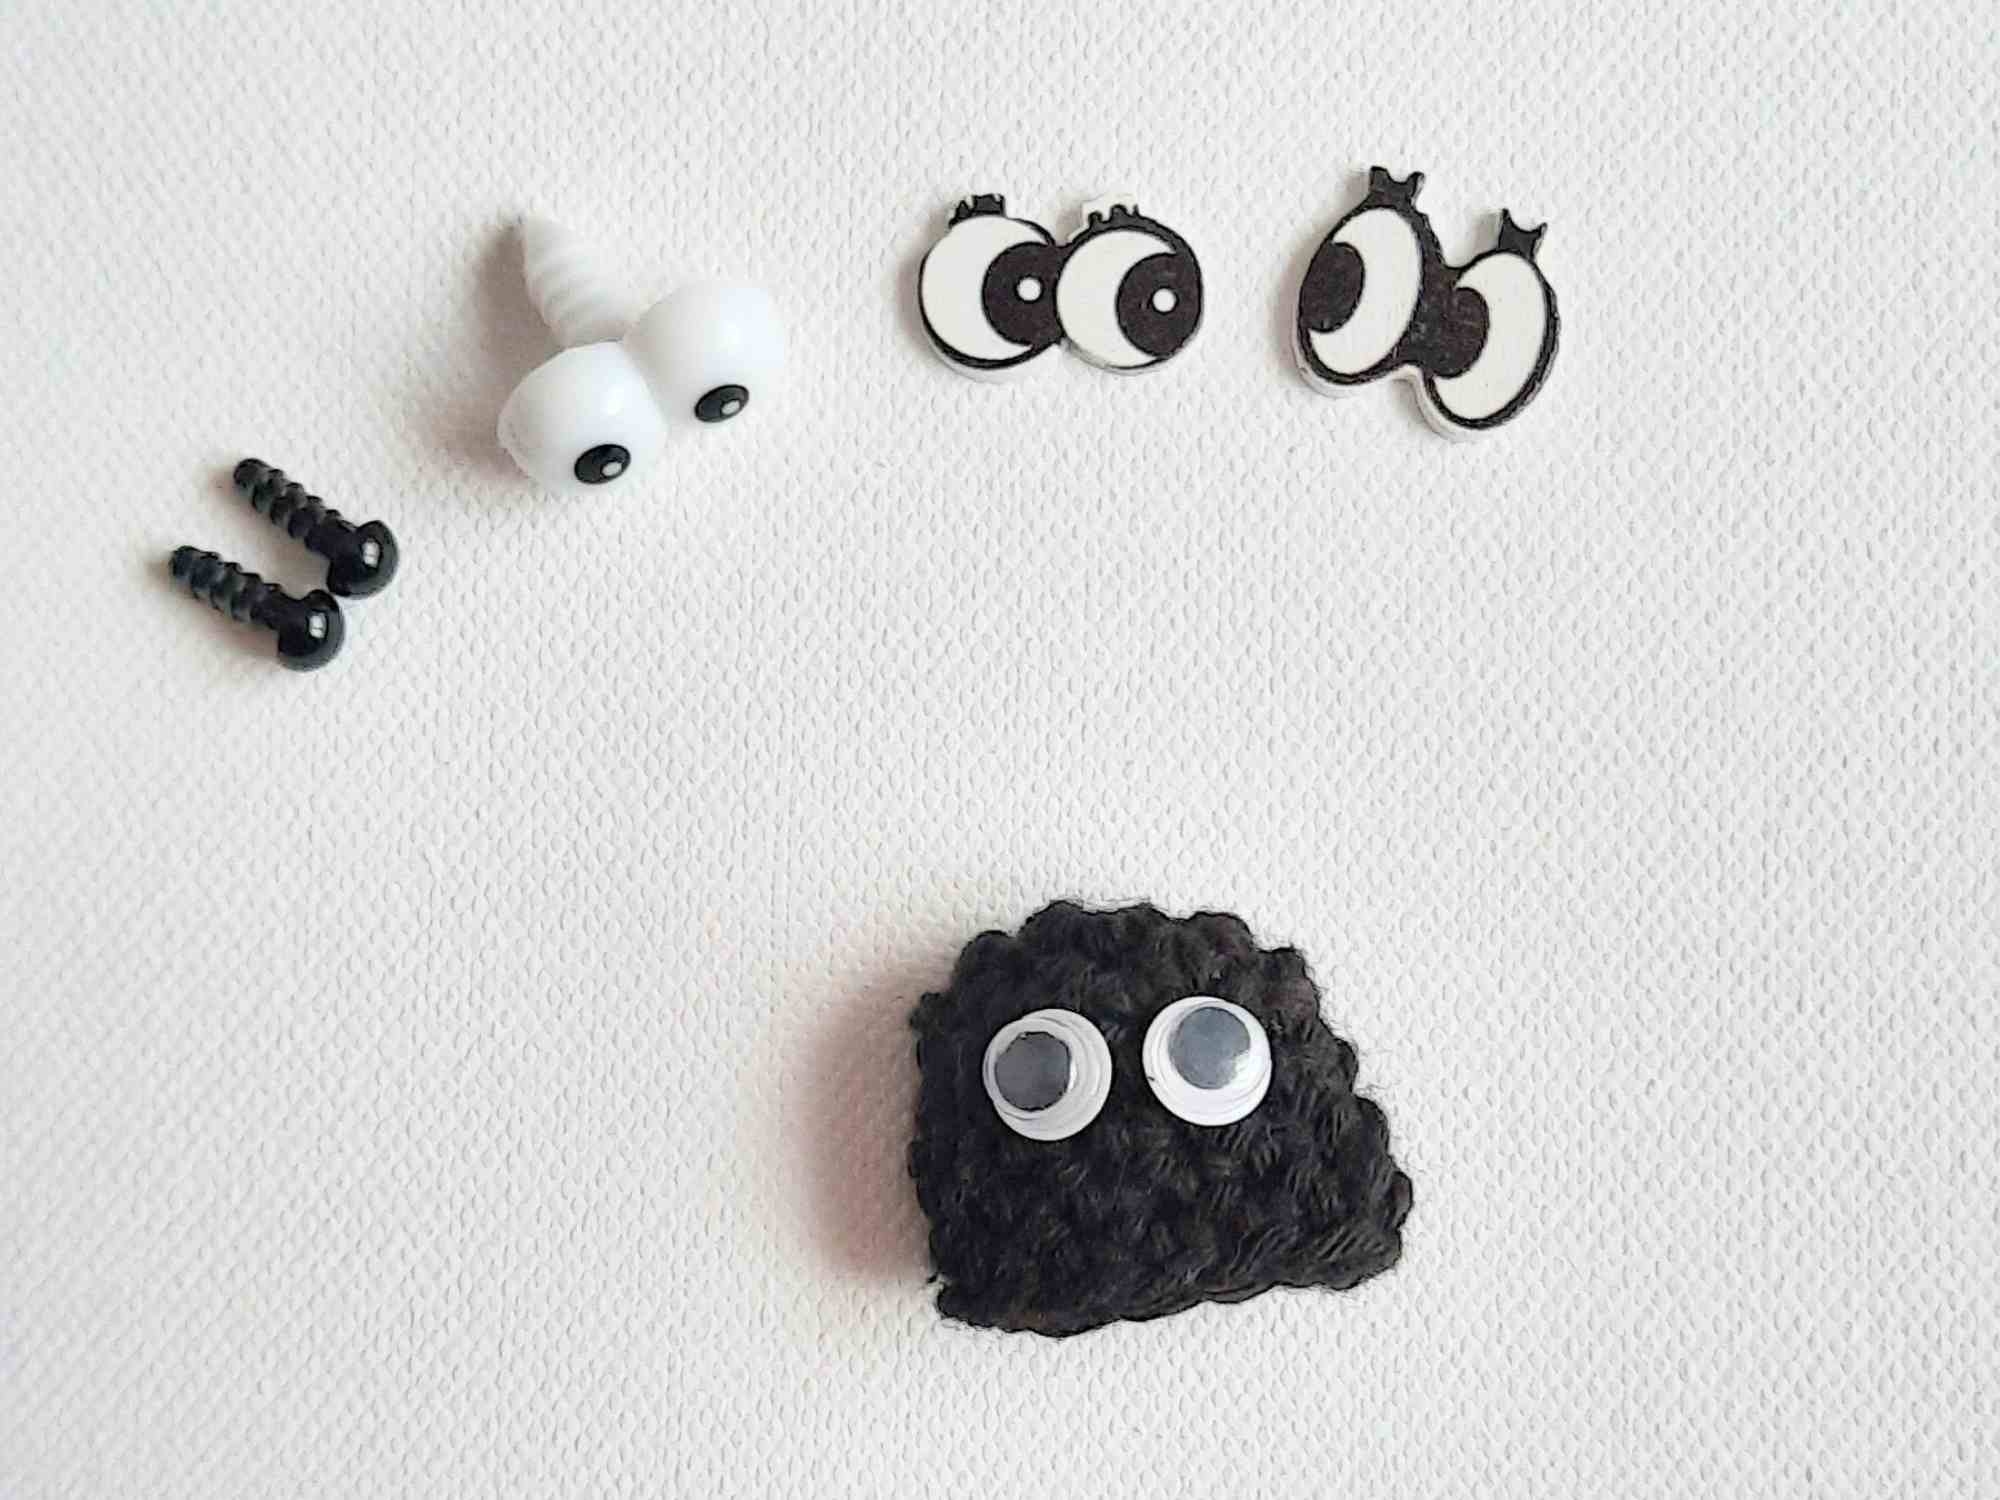
Googly Wiggle Eyes
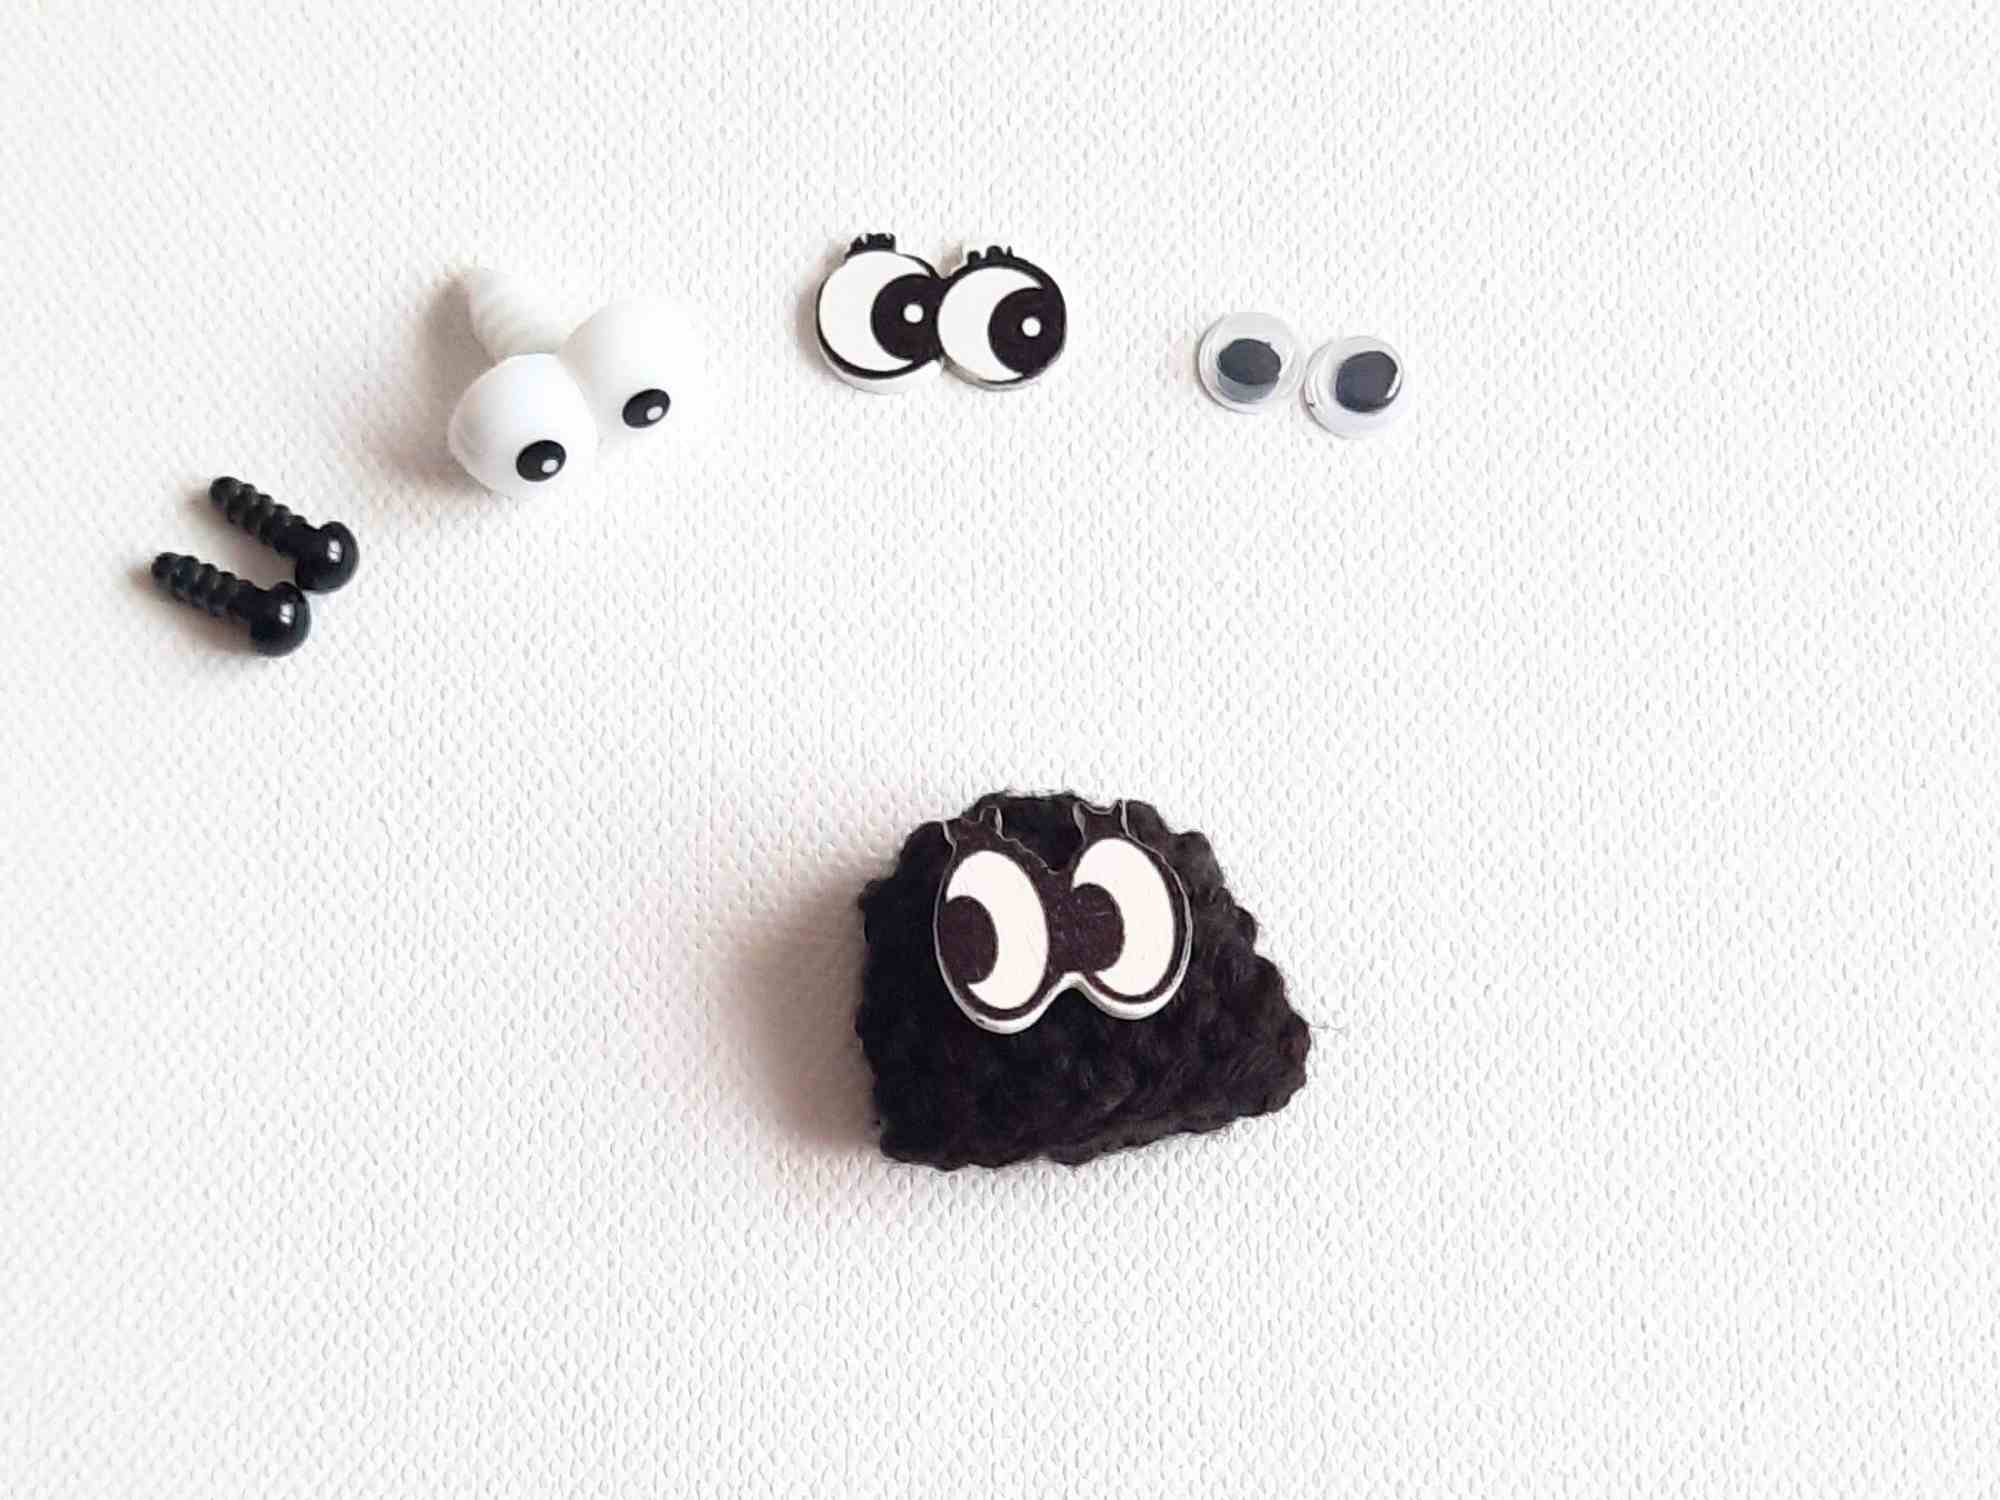
Wooden doll eyes 2 (1.8 cm / .7 inch)
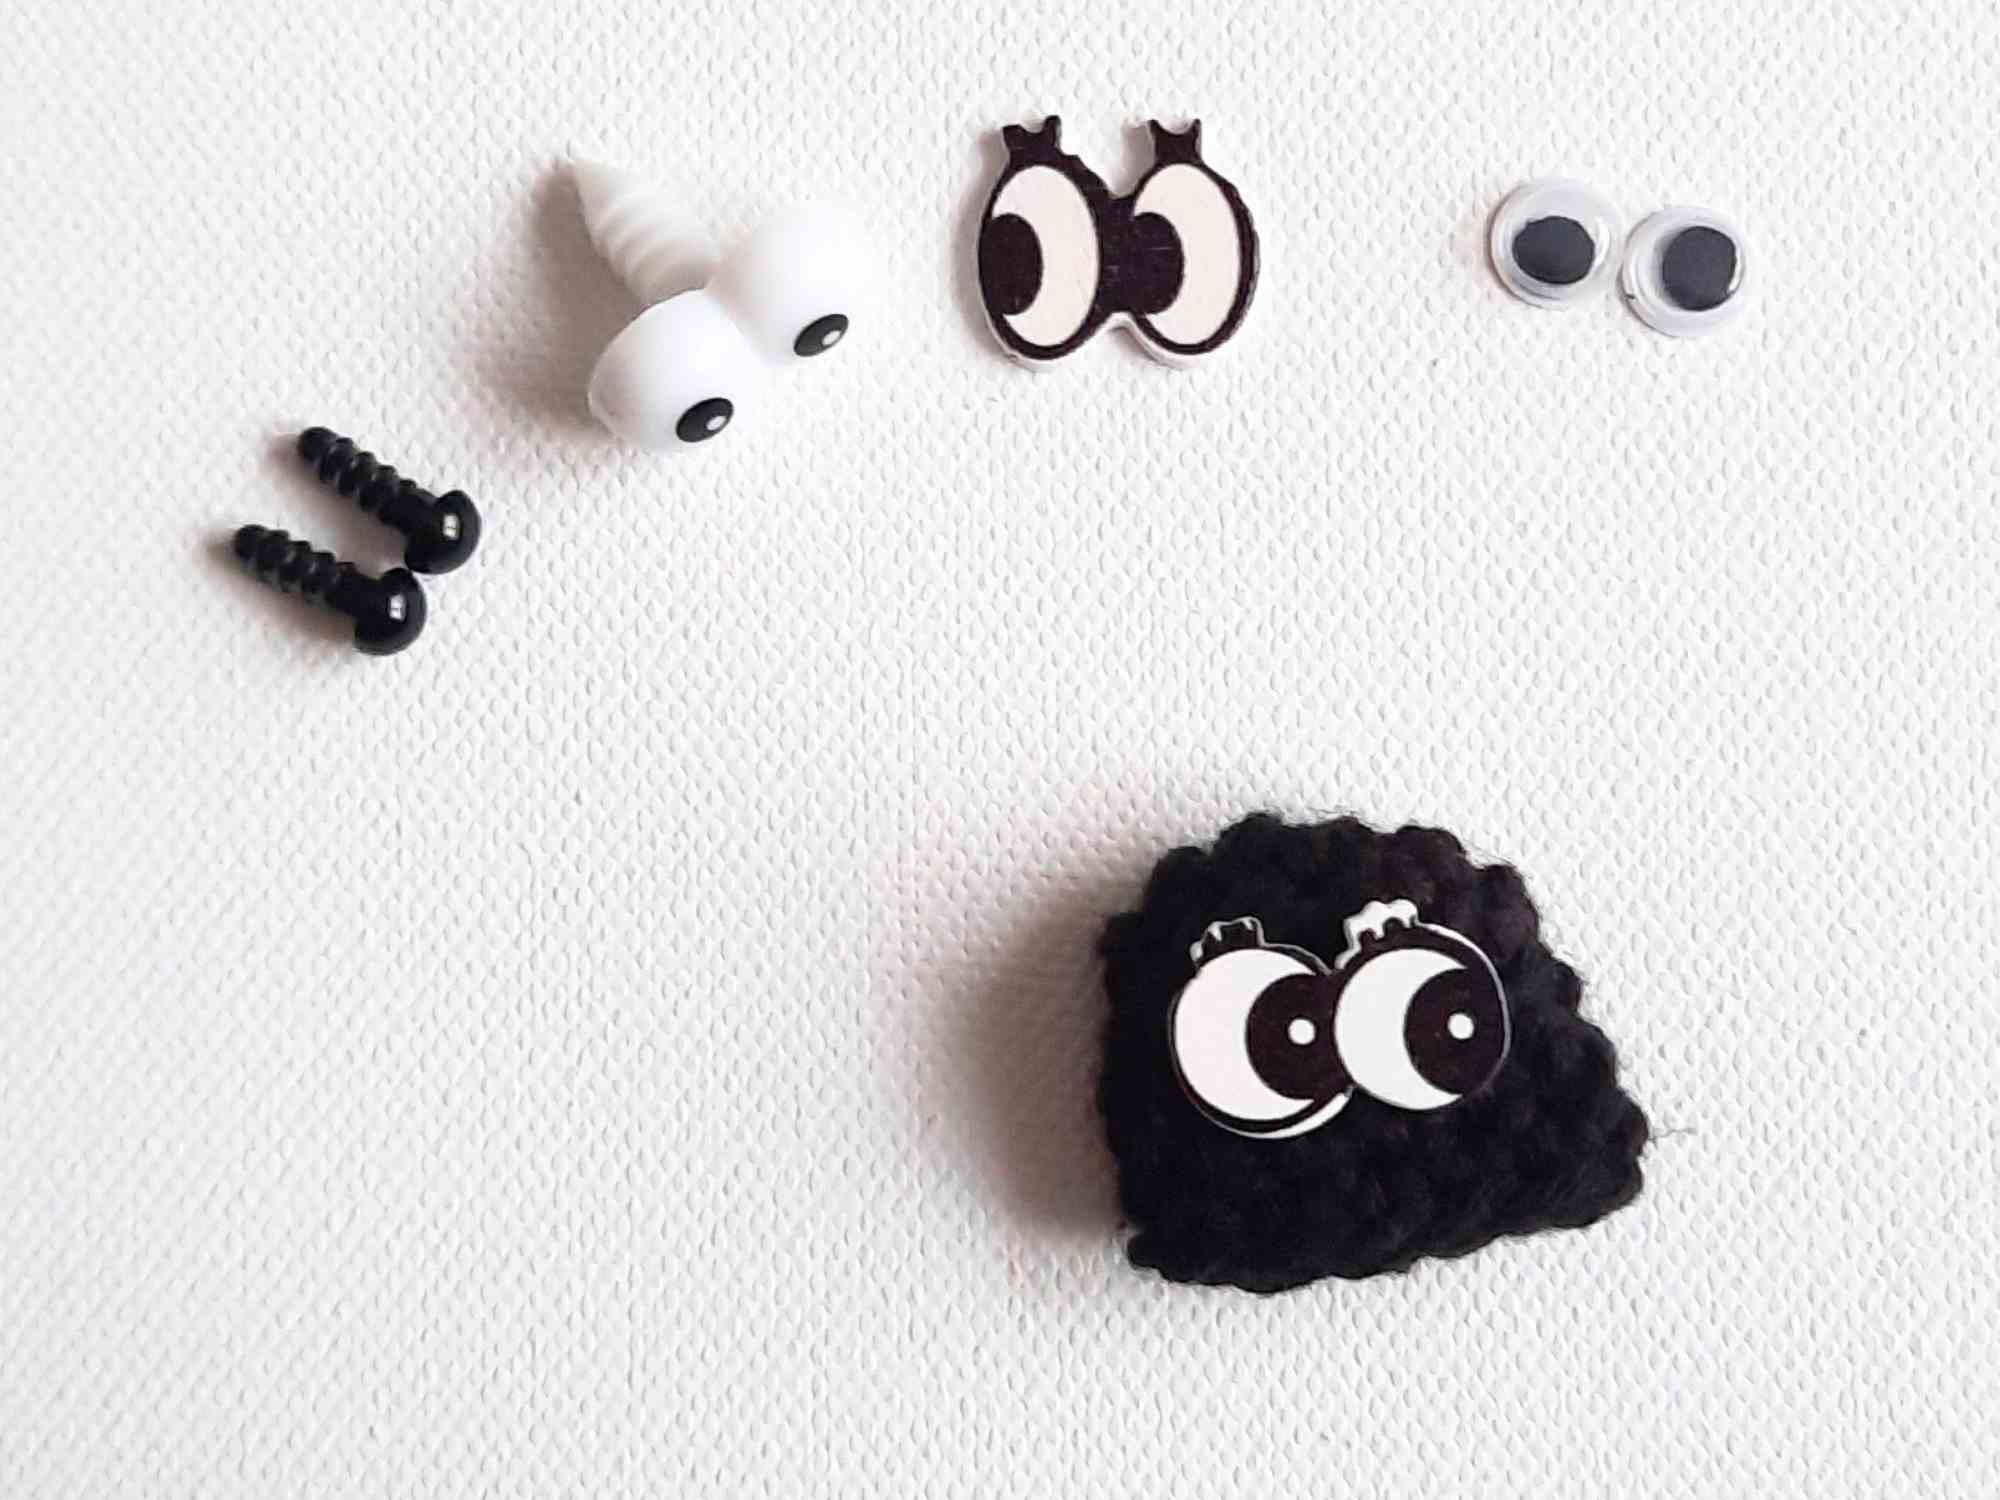
Wooden doll eyes (2 cm / .78 inch)
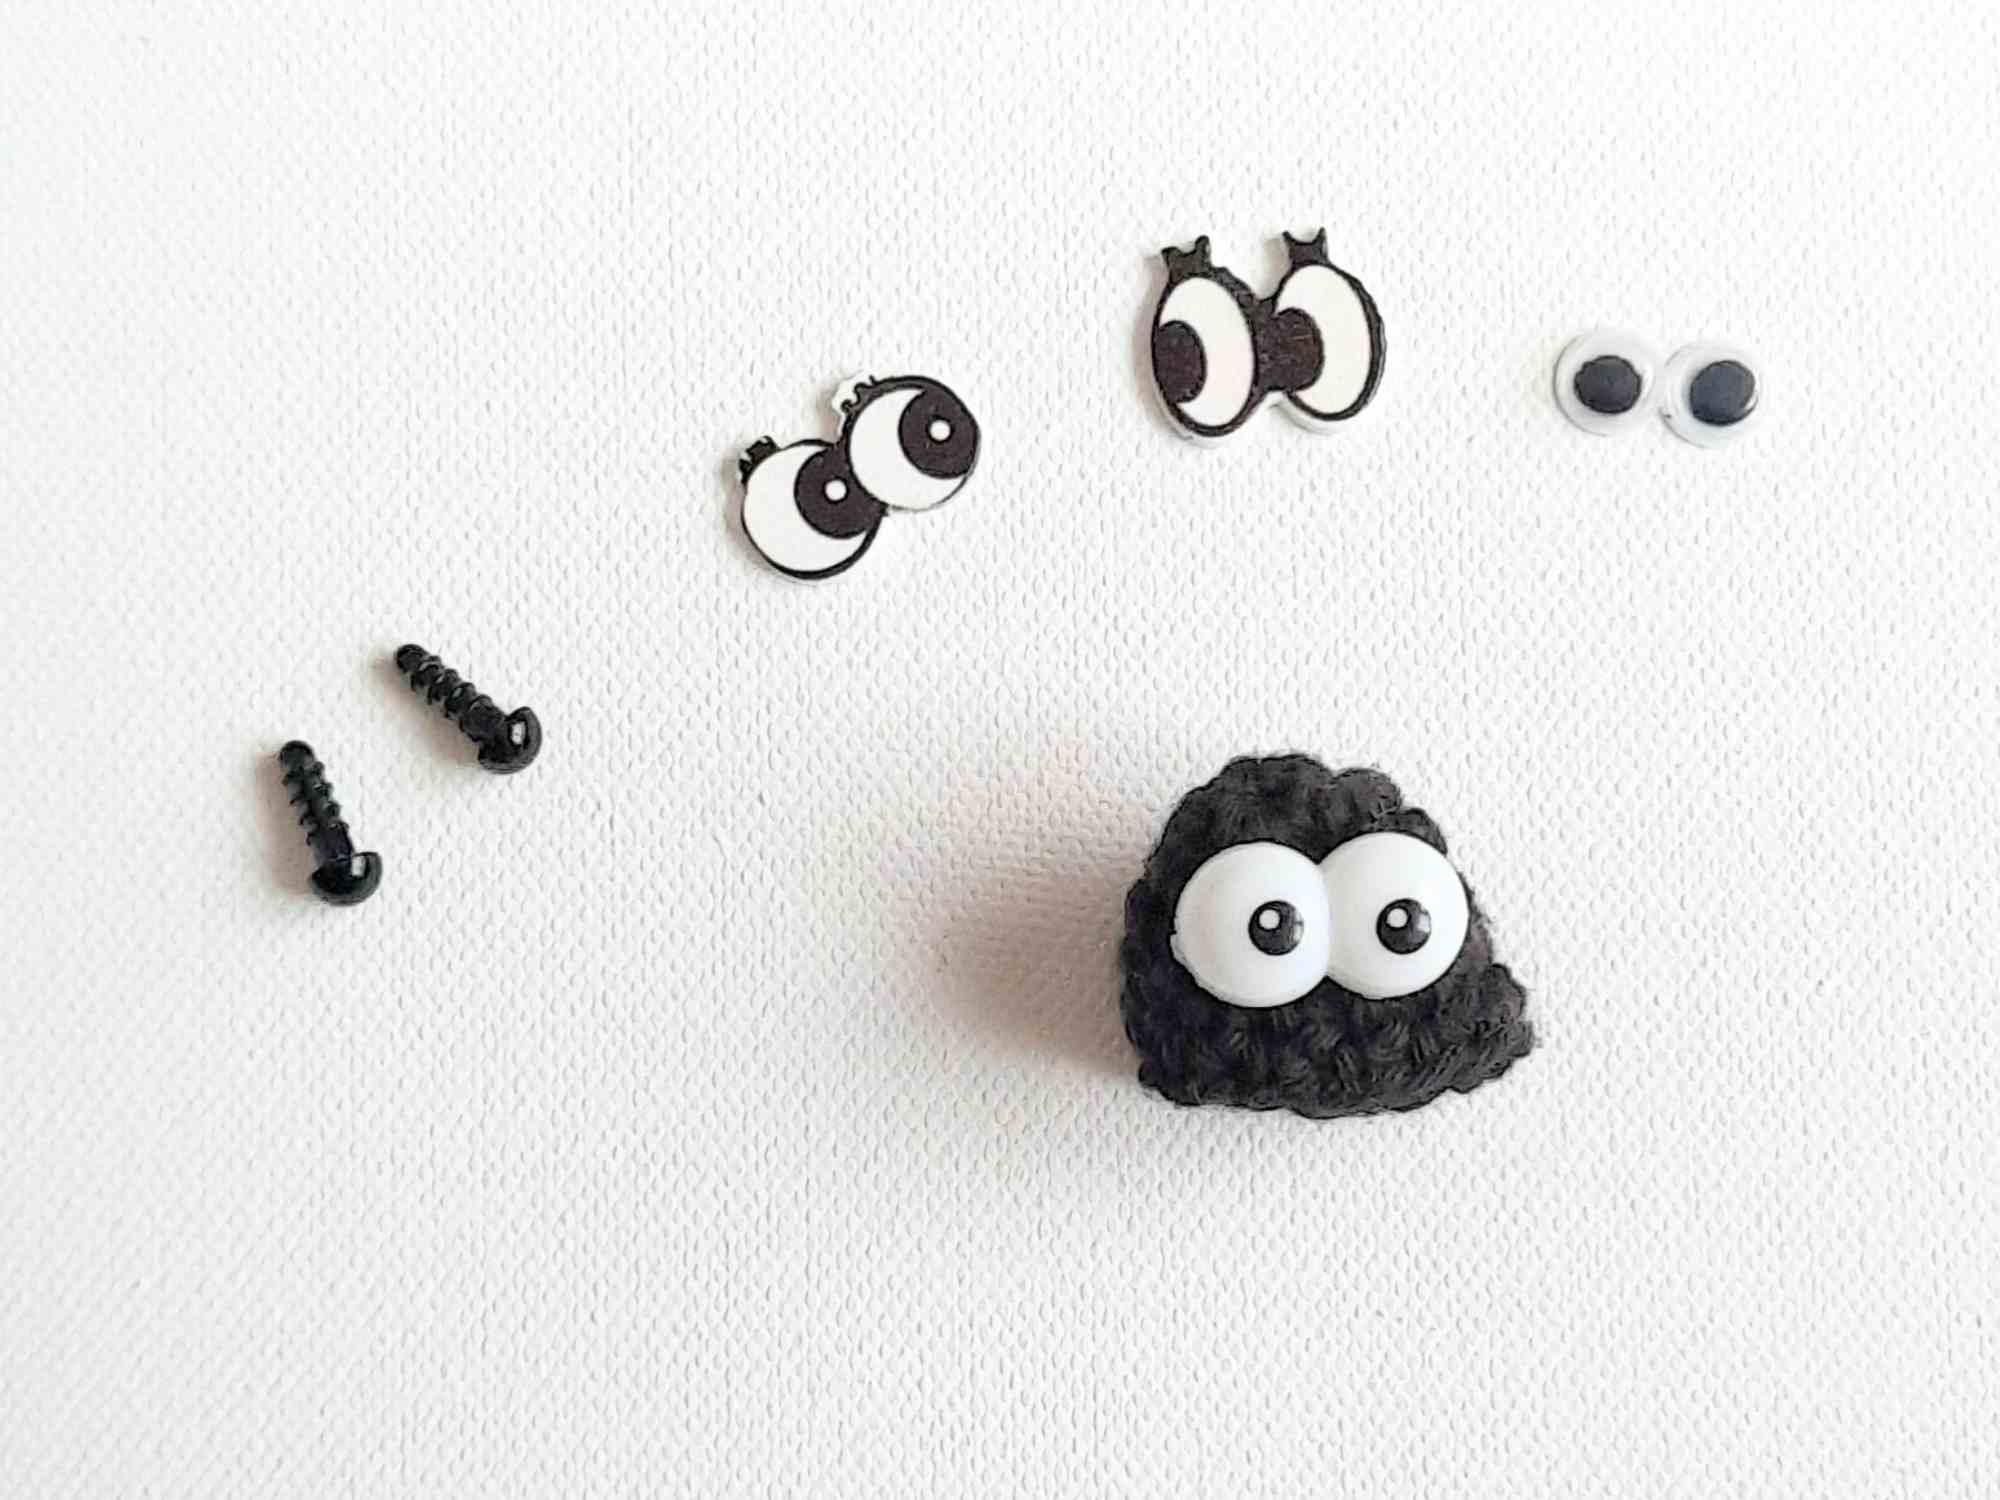
Craft animal eyes (2 cm / .78 inch)
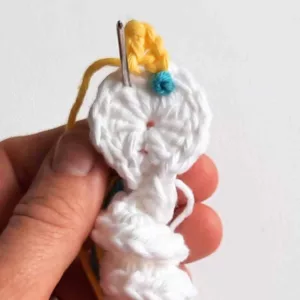
If you decide to use black Trimits Toy Eyes (safety eyes), I would suggest adding a stitch of white yarn on the eyes to make them show better. Using a small circle of white felt under the eyes is another option.
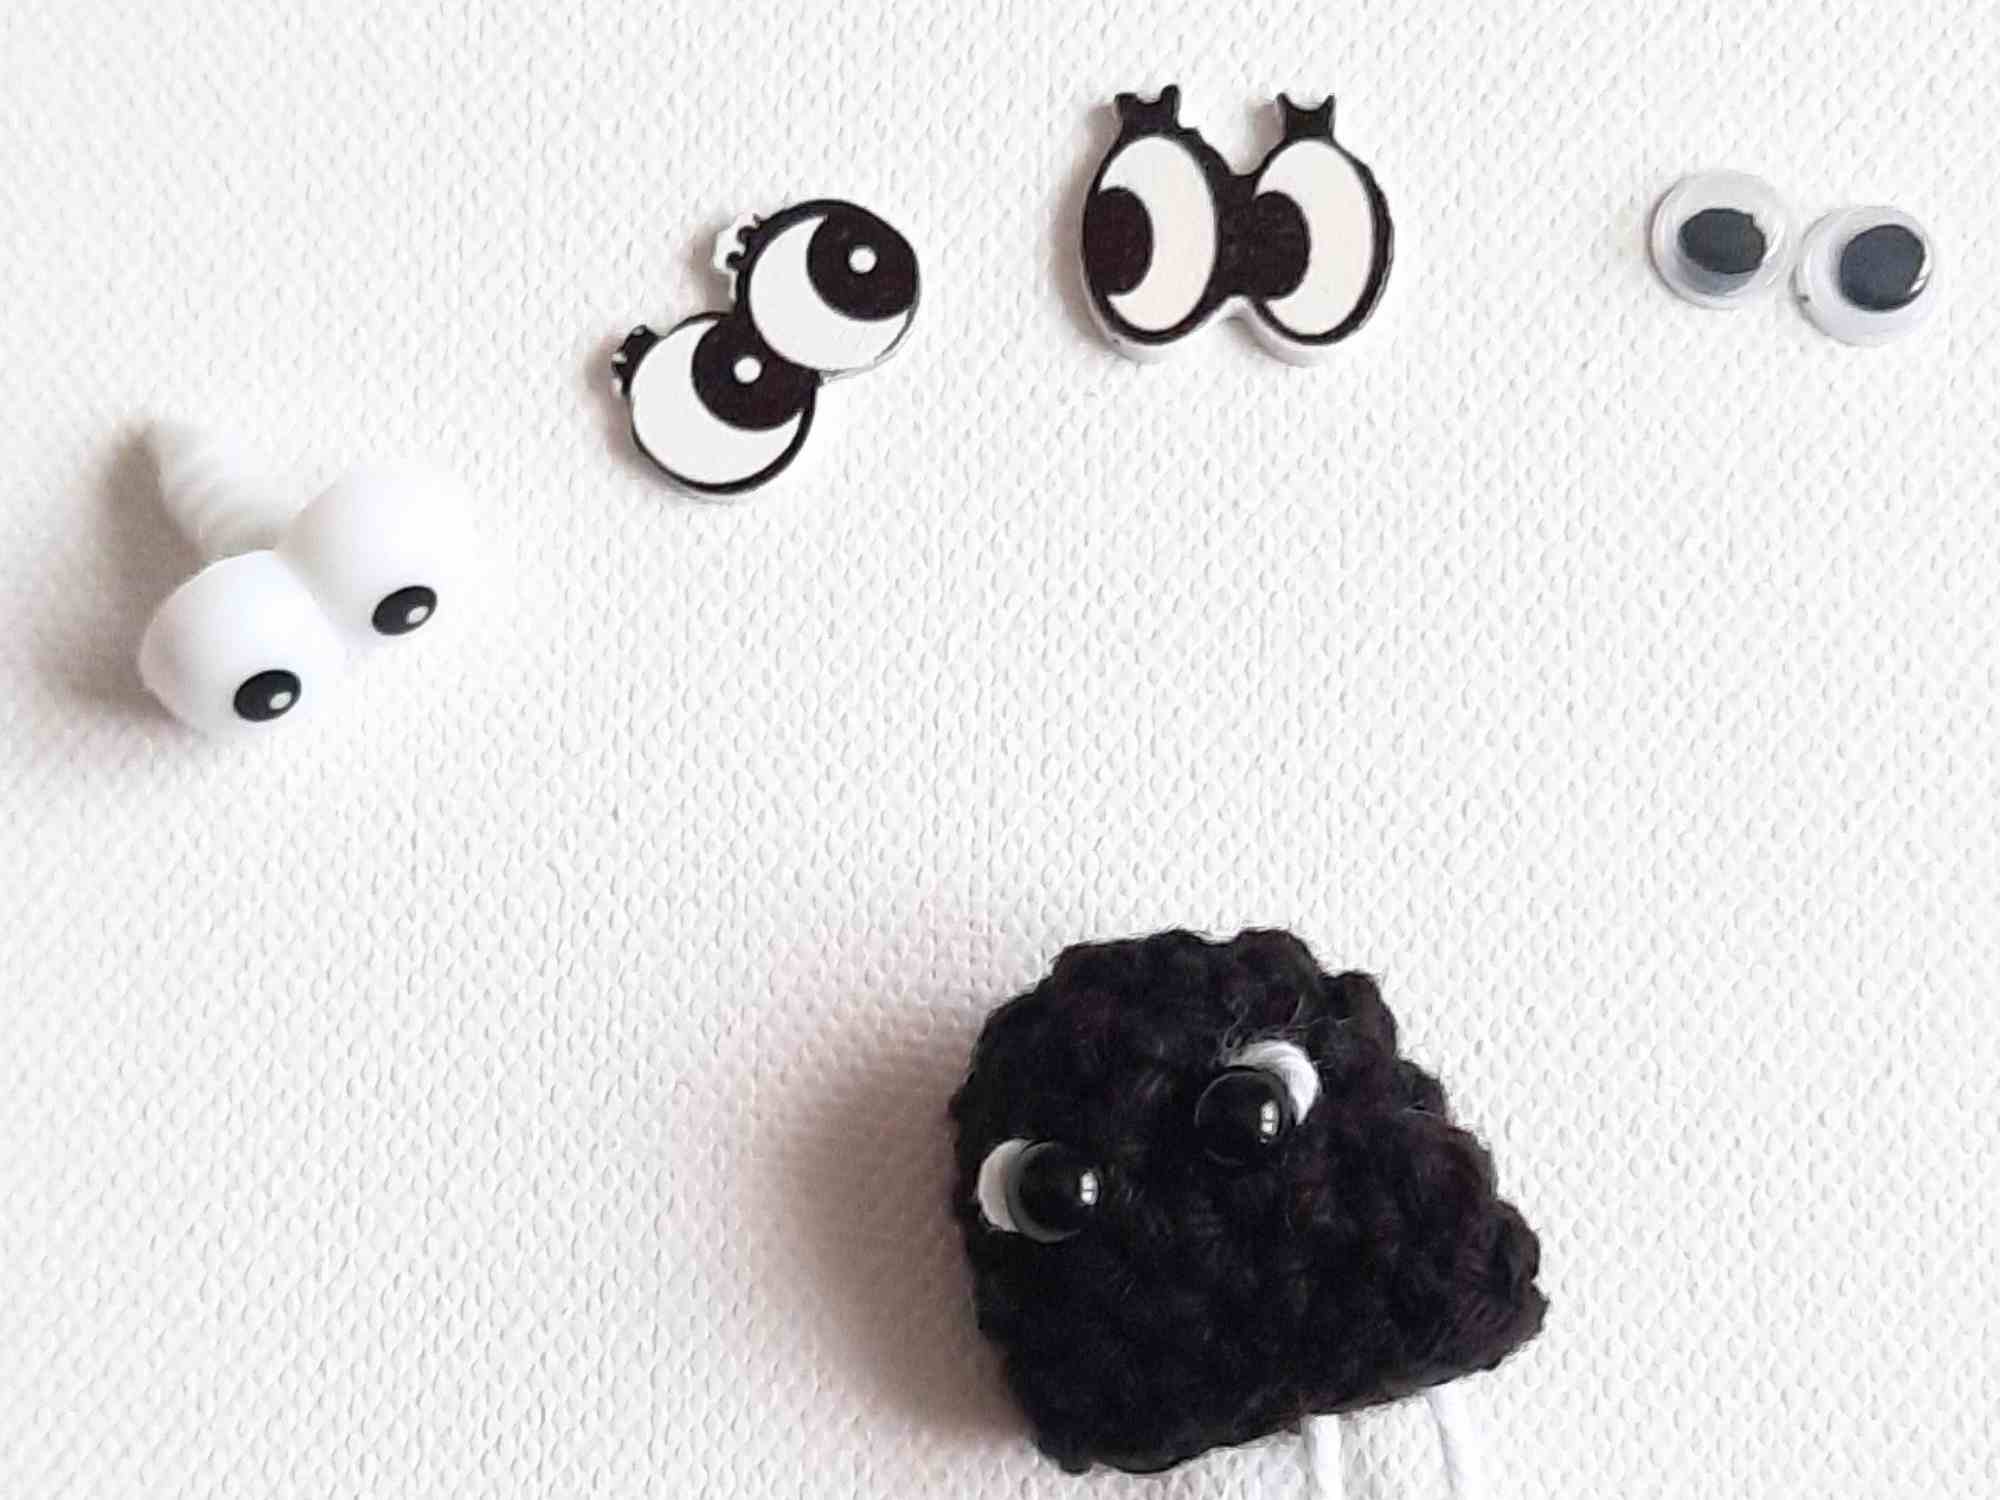
A stitch of white yarn on each eye using Trimits Toy Eyes
- Cut about 5” of white yarn and stitch on the mouth of the ladybug 1 stitch under the eyes.
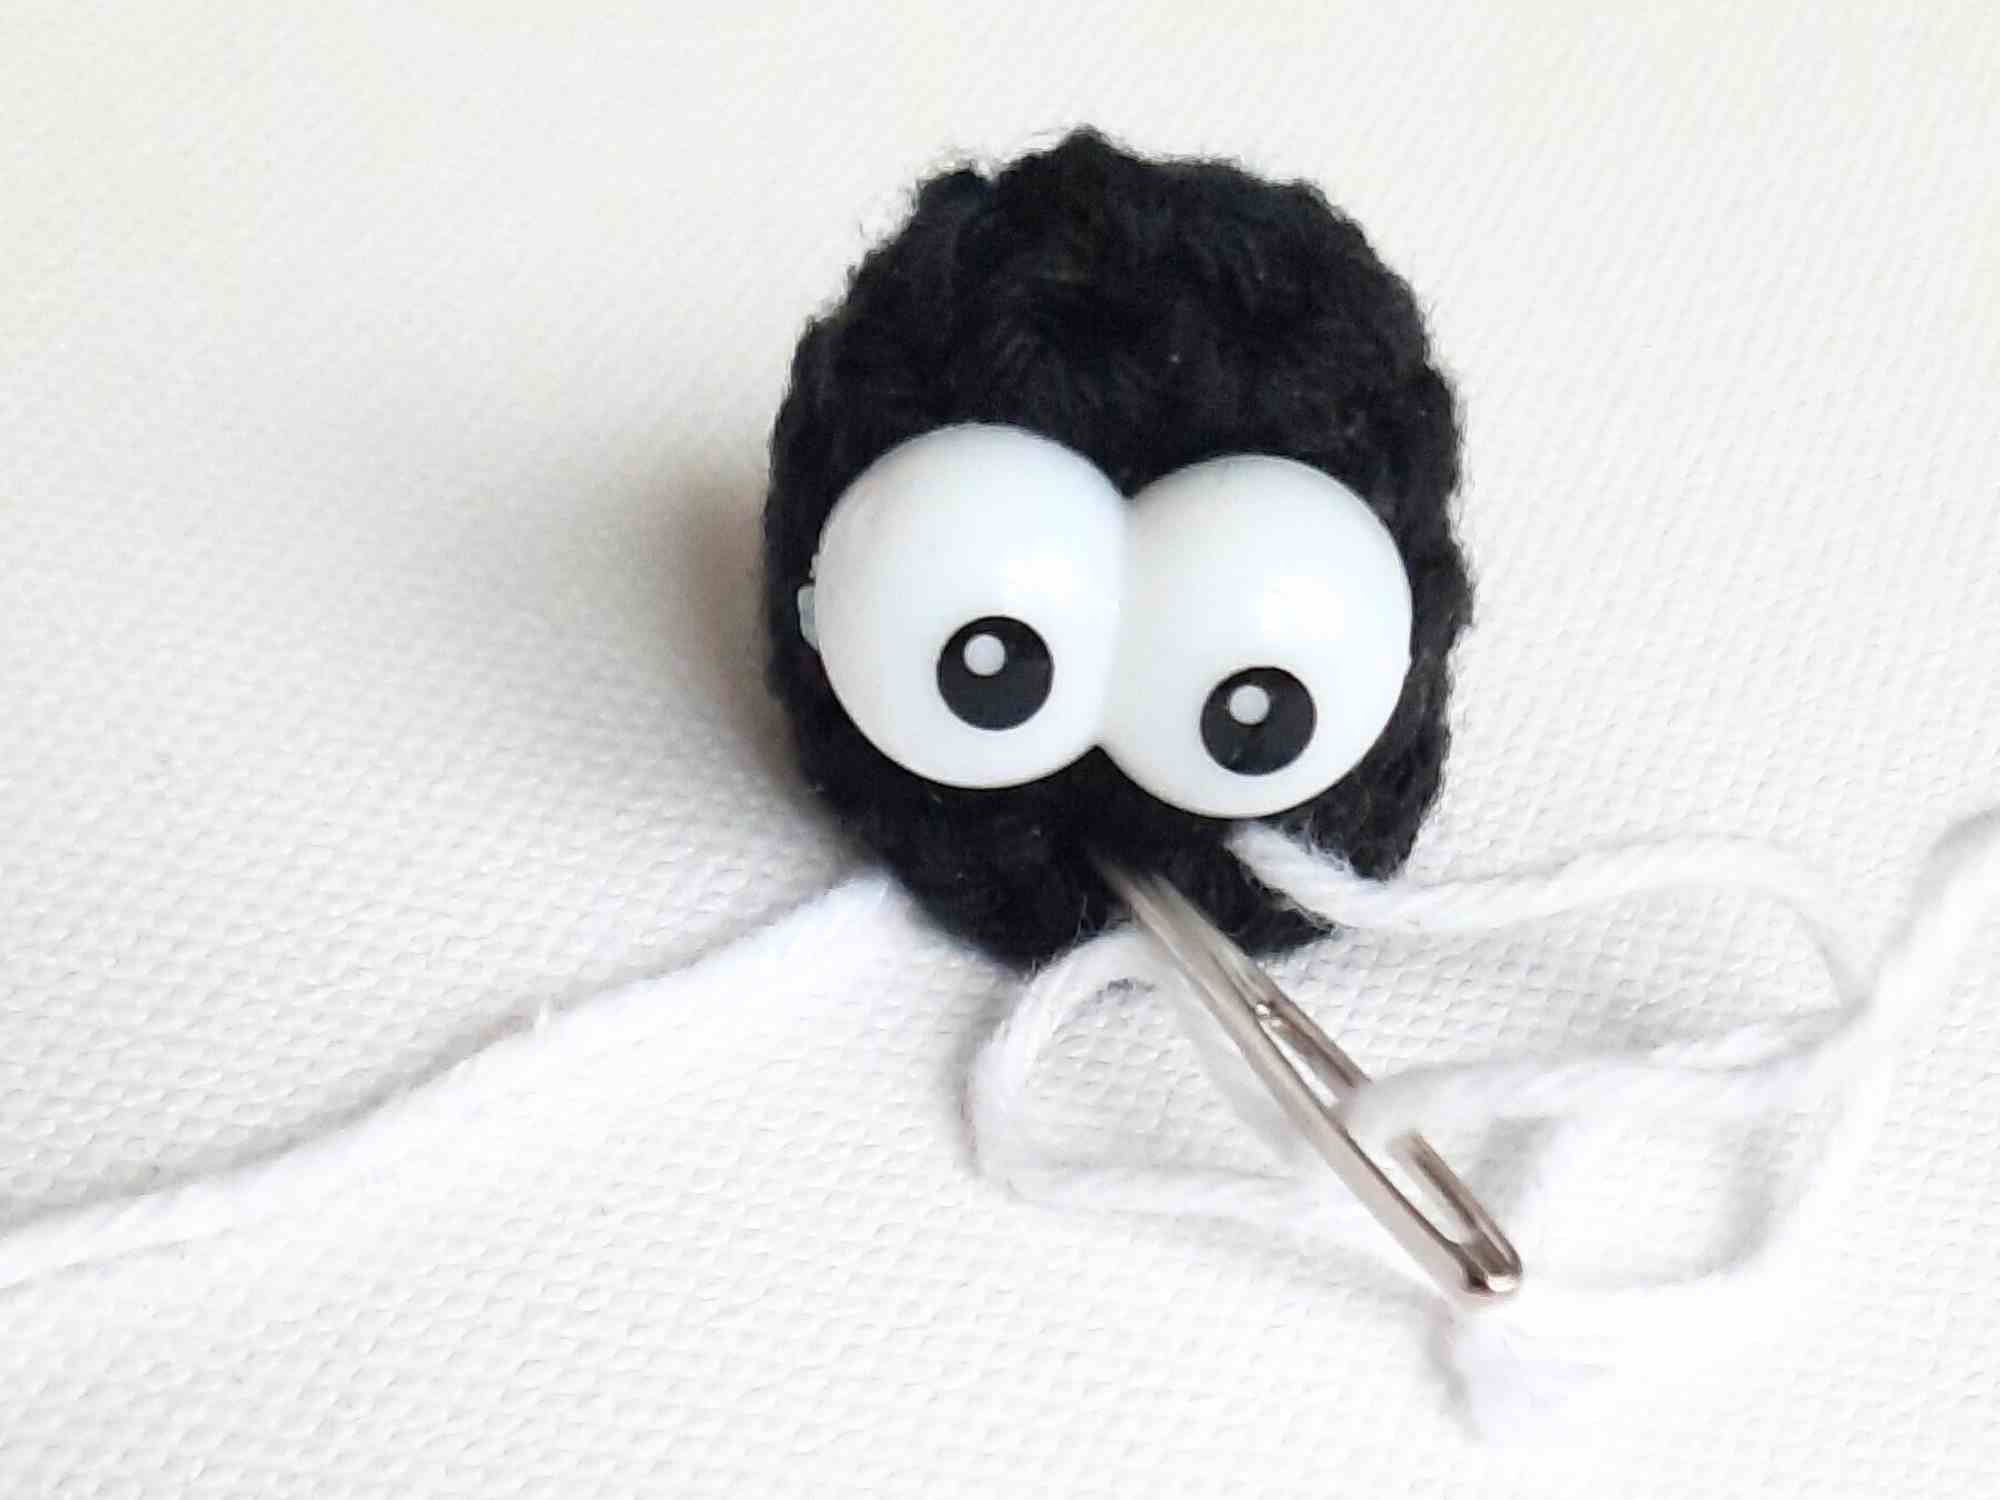
Wooden doll eyes 2 (1.8 cm / .7 inch)
Attaching The Chain
Insert your hook inwards into the top of the head one stitch above the right eye and catch the white chain that's attached to the body to pull it through the top of the head.
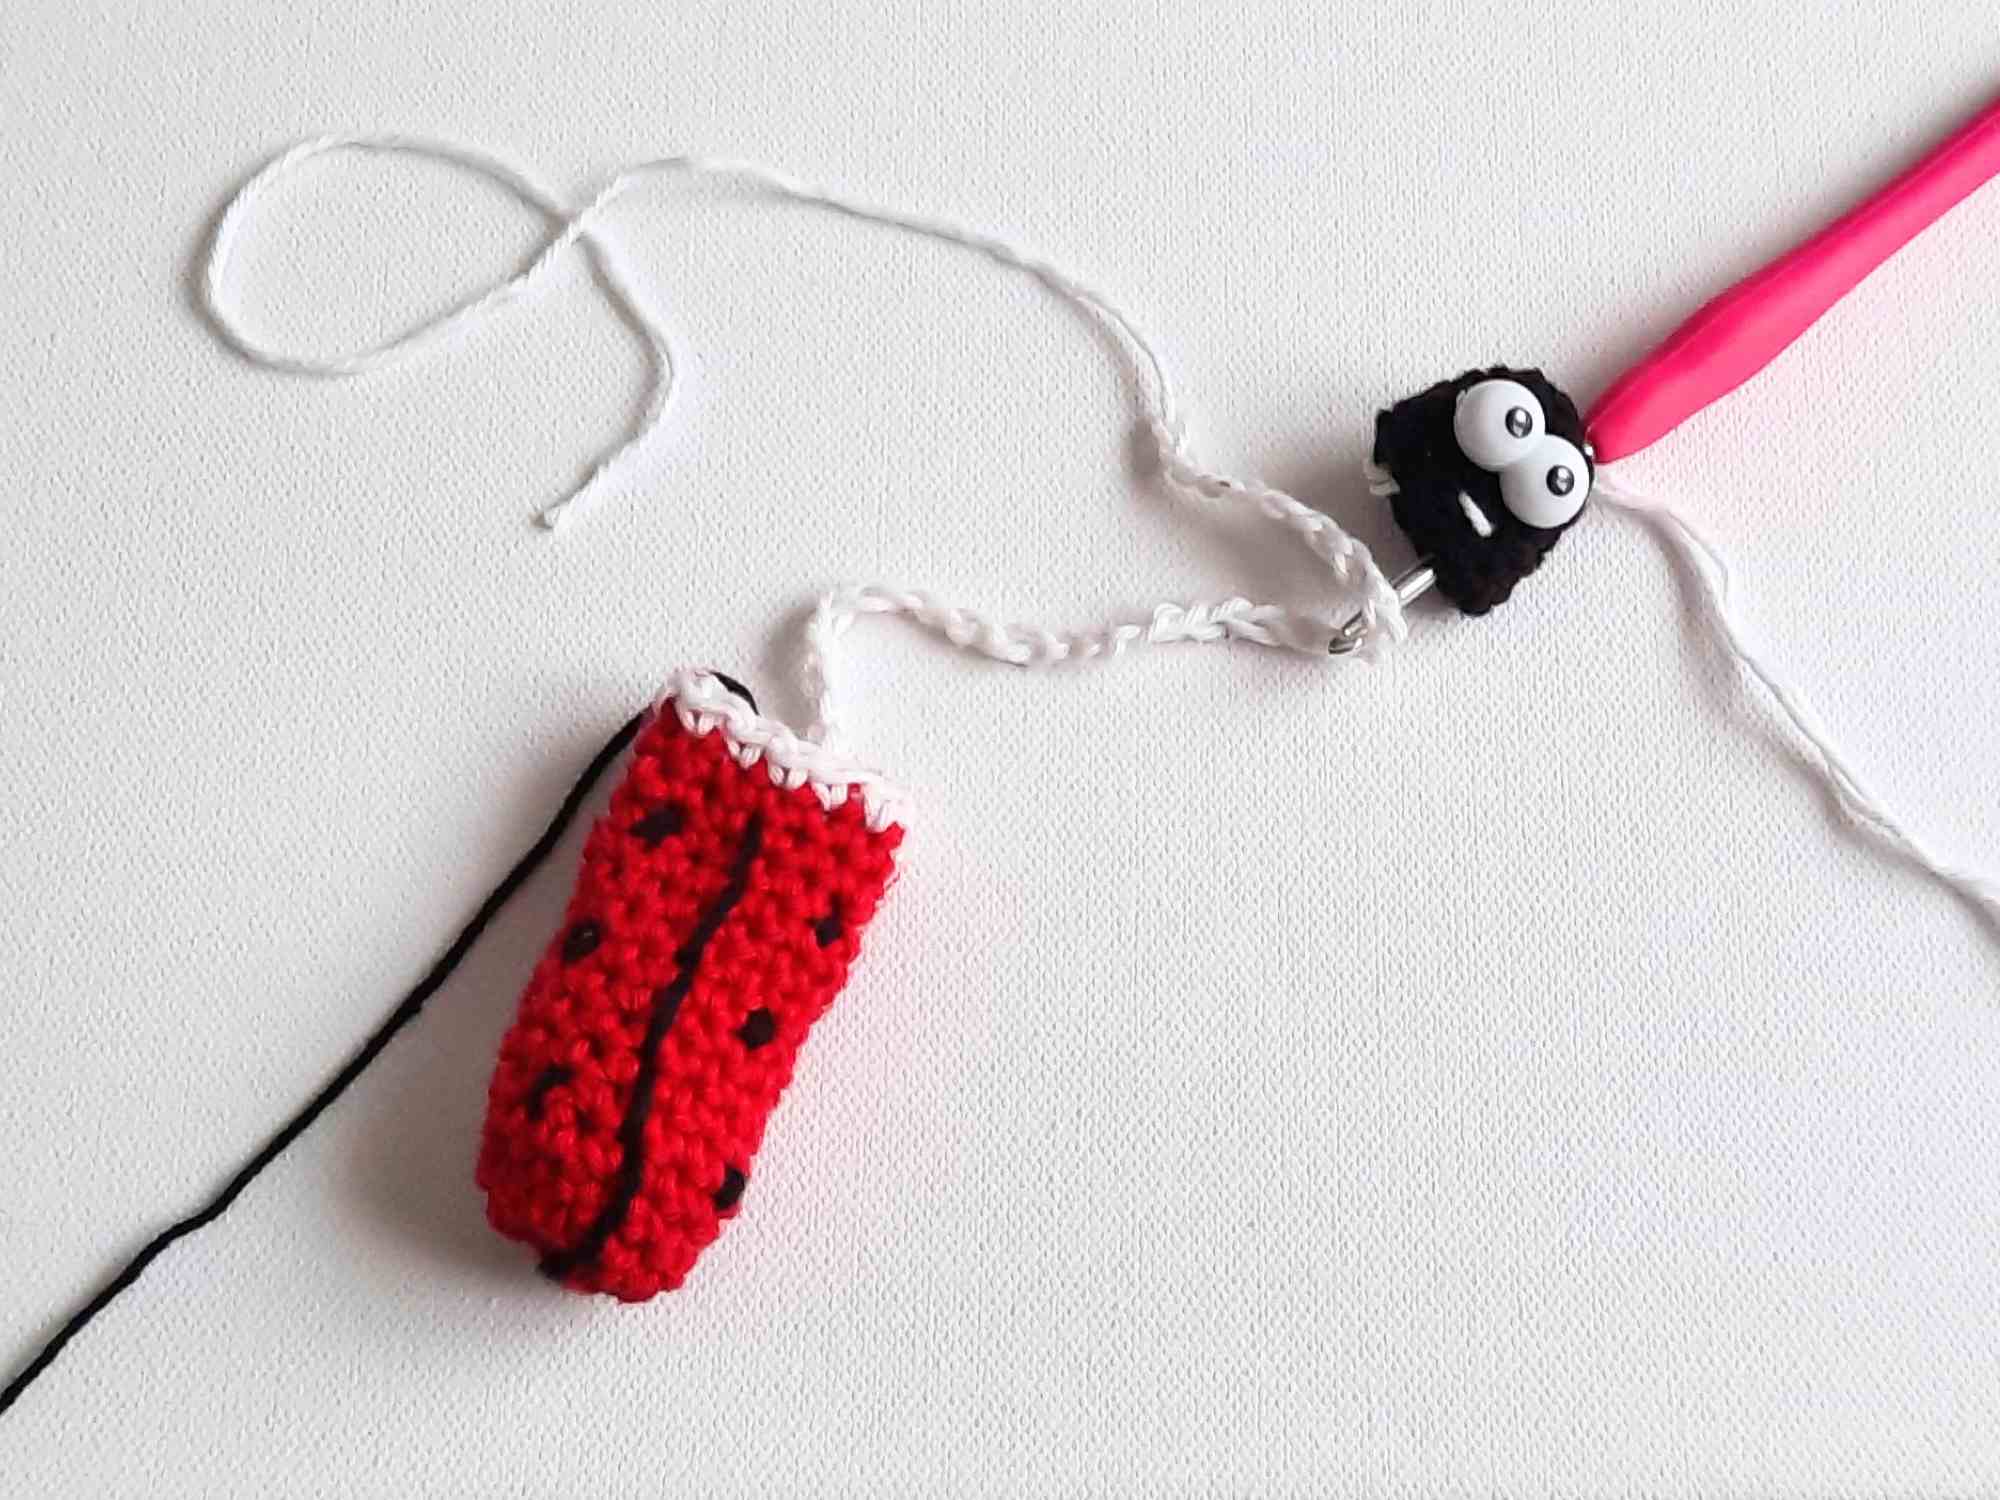
Insert your hook from the inside of the head into the top of the head one stitch above the left eye and catch the white chain that’s attached to the body and pull it inwards through the top of the head.
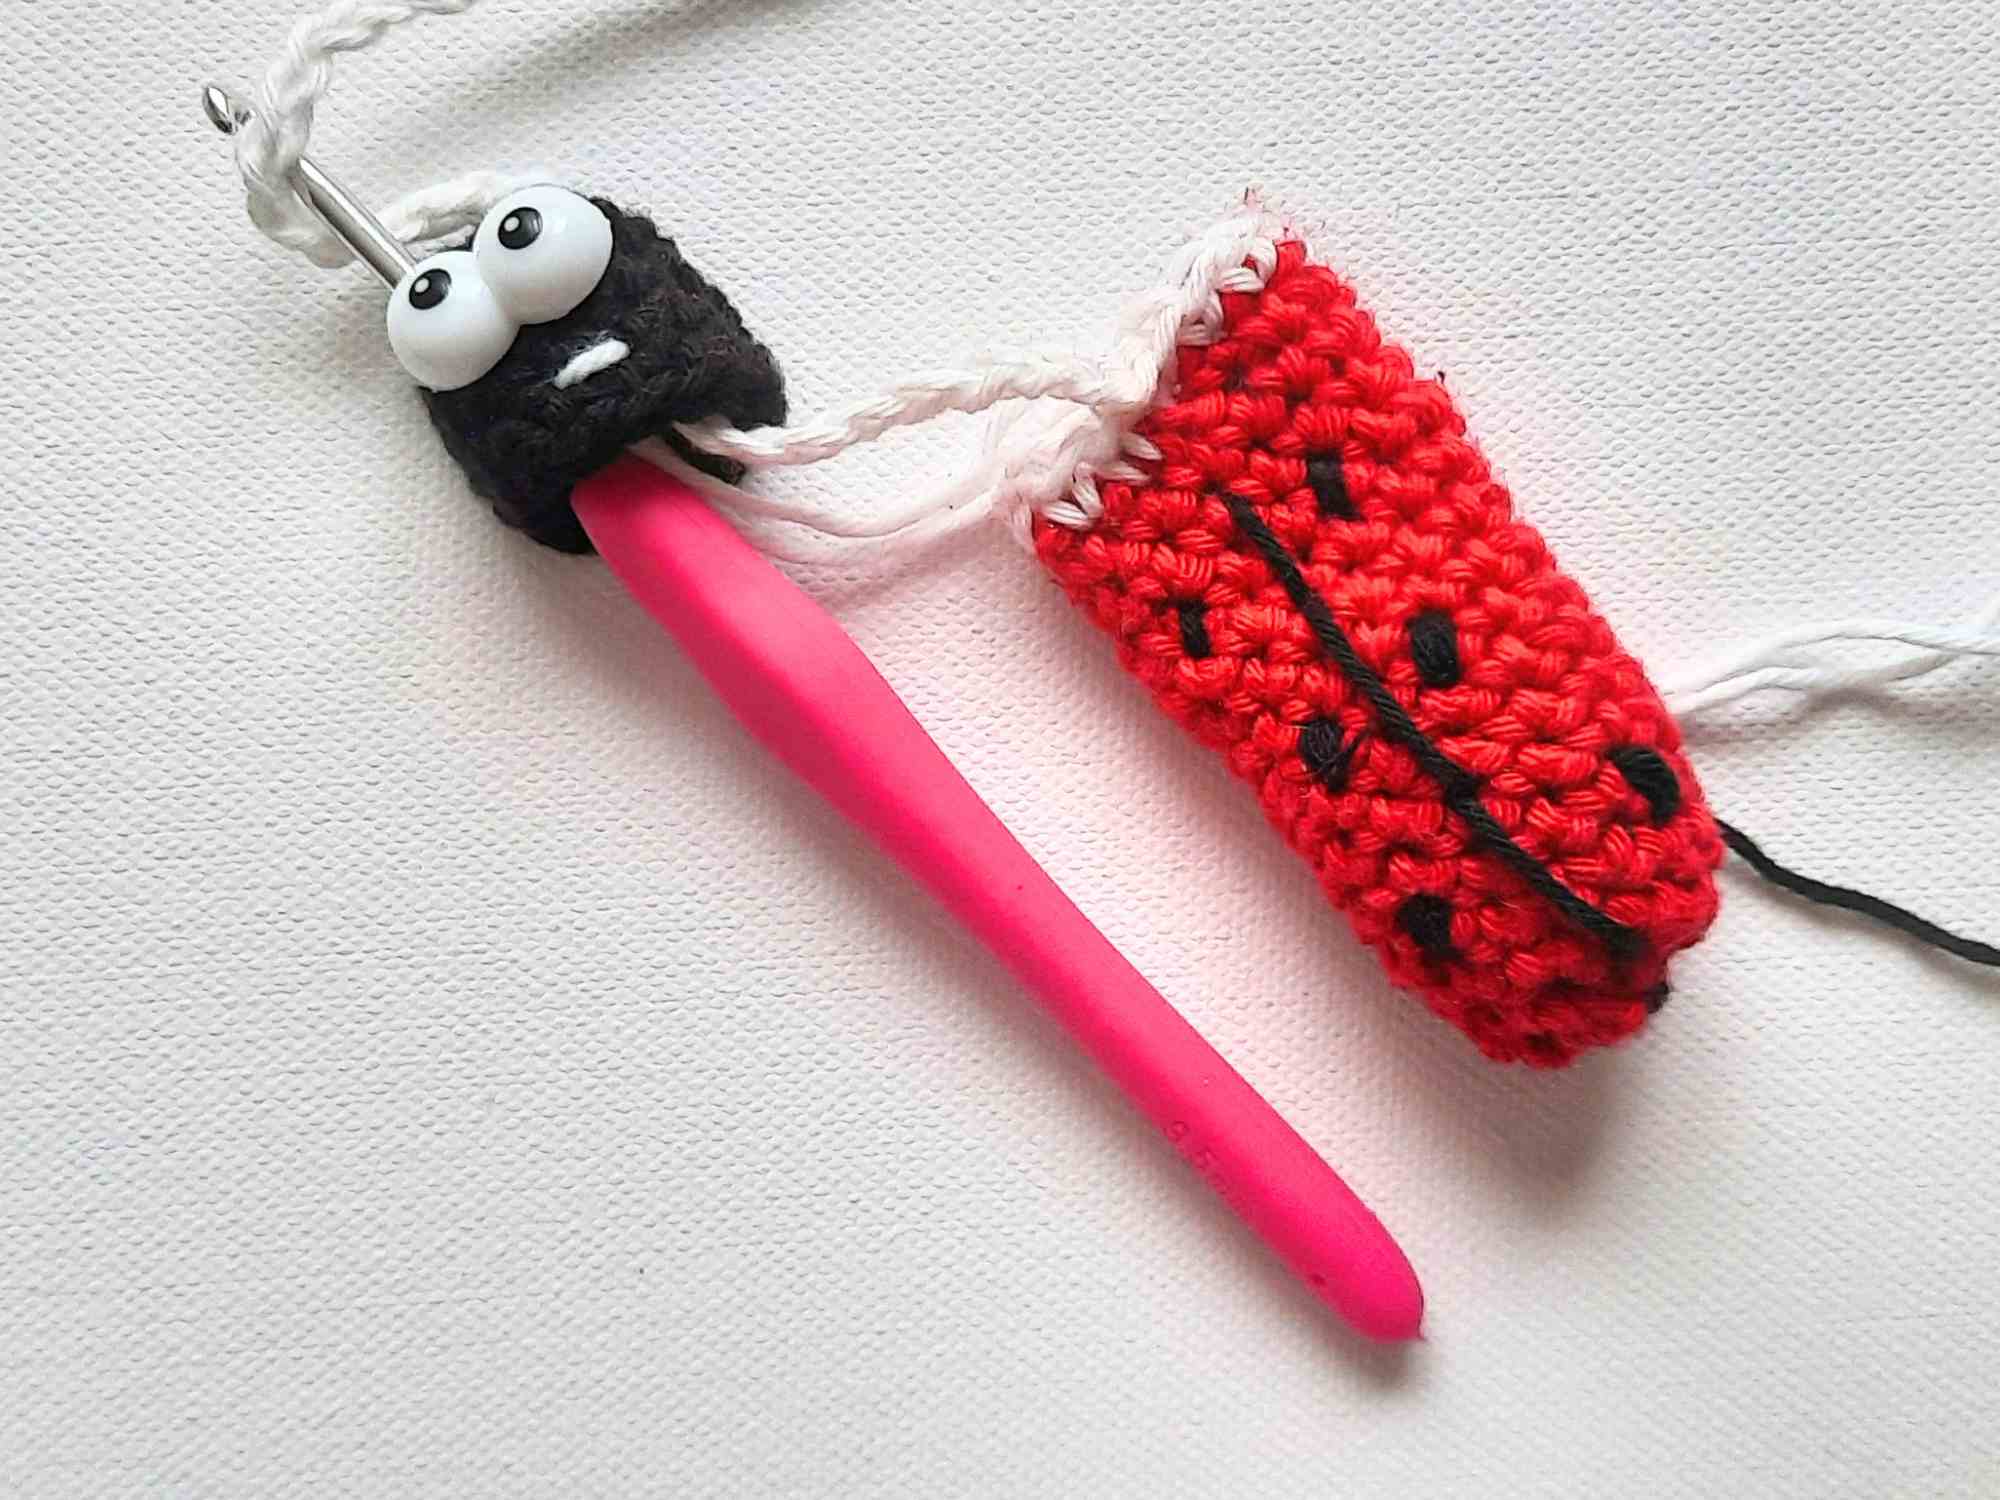
Attach the end of the white chain to the opposite side of the top of the chapstick holder with a sl st. Secure with a couple of stitches with your darning needle.
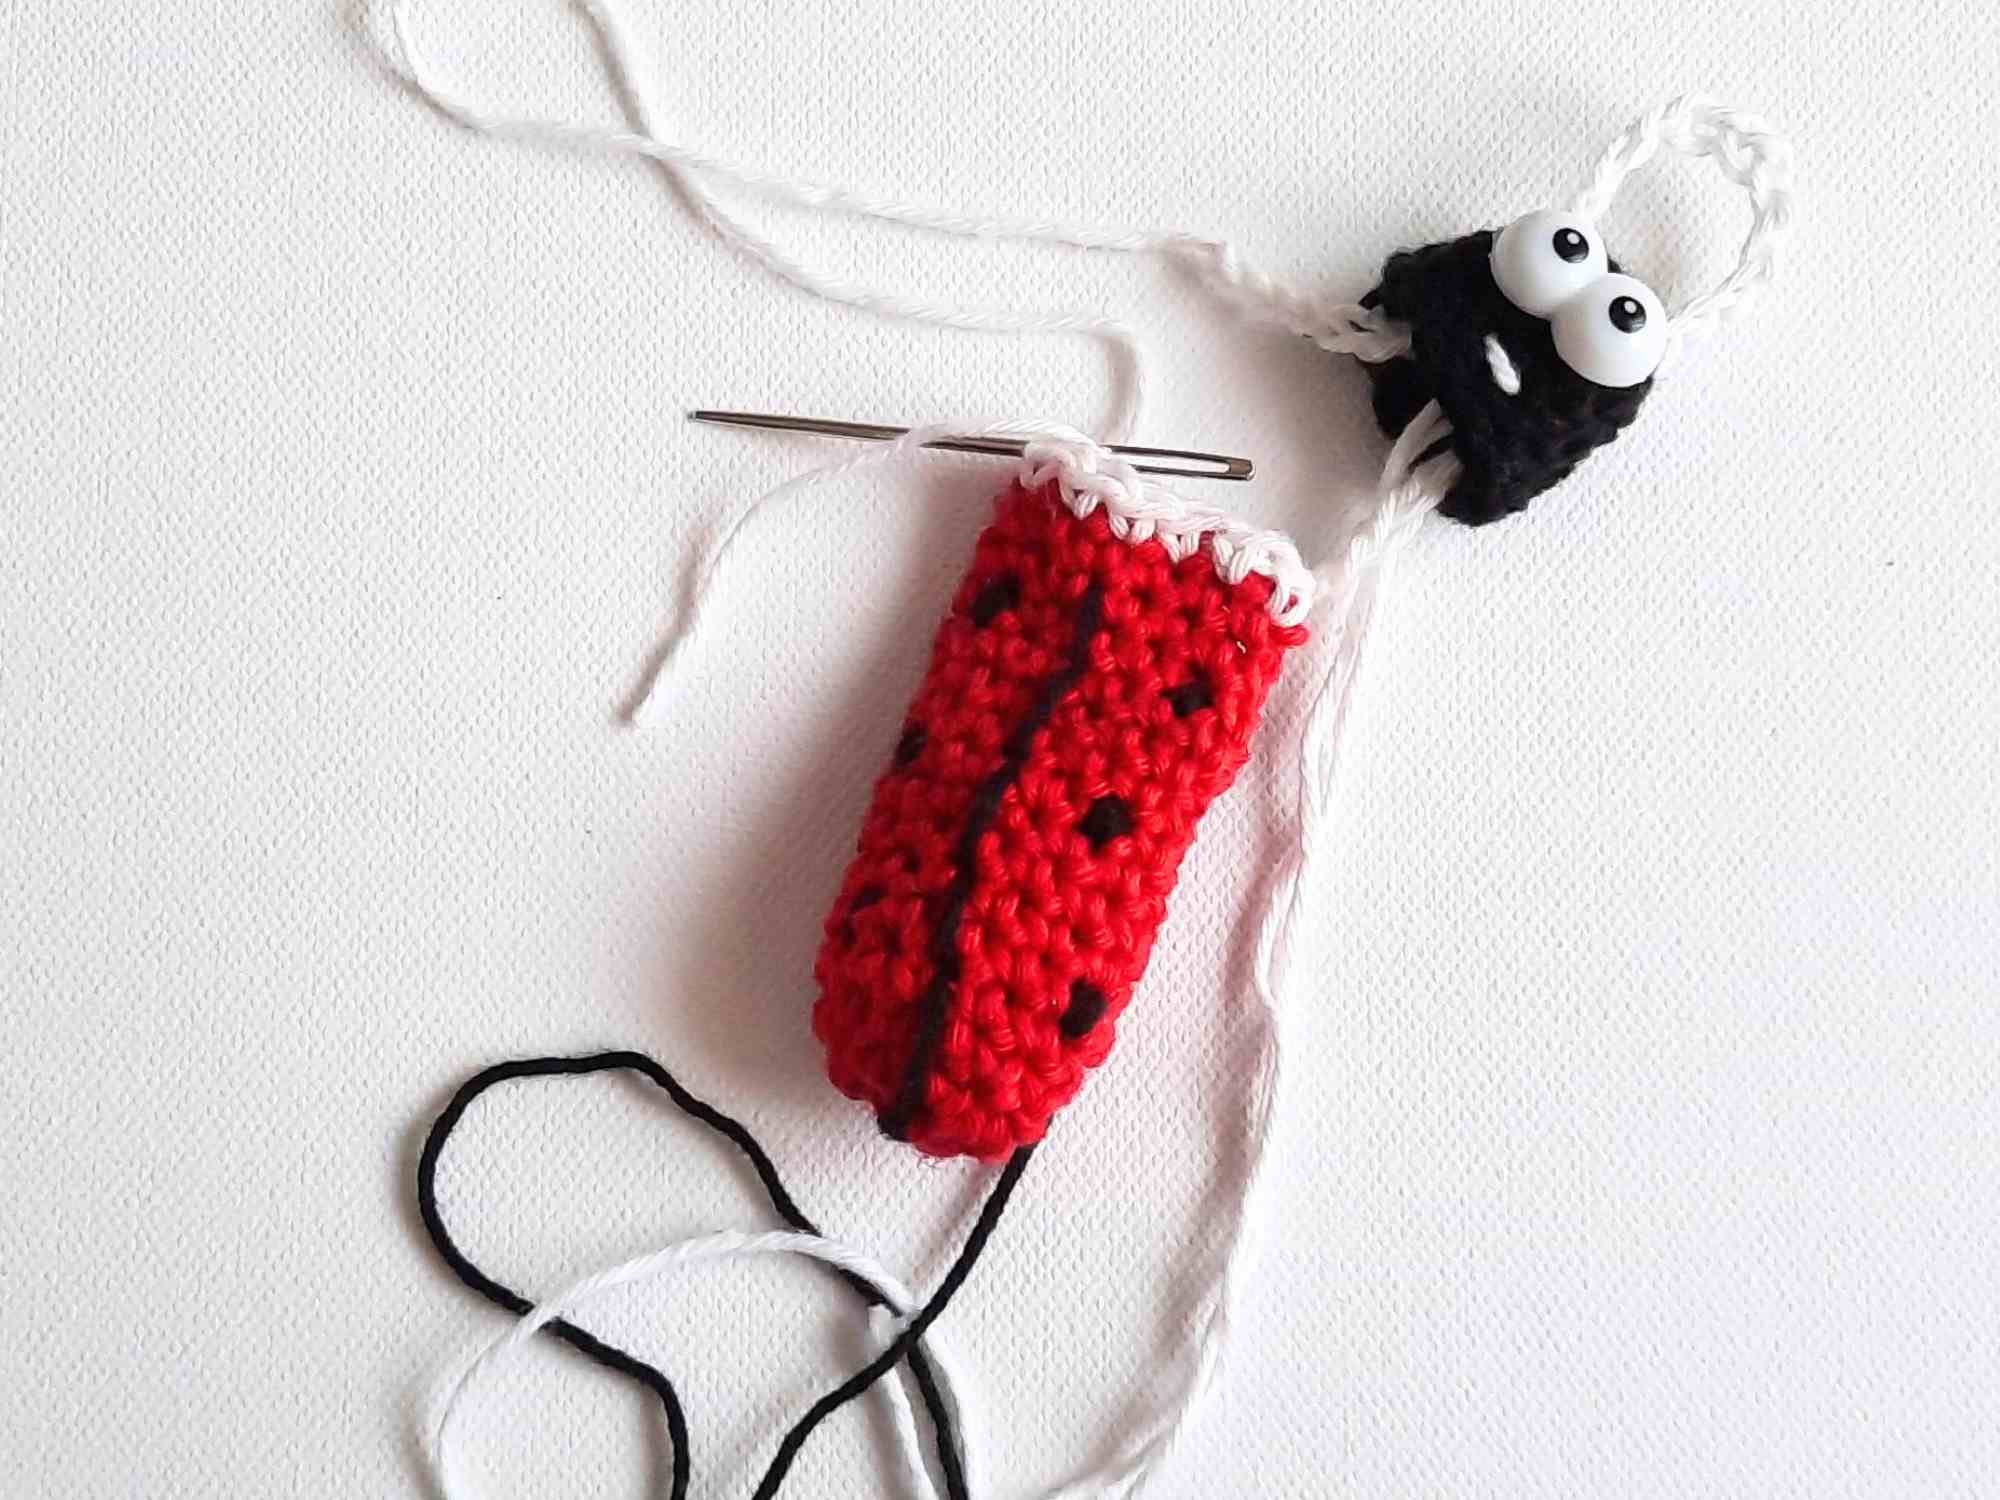
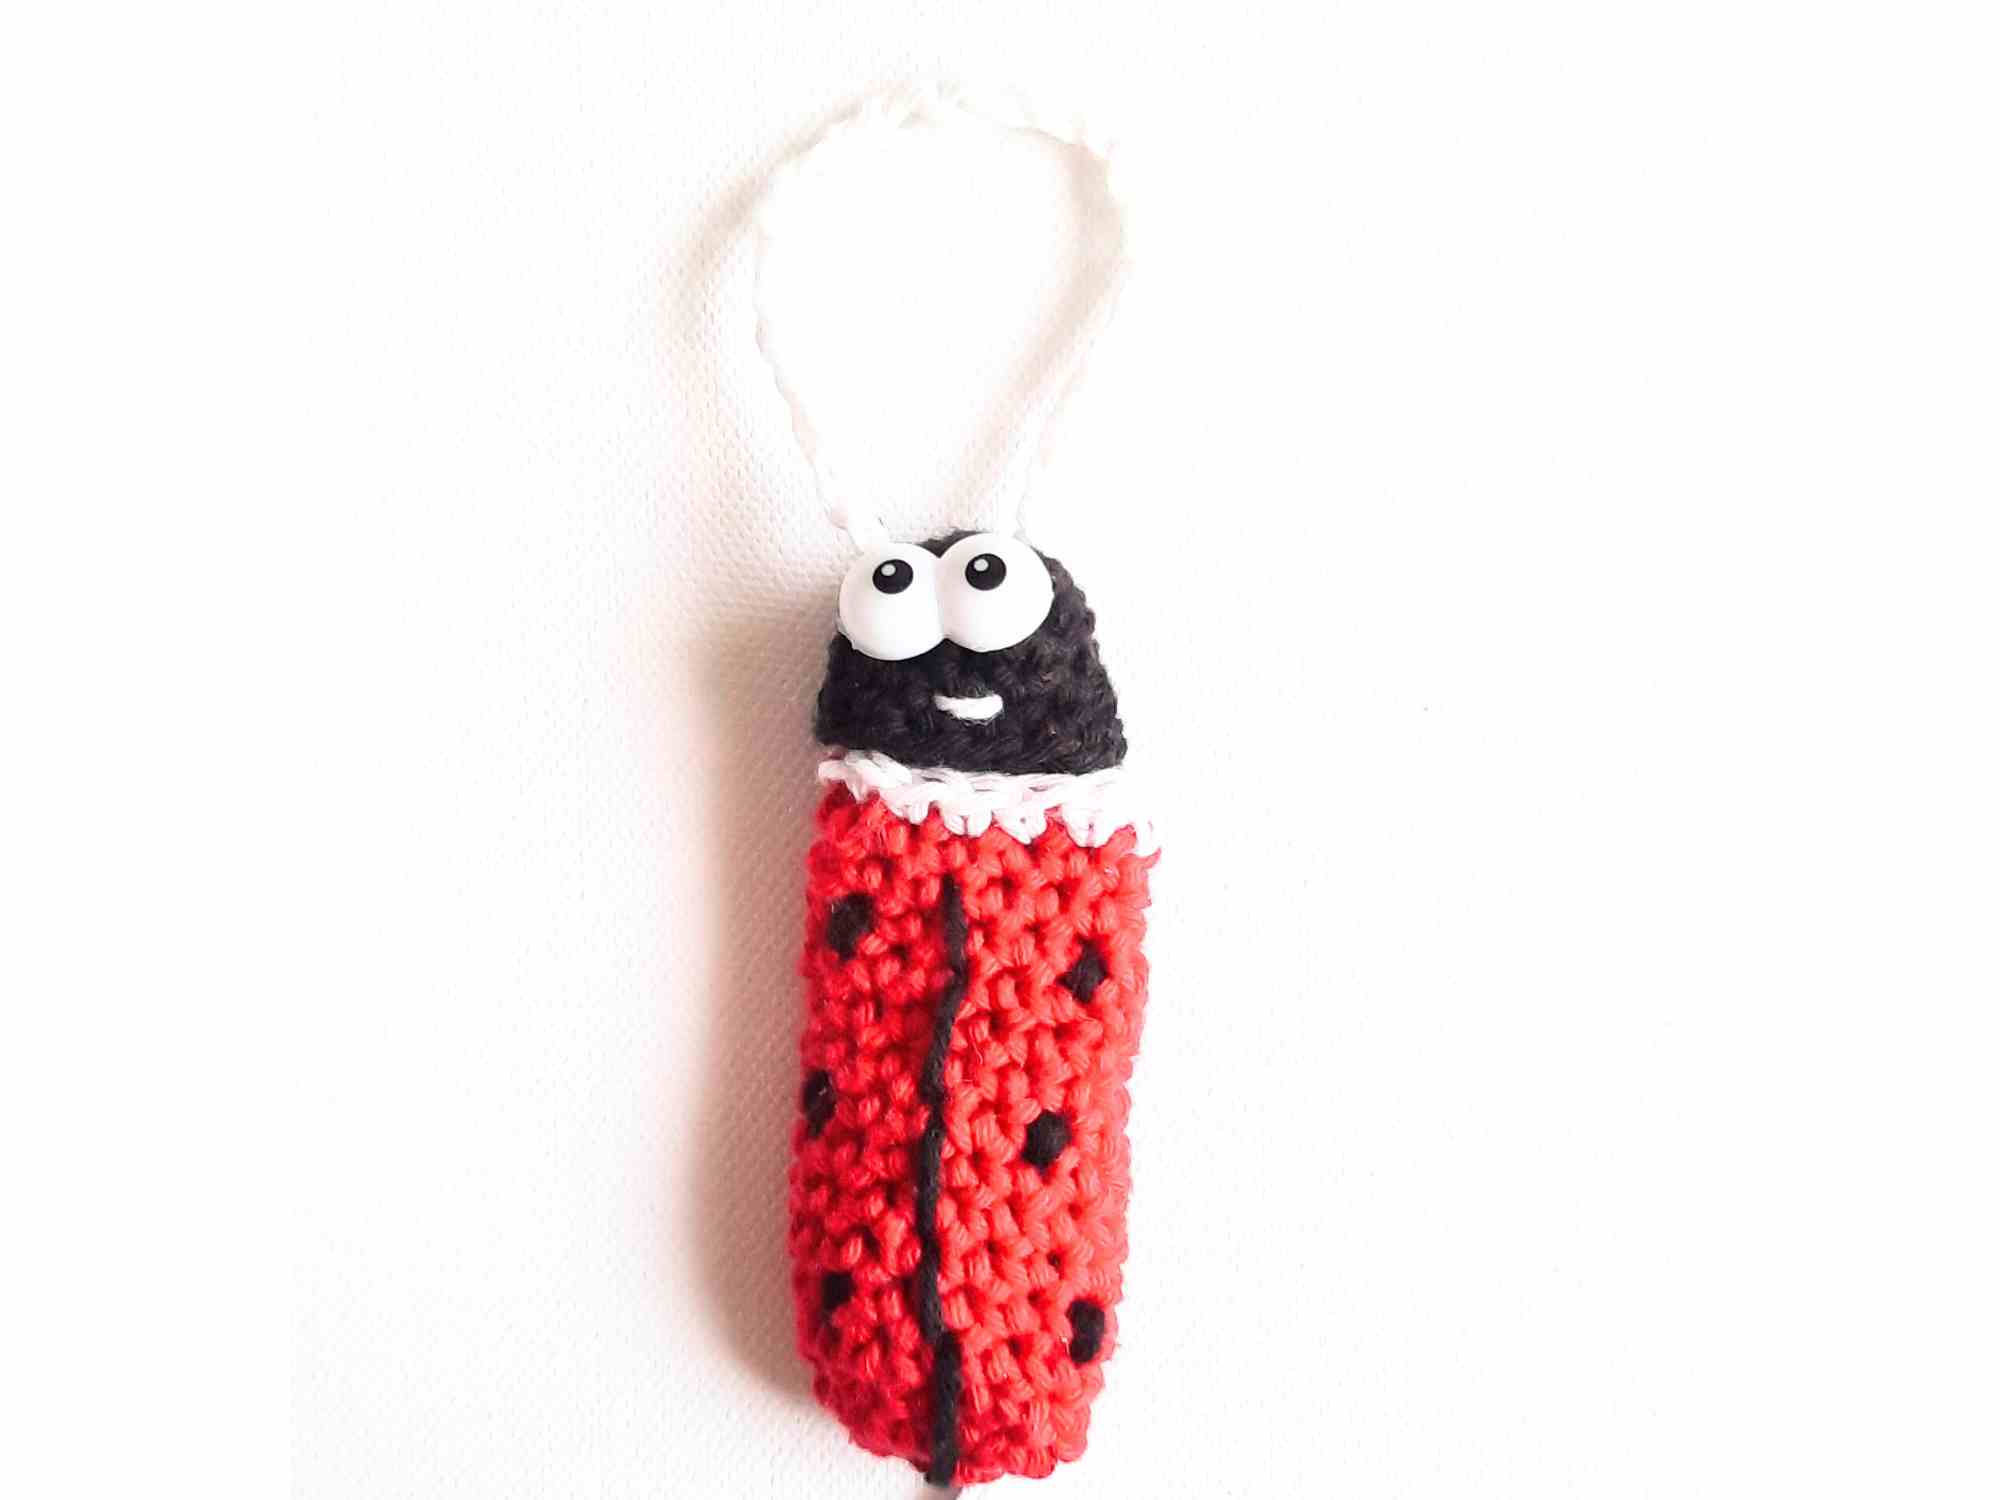
You’ll be able to move the head up and down the chain to open and close the chapstick holder.
- Attach the metal keyring to the end of your long white chain.
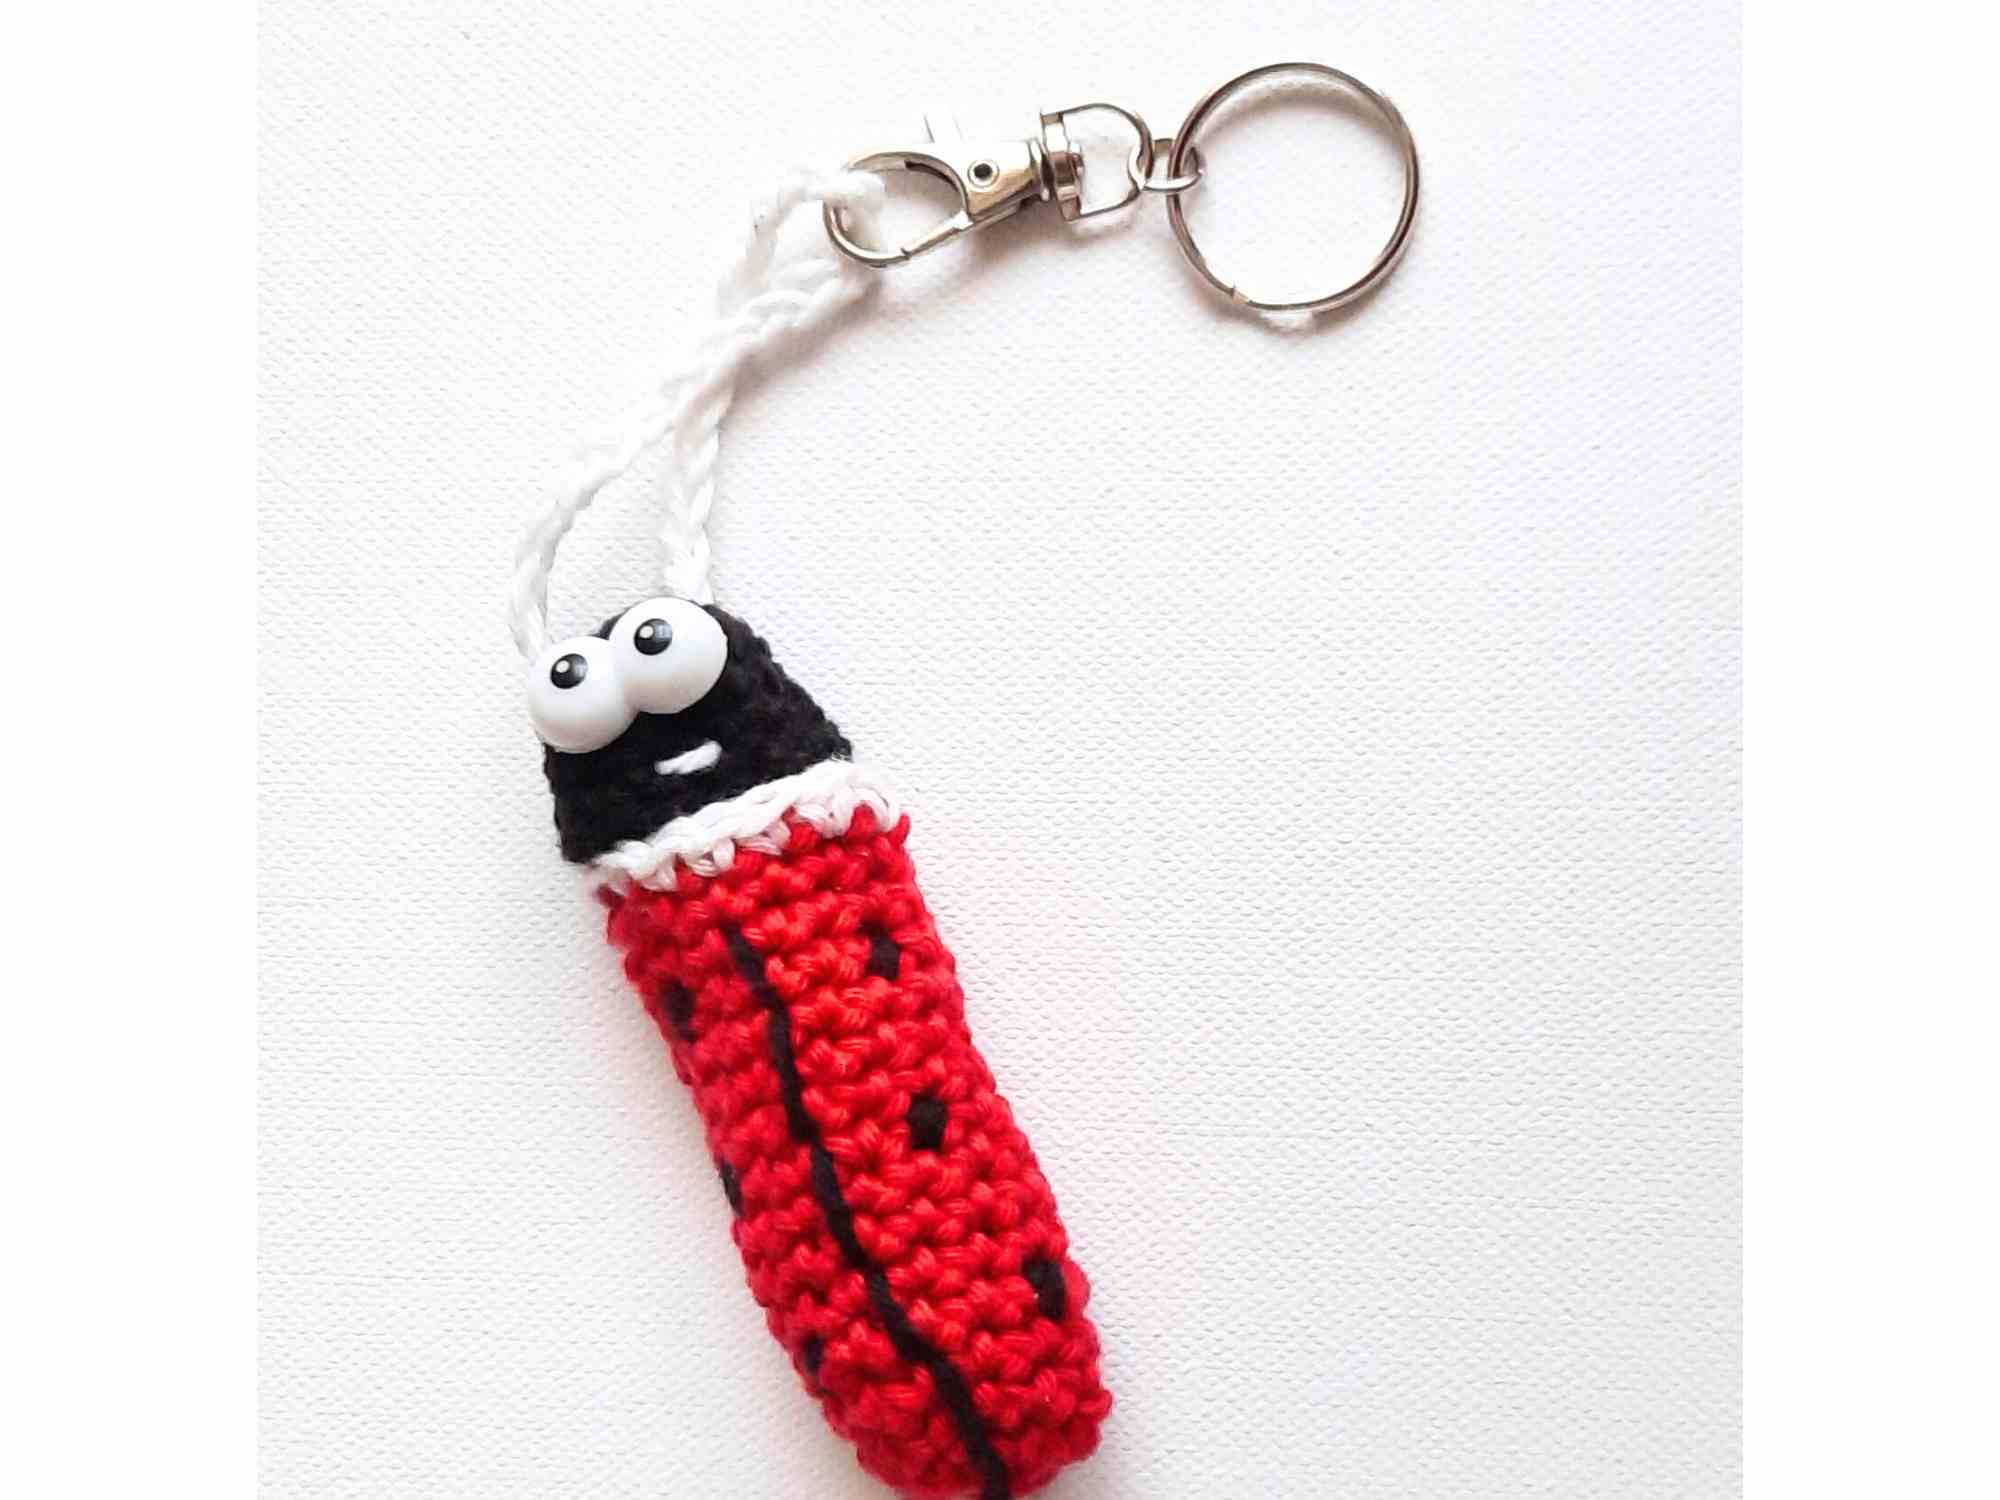
I hope you enjoyed crocheting this cute little Ladybug Chapstick Holder! Who are you making it for?
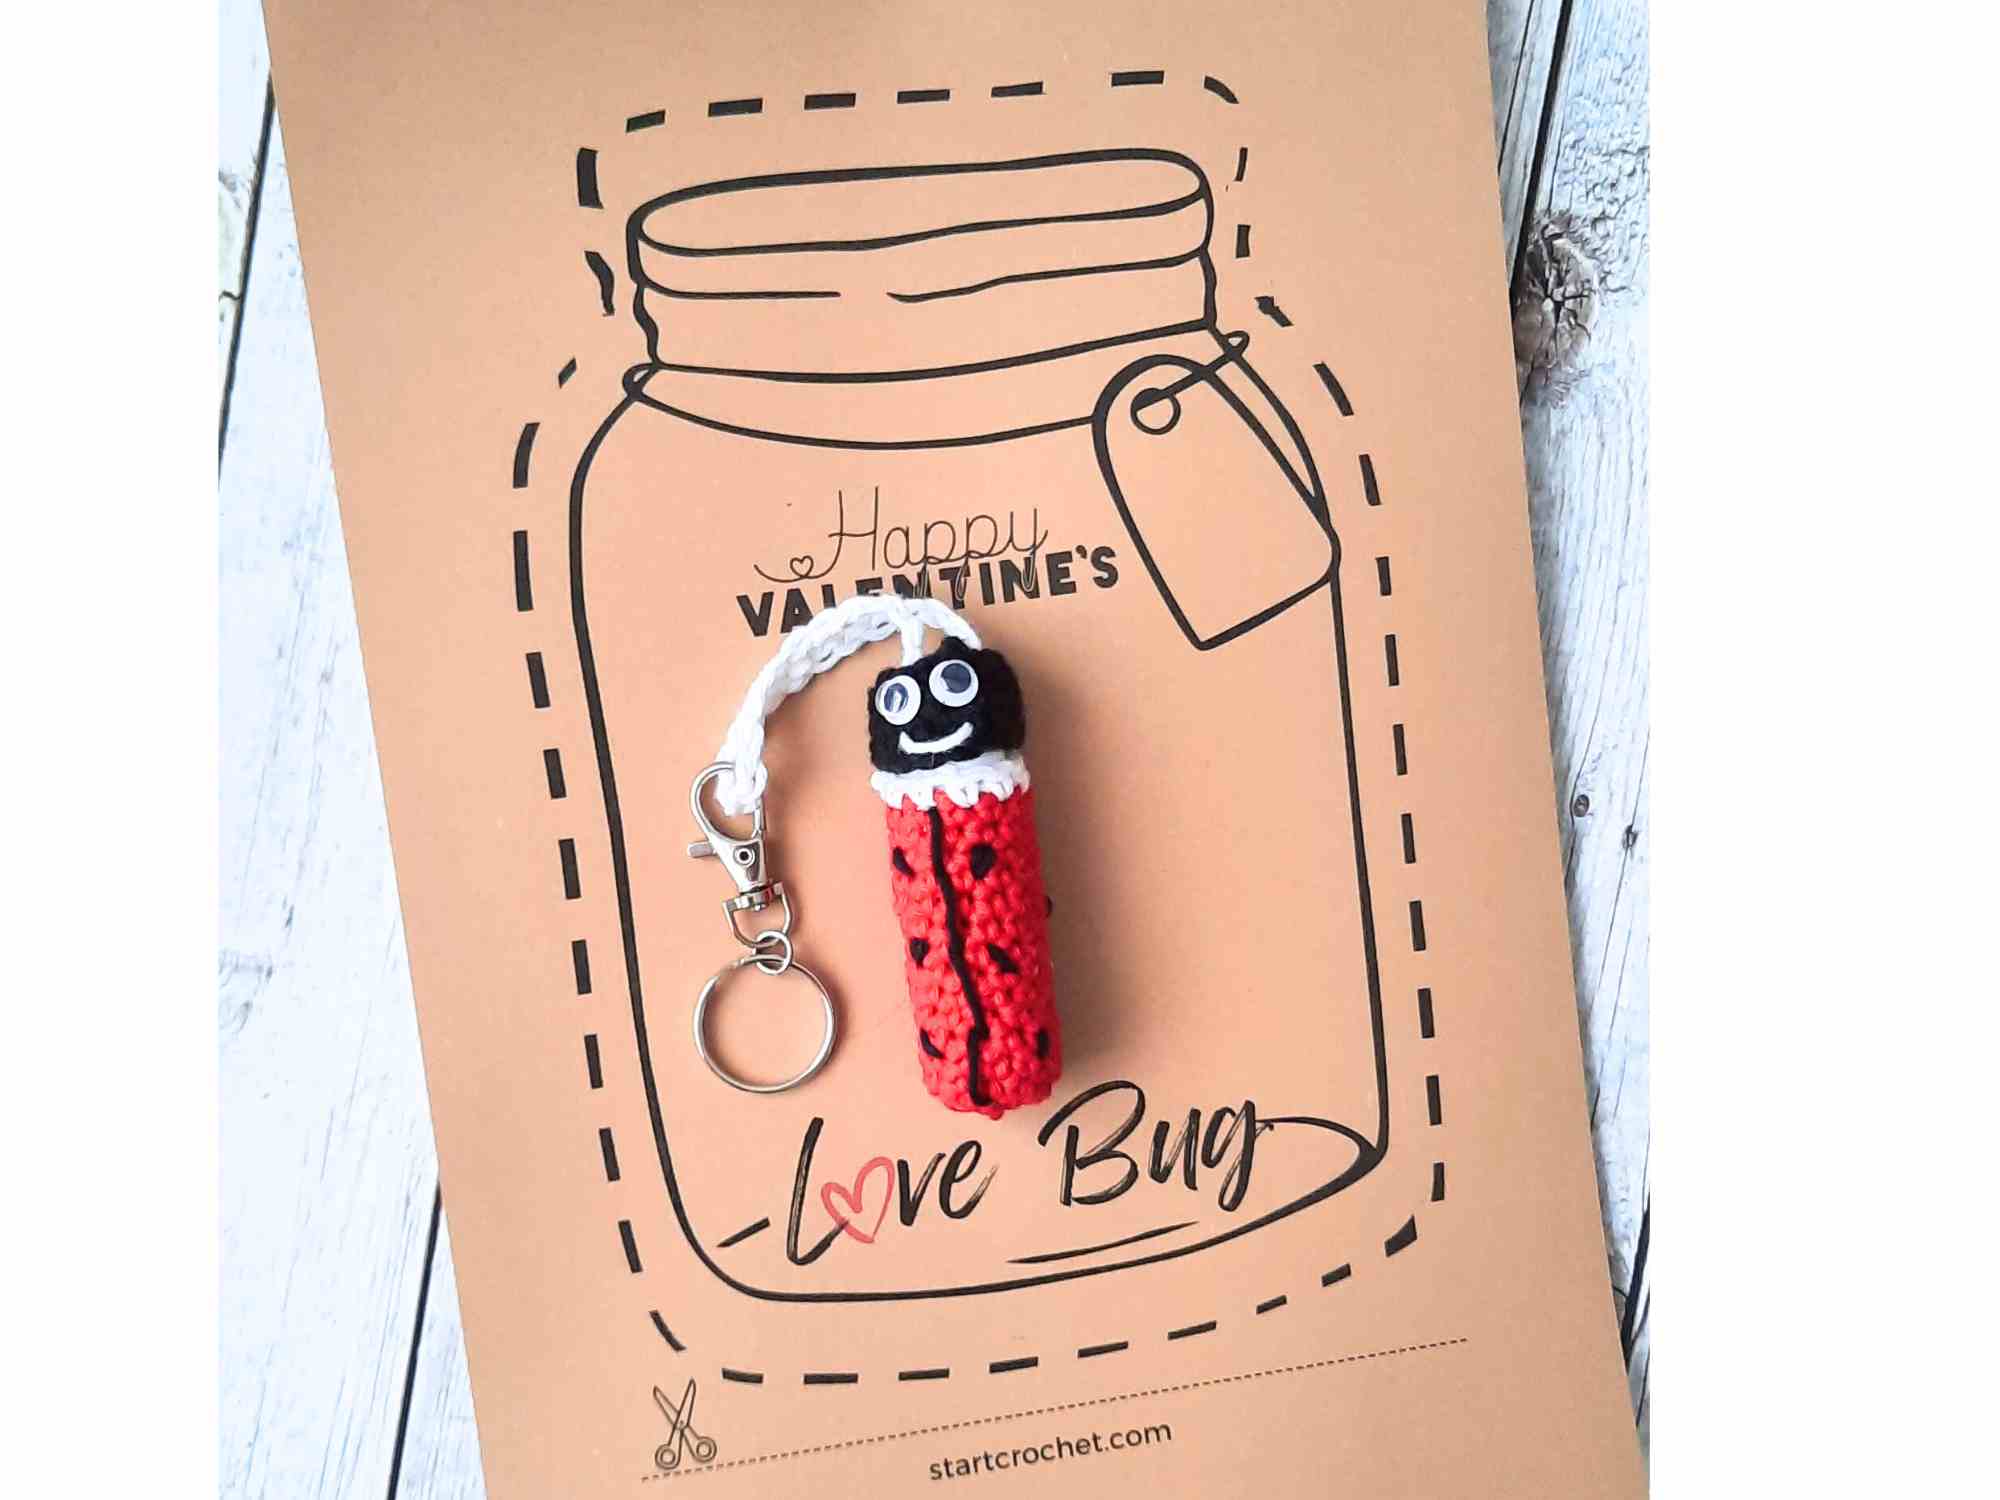
If you'd like to gift this ladybug lip balm holder for Valentine's Day, you could attach it to these pre-designed printable Love Bug Jars.
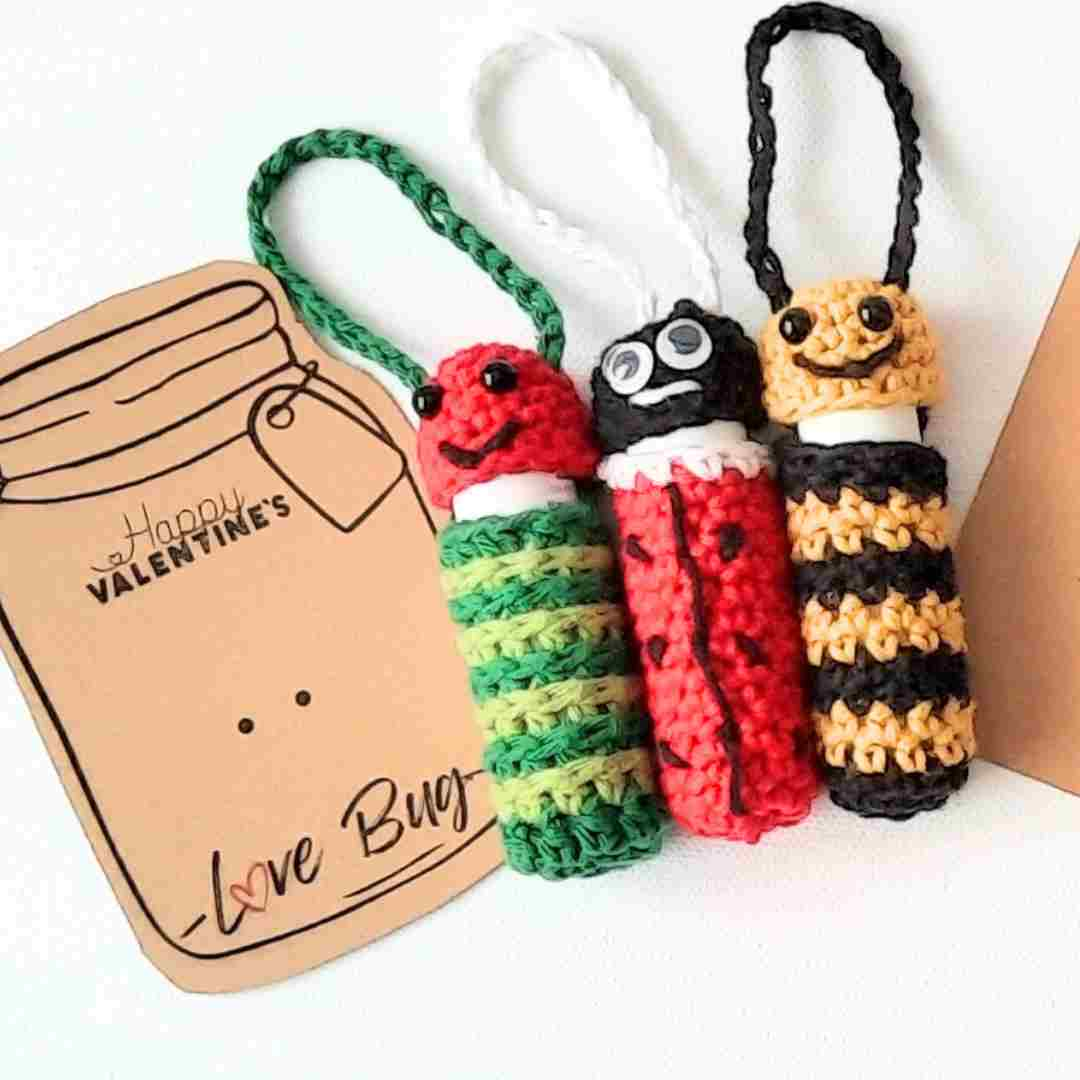
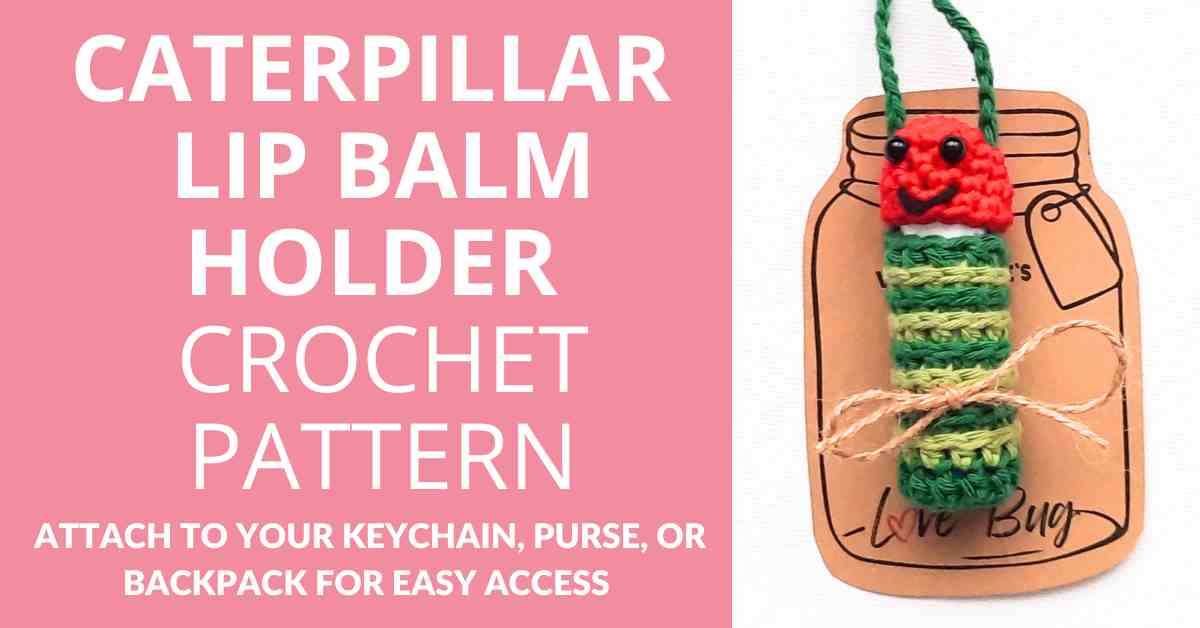
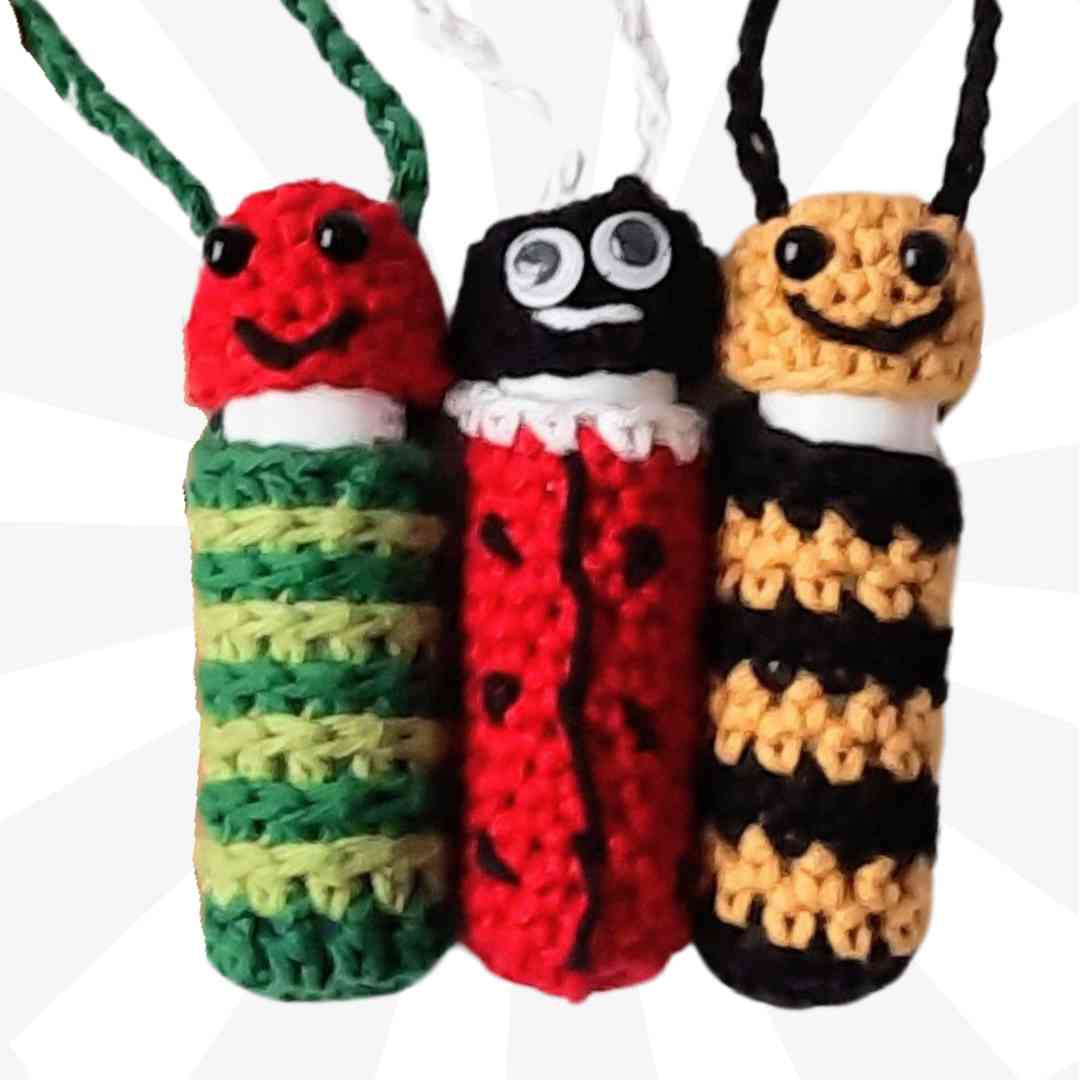
And if you'd like to complete the set of Love Bug Lip Balm holder friends, here are 2 more crochet patterns for you:
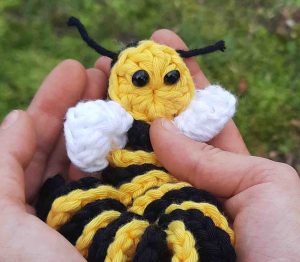
Bee Lip Balm Holder Keychain Crochet Pattern
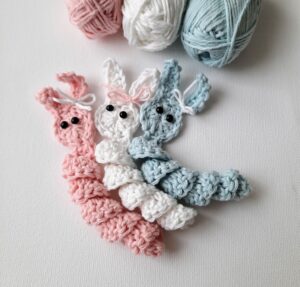
Caterpillar Lip Balm Holder Keychain Crochet Pattern
Happy hooking!
May
Disclaimer: Information in this crochet pattern is given for reference only. Even though I do my best to ensure all patterns have no mistakes, occasional errors may slip through.
No liability is accepted for variations in finished projects. Please get in touch with me at [email protected] if you think there might be a mistake in the pattern or if you are unsure about how to interpret the instructions.
I’d love to see your finished item, so please tag me using @startcrochet.
Please follow my accounts to see what else I’m up to and to keep in touch:
Facebook https://www.facebook.com/startcrochet
Instagram https://www.instagram.com/startcrochet
Pinterest https://www.pinterest.ch/startcrochet
Ravelry: https://www.ravelry.com/people/StartCrochet
LoveCrafts: https://www.lovecrafts.com/en-gb/user/Start-Crochet
Yarnsea https://yarnsea.com/collections/start-crochet
You may sell any finished products that you make from this pattern. However, when selling online, please include a link back to my blog startcrochet.com or tag me on social with handle @startcrochet
Thank you!
© All rights for this pattern are reserved to Start Crochet. Copies and/or reproduction, translation or reselling of this pattern is a violation of the law.

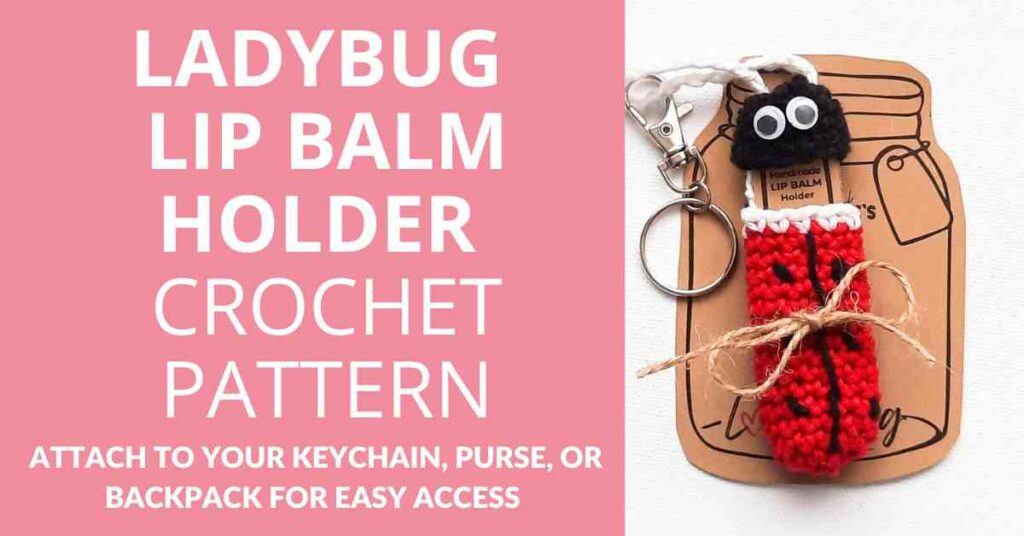
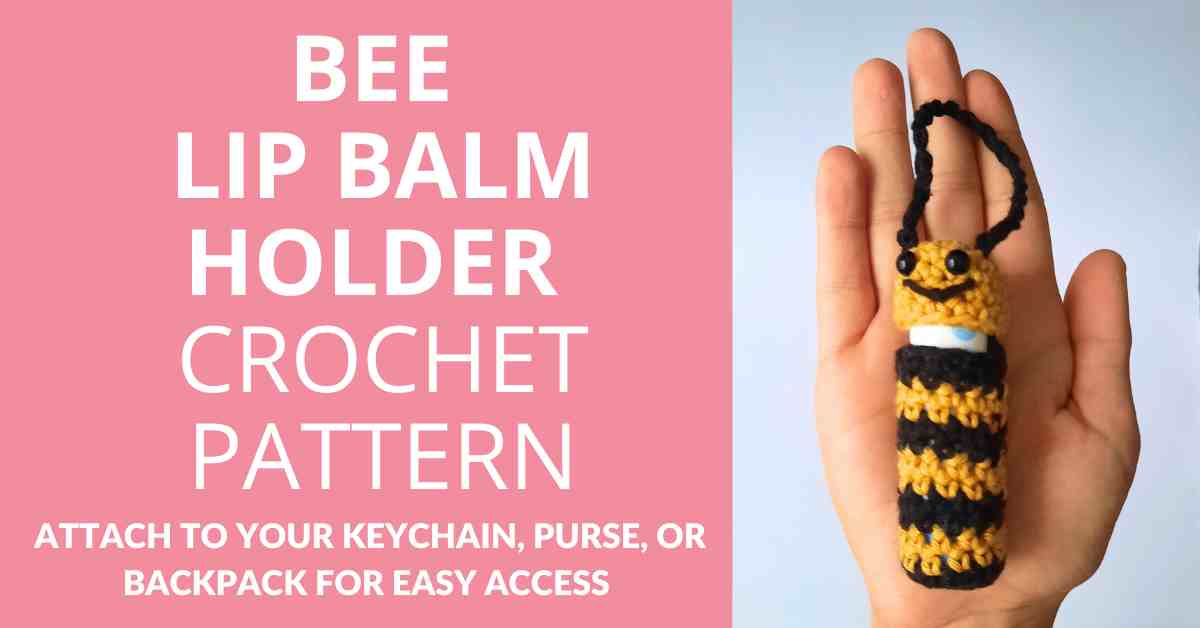



































I loved making this Ladybug Lip Balm Holder. The pattern was very well written and easy to follow. I used white felt behind the eyes, as I felt this was the easiest way for me and made the eyes pop. Works up very easily.
This is the first of the three that I’ve made and I absolutely loved it. The pattern is well written and the pictures were super helpful. The tips on using safety eyes were super helpful. I added white around the eyes so that way they were easier to see!
So cute!!! I just made the ladybug. I’m very new to crochet but the pattern was super easy to follow and the pictures were great! Thanks for sharing!
Aww! Thank you so much for your kind words! I’m so happy to hear you found the pattern easy to follow and that you’re happy with your new ladybug 🙂 Enjoy and make some more for your family and friends 🙂