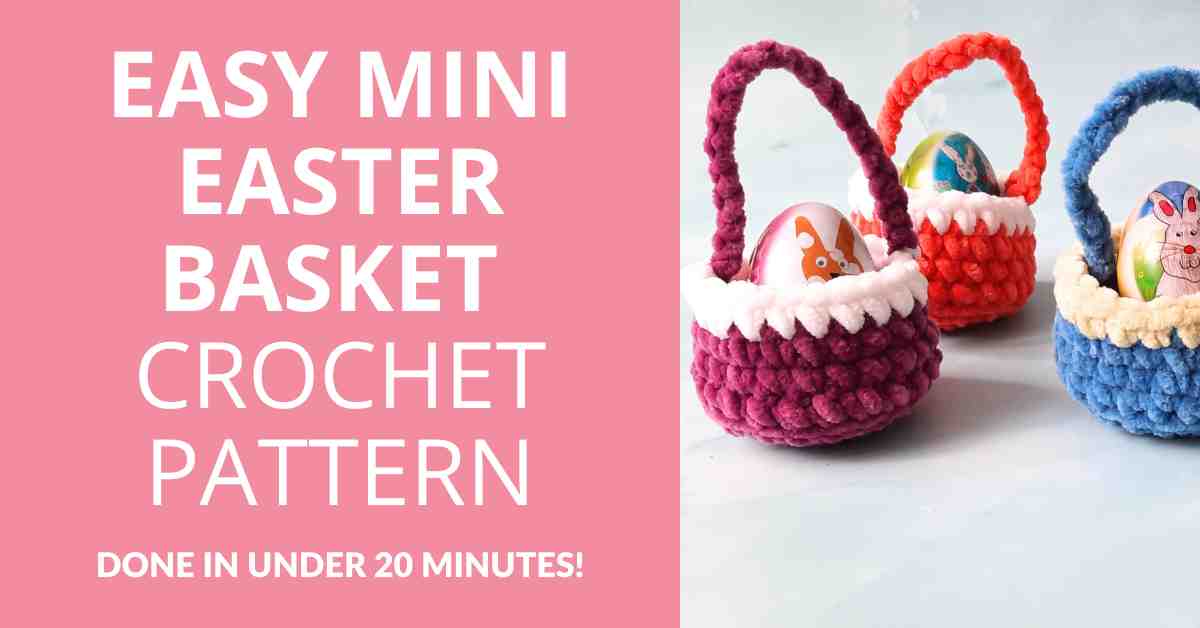
Easy Mini Easter Basket
Crochet Pattern
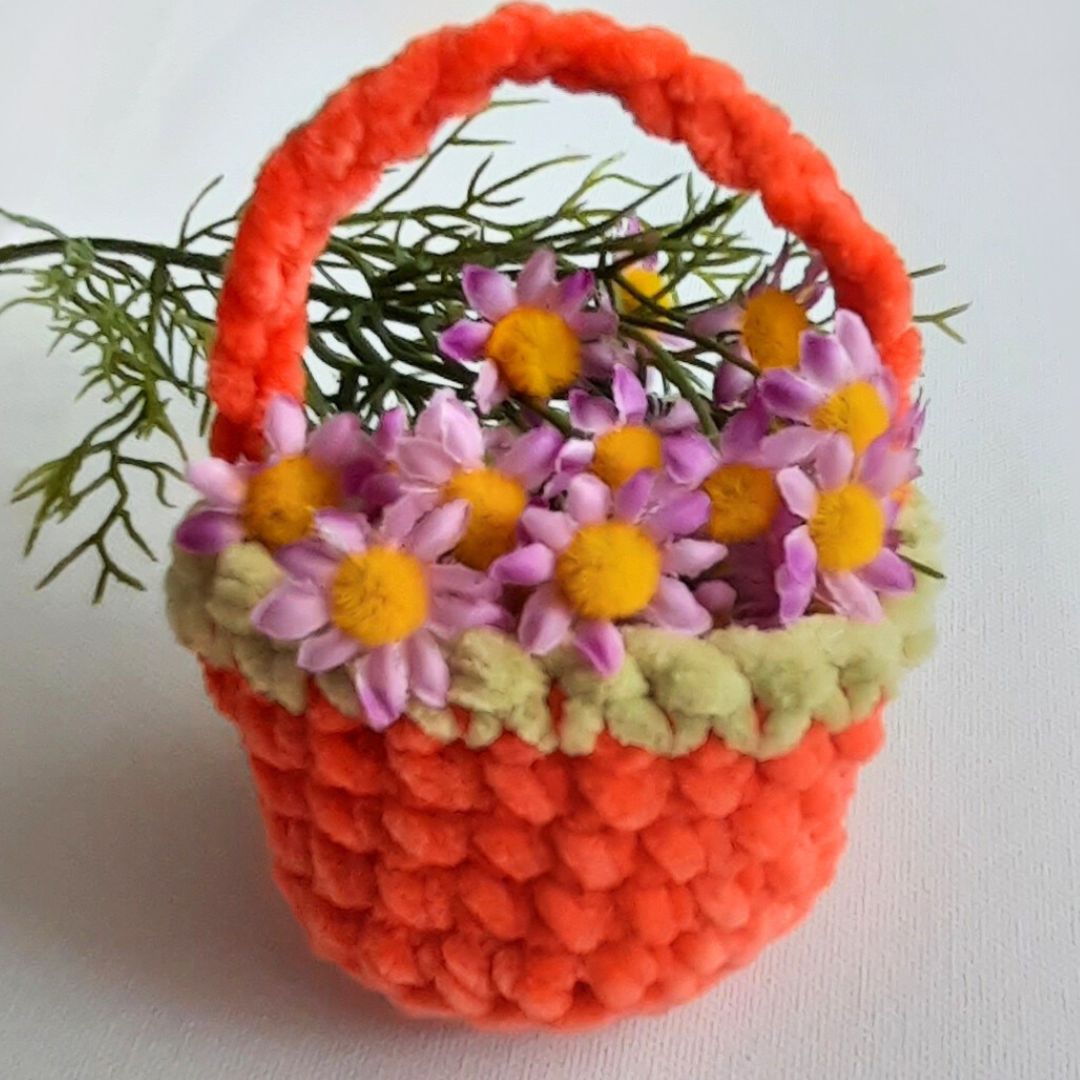
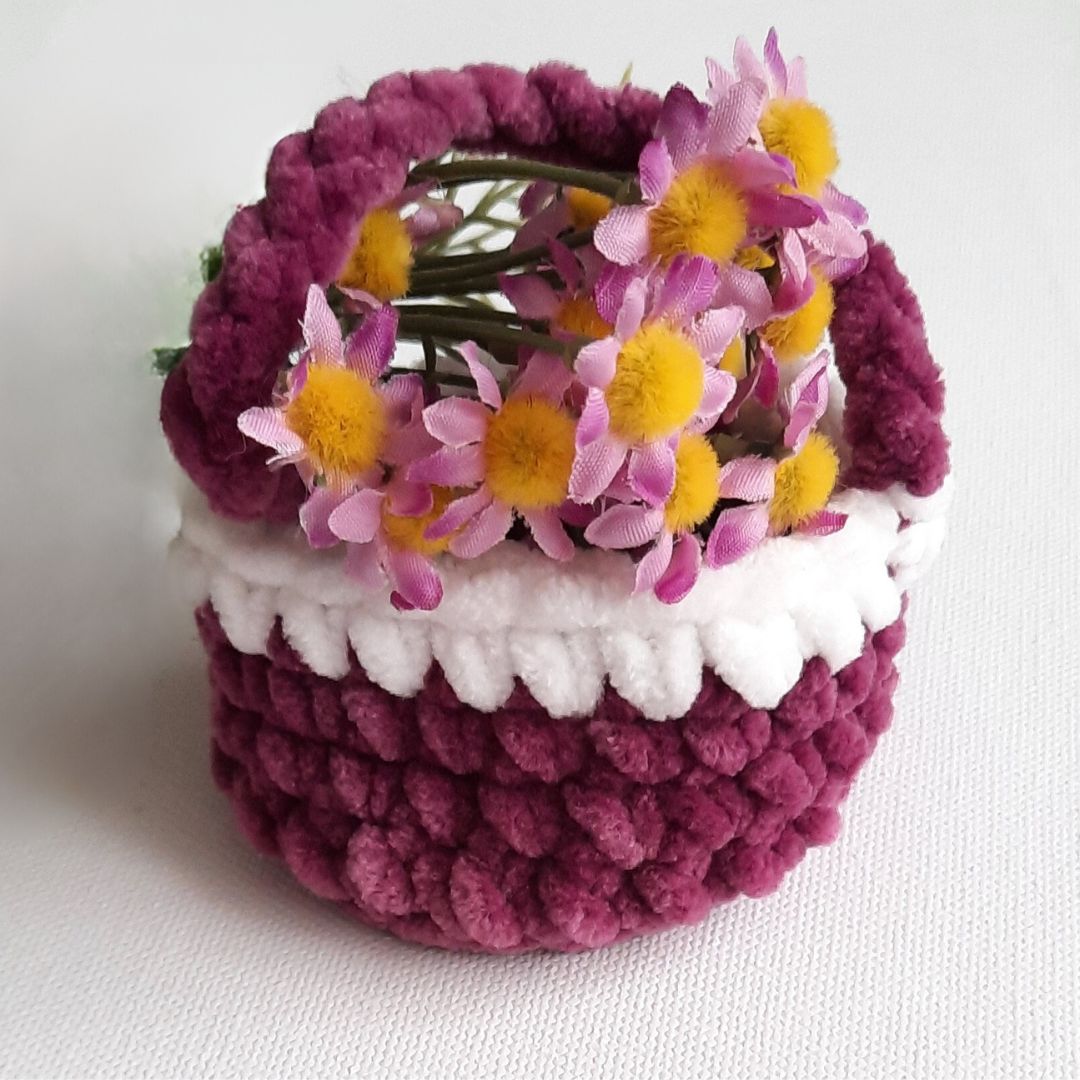
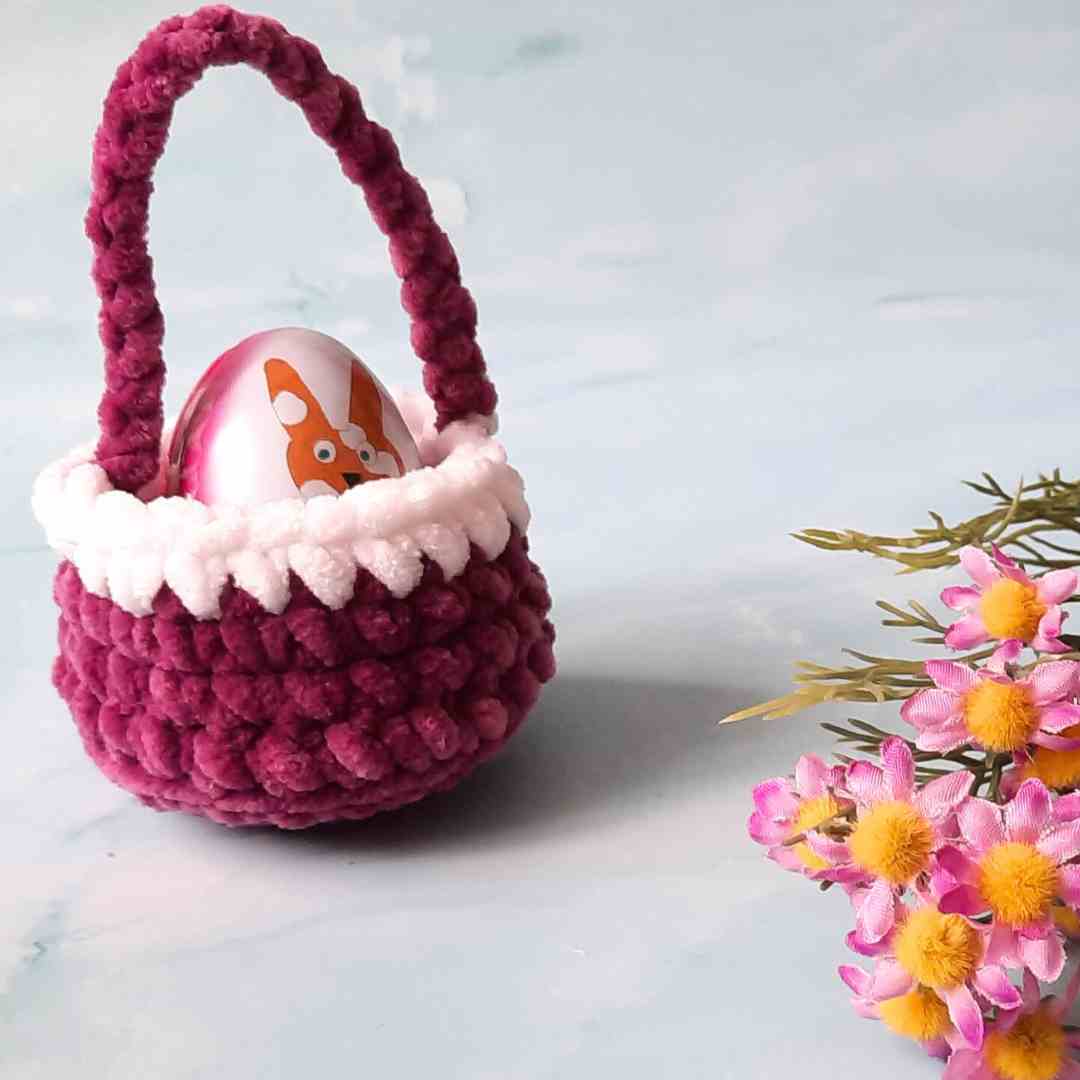
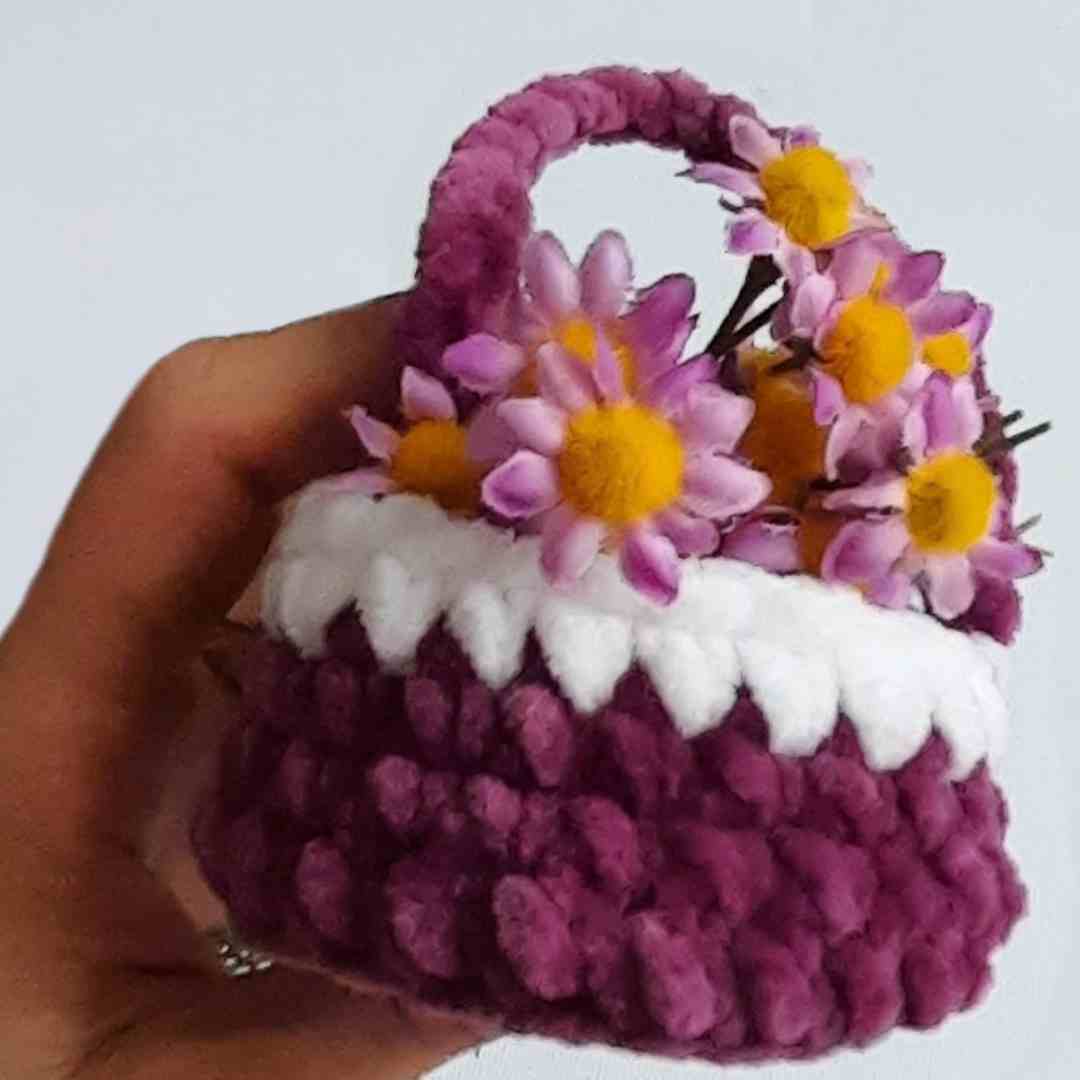
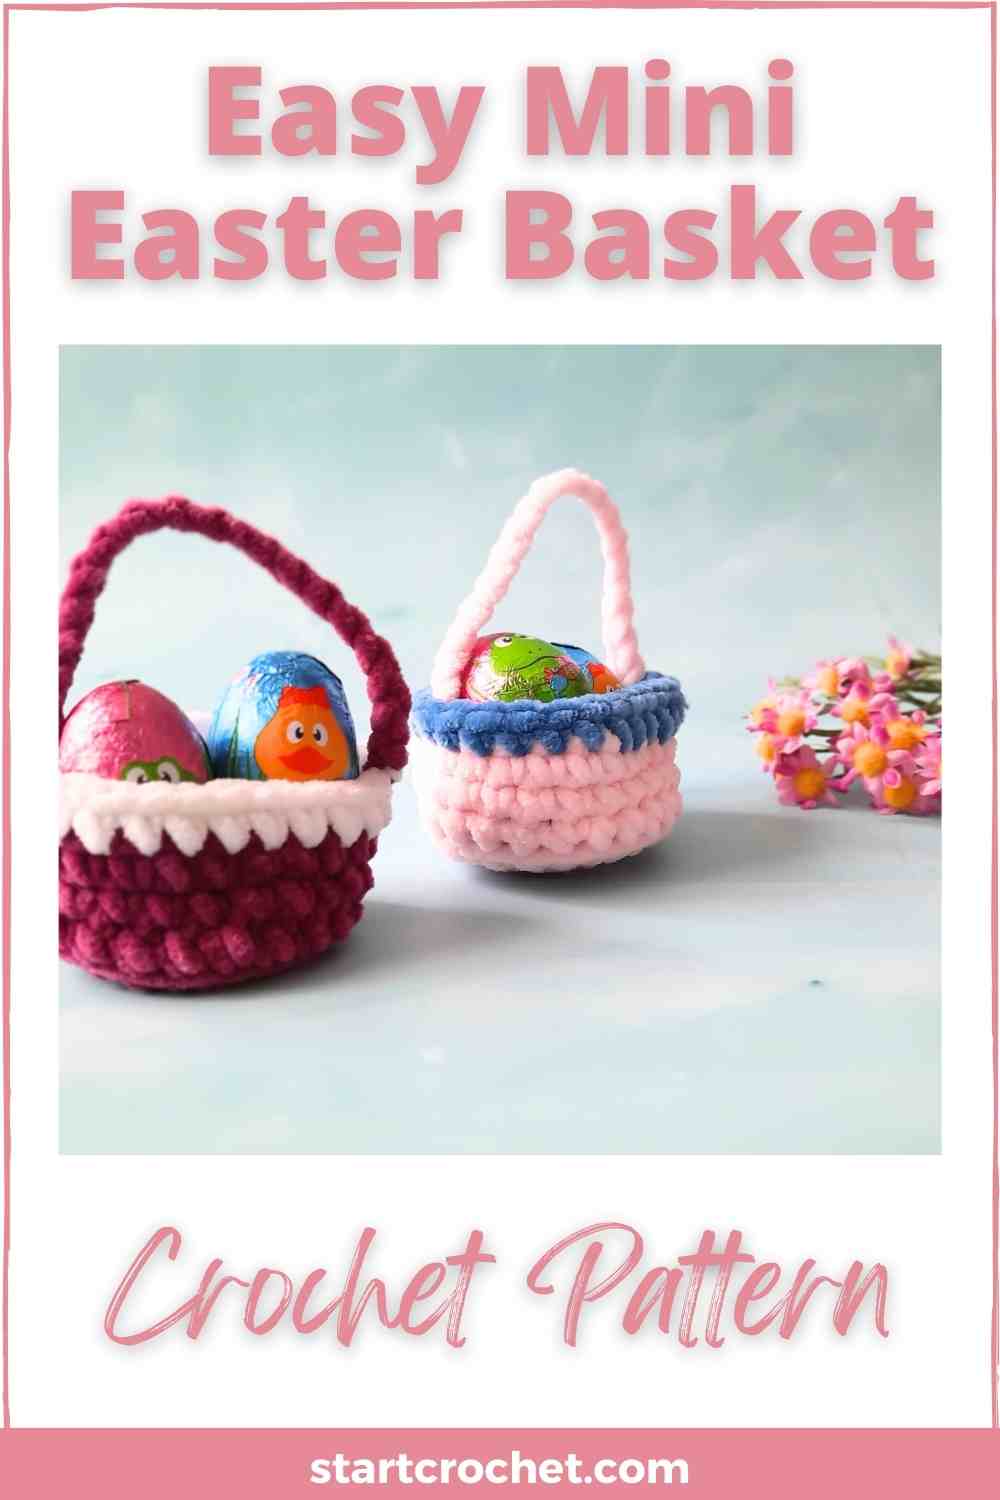
Want to crochet a super fast & easy mini Easter basket this year? You could also use it for Mother's Day and add some freshly picked flowers... Here's a 20-minute mini Basket crochet pattern ideal for beginners.
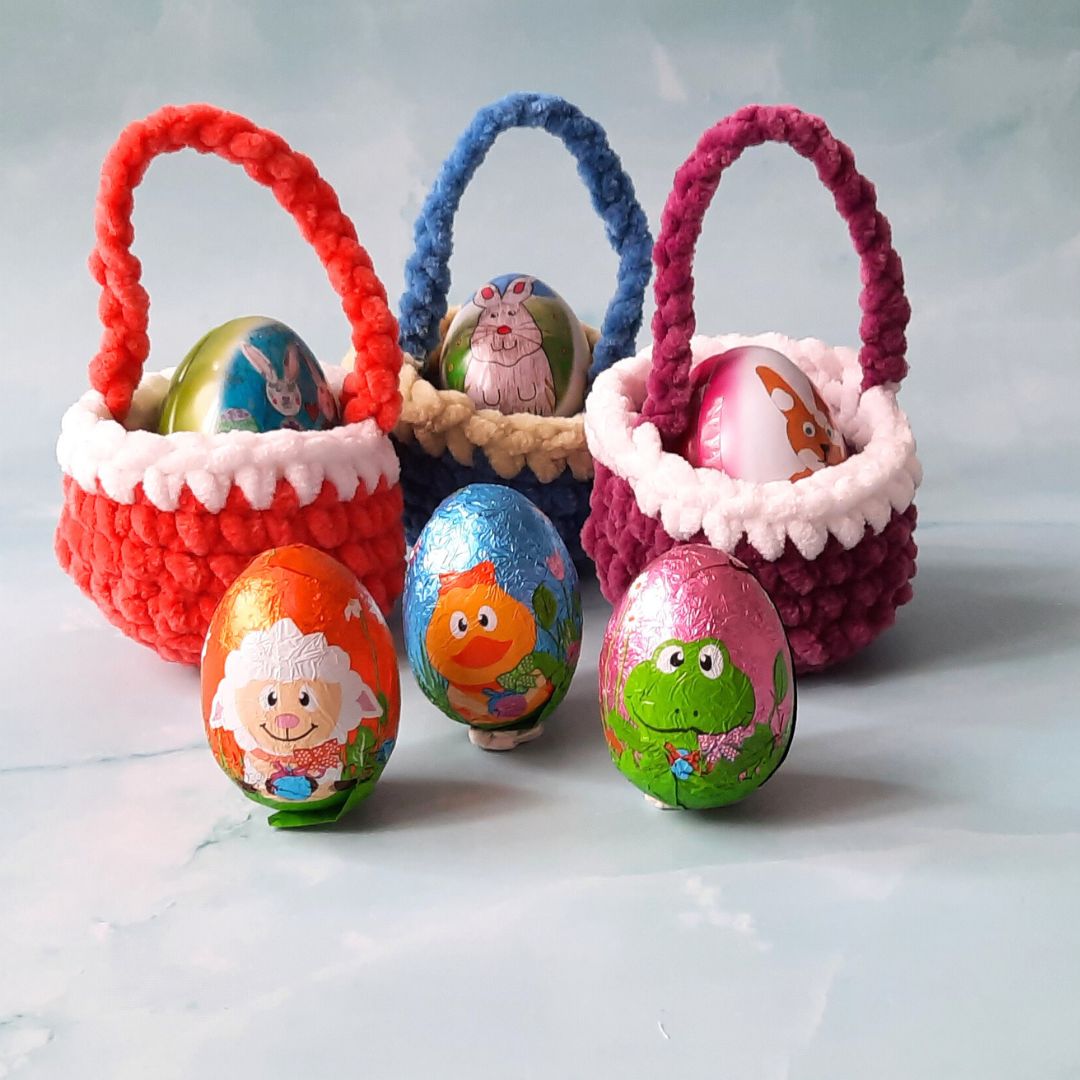
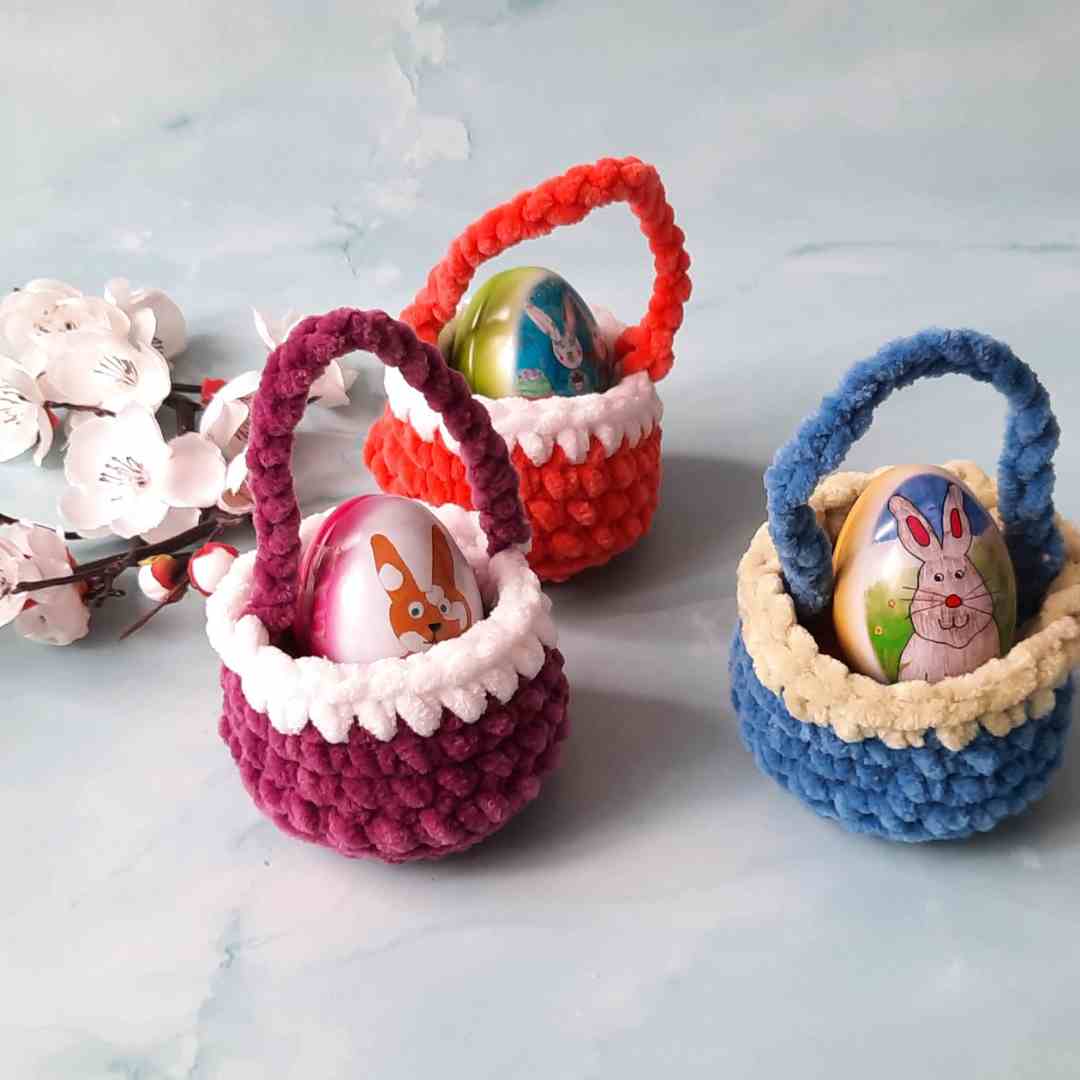
You can make several of these baskets if you need to in a short time. They'd also be ideal for classrooms, family gatherings, party favors or even as decor items around your house.
You could fill these Easter baskets with painted eggs, chocolate eggs, flowers, or if you've got pets, add some pet-friendly treats for your furry friends to enjoy during the holiday festivities.
I hope you enjoy this pattern and if you have any questions, you can ask them in the where you will surely get the help you’re looking for.
Bloggers: Seeking designs for your upcoming roundup? I’d love for you to feature my work! You have my permission to use one photo in your roundup post as long as a link is provided back to the associated pattern page. Please let me know when your post is published so I can share it on my social media, too. Thank you!
This pattern is featured on April 6, 2025 in the Easter Blog Hop by Lisa Ferrel from My Fingers Fly!

For the free pattern, please keep scrolling on this page or click on "Pattern Instructions" in the Table of Contents below.
Like this pattern, but not ready to work it yet? Save it to Pinterest!
Materials Needed
- Velvety Chenille Yarn in 2 contrasting colors - I used Katia Bambi Baby Love 100% polyester (Super Bulky)
- Crochet hook size J (6 mm)
- Stitch marker or alternative.
- A darning needle
- A pair of scissors
Abbreviations
MC = magic circle
ch = chain
sc = single crochet
Scblo = single crochet back loop only
sl st = slip stitch
st = stitch
sts = stitches
fo = fasten off
Skill Level
Beginner
Are you just learning how to crochet? Have a look at these awesome crochet kits, perfect for beginners! I wrote a complete hands-on review on The Woobles Kits for you 🙂
Gauge
10 stitches and 8 rows = 10 cm in single crochet
Have you started several crochet projects and are worried you won't remember your hook size, the yarn you used or which pattern you were following? Download this Free Crochet Project Tracker and keep it in your projects folder.
Crochet Project Tracker
Free Printable
Keep track of your crochet projects with these printable sheets.
Your info is 100% secure and will never be shared.
Size
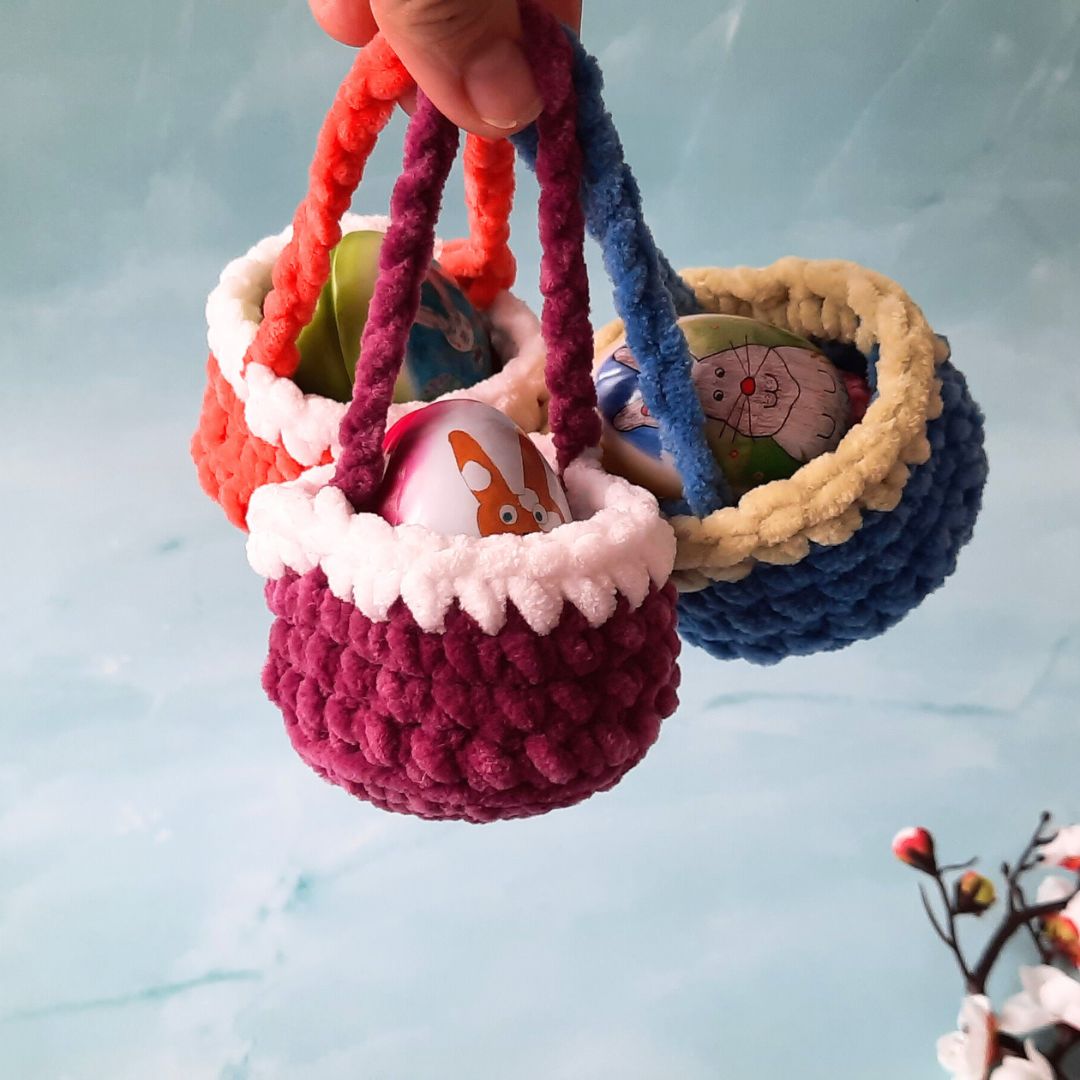
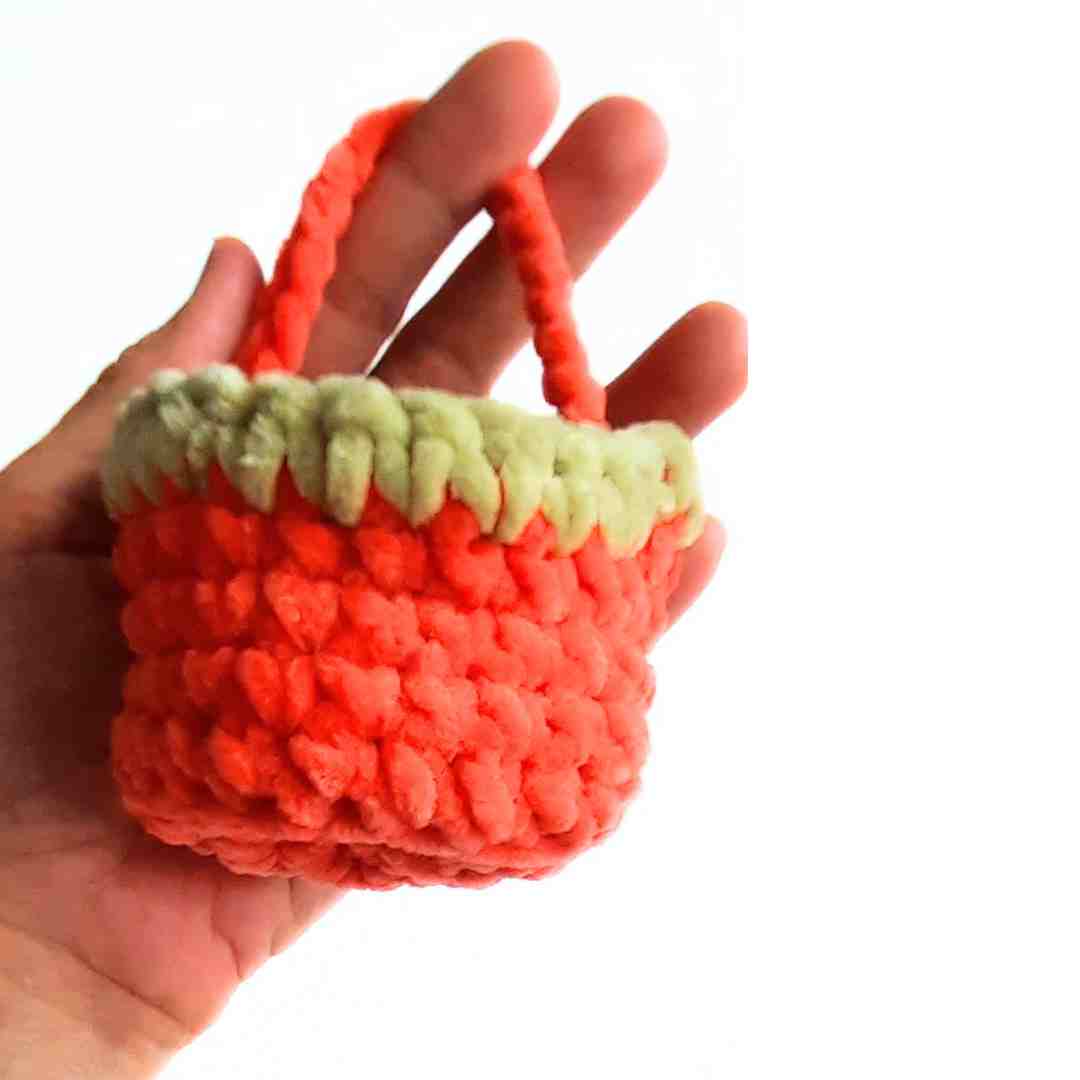
This basket measures approx. 3“ (7.5 cm) in diameter and the sides measure approx. 2” (5 cm) in height.
Yardage
Yardage: Approximately 14.40 yards (13.17 meters)
Notes
- You can use any type of yarn as long as you have a corresponding crochet hook size (check yarn label for recommendations).
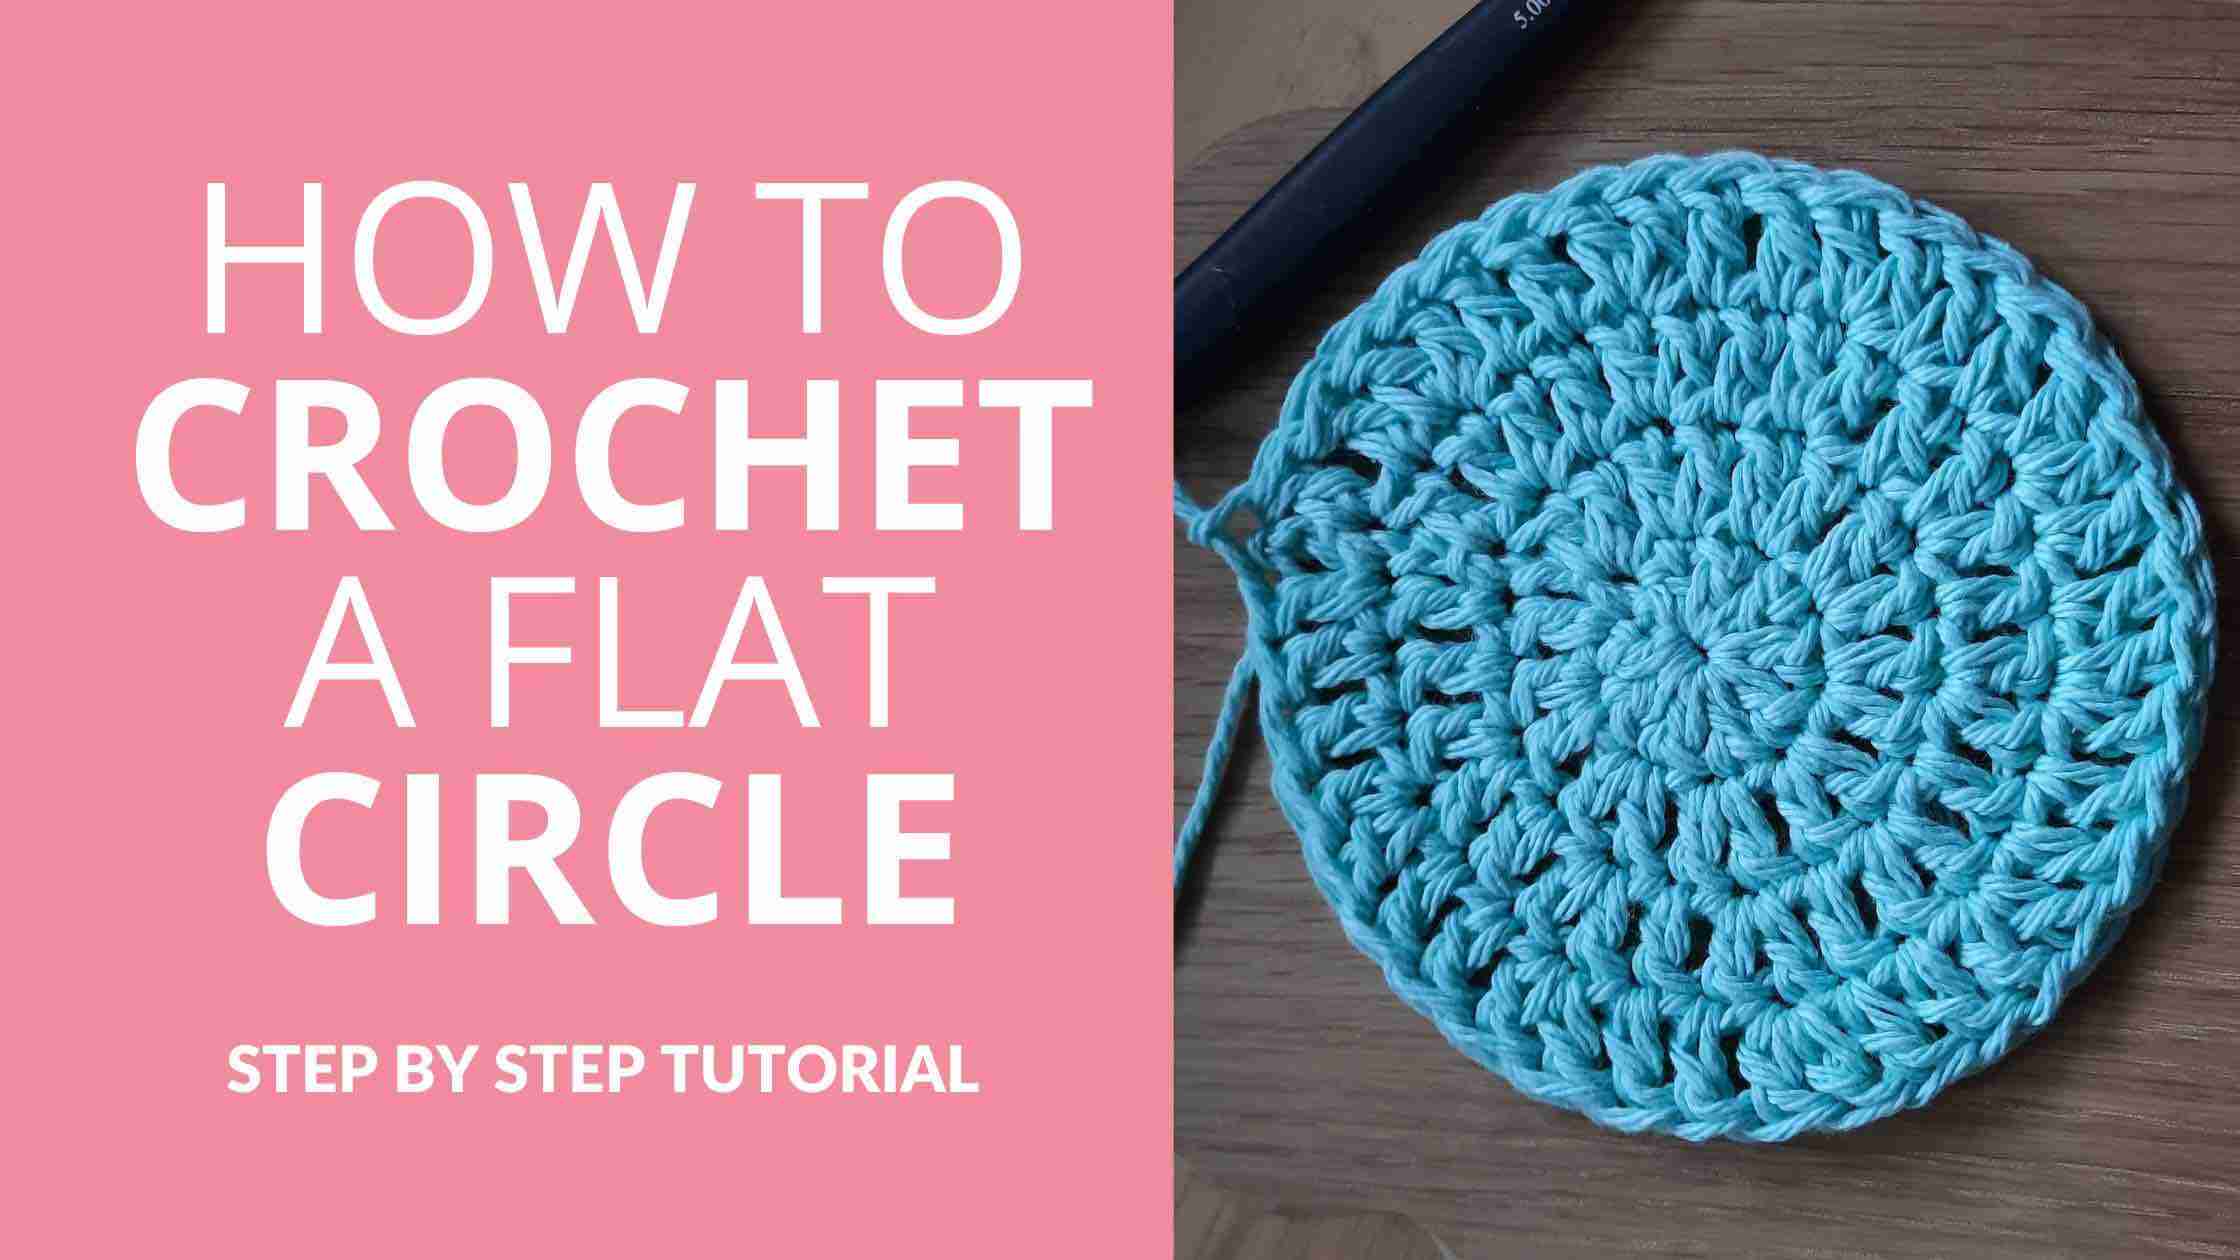
- You can make the pattern larger or smaller by changing the type/weight of yarn and/or hook size. You could also increase the number of rounds in the base of the pattern to make a larger basket. Follow these instructions on how to crochet a flat circle to get the correct number of increases per round.
- Numbers at the end of each round (in brackets) indicate the number of final stitches in that round.
- This pattern is worked in continuous rounds.
- Move your stitch marker to the first stitch of each round to keep track of your stitches.
- Please note that I use US crochet terms.
US vs. UK Crochet Terms & Symbols
Free Printable


Your info is 100% secure and will never be shared.
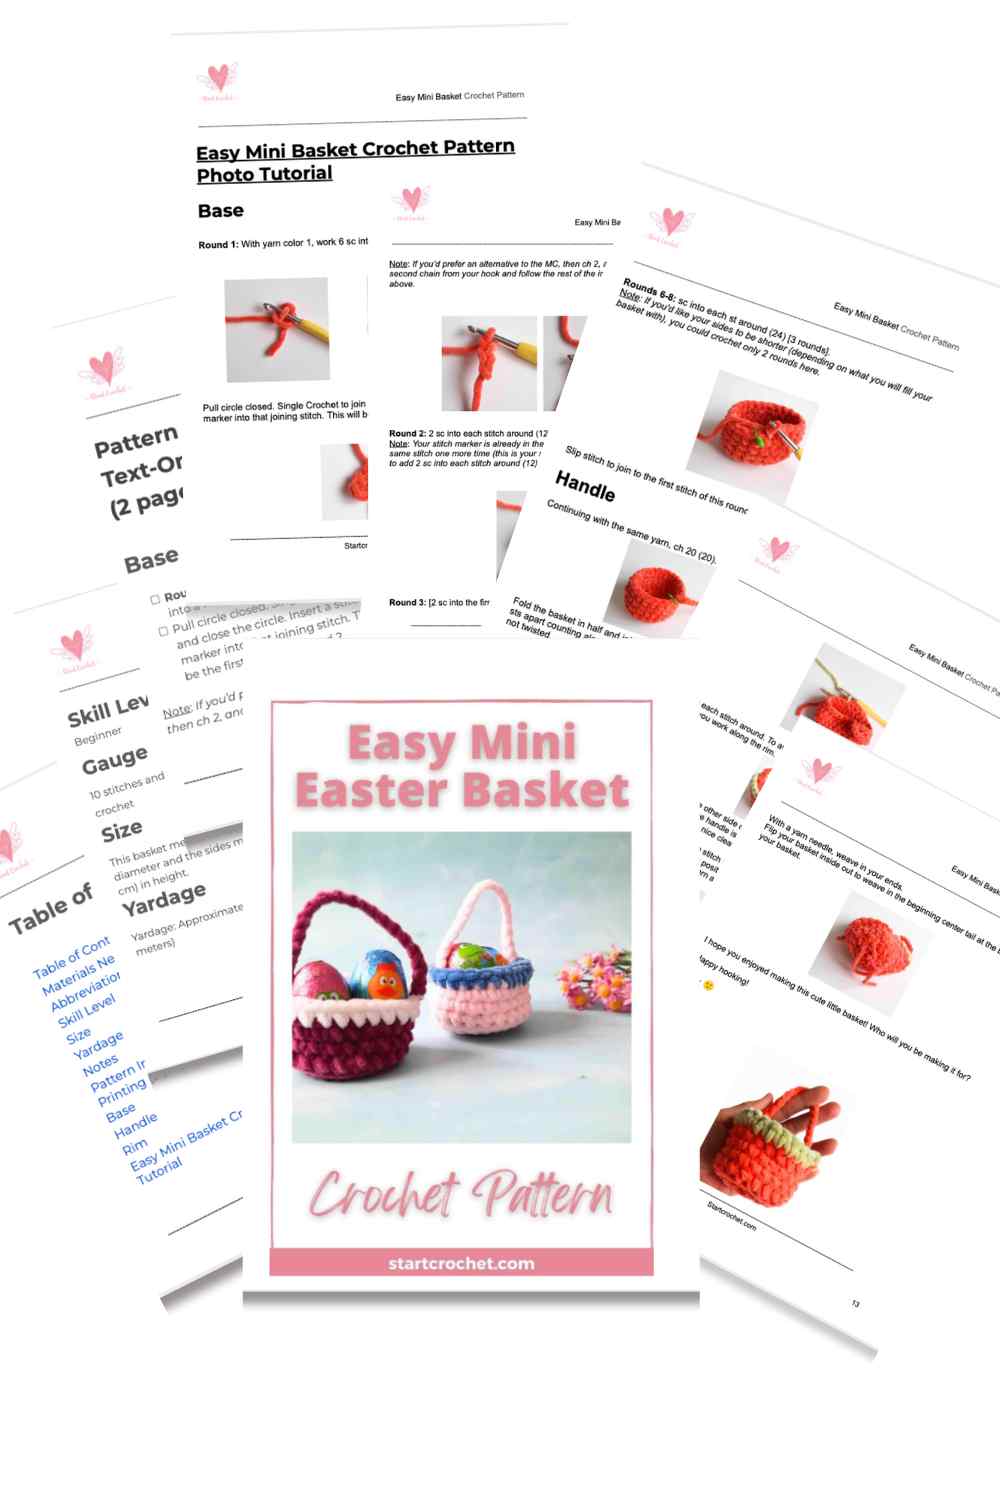
Pattern Instructions
Base
Round 1: With yarn color 1, work 6 sc into a Magic Circle (6).
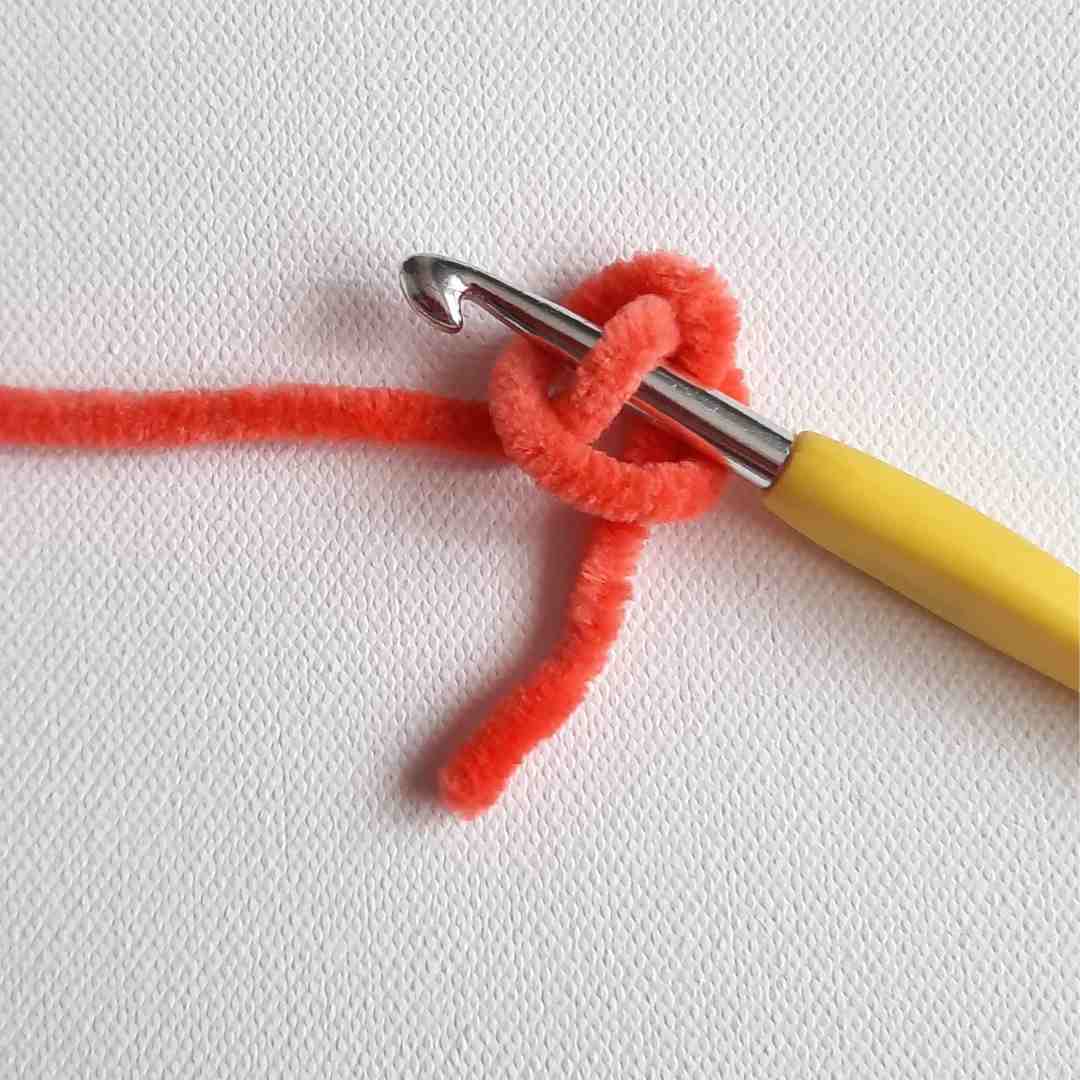
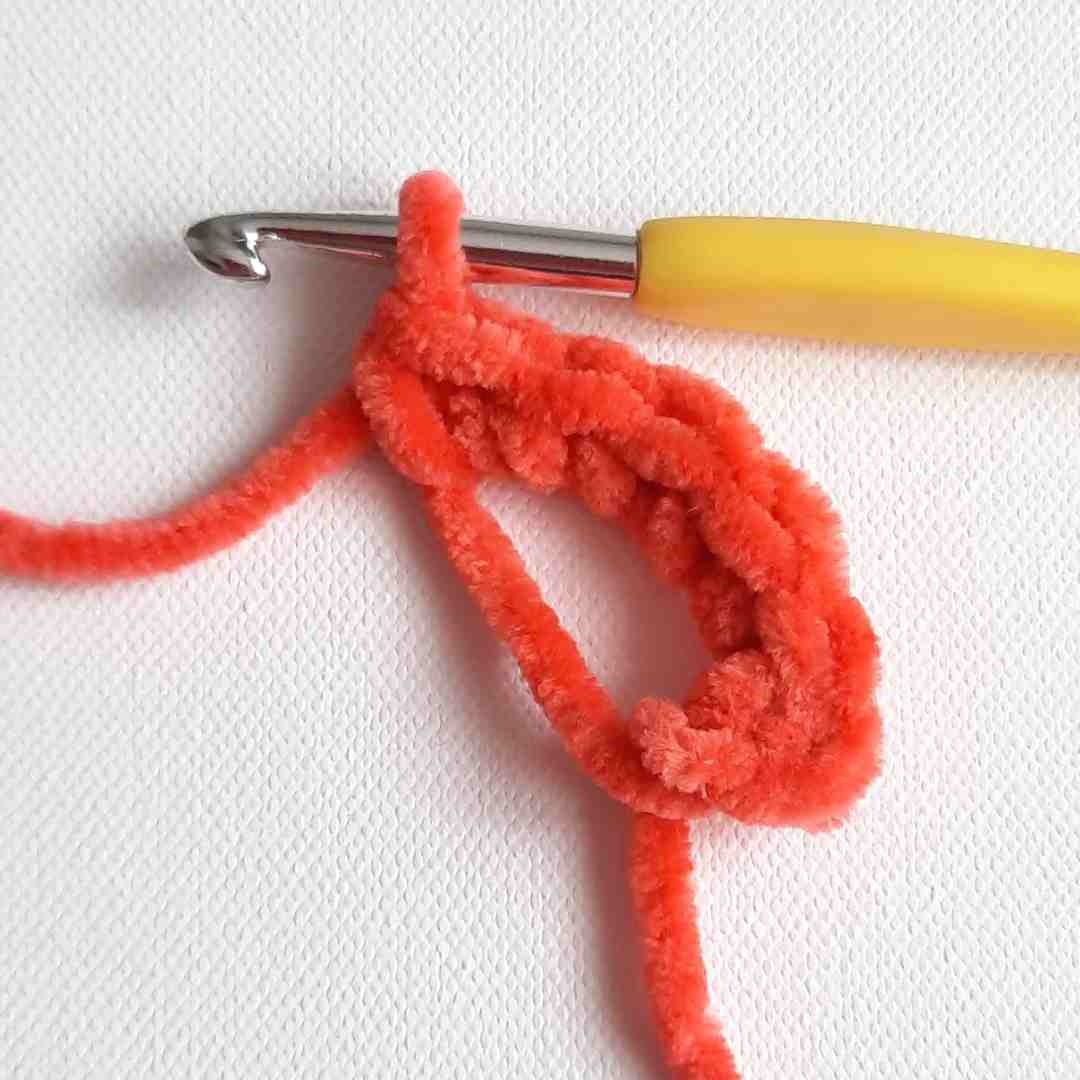
Pull circle closed. Single Crochet to join and complete the circle. Insert a stitch marker into that joining stitch. This will be the first stitch of Round 2.
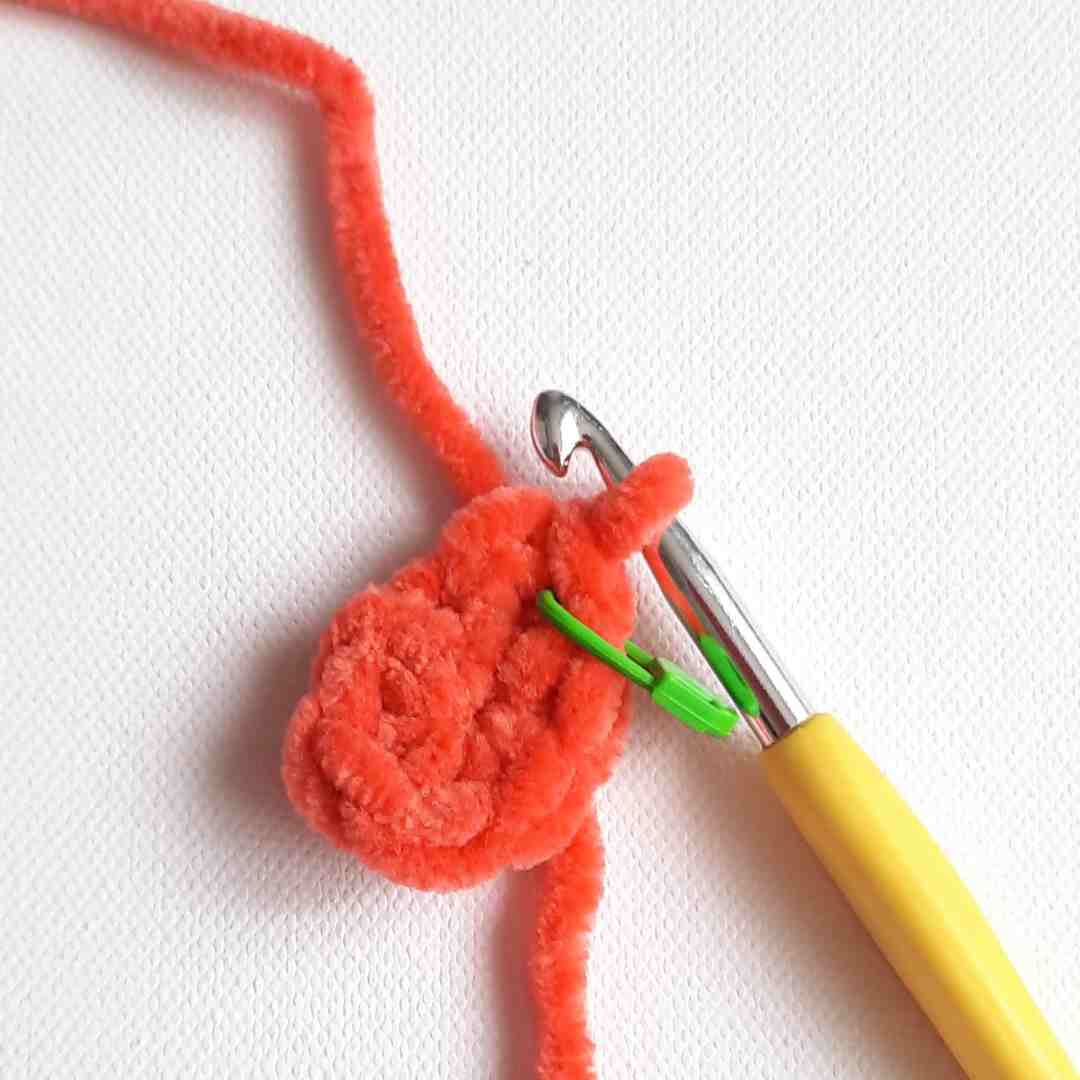
Note: If you’d prefer an alternative to the MC, then ch 2, and work 6 sc into the second chain from your hook and follow the rest of the instructions as stated above.
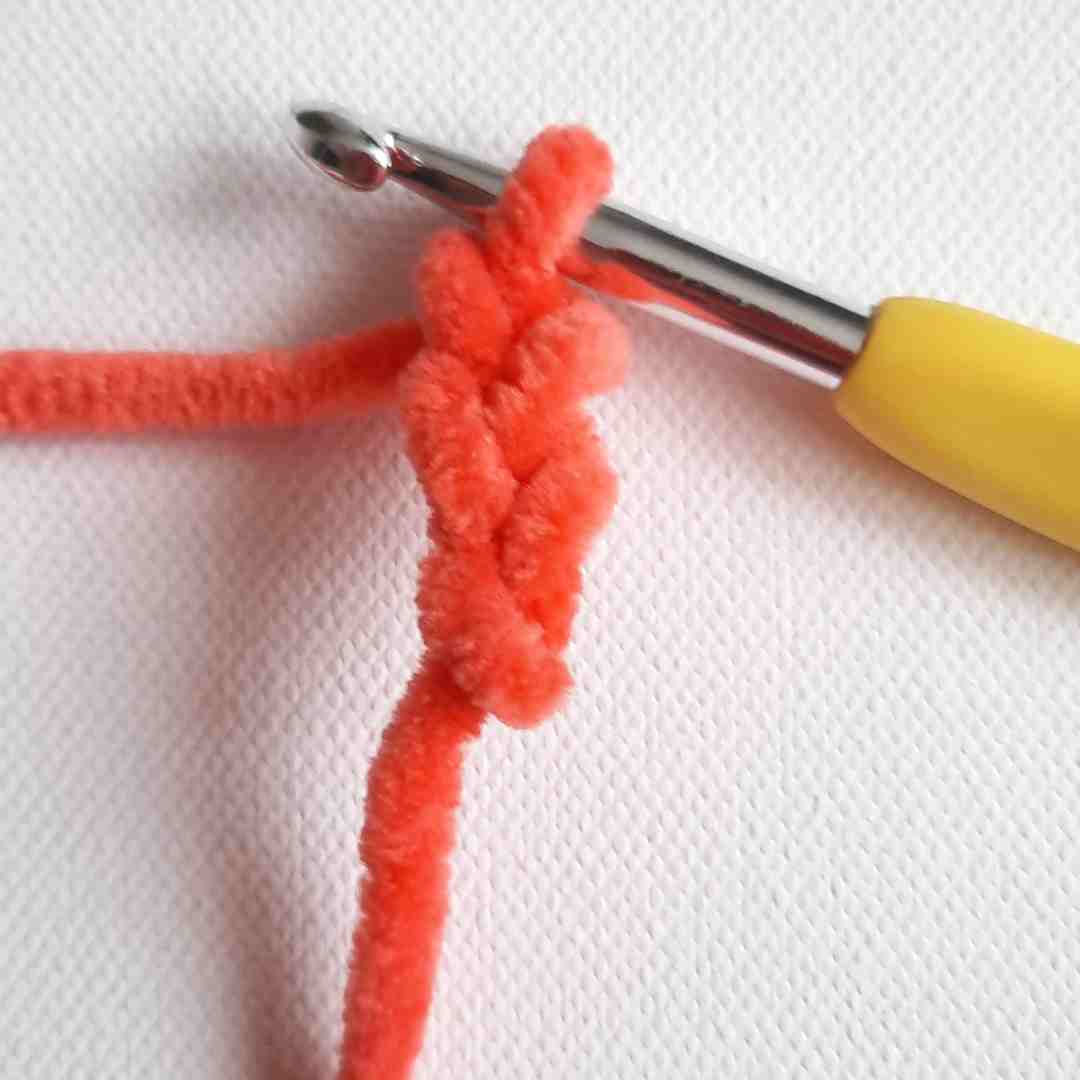
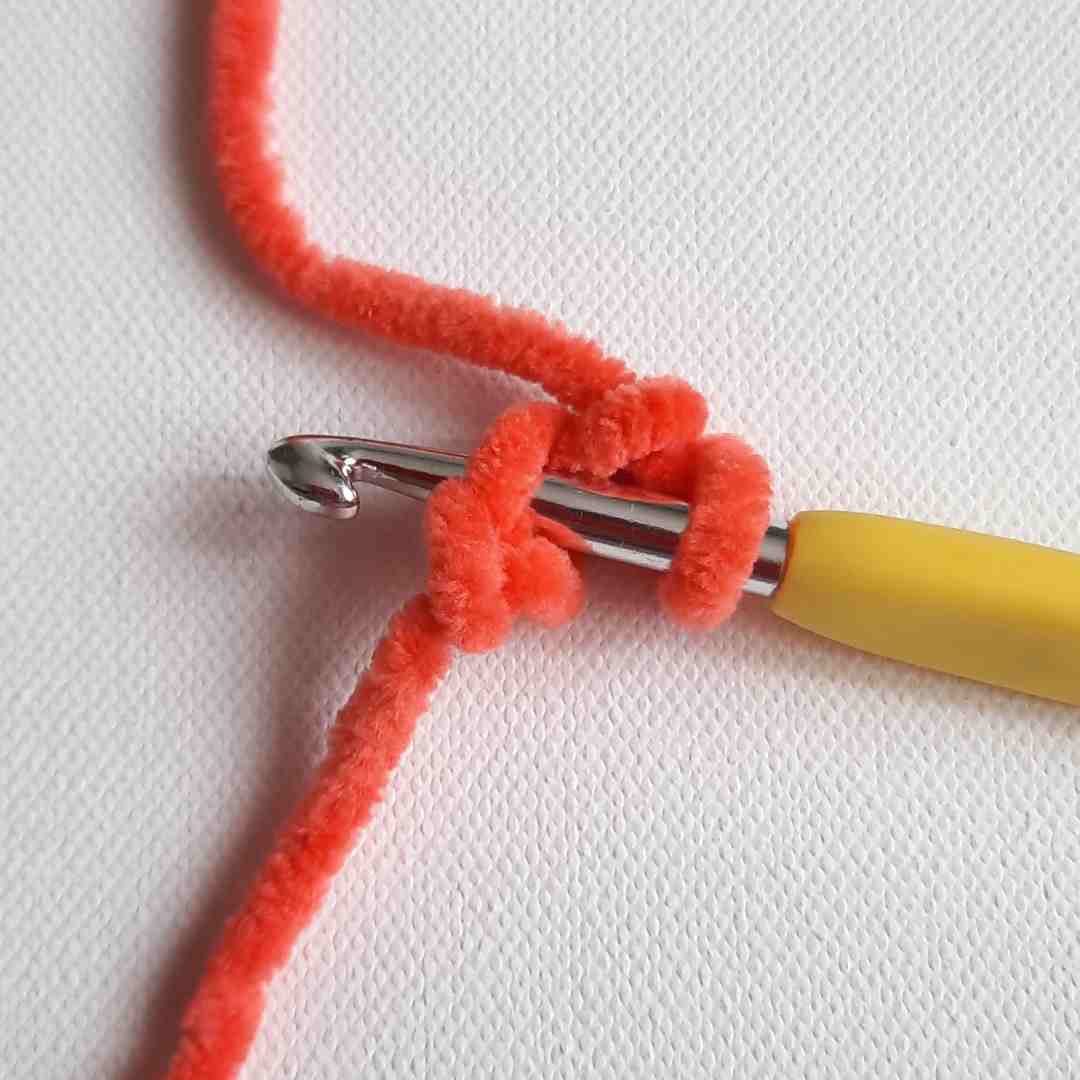
Round 2: 2 sc into each stitch around (12).
Note: Your stitch marker is already in the first stitch of this round. sc into the same stitch one more time (this is your second stitch of Round 2). Then continue to add 2 sc into each stitch around (12).
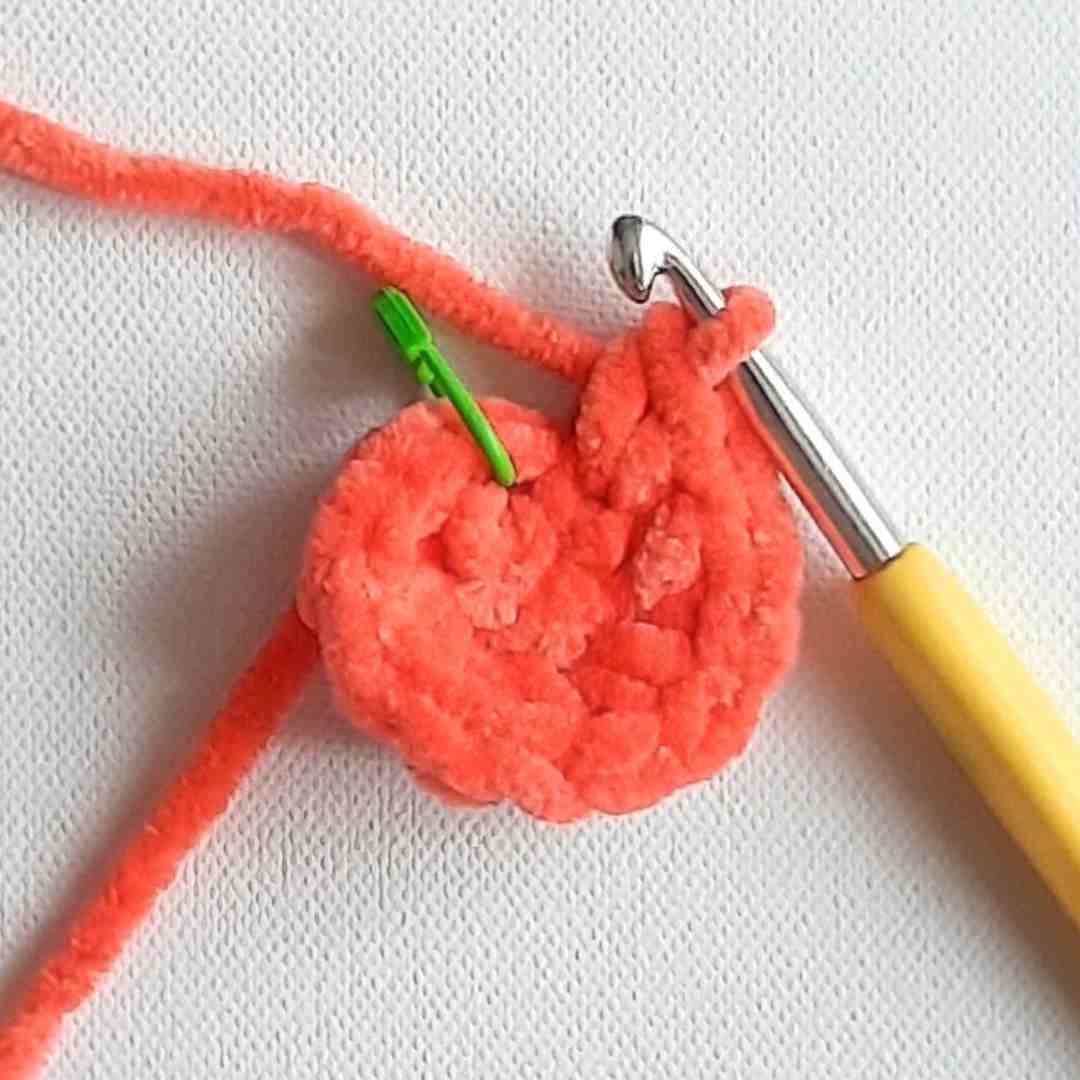
Round 3: [2 sc into the first st, sc into the next st]. Repeat [ ] around 6 times (18).
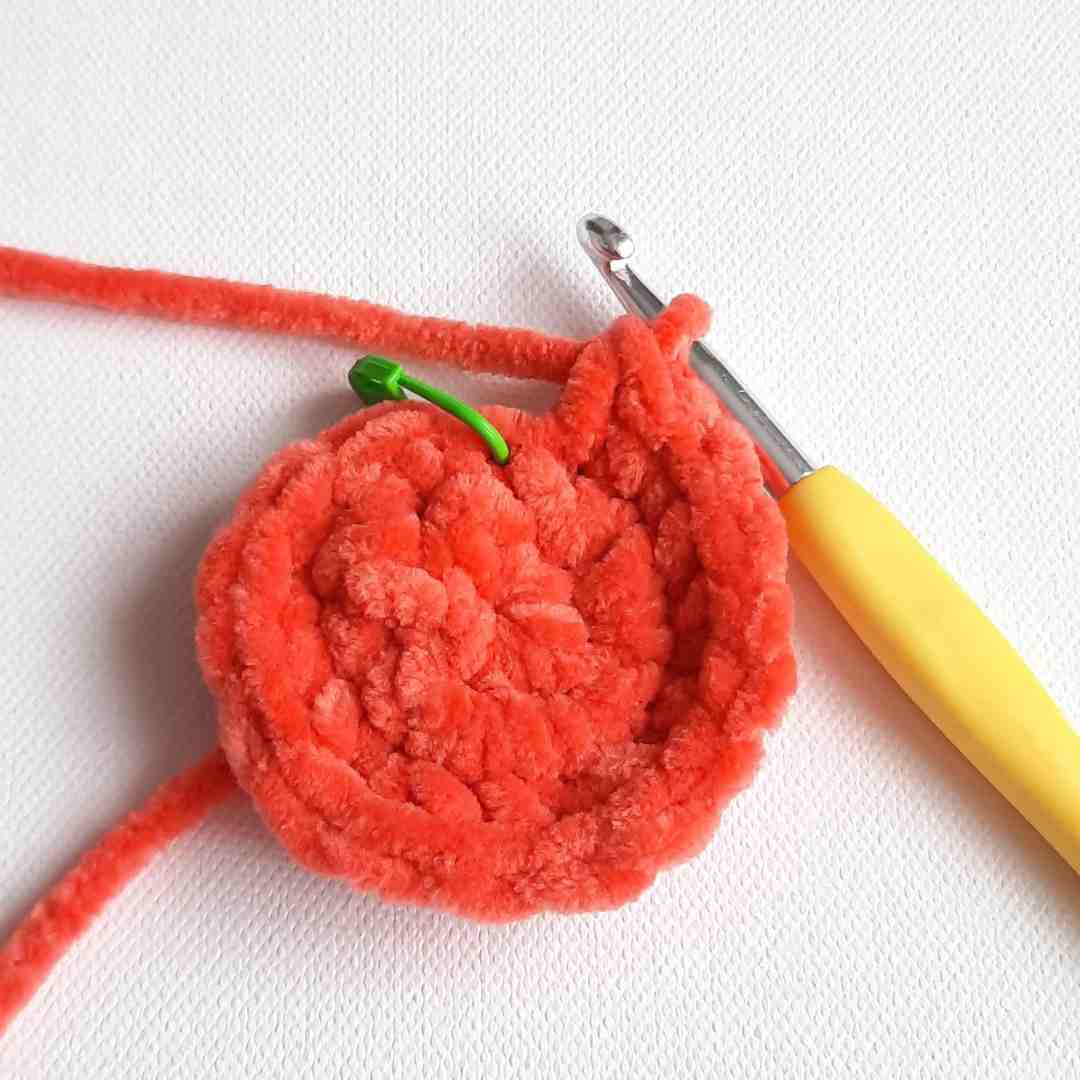
Round 4: [2 sc into the first st, sc into the next 2 sts]. Repeat [ ] around 6 times (24).
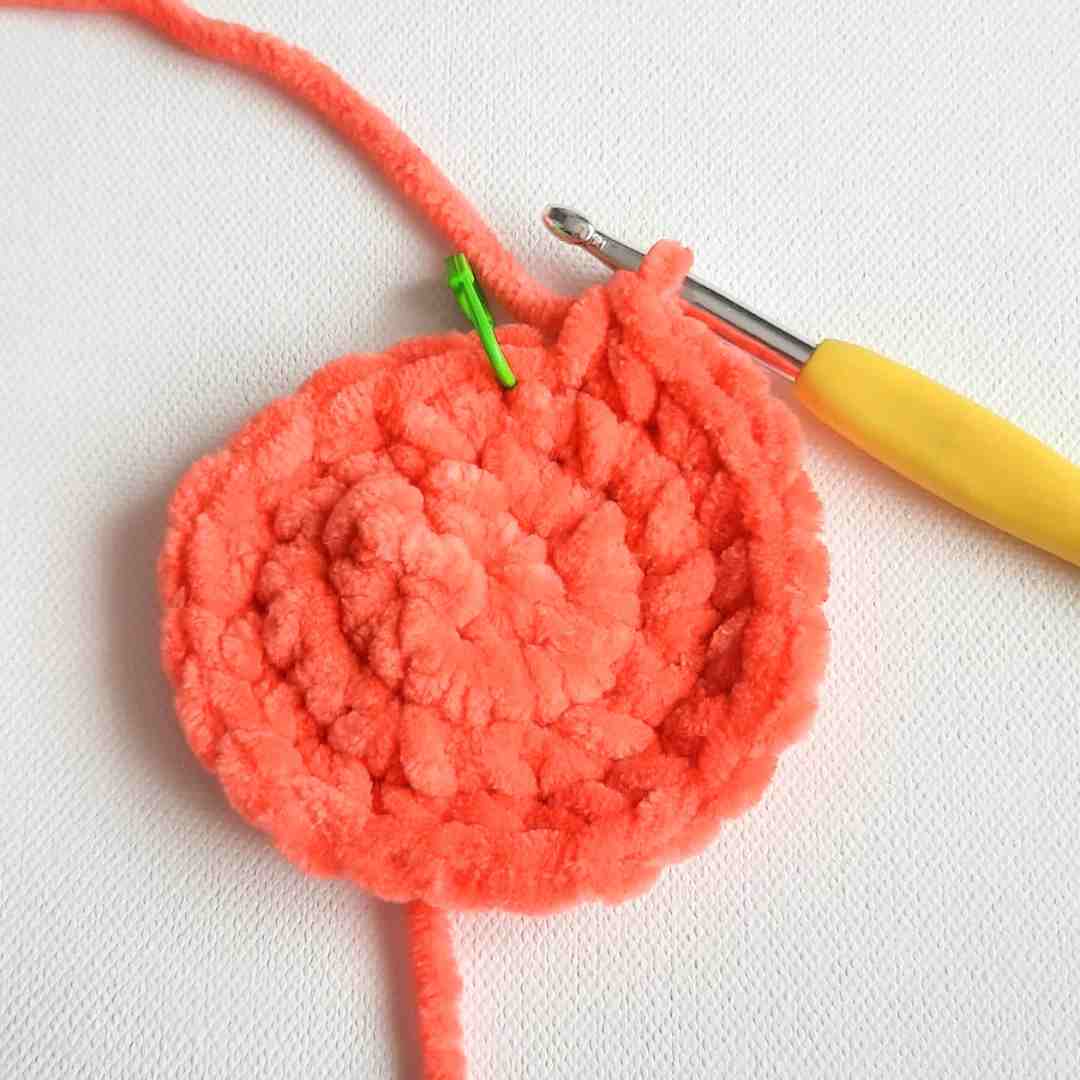
Round 5: scblo (single crochet back loop only) into each st around (24).
This will create the ridge for the bottom of your basket (see where arrow is pointing).
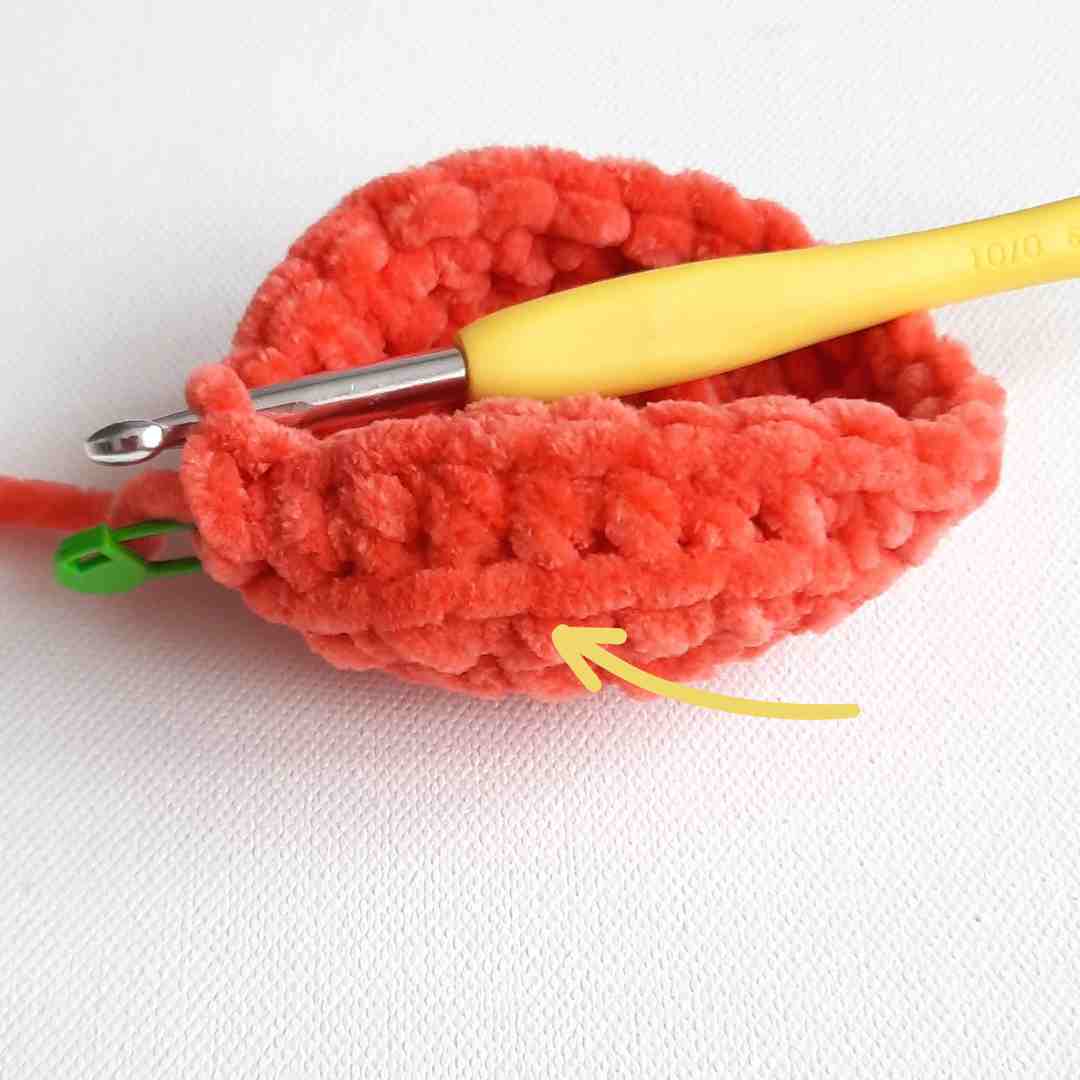
Rounds 6-8: sc into each st around (24) [3 rounds].
Note: If you'd like your sides to be shorter (depending on what you will fill your basket with), you could crochet only 2 rounds here.
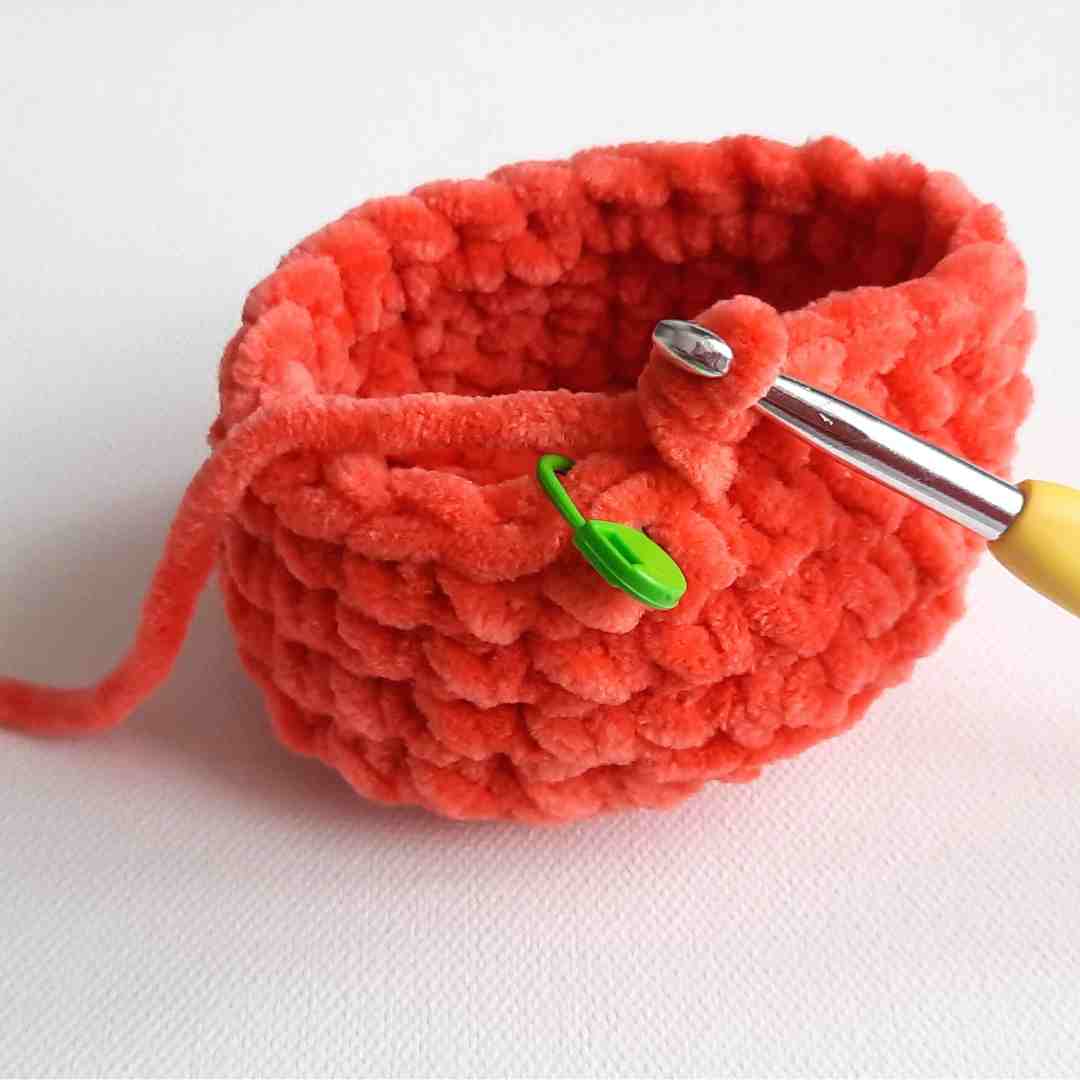
Slip stitch to join to the first stitch of this round. Do not cut yarn.
Handle
Continuing with the same yarn, ch 20 (20).
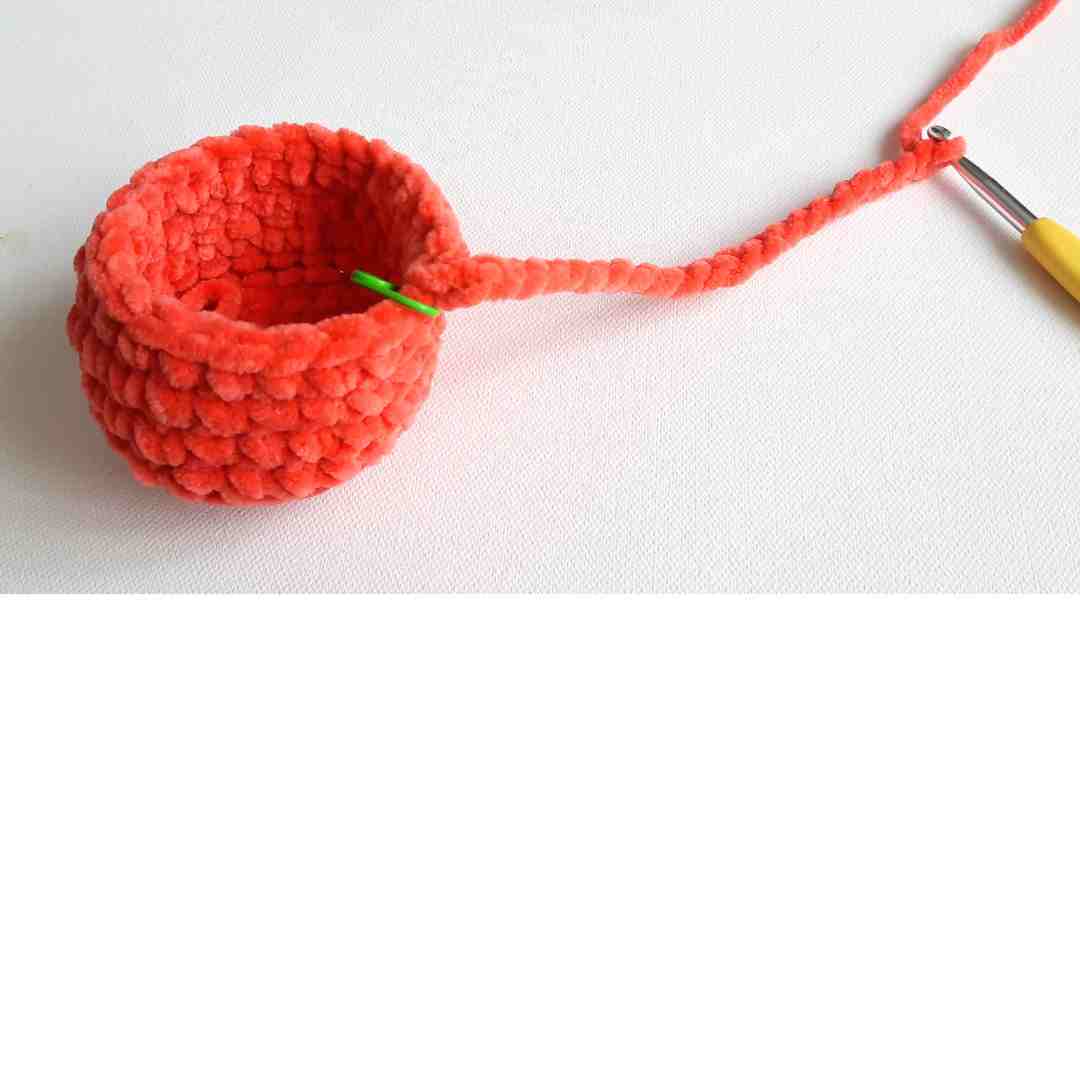
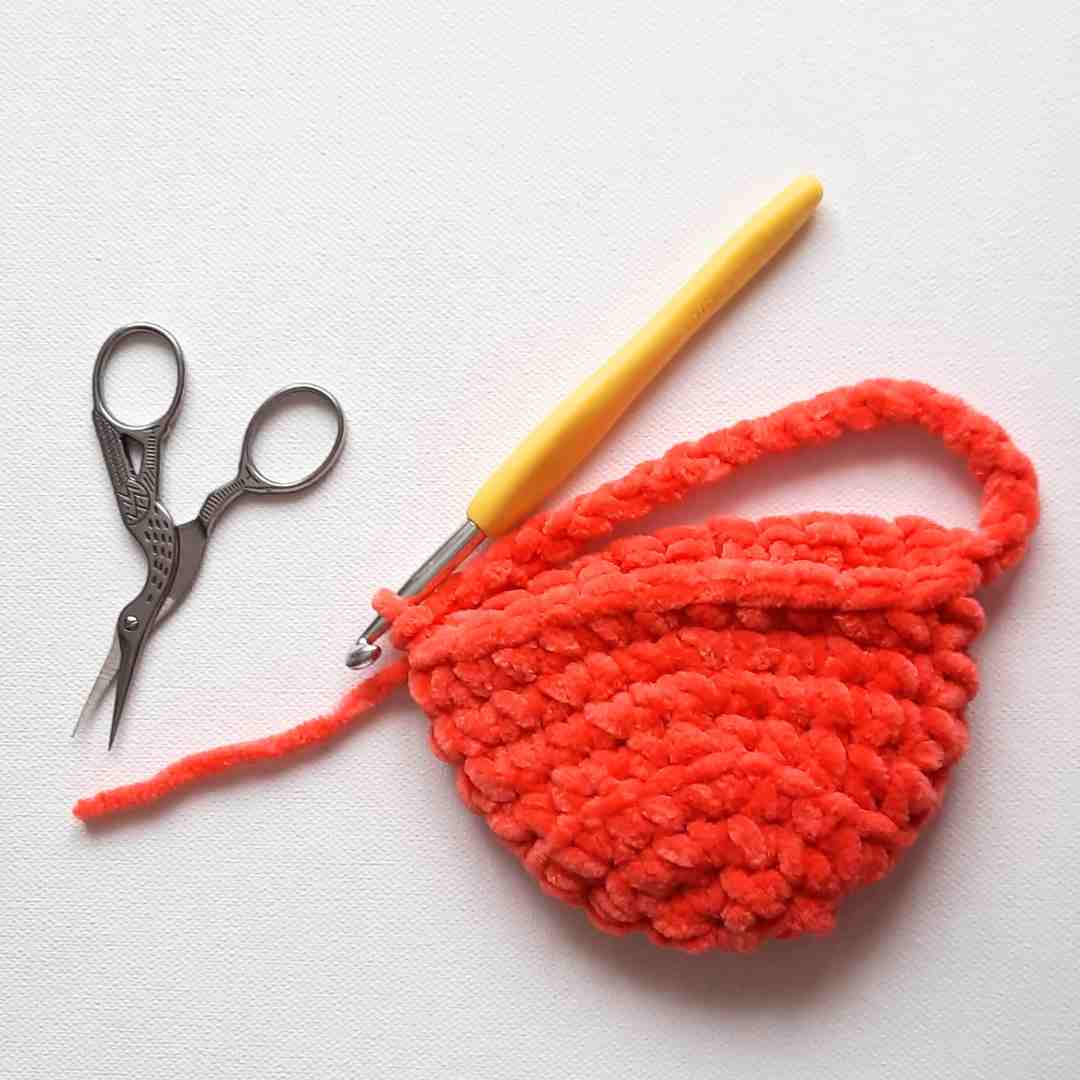
Fold the basket in half and join the chain to the opposite end with a slip stitch (12 sts apart counting along the rim of your basket - Rd 8). Make sure the handle is not twisted.
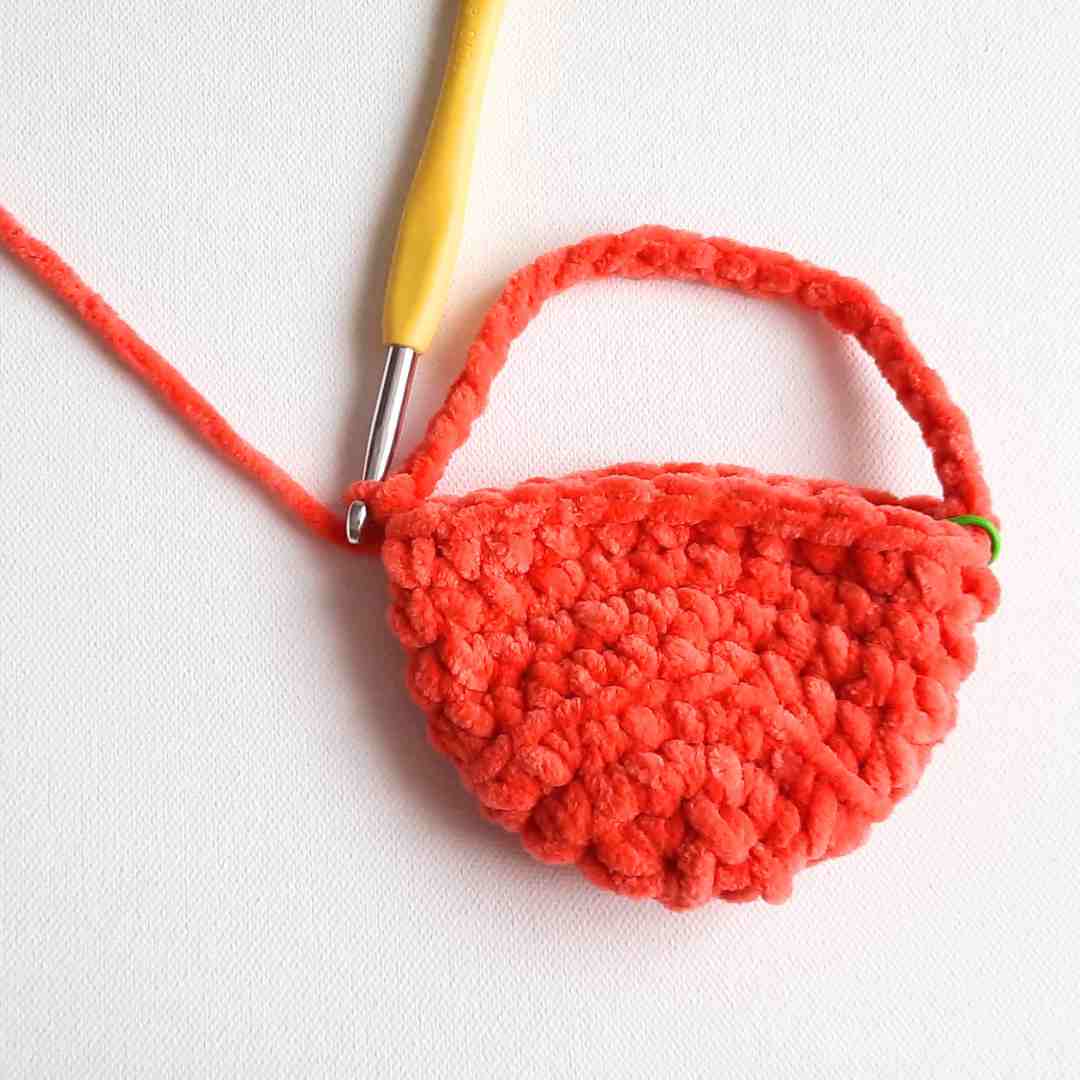
Leaving a 4” tail, cut your yarn and fasten off.
Rim
Round 1: Attach a contrasting color yarn and join to the base of the handle (where you still have a tail). Ensure the handle is to the right of your hook.
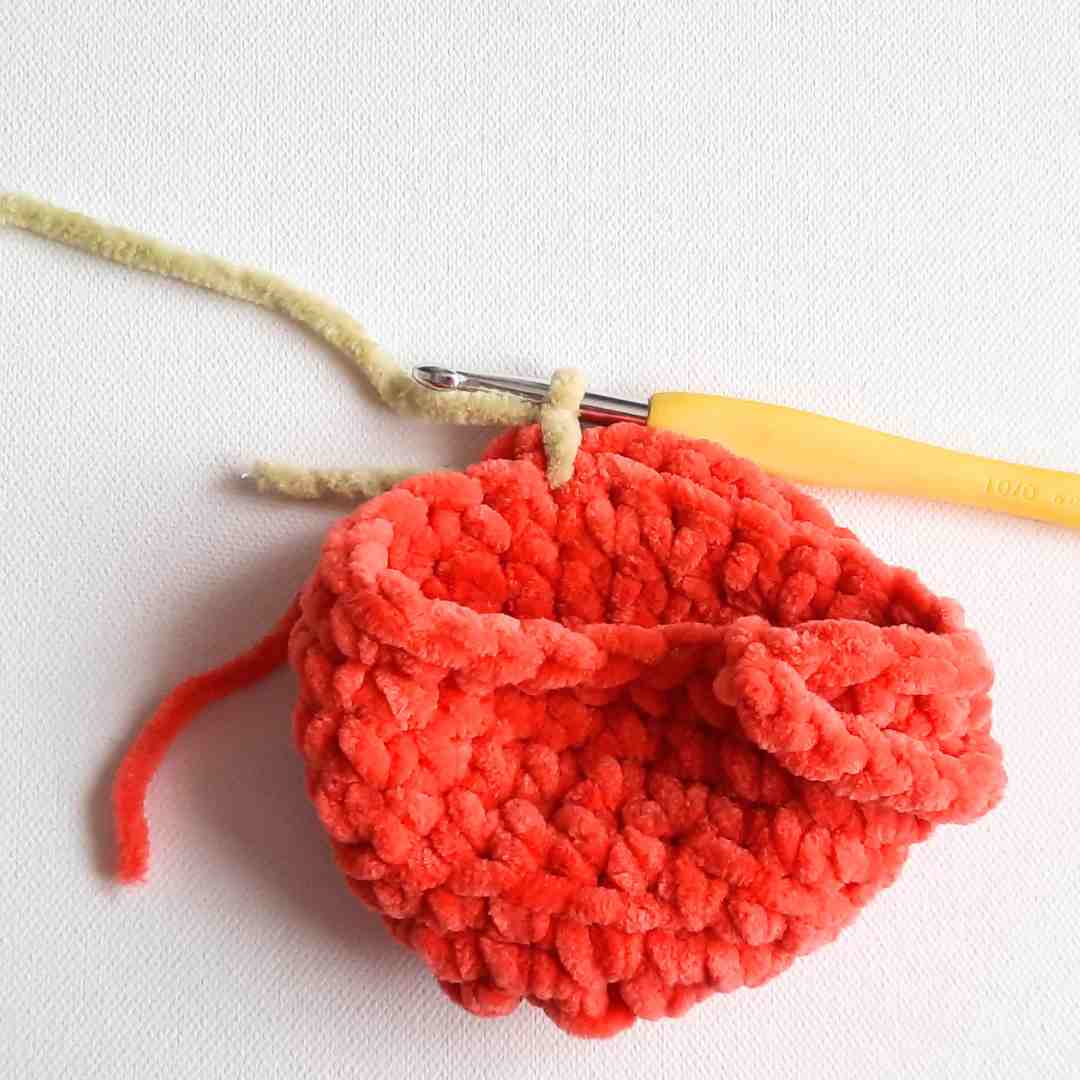
Sc into each stitch around. To avoid weaving in ends, you can sc over the 2 yarn tails as you work along the rim.
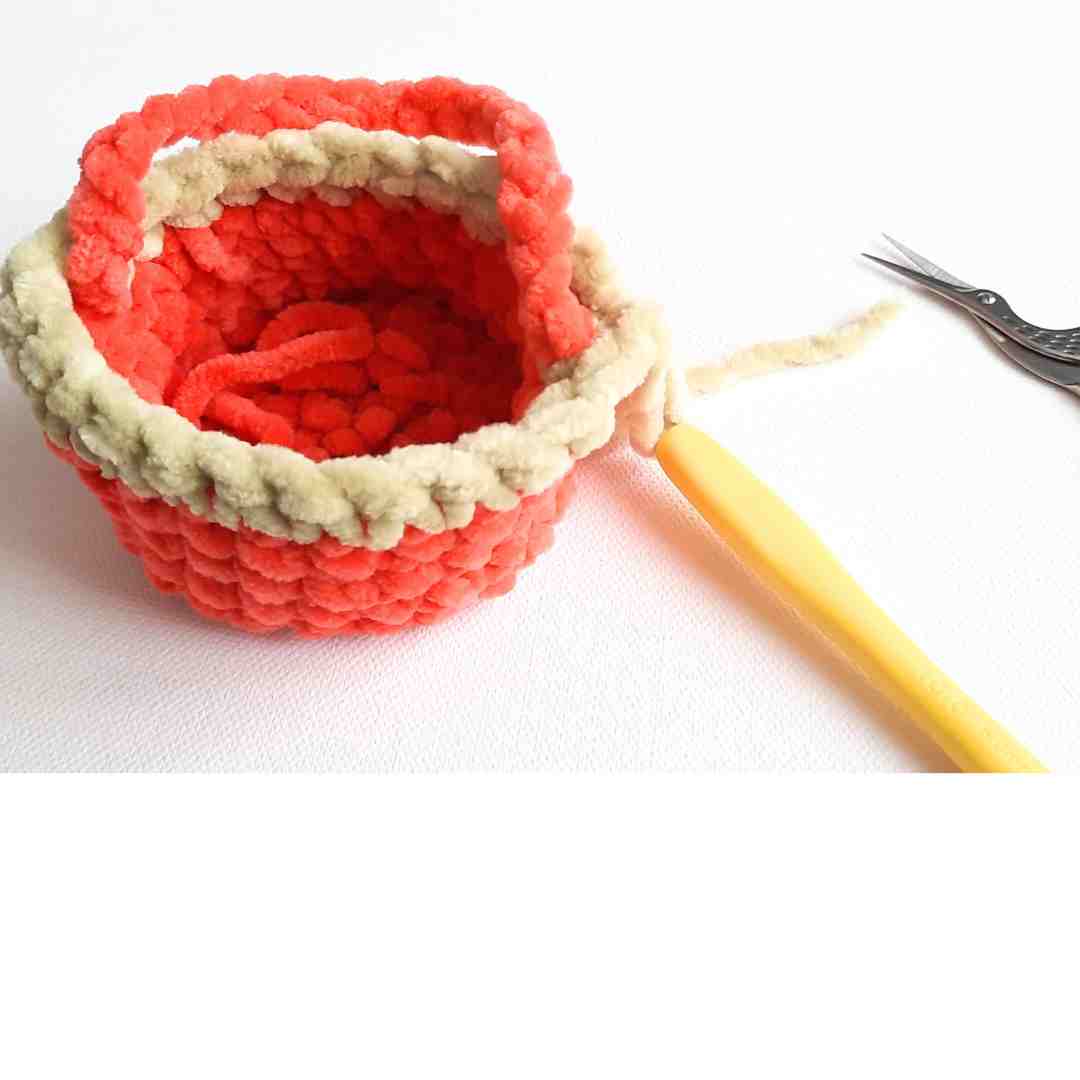
When you reach the other side of the handle, make sure to sc on the outside of the basket, so that the handle is on the inside (24).
This will give the rim a nice clean look.
After your 24th stitch, slip stitch to join to the first stitch of this round also ensuring that the handle is positioned on the inside of the basket.
Leaving a 4” tail, cut your yarn and fasten off.
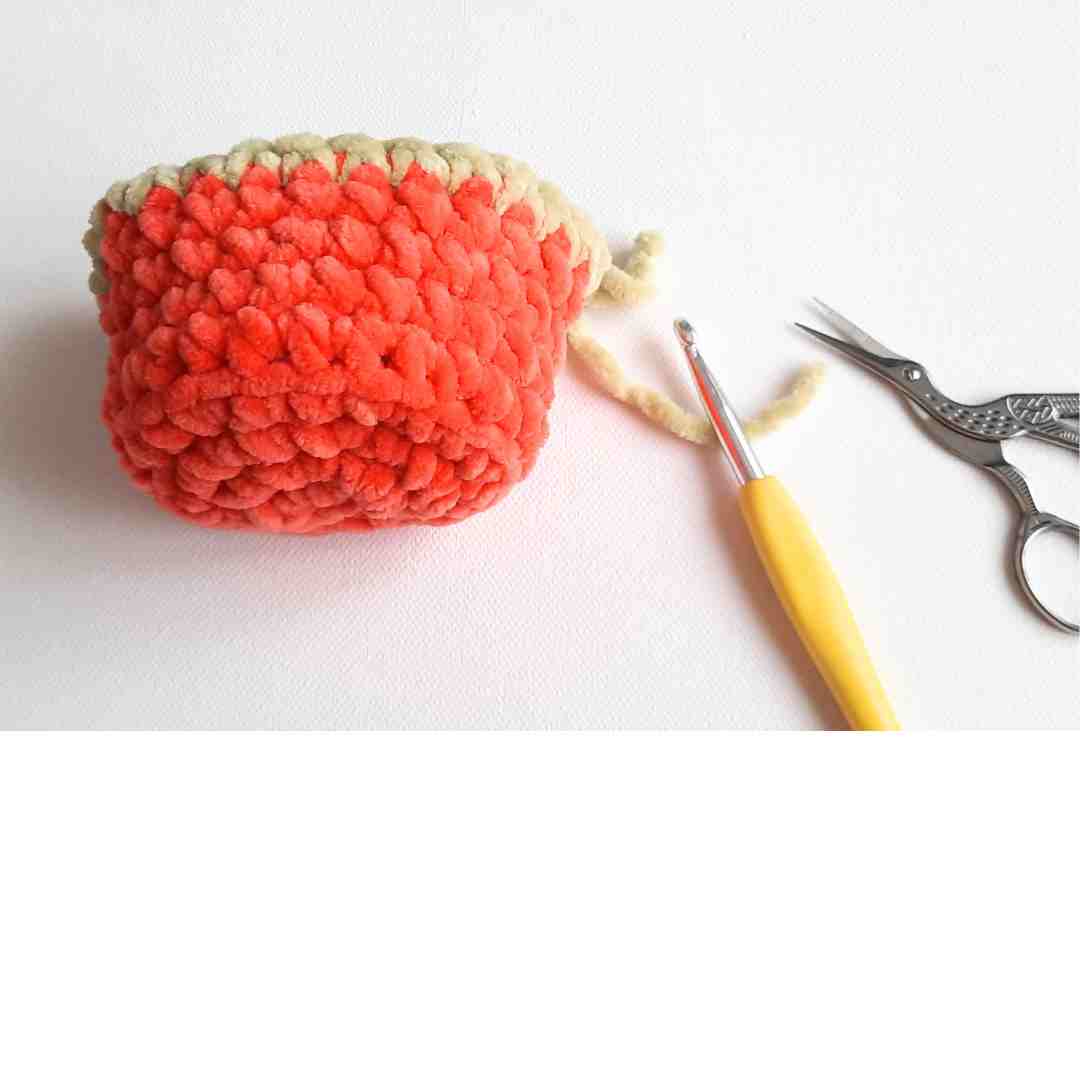
With a yarn needle, weave in your ends.
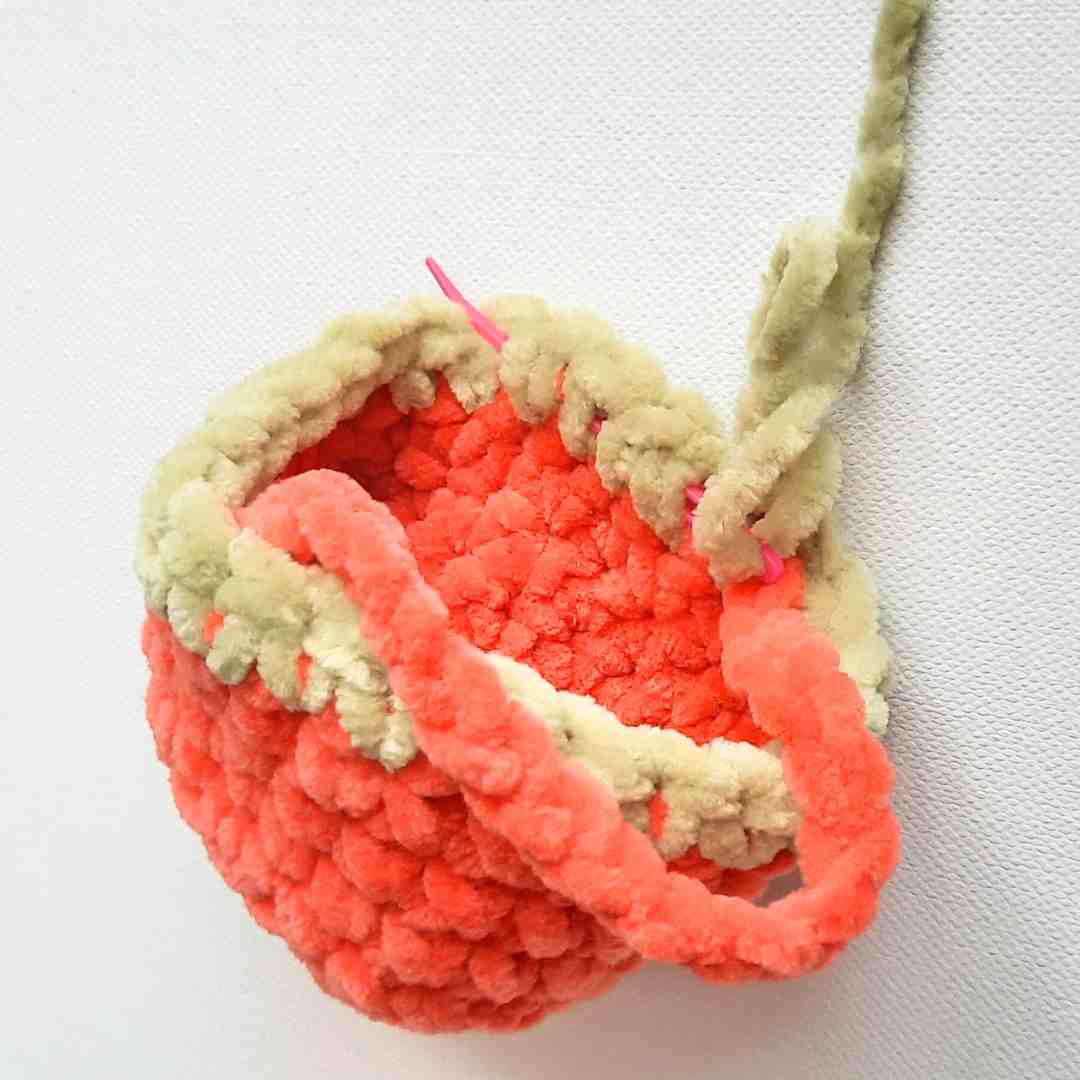
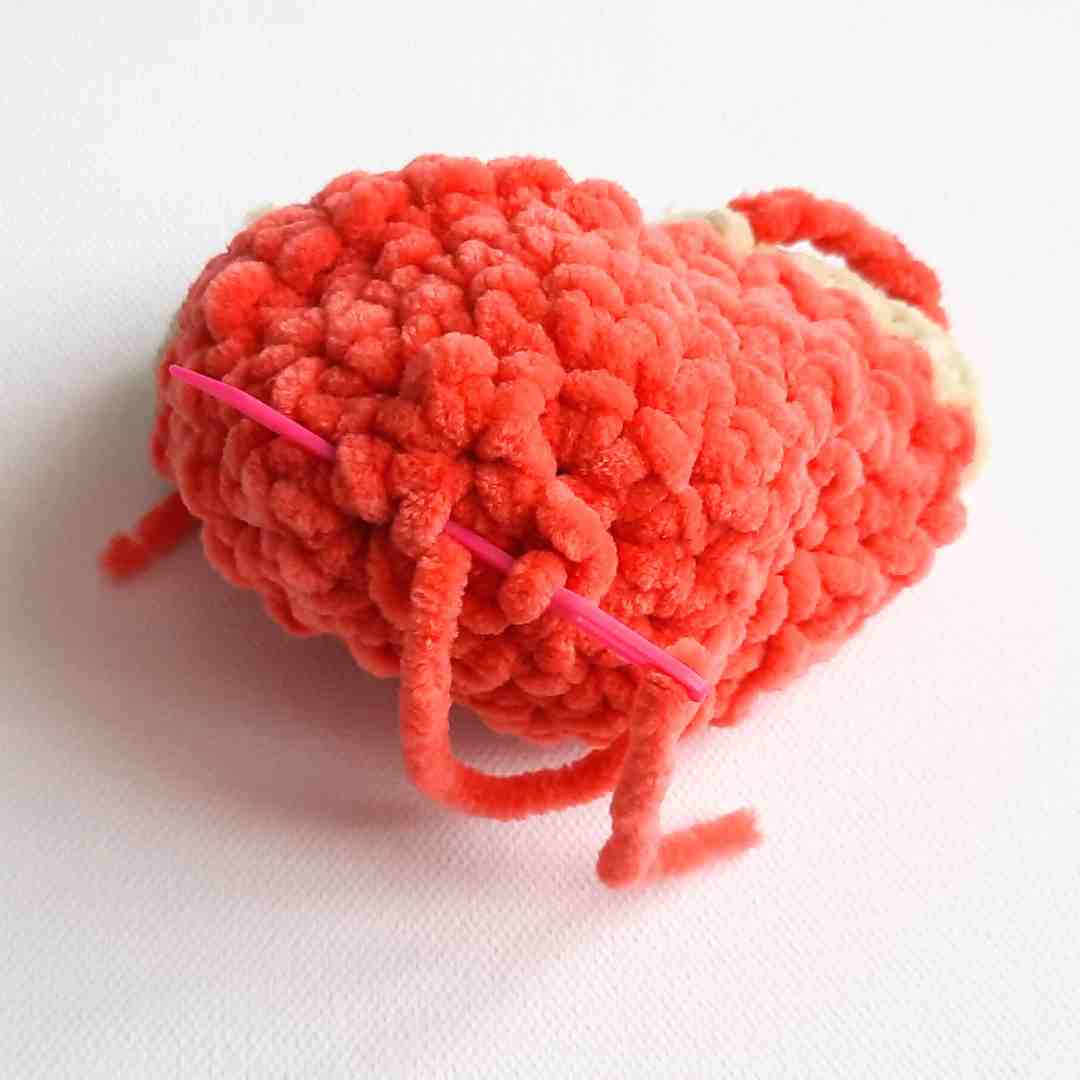
Flip your basket inside out to weave in the beginning center tail at the base of your basket.
I hope you enjoyed making this cute little basket! Who will you be making it for?
Happy hooking!
May 🙂
Subscribe To My Newsletter
Would you like to stay updated with new free patterns, crochet tips & tricks, and delightful crochet inspiration sent straight to your inbox? Please enter your Name & Email below 🙂
Disclaimer: Information in this crochet pattern is given for reference only. Even though I do my best to ensure all patterns have no mistakes, occasional errors may slip through.
No liability is accepted for variations in finished projects. Please get in touch with me at admin@startcrochet.com if you think there might be a mistake in the pattern or if you are unsure about how to interpret the instructions.
I’d love to see your finished item, so please tag me using @startcrochet.
Please follow my accounts to see what else I’m up to and to keep in touch:
YouTube: https://www.youtube.com/@StartCrochet
Facebook https://www.facebook.com/startcrochet
Pinterest: https://www.pinterest.com/startcrochet
Instagram https://www.instagram.com/startcrochet
Ravelry https://www.ravelry.com/people/StartCrochet
Etsy: https://startcrochetdesigns.etsy.com
LoveCrafts: https://www.lovecrafts.com/en-gb/user/Start-Crochet/5fccc556-8c97-4521-bcf0-0aadf9853faf
You may sell any finished products that you make from this pattern. However, when selling online, please include a link back to my blog startcrochet.com or tag me on social media with @startcrochet or with hashtag #startcrochet
Thank you!
© All rights for this crochet pattern design and photos are copyright and reserved to Start Crochet (May Shehab © 2024) . Copies and/or reproduction, translating, reselling or creating video tutorials of this pattern is a violation of the law.


This pattern is amazing! It comes out a perfect size to give to friends. It was very quick to crochet, it only took me about 20 min to crochet which is the time it says in the description. This pattern is easy to follow so it is perfect for beginners!
This pattern is so cute. It’s super easy and simple but written perfectly. The pictures are awesome! Helps if you feel stuck! Great job writing it
Works up in mins. Very easy to make . Great for beginners.
This was so easy to work up. I finished one in less than 30 minutes. Very easy pattern to follow, great pattern for beginners
I loved testing the basket. So cute and so easy to make.
Such a cute little basket. Whether you use WW yarn for a mini basket that can hold a few mini chocolate eggs or blanket yarn for a little basket that can hold several larger chocolate eggs, you’ll be pleased with how this basket turns out. It’s a very quick work up so you can make enough for every kid in your kiddos class.
Love this pattern quick easy very cute
This pattern worked up so quick and it’s honestly the cutest! Well written, even a beginner could make this cute little basket.
This pattern is so cute and such a quick make!! Would be great for little classmate/coworker gifts, markets, or just Easter decor around the house!
The baskets work up so quickly! I made 1 with bulky yarn and 1 with worsted weight. I love that you can change the number of rows, yarn to modify the size of the baskets. I look forward to making these for all the kids at church for Easter!
This is so cute! I can’t wait to give it a go, thank you xx