Cute Baby Stroller Appliqué Crochet Pattern (FREE)
Welcome a new baby with a handmade gift
Do you know someone who's expecting a baby soon?
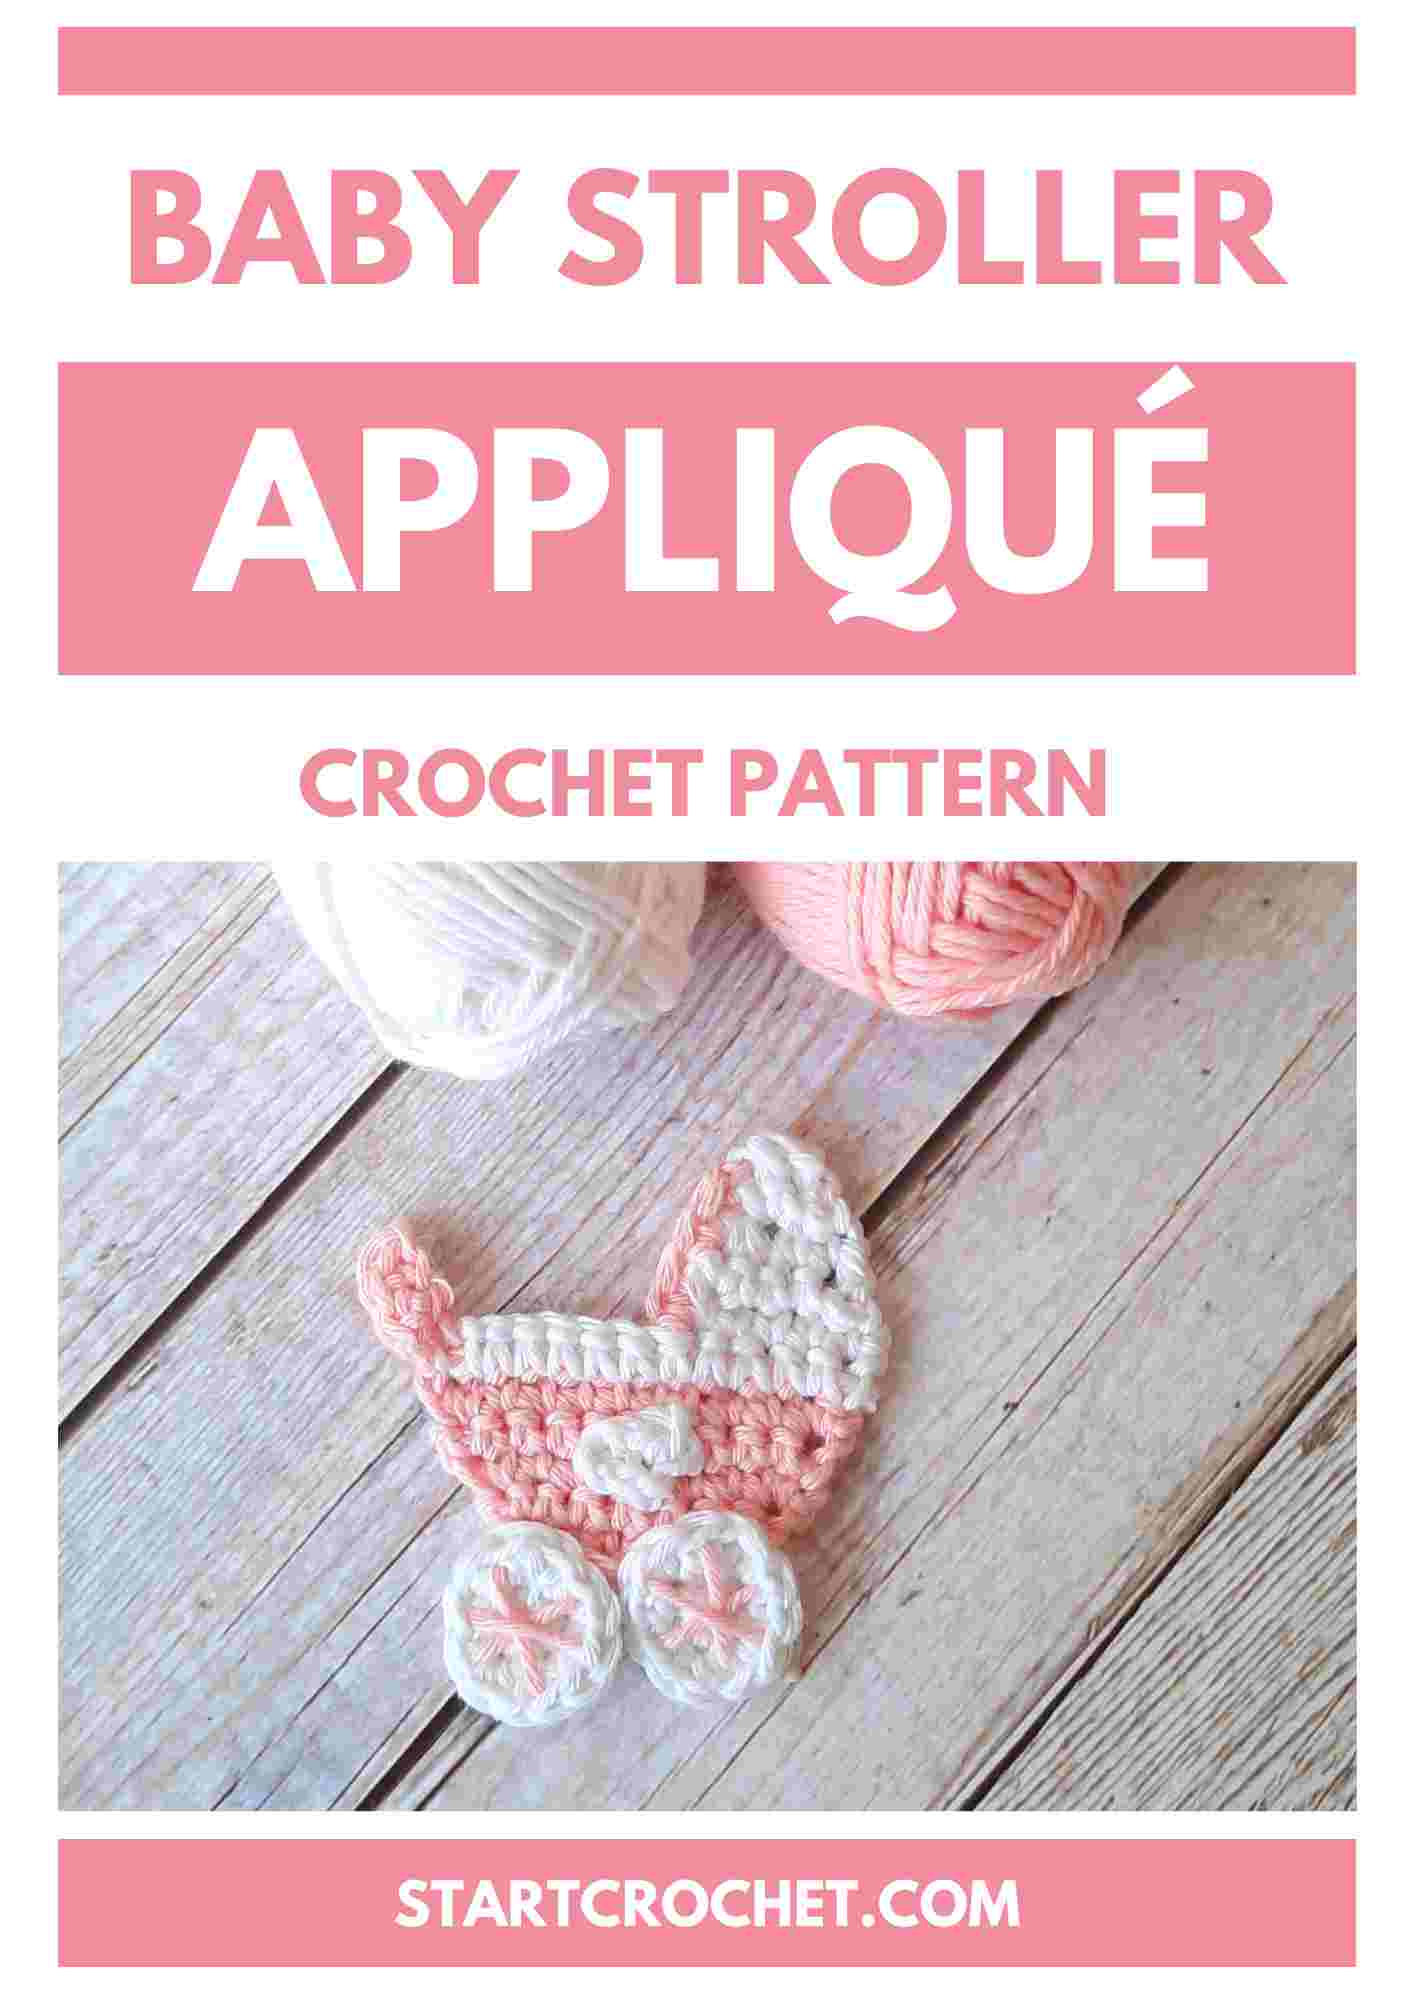
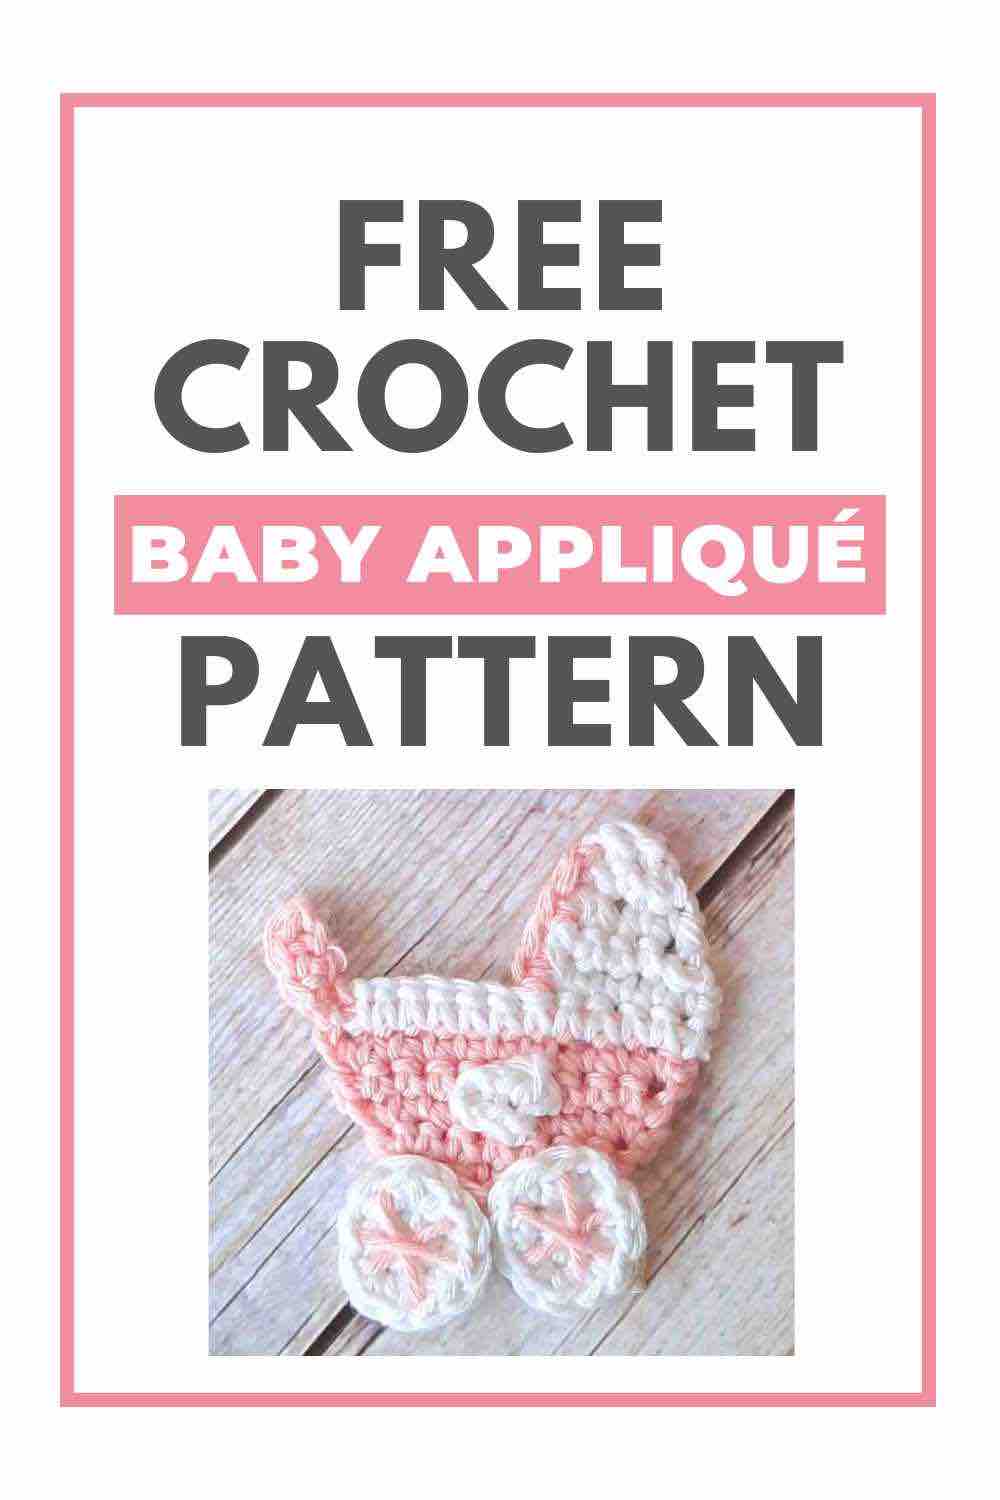
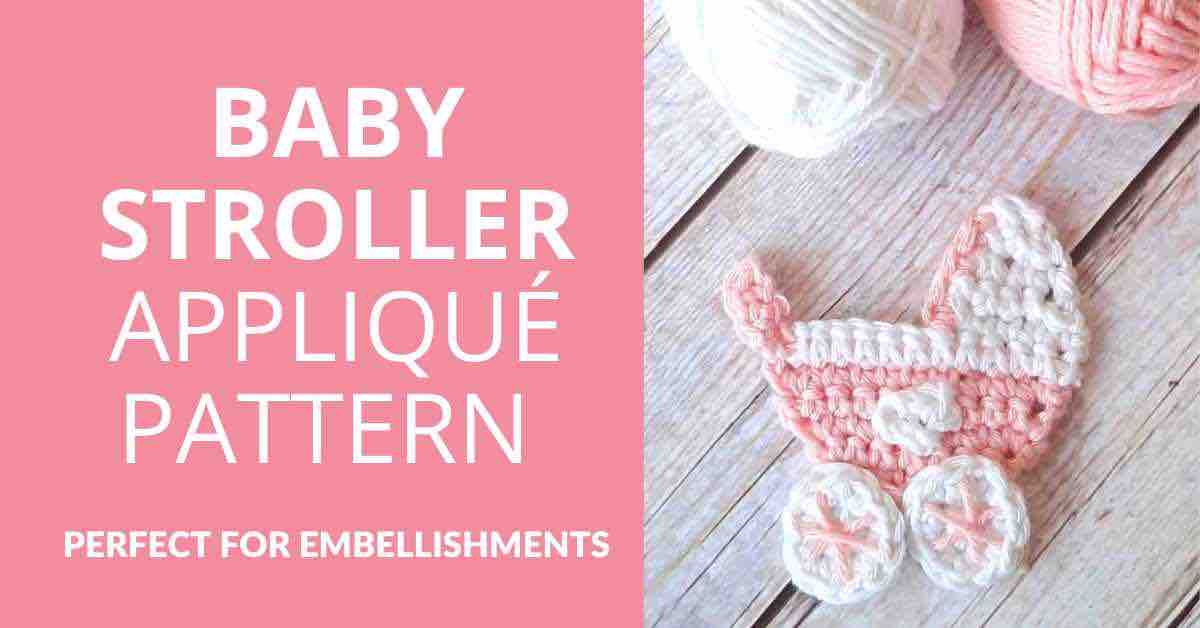
Looking for a cute baby stroller appliqué crochet pattern to add to a baby blanket?

Add this appliqué to a onesie or attach it to a card to welcome their new baby too?
I personally love hand-made gifts and especially cards with some nice texture to them.
Let me show you how to crochet a baby stroller in a few simple steps. You'll be surprised how easy it is 🙂
Like this pattern, but not ready to work it yet? Save it to Pinterest!
Disclaimer: This post contains affiliate links, which means I receive a small commission, at no extra cost to you, if you make a purchase using the Start Crochet links. Please see my disclosure for more details.
How To Crochet A Baby Stroller Appliqué
What You’ll Learn
- How to increase in single crochet
- How to decrease in single crochet
- How to crochet a circle
- How to crochet a tiny heart
- How to sew crochet parts together.
Materials Needed
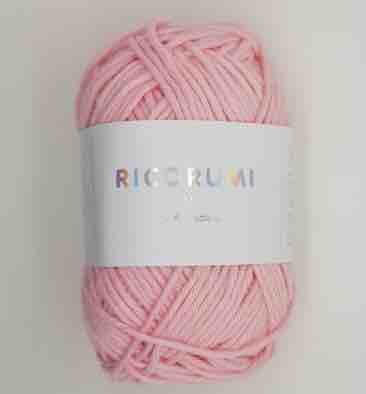
- Some DK cotton yarn in 2 colors of choice. I used Ricorumi DK, 100% cotton in white (Color A) and Pink (Color B)
- Crochet hook that fits your yarn. For this project I used a 2.5 mm hook.
- A tapestry needle
- A pair of scissors
- Printer & A4 paper or card stock to print your cards (optional).
Abbreviations
- mc = magic circle
- ch = chain
- sc = single crochet
- sc2tog = single crochet decrease
- 2 sc in same st = single crochet increase
- sl st = slip stitch
- fo = fasten off
Like this pattern, but not ready to work it yet? Save it to Pinterest!
Skill Level
Advanced Beginner – (knowledge of how to crochet a Magic Circle or alternative – please see options in instructions below).
Gauge
Gauge = 12 sc and 10 rows with a 3 mm crochet hook = 2″ (5 cm).
Gauge is not really that crucial for this project. If you wish to have a smaller appliqué, you can go down to a 2.5 mm hook. And if you’d like a larger one, then you could go up half or a whole number/letter hook size (suggestion: between letters C & D hooks).
Measurements
This appliqué is 2.7 inches (7 cm) wide and 2.5 inches (6.5 cm) high.
Yardage
Approx. 7.6 yards (7 m) in total (both colors).
Notes
- Numbers at the end of each step (in brackets) indicate the number of final stitches in that step.
- Beginning Ch 2 counts as a dc st.
- I use US crochet terms. Here's a US/UK Conversion Chart
US vs. UK Crochet Terms & Symbols
Free Printable


Your info is 100% secure and will never be shared.
Baby Stroller Appliqué Crochet Pattern PDF Download
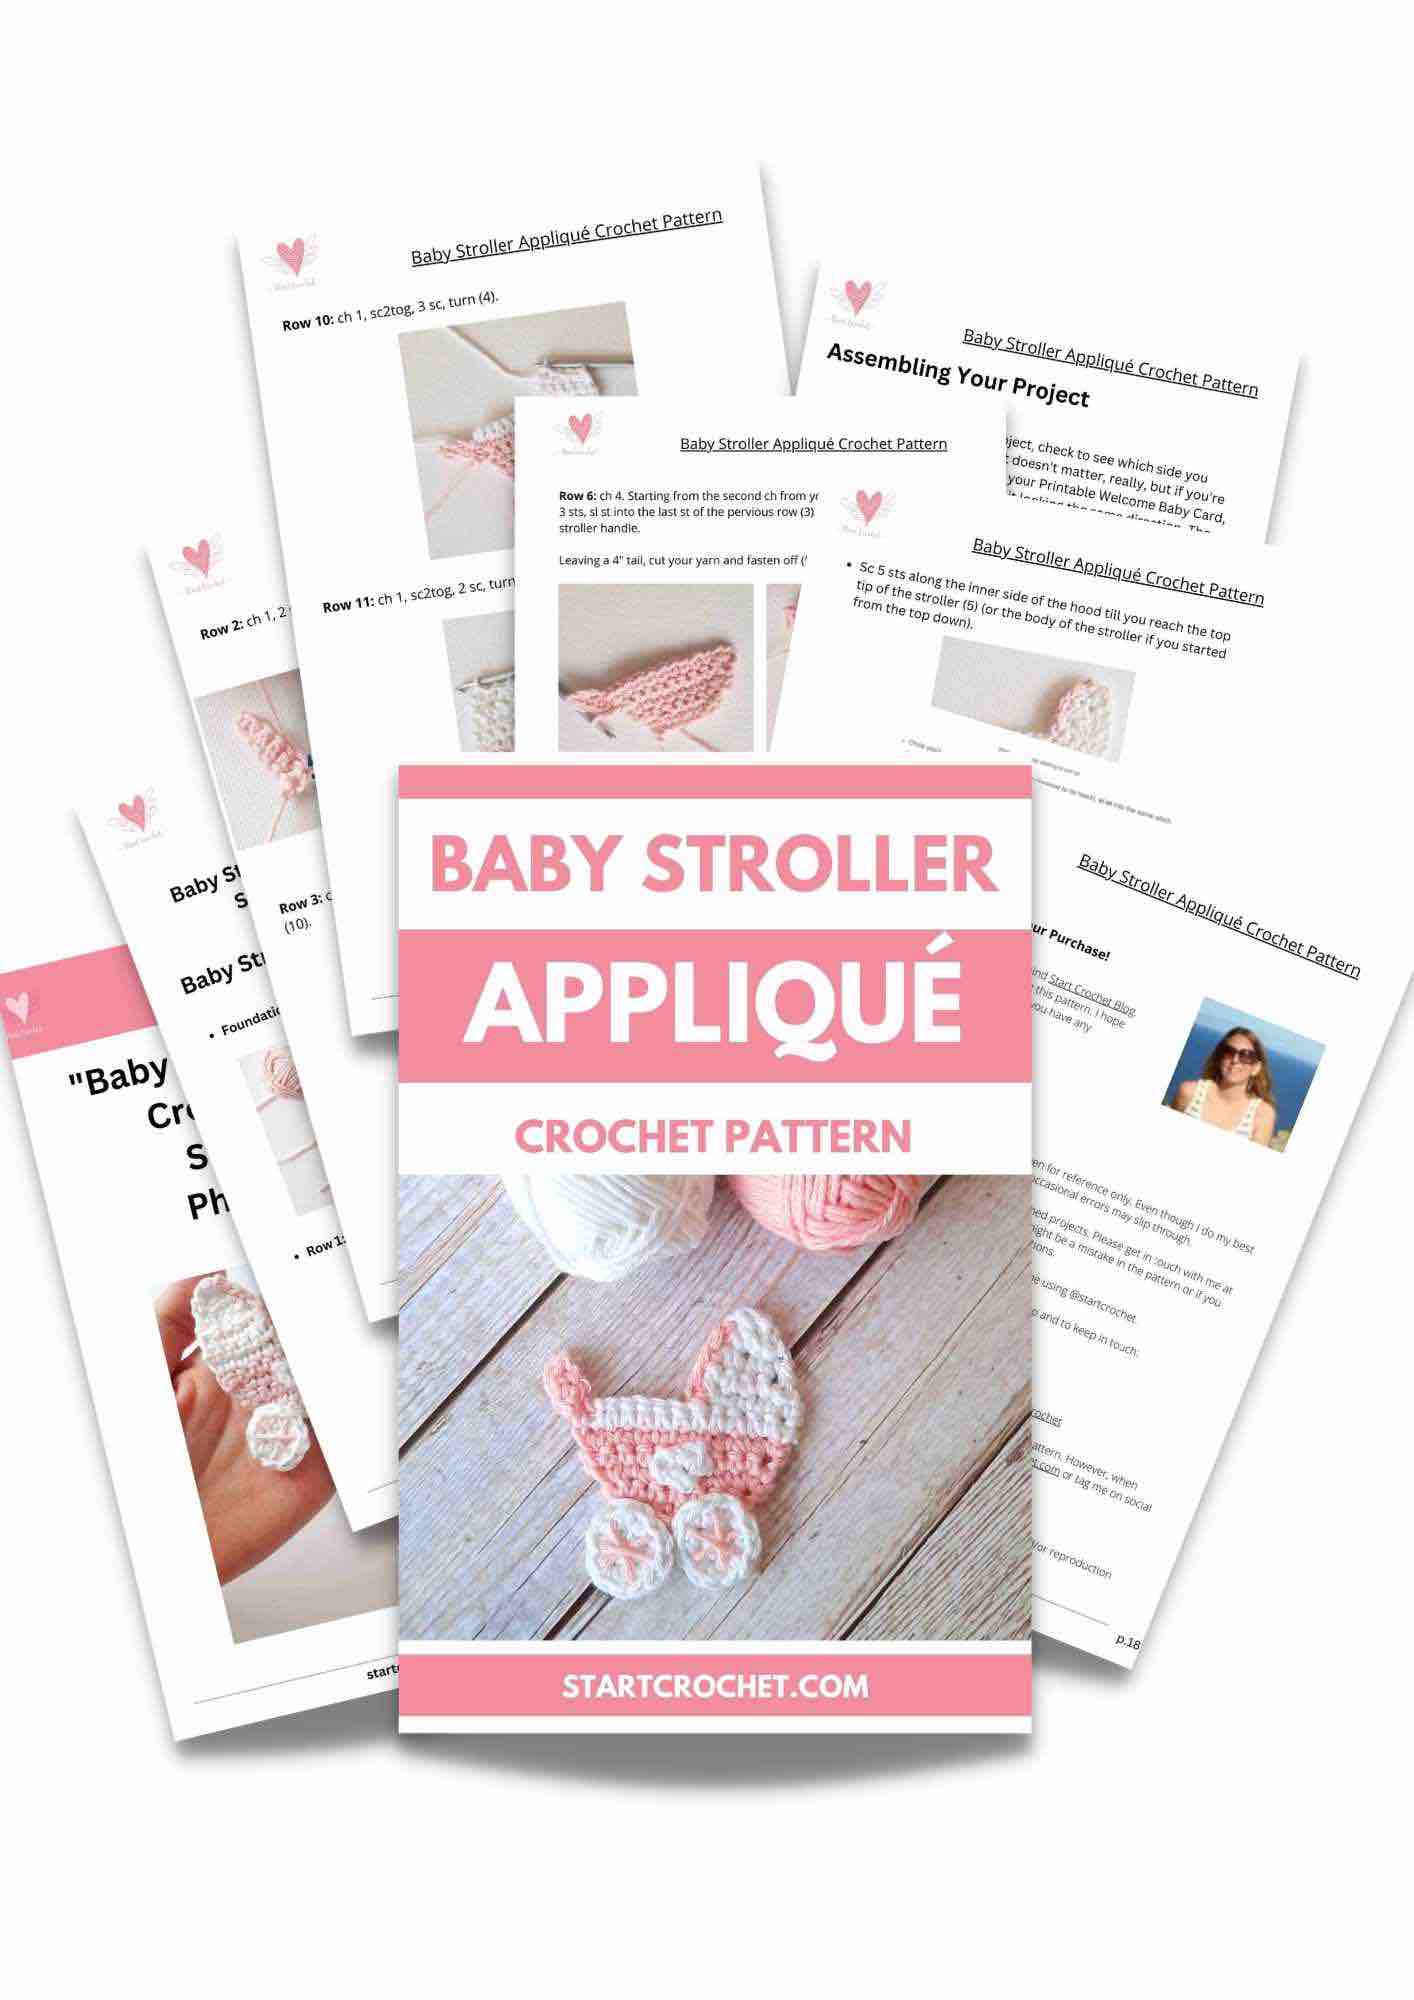
If you'd like to get a PDF Downloadable version of the baby stroller appliqué crochet pattern, you can get instant access to it for home printing for a small fee.
1. Baby Stroller Appliqué Crochet Pattern (PDF Printable)
Baby Welcome Cards (Downloadable)
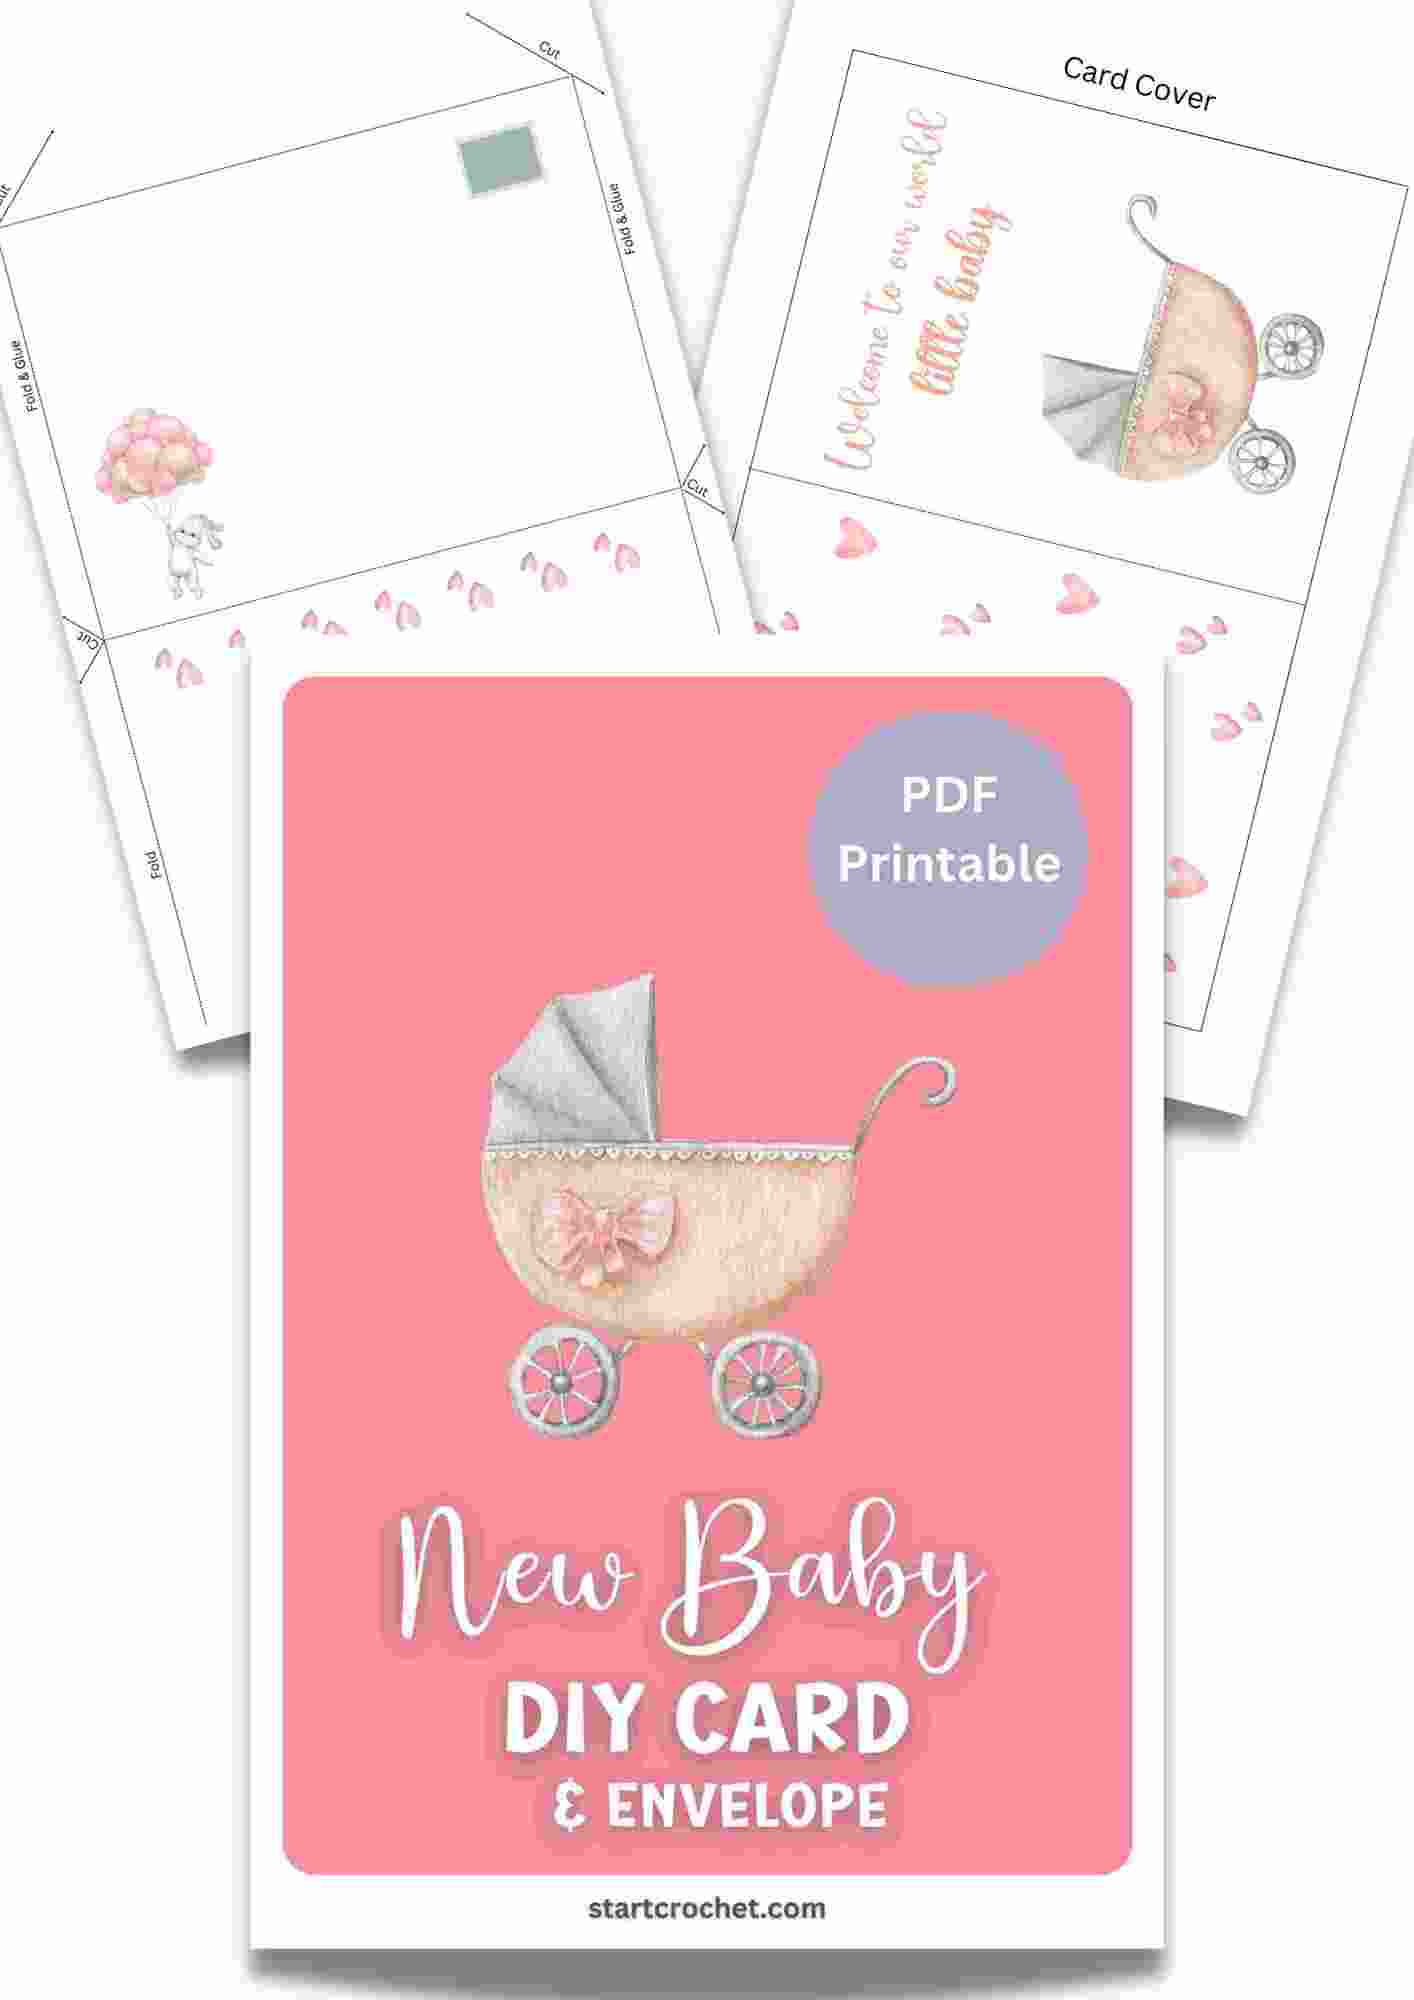
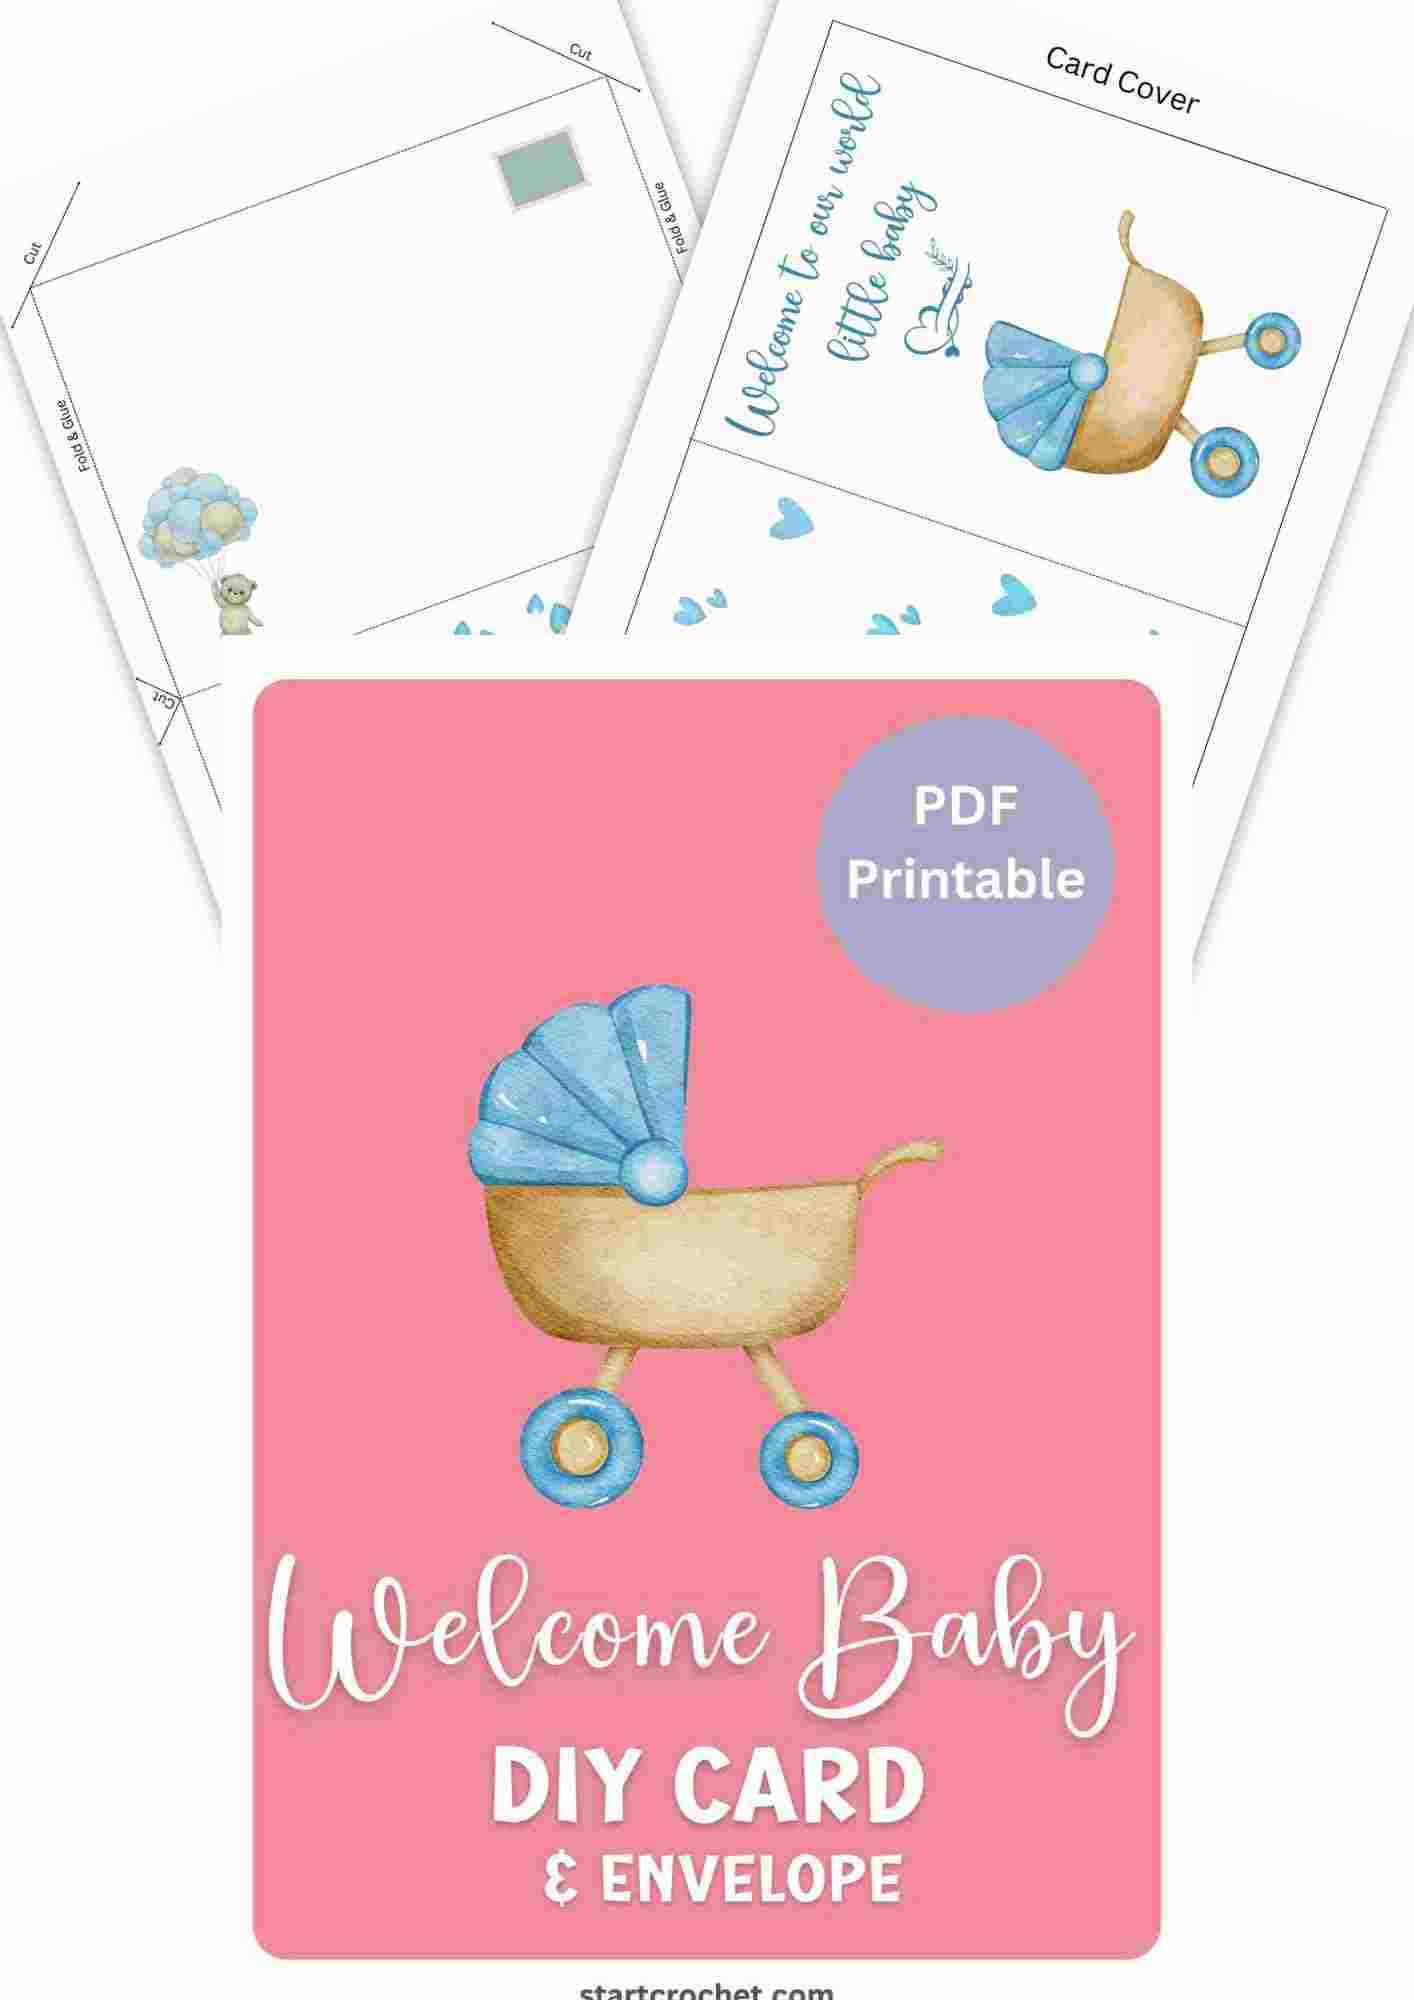
If you'd like to add this appliqué to a DIY Baby Welcome Card, you can download these cards (Girl or Boy) and attach your crocheted baby stroller appliqué to it.
How To Crochet A Baby Stroller Pattern Instructions
Baby Stroller Body
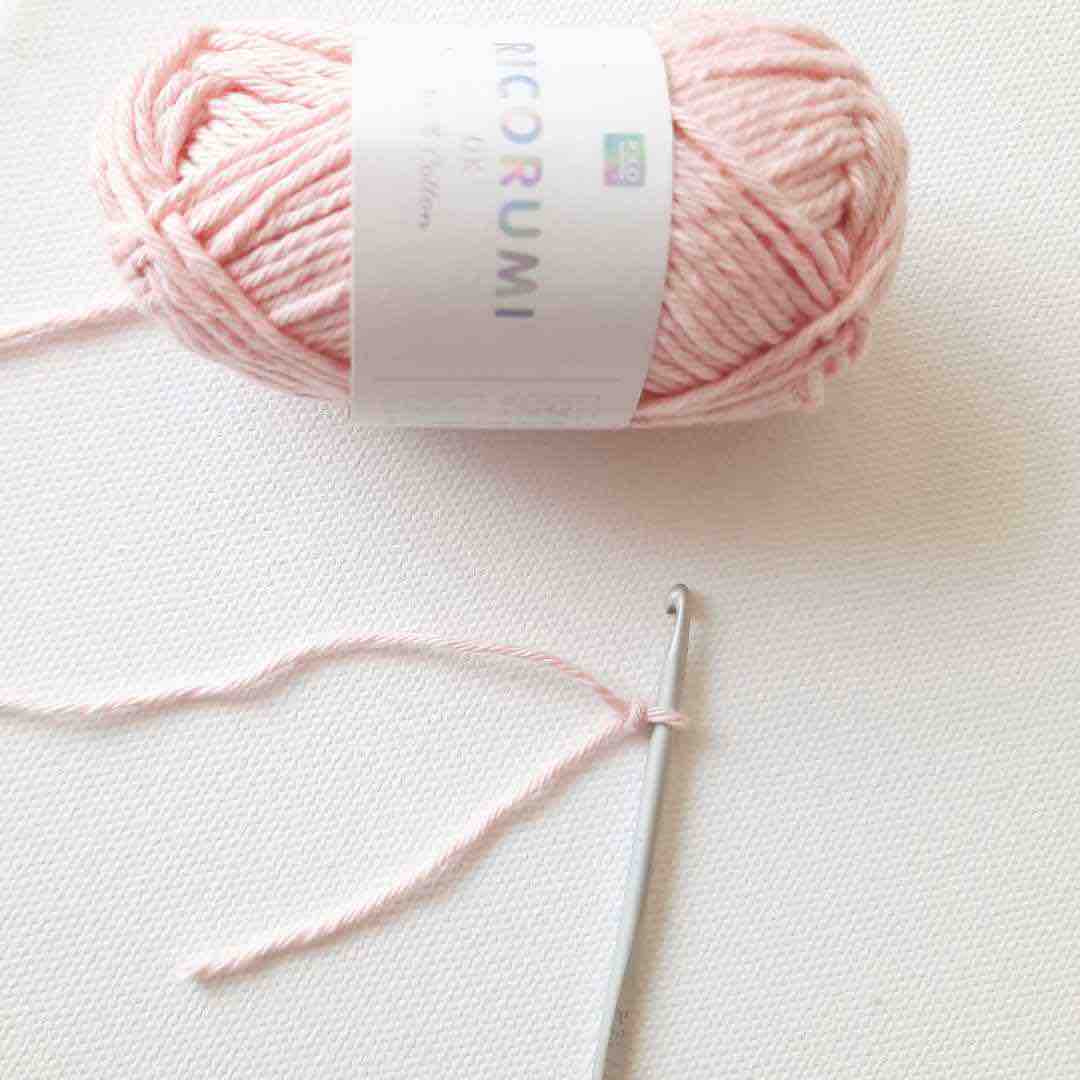
- Foundation Row: With color A, tie a slip knot on your hook, ch 7.
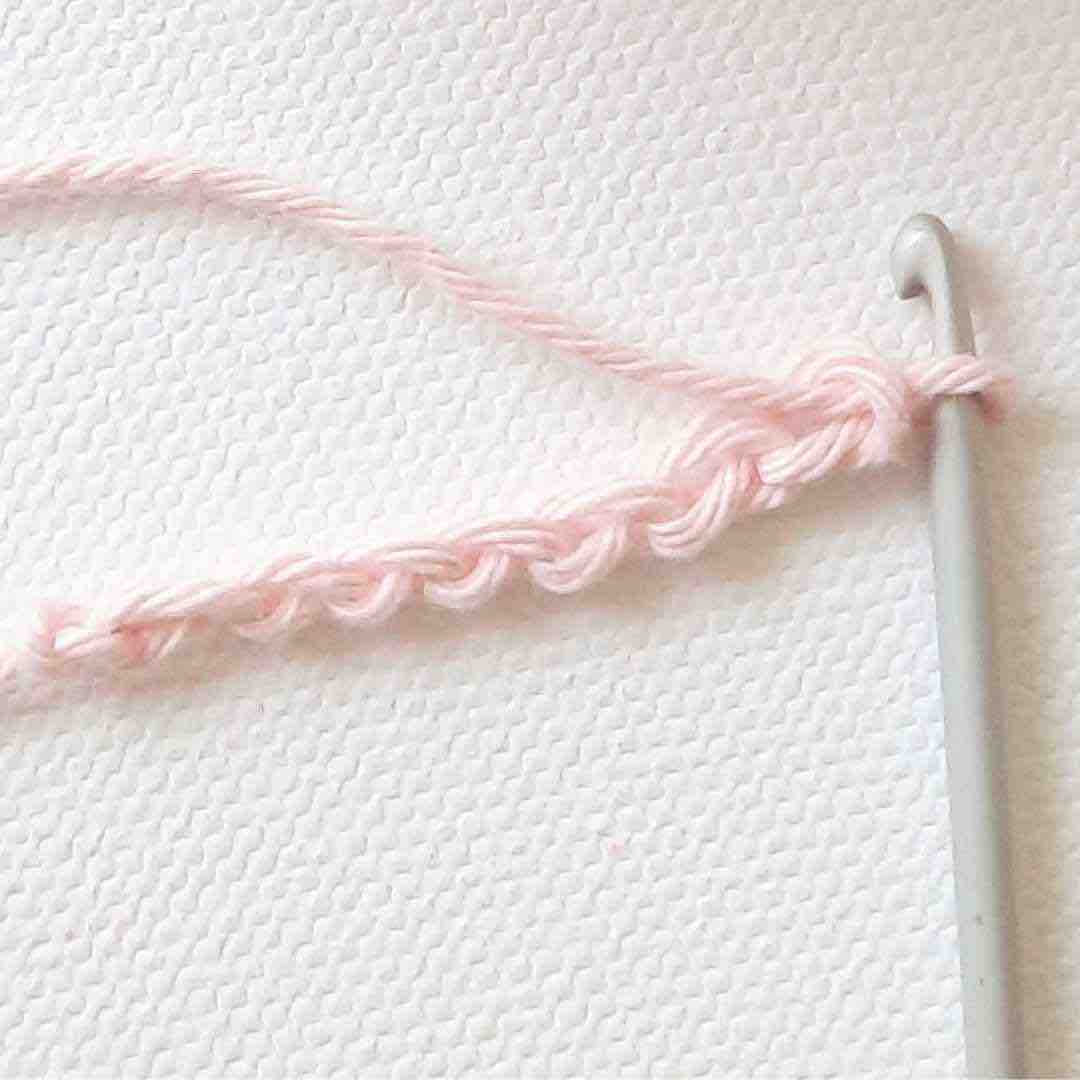
- Row 1: Starting from the 2nd ch from your hook, 6 sc, turn (6).
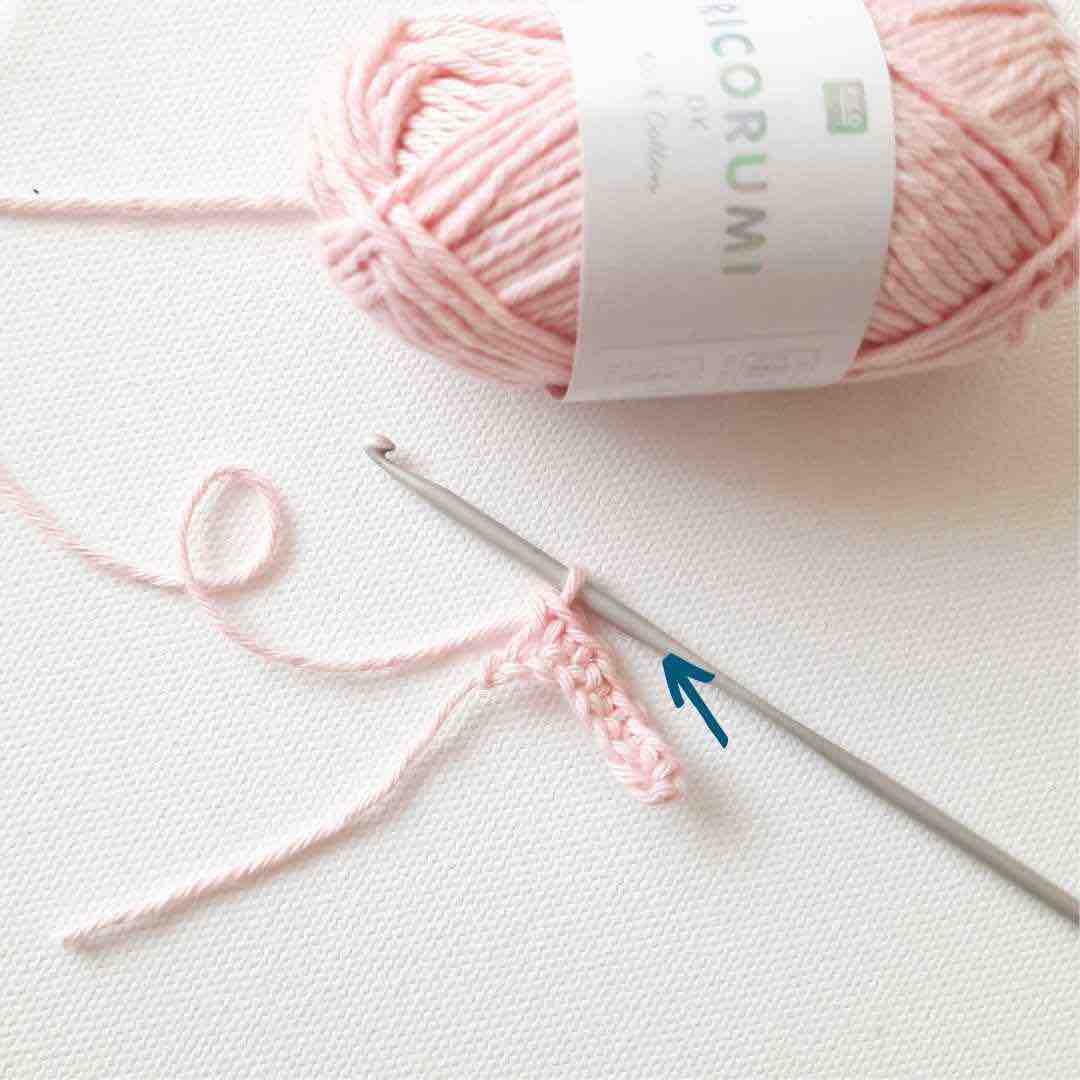
- Row 2: ch 1, 2 sc in first st, sc in the next 4 sts, 2 sc in the last st, turn (8).
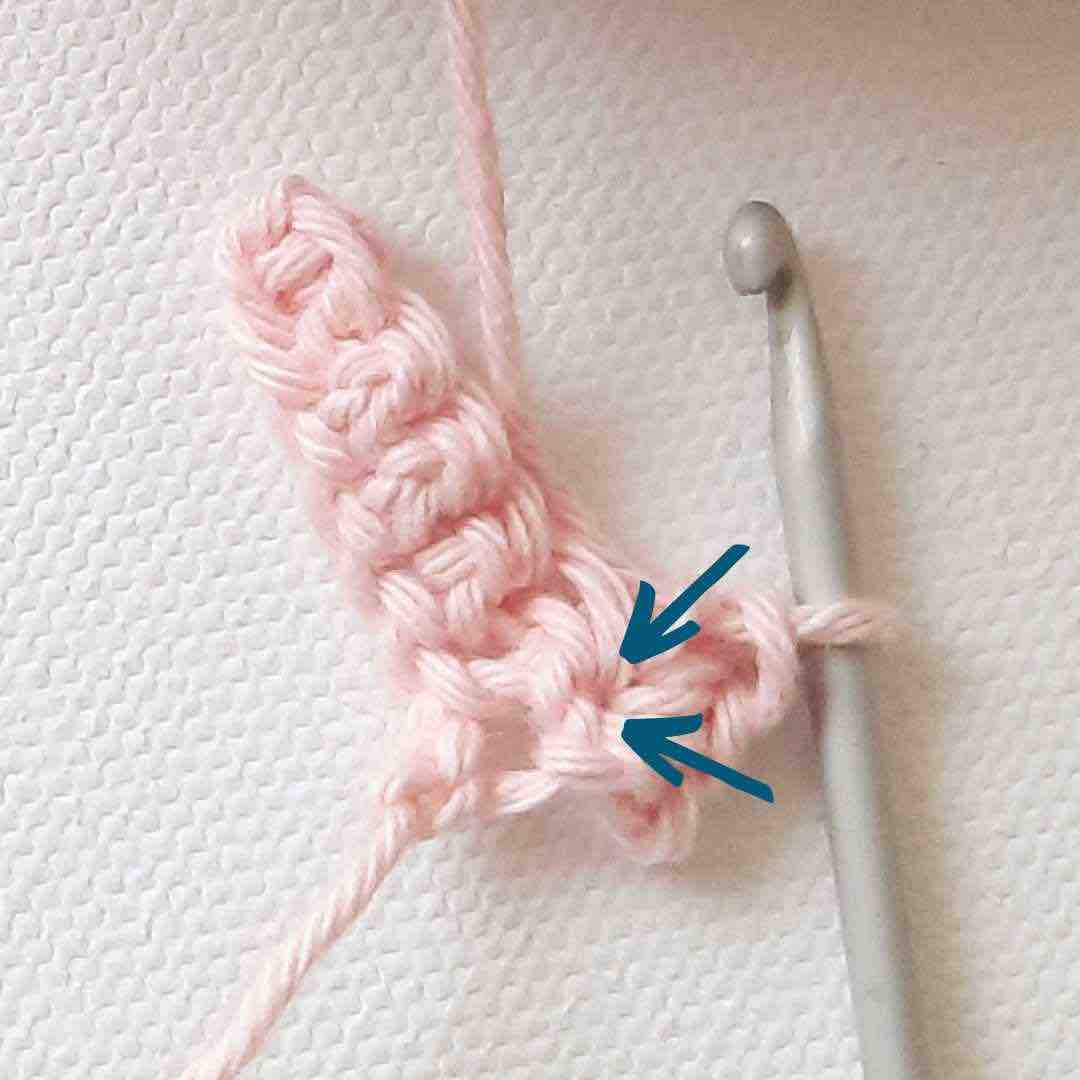
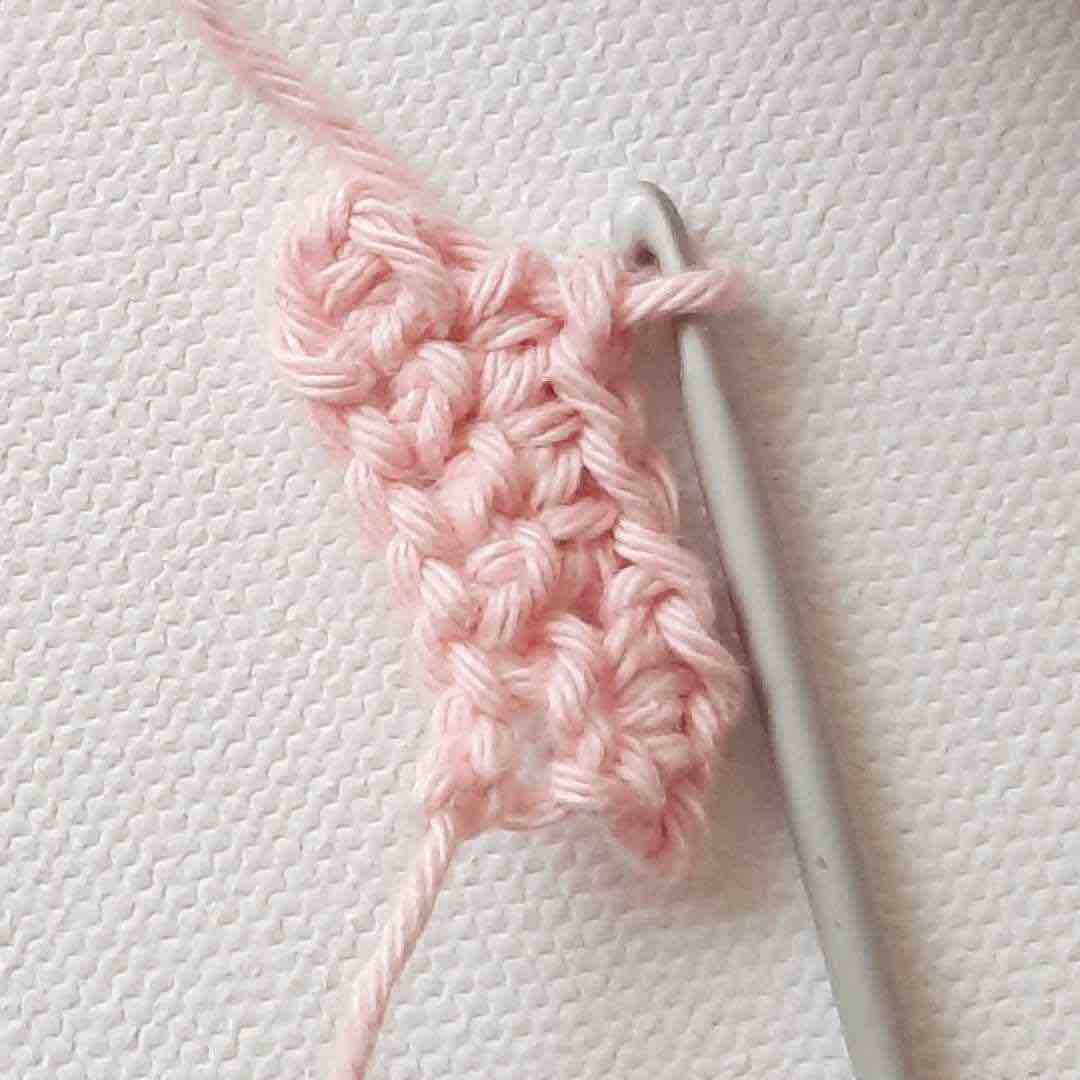
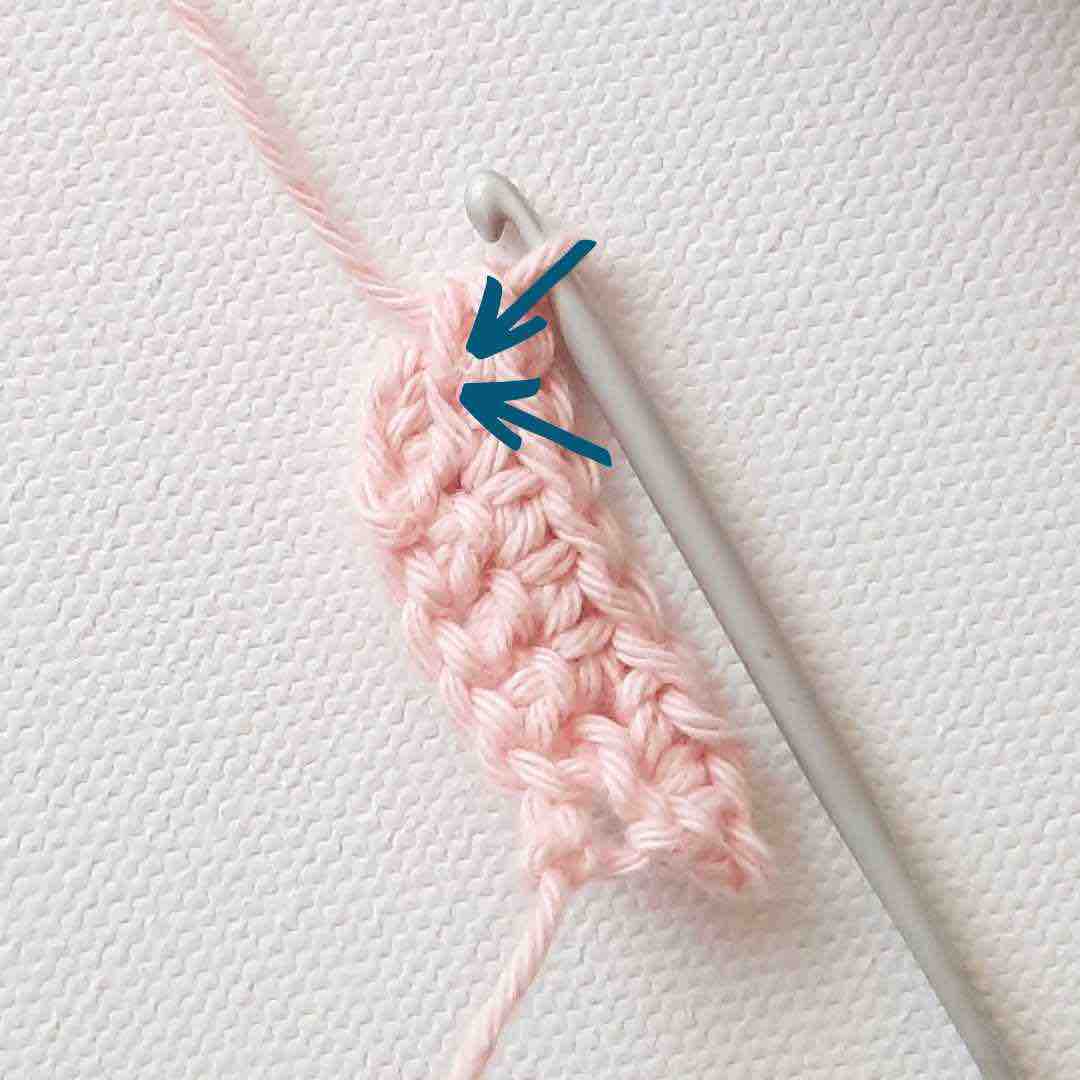
- Row 3: ch 1, 2 sc in the first st, sc in the next 6 sts, 2 sc in the last st, turn (10).
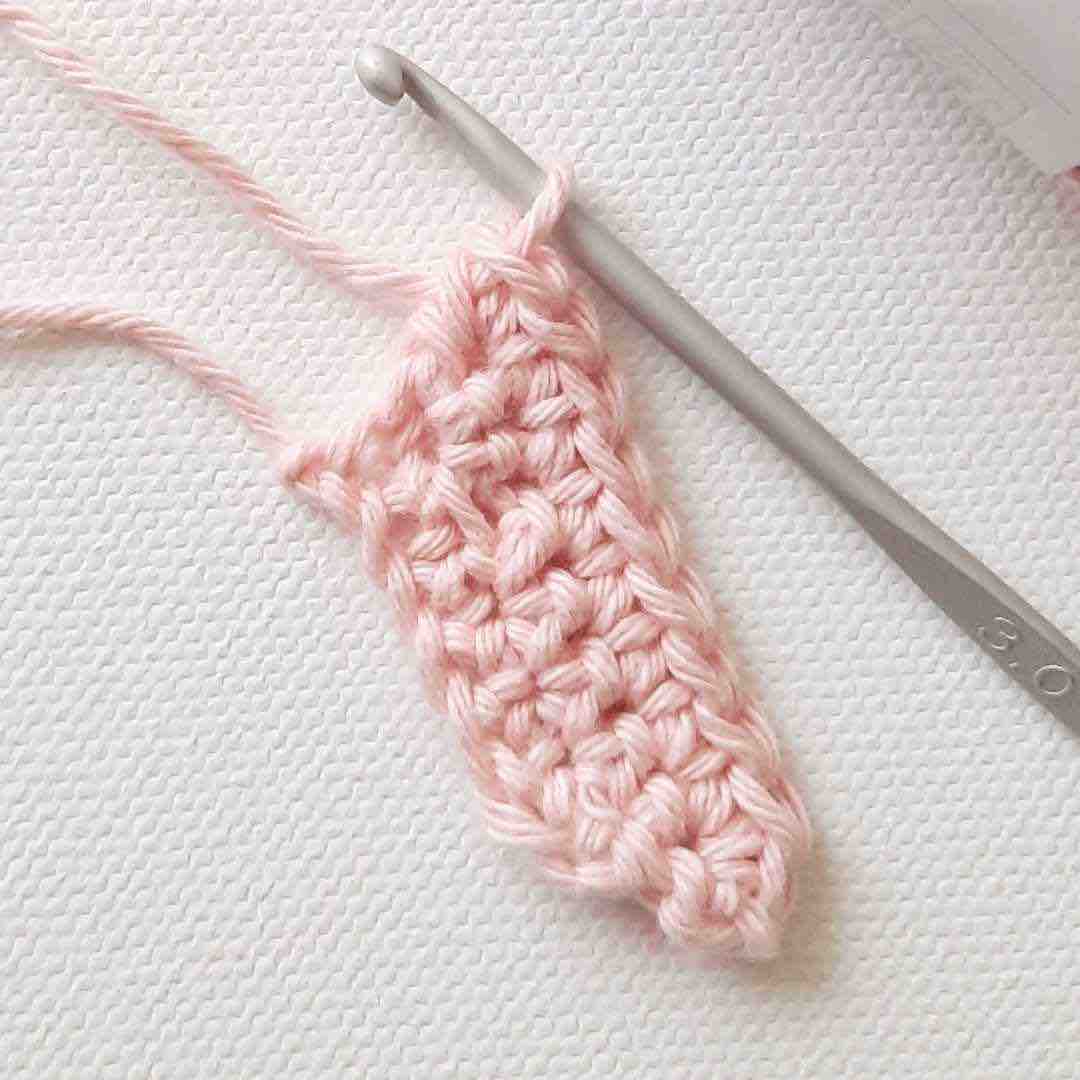
- Row 4: ch 1, sc into each stitch along, turn (10).
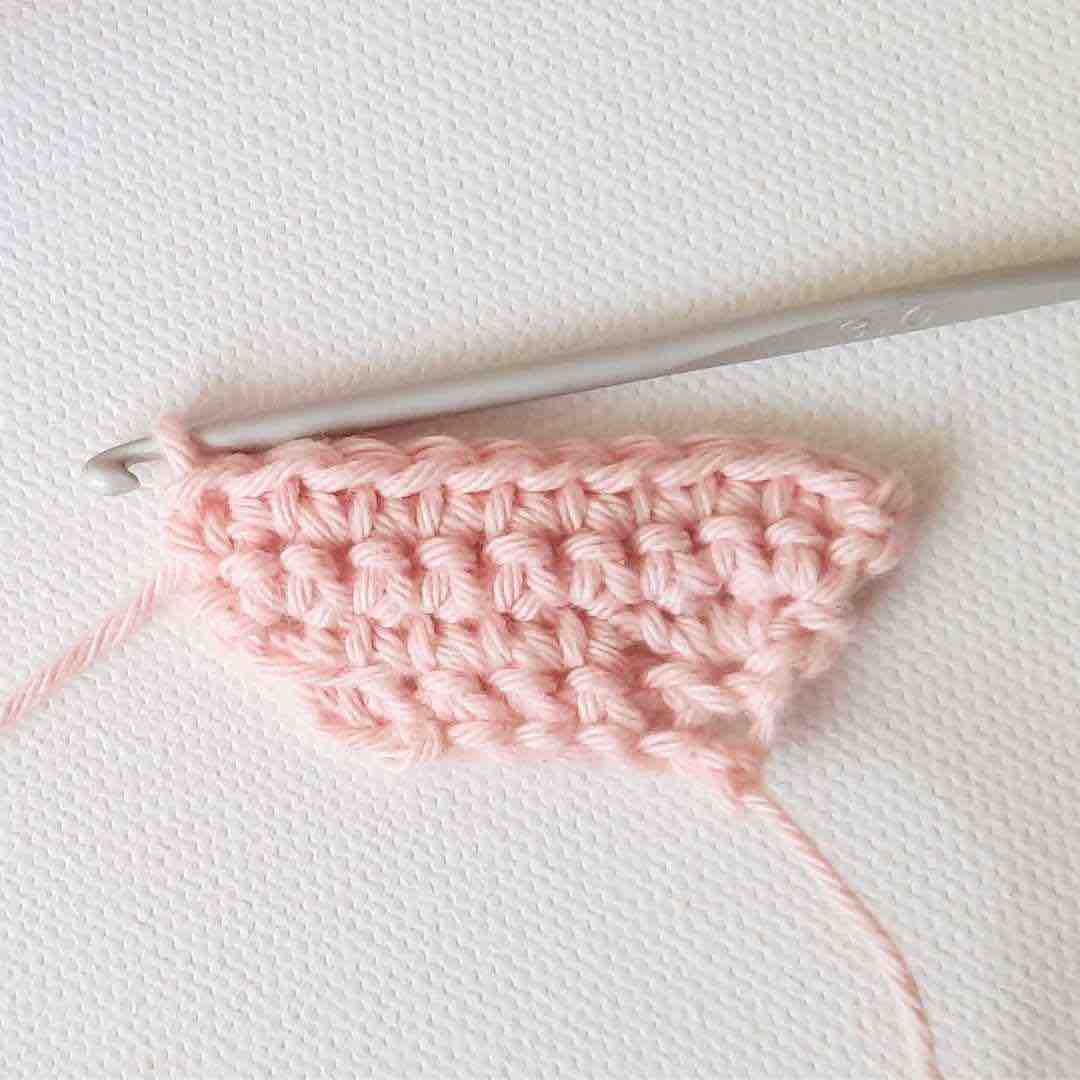
- Row 5: ch 1, 2 sc in the first st, sc in the next 8 sts, 2 sc in the last st (12).
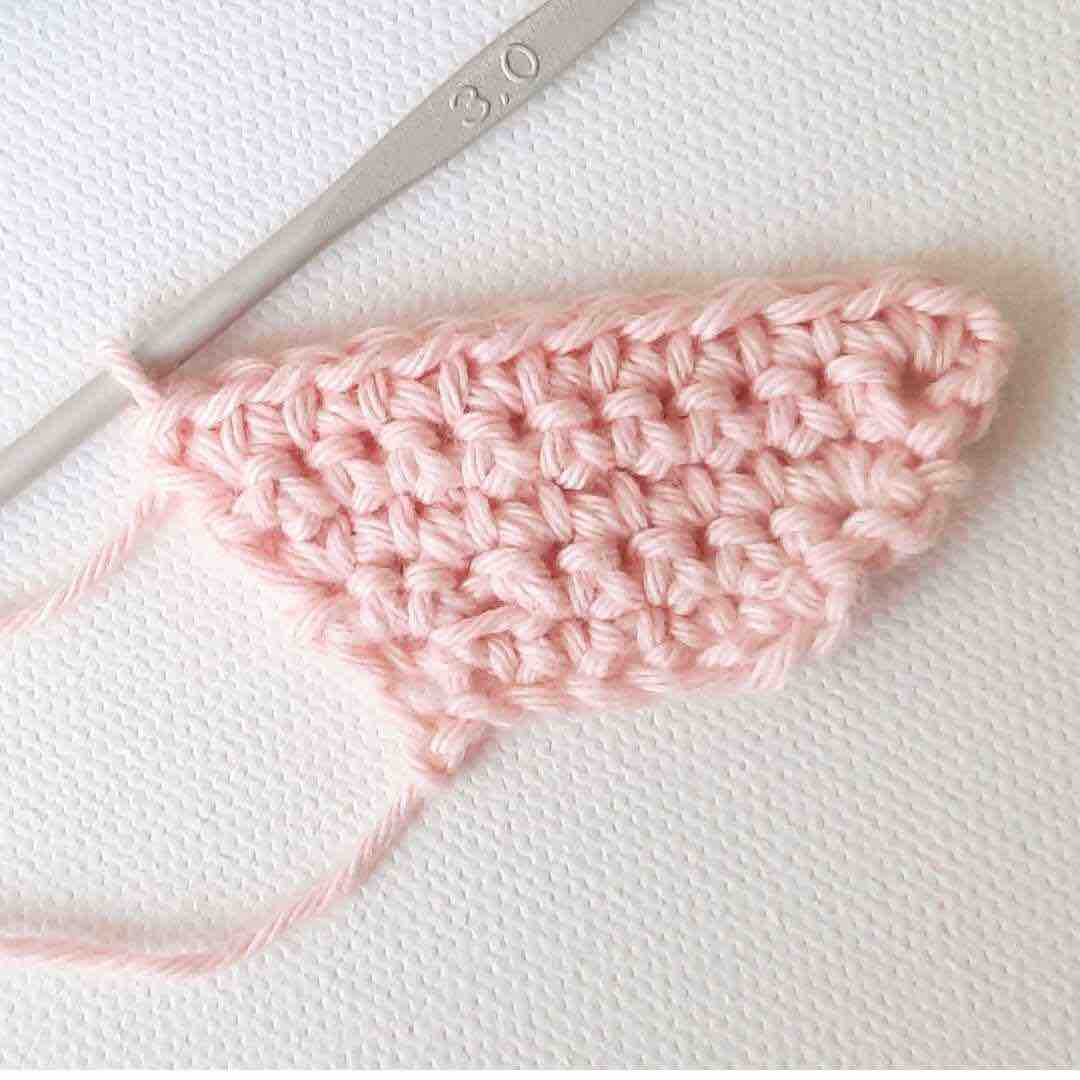
- Row 6: ch 4, starting from the second ch from your hook, sc into the next 3 sts, sl st into the last st of the pervious row (3). This is now the baby stroller handle. Leaving a 4" tail, cut your yarn and fasten off (fo).
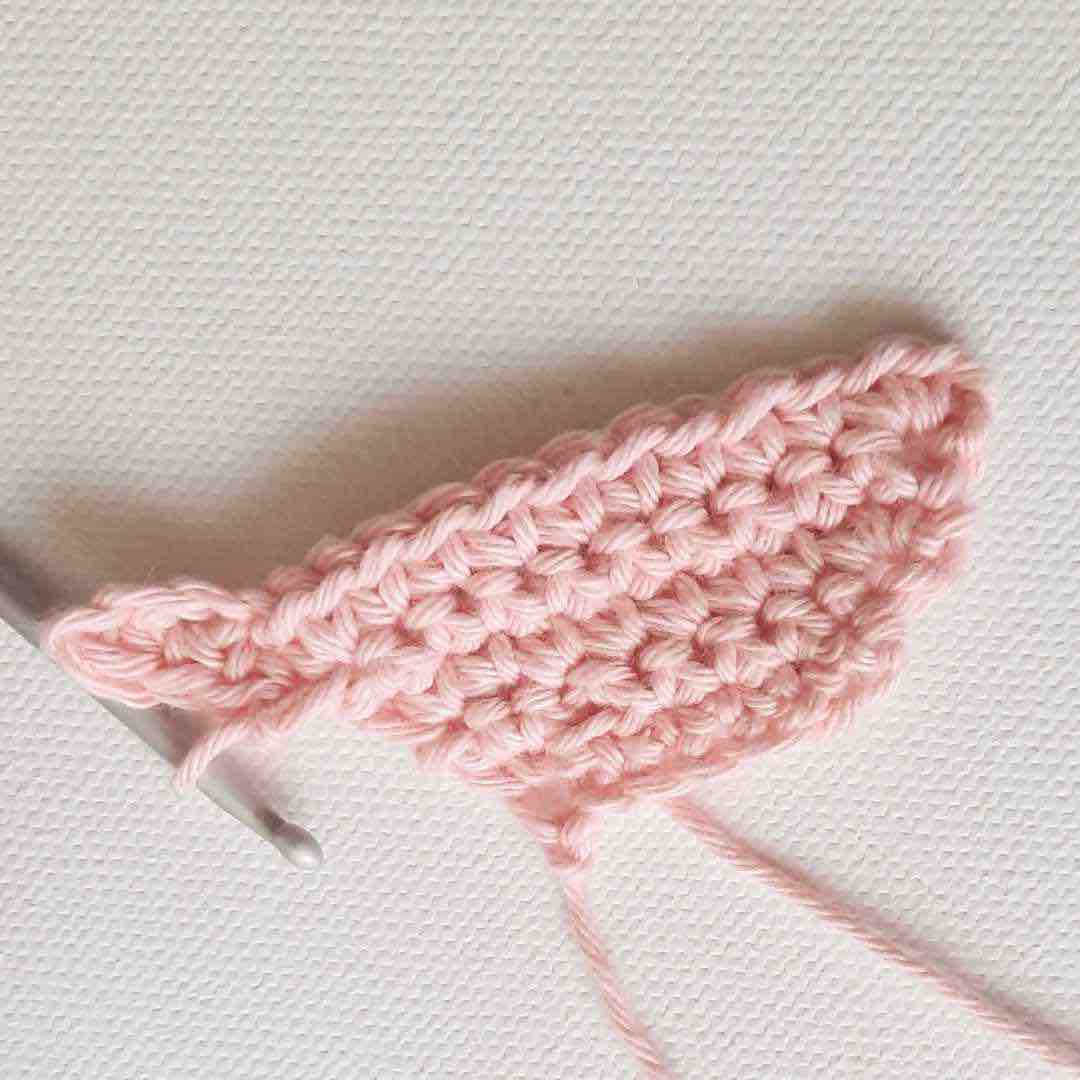
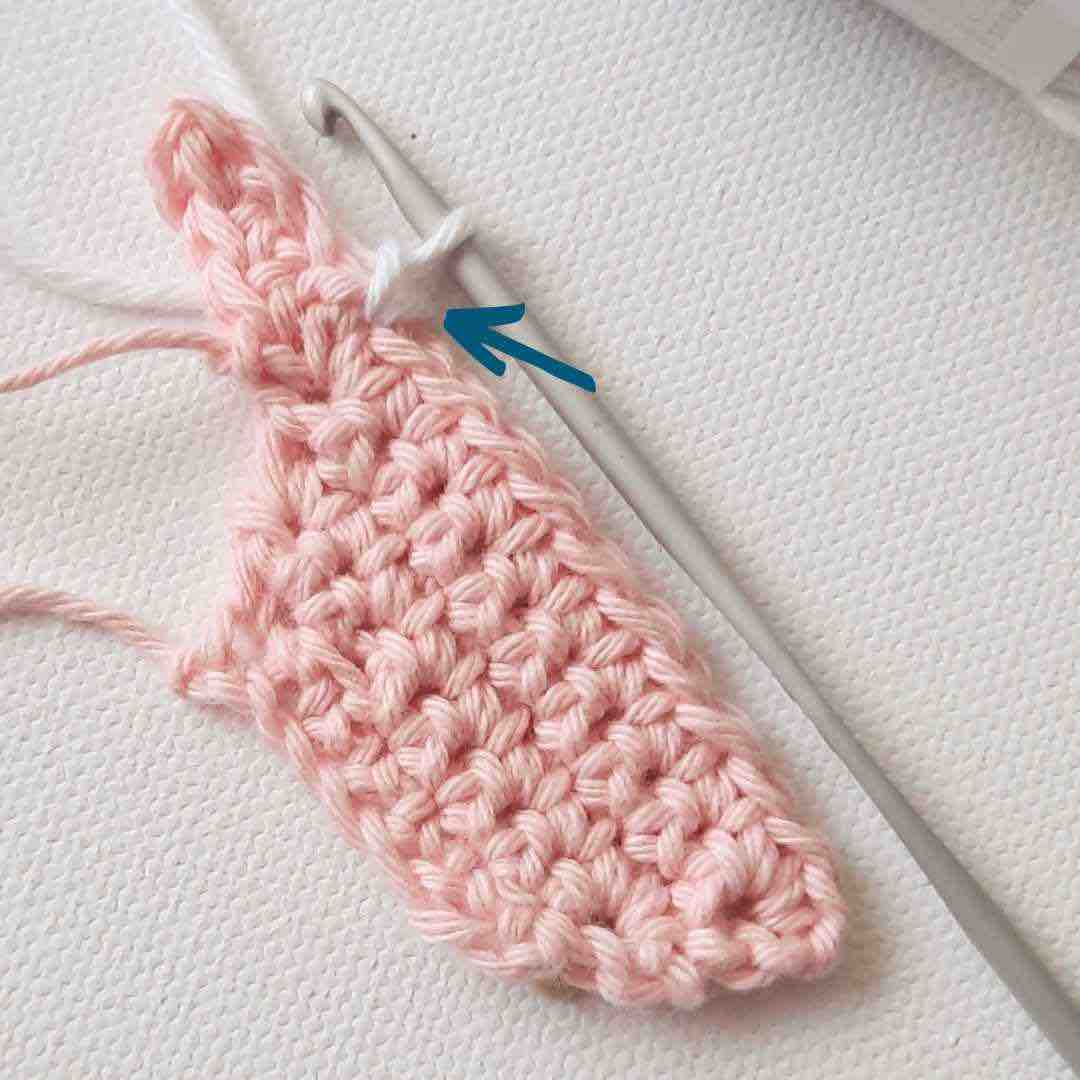
- Row 7: Attach yarn color B to that last st of Row 5 (where you just inserted your sl st to fo), ch 1, turn, sc along each st, turn (12).
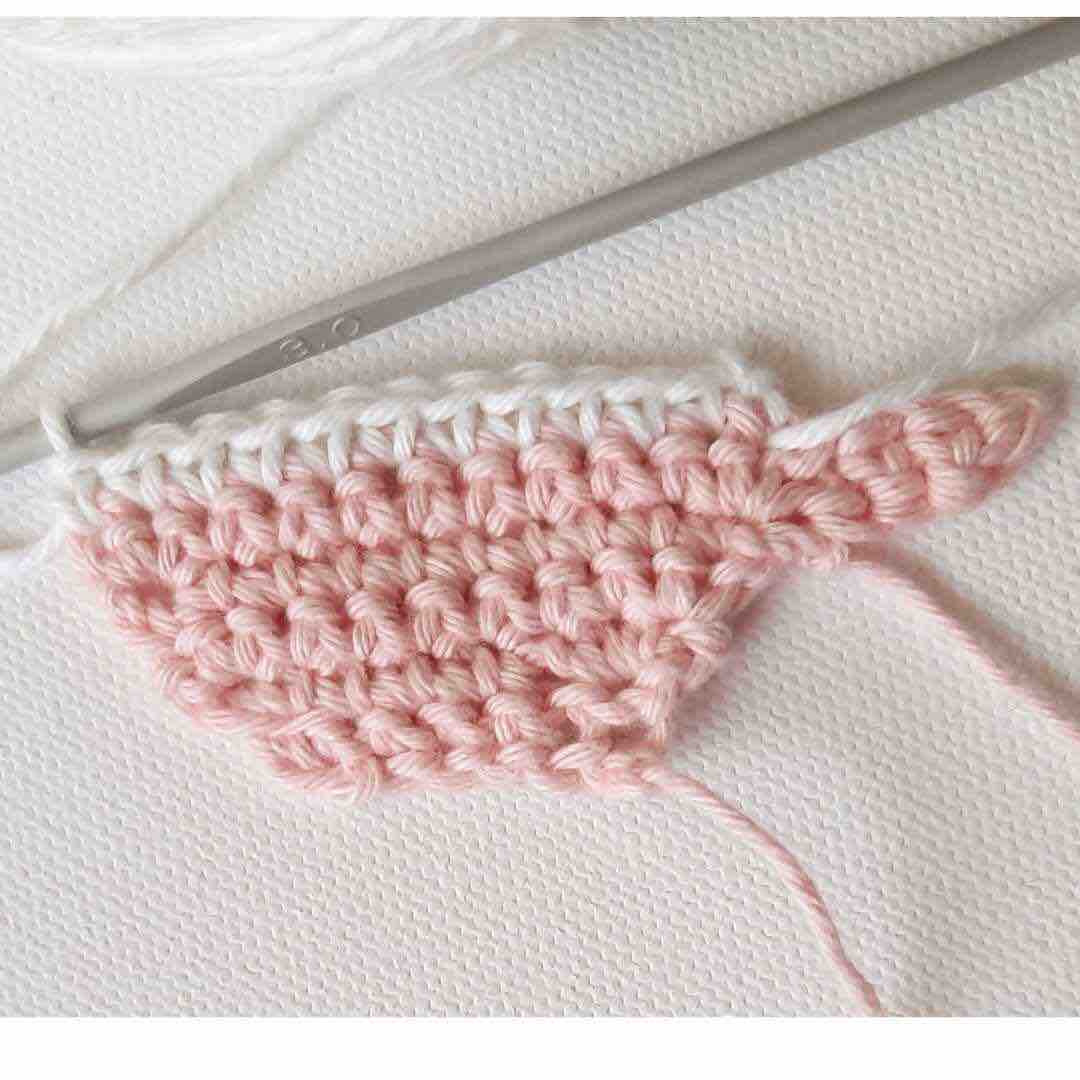
- Row 8: ch 1, 5 sc, turn (5).
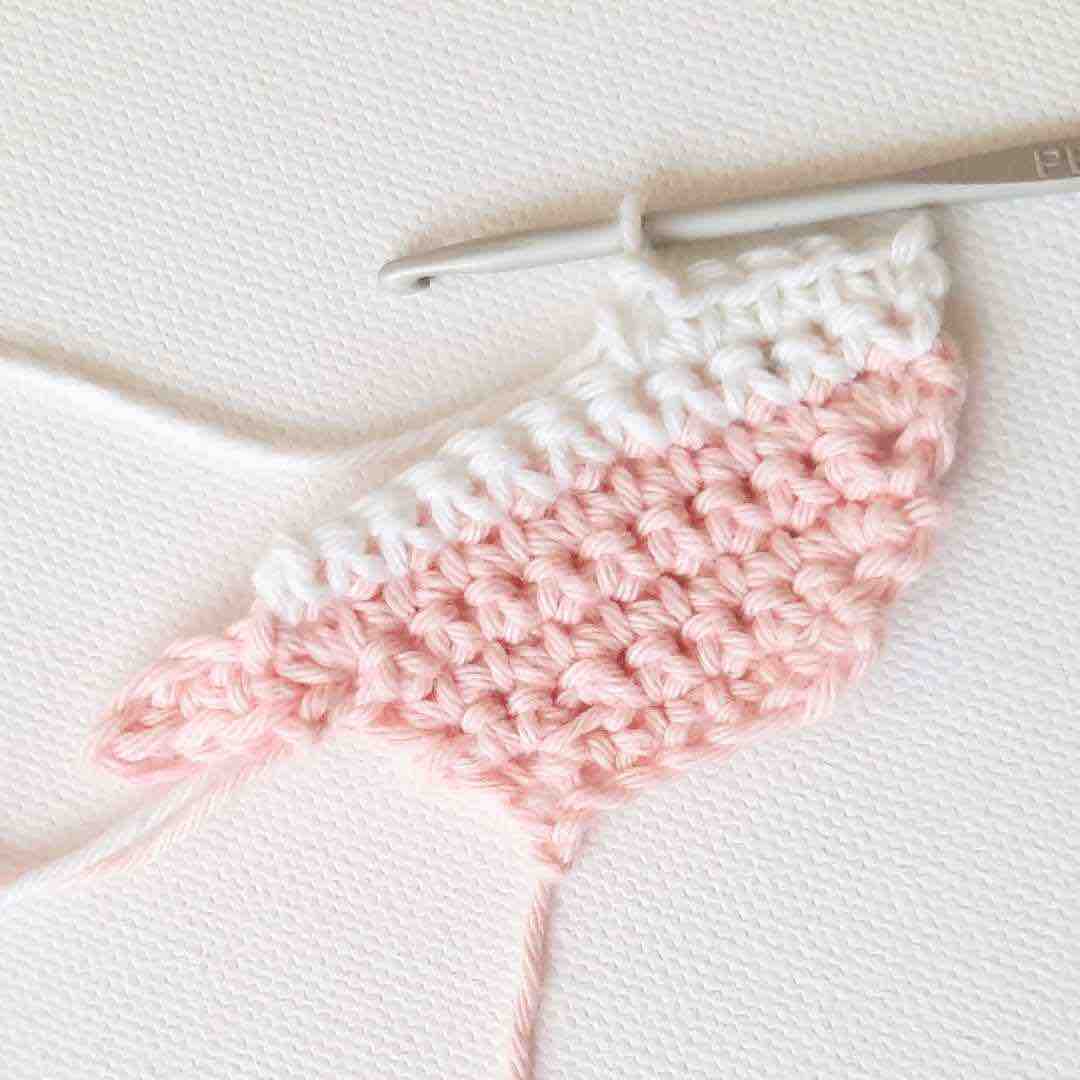
- Row 9: ch 1, 5 sc, turn (5).
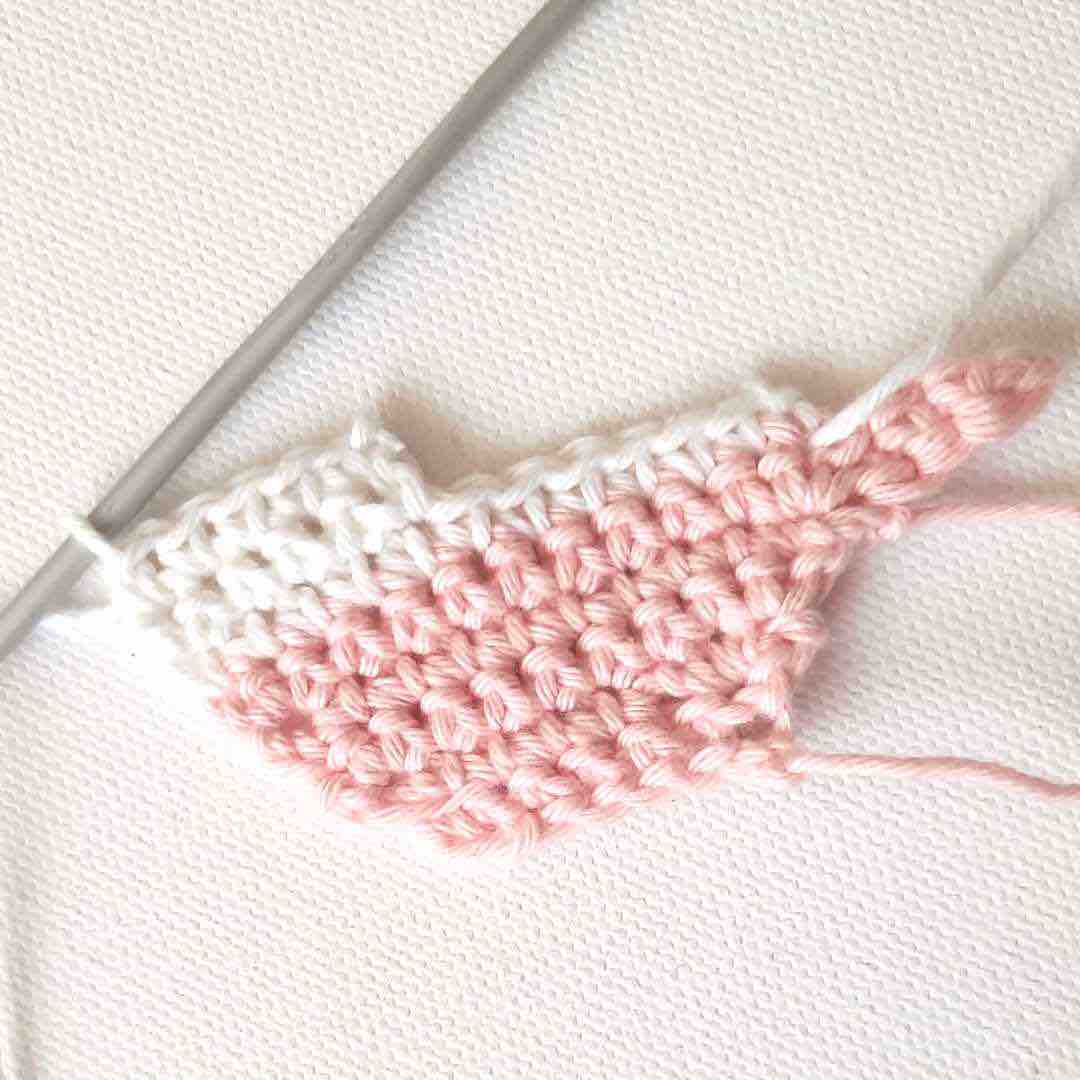
- Row 10: ch 1, sc2tog, 3 sc, turn (4).
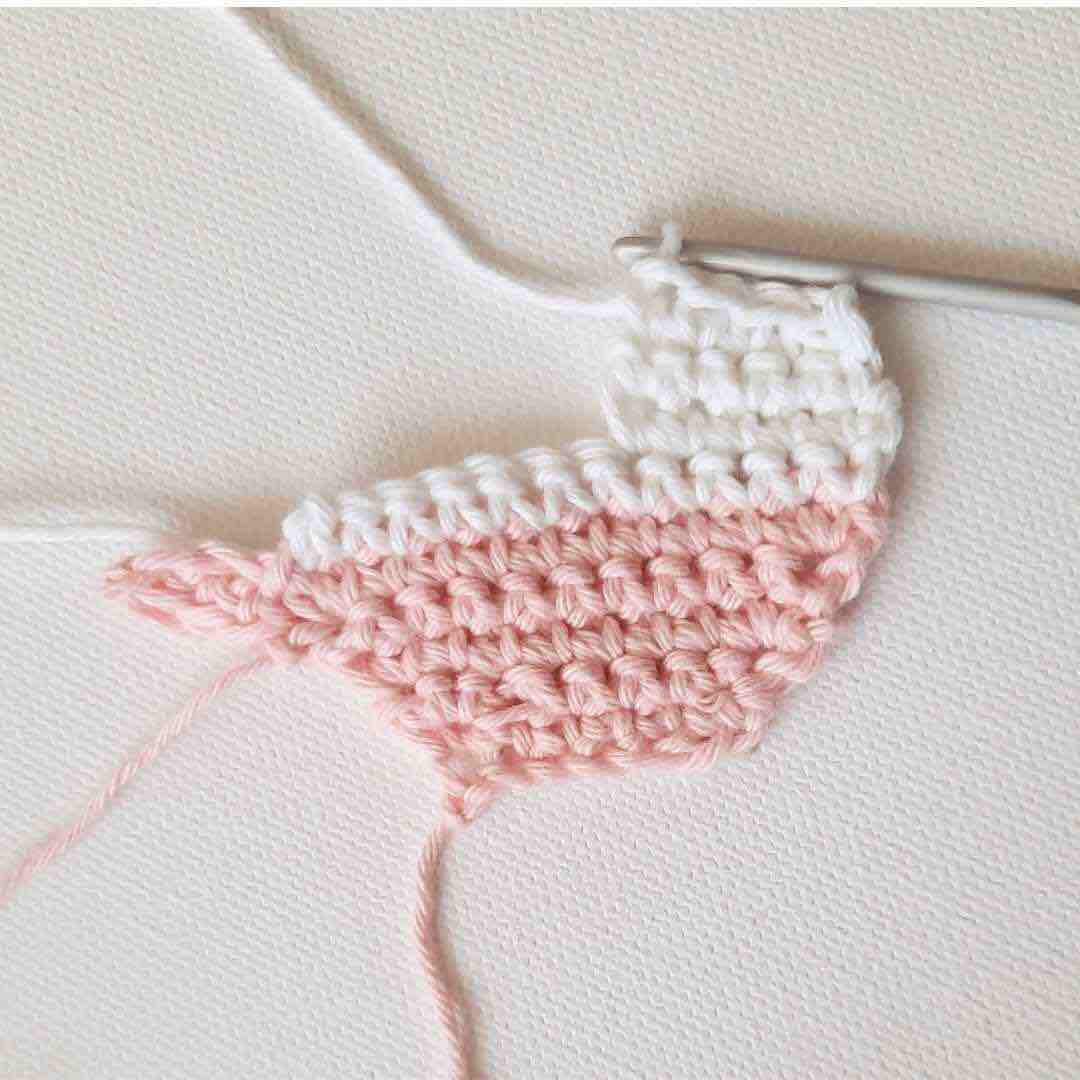
- Row 11: ch 1, sc2tog, 2 sc, turn (3).
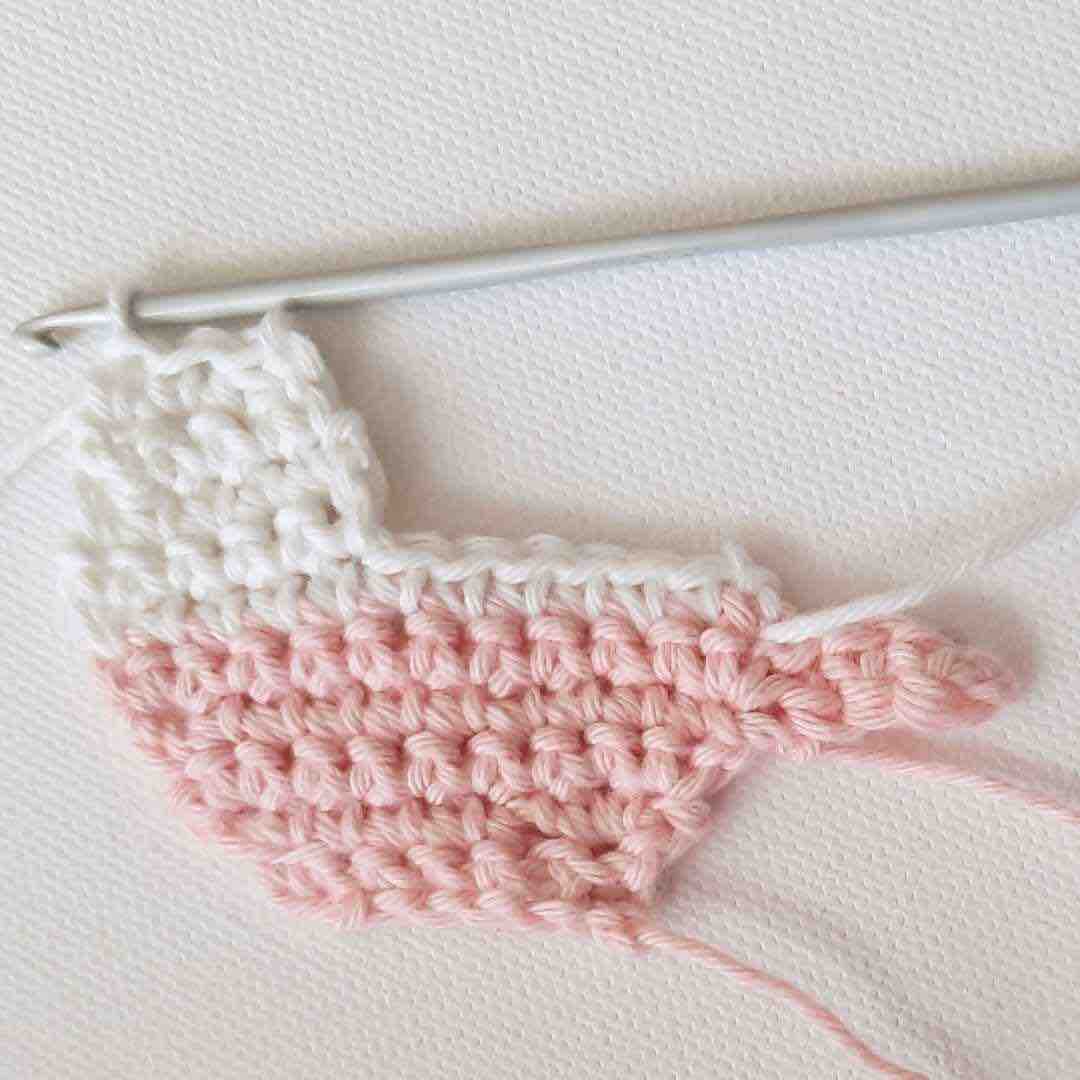
- Row 12: ch 1, sc, sc2tog, turn (2).
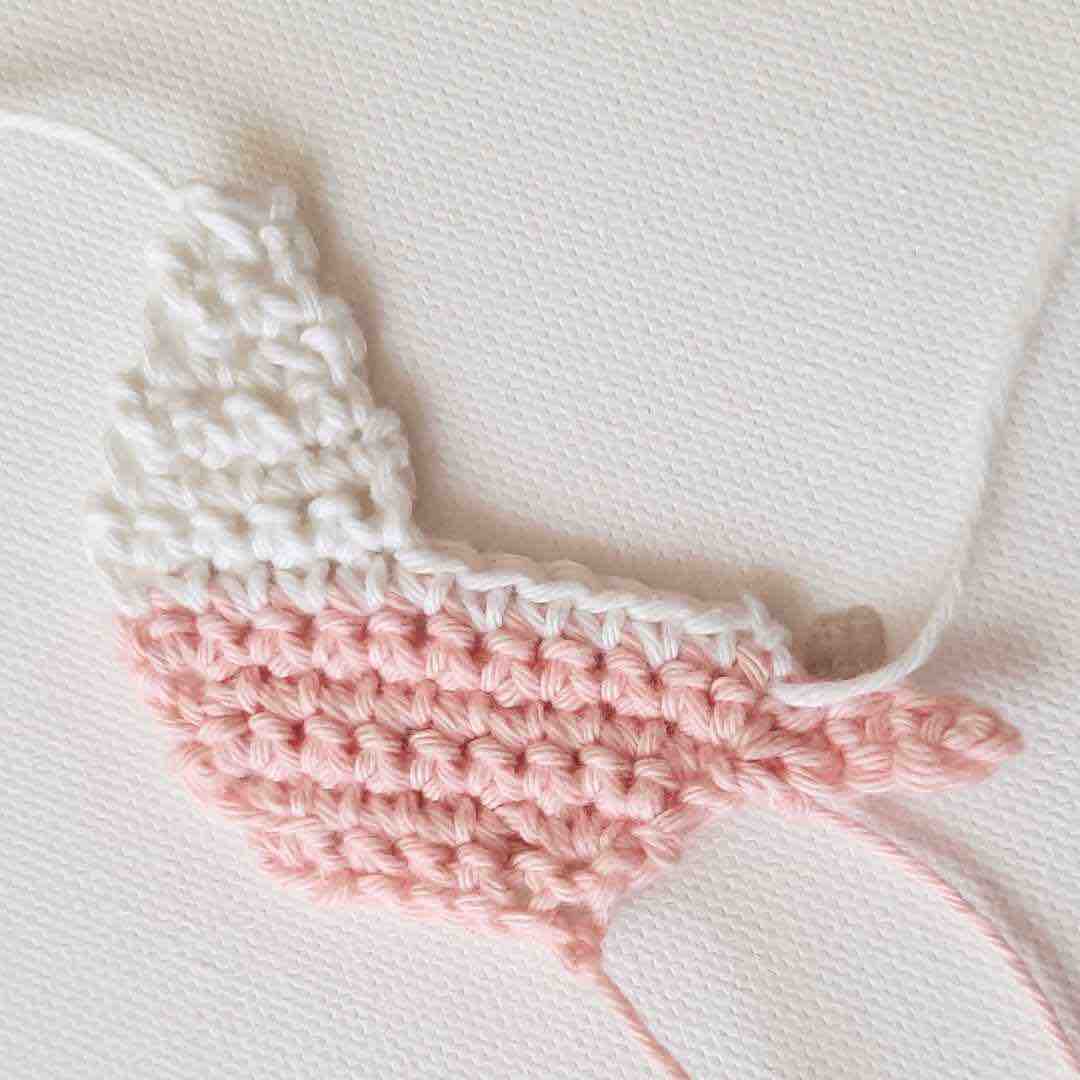
- Row 13: ch1, sc2tog (1). Leaving a 4" tail, cut your yarn and fasten off (fo).
Baby Stroller Wheels (x 2)
- Round 1: With yarn color B, tie a slip knot onto your hook, ch 2, 6 sc into 2nd ch from the hook. (Optional alternative is to crochet 6 sc into a Magic Circle), sl st to join.
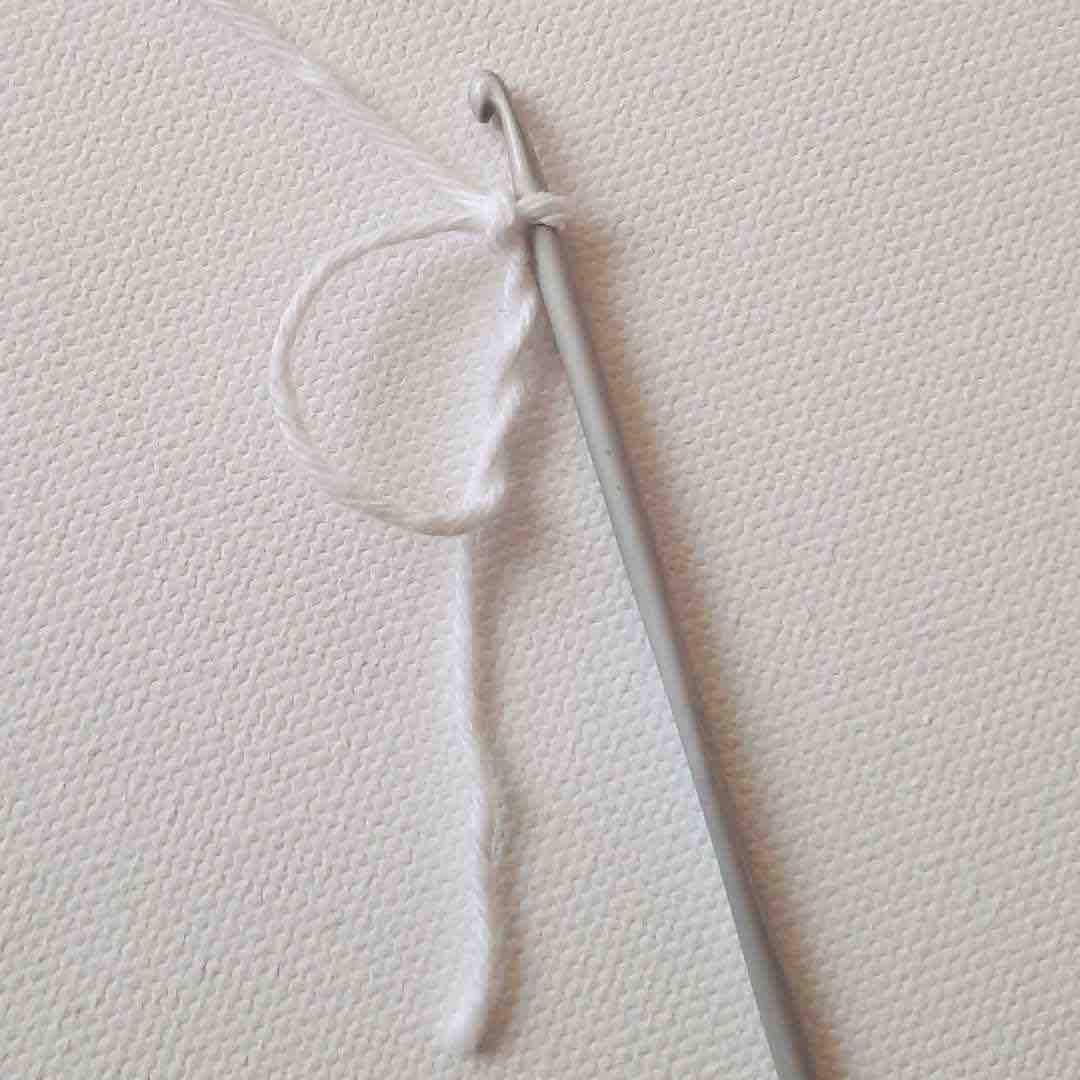
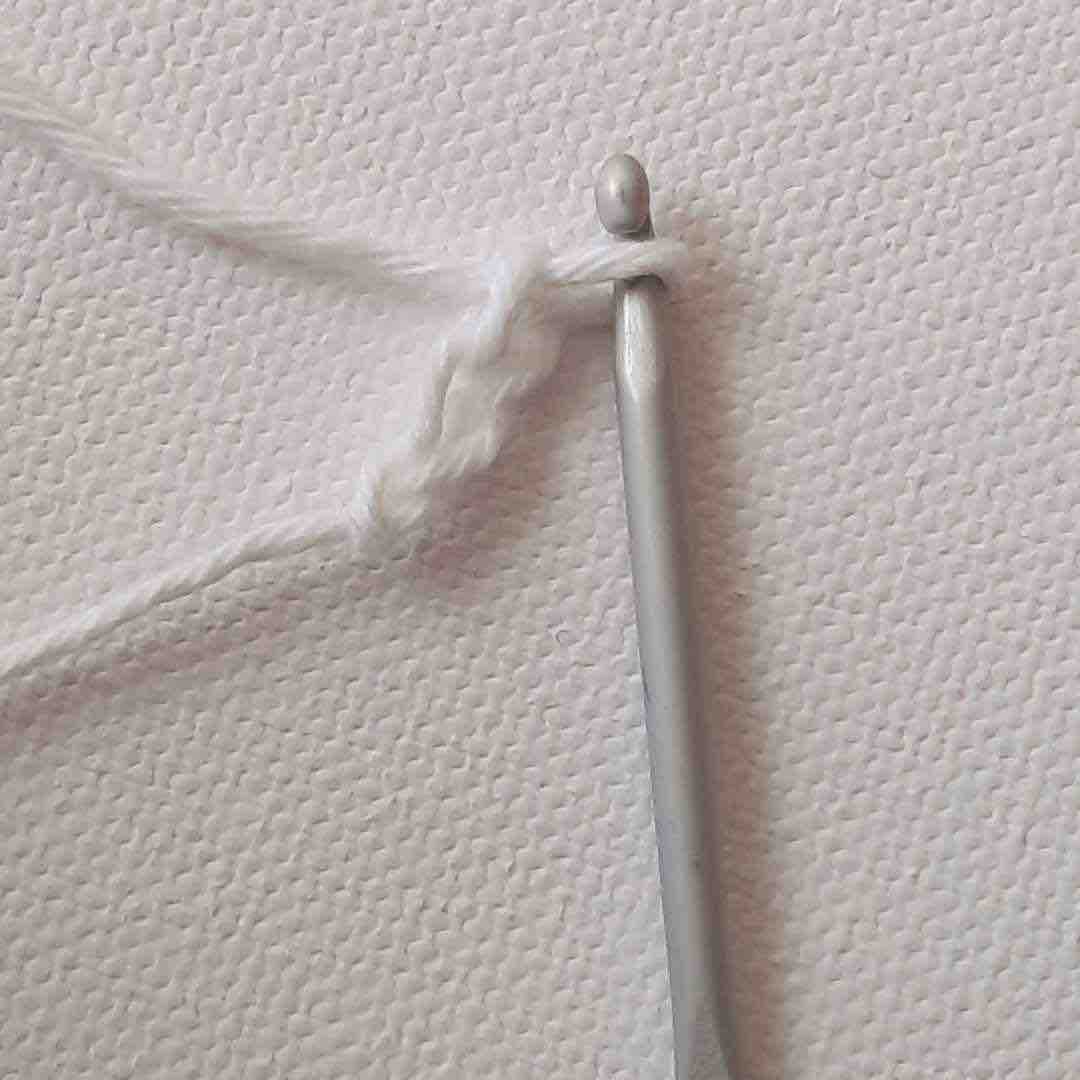
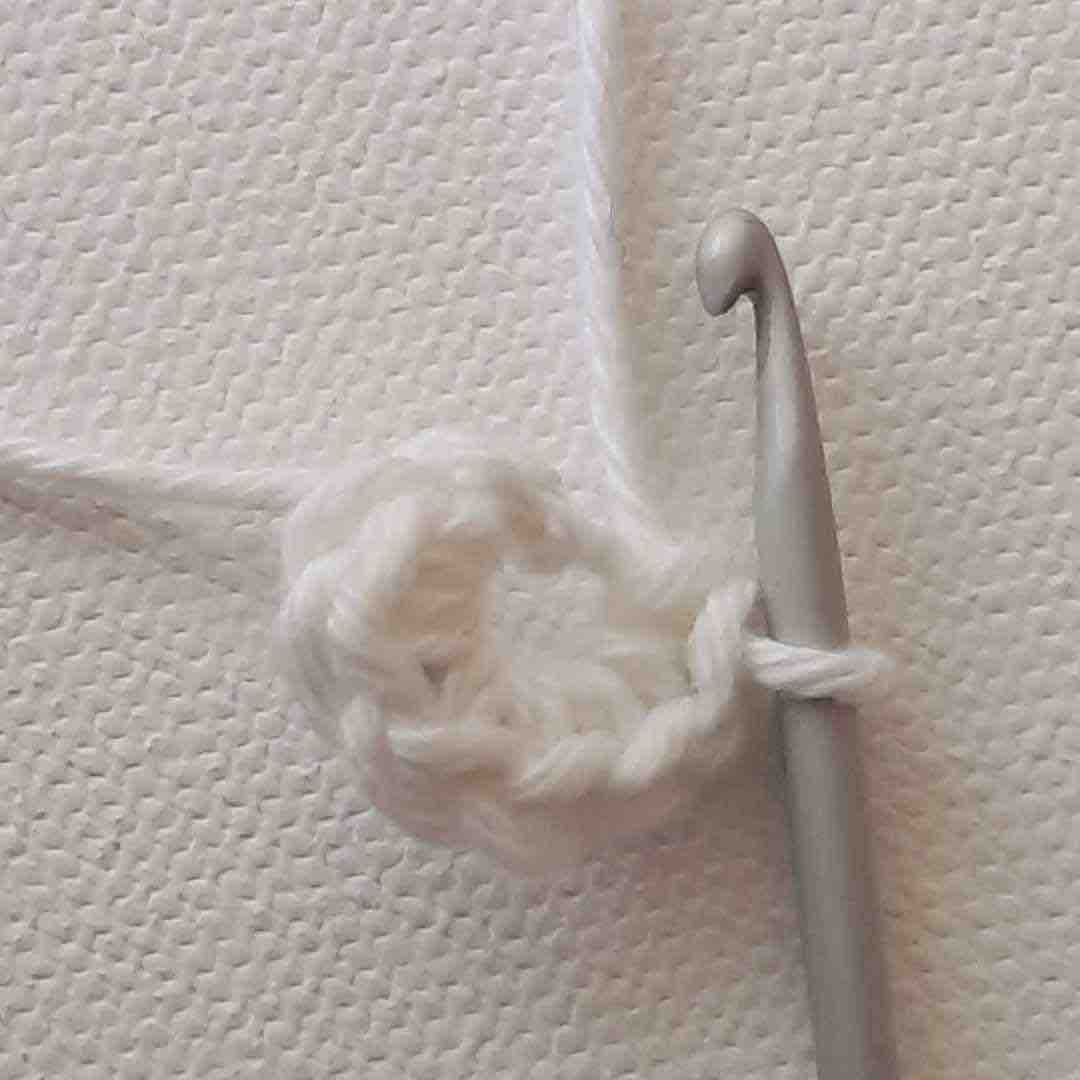
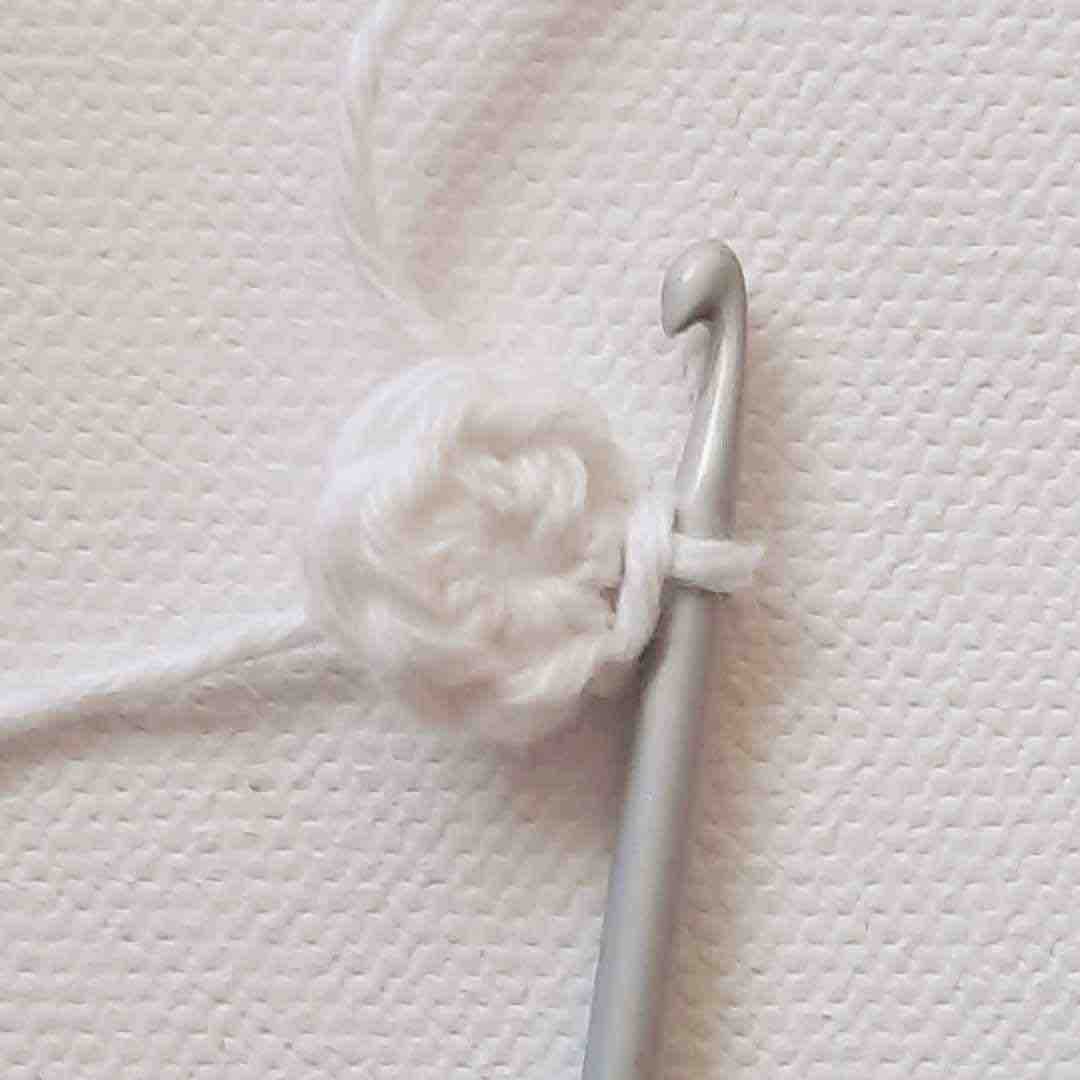
- Round 2: Ch 1, 2 sc into each st around. Sl st to join (12). Leaving a 4" tail, cut your yarn and fasten off (fo).
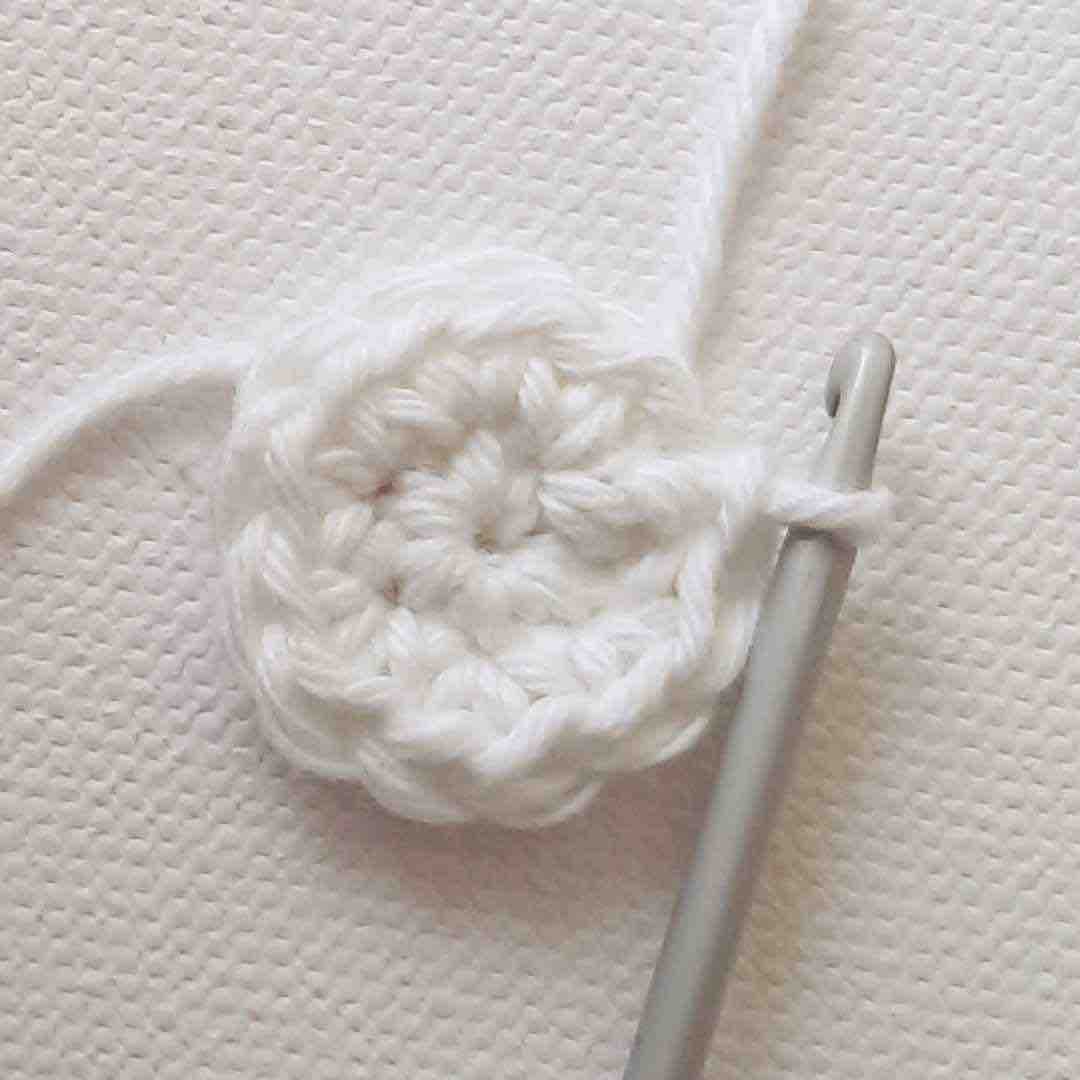
Notes:
- Make your second wheel using the same method above.
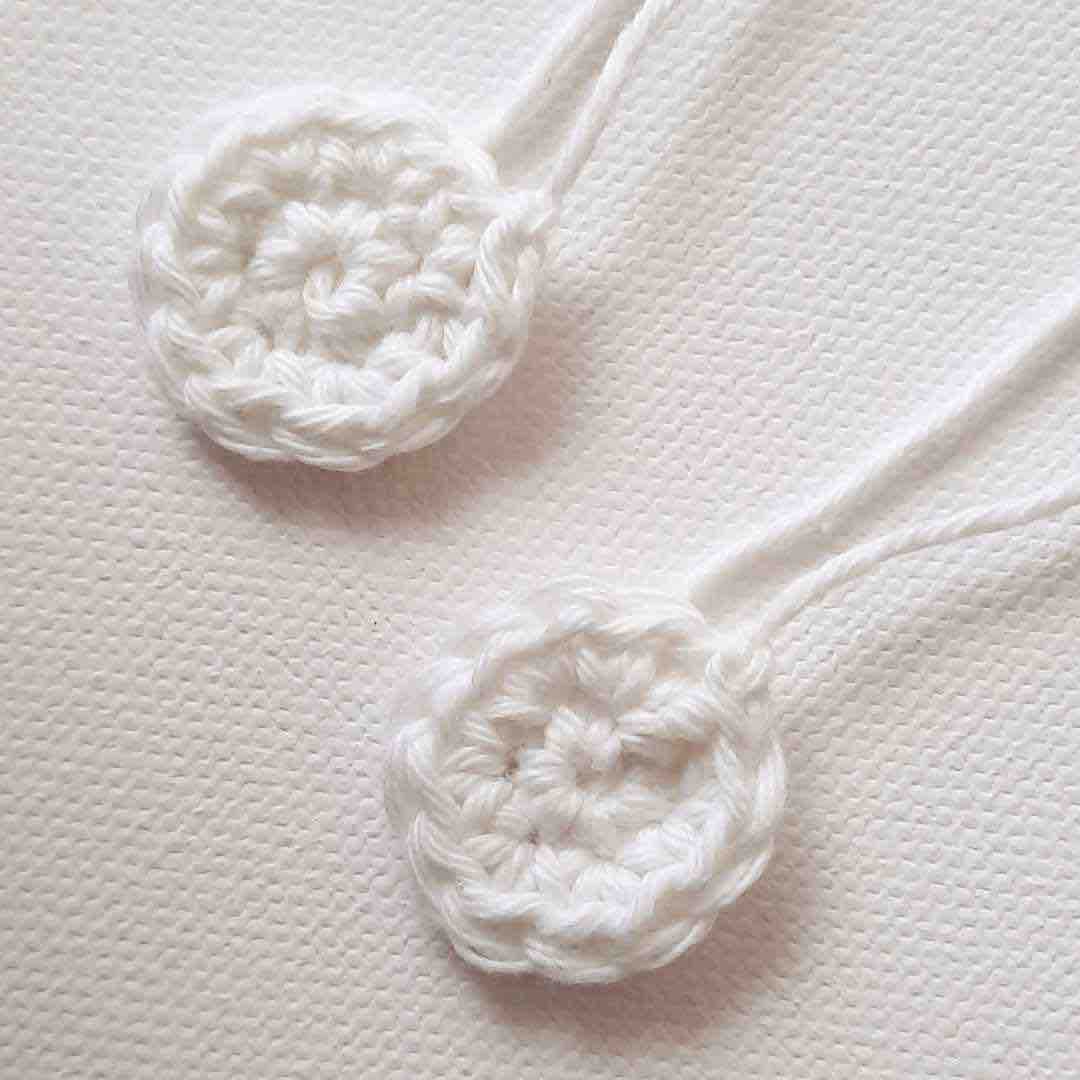
- Thread a 10 " piece of yarn (Color A) onto your darning needle.
- Starting from behind a wheel, insert your needle into the top of a st from Round 2. Stitch 3 intersecting diagonal lines across each wheel. Don't pull too tight.
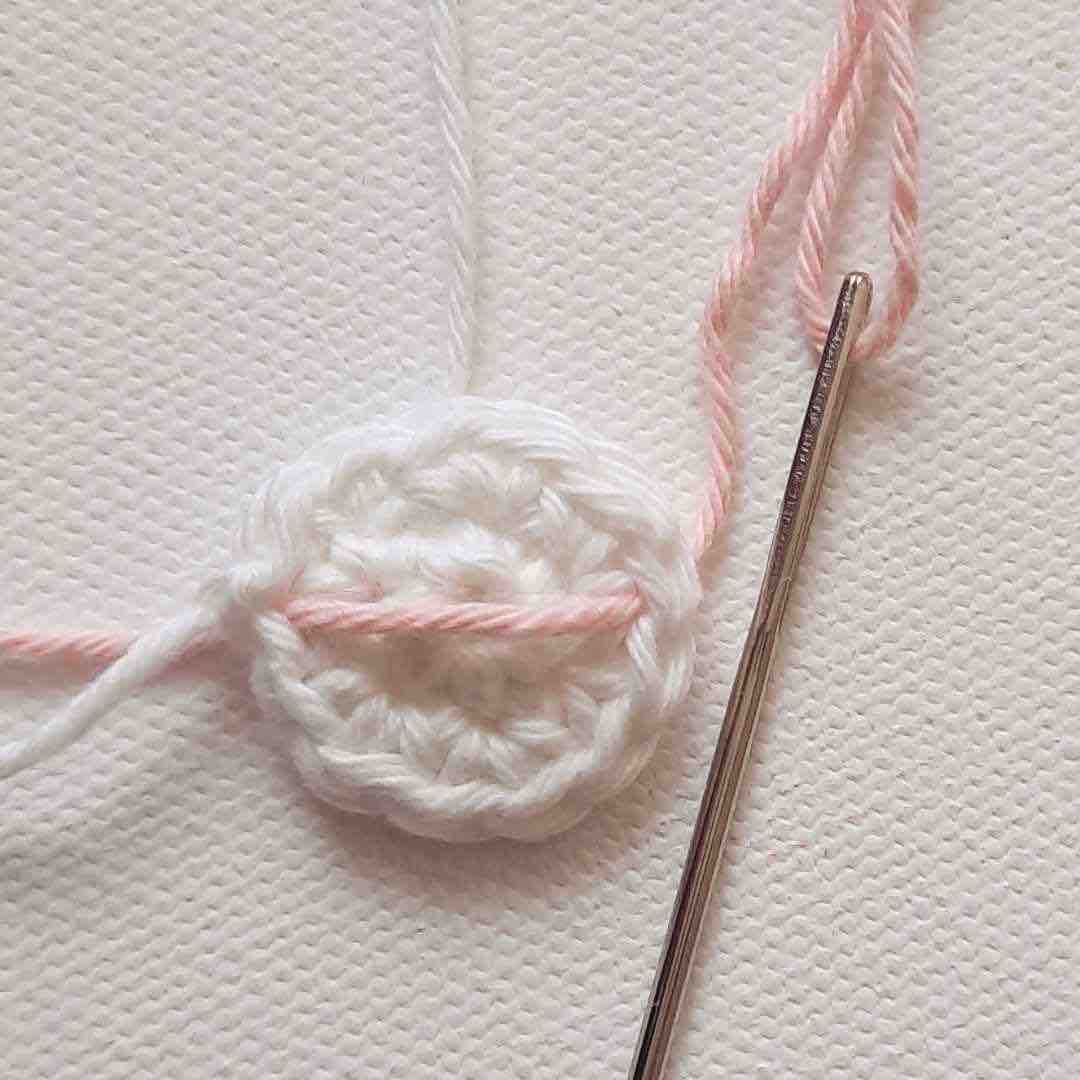
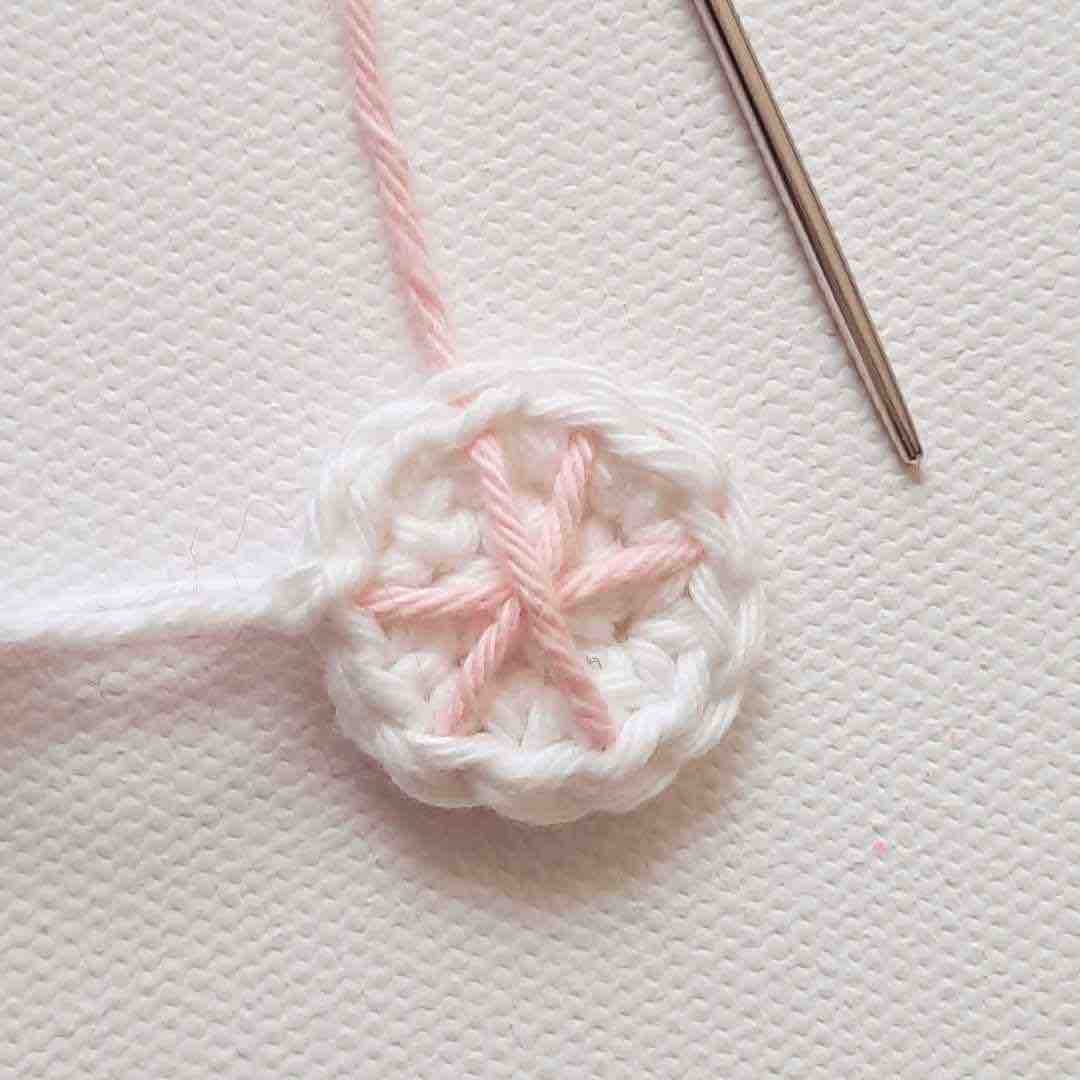
- Weave in the ends at the back side of the wheels (ensure that you're only going through the back loops so that your weaving doesn't show from the front).
- Do not cut off the excess yarn so you can use these yarn ends to attach the wheels to the stroller body.
Tiny Heart Embellishment
- Row 1: With yarn color B, tie a slip knot on your hook, ch 5 (5)
Note: Keep your chain stitches quite tight.
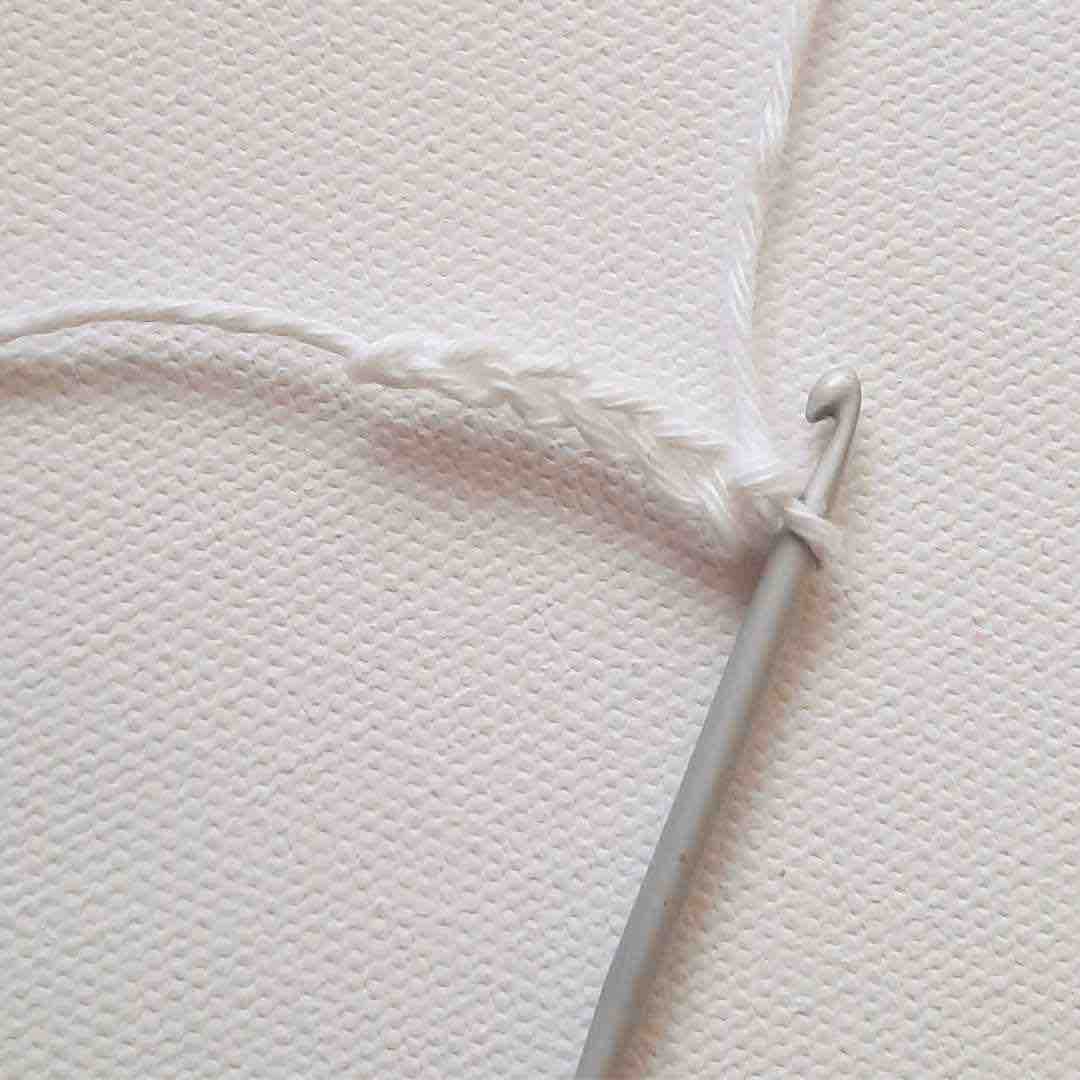
- Sl st into the first chain. Keep it tight.
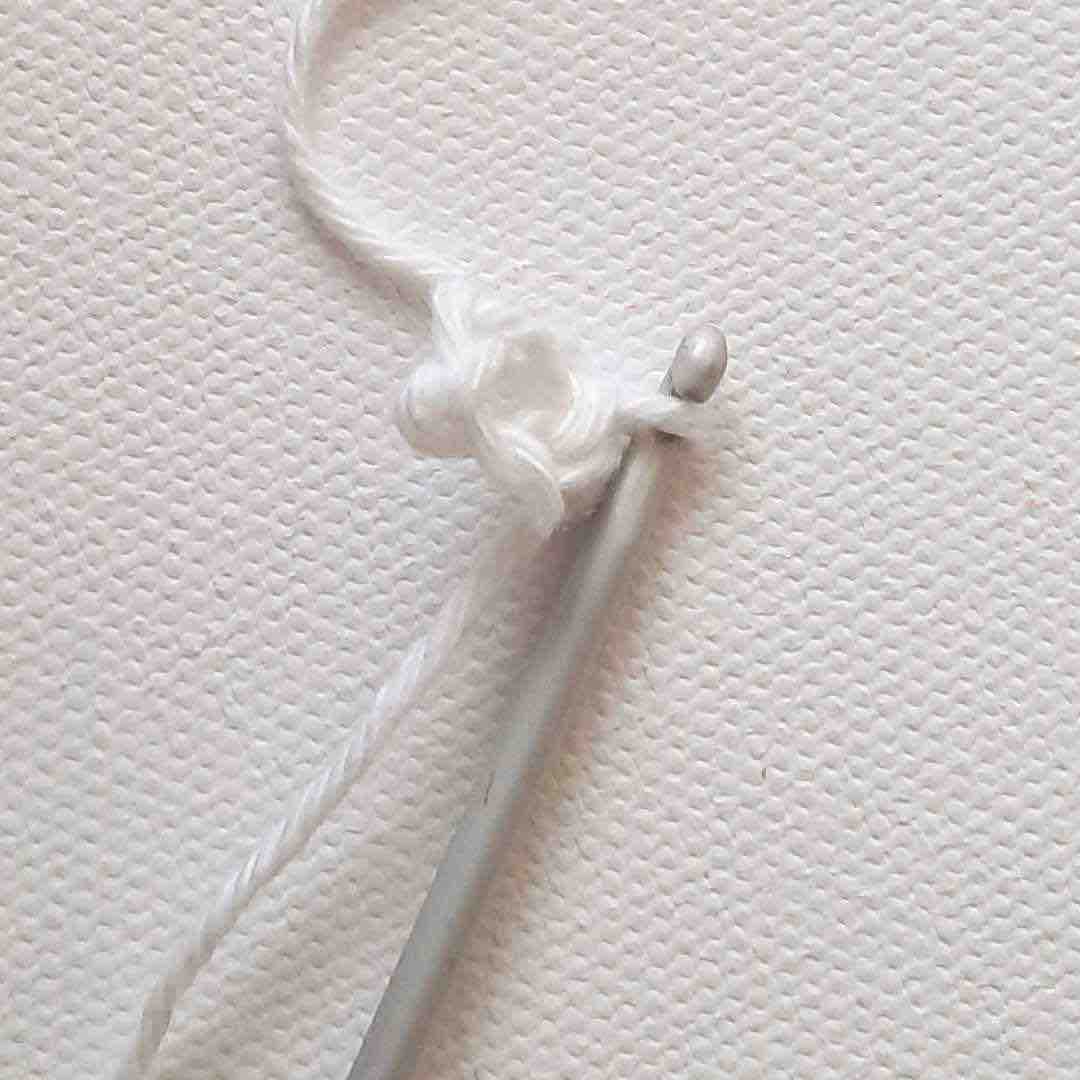
Note: Make sure you're not slip stitching into the beginning slip knot.
- Row 2: Ch 5 (5).
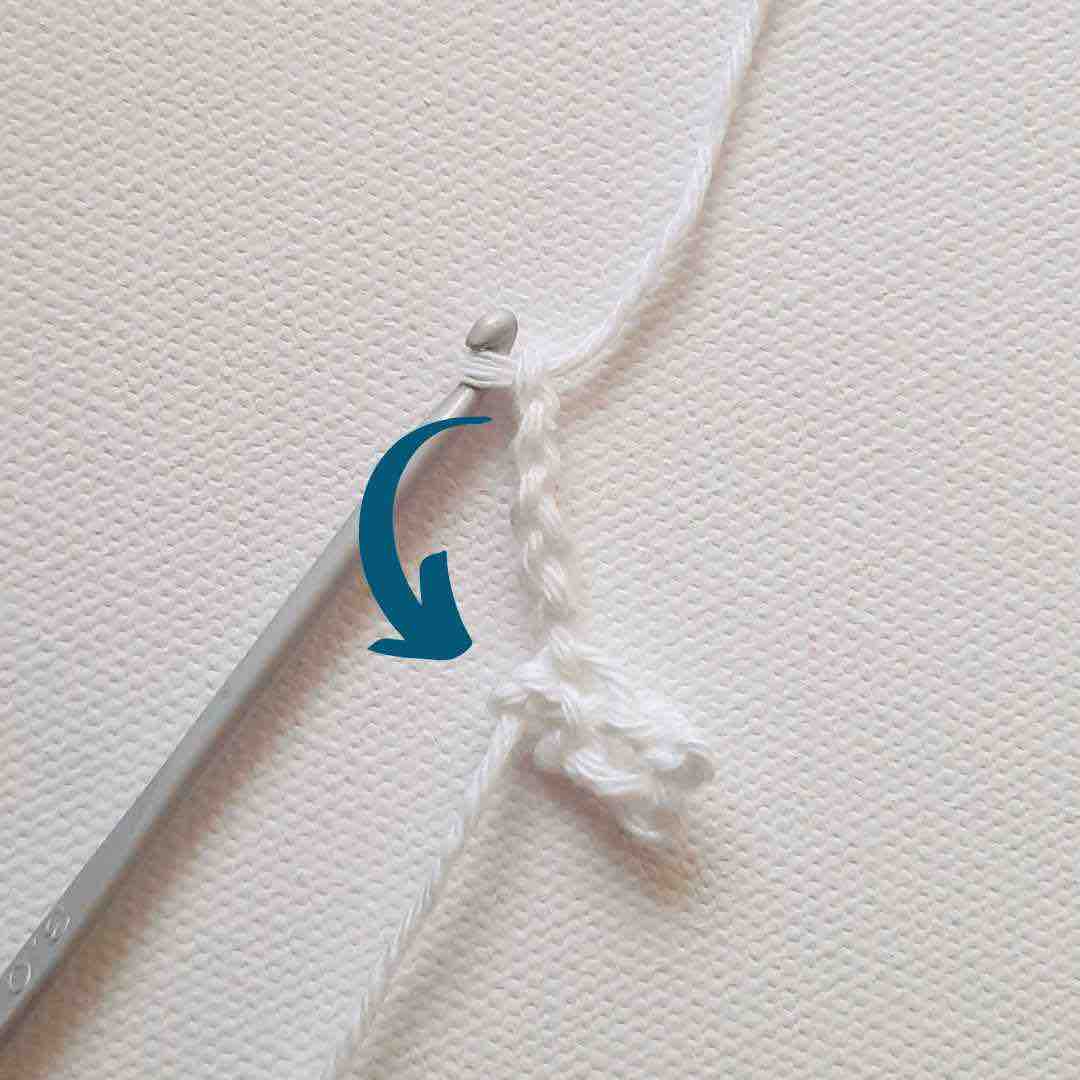
- Sl st again into the first ch (same st as your first sl st).
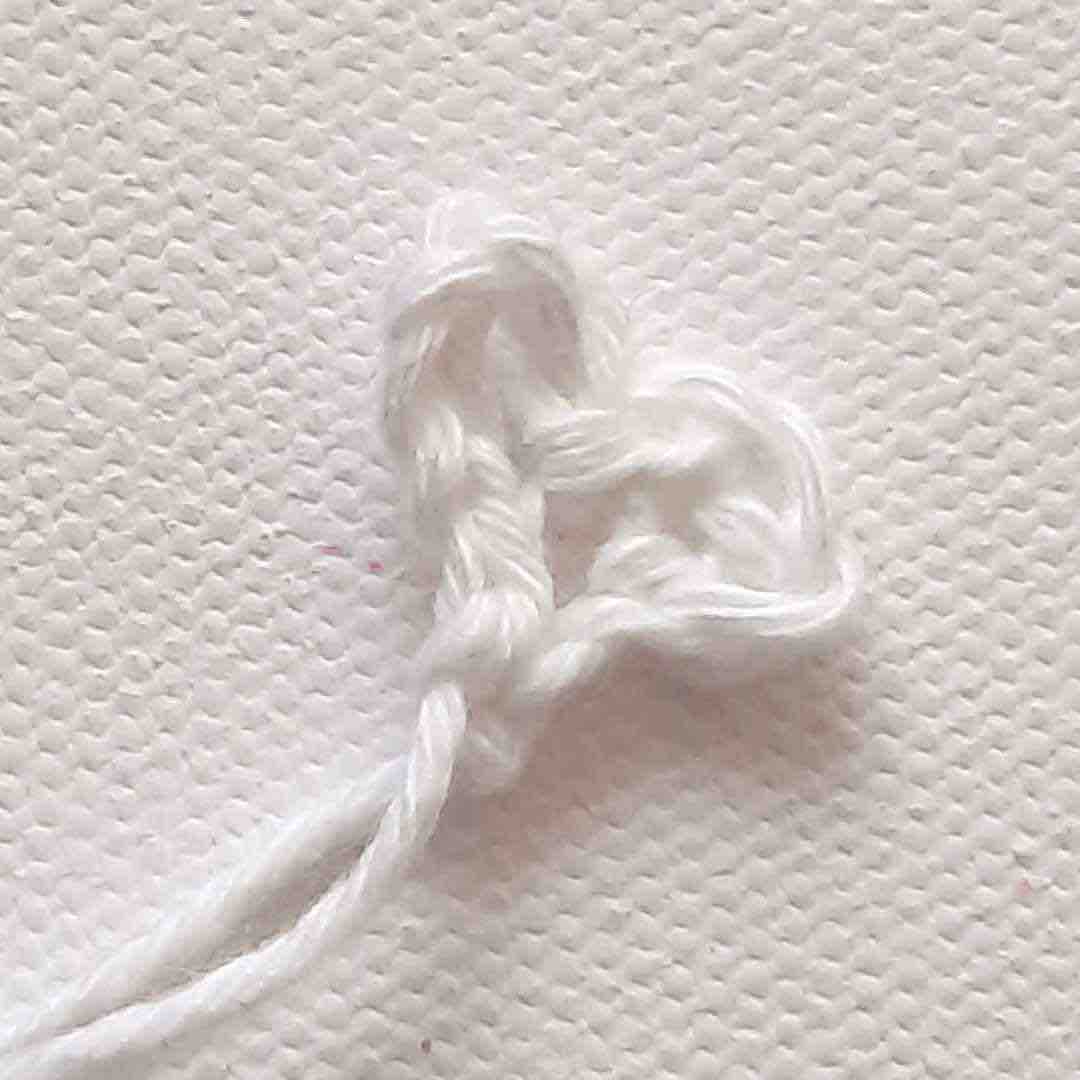
- Leaving a 4" tail, cut your yarn and fasten off. Leave your yarn tails so you can attach the heart to the front of your baby stroller body with your tapestry needle.
Note: If your tension is loose and the tiny heart is too big, then try with a ch 4 instead of a ch 5.
Assembling Your Project
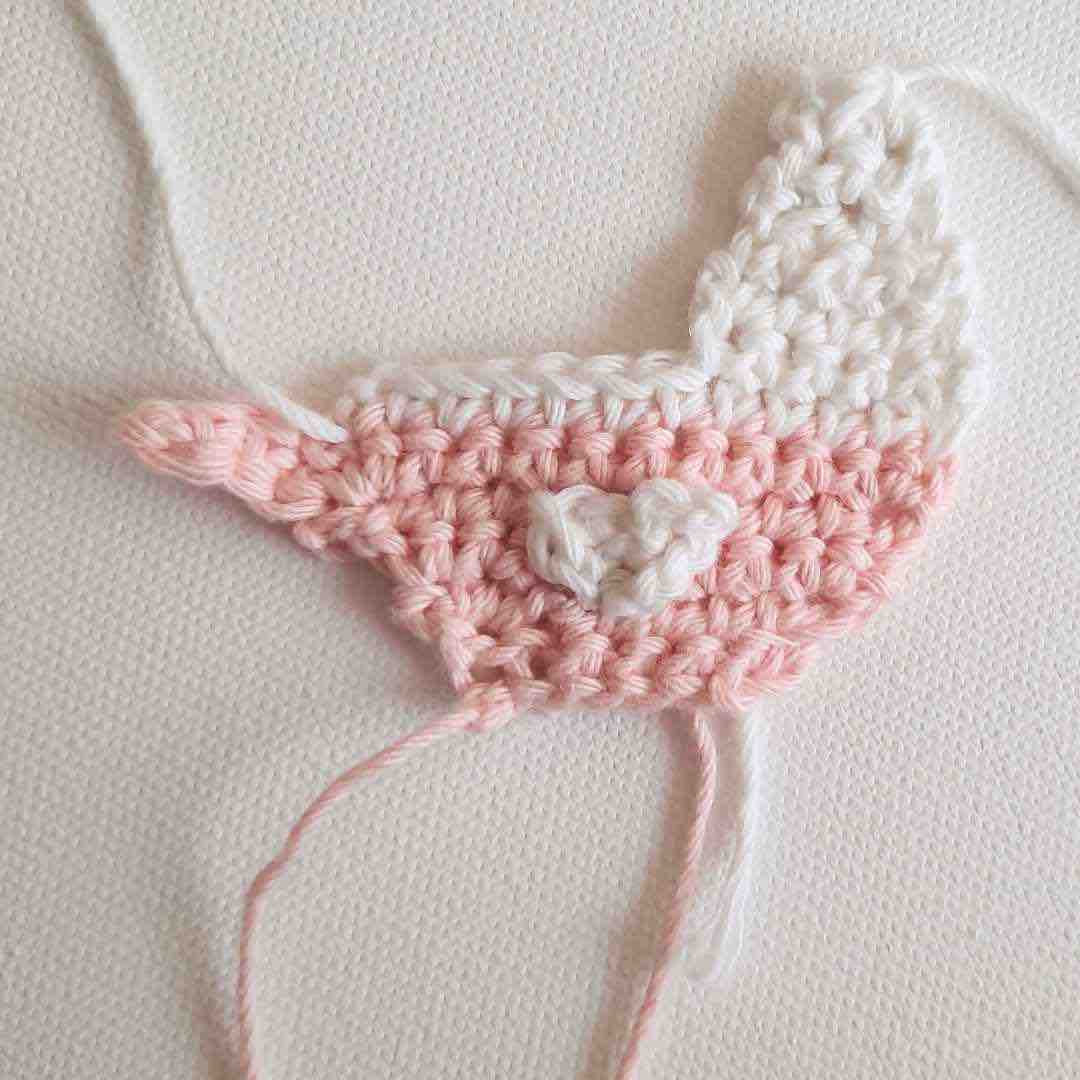
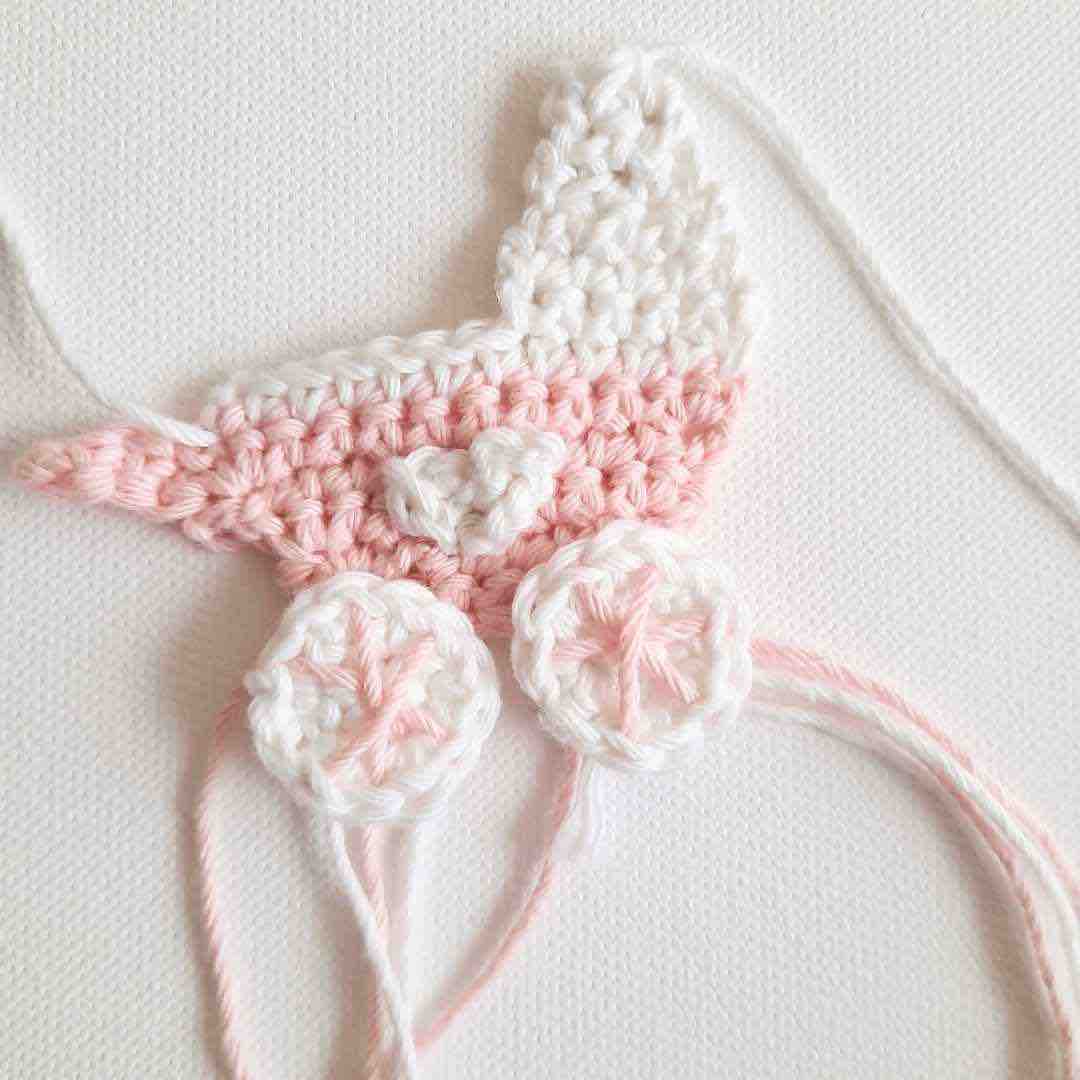
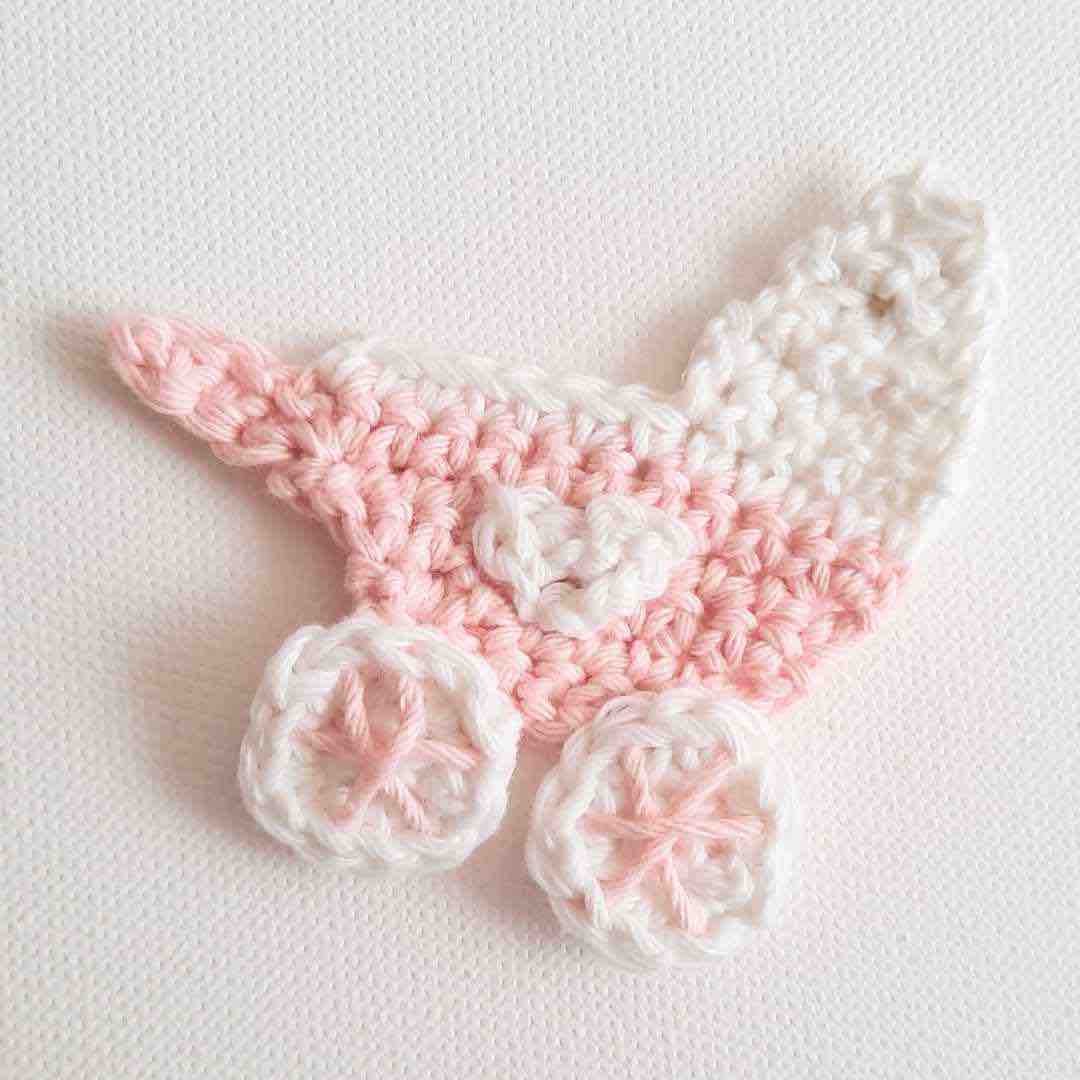
- If your stroller's handle is facing to the right, attach yarn color A to the bottom of the stroller's hood and work your way to the top tip.
- If your stroller's handle is facing to the left, attach yarn color A to the top tip of the stroller's hood and work your way down to the body of the stroller.
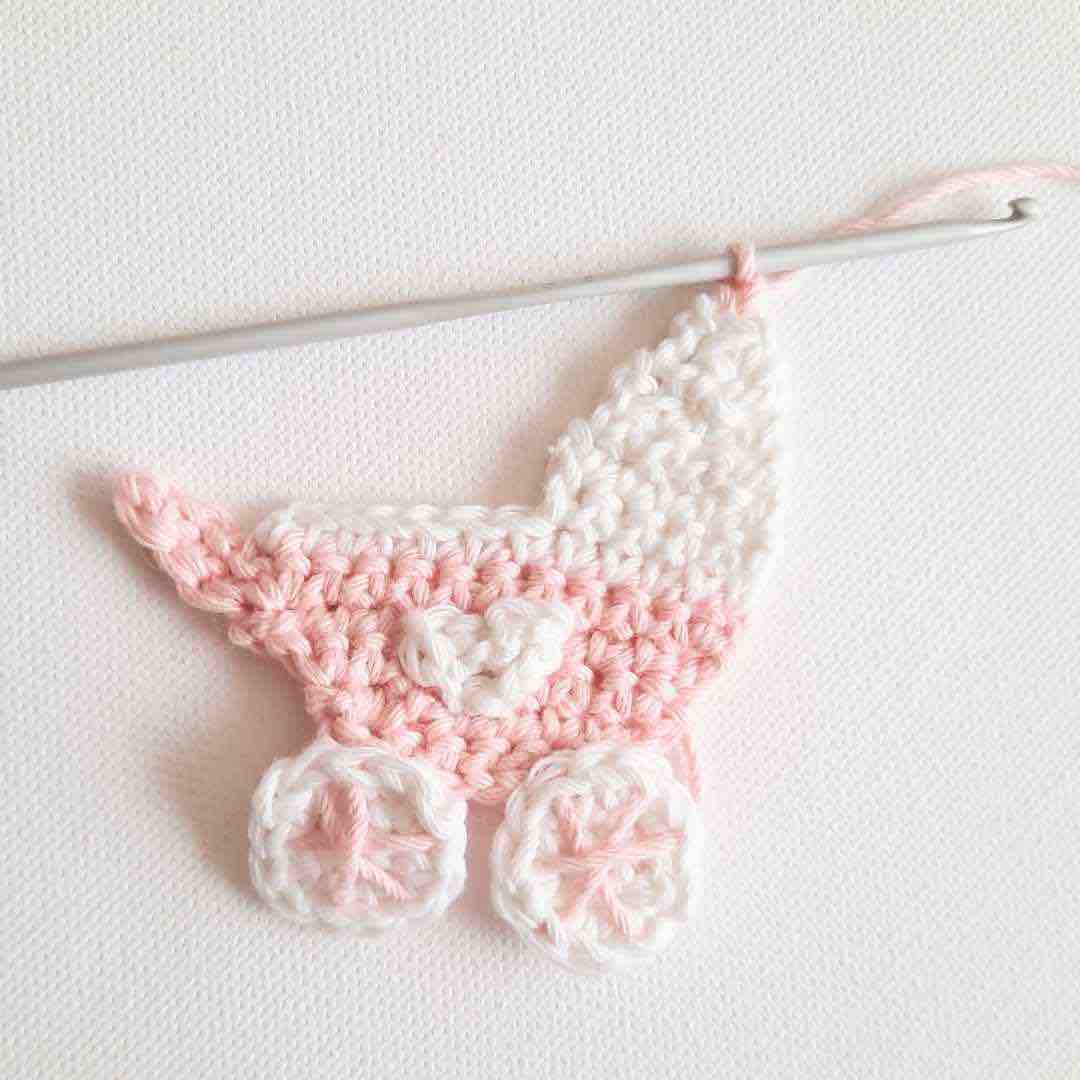
- Sc 5 sts along the inner side of the hood till you reach the top tip of the stroller (5) (or the body of the stroller if you started from the top down).
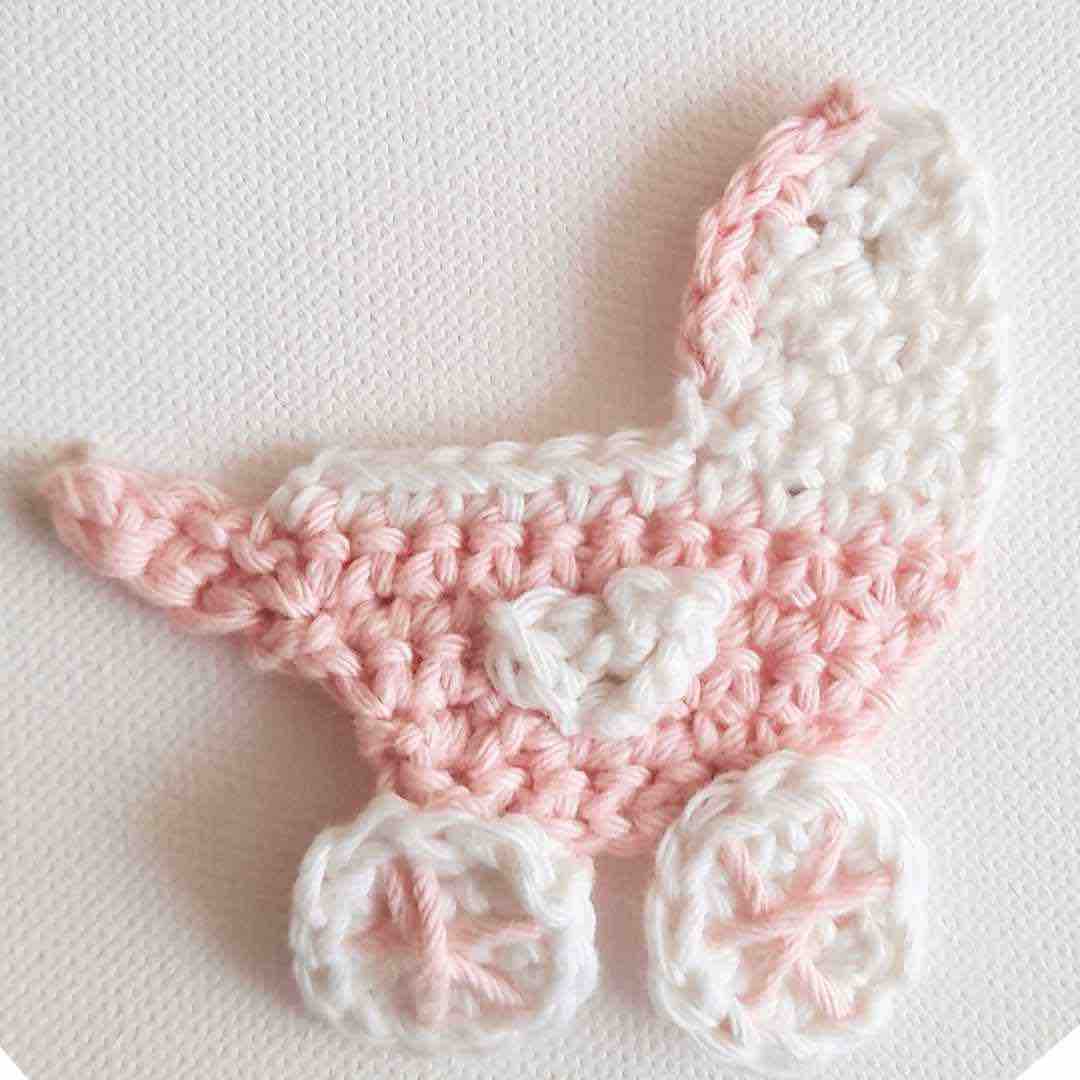
- Weave in your ends at the back of the stroller and cut off the excess tails. When weaving in your ends, try to make it so that the ends that you cut off are not around the outer edges of the appliqué so you don't have little stumps of ends showing around the edges. It's better to cut them off towards the center on the back of the appliqué.
- Now you are ready to print out your card and glue on your baby stroller appliqué or use it as an embellishment for baby blankets or clothing..
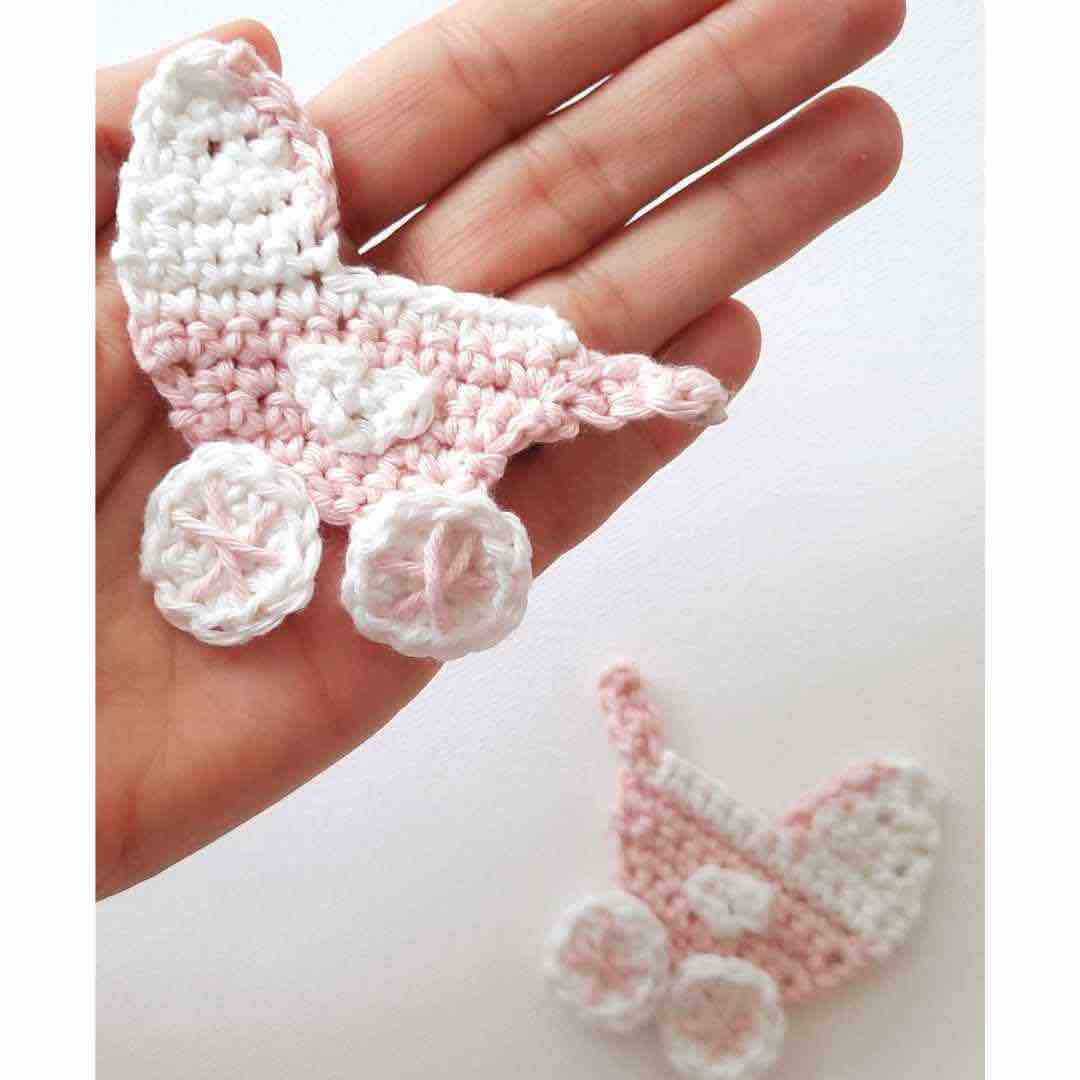
I hope you enjoyed this baby stroller appliqué pattern. So who will you making it for?
Let me know if you have any questions and...
Happy crocheting!
Disclaimer: Information in this crochet pattern is given for reference only. Even though I do my best to ensure all patterns have no mistakes, occasional errors may slip through.
No liability is accepted for variations in finished projects. Please get in touch with me at admin@startcrochet.com if you think there might be a mistake in the pattern or if you are unsure about how to interpret the instructions.
I’d love to see your finished item, so please tag me using @startcrochet.
Please follow my accounts to see what else I’m up to and to keep in touch:
YouTube: https://www.youtube.com/@StartCrochet
Facebook https://www.facebook.com/startcrochet
Instagram https://www.instagram.com/startcrochet
Pinterest https://www.pinterest.ch/startcrochet
Ravelry: https://www.ravelry.com/people/StartCrochet
LoveCrafts: https://www.lovecrafts.com/en-gb/user/Start-Crochet
Yarnsea https://yarnsea.com/collections/start-crochet
You may sell any finished products that you make from this pattern. However, when selling online, please include a link back to my blog startcrochet.com or tag me on social with handle @startcrochet
Thank you!
© All rights for this pattern are reserved to Start Crochet. Copies and/or reproduction, translation or reselling of this pattern is a violation of the law.
