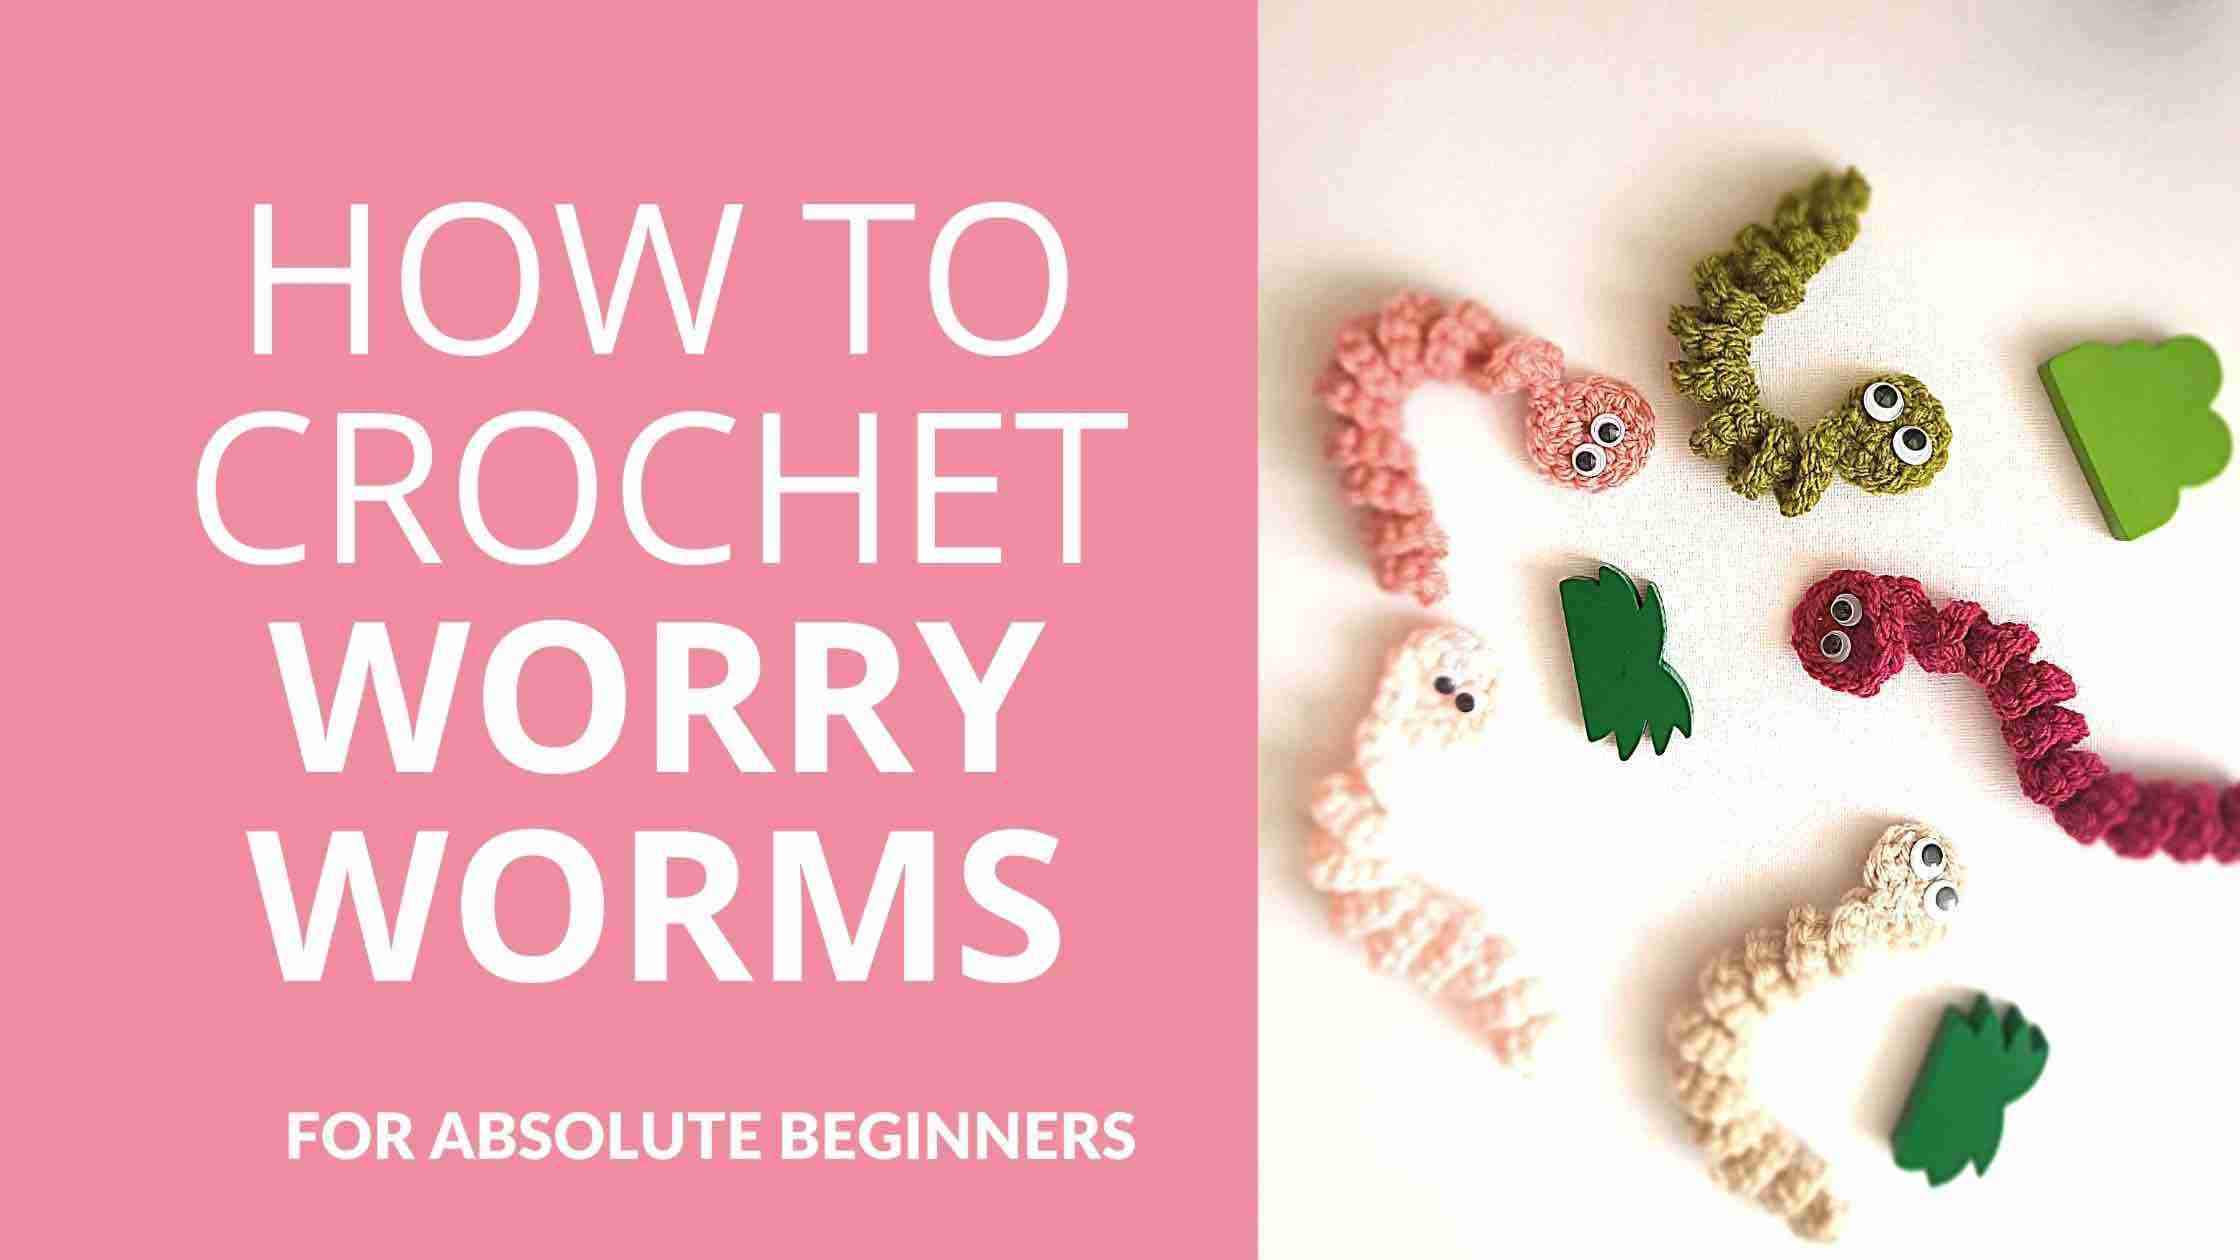
Worry Worms Crochet Pattern
For Absolute Beginners
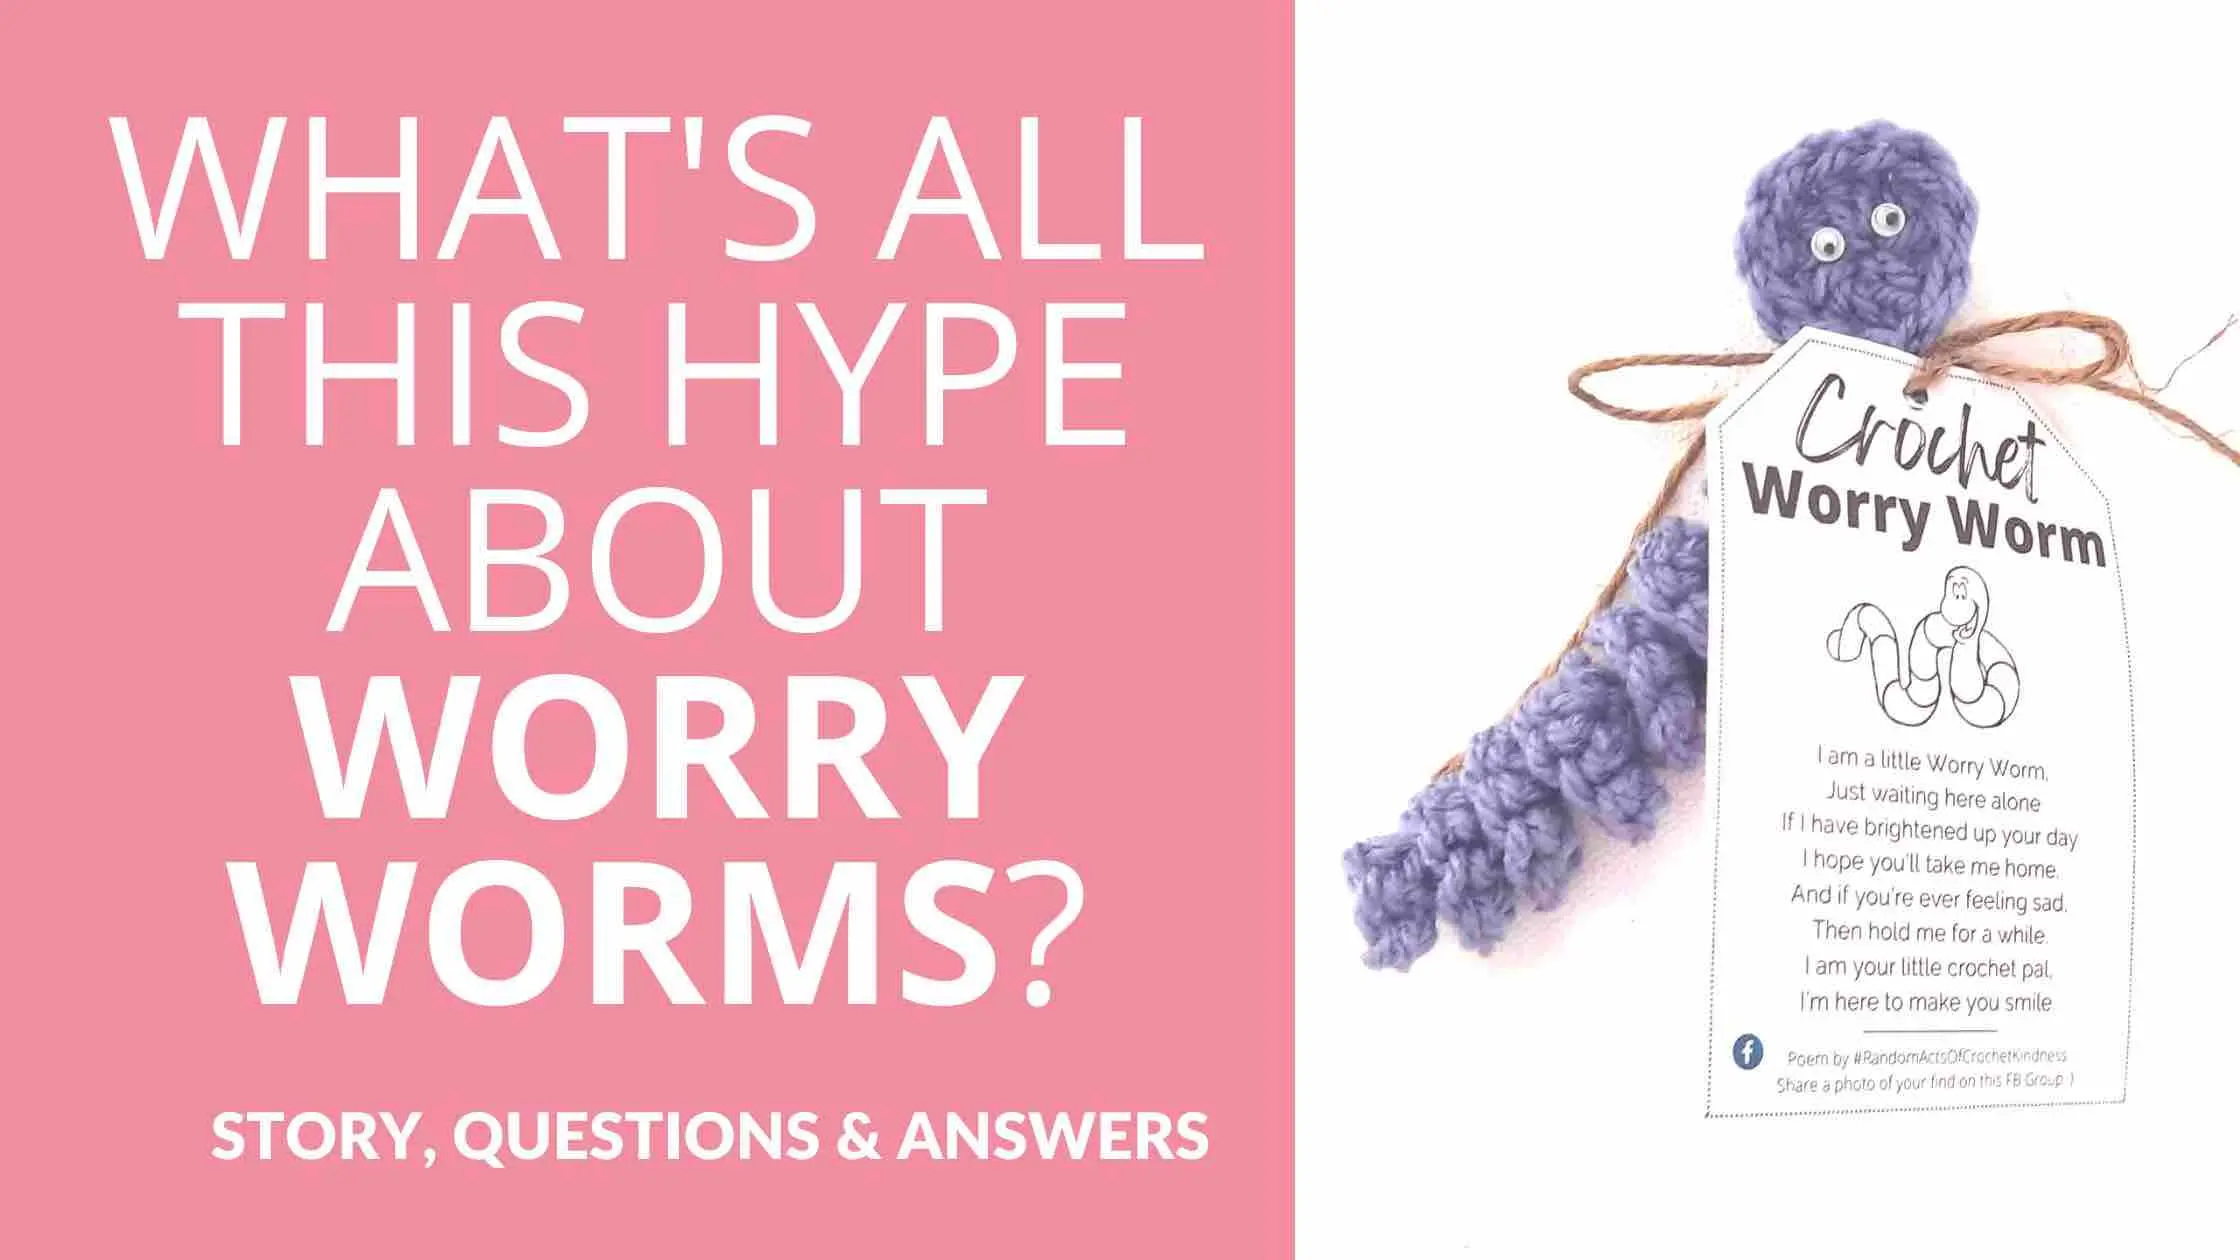
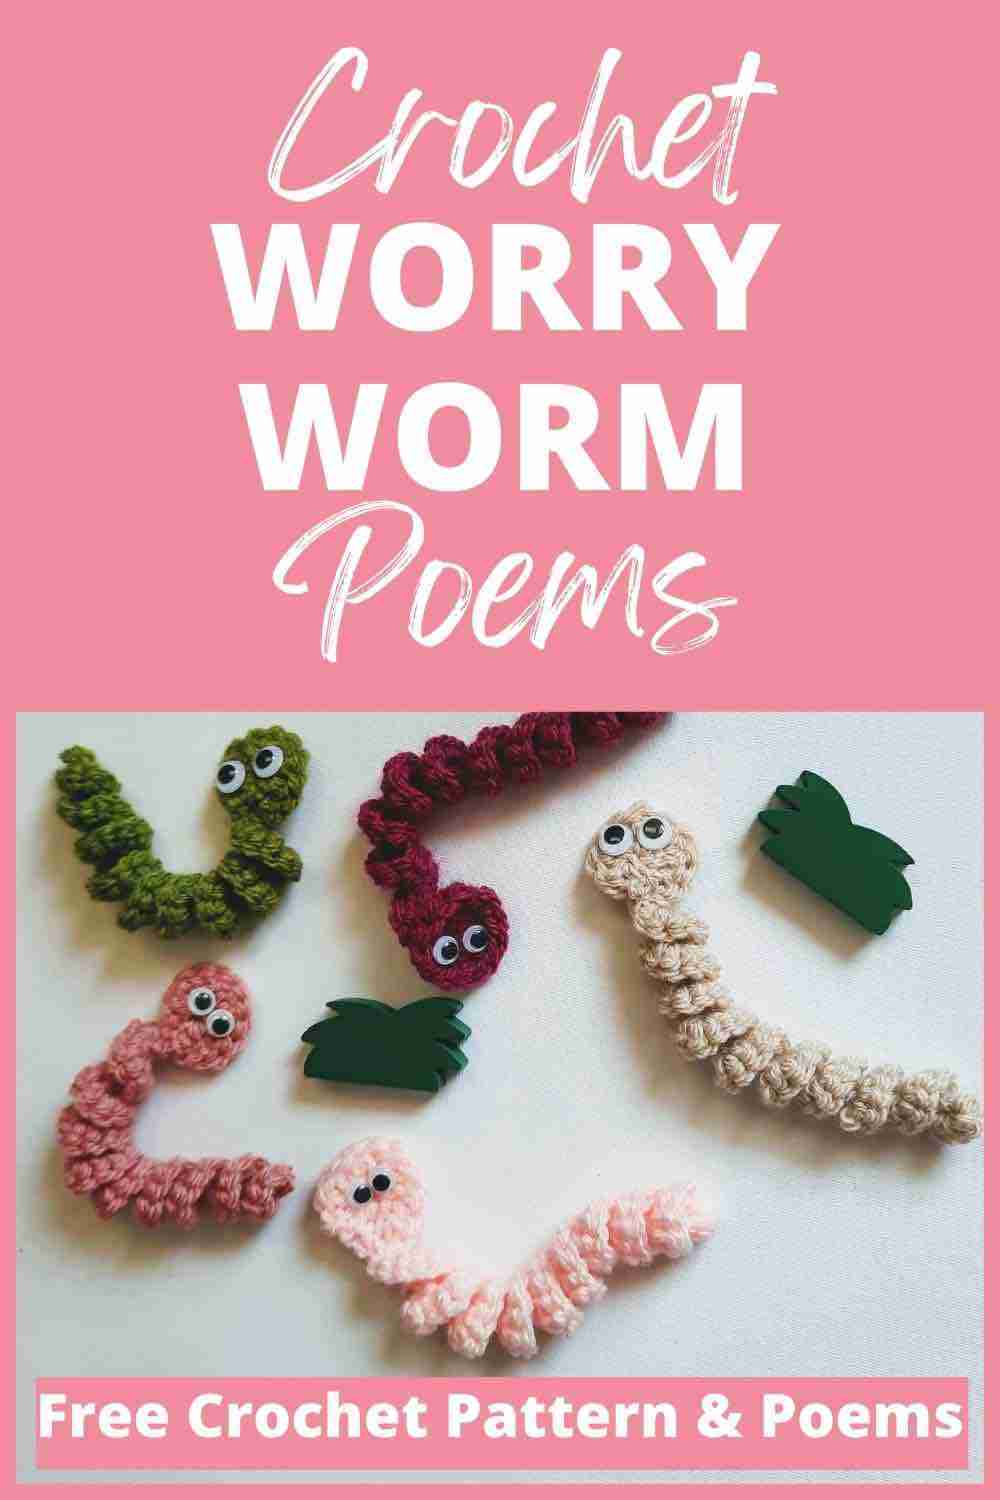
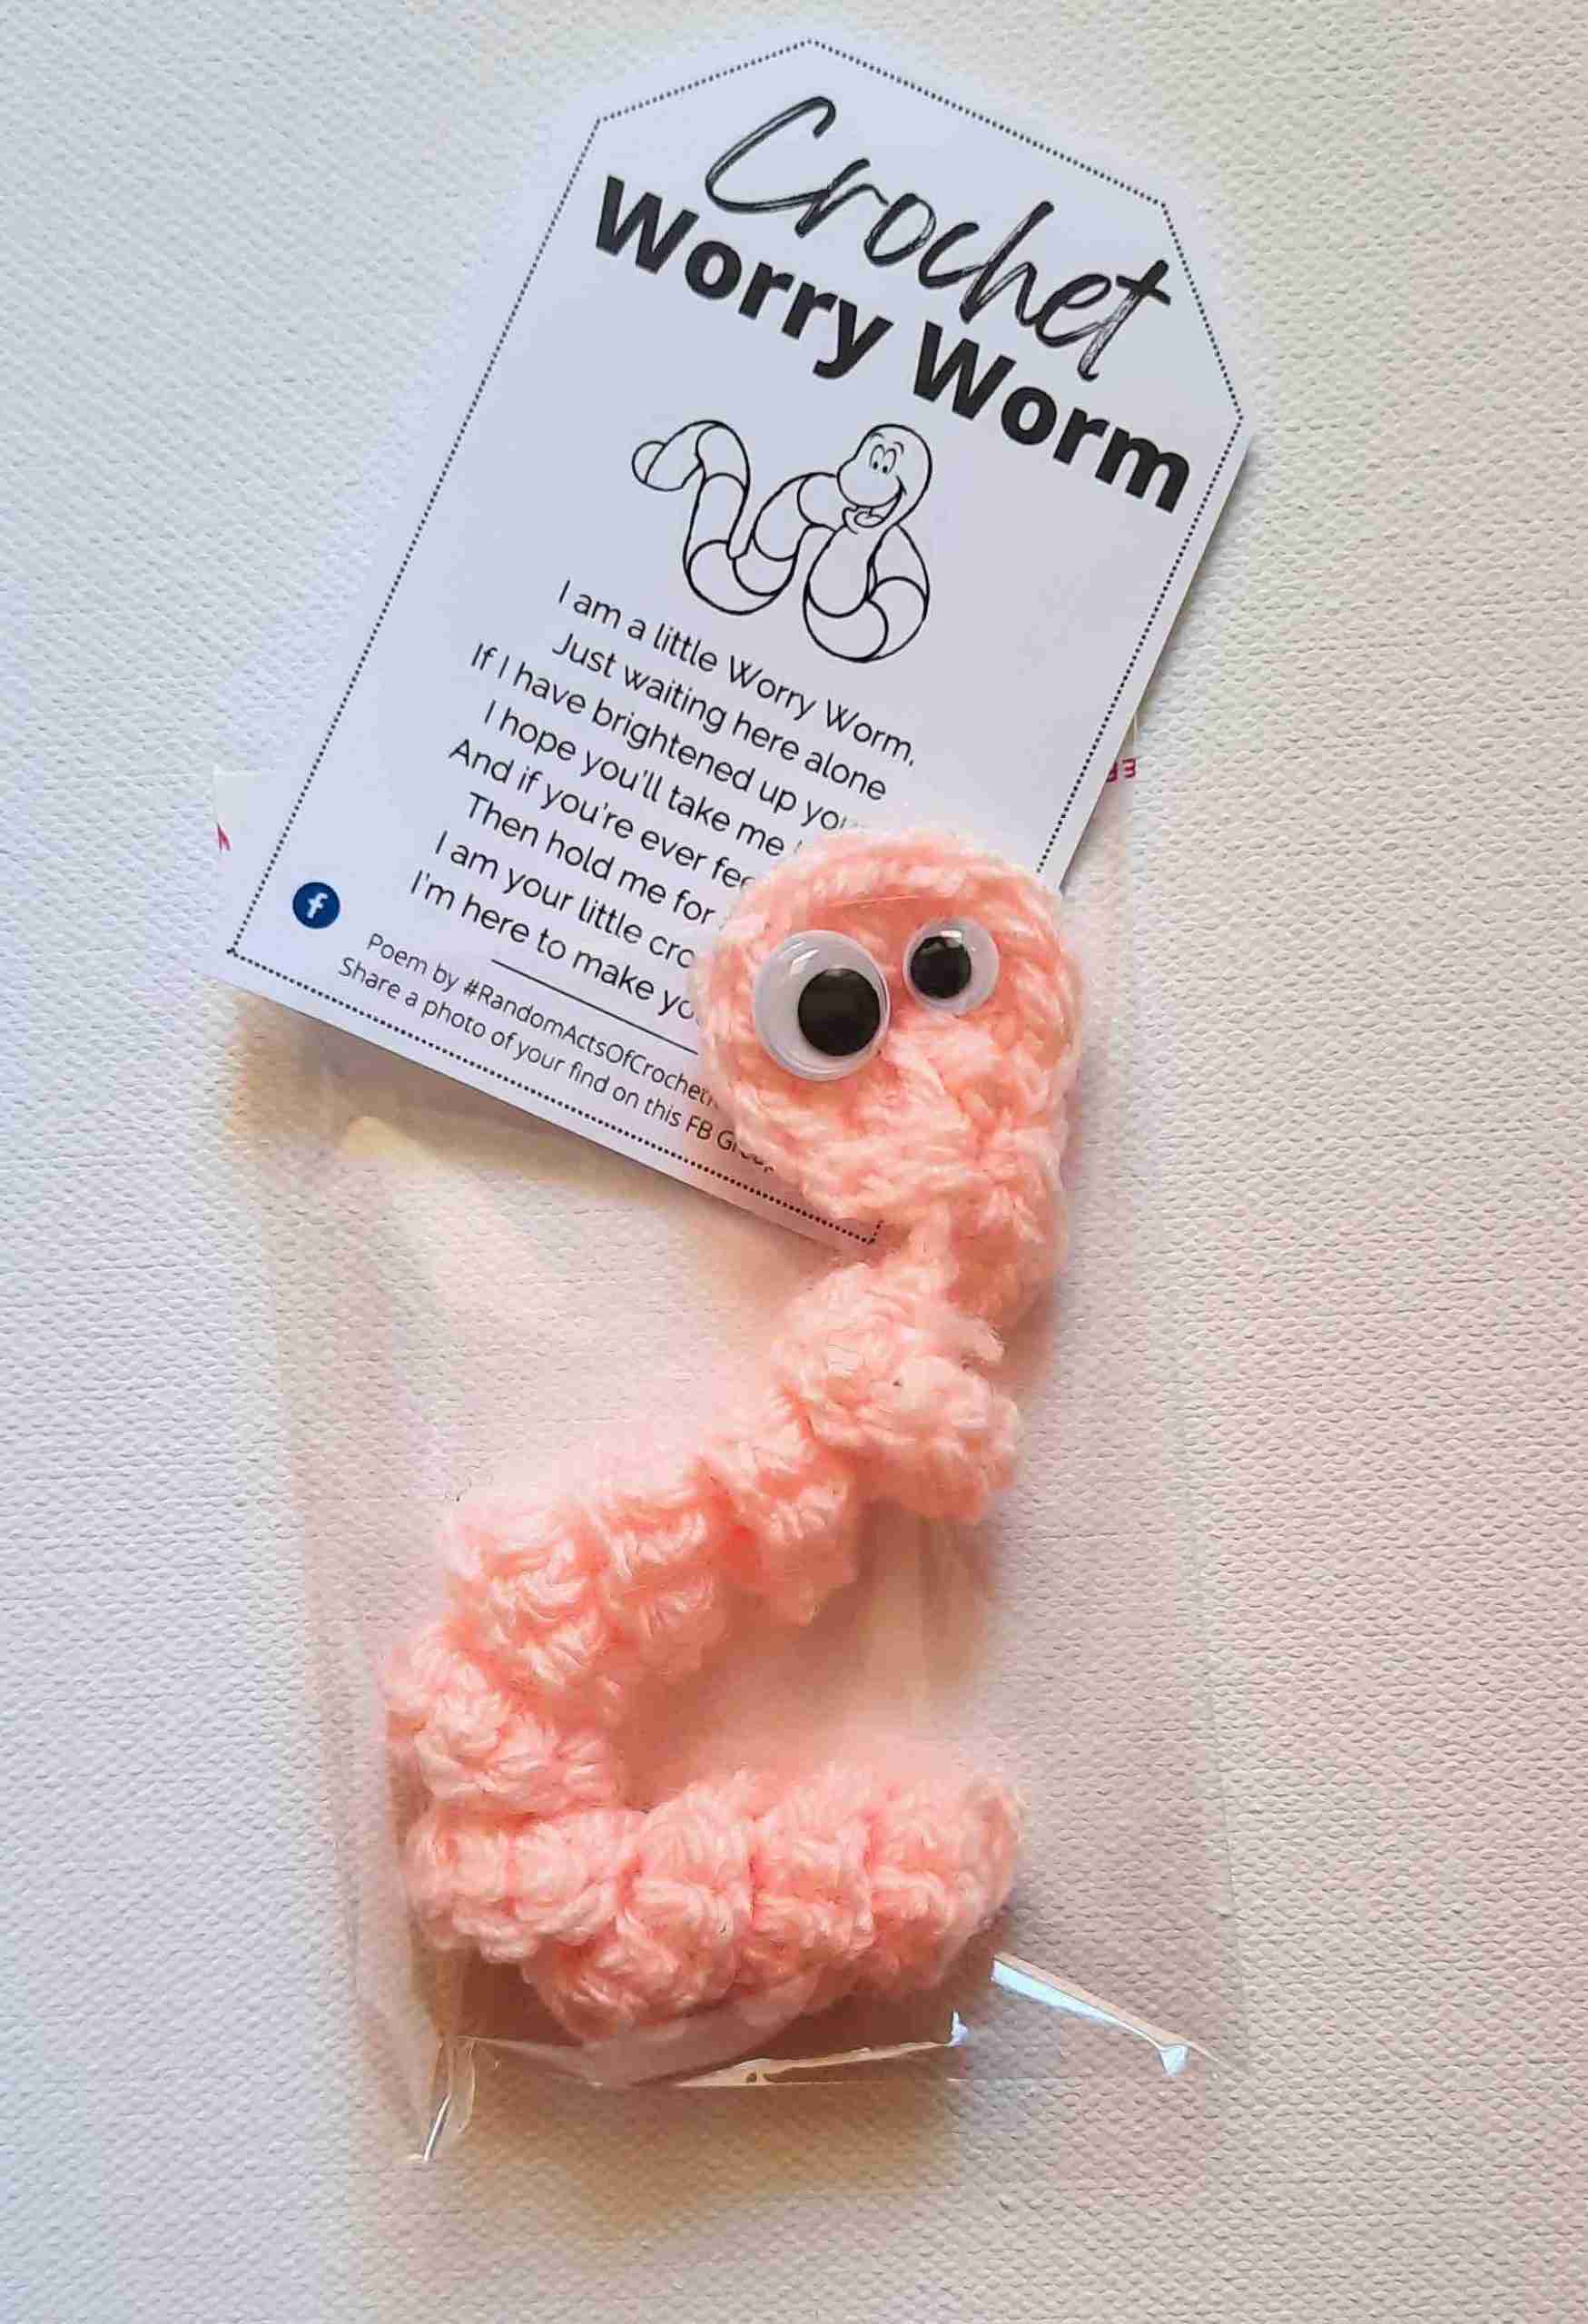
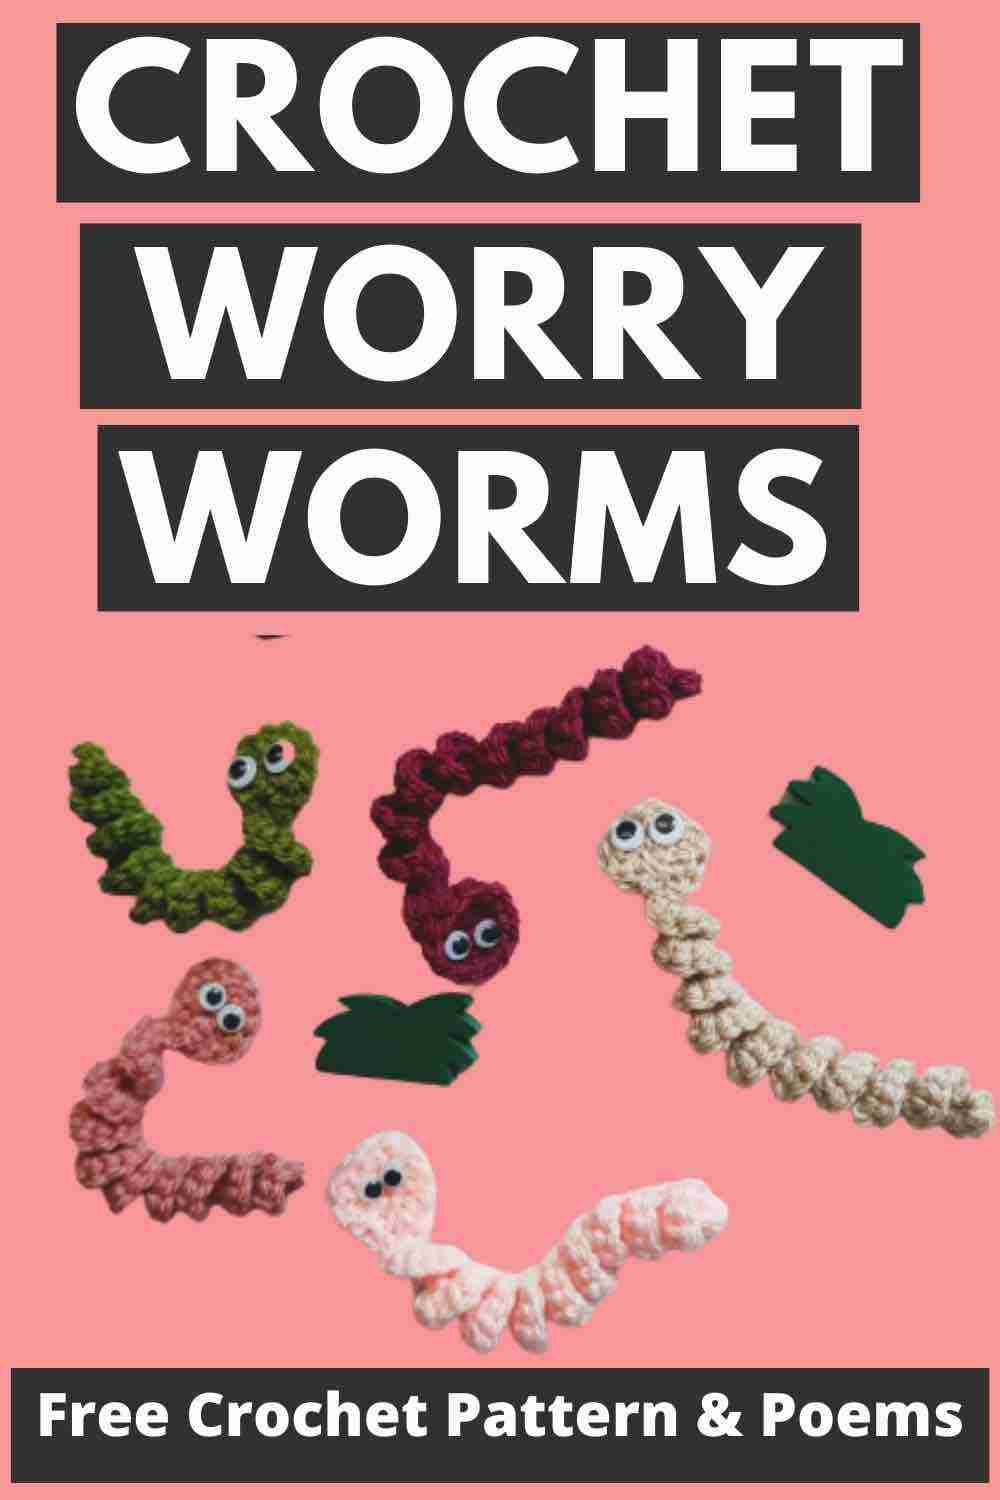
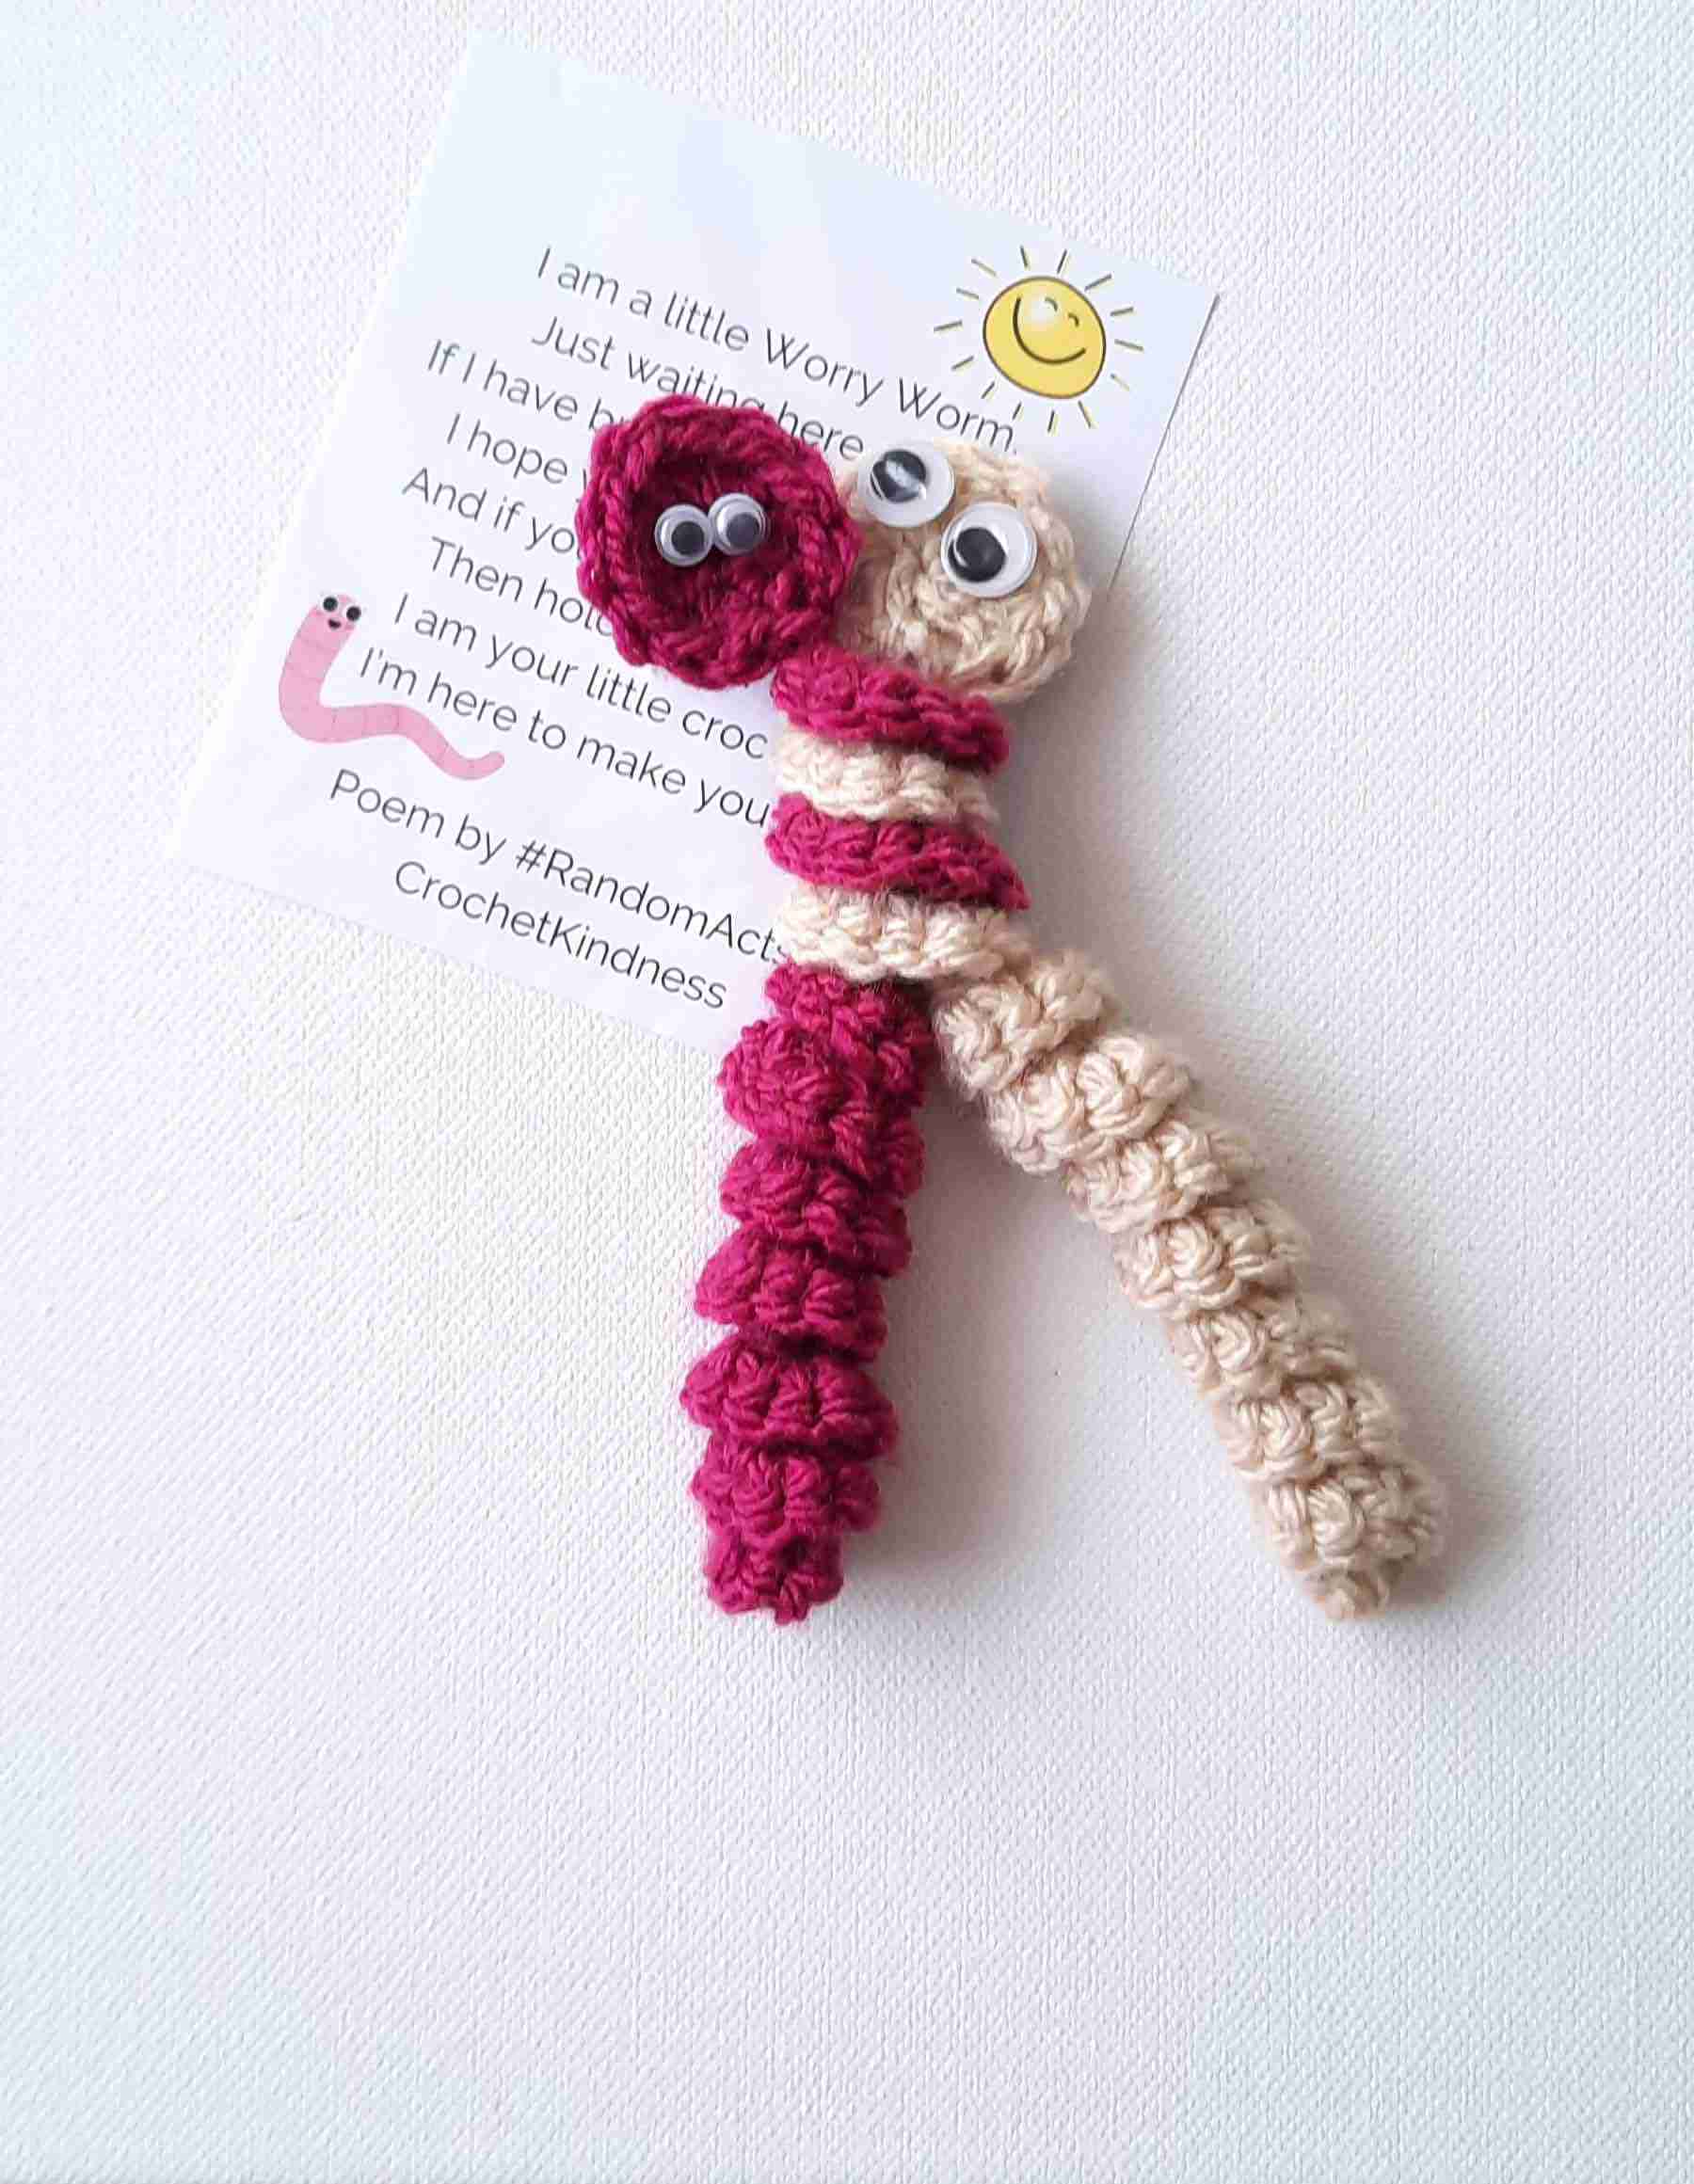
Crochet worry worms became a real hit when a FB Group called "Random Acts of Crochet Kindness" came up with the idea to distribute these simple crochet worry worms with a poem packaged in a small see-through plastic baggie or organza bag anywhere you can think of... in the woods, playground, nursing home, school, camping area... wherever.
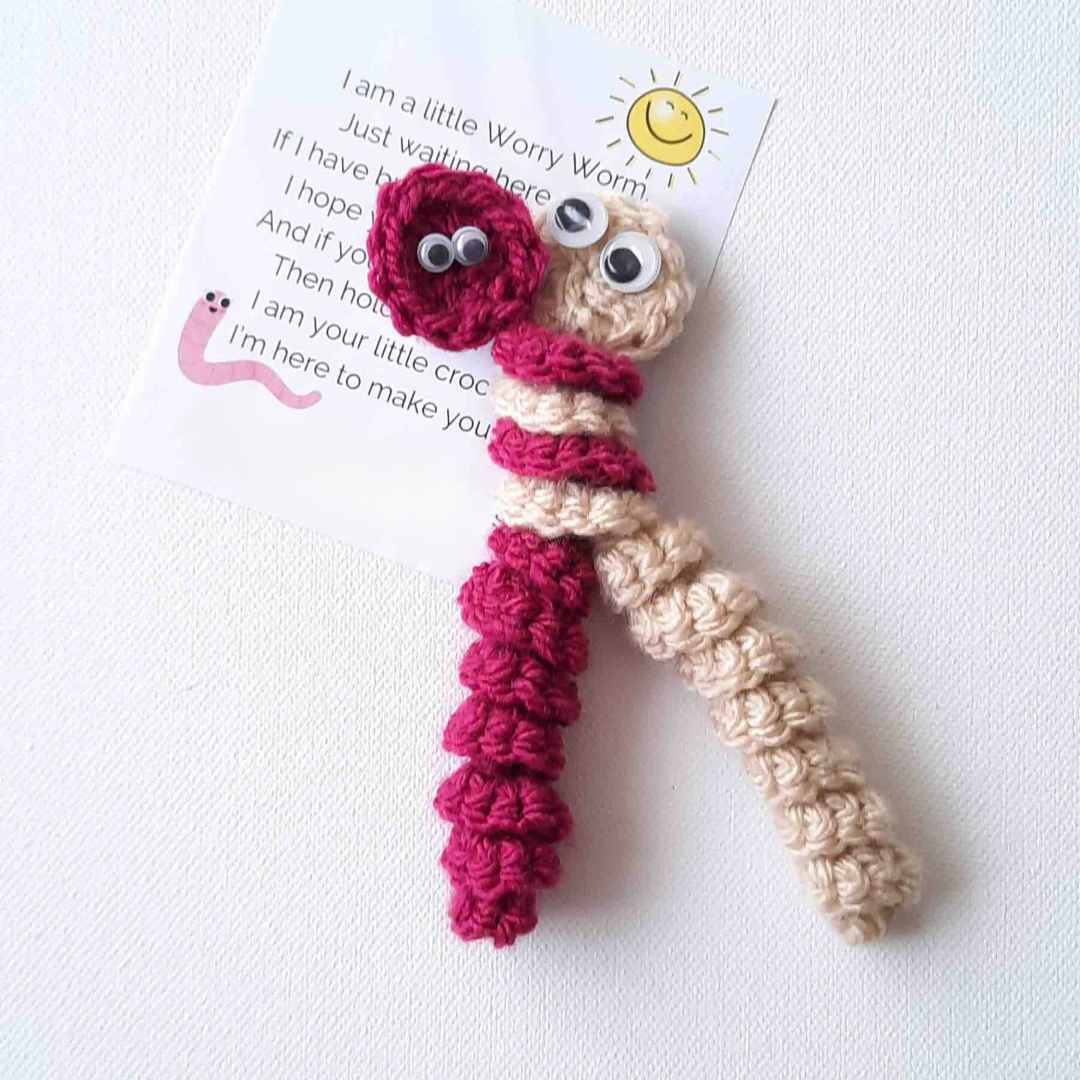
These cute crochet worry worms are meant to put a smile on whoever finds them and comfort them in times of sorrow or stress.
The idea of these worry worms is to go out of one's way to make another person smile. It builds a sense of community in kind acts, and attempts to make the world a bit lighter and brighter!
The best thing about these crochet worry worms is that they are super easy and fast to whip up, which make them ideal projects for beginner crocheters.
Not only will you feel accomplished when you've created a few of these, you'll also feel great about yourself when you actually go out and hide them around your neighbourhood for people to find them and brighten up their day 🙂
Want To Know More About Worry Worms?
So many people have asked me what all the hype is about crochet worry worms. I figured it would be helpful to do some research and answer some questions related to these squiggly little crochet worms. You can have a look at this post to know more.
And if you'd like to check out a little experiment I made about crocheting Corkscrew Spirals using different stitches & stitch counts, you can have a look at this post here.
Like this pattern / poem but not ready to work it yet? Save it to Pinterest!
In a previous post, I showed you how to crochet a flat spiral. So now, we'll learn how to crochet a 3-dimensional spiral that twirls around itself creating this cute curly texture that is so ideal for this crochet worry worm project.
Interesting Note: Did you know that the technique used to crochet curly surfaces is called hyperbolic crochet? When I discovered this was actually a mathematical term for "negative curvature", I was really intrigued!
Think of the types of curvature you see in coral reefs or lettuce leaves. These organic shapes can be replicated in crochet by adding stitches at a constant rate to each row of crochet. The more frequently you add stitches, the curlier (and more negatively curved) your crochet project gets. Isn't that awesome?! You can watch a video about hyperbolic crochet here.
Now let's experiment with hyperbolic crochet with our worry worm pattern...
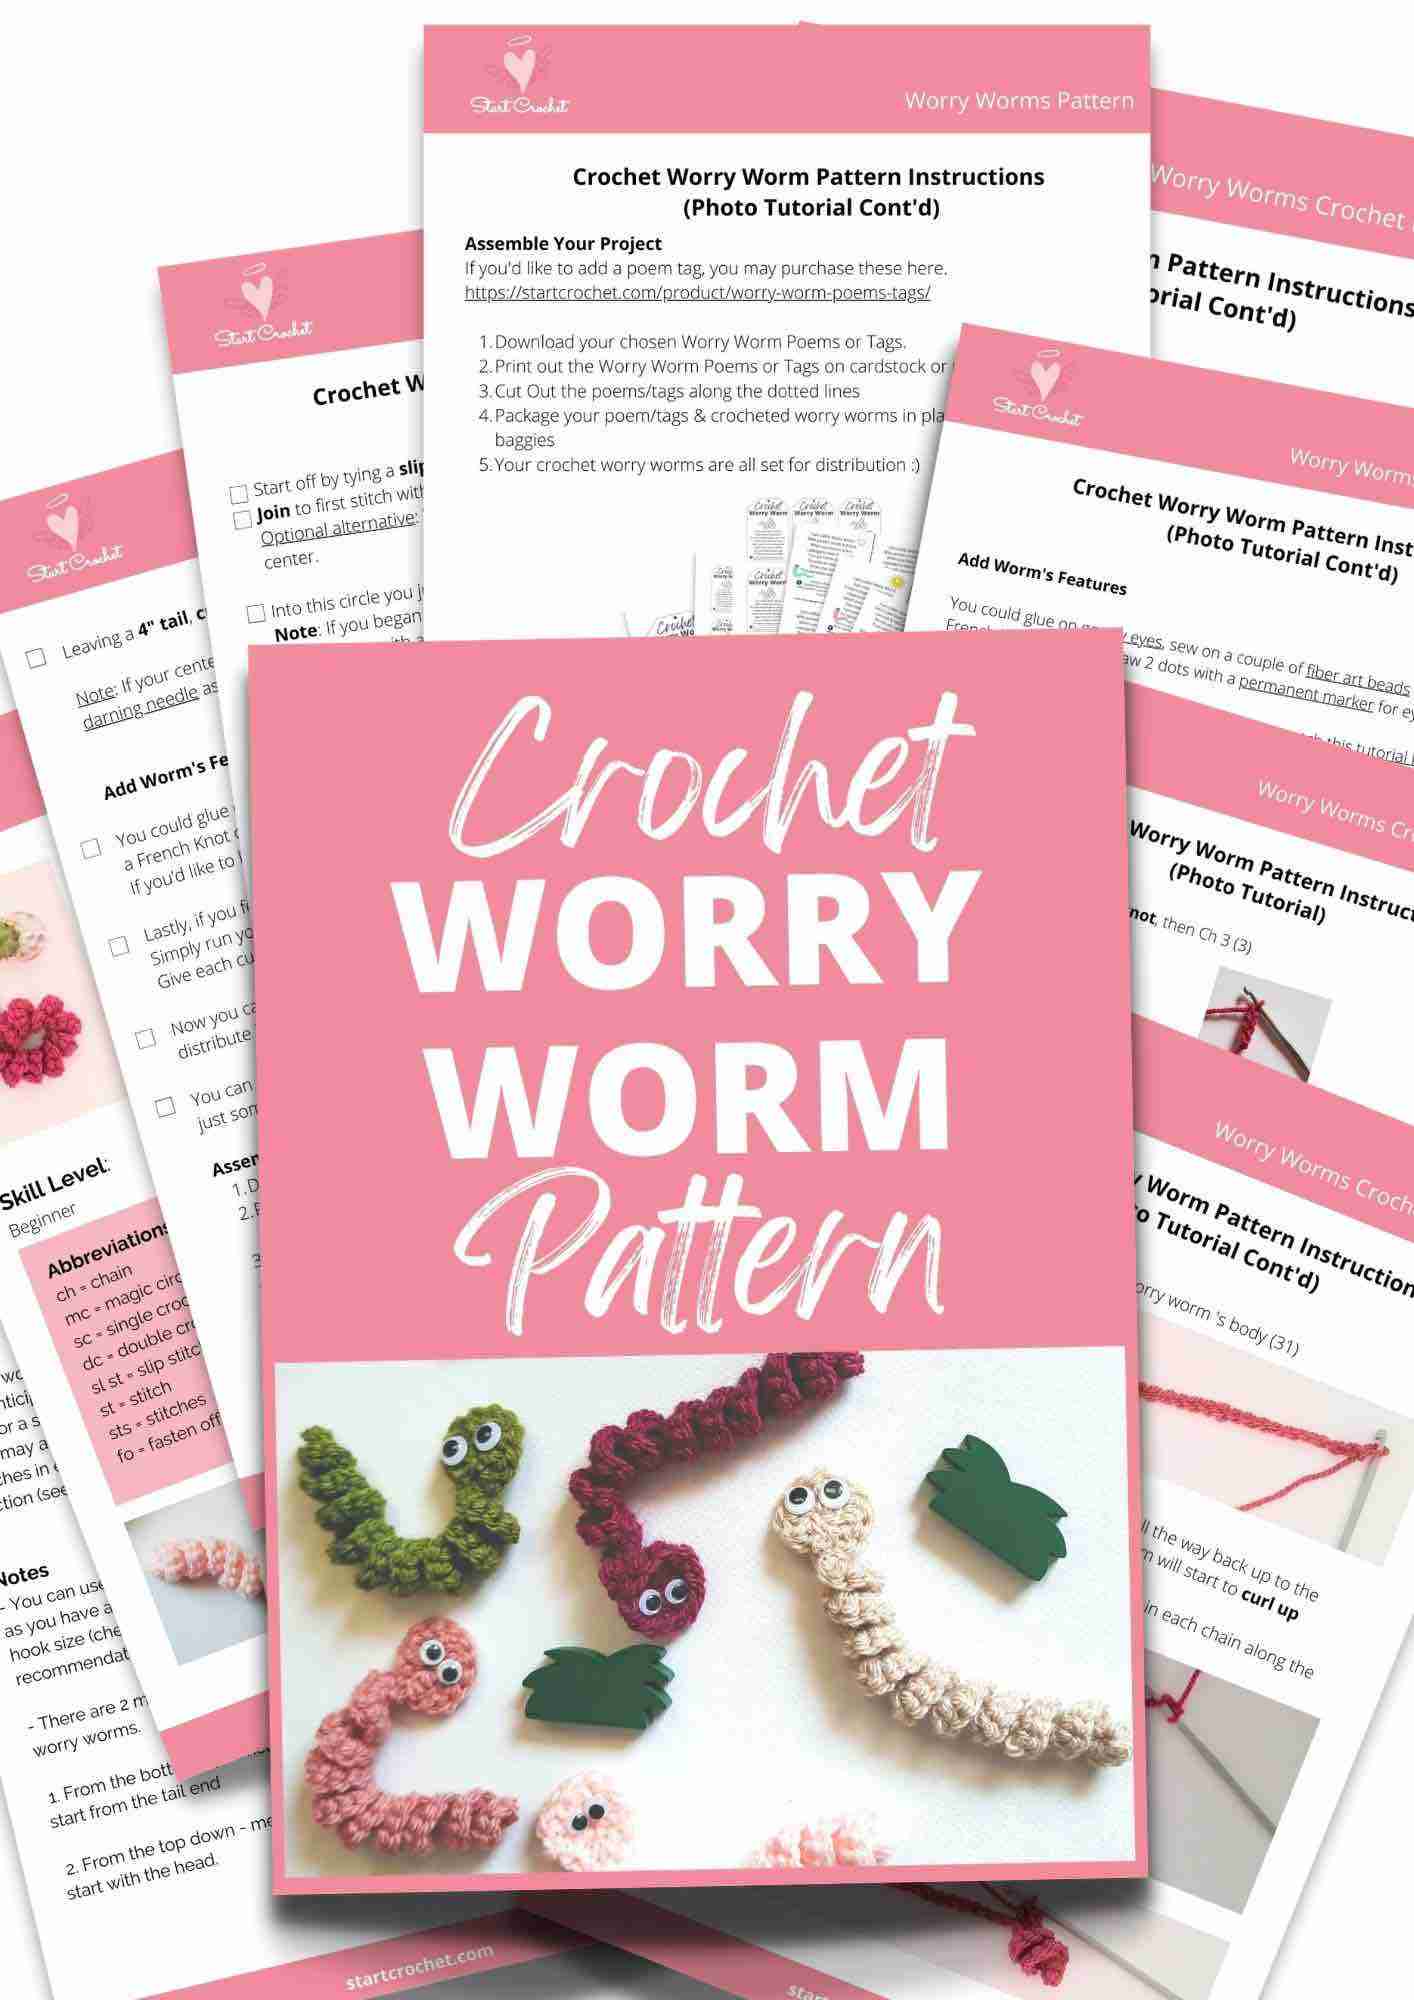
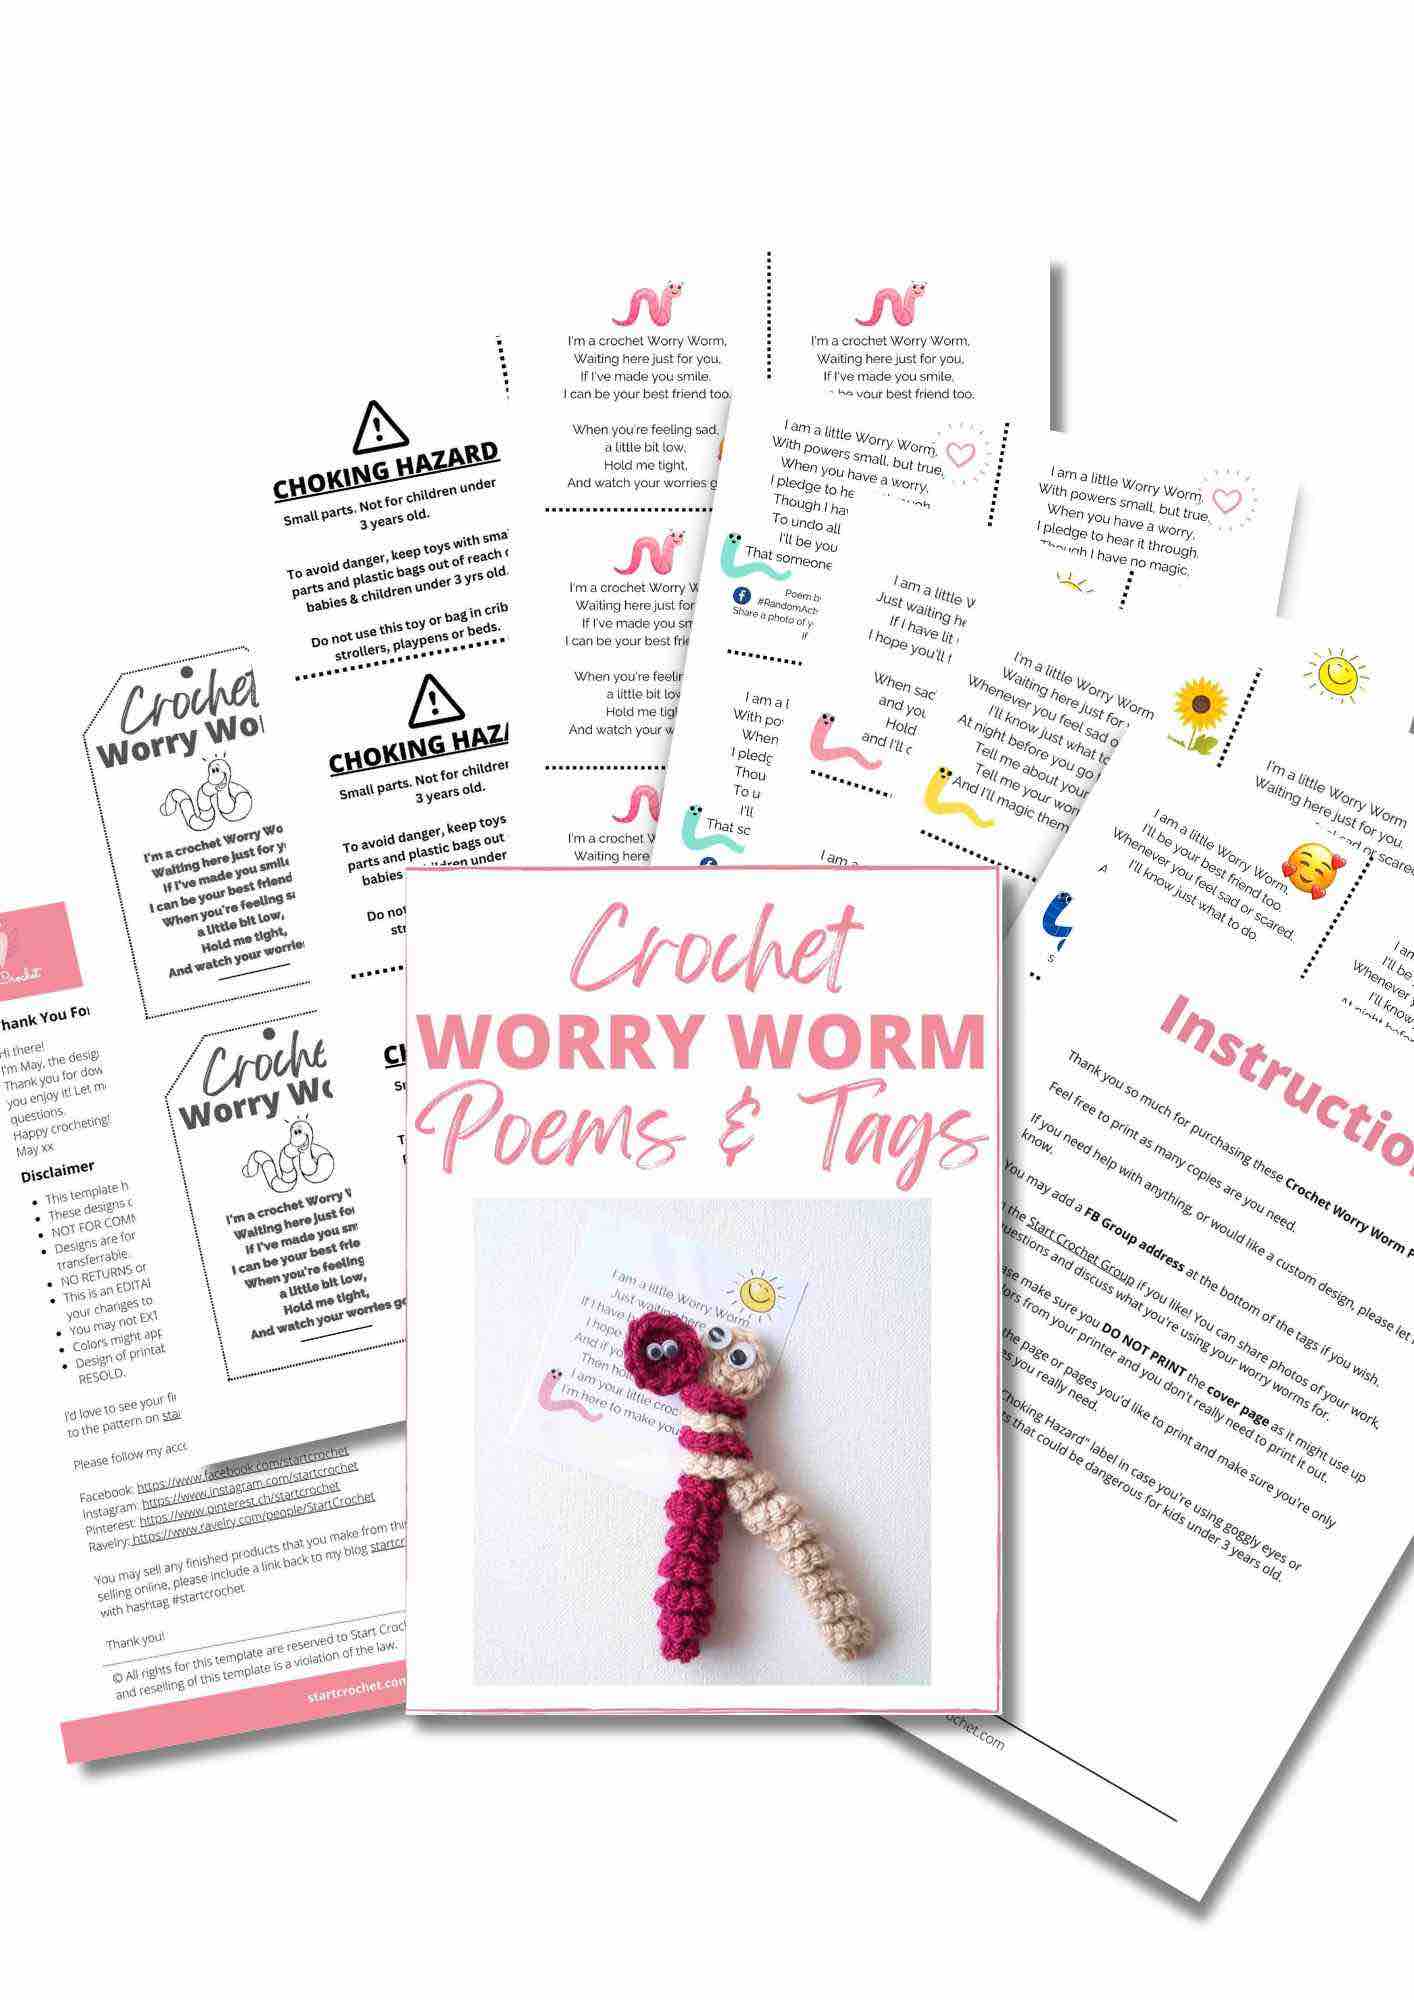
You can also download some Printable Worry Worm Tags for different poems/sayings that you could include in your baggies with your worry worms.
Choose your favorite Worry Worm Poem/Saying to include with your worms.
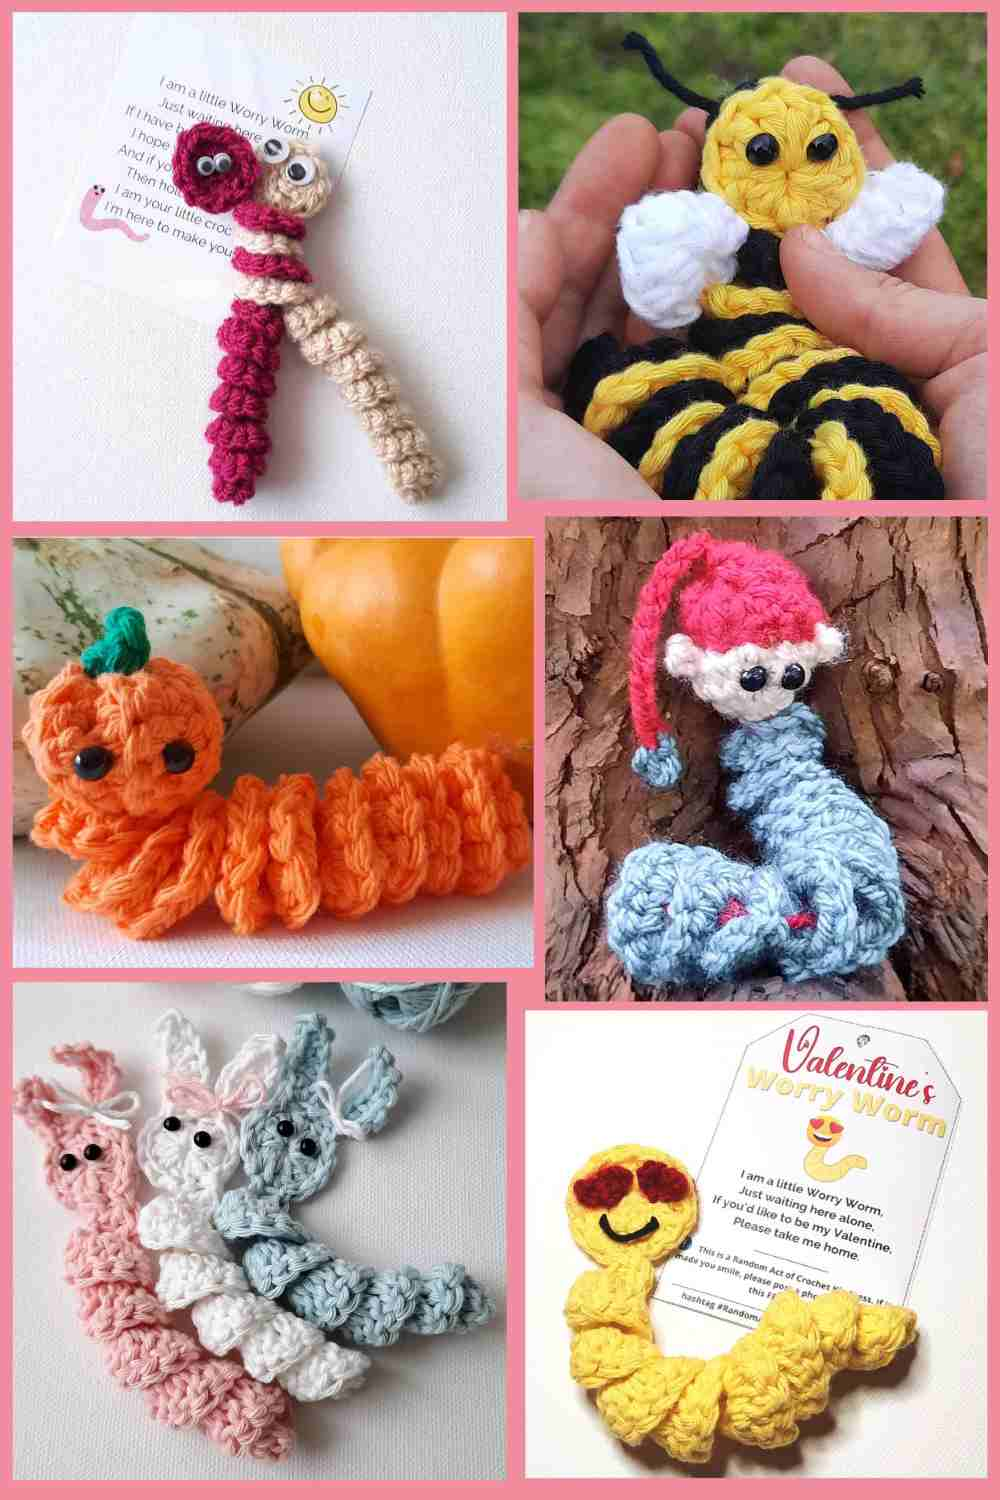
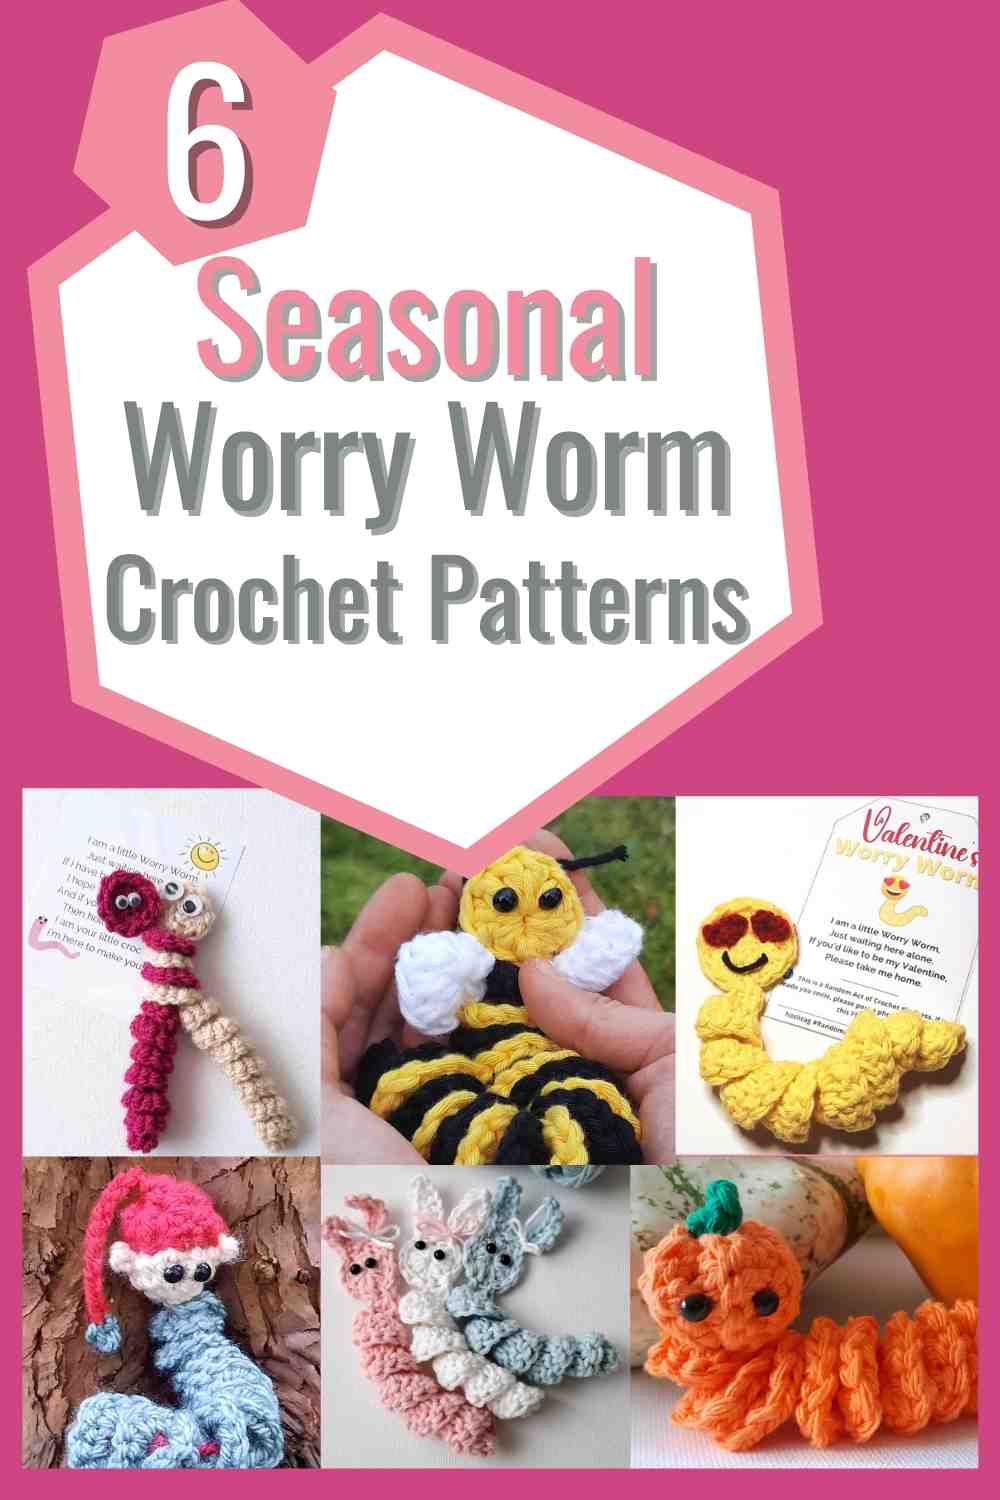
Once you get the hang of the basic worry worm pattern I'll show you below, you can start exploring some more themed worry worms that you can use for different occasions. You can also purchase a 6-pack bundle at a discounted rate so you'll have worry worm patterns for the whole year!
Disclaimer: This post contains affiliate links, which means I receive a small commission, at no extra cost to you, if you make a purchase using the Start Crochet links. Please see my disclosure for more details.
What You’ll Learn
- How to crochet a worry worm's head using the MC (Magic Circle) technique
- How to crochet a 3-D continuous spiral using (sc) single crochet stitches.
- How to package your crochet worry worm for distribution.
AD-FREE PDF PRINTABLE OFFERS
For the Free Pattern keep scrolling...
Materials Needed
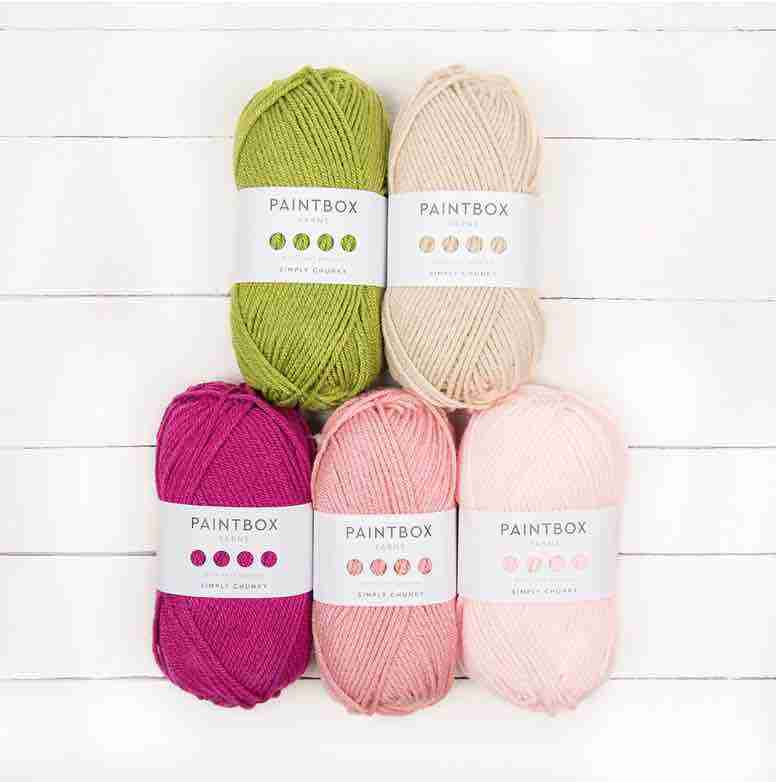
- Some classic Aran yarn (color of your choice). Any yarn would do really, just make sure it's not hairy or fuzzy. I used Paintbox Yarns for these worry worms.
- Crochet hook that fits your yarn. Generally I use between a size G/4mm to H/5mm hook. For this project I used a 4.5 mm hook.
- A tapestry needle
- A pair of scissors
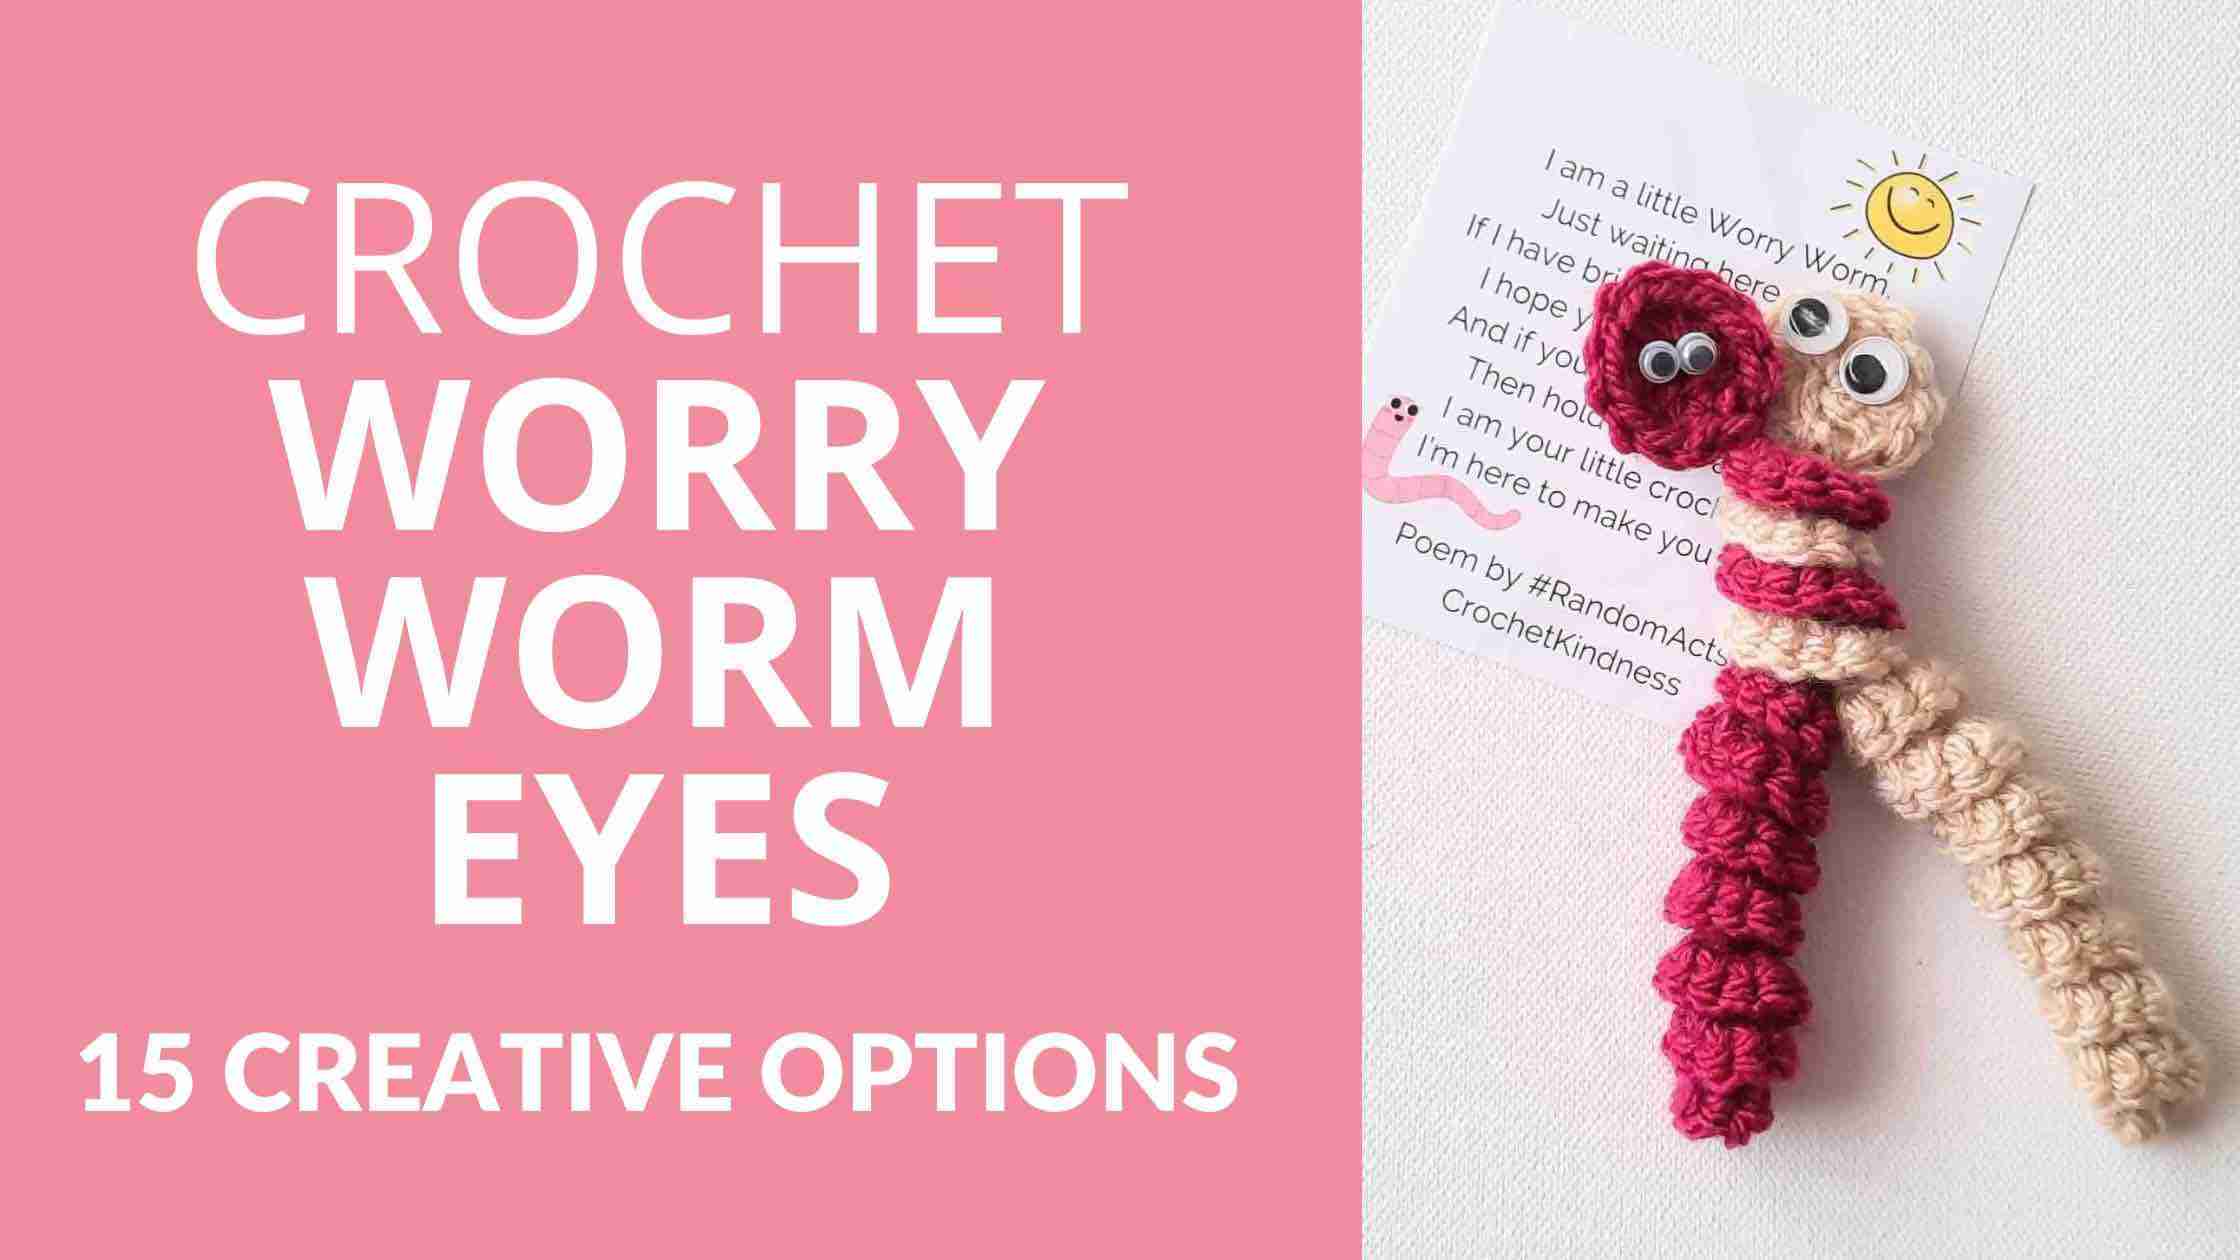
- Toy Eyes, Goggly eyes, black / brown fiber art beads, or a permanent marker (for more worry worm eyes, check out these 15 options)
- Plastic or organza baggies
- Printer & A4 paper or cardstock to print your tags.
Like this pattern, but not ready to work it yet? Save it to Pinterest!
Abbreviations
- ch = chain
- mc = magic circle
- sc = single crochet
- dc = double crochet
- sl st = slip stitch
- st = stitch
- sts = stitches
- fo = fasten off
Skill Level
Beginner
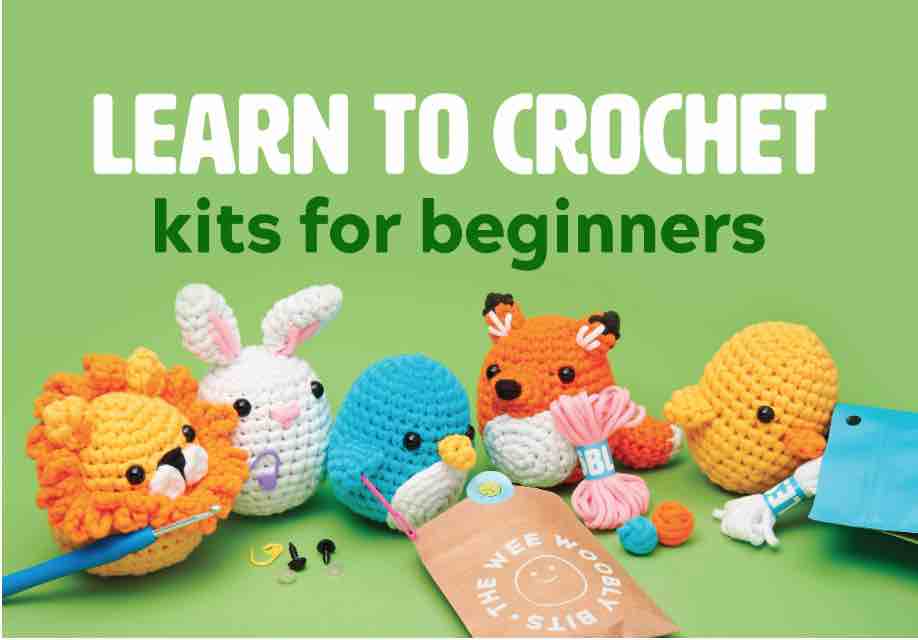
Are you just learning how to crochet? Have a look at these awesome crochet kits, perfect for beginners! I wrote a complete hands-on review on The Woobles Kits for you 🙂
Measurements/Size
Length = 6" / 15cm
Weight = 0.17 oz/ 4 - 5 g
Yardage
Yardage = 10 yards / 9.2m of yarn
Like this pattern, but not ready to work it yet? Save it to Pinterest!
Gauge
Gauge is not really that crucial for this tutorial. Just try experimenting with different hook sizes & different weight yarns to get a gauge you are happy with for the project you are working on.
If your worry worm looks smaller than you anticipated, try a thicker weight yarn or a smaller size crochet hook.
If you want your worry worm to be longer, just increase the number of stitches in your beginning chain.
Notes
- You can use any type of yarn as long as you have a corresponding crochet hook size (check yarn label for recommendations)
- There are 2 main methods to crochet worry worms.
1. From the bottom up - meaning you start from the tail end
2. From the top down - meaning you start with the head.
- I personally prefer the second method (starting with the head), because you get a better finish to your worry worm and the head sits straight on the body. It does require you to know how to crochet a Magic Circle.
If you don't know how to crochet a Magic Circle, you can either try to figure it out with these video tutorials, or you could just crochet 3 chains (ch), join the last stitch to the first stitch with a slip stitch (sl st) and crochet your 12 dc (double crochet) stitches into the little gap/ring you just created.
- You can make the pattern larger or smaller by changing the type of yarn and/or hook.
- Numbers at the end of each step (in brackets) indicate the number of final stitches in that step.
- Please note that I use US crochet terms.
US vs. UK Crochet Terms & Symbols
Free Printable


Your info is 100% secure and will never be shared.
Stitch How-To Instructions
Instructions for Ch (Chain):
Bring the yarn over the crochet hook from back to front and hook it. Draw hooked yarn through the loop of the stitch on your hook and up onto the working area of your hook.
Instructions for sc (Single Crochet):
Insert hook into stitch, yarn over, pull the loop back through the stitch (you now have two loops on hook), yarn over again and pull through both loops on hook (note: this is equivalent to the UK Double Crochet (dc) stitch)
Instructions for dc (Double Crochet):
Yarn over first, then insert hook into stitch, yarn over, pull the loop back through the stitch (you now have three loops on hook), Pull your working yarn over again and pull through two loops on hook . You now have 2 loops on your hook. Yarn over and pull through the last two loops on your hook. You are left with only one loop on your hooks, which means you've completed your dc stitch. (note: this is equivalent to the UK Trebble Crochet (tc) stitch)
Instructions for Sl St (Slip Stitch): Insert hook, yarn over, pull the loop back through your last stitch AND through the loop on your hook (through both stitches).
Instructions for Fastening Off: After the last stitch of the last round, cut the yarn, leaving a 6-inch end. Draw the cut end of your yarn completely through the stitch & pull to tighten the knot.
Here you can get more clarity on how to crochet a flat circle with a single crochet stitch.
YOUR GIFT! CROCHET PROJECT TRACKER
Here's a little gift for you!
We all have so many WIPS (Works in Progress) lying around, don't we?!!
Let's keep track of all those projects so we don't forget which hook size or yarn color we used!
Print as many as you like and keep them in your crochet binder.
Tips To Ensure Your Worry Worms Curl Properly Every Time
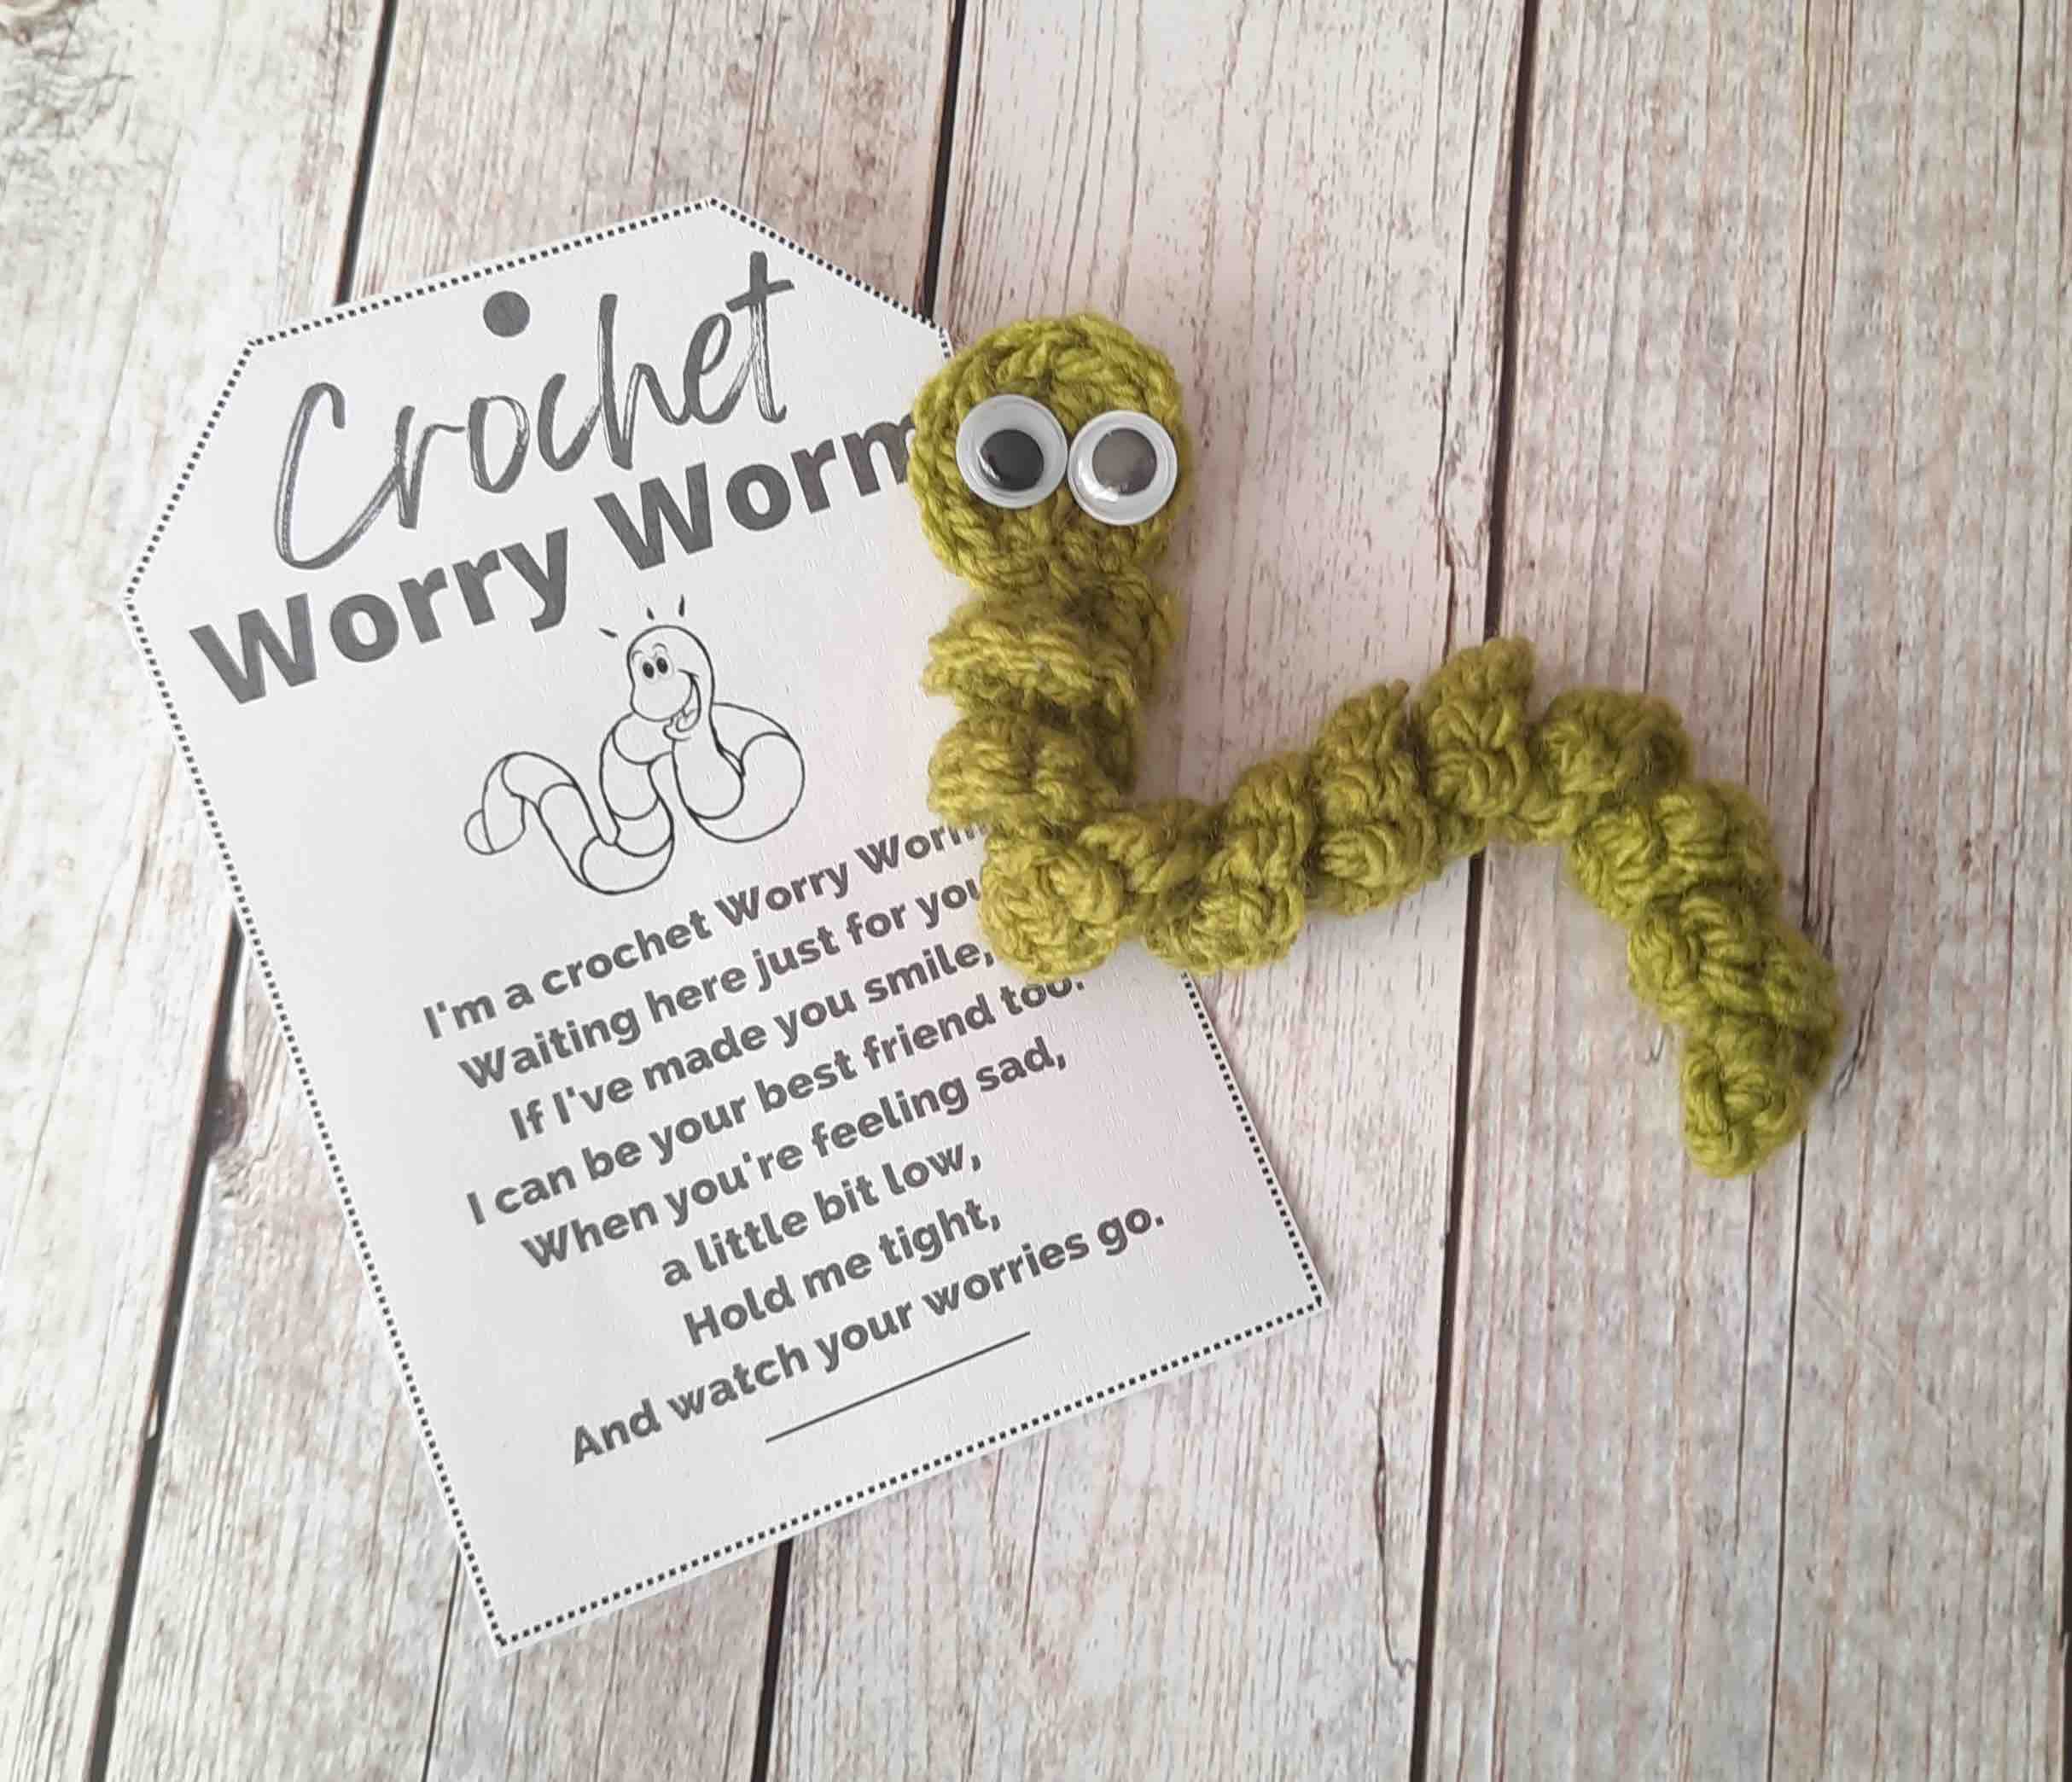
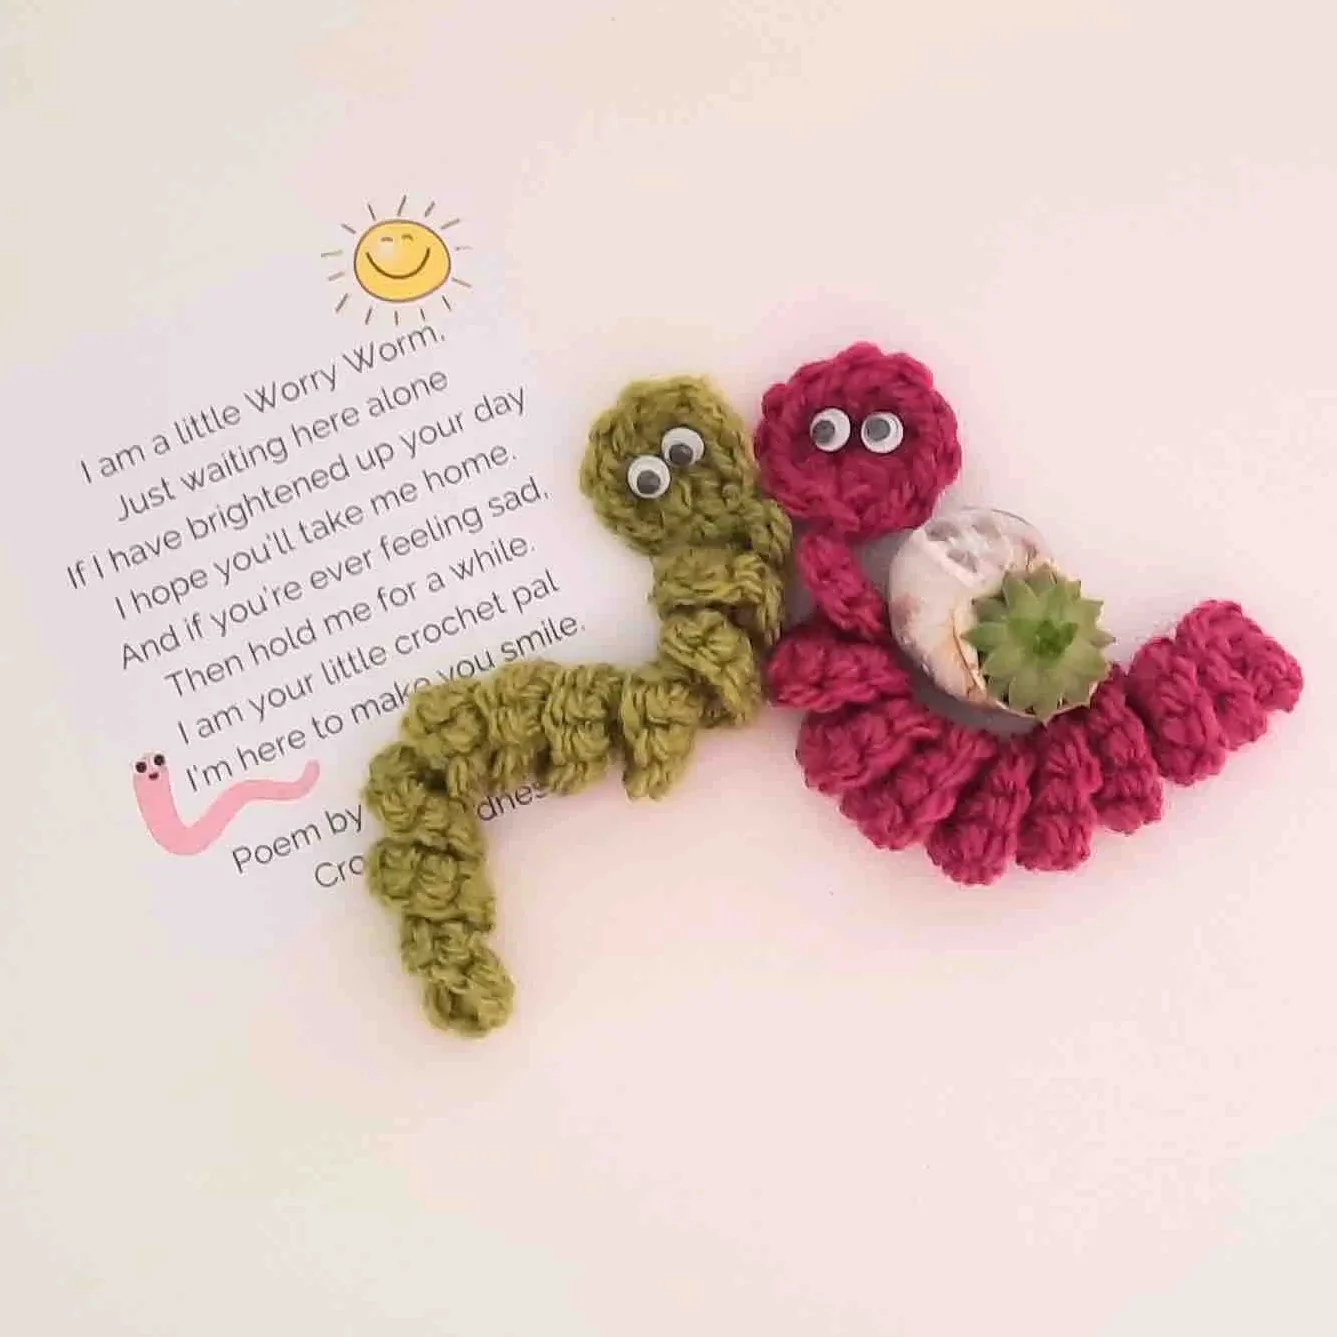
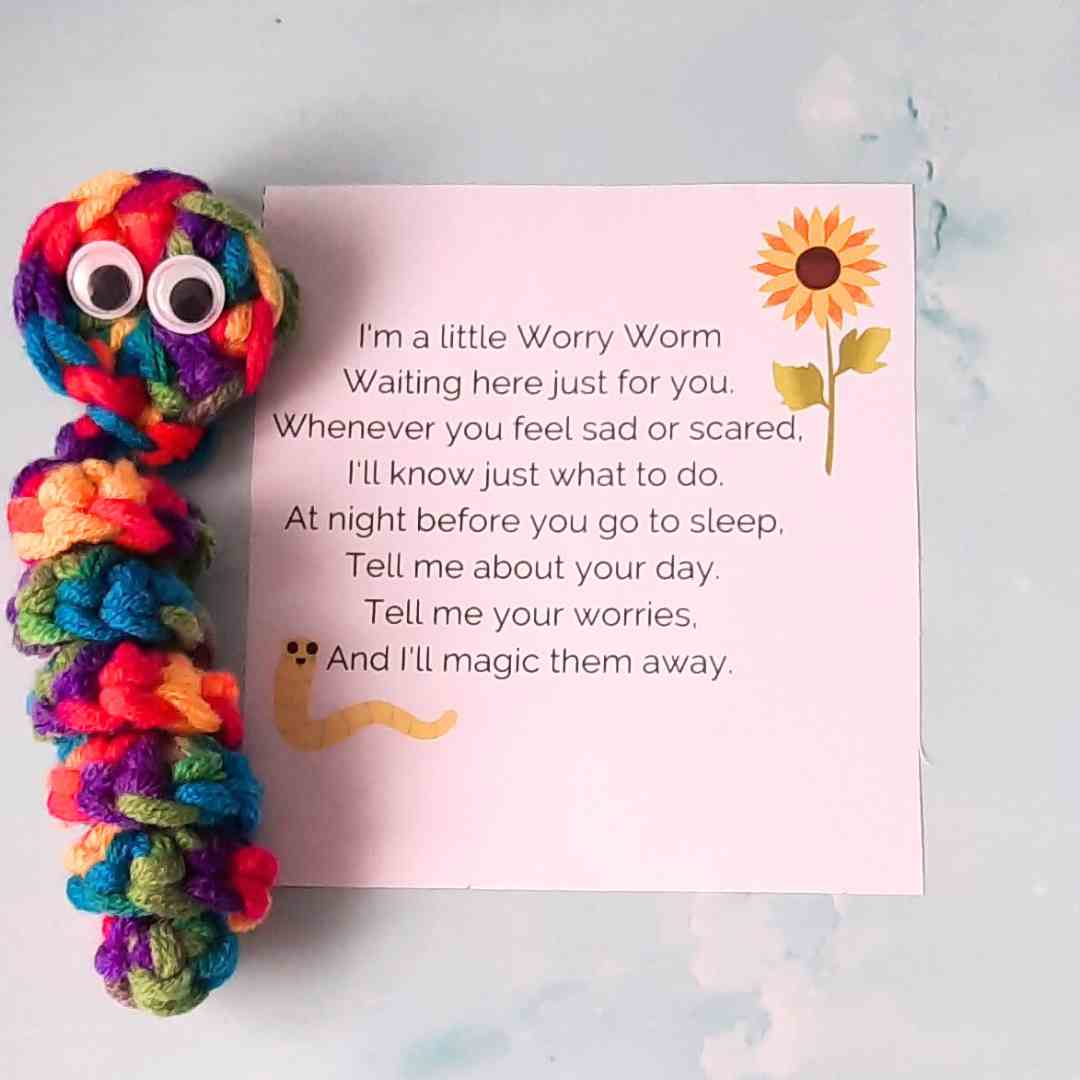
Worry Worm Poem Text
If you're looking for the text to write your own Worry Worm tags or cards, here is a sample poem. Feel free to copy it (for personal use only).
Worry Worm Poem Example
The debate on selling worry worms
I've come across several FB Groups where people argue about whether crocheted worry worms should be sold or not.
- (Group A) feels that you can't buy good luck, that worry worms can only bring good luck when they are found - as a result of people putting them out & about for strangers to stumble upon.
Members of Group A get really mad when they come across people selling worry worms at craft fairs or on Etsy.
- Others (Group B) argue that people who don't know how to crochet have every right to buy ready-made worry worms so that they too can sprinkle them around town or give them to loved ones.
Group A would say people who want to participate in the worry worm community-driven movement should learn how to crochet first before they take part.
Some even go as far as saying worry worms won't bring good luck if you GIVE them to someone. They have to be found by mere chance,
What's your take on this? I'd love to hear your thoughts in the comments section at the bottom of this post.
Here's an example of such a FB post:
"I'm super angry and sad. Worry worms were being sold at the Christmas market today, each for $ 9.00.
It's a shame that they want to make a business out of it.
I created a poll on Reddit and below are my findings. Keep in mind though that most people on that platform hadn't heard of worry worms before.
Reddit Poll
Can I sell worry worms?
How do you feel about selling worry worms? Choose one of the options below:
- Crocheted Worry Worms should never be sold. They should only be acquired through chance encounters. (2 votes, 1.5%)
- It is acceptable to sell crocheted worry worms at craft fairs or on platforms like Etsy. (63 Votes, 46.3%
- No strong preference. 59 votes, 43.4%)
- Other - please specify in comments. (12 votes, 8.8%) (You can read the feedback on Reddit)
Worry Worm Crochet Pattern (Photo Tutorial)
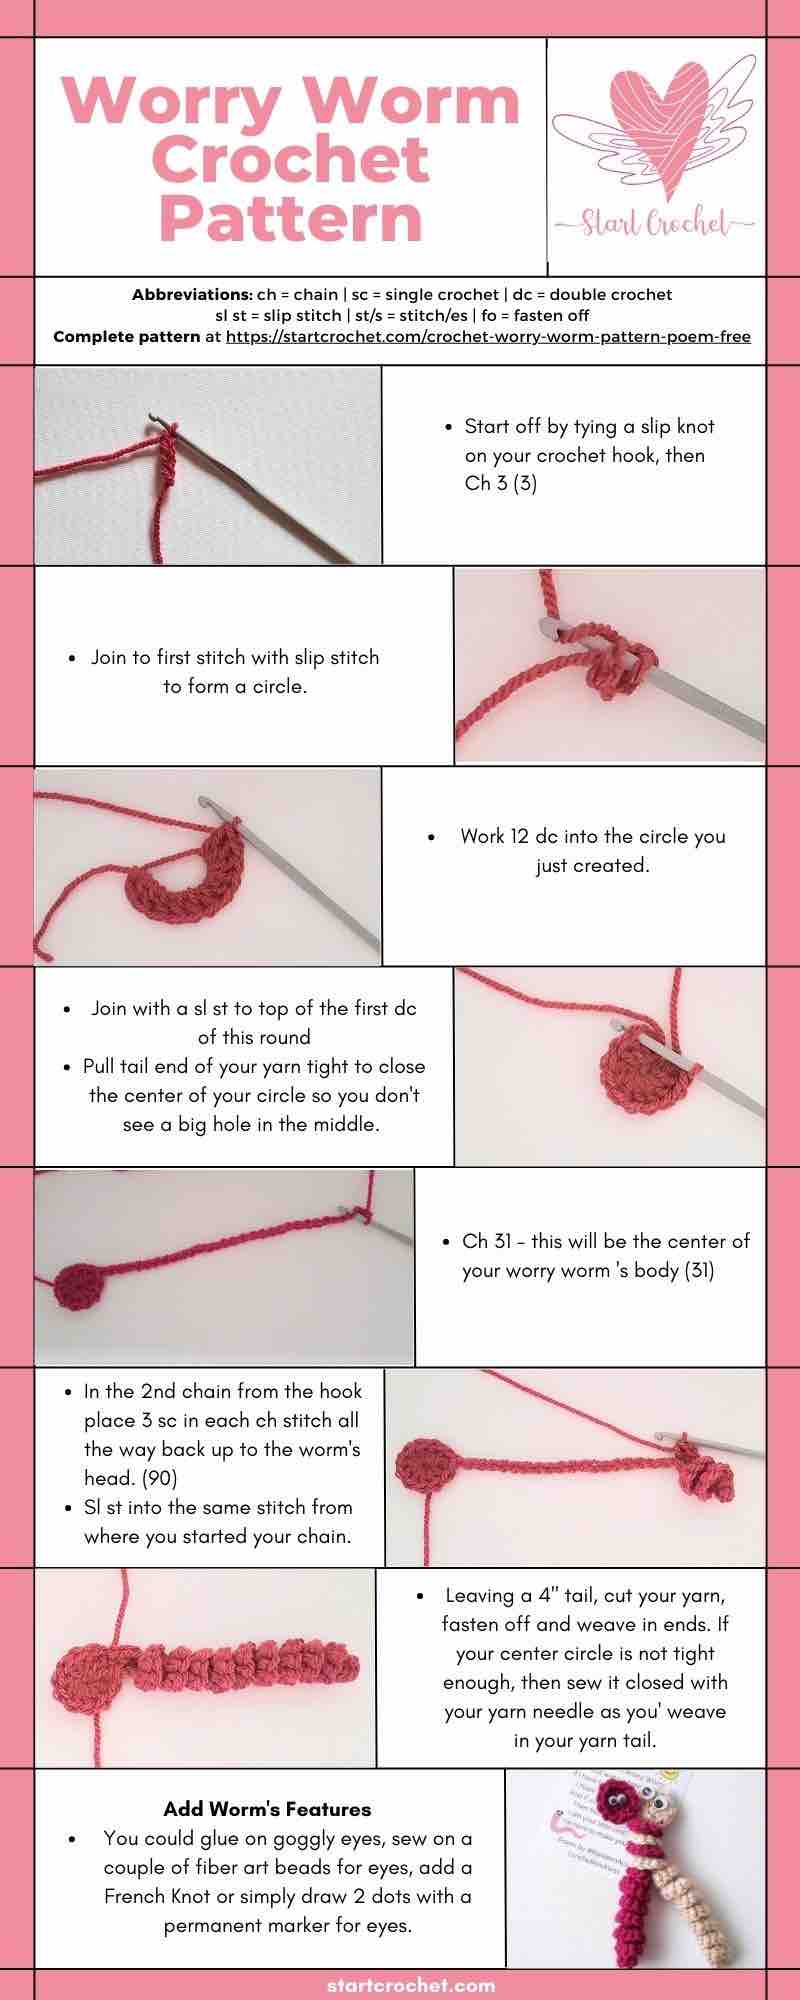
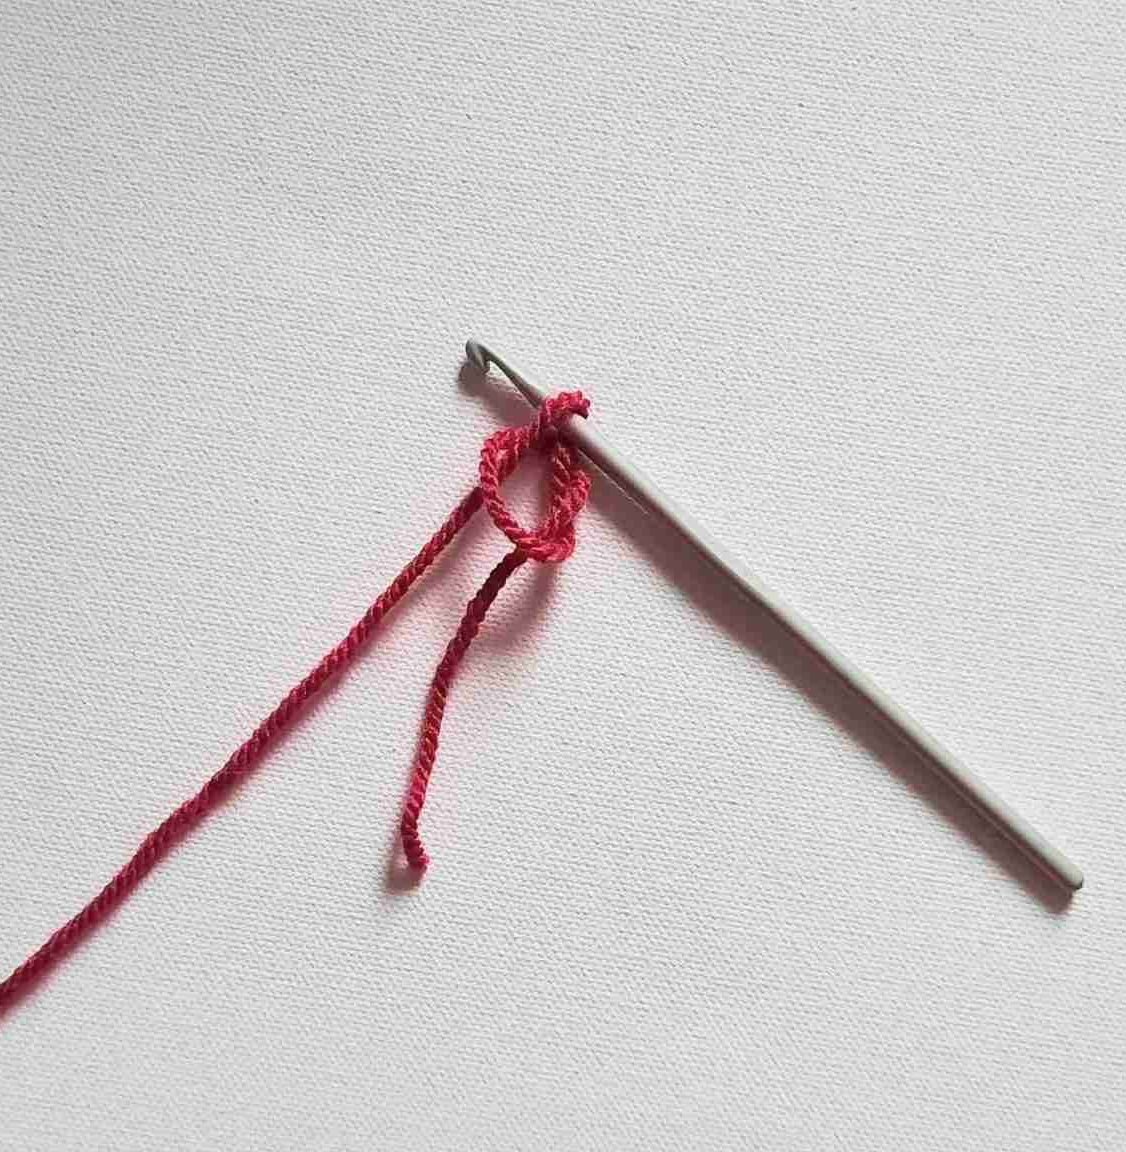
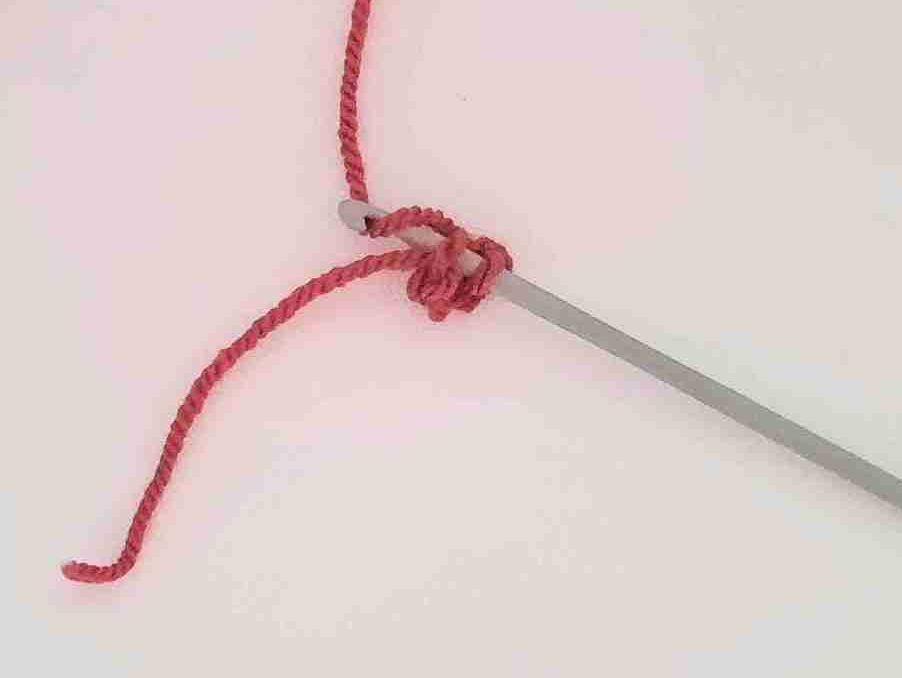
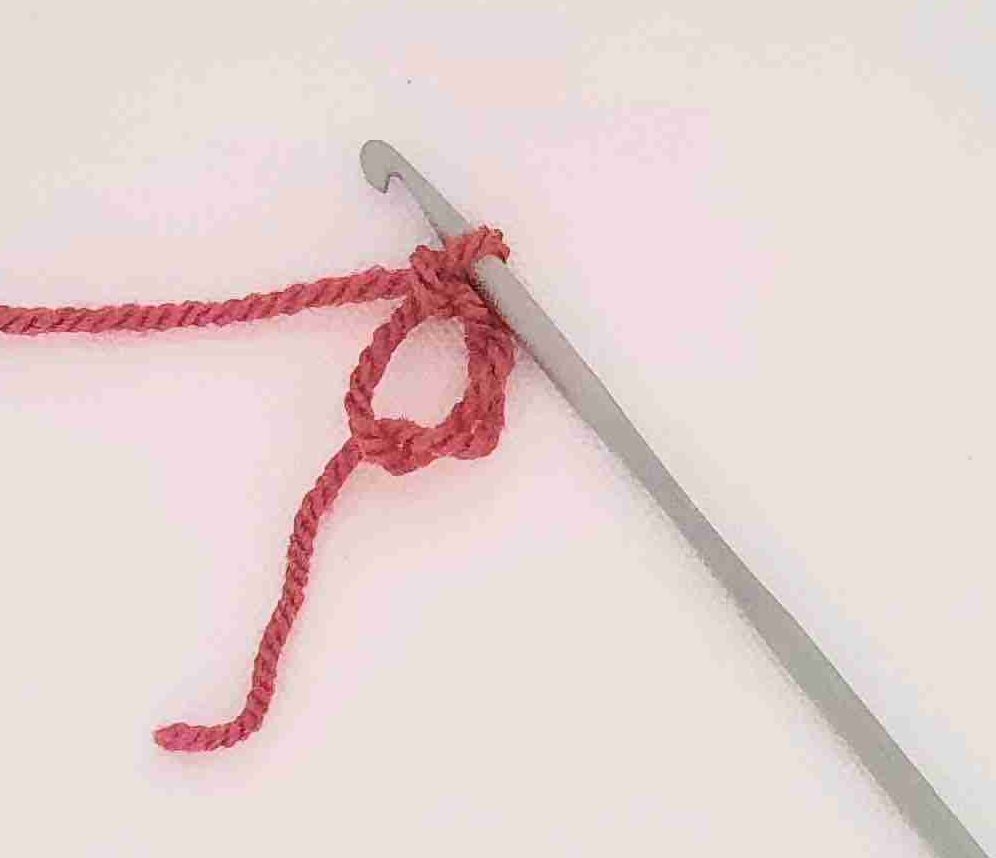
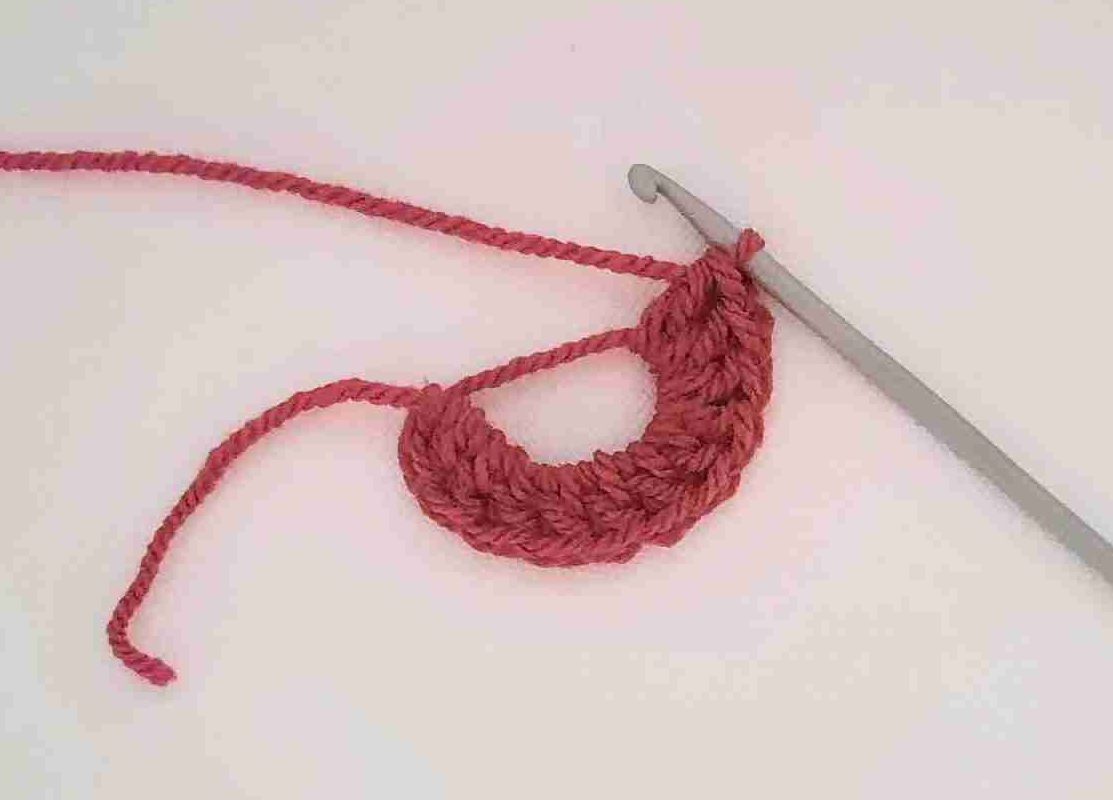
- Start off by tying a slip knot, then Ch 3 (3).
- Join to first stitch with slip stitch to form a circle.
- Optional alternative: You could also try the Magic Circle for a tight & closed center.
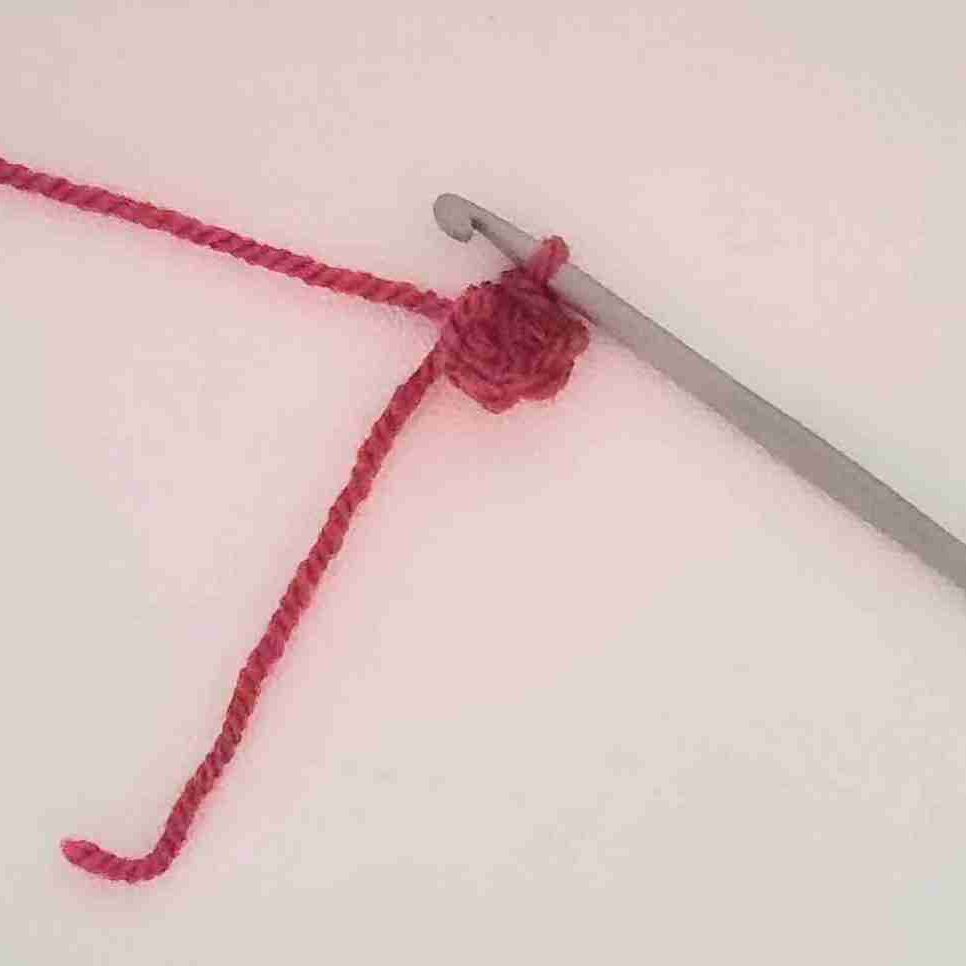
- ch 2, then continue to work 11 dc stitches into the circle you just created (12).
Note: If you began with a (ch 3, slip stitch) circle, work 12 dc into circle.
If you began with a Magic Circle, then the first ch 2 counts as a dc, so continue to work 11 more dc to have a total of 12 dc into the MC.
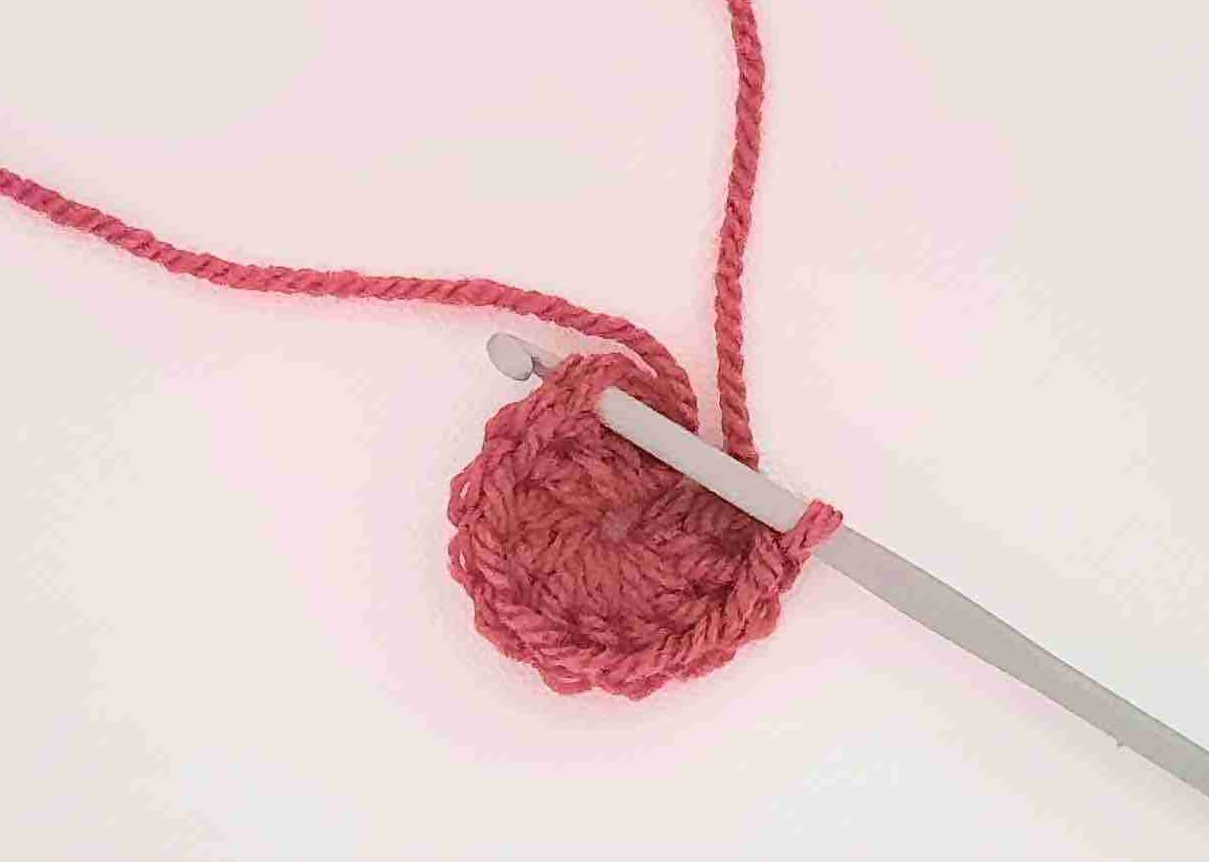
- Join with a sl st to top of first ch 2 of this round (or first dc stitch if you didn't start with a MC).
This sl st will complete your circle (worm's head).
- Pull tail end of your yarn tight to close the center of your circle so you don't see a big hole in the middle.
Note: If you started with a MC, make sure you pull the tail nice & tight to give your worm's head a neat finish (closed center).
If you started with a ch 3 ring, you may have a small gap in the middle of your circle, which you can sew closed with a tapestry/darning needle when you finish crocheting your worry worm..
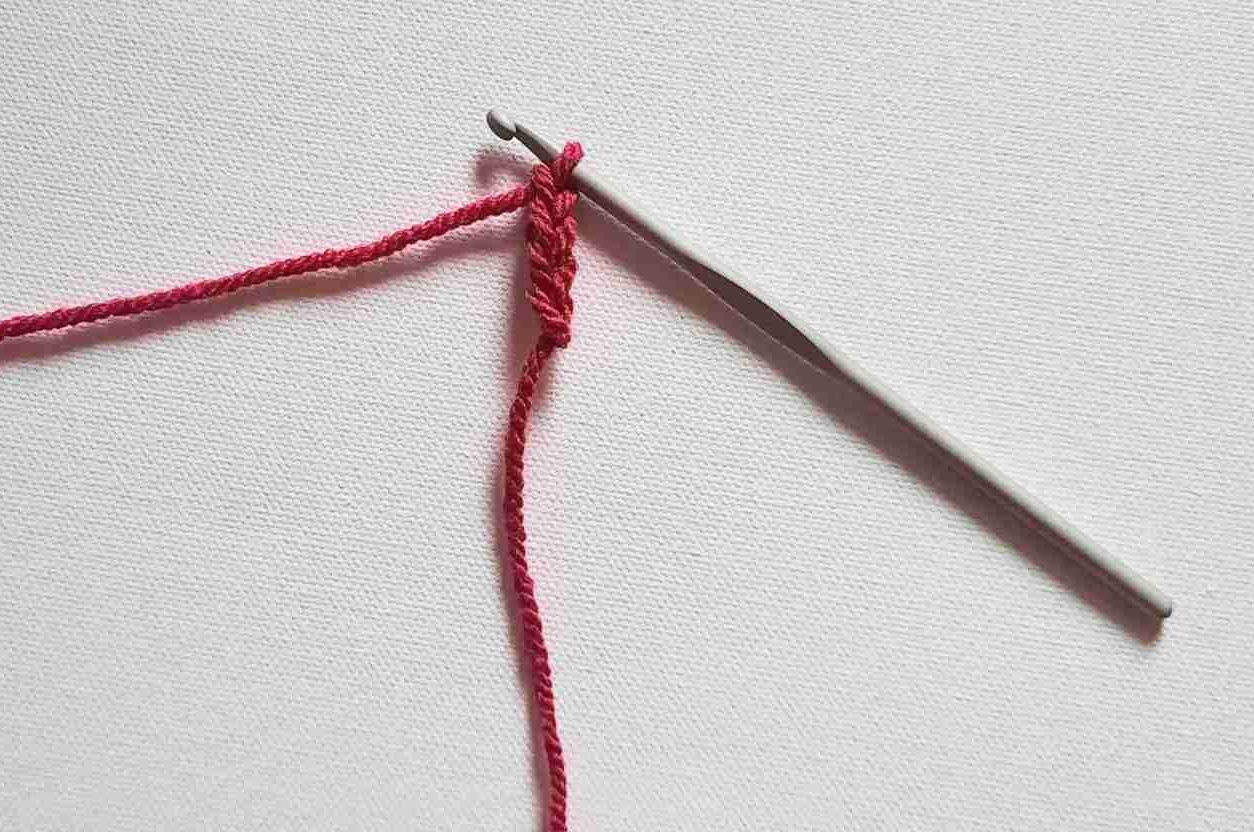
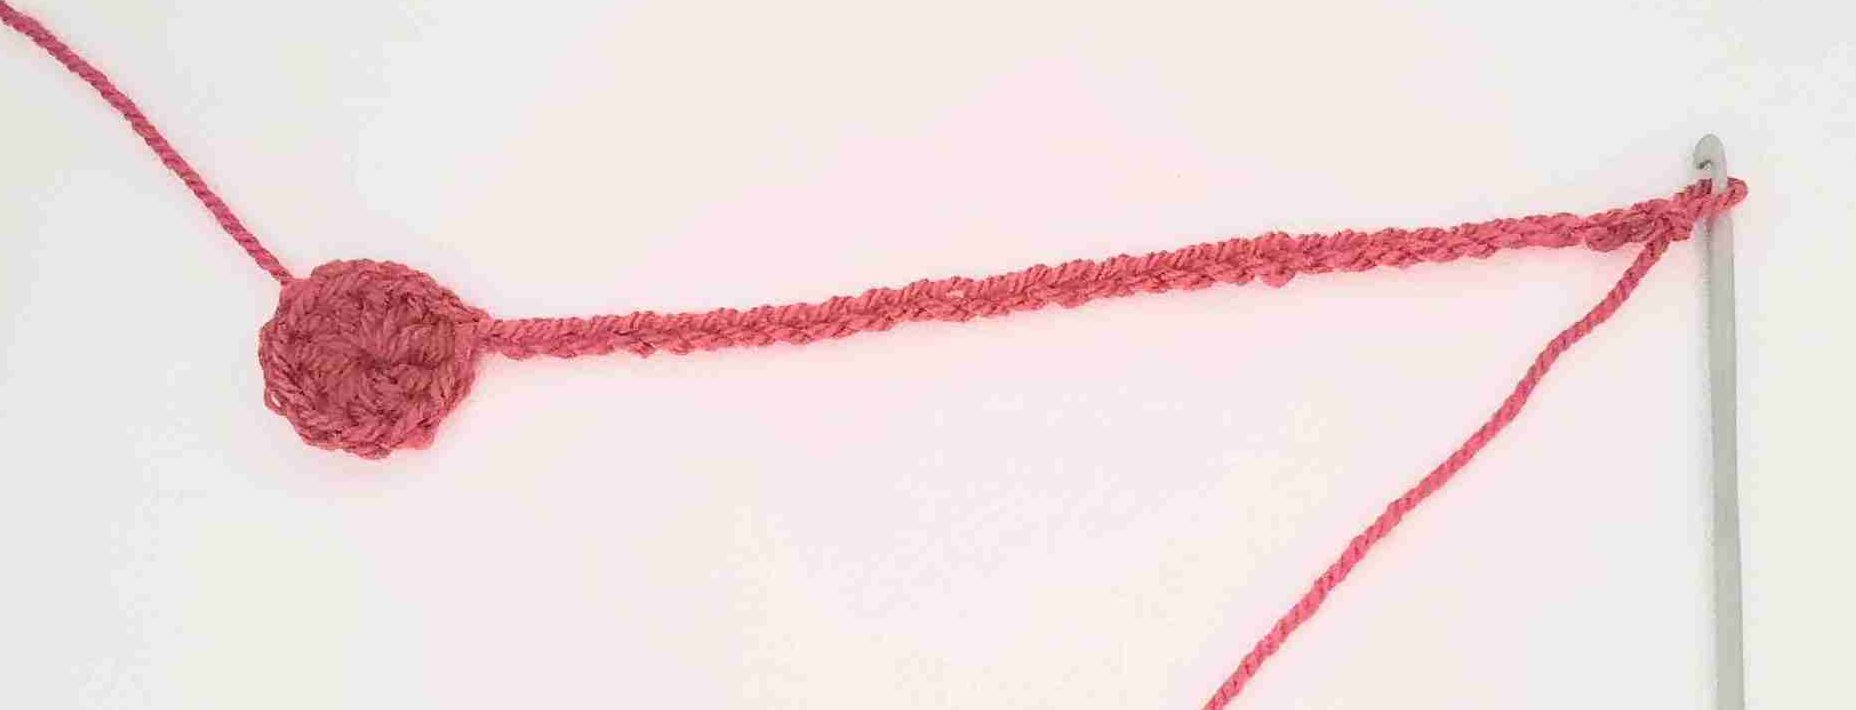
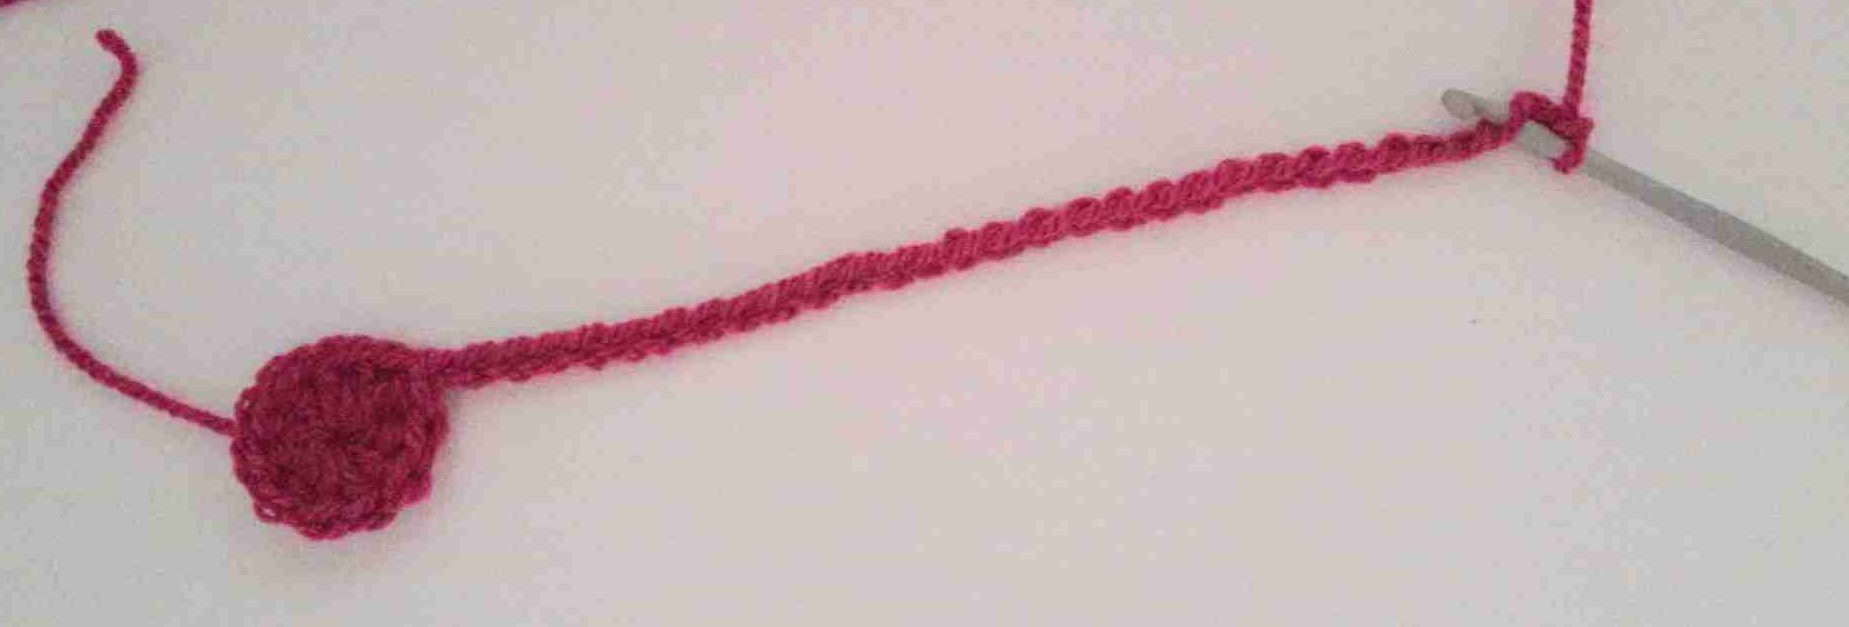
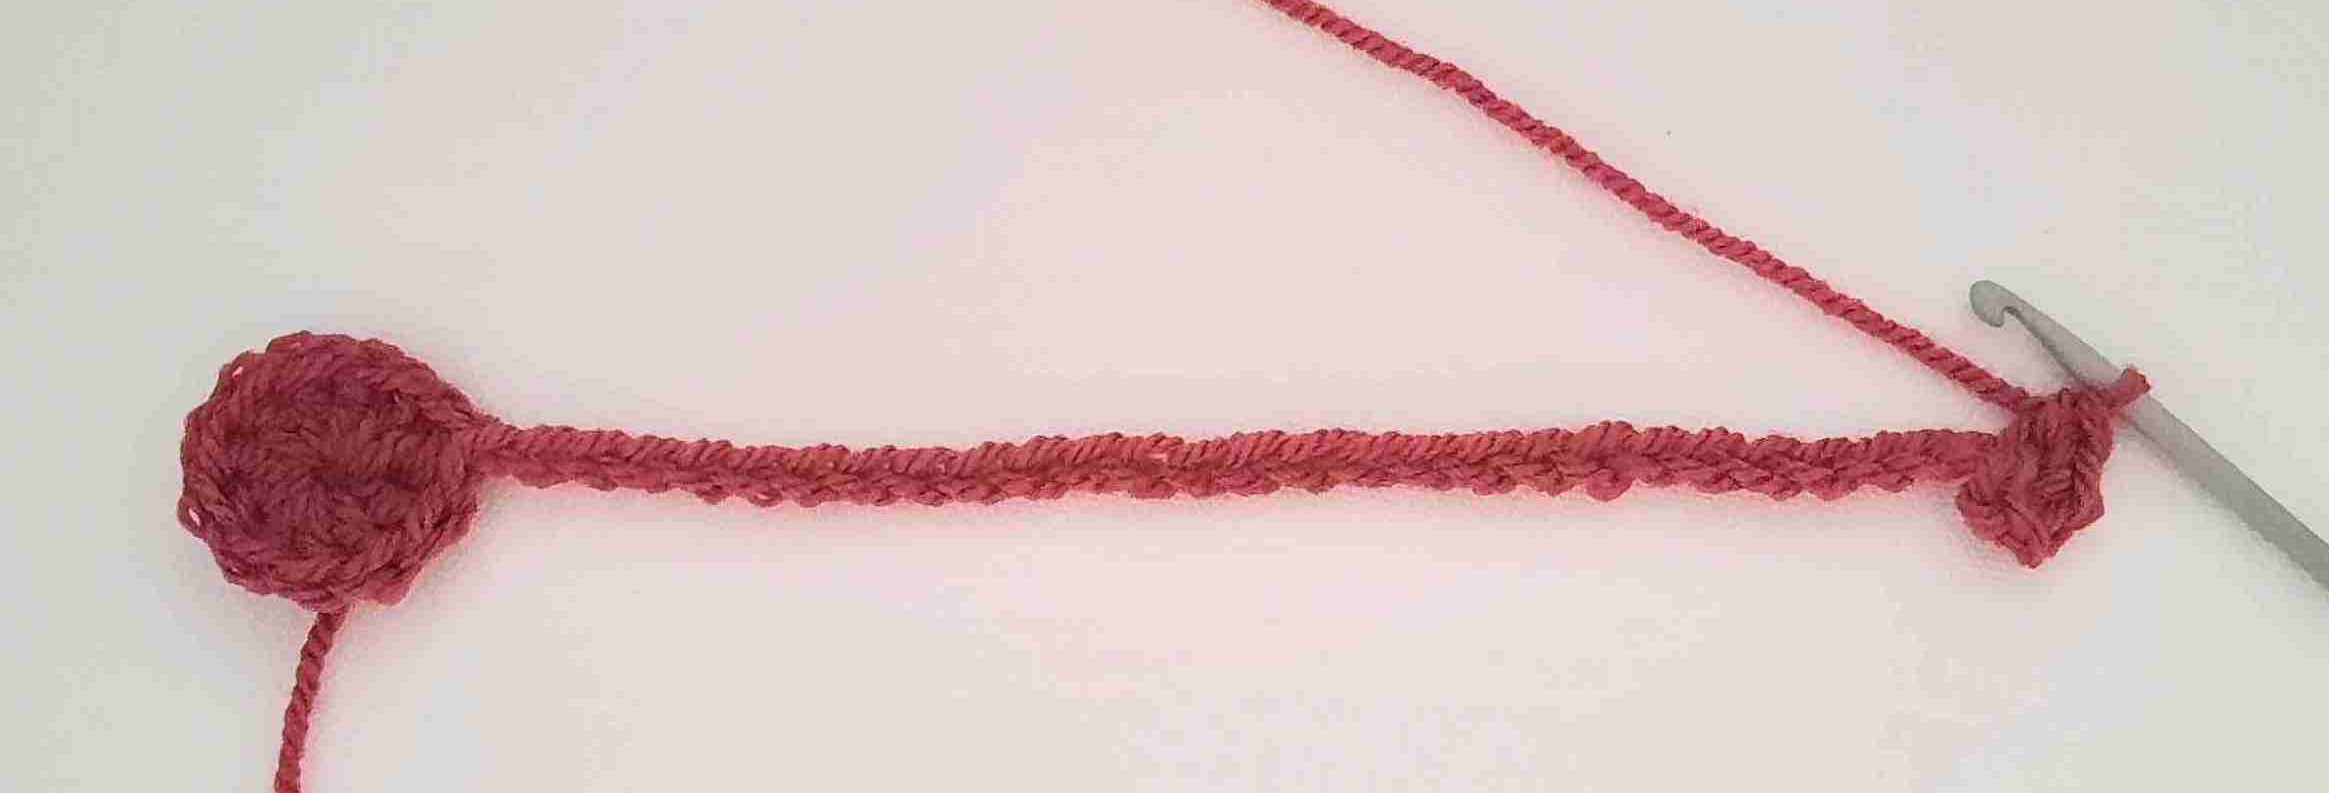
- Ch 31 - this will be the center of your worry worm 's body (31).
- In the 2nd chain from the hook place 3 sc in each ch stitch all the way back up to the worm's head (90).
Note: If you are working with thin/light yarn, then place 4 sc in each chain along the body (120).
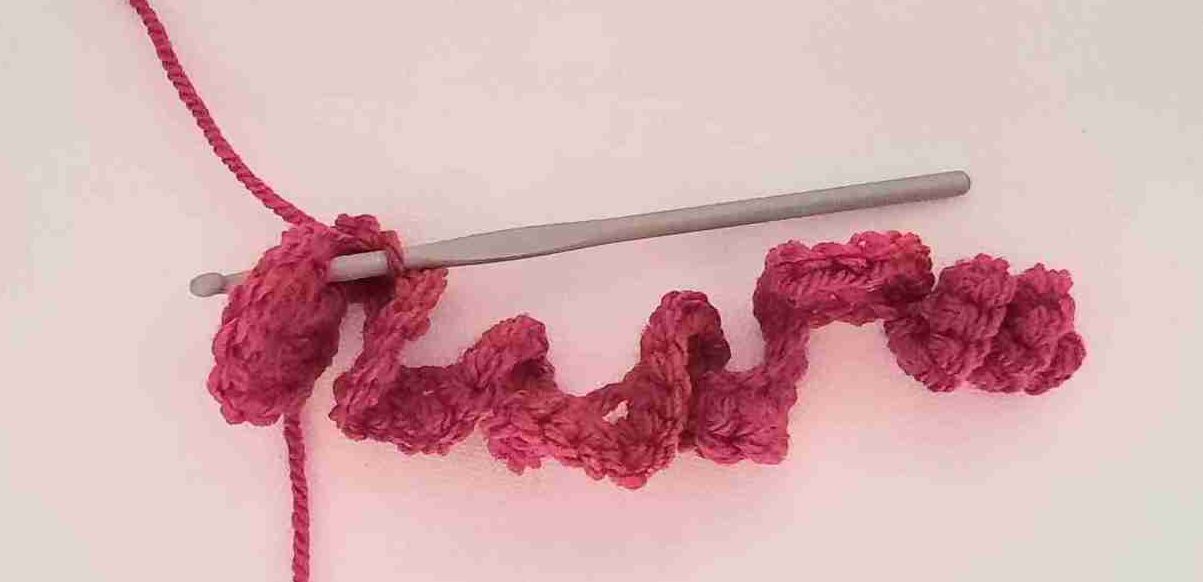
Note: You will find that the body of your worm will start to curl up naturally as you progress with your work.
- Once you've reached the top of your worm (nearest to its head), sl st into the same stitch from where you started your chain.
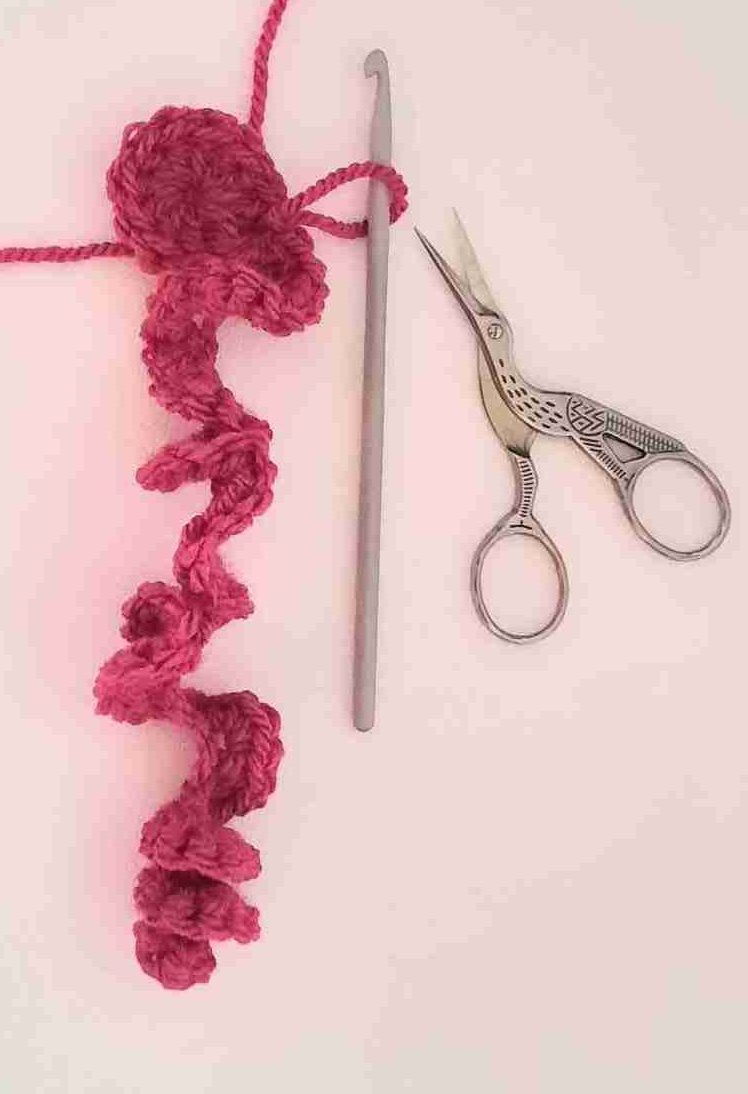
- If you feel your worry worm didn't curl up properly, and looks something like the photo above, don't worry!
Simply run your finger along the curls to place them in the correct position.
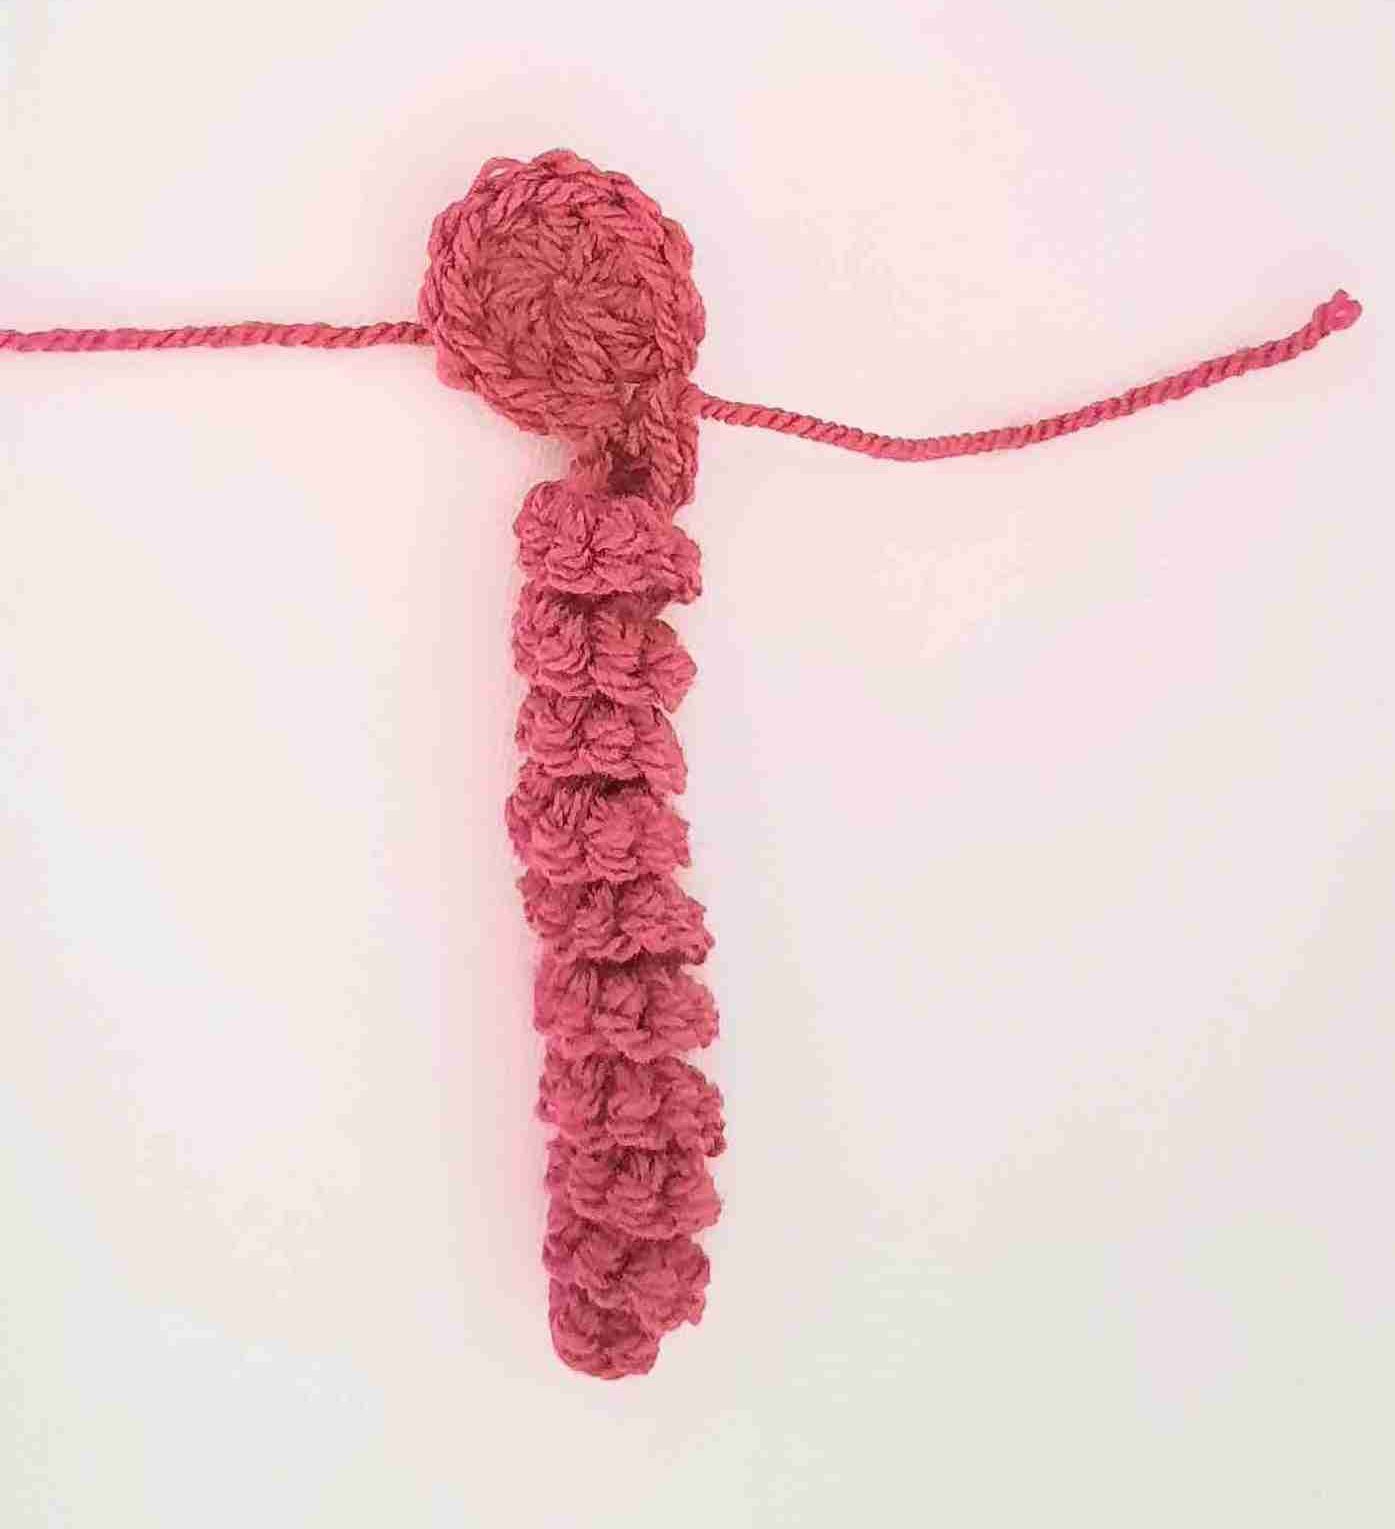
Give each curl a little twist and they'll all fall into place perfectly!
- Leaving a 4" tail, cut your yarn, fasten off and weave in ends. If your center circle is not tight enough, then sew it closed with your tapestry/darning needle as you're weaving in your yarn tail.
Add Worm's Features
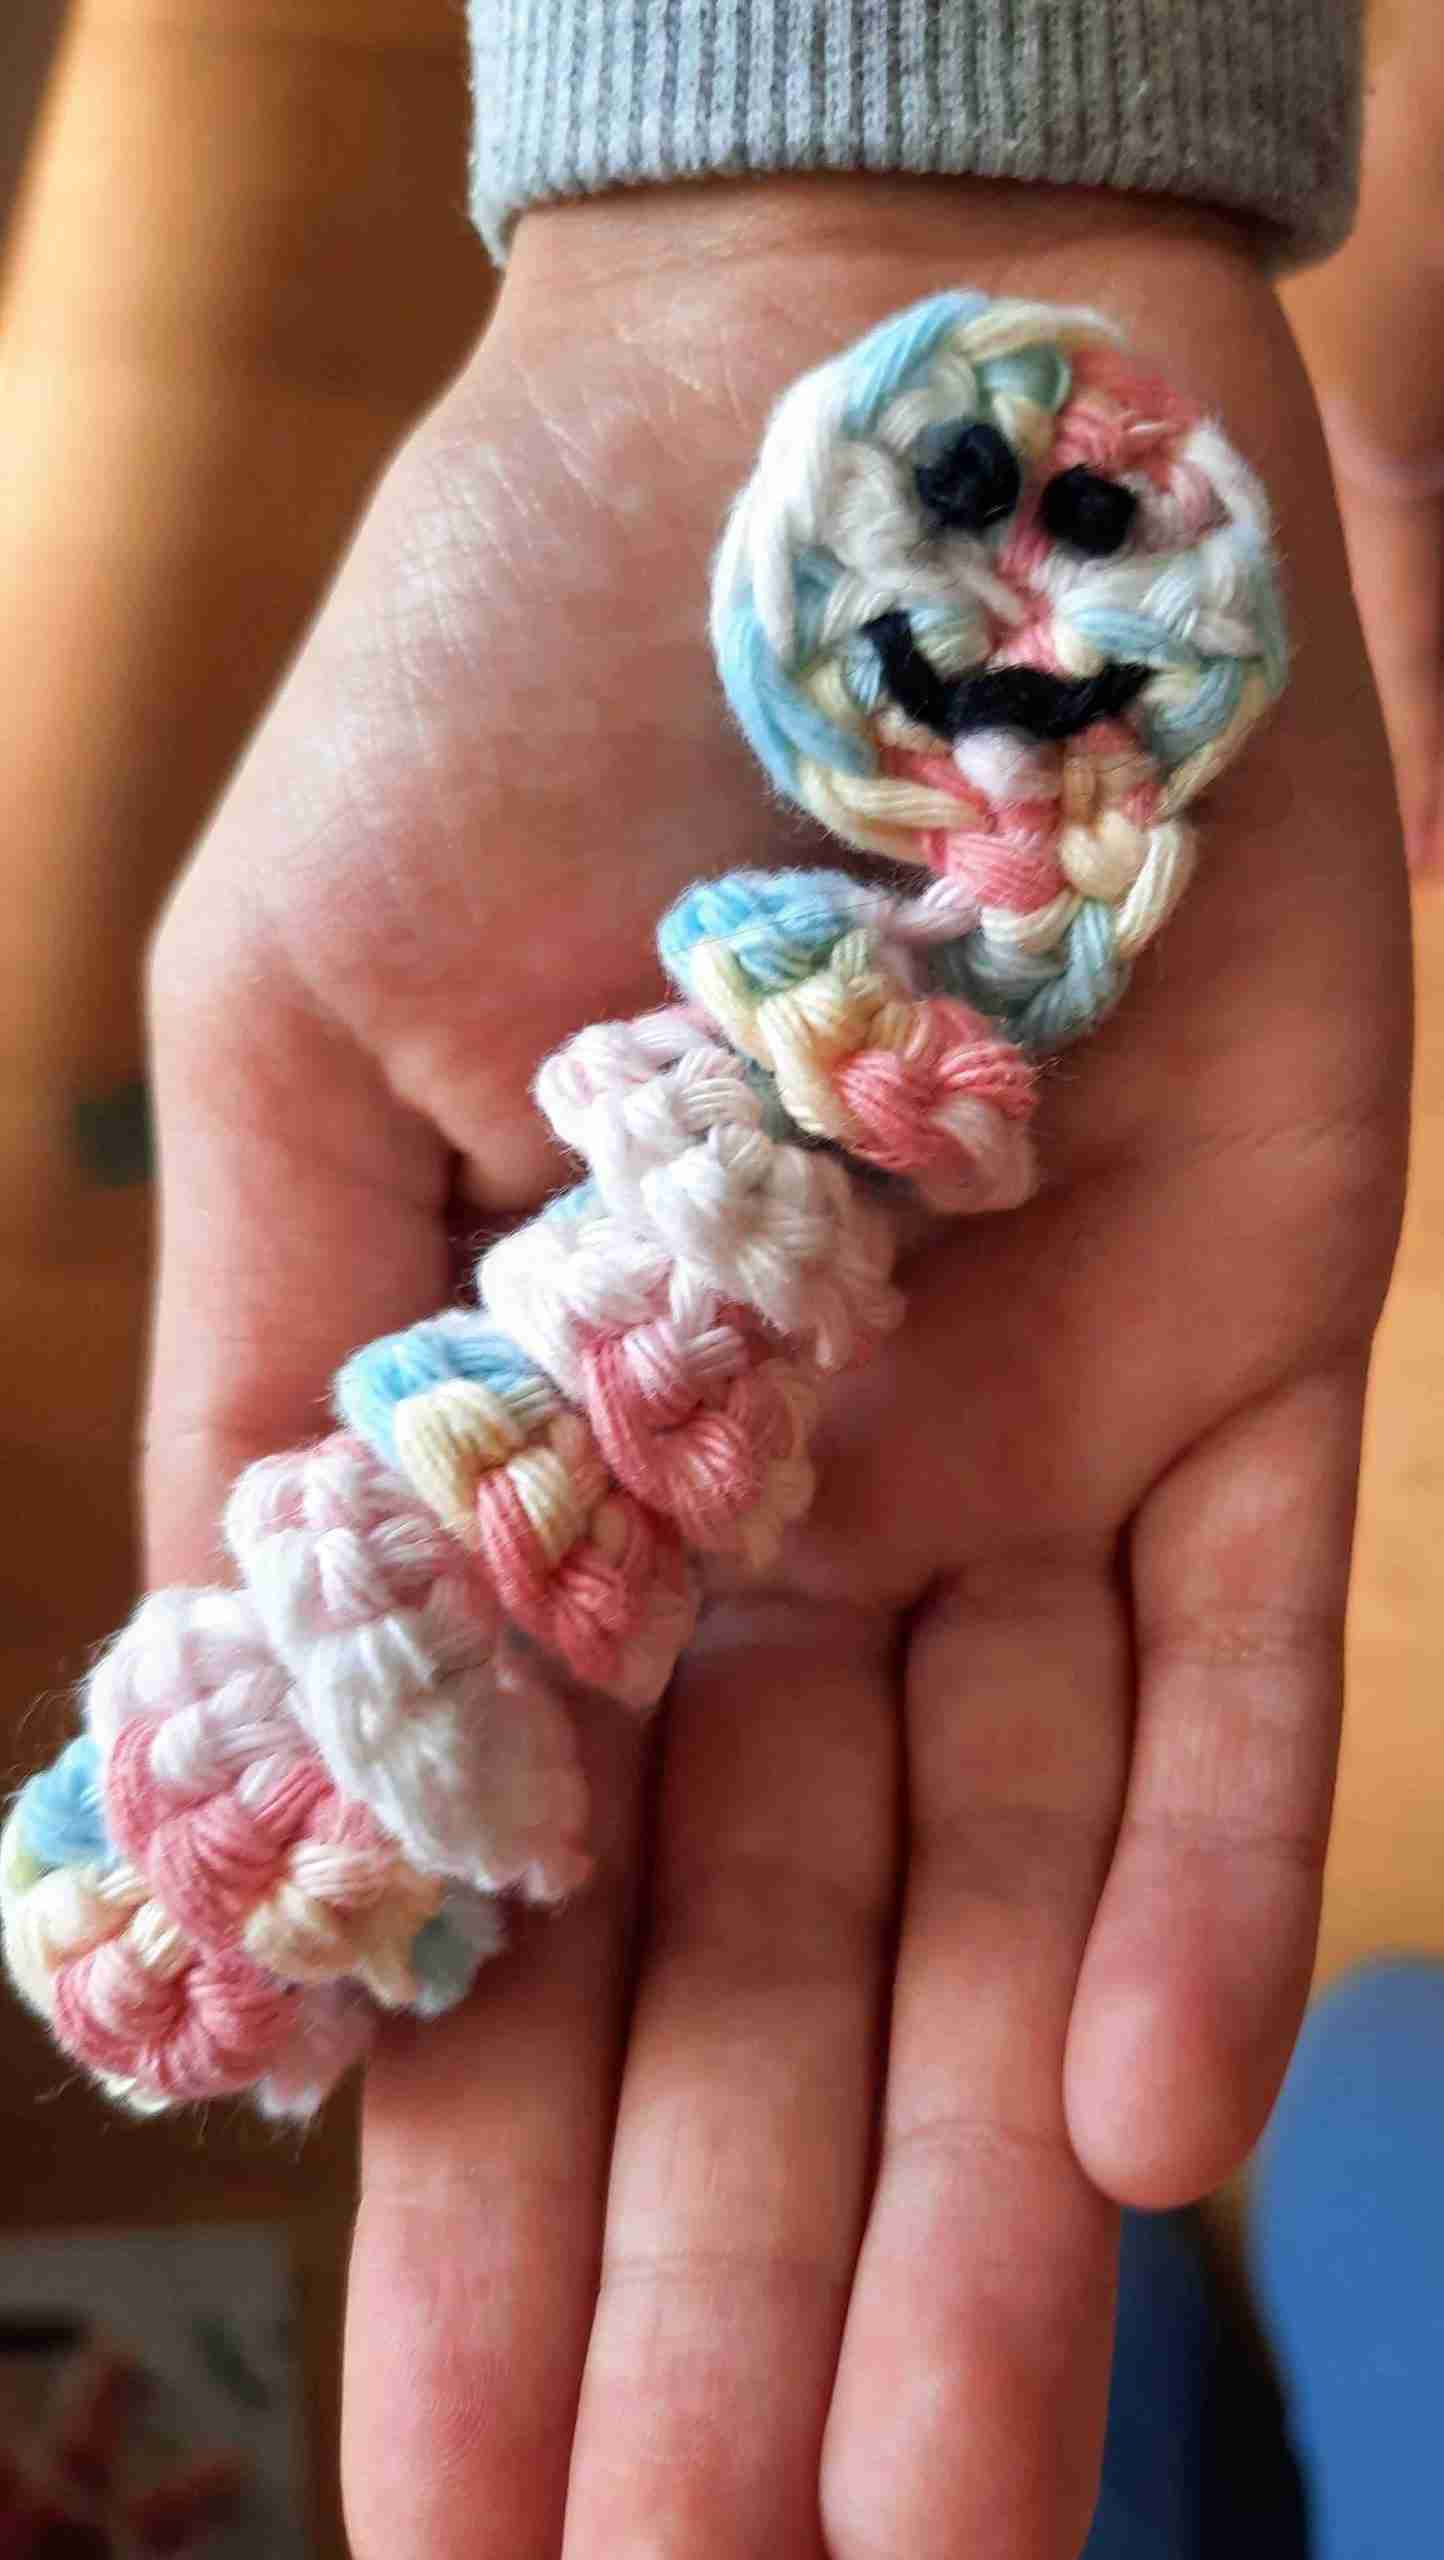
- You could glue on goggly eyes, sew on a couple of fiber art beads for eyes, add a French Knot or simply draw 2 dots with a permanent marker for eyes. (for more worry worm eyes, check out these 15 options)
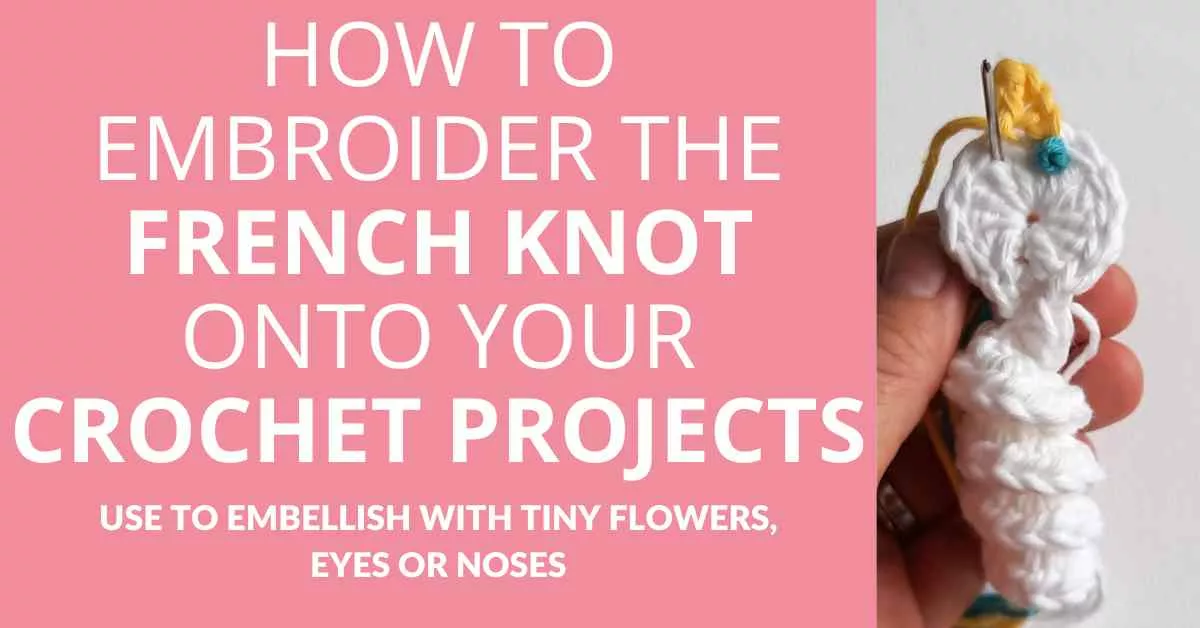
- If you’d like to learn how to make a French Knot, check out this blog post on How To Embroider a French Knot on Crochet.
- Now you can place your worry worms into a plastic baggies or organza bags and distribute them. Check how to assemble your project below.
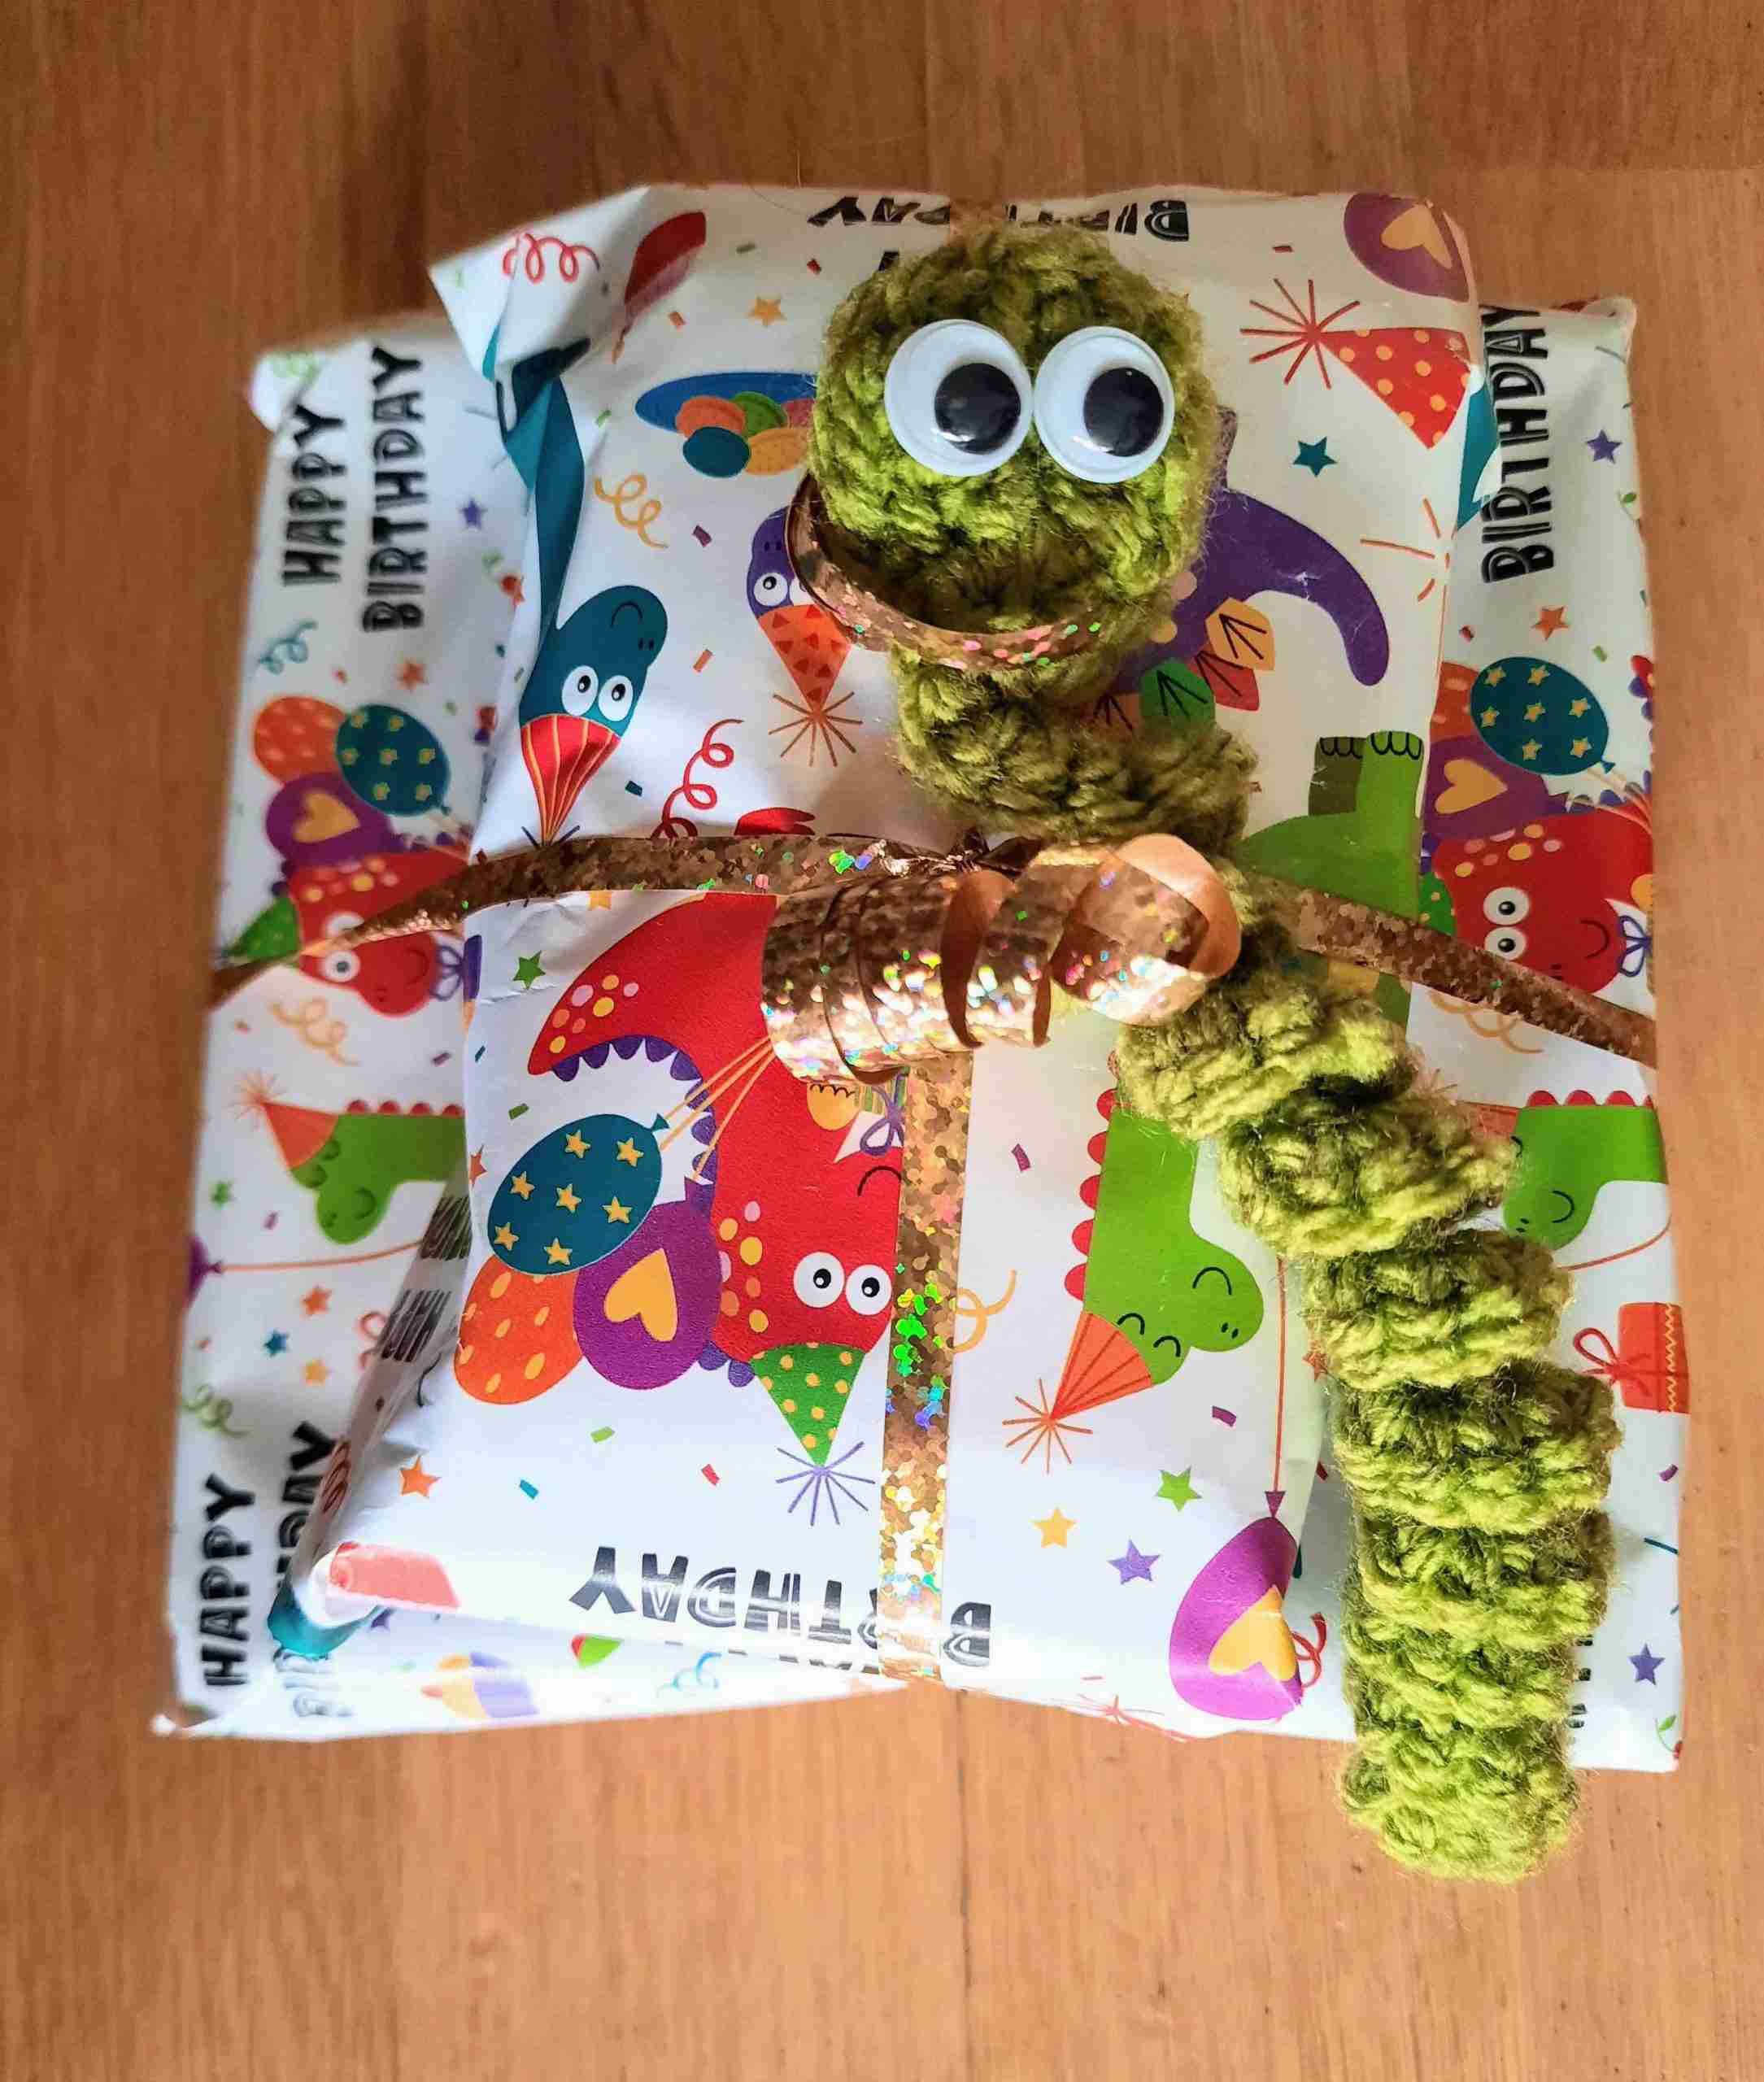
- You can also add these cuties to gifts, hand out to people who have anxiety or just someone who you feel would could use a hug.
Assemble Your Project
- Download your Worry Worm Poems or Tags.
- Print out the Worry Worm Poems or Tags on cardstock or paper.
- Cut Out the poems/tags along the dotted lines
- Package your poem/tags & crocheted worry worms in plastic or organza baggies.
- Your crochet worry worms are all set for distribution 🙂
Themed Worry Worms
I love worry worms so much that I thought I'd design some themed ones for various occasions. Have a look below at how you can adapt worry worms to fit different events.
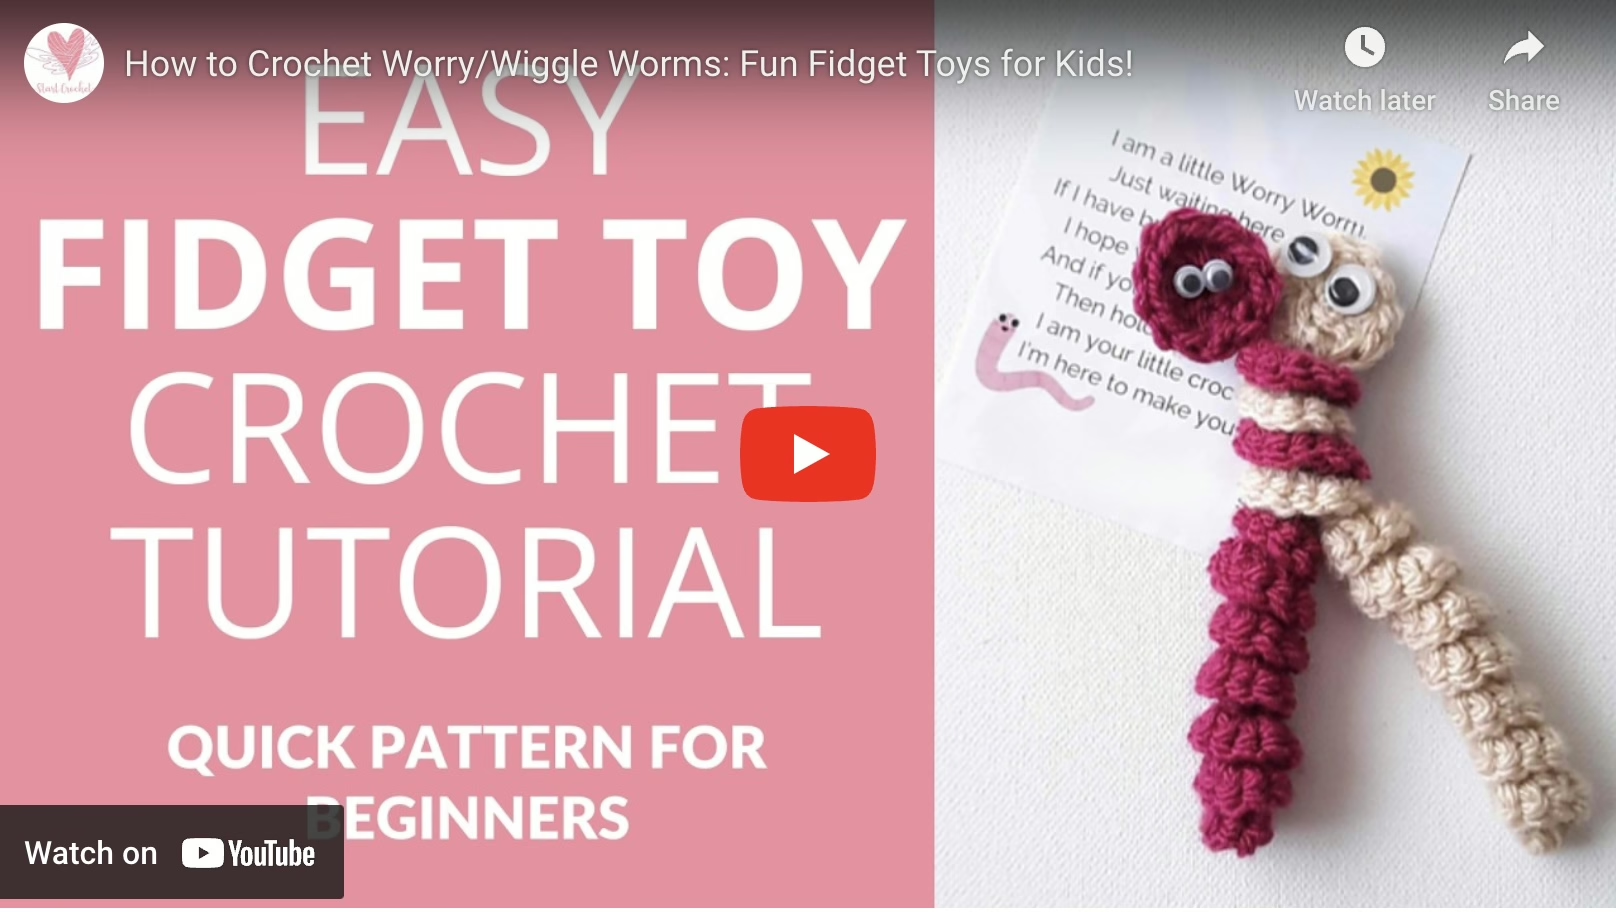
Worry Worm Crochet Pattern (YouTube Video Tutorial)
Themed Worry Worm for Easter & Spring
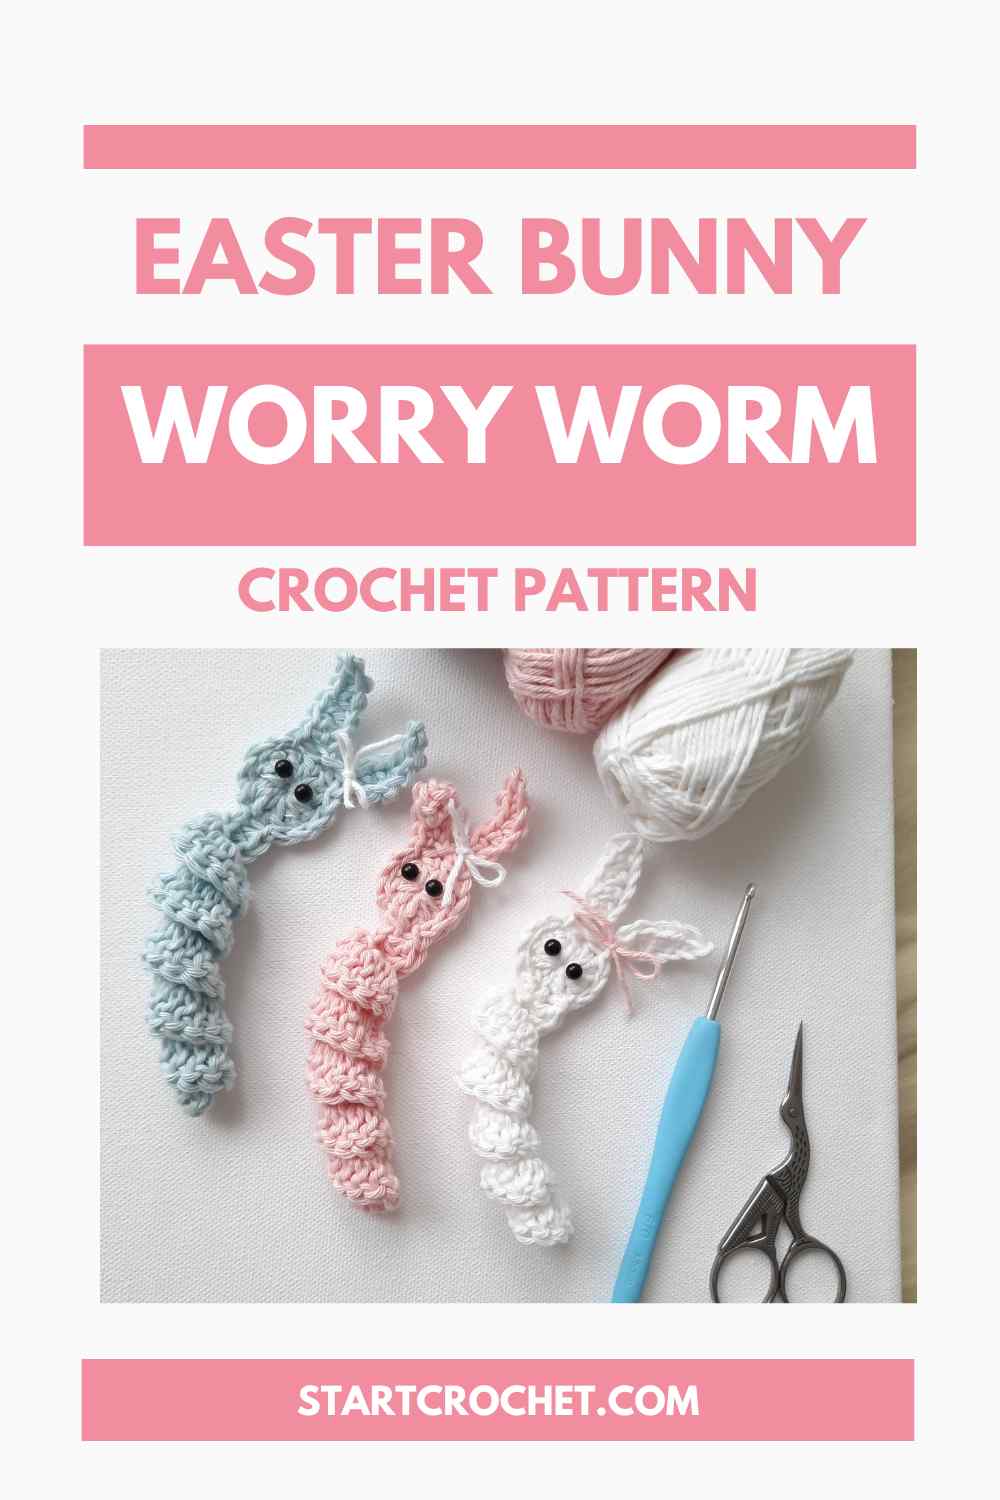
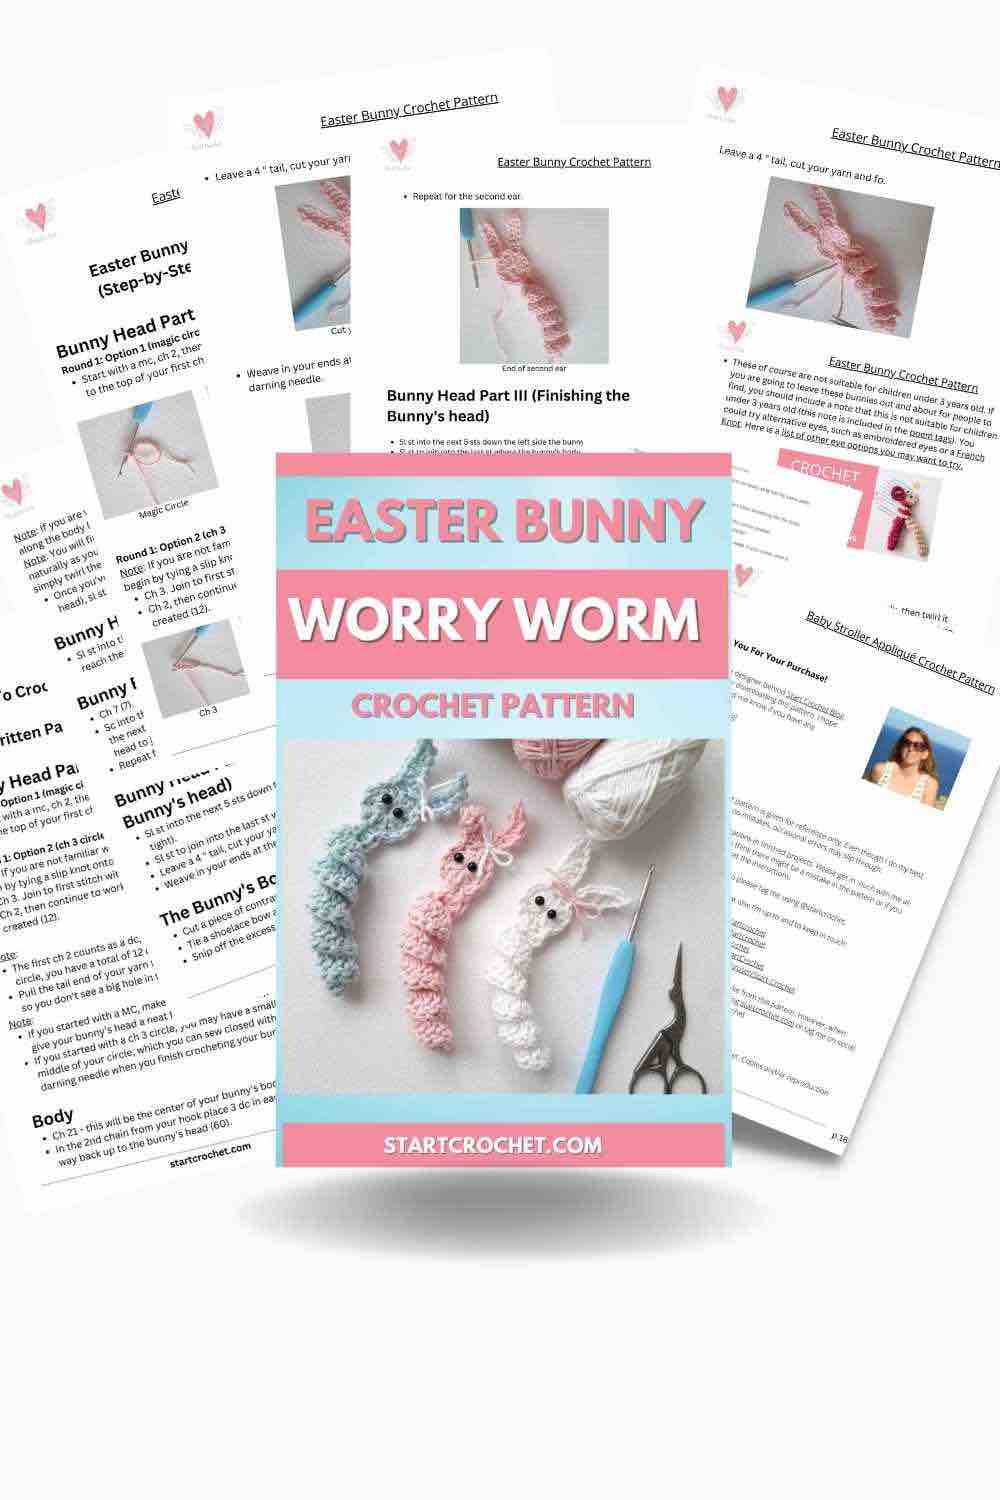
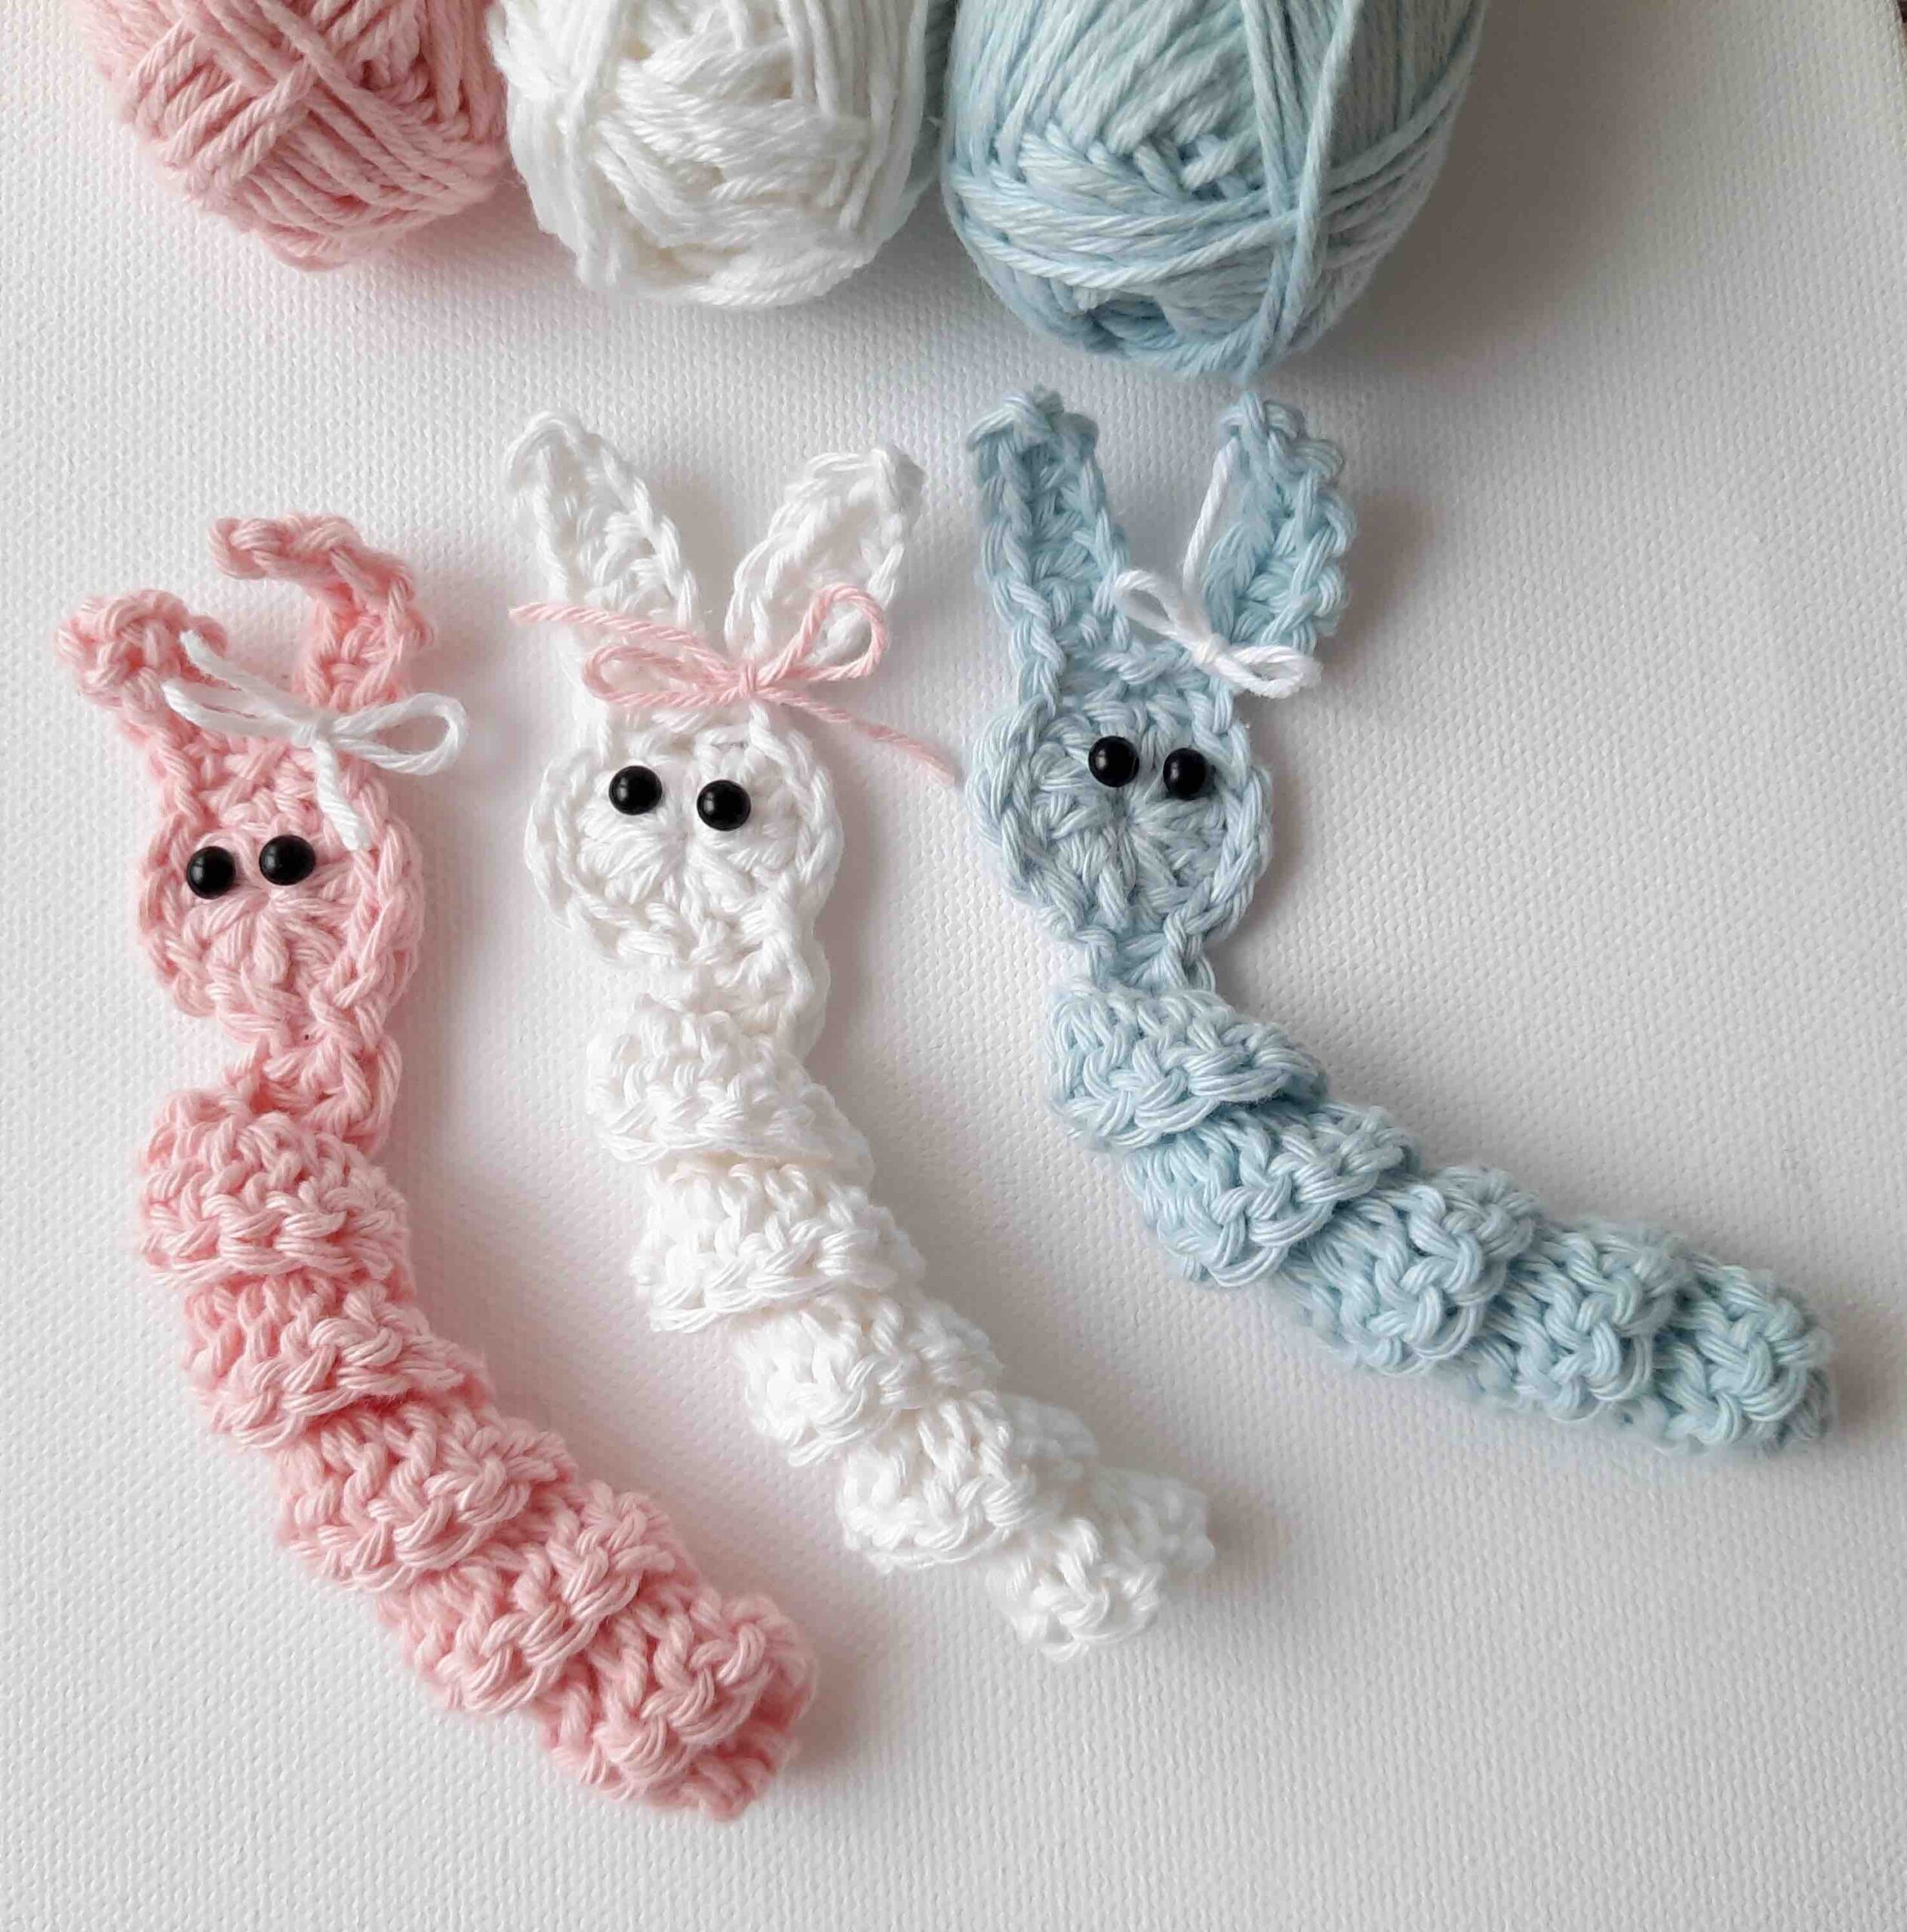
How about a seasonal Worry Worm perfect for the Easter? Try out this Easter Bunny Worry Worm Pattern!
Themed Worry Worm for Fall or Halloween
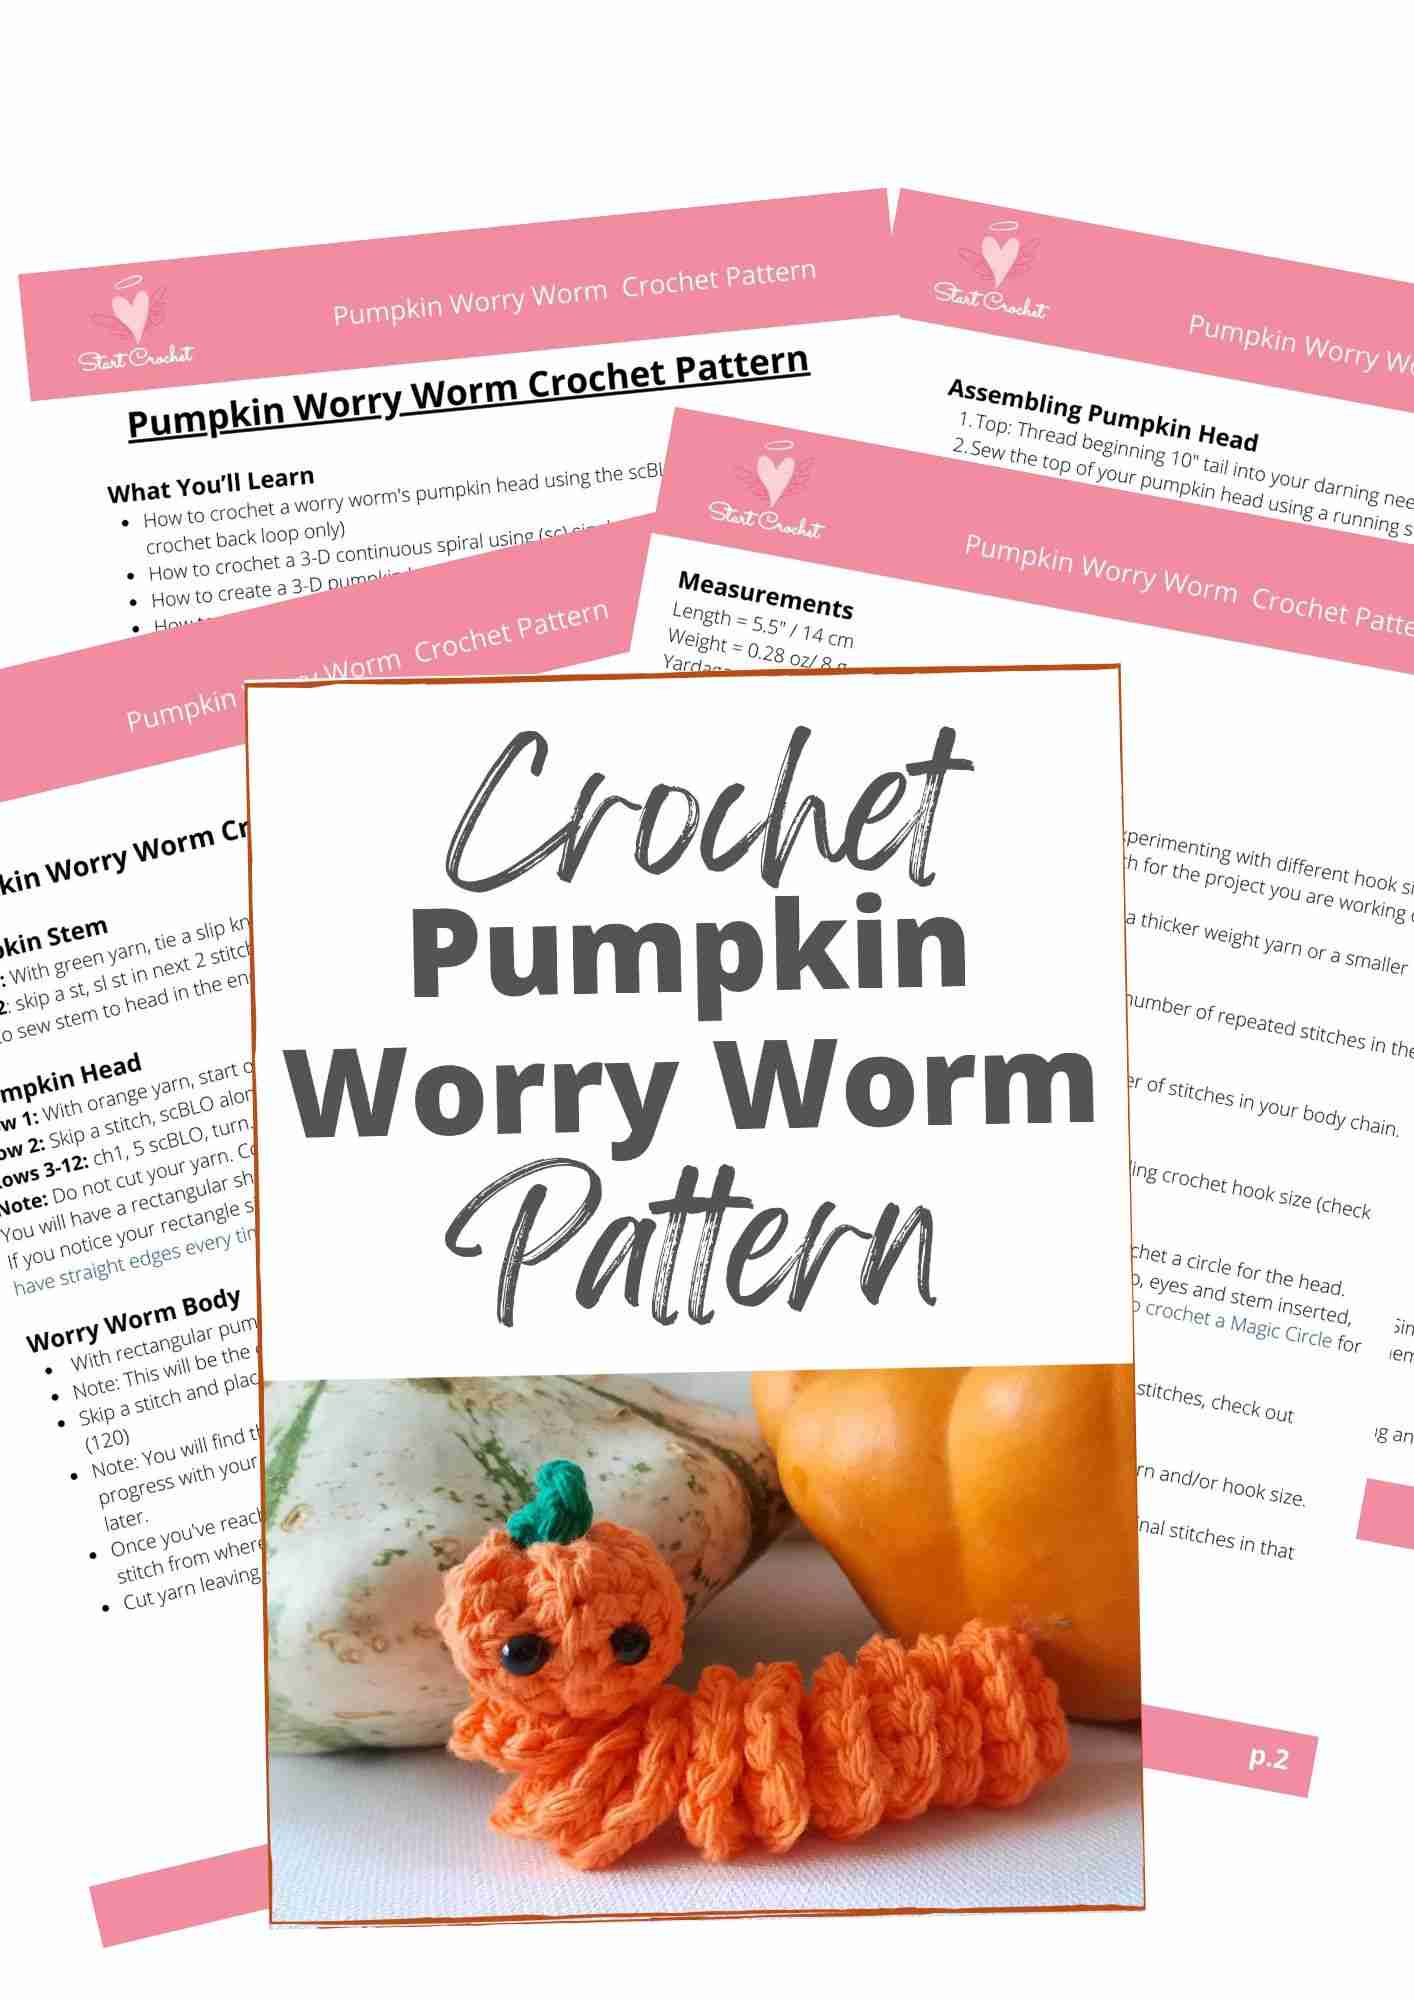
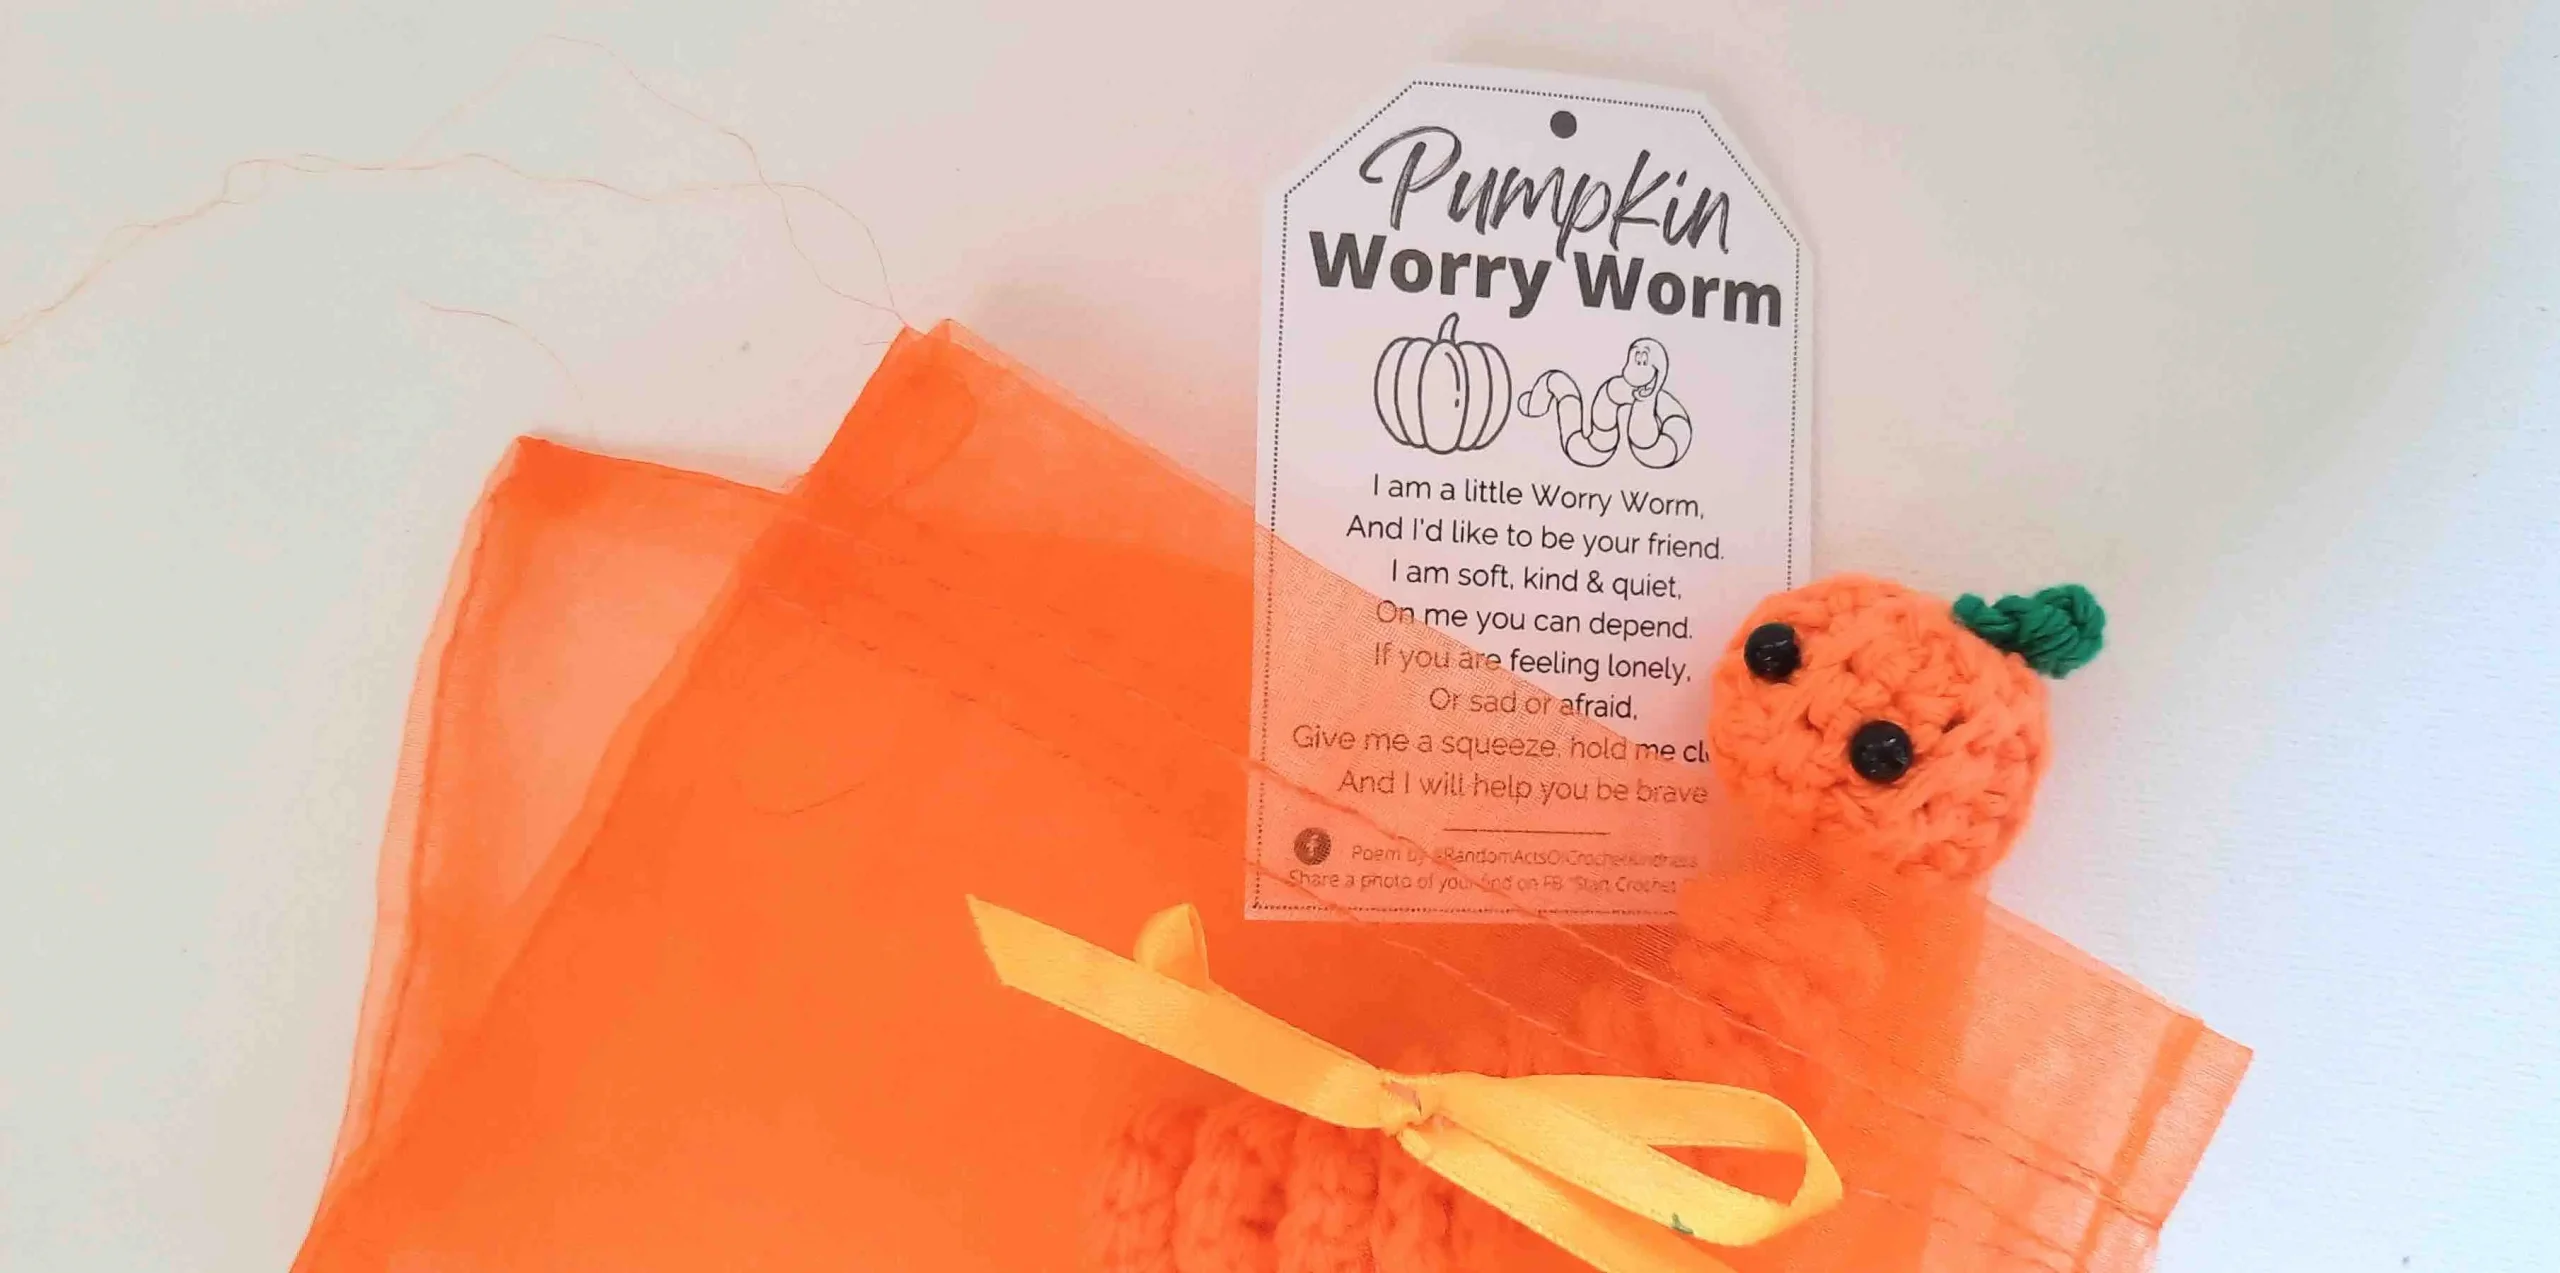
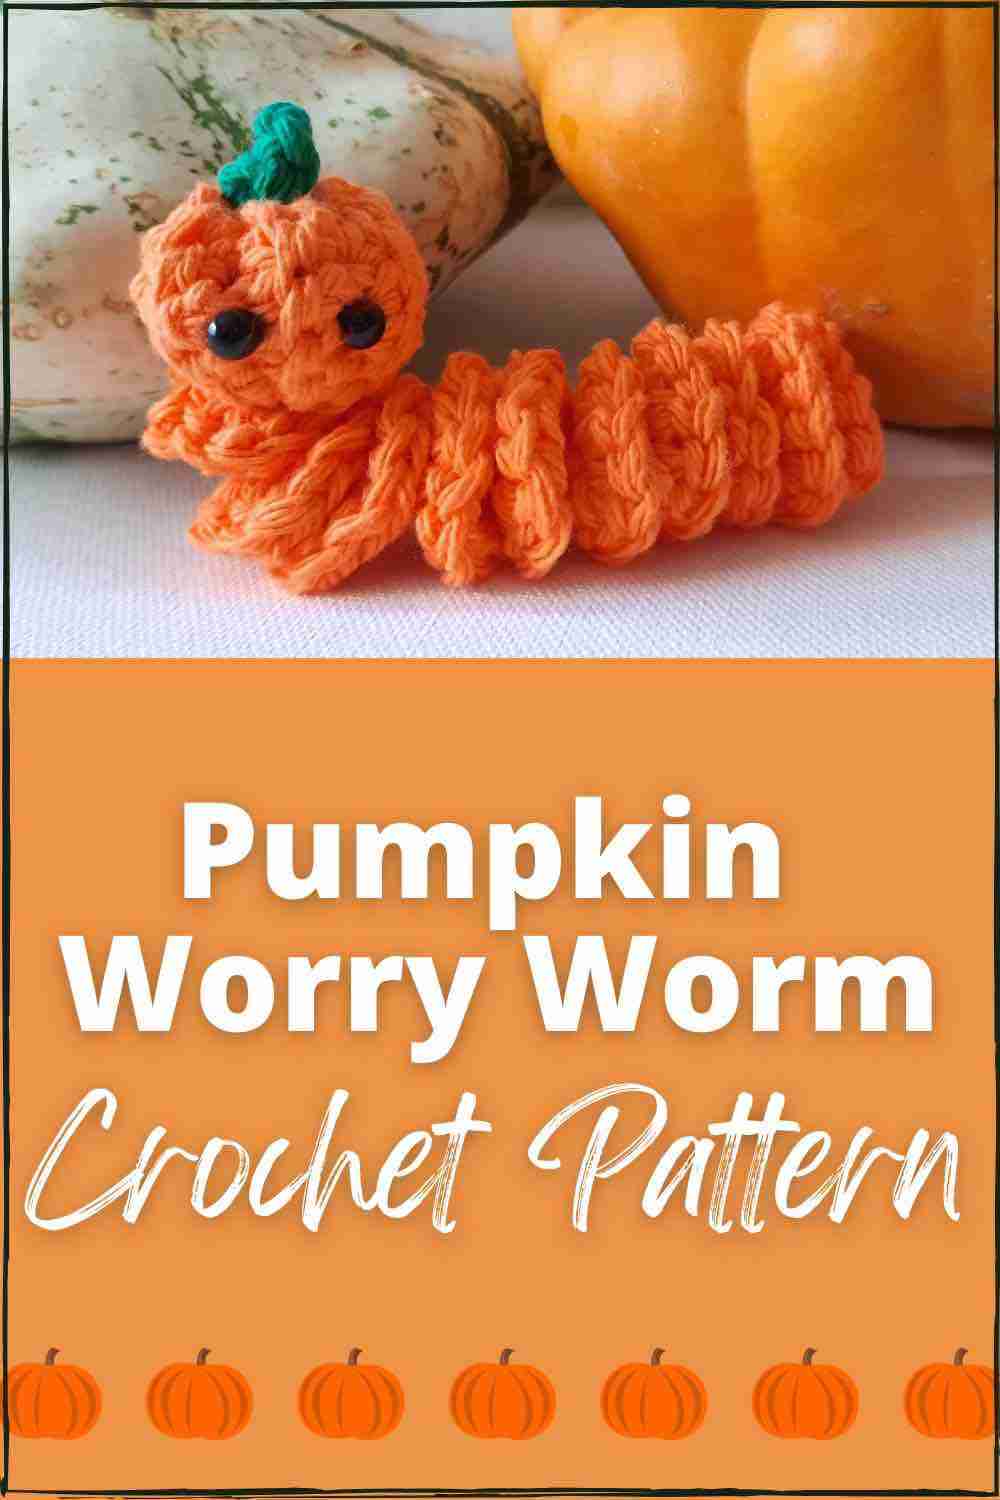
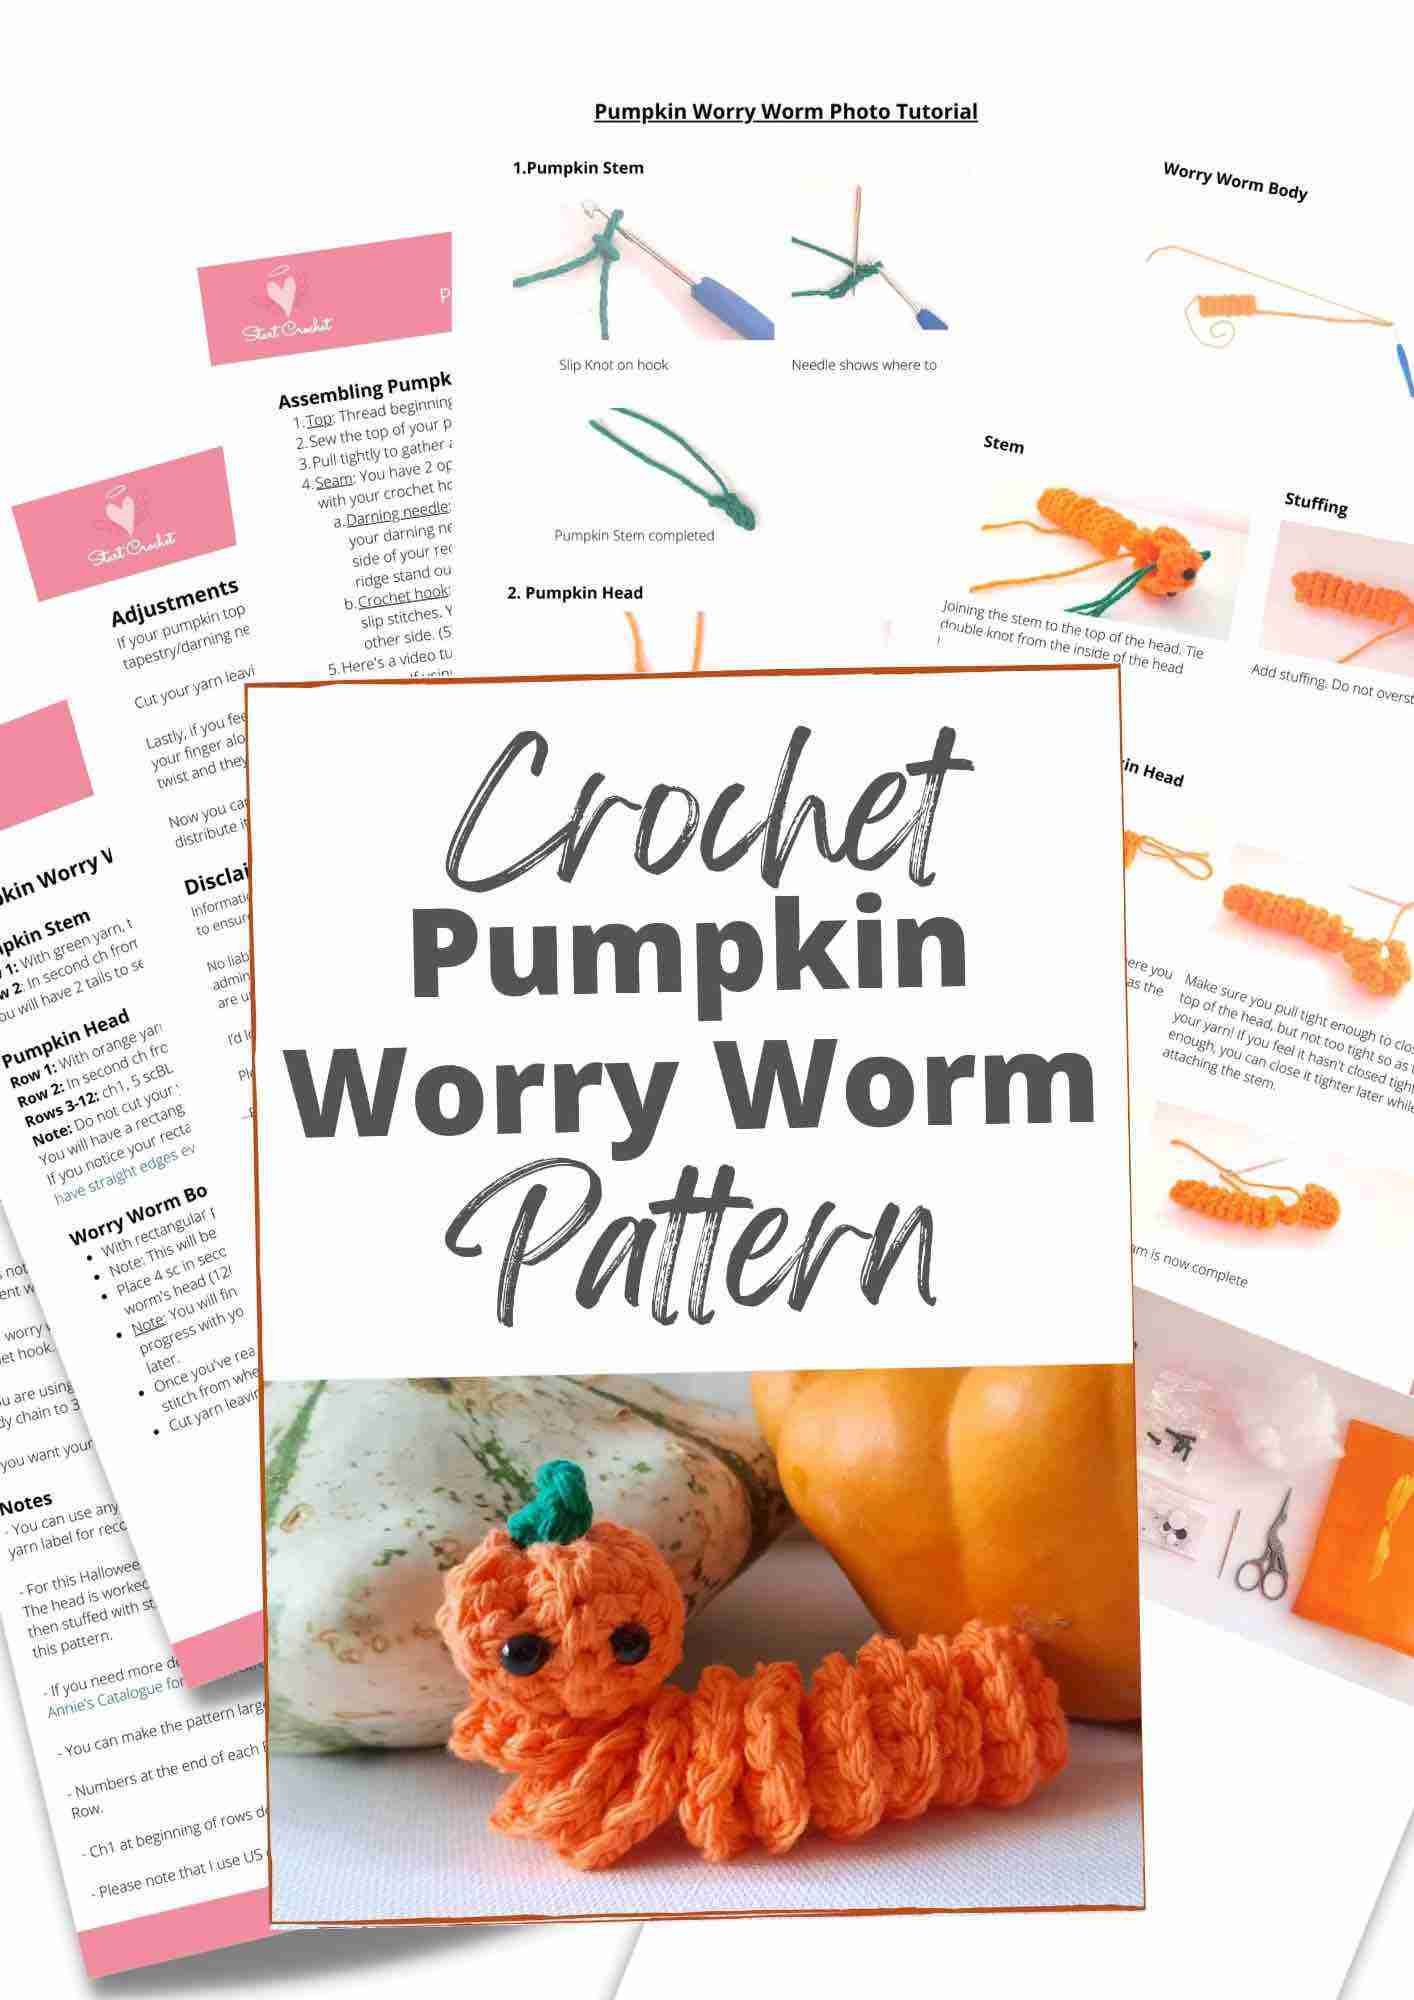
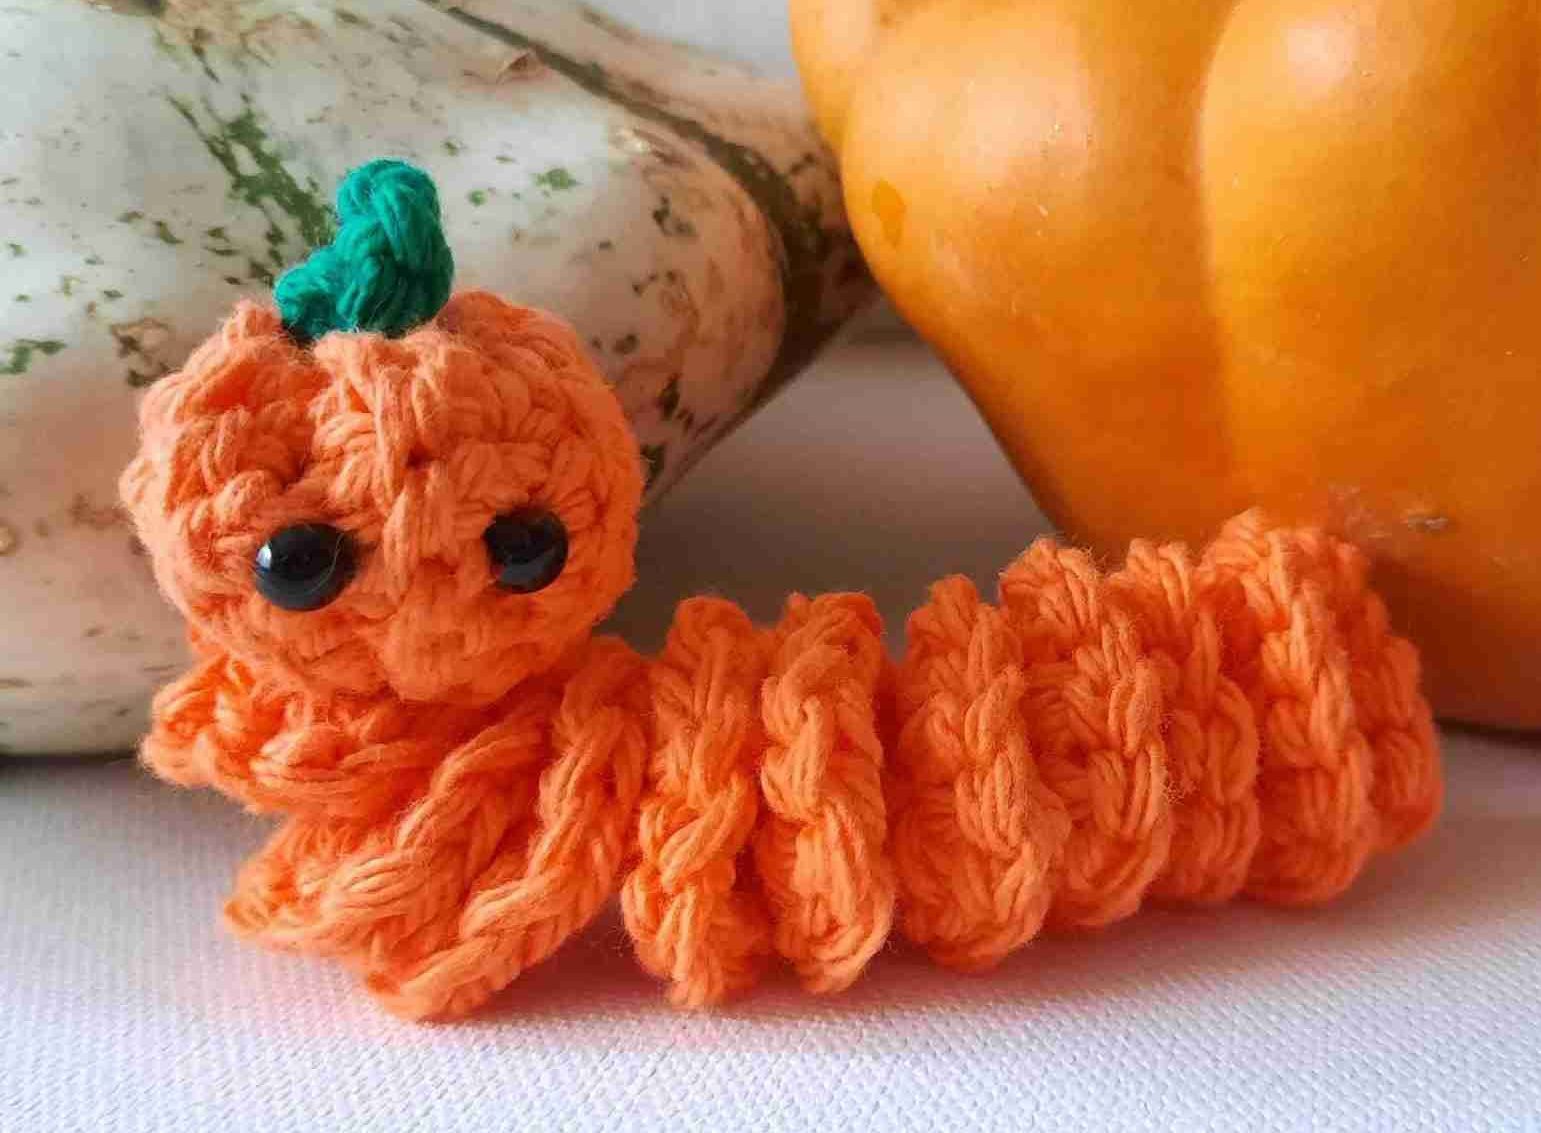
How about a seasonal Worry Worm perfect for the Fall or Halloween? Try out this Pumpkin Worry Worm Pattern!
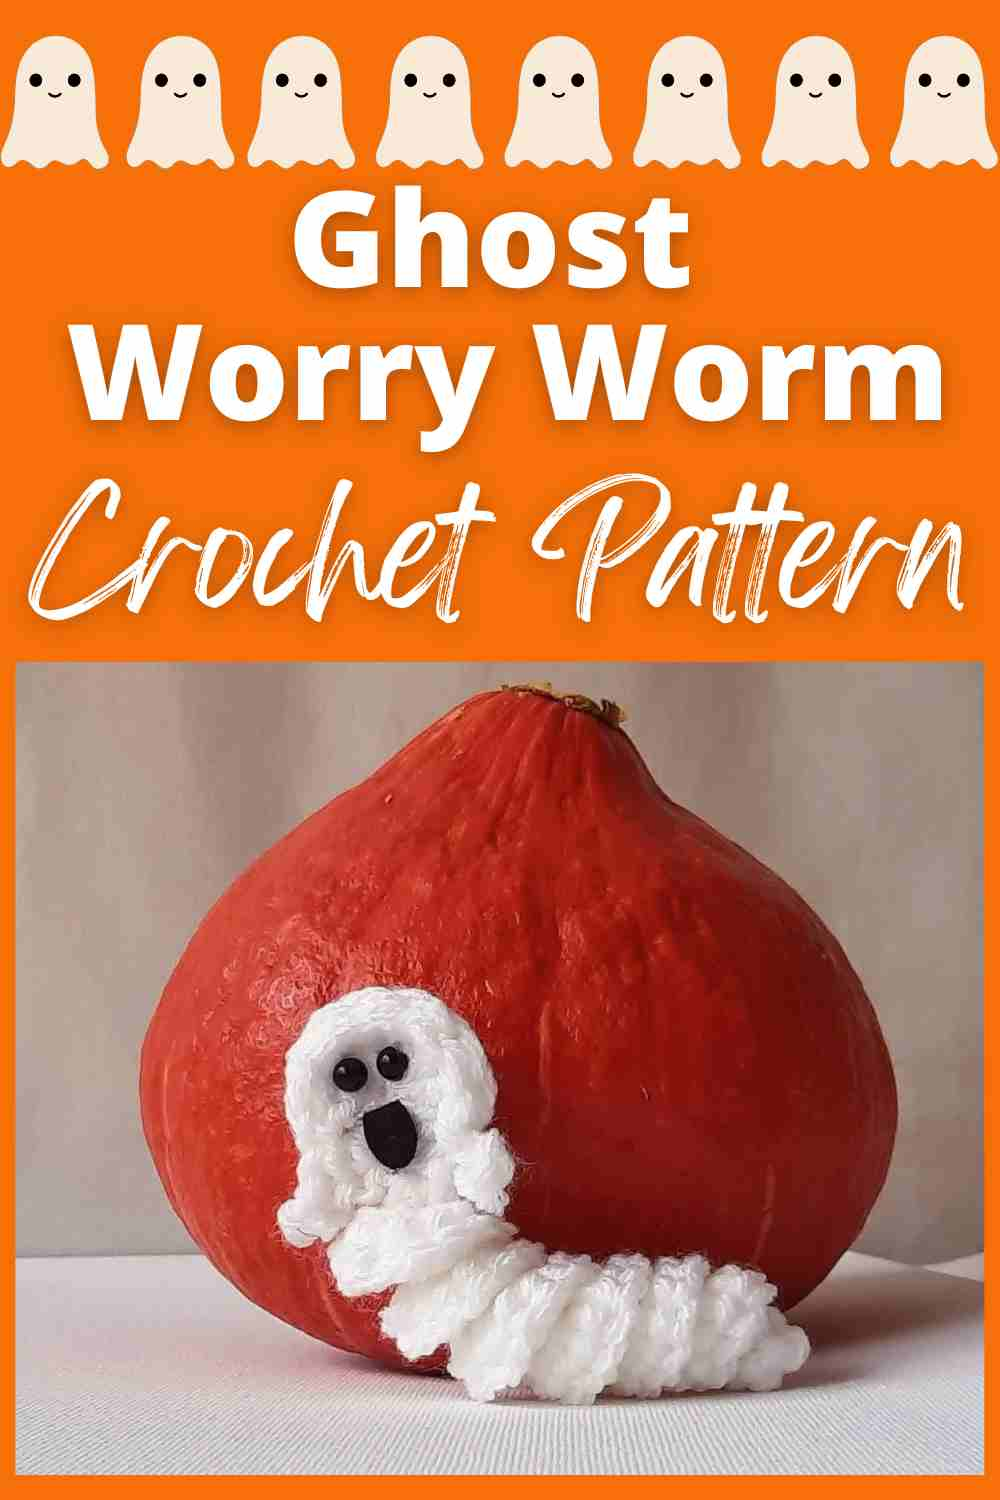
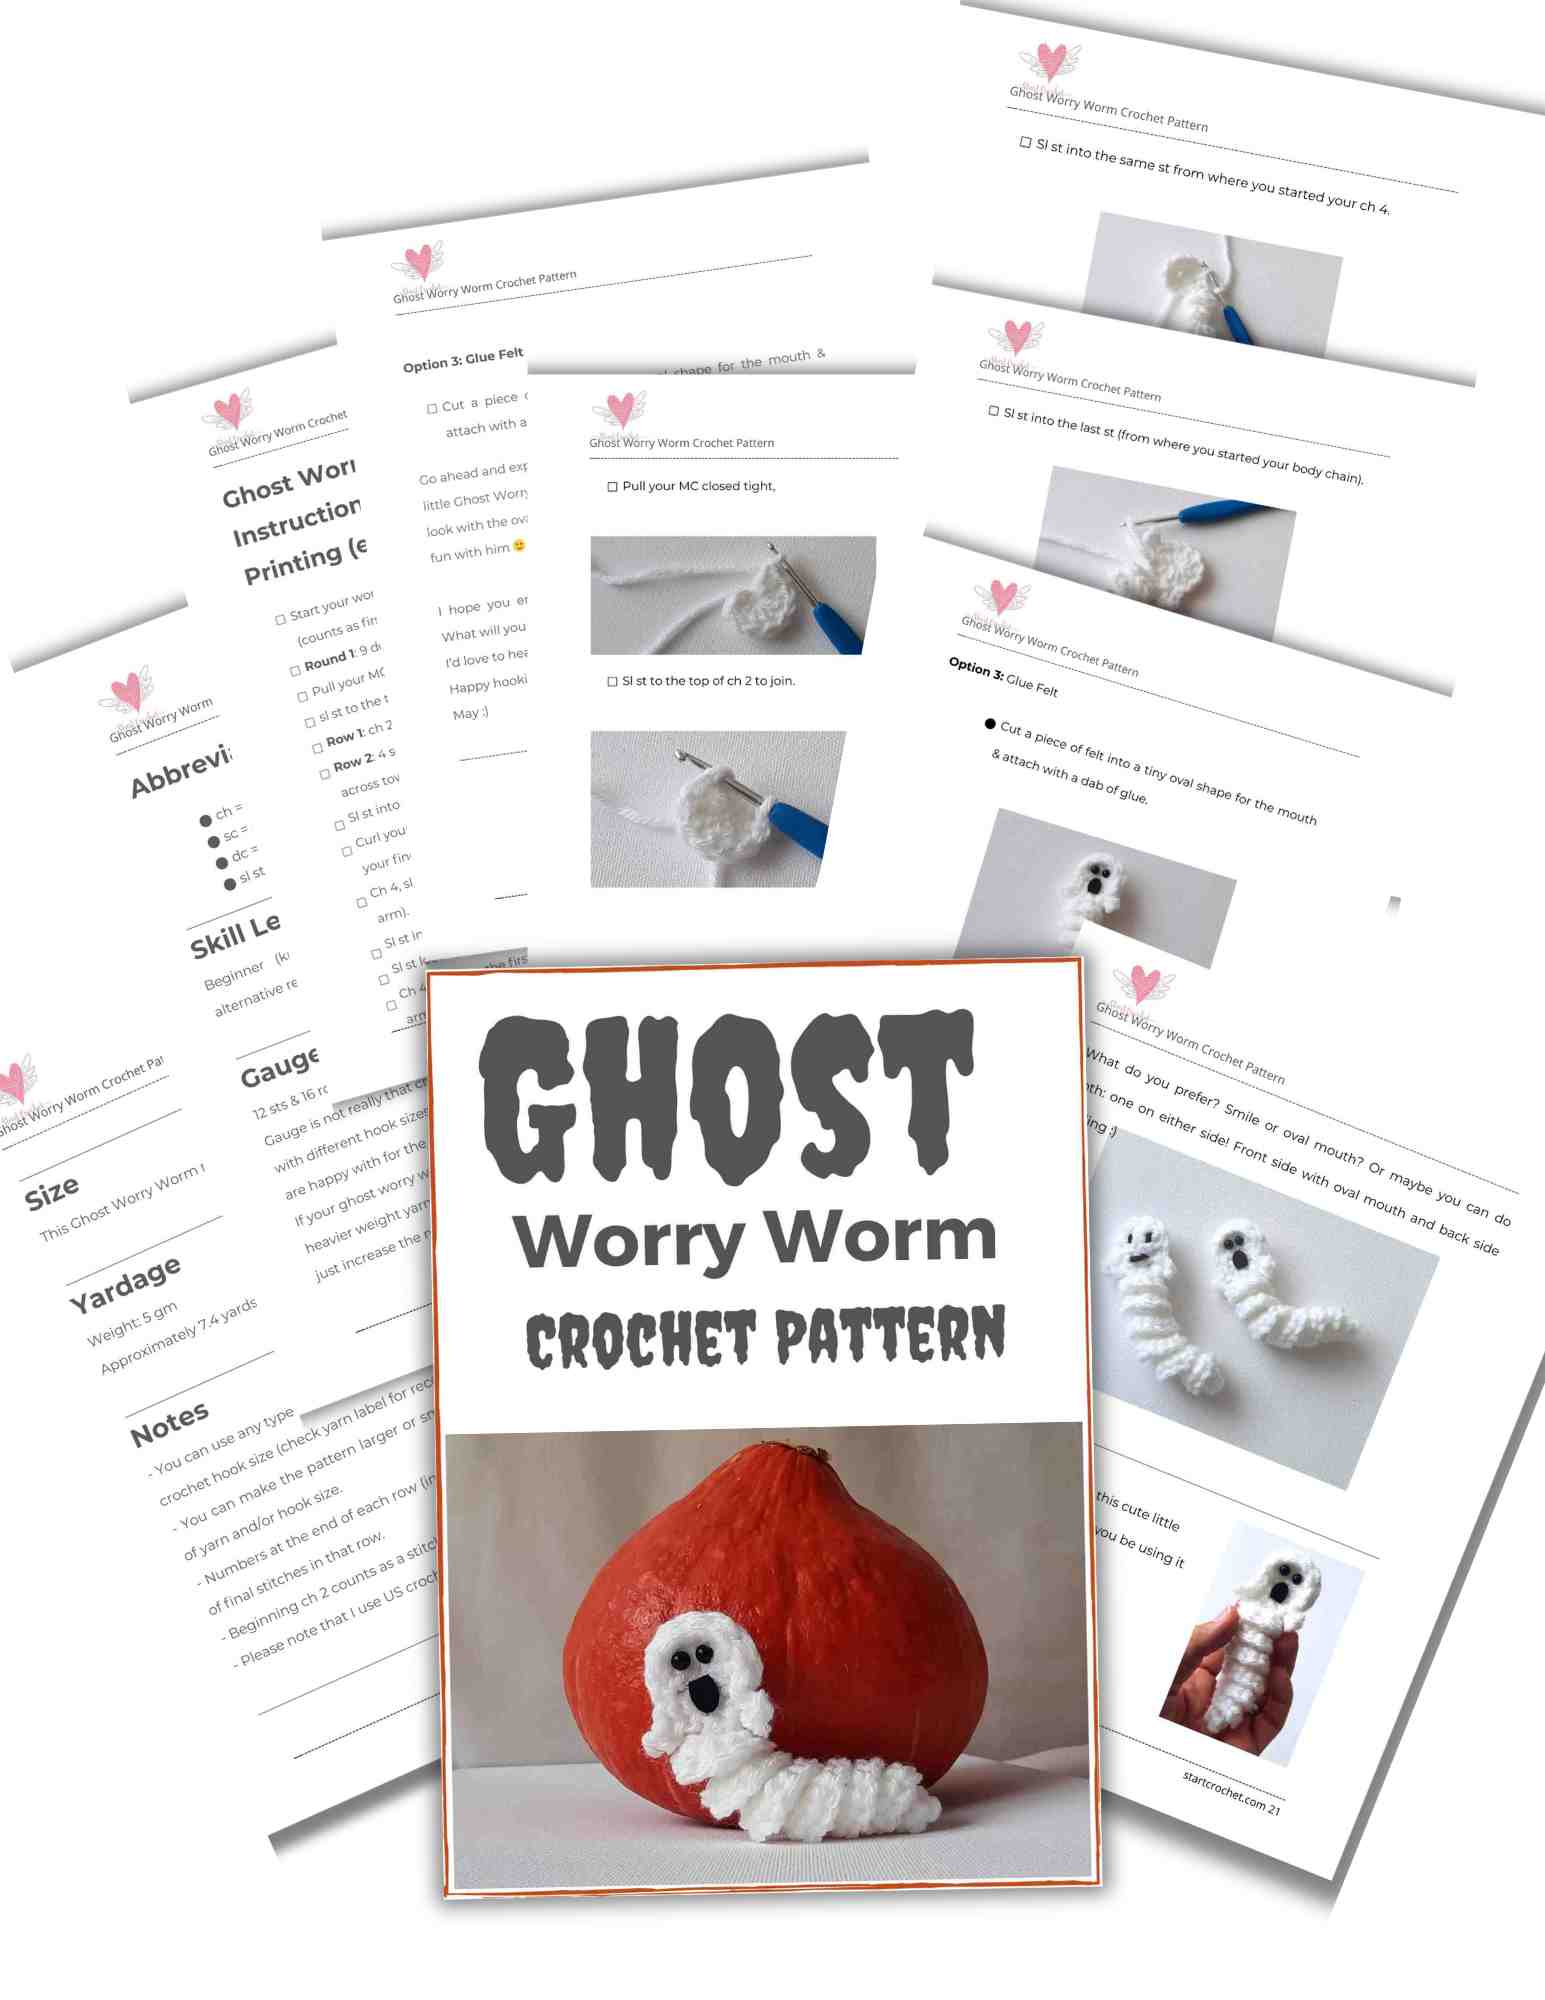
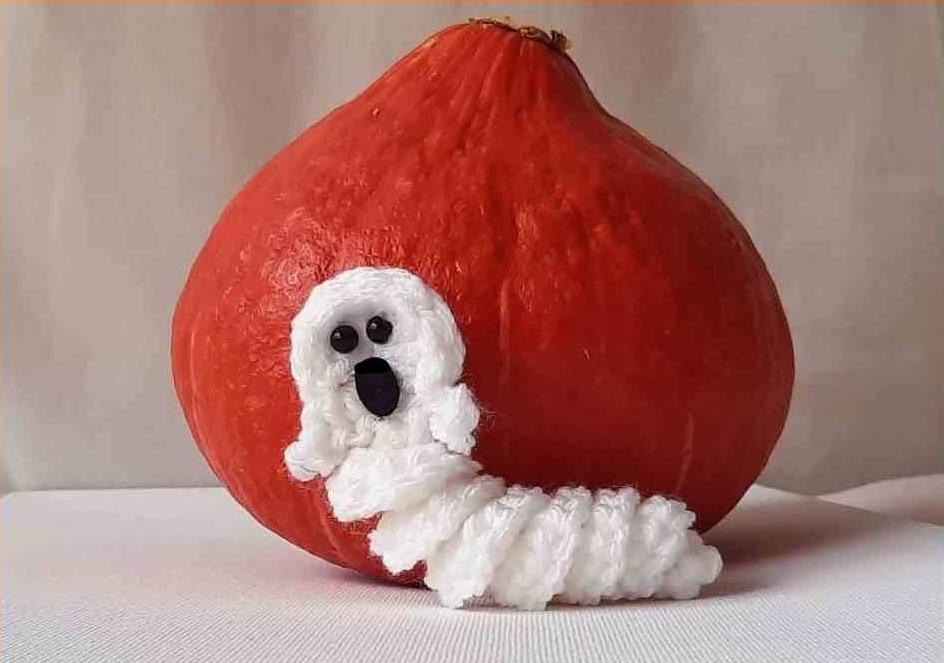
Here's another not-so-spooky pattern for the kiddos. Try out this Ghost Worry Worm Pattern!
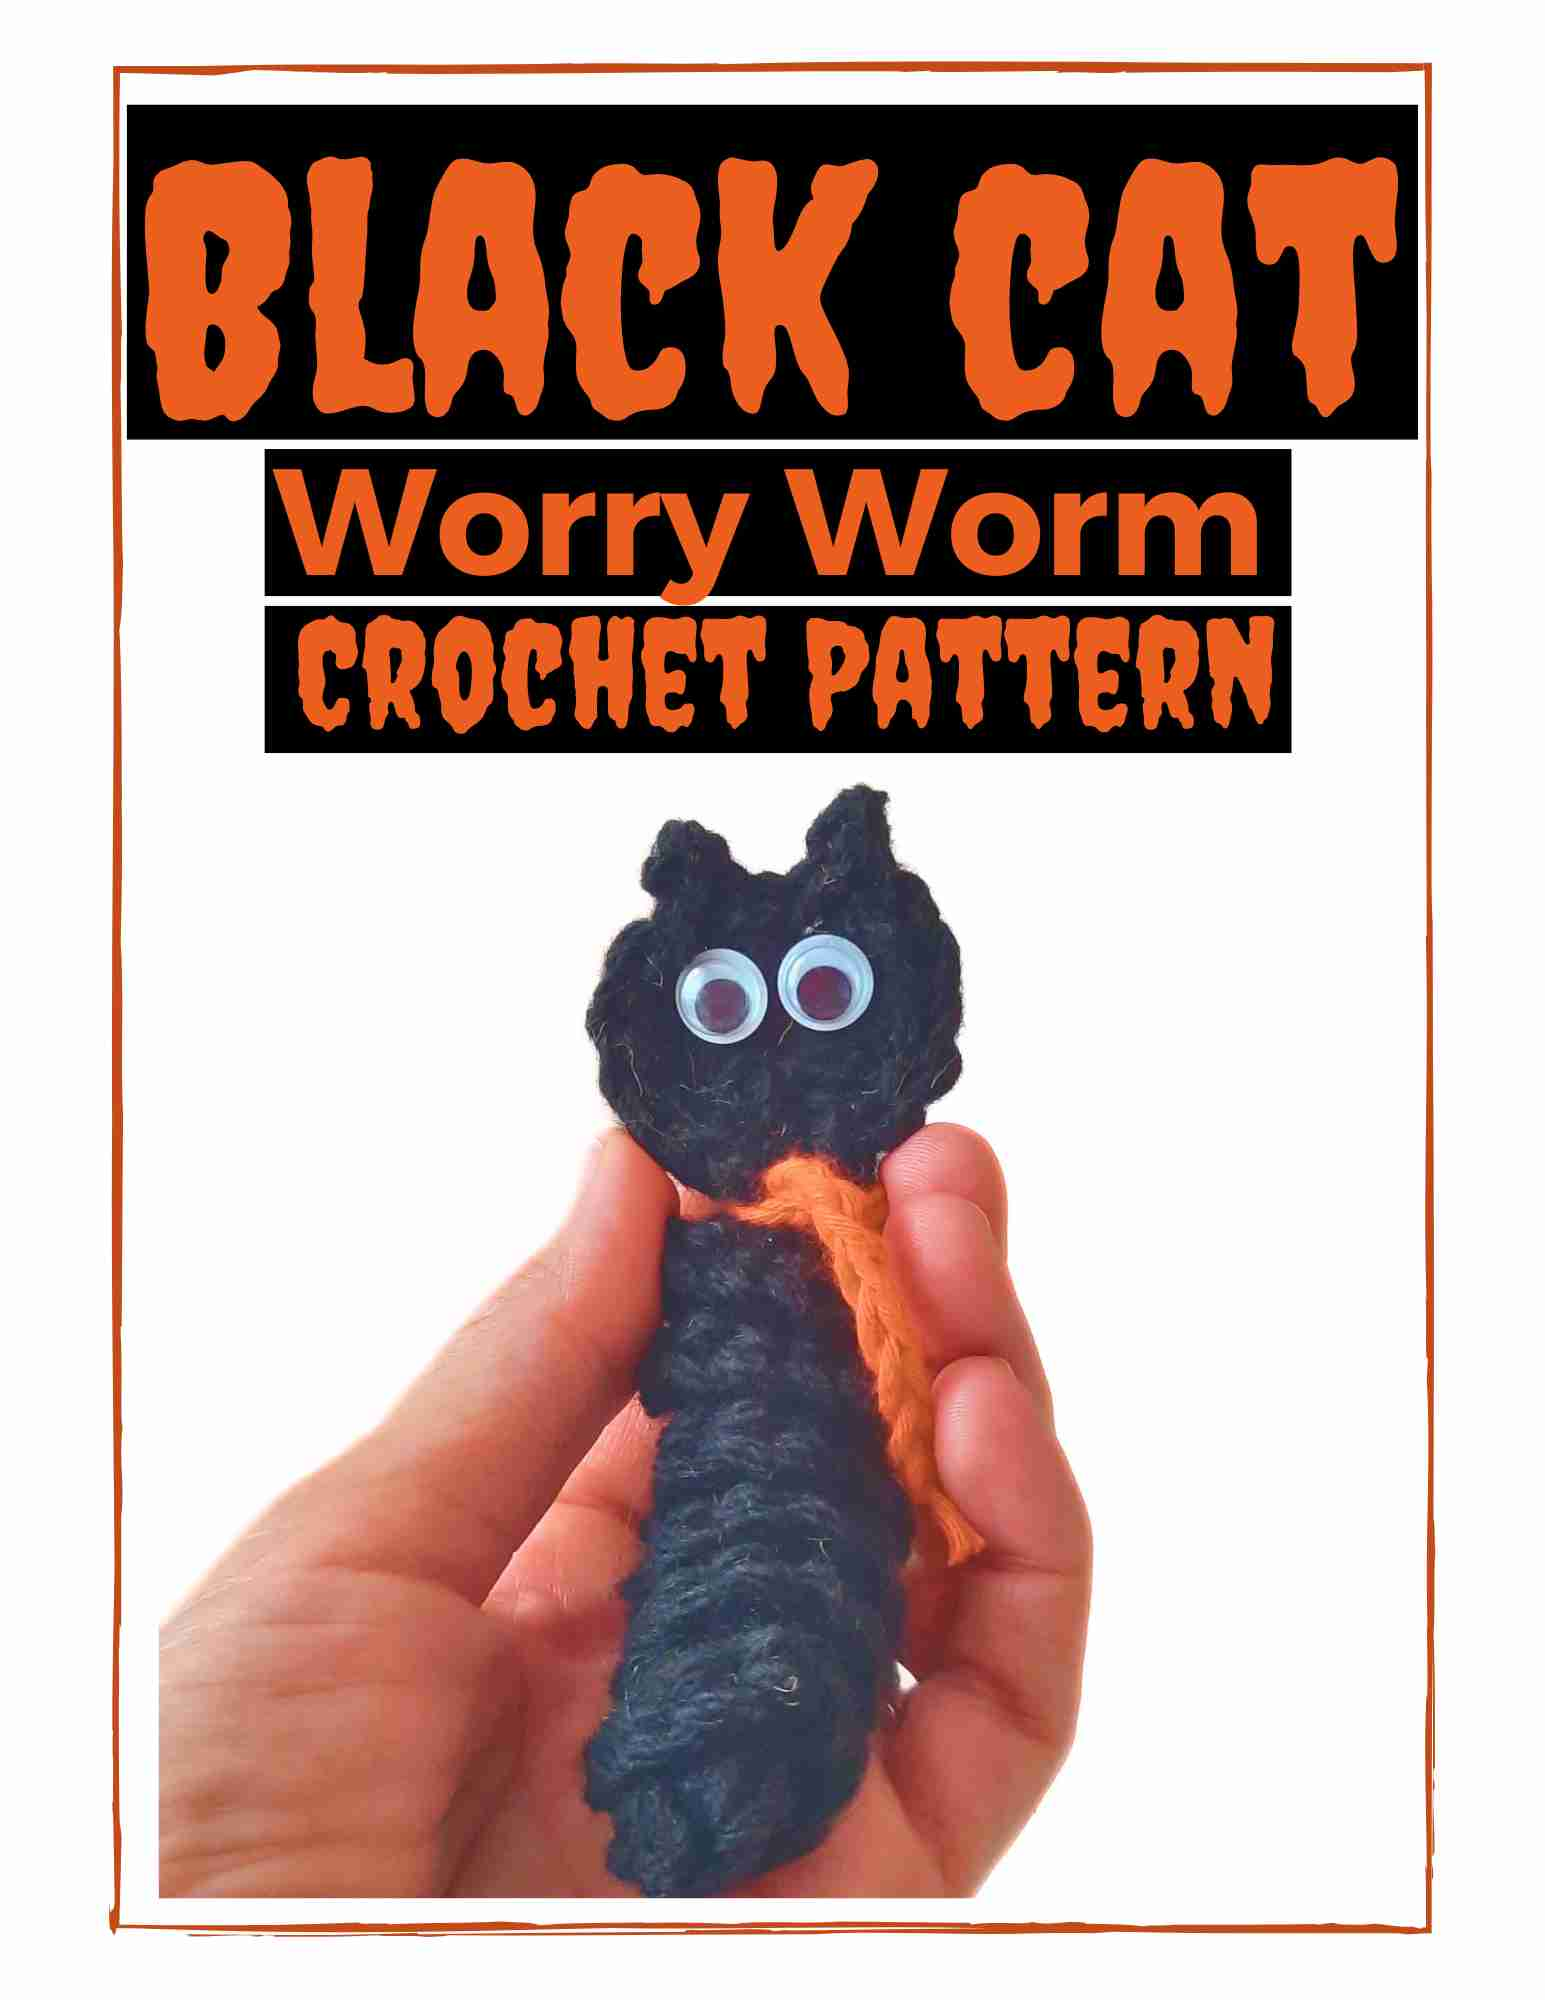
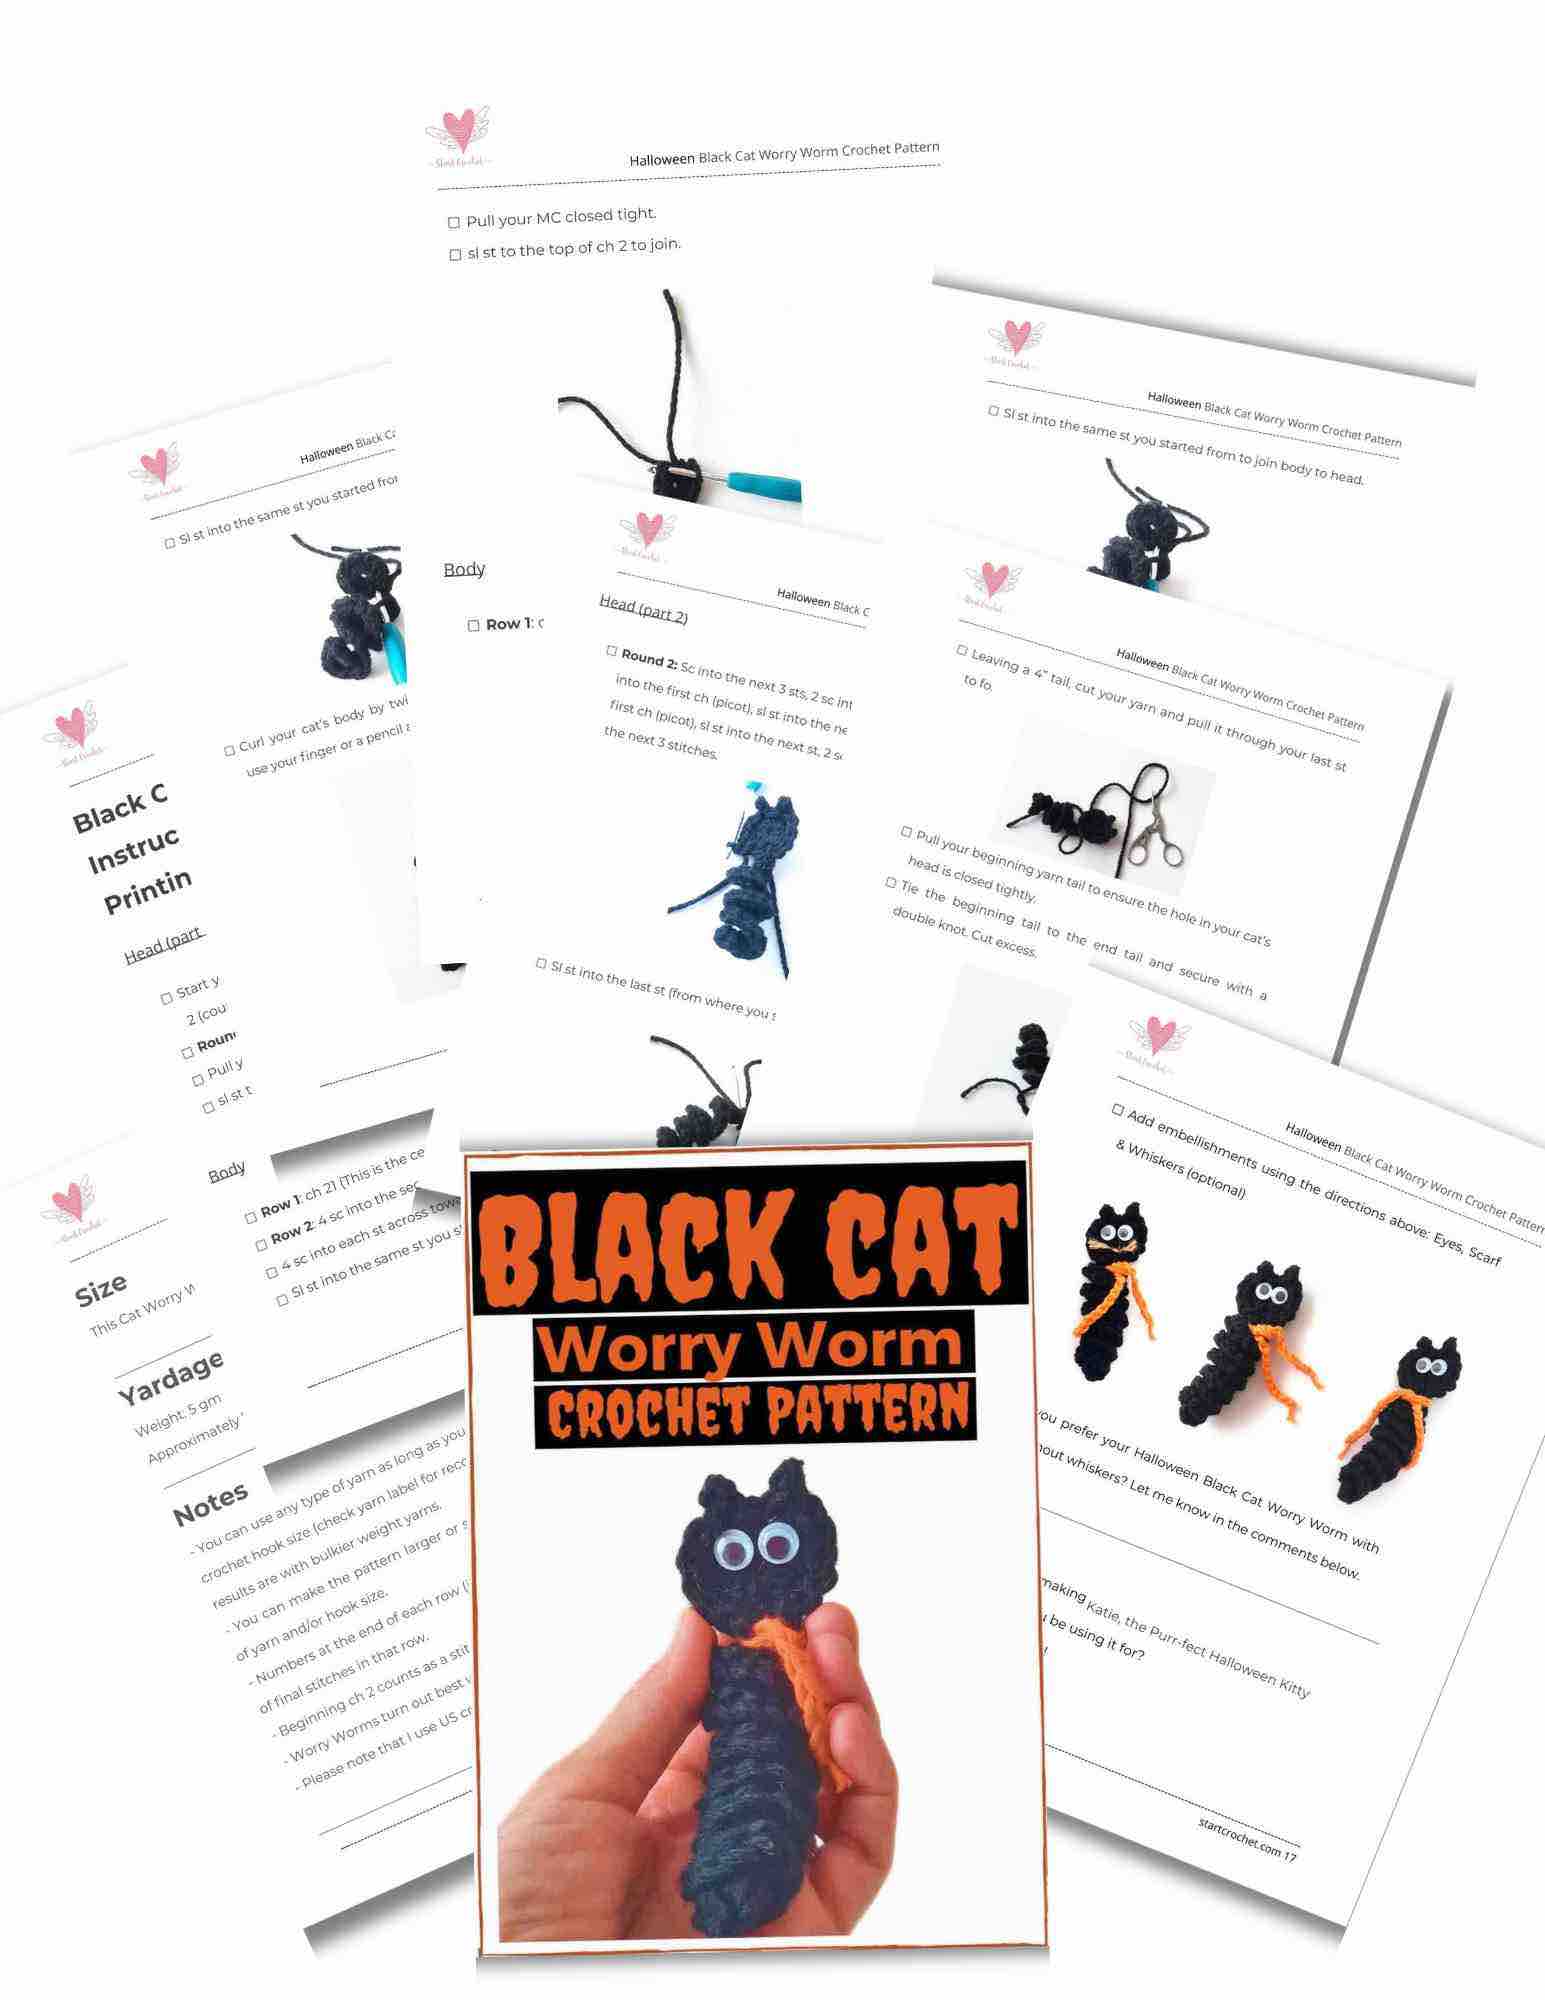
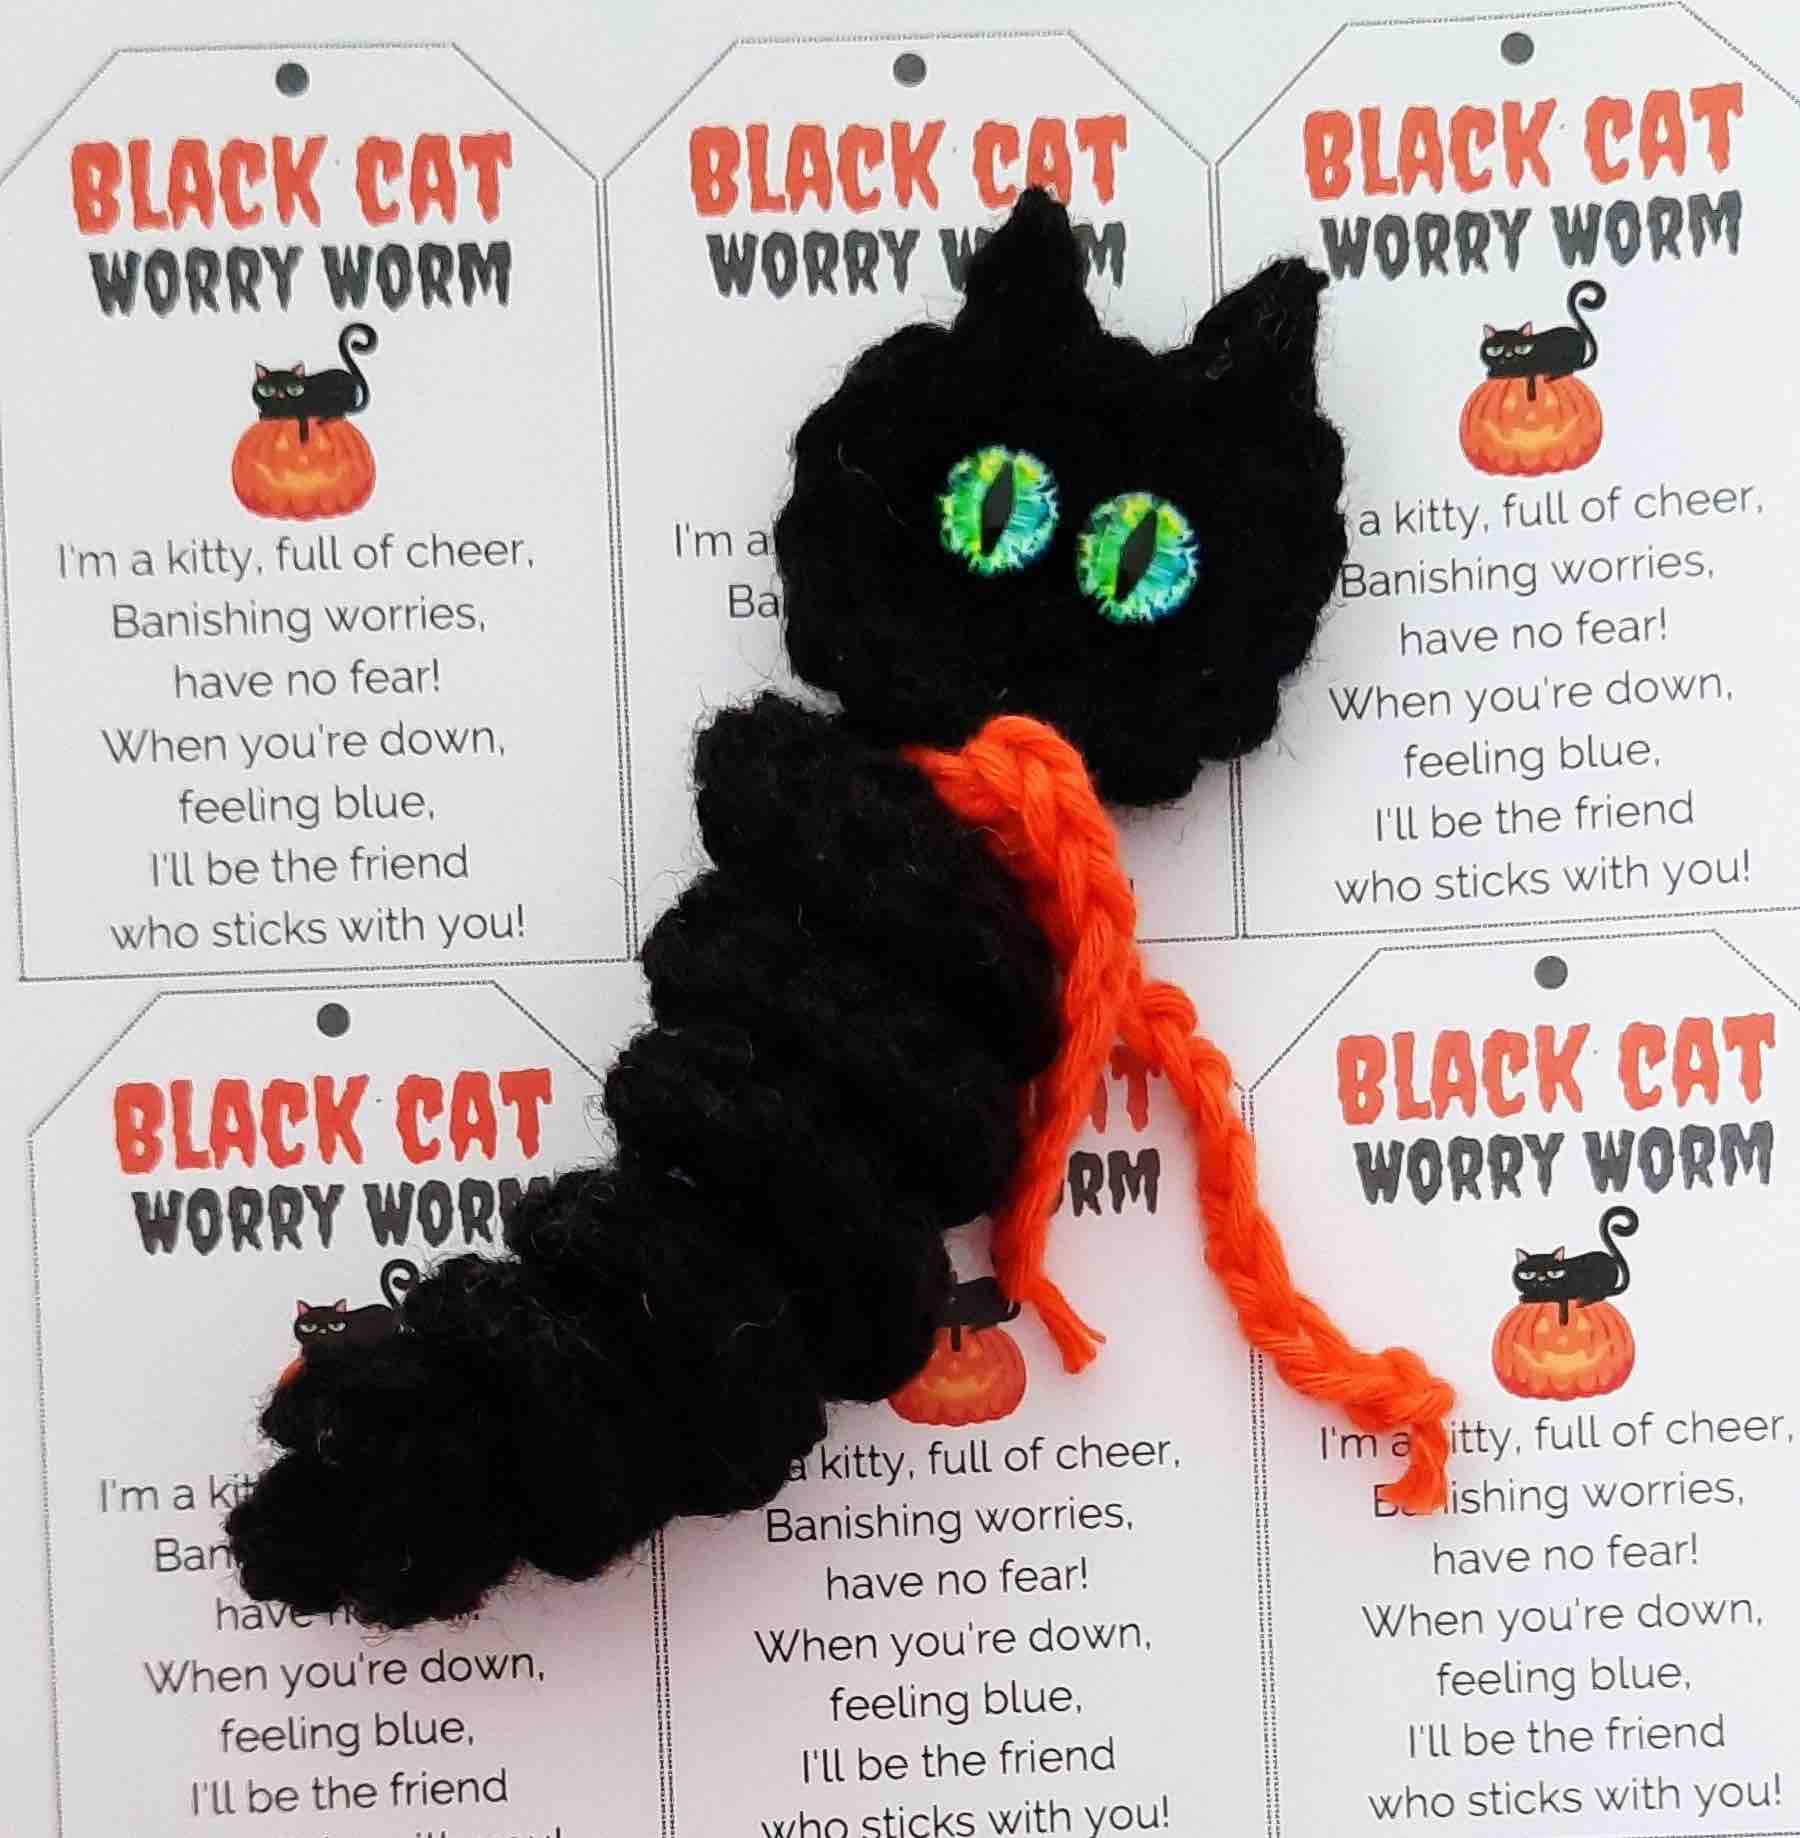
And here's a third Halloween pattern for feline lovers. Try out this Black Cat Worry Worm Pattern!
Themed Worry Worm for Christmas
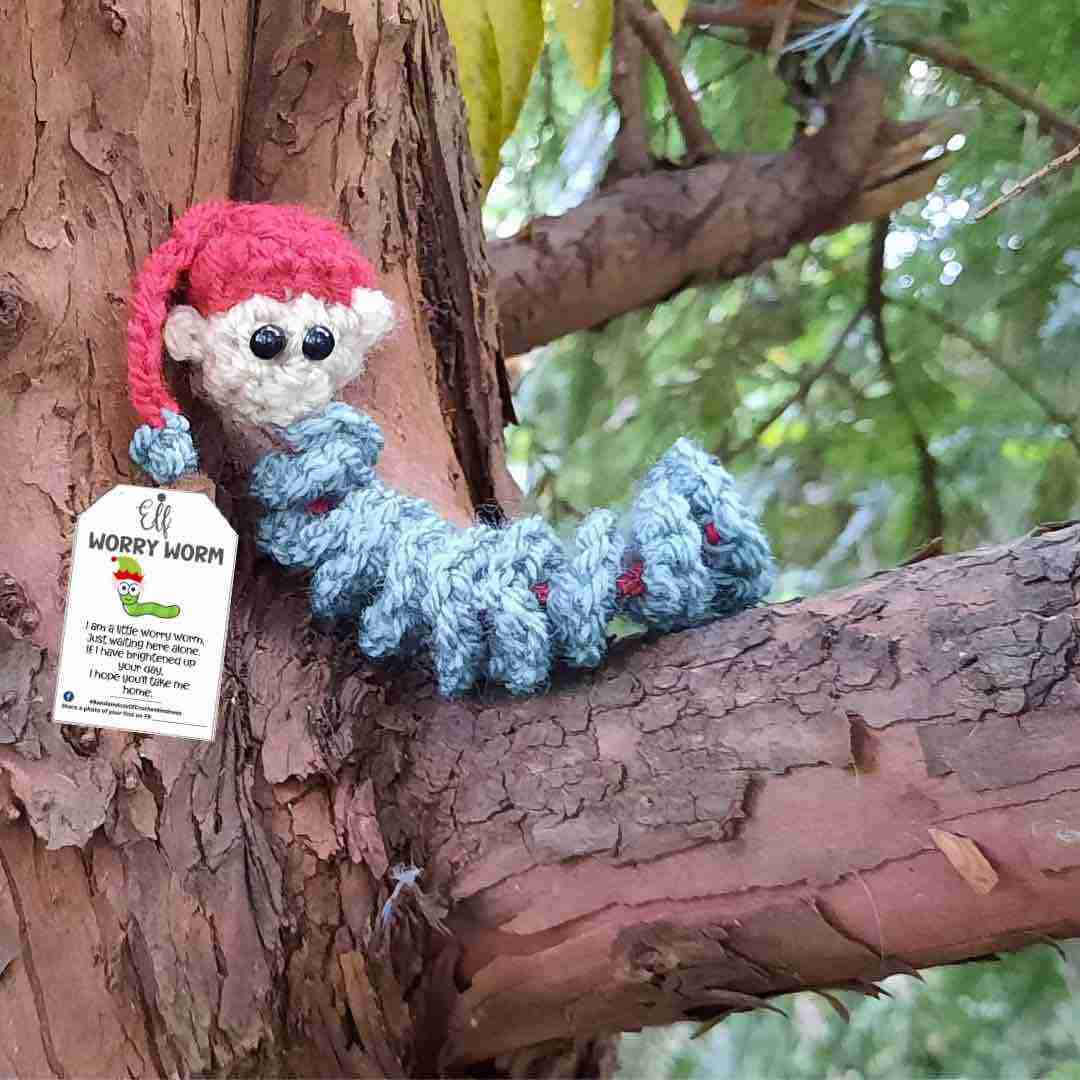
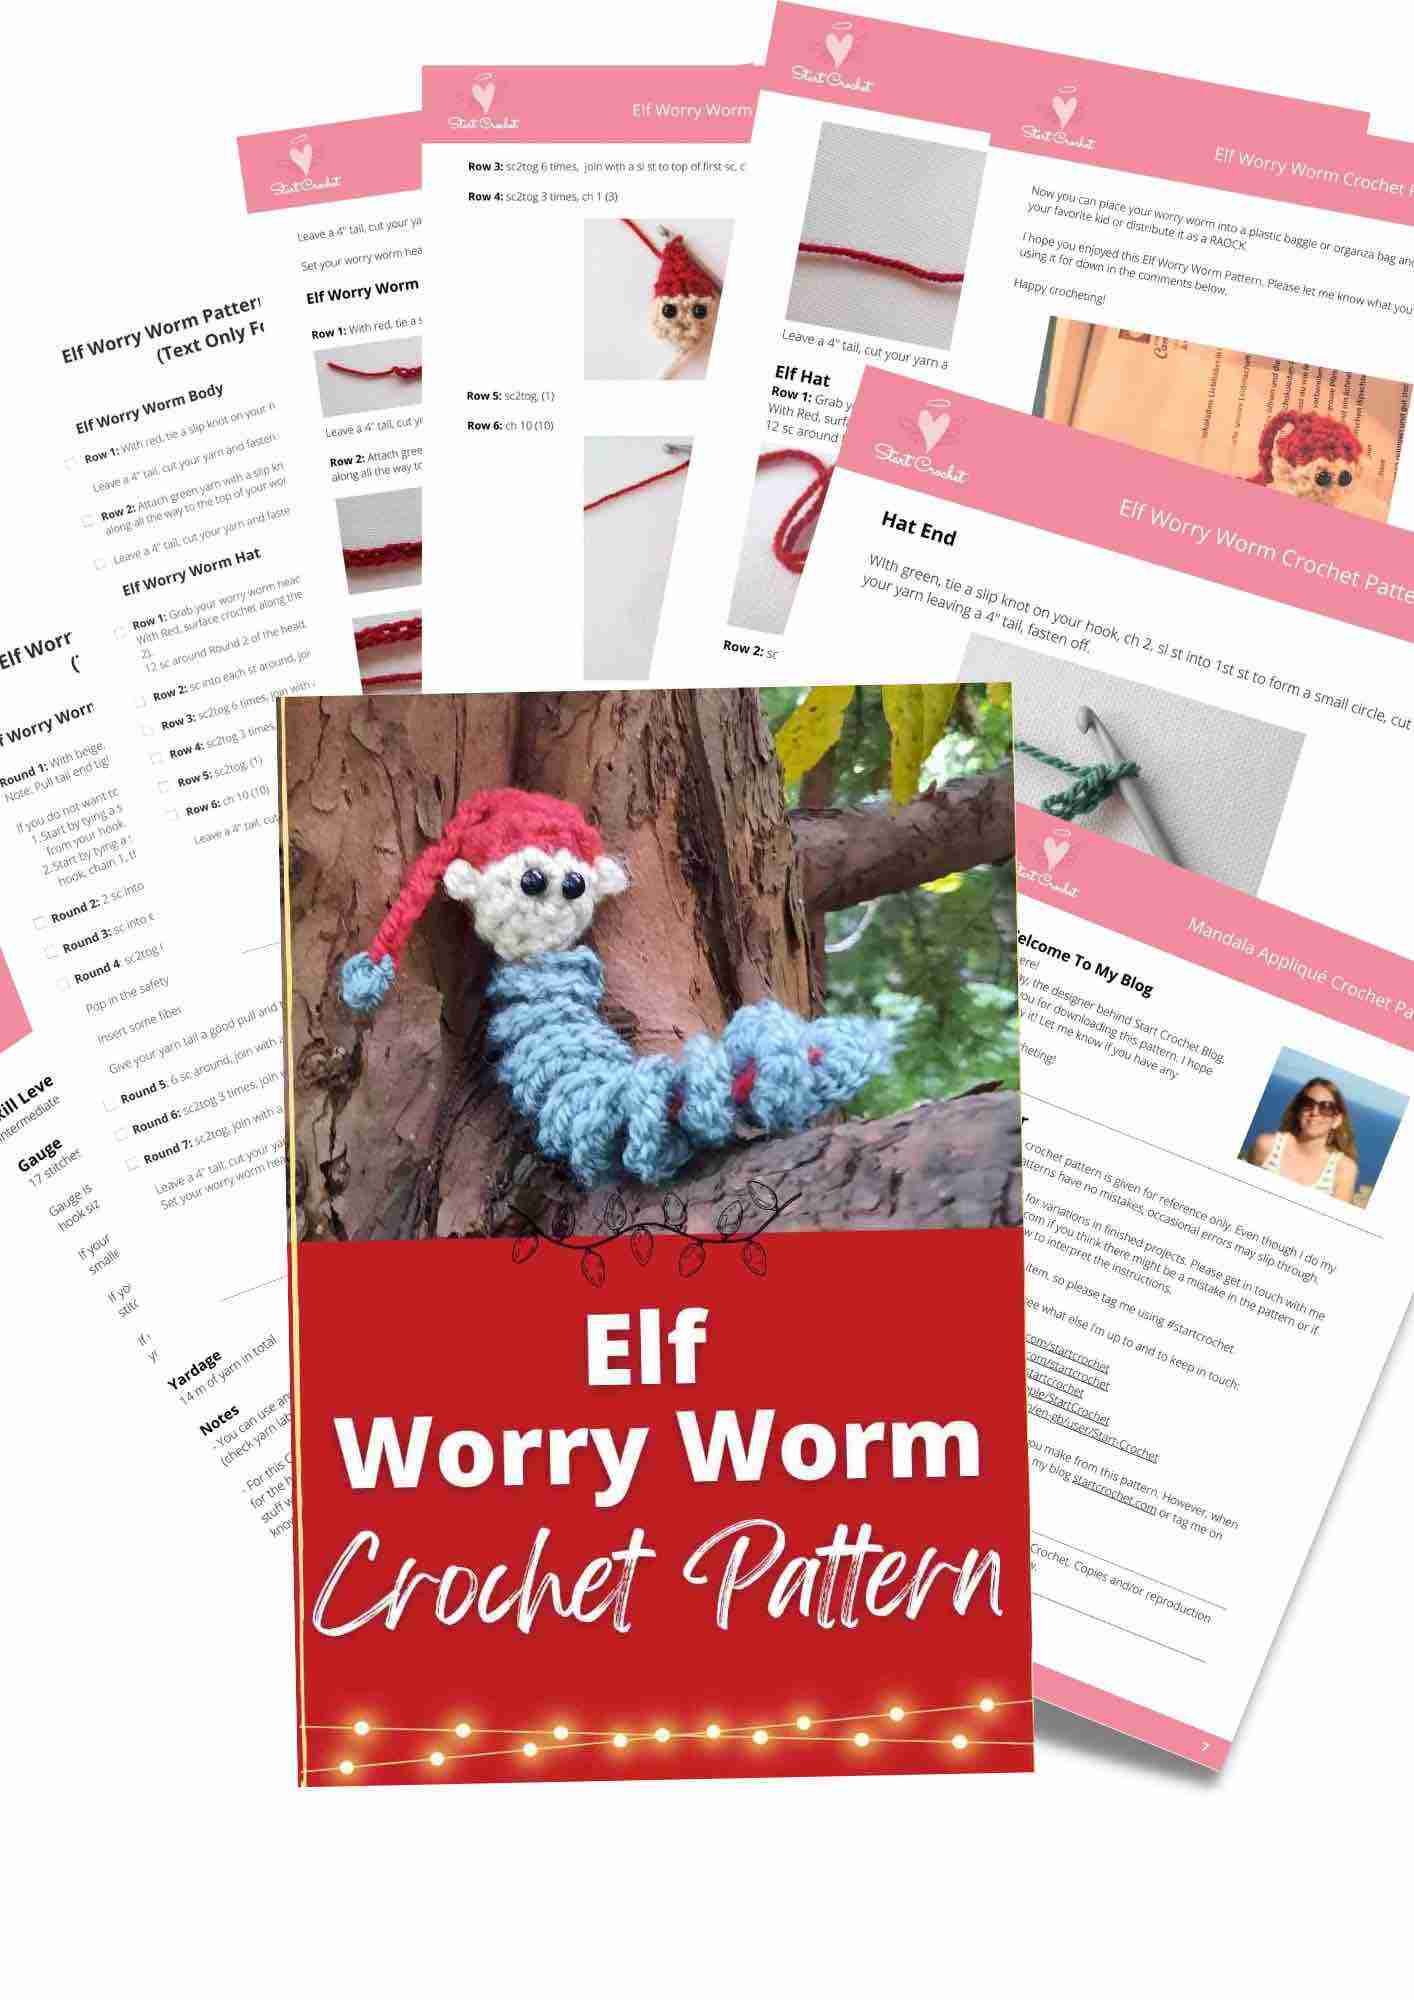
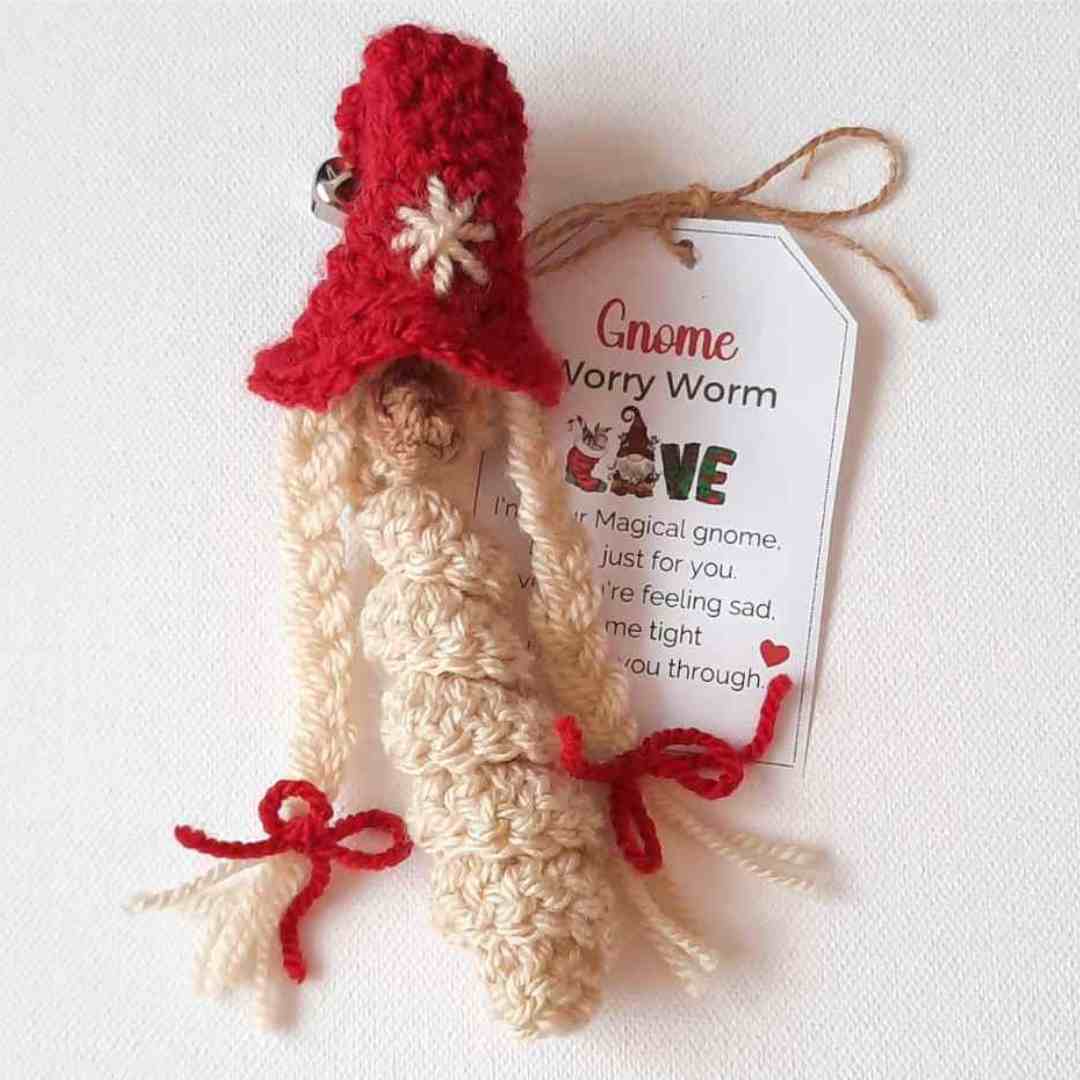
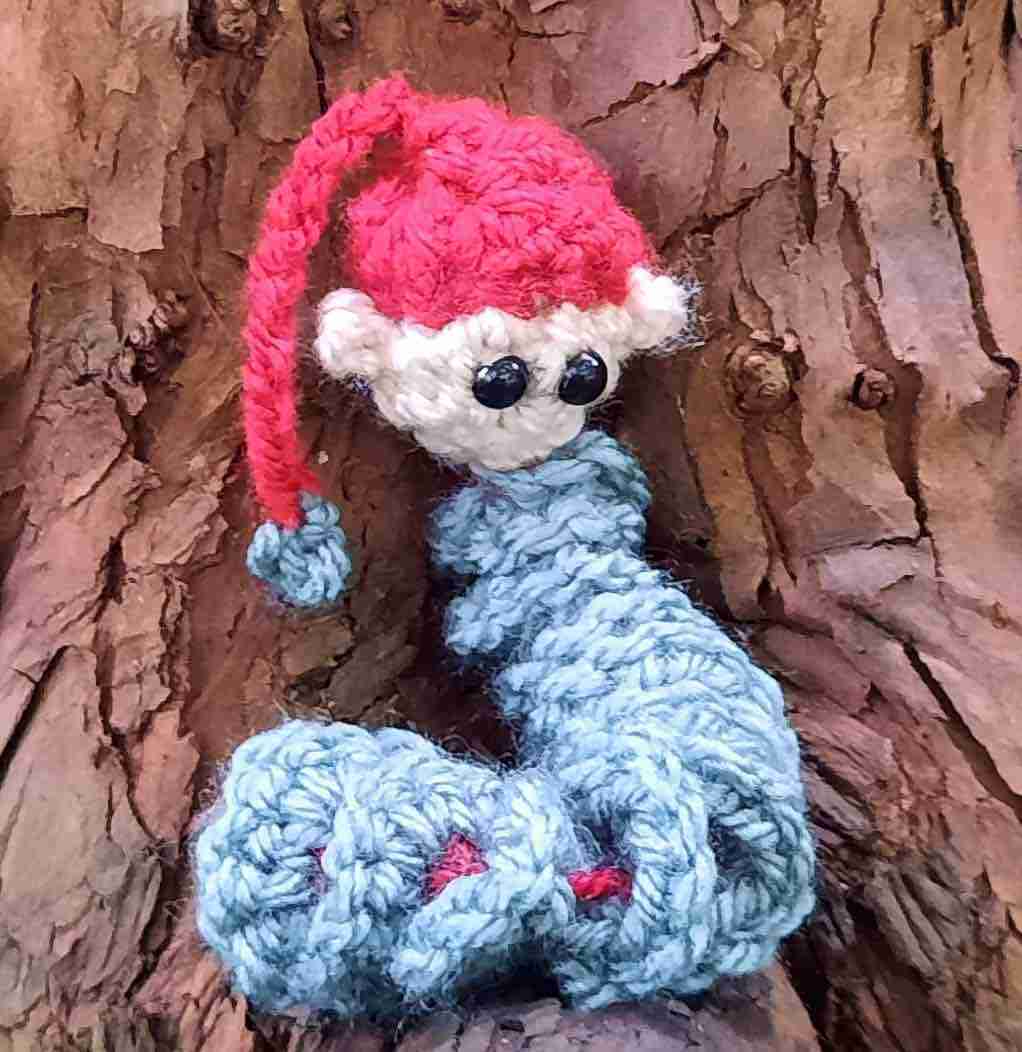
And how about Christmas? Try out this Elf Worry Worm Pattern!
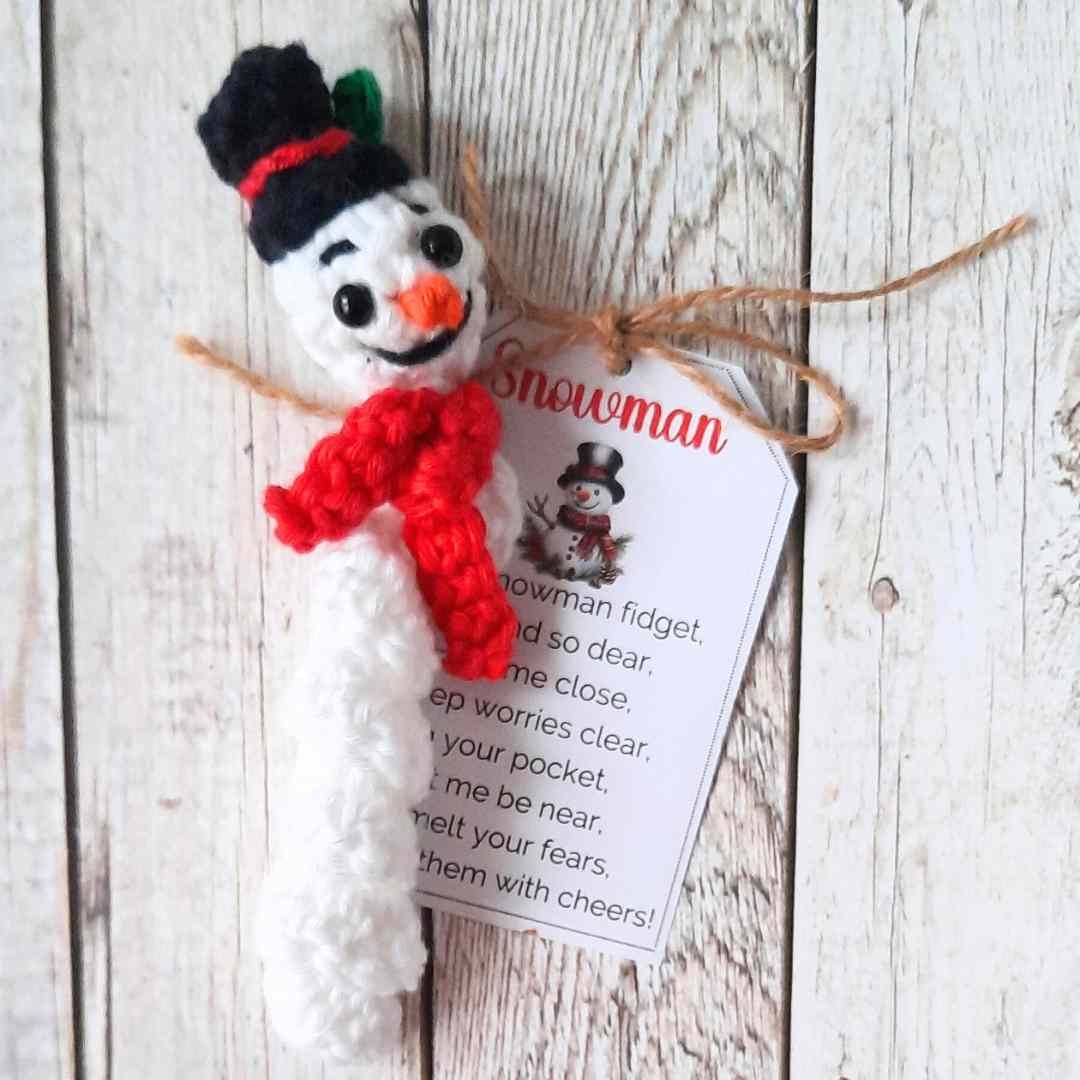
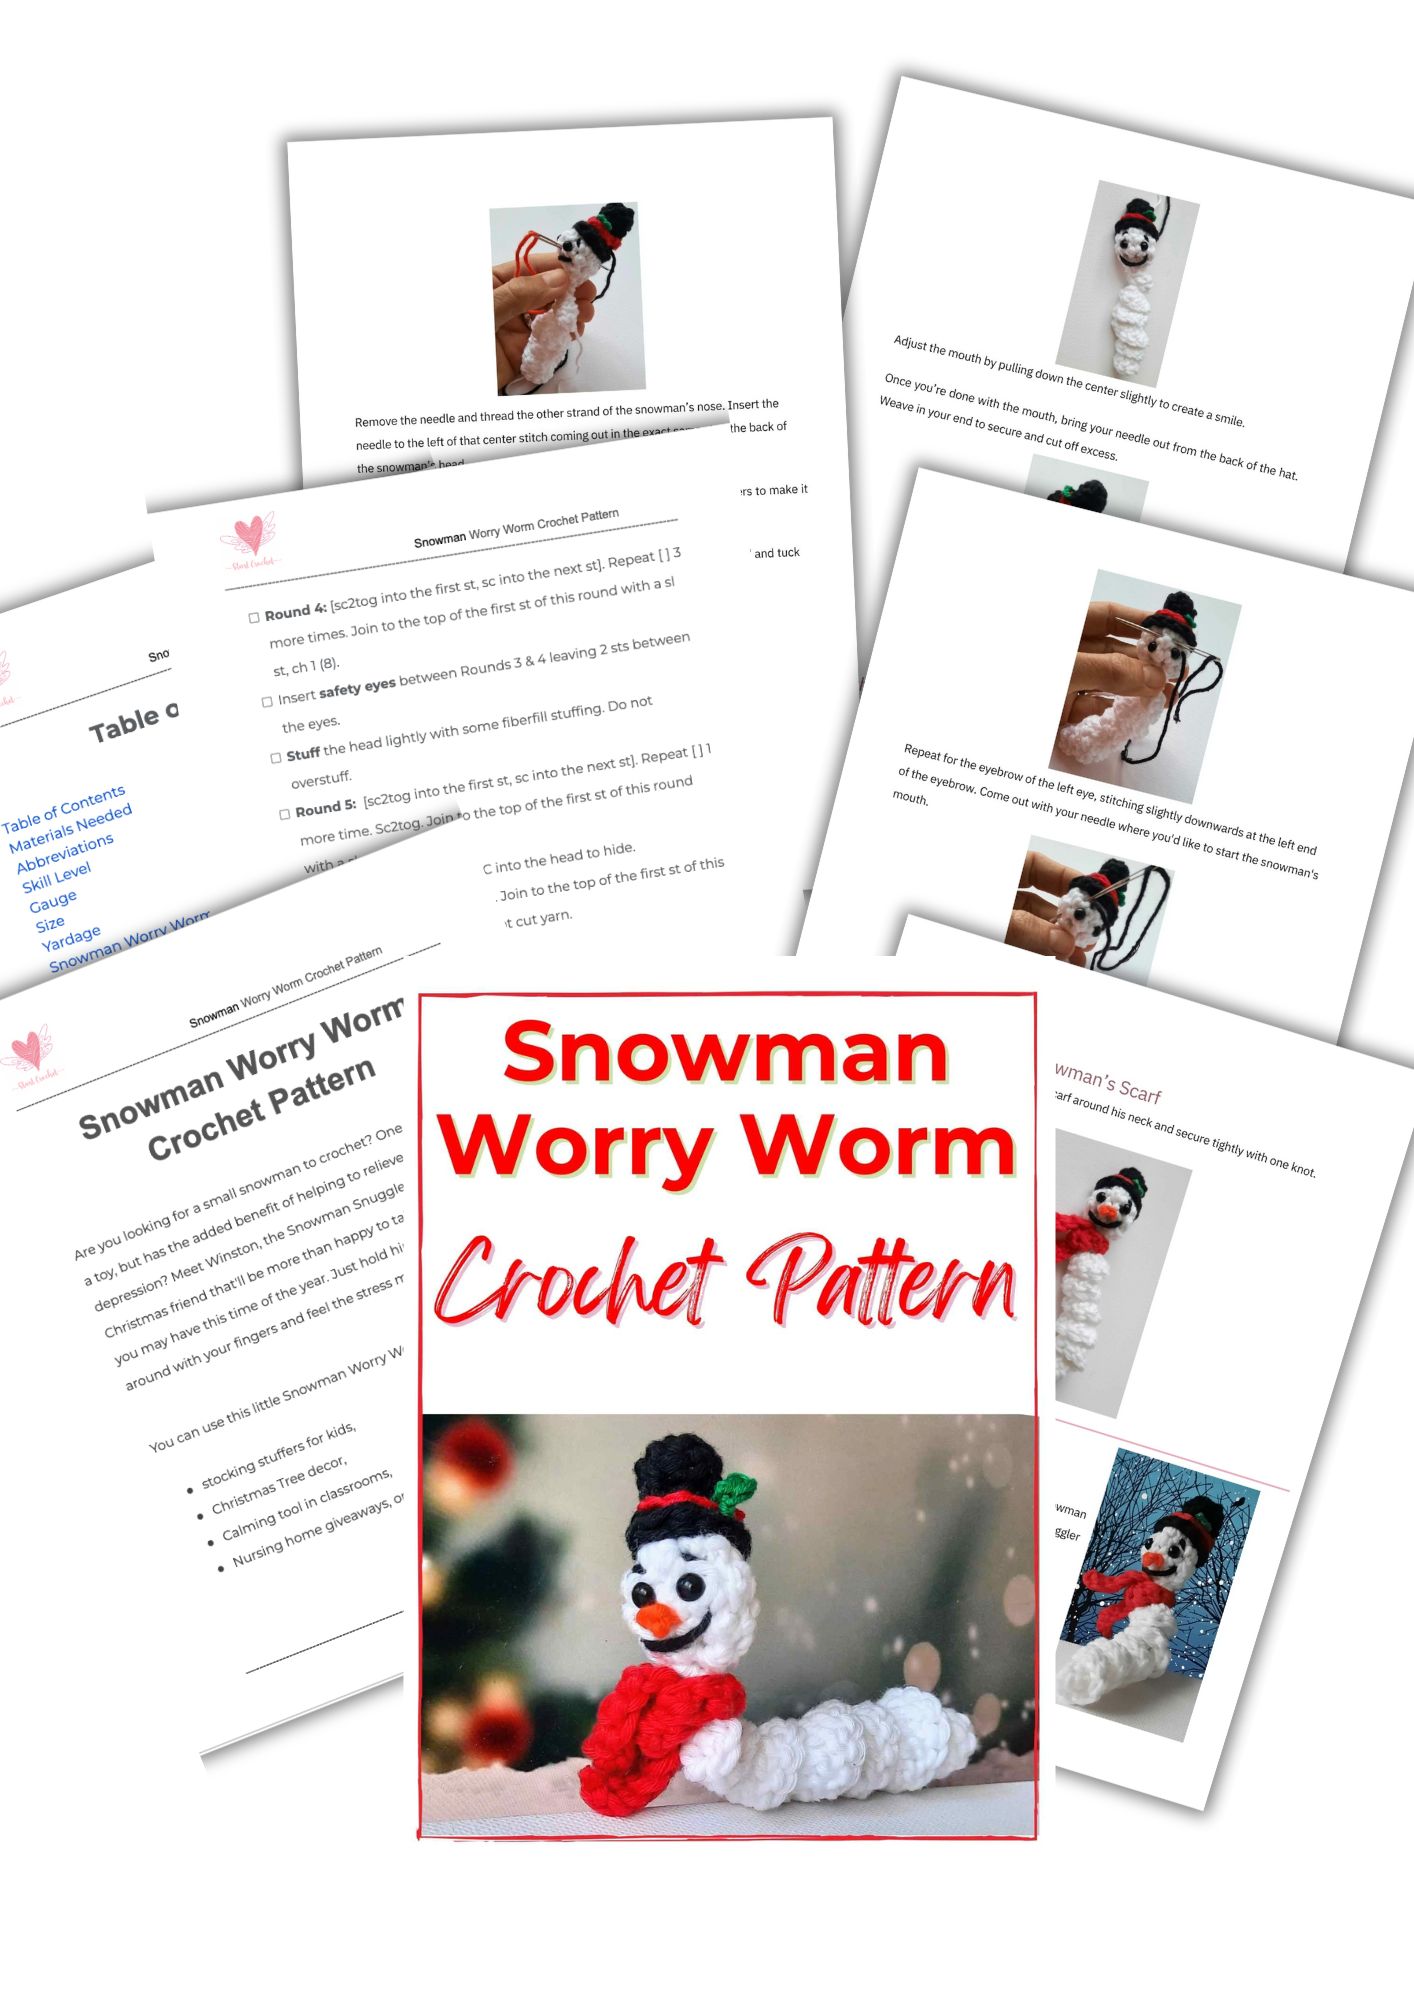
How about a seasonal Worry Worm perfect for the Christmas? Try out this Snowman Worry Worm Pattern
Themed Worry Worm for Valentine's Day
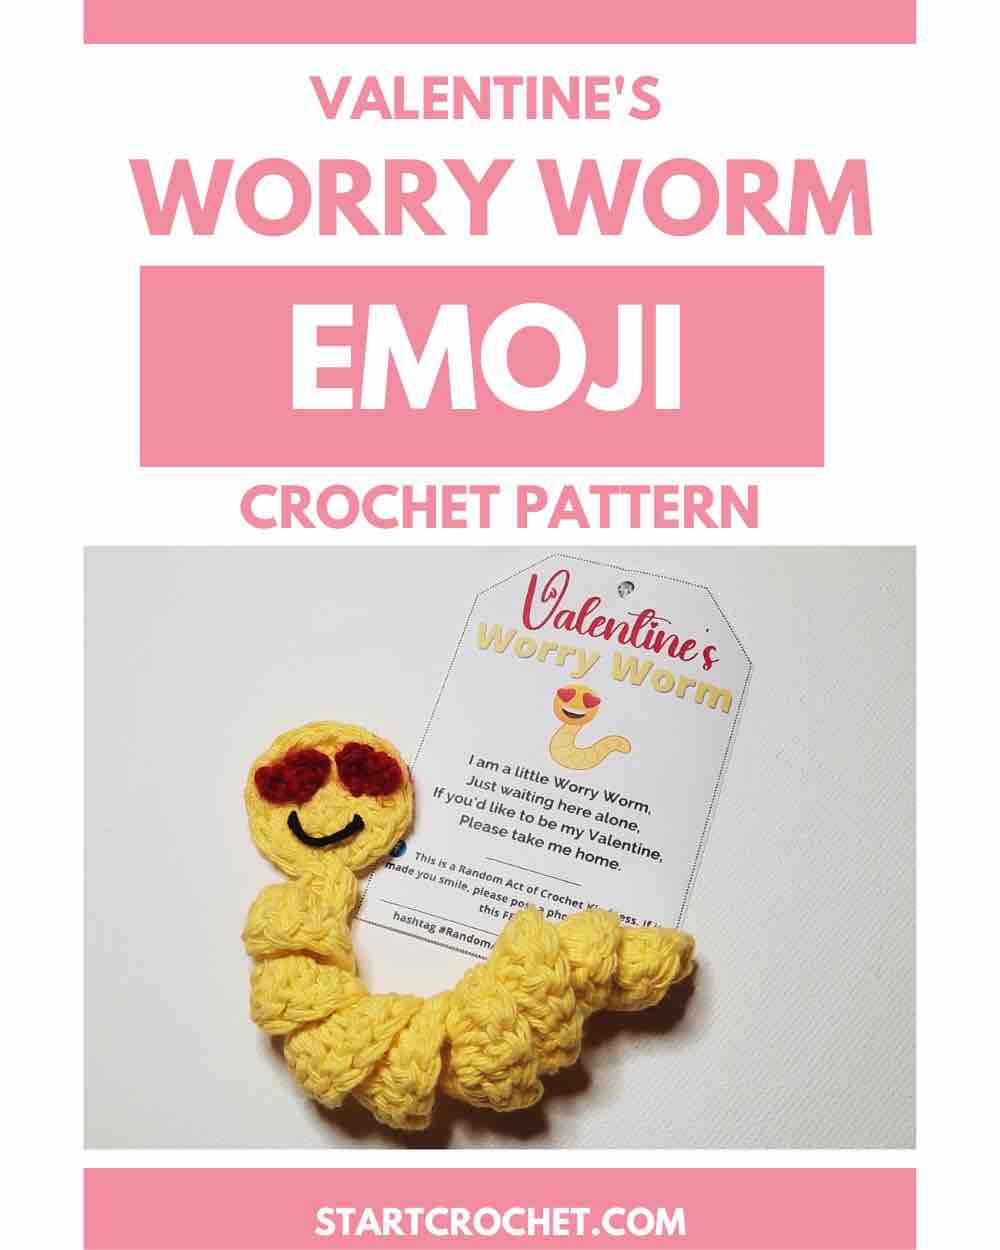
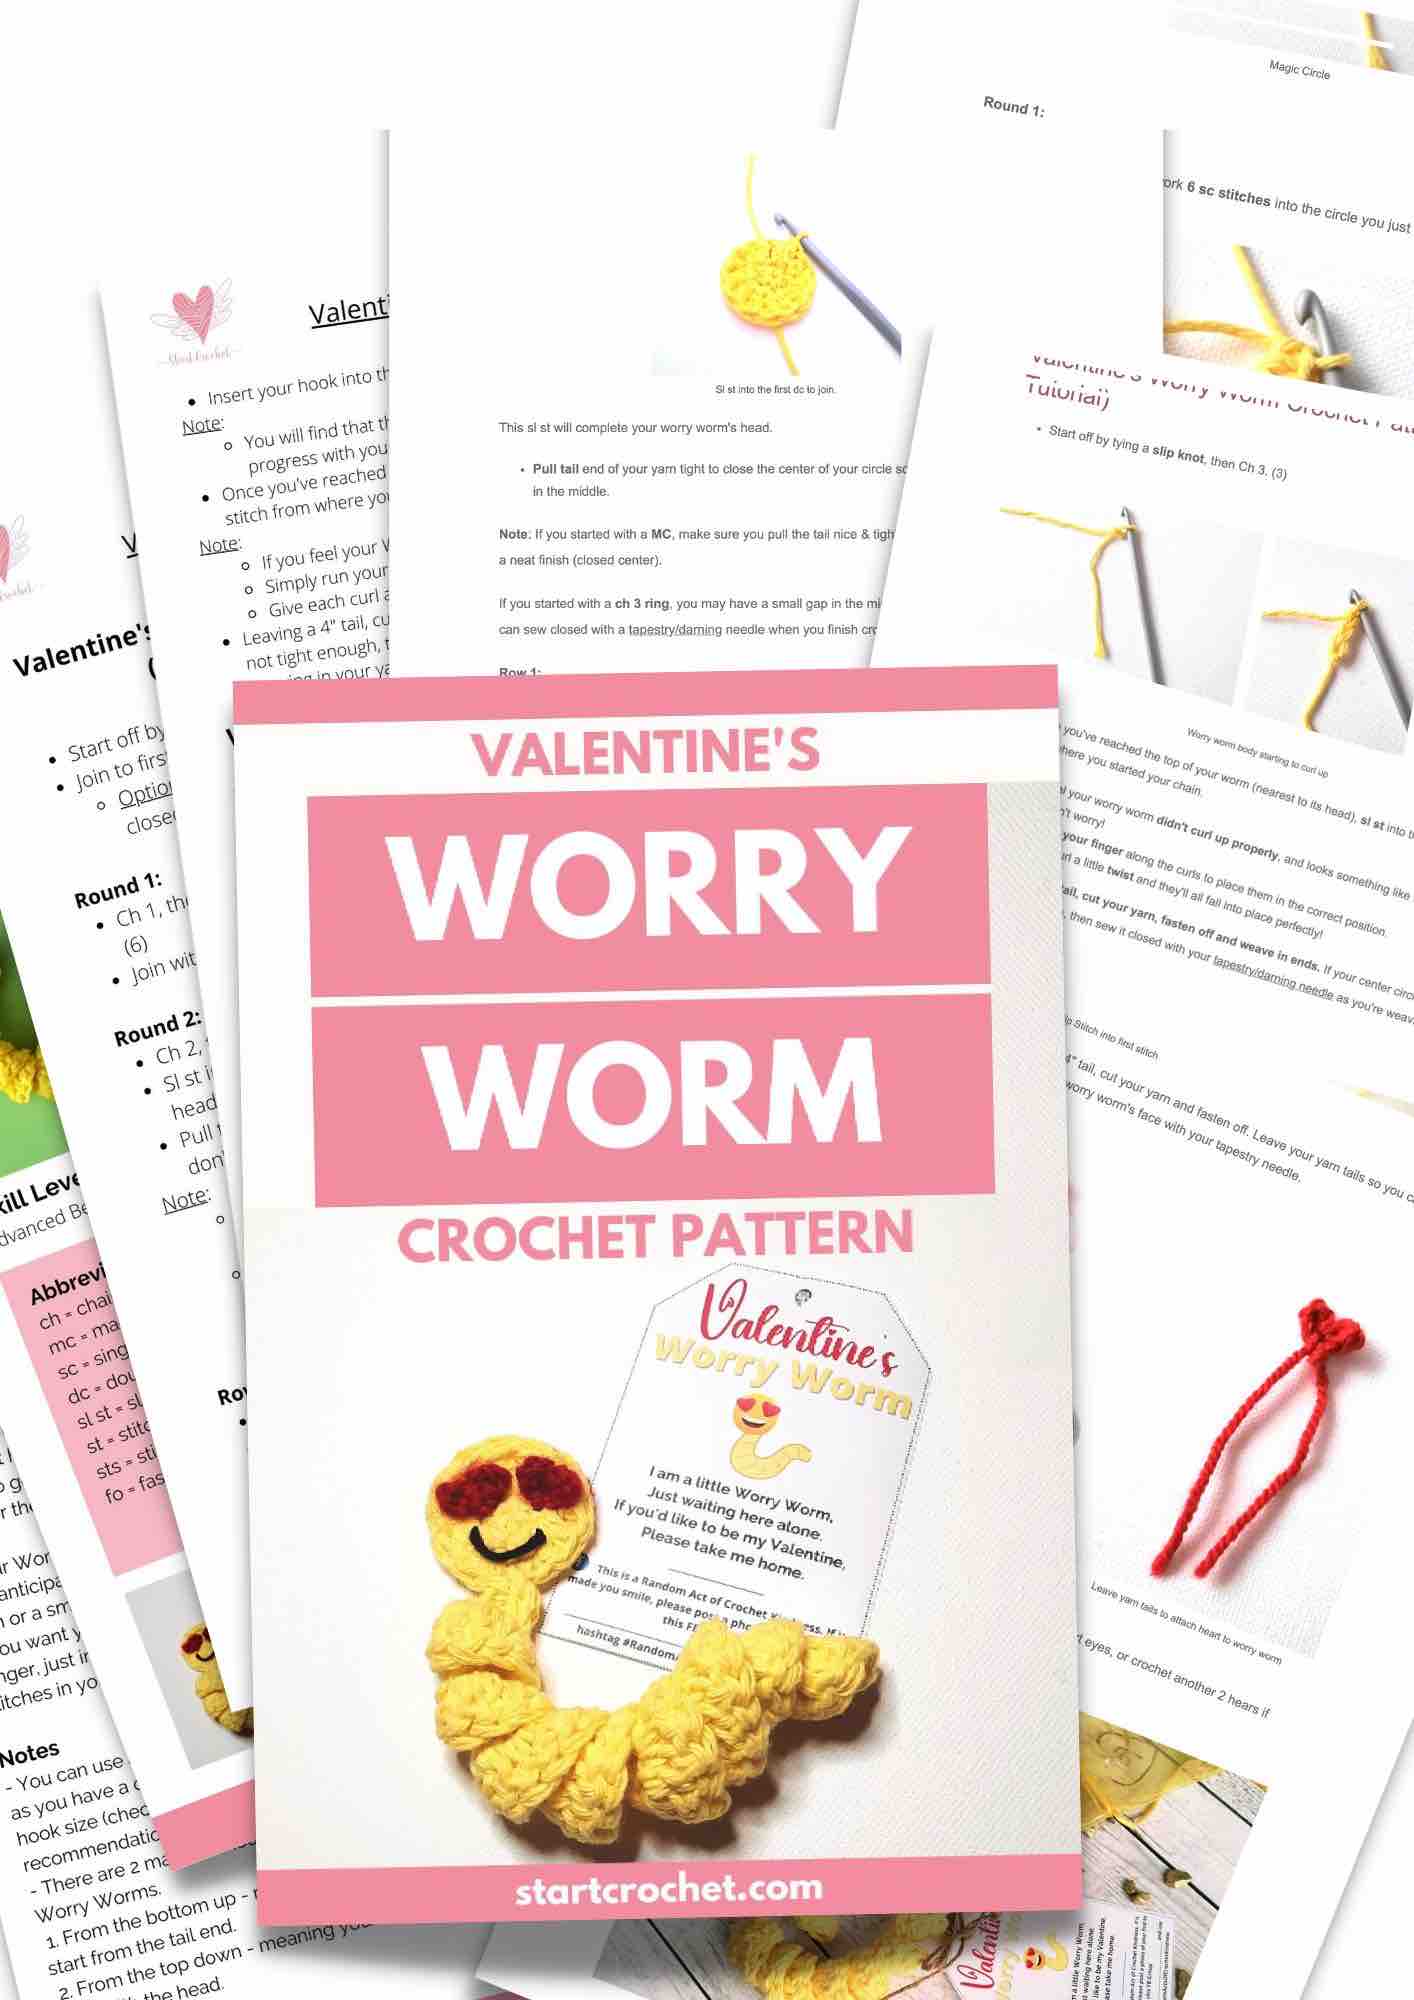
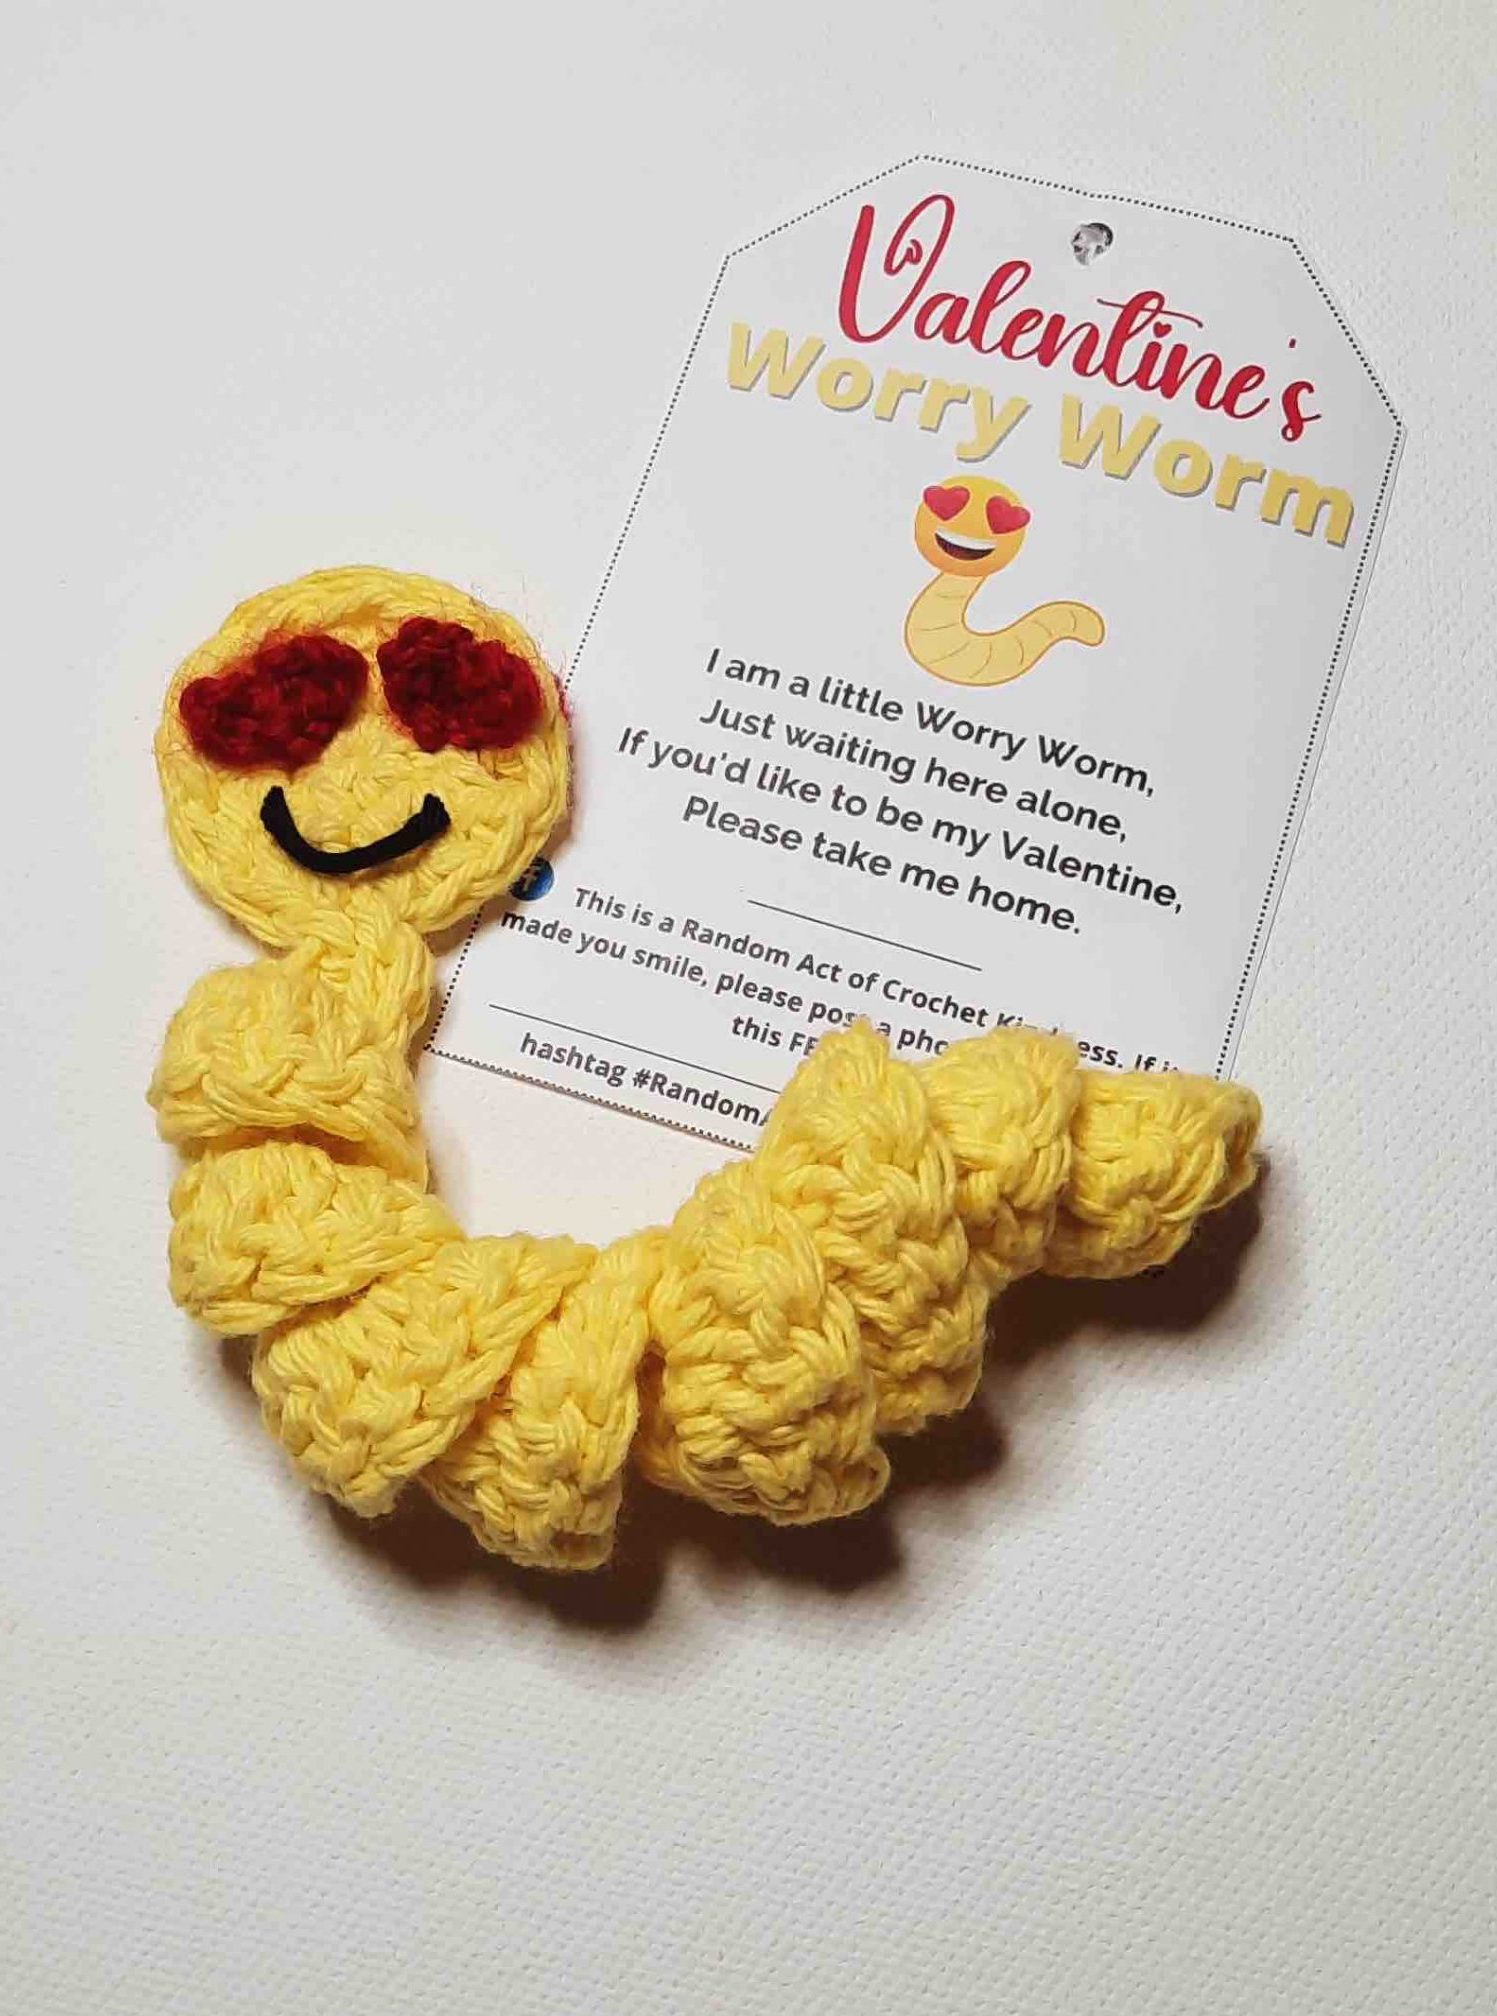
And how about Valentine's Day? Try out this Valentine's Worry Worm Pattern!
Themed Worry Worm for Spring
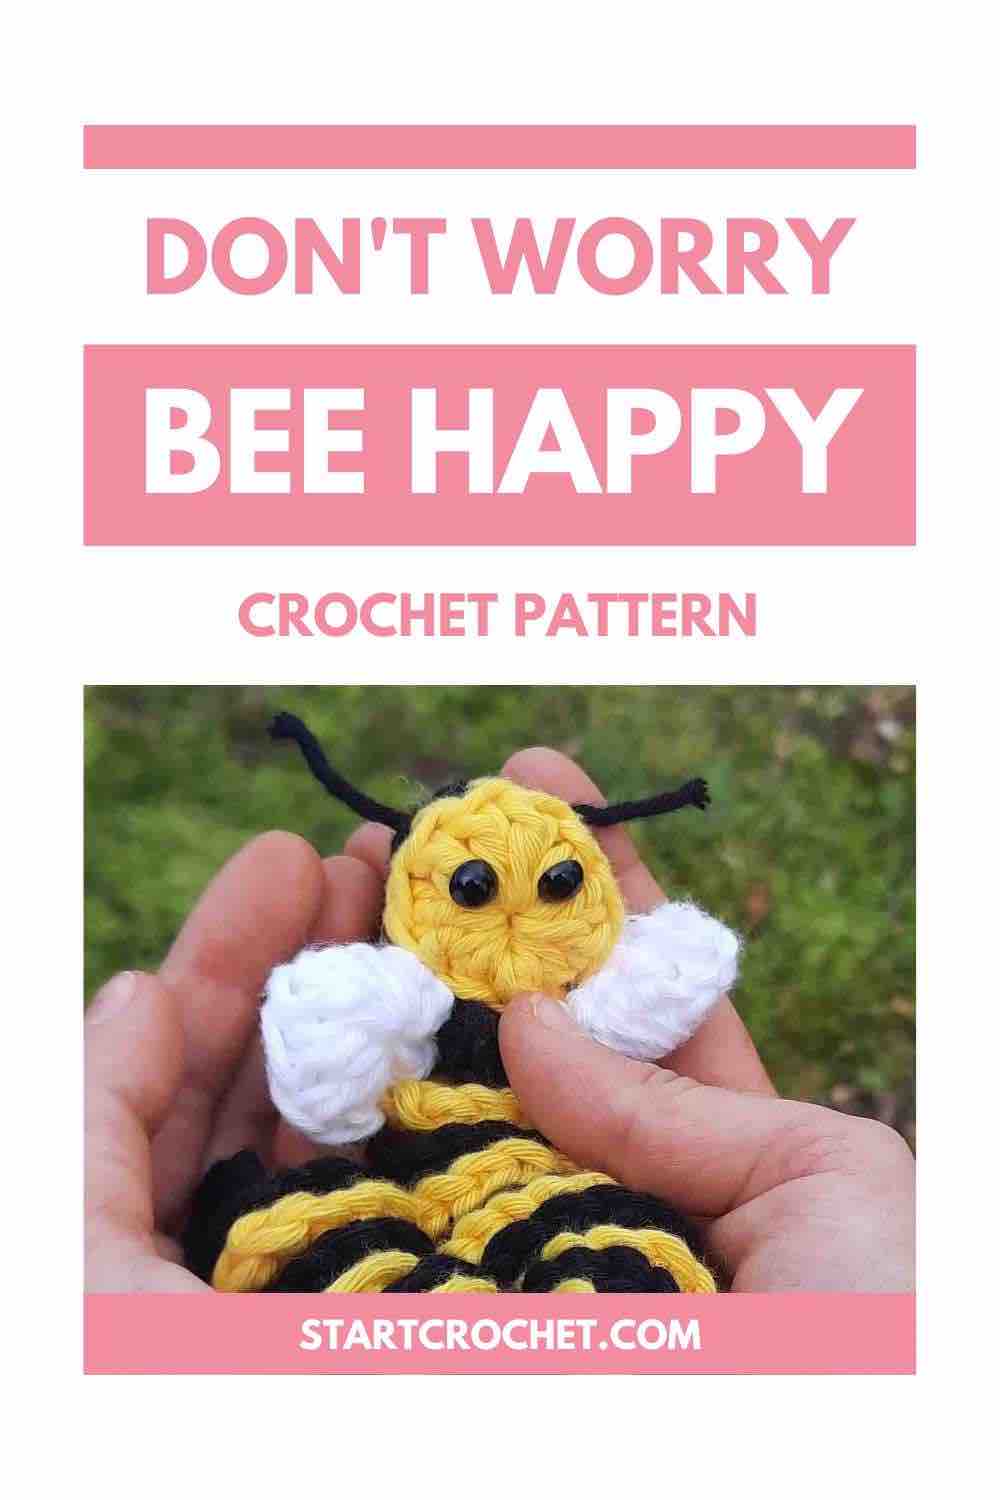
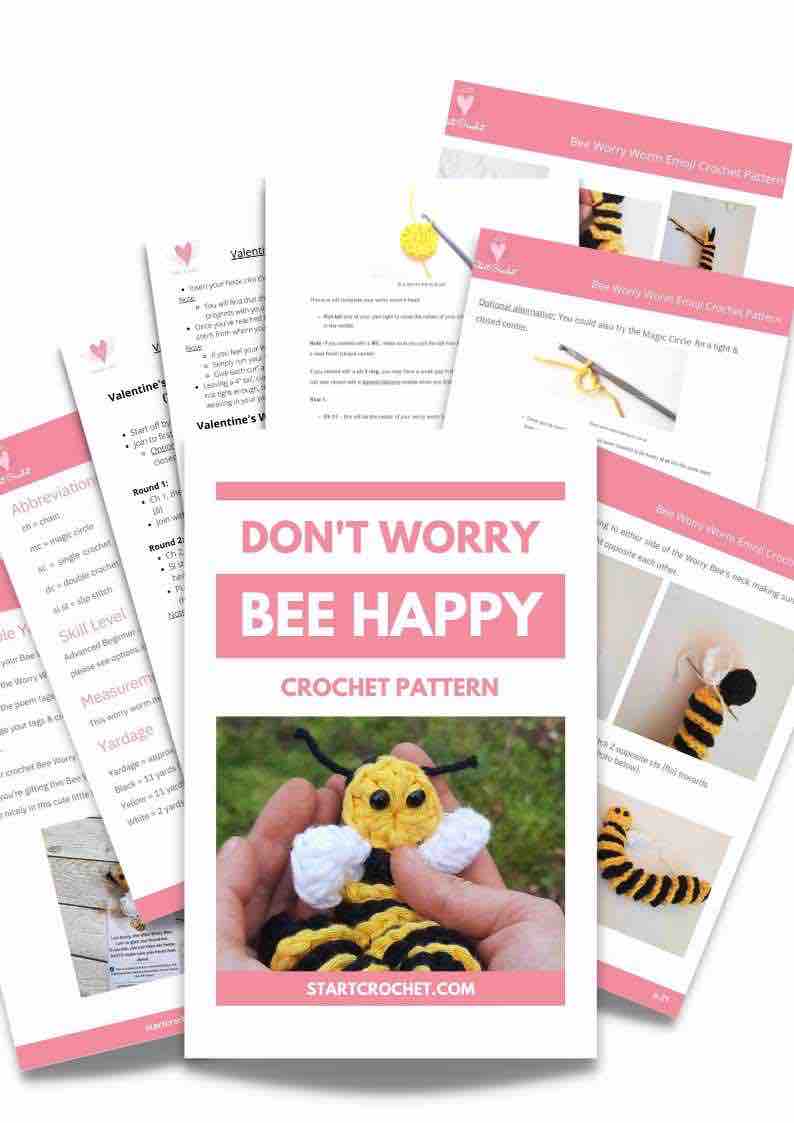
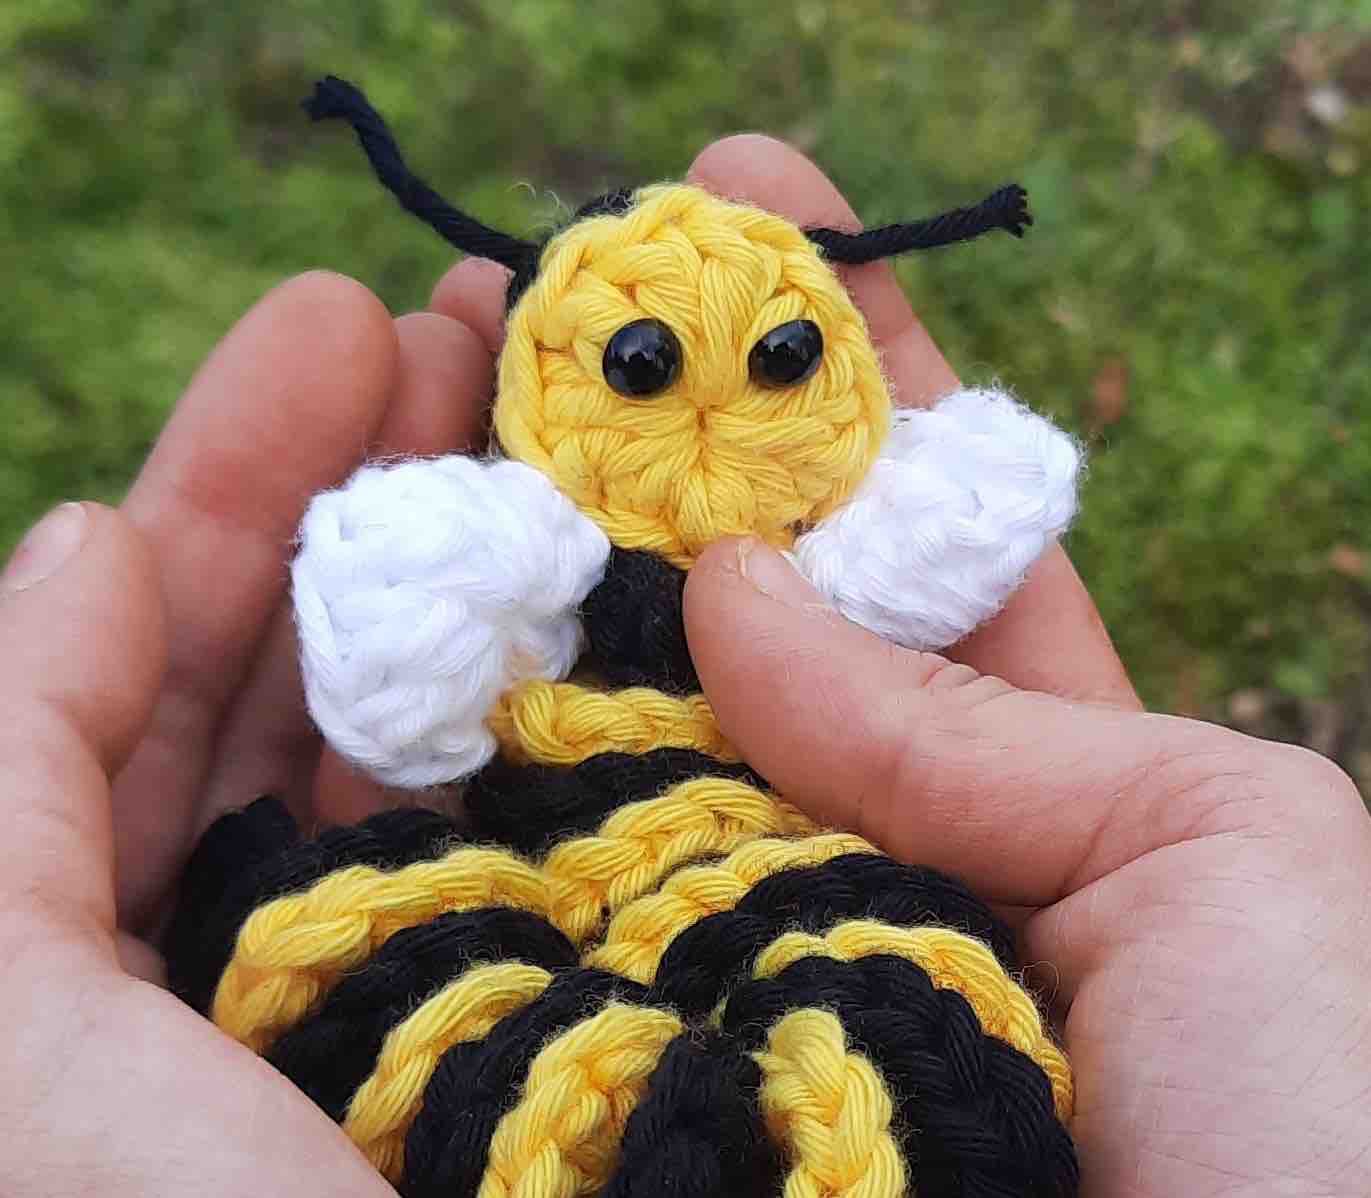
Spring is a lovely time of year. Try out this Bee Worry Worm Pattern!
Basic Worry Worm Crochet Pattern (Infographic)
Like this pattern, but not ready to work it yet? Save it to Pinterest!

Discover More Worry Worms
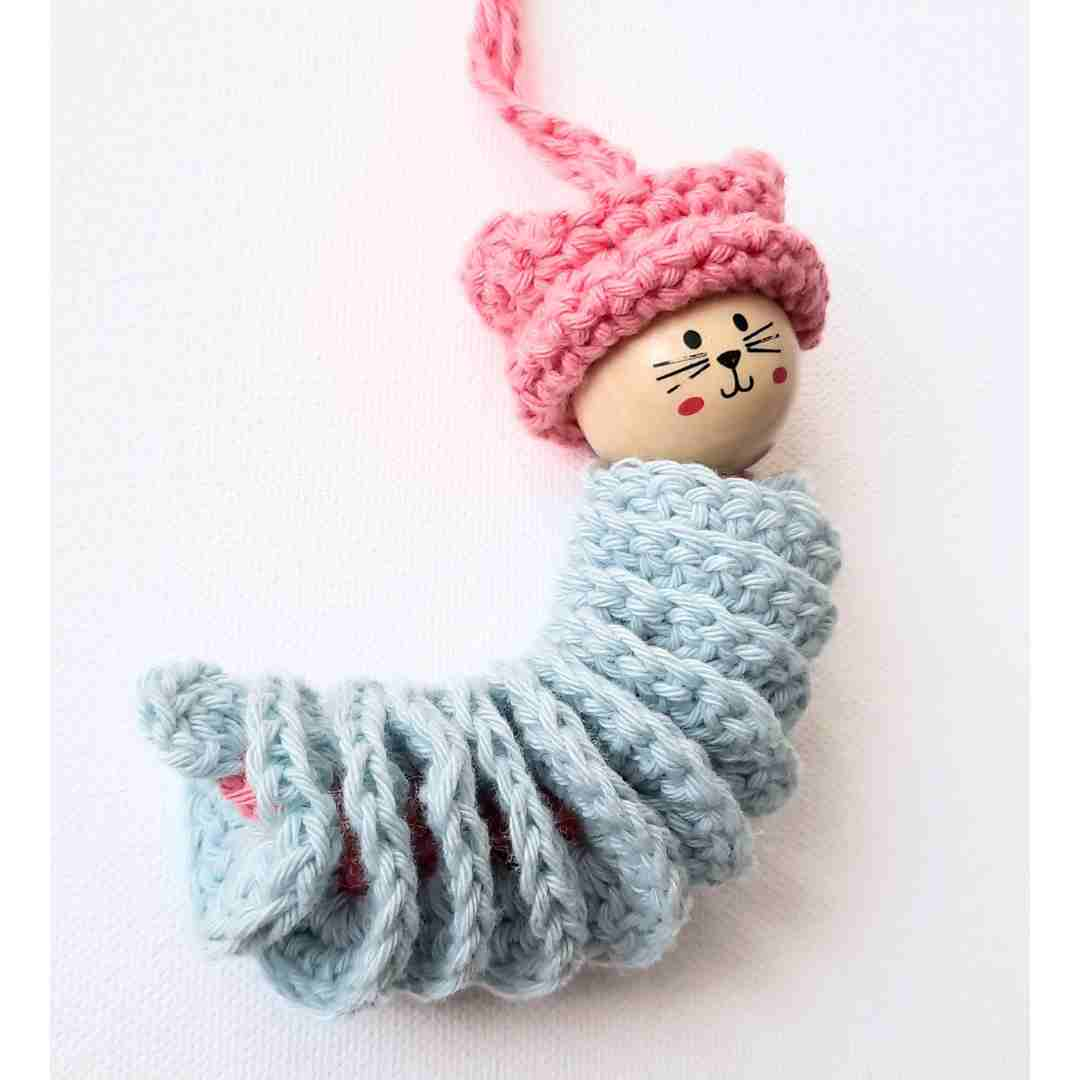
Here are some more worry worms for different occasions. My latest version is the Kitty With A Cat Hat Worry Worm. This one's idea if you don't want to bother crocheting the worry worm head at all. Simply add a bead instead!
I hope you enjoyed this Crochet Worry Worm tutorial. All you need to do now is practice and you'll get the hang of it pretty quick!
Let me know if you have any questions in the comments below and...
Happy crocheting!
Three Christmas Worry Worm Crochet Patterns
Bundle Sale
(PDF Printable)
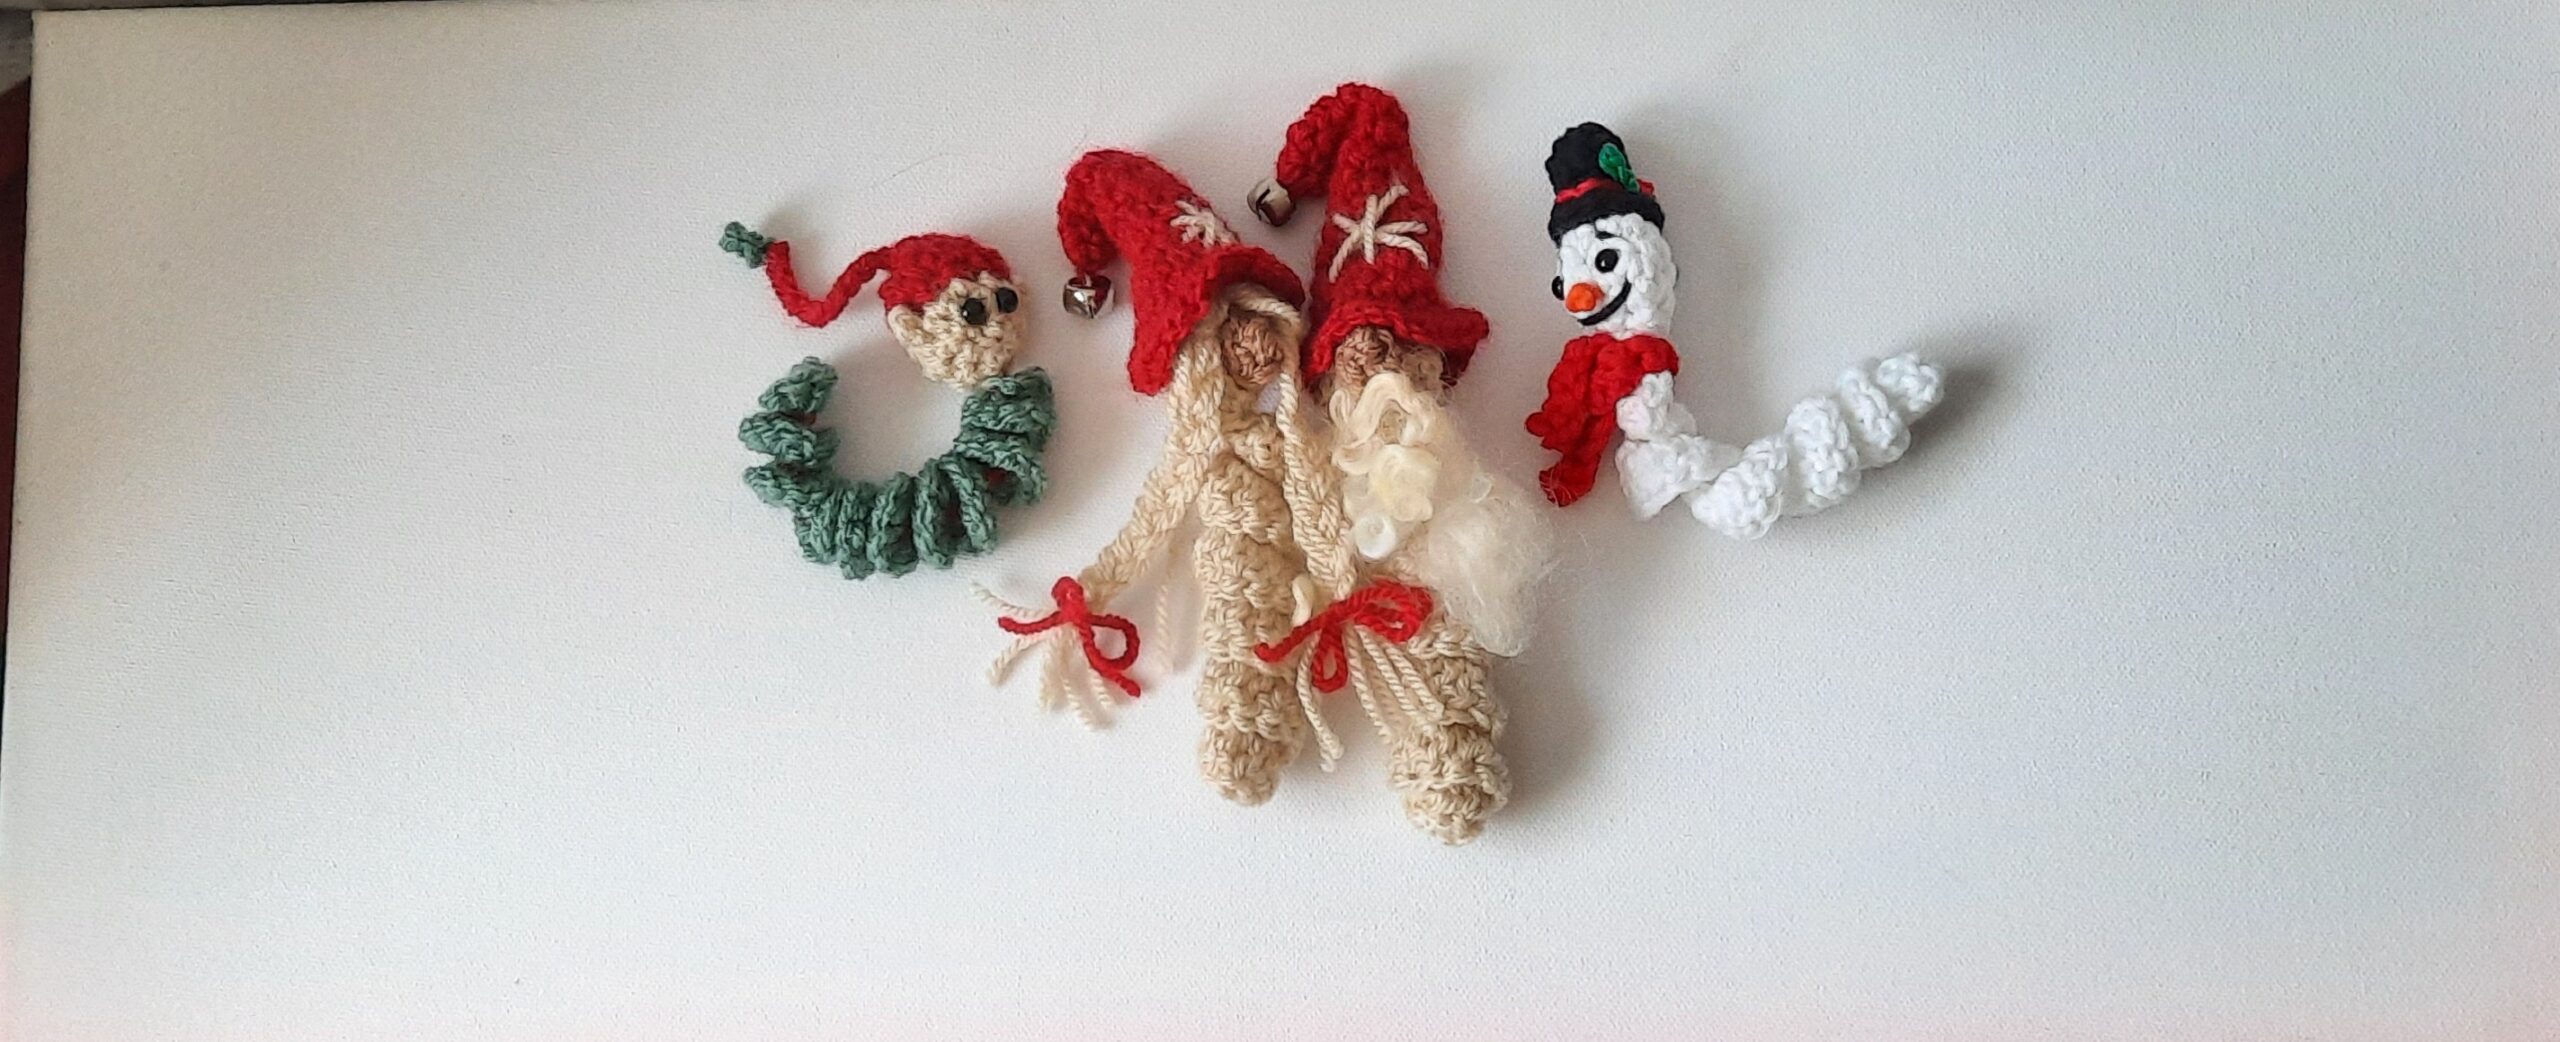
If you'd like to buy all three Christmas Worry Worm crochet patterns in an Ad-free PDF printable format (discounted rate), you can either download them from Ravelry or my online shop. Price is $9.99 instead of $14.97
Three Halloween Worry Worm Crochet Patterns
Bundle Sale (PDF Printable)
So what do you think of this Halloween trio?
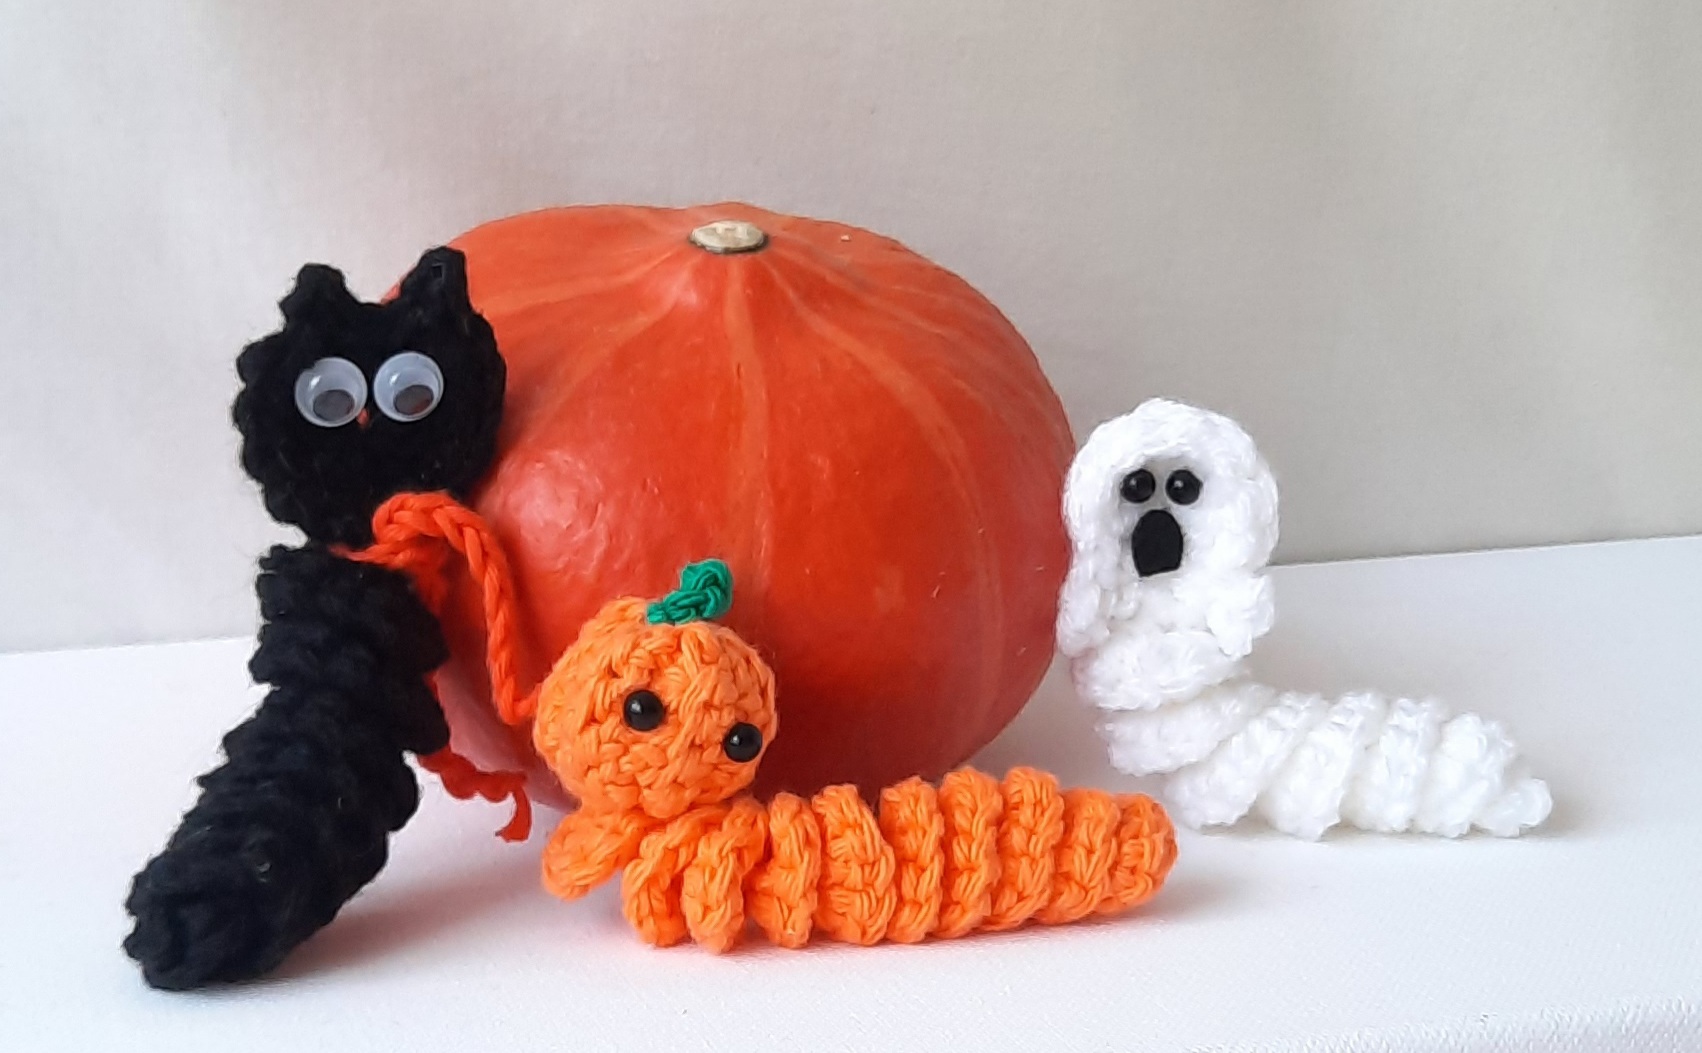
If you'd like to buy all three Halloween Worry Worm crochet patterns in an Ad-free PDF printable format, you can either download them from Ravelry or my online shop. Aren't they a frightfully cute bunch?
Subscribe To My Newsletter
Would you like to stay updated with new free patterns, crochet tips & tricks, and delightful crochet inspiration sent straight to your inbox? Please enter your Name & Email below 🙂
Disclaimer: Information in this crochet pattern is given for reference only. Even though I do my best to ensure all patterns have no mistakes, occasional errors may slip through.
No liability is accepted for variations in finished projects. Please get in touch with me at admin@startcrochet.com if you think there might be a mistake in the pattern or if you are unsure about how to interpret the instructions.
I’d love to see your finished item, so please tag me using @startcrochet.
Please follow my accounts to see what else I’m up to and to keep in touch:
Facebook https://www.facebook.com/startcrochet
Pinterest: https://www.pinterest.com/startcrochet
Instagram https://www.instagram.com/startcrochet
Ravelry https://www.ravelry.com/people/StartCrochet
LoveCrafts: https://www.lovecrafts.com/en-gb/user/Start-Crochet/5fccc556-8c97-4521-bcf0-0aadf9853faf
You may sell any finished products that you make from this pattern. However, when selling online, please include a link back to my blog startcrochet.com or tag me on social media with @startcrochet or with hashtag #startcrochet
Thank you!
© All rights for this crochet pattern design and photos are copyright and reserved to Start Crochet (May Shehab © 2023) . Copies and/or reproduction, translating or reselling of this pattern is a violation of the law.




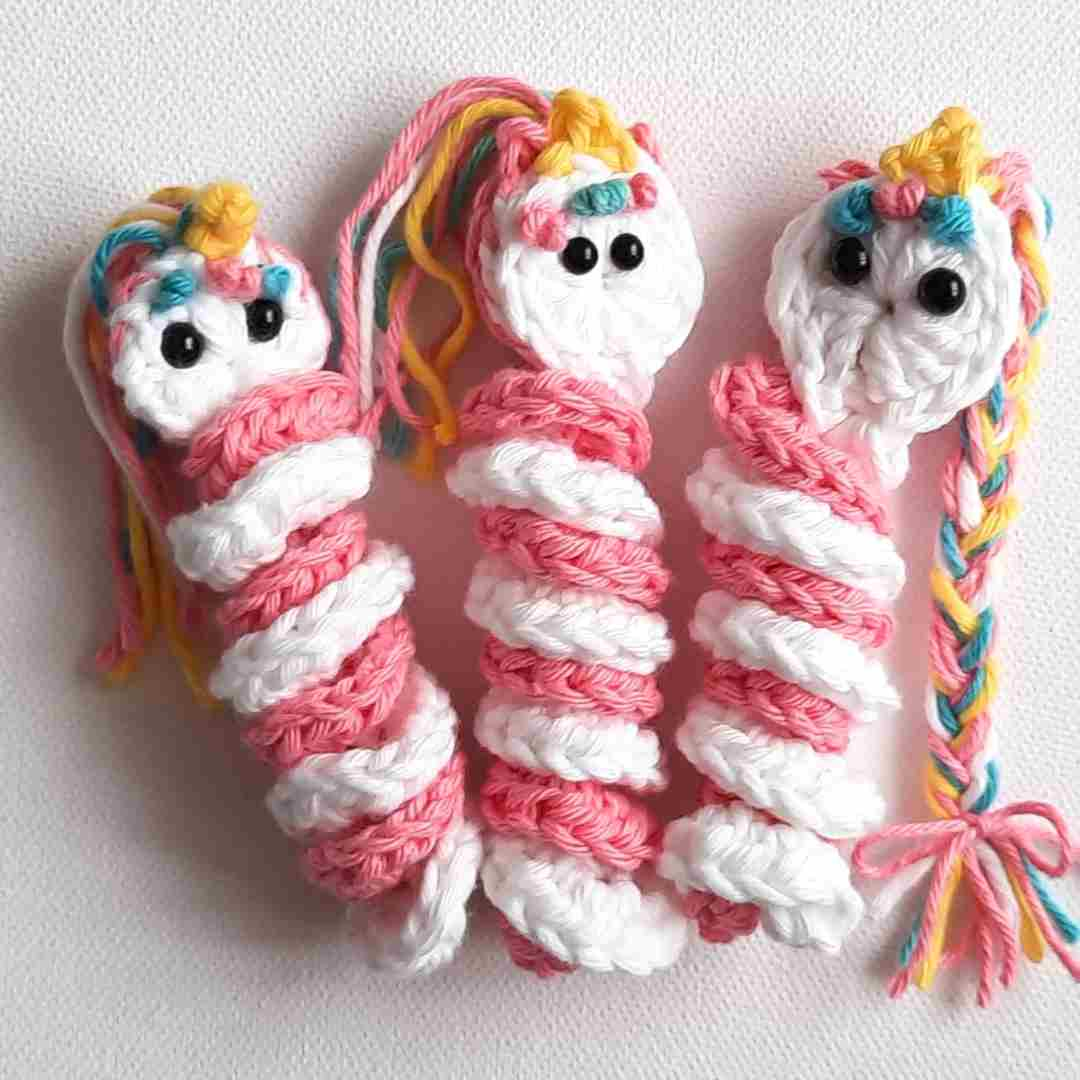


Thank you, May, for offering the worry worm pattern for free as part of the September Makes Blog Hop!
It is such a cute pattern, and just looking at it brings a smile!
Hello,
I love the worry worm project, and will be making it soon! I care for my 89 year old mother at her Senior Living Facility, and once per month she and I host a “Free Table” where we supply a variety of items for anyone to take for free, residents, staff, and visitors alike.
I am a crochet and craft lady, and so I’ve begun making a basket full of small items such as these for anyone to take, and they have been a huge hit! They (and I) especially love the poems or prayers attached to each item.Whatever doesn’t get taken that day gets put out at the reception desk, but rarely do they make it out there either!
Thank you for sharing the patterns and the poems! I will try and take a picture or two of the worry worm projects and post it at the end of this month!
Blessings!
Thank you so much Colleen for sharing this with us! What a great initiative! I love to hear about how people use these worry worms all over the world! Would definitely love to see some photos of your worry worm projects 🙂
Blessings to you and to your mother too 🙂
I love designing small items for Random Acts of Crochet Kindness.
You might want to have a look at the Mandala Pattern which would be another nice idea for the Senior Living Facility, or some small flowers perhaps.
You can find the Free Patterns here: https://startcrochet.com/mandala-crochet-pattern-free/
https://startcrochet.com/maybelline-flower-crochet-pattern-free/
Have a lovely day!
Cheers,
May
Thank you for doing this. I used to make these years and years ago before they were called Worry Worms. I had forgotten how to make them.
Oh that’s so awesome! Thank you for sharing and I’m glad they brought you back some nice memories 🙂 Happy crocheting!
A wonderful pattern and designer. She’s very understanding and easy to work with. The pattern is easy enough to teach to my grandkids. Thank you for all you do.
I just noticed I never replied to your wonderful comment Wanda! Thank you so much for your kind words. I really appreciate it! Makes me want to keep on doing what I’m doing when I see people appreciating it so much 🙂 Have a lovely day and happy hooking!
I did your survey and was pleasantly surprised by your thank you gift! Thank you so much, that was very kind of you. ❤️
Thank YOU for taking the time to fill out this survey. Much appreciated 🙂 Happy hooking!
Well written pattern and great photos lead to an adorable result. Kids (and maybe a few adults) are going to love these. Thanks for sharing.