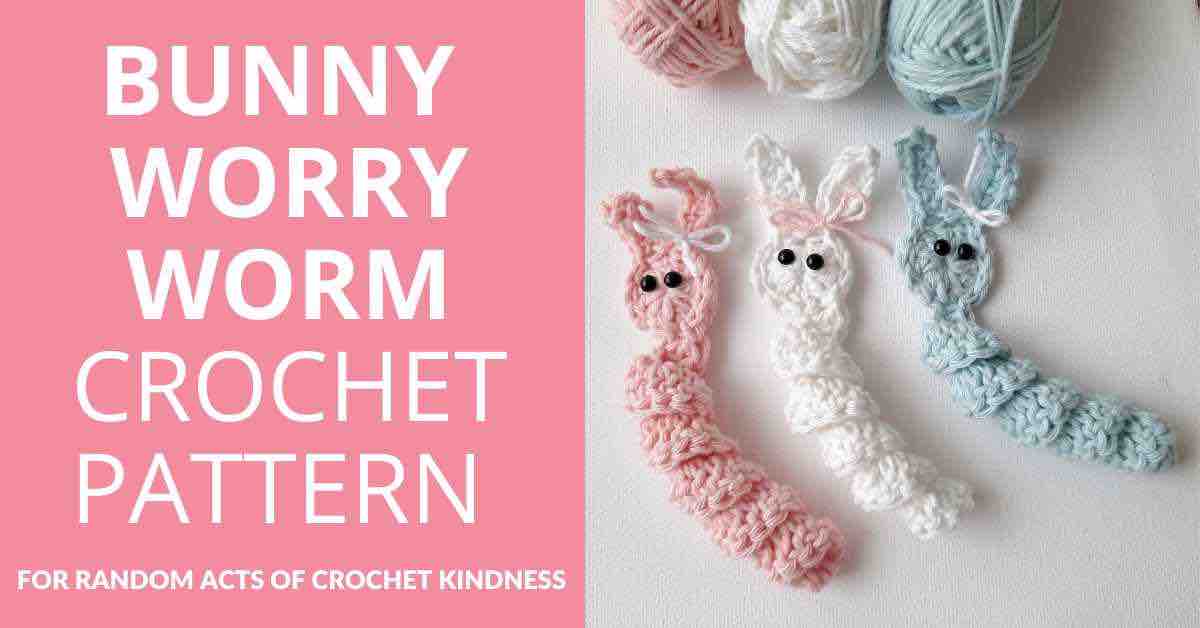
Easy Easter Bunny Worry Worm Crochet Pattern (FREE)
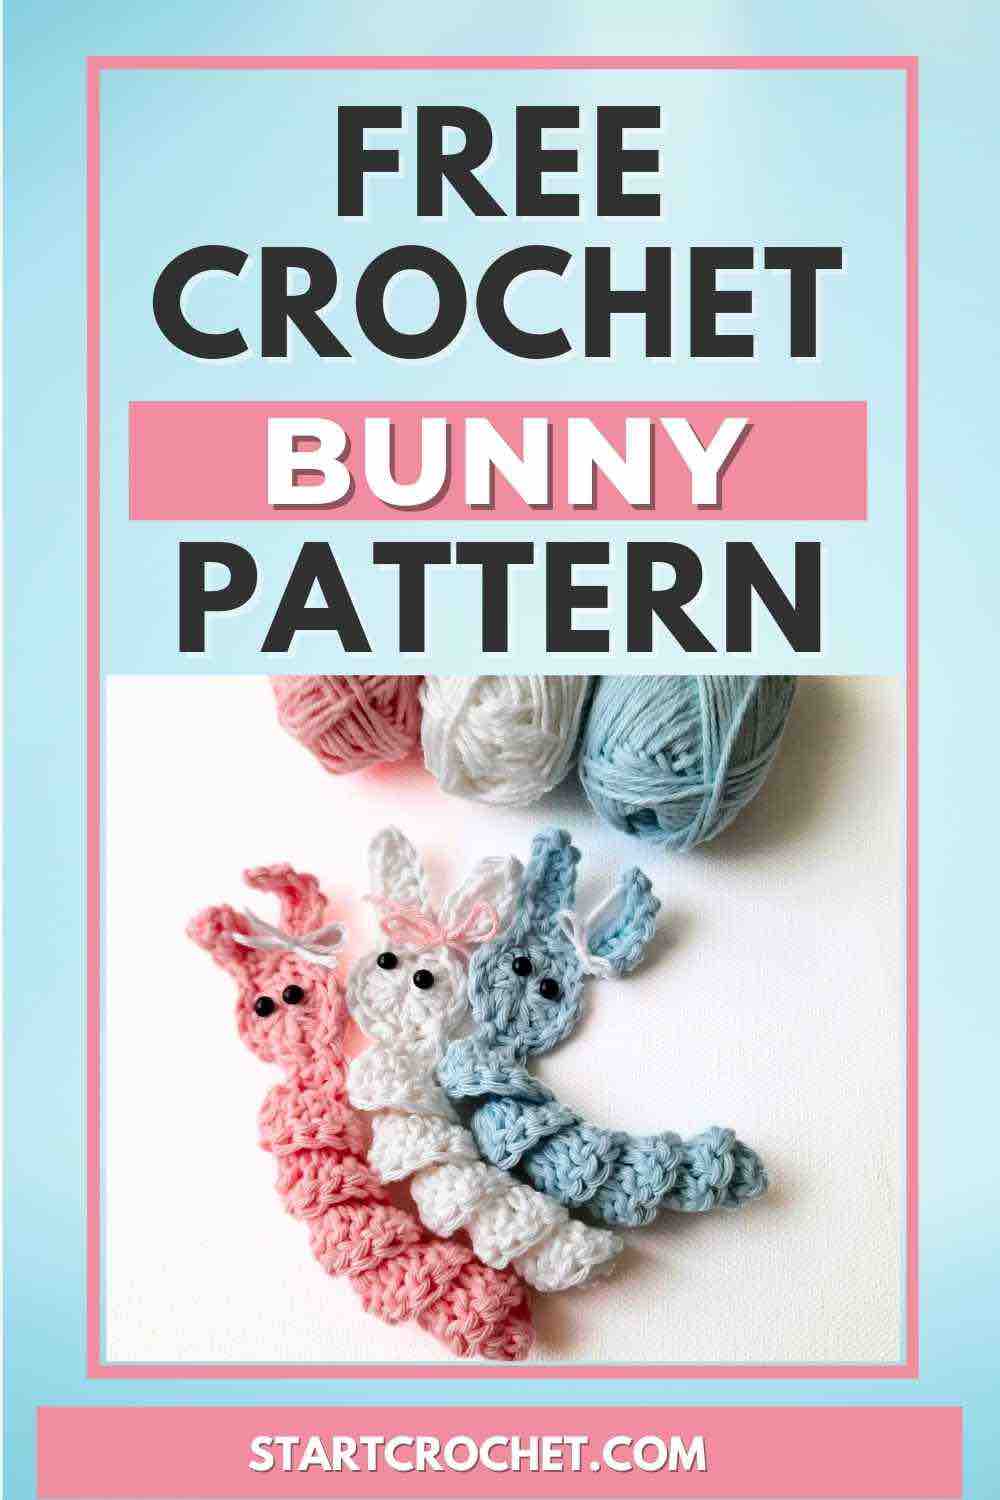
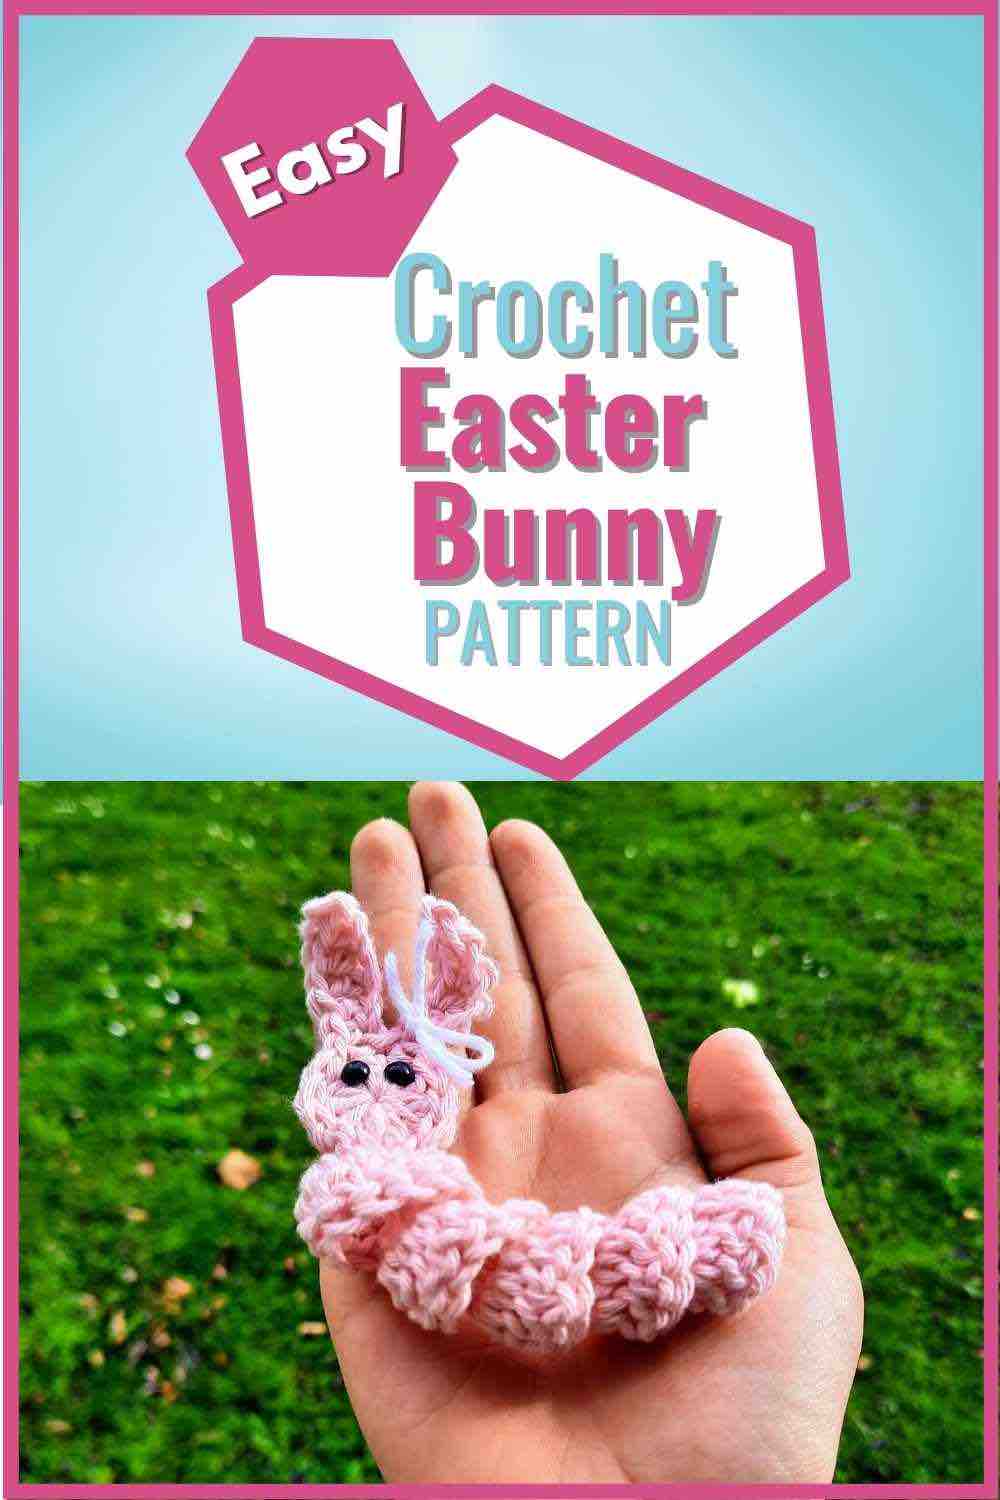
The Quickest bunny rabbit to crochet
I just love Crochet Worry Worms and I try to make one for every occasion. Now that Easter is around the corner, I thought of making some bunny worry worms for my kids' Easter Baskets and to leave out and about for people to find.
I wanted the simplest possible pattern that can be crocheted quickly and easily because I'm going to be making a lot of these!
If you're new to the idea of worry worms, you can have a look at this post where I explain why worry worms are so special and what they are used for.
The Bunny Worry Worms are featured today April 1, 2025 in the Easter Crochet Blog Hop kindly hosted by My Fingers Fly.
Like this pattern, but not ready to work it yet? Save it to Pinterest!
Disclaimer: This post contains affiliate links, which means I receive a small commission, at no extra cost to you, if you make a purchase using the Start Crochet links. Please see my disclosure for more details.
Are you just learning how to crochet? Have a look at these awesome crochet kits, perfect for beginners! I wrote a complete hands-on review on The Woobles Kits for you 🙂
How To Crochet A Bunny Worry Worm
What You’ll Learn
- How to crochet in the round
- How to crochet a 3-D spiral
- How to crochet tiny bunny ears
Materials Needed
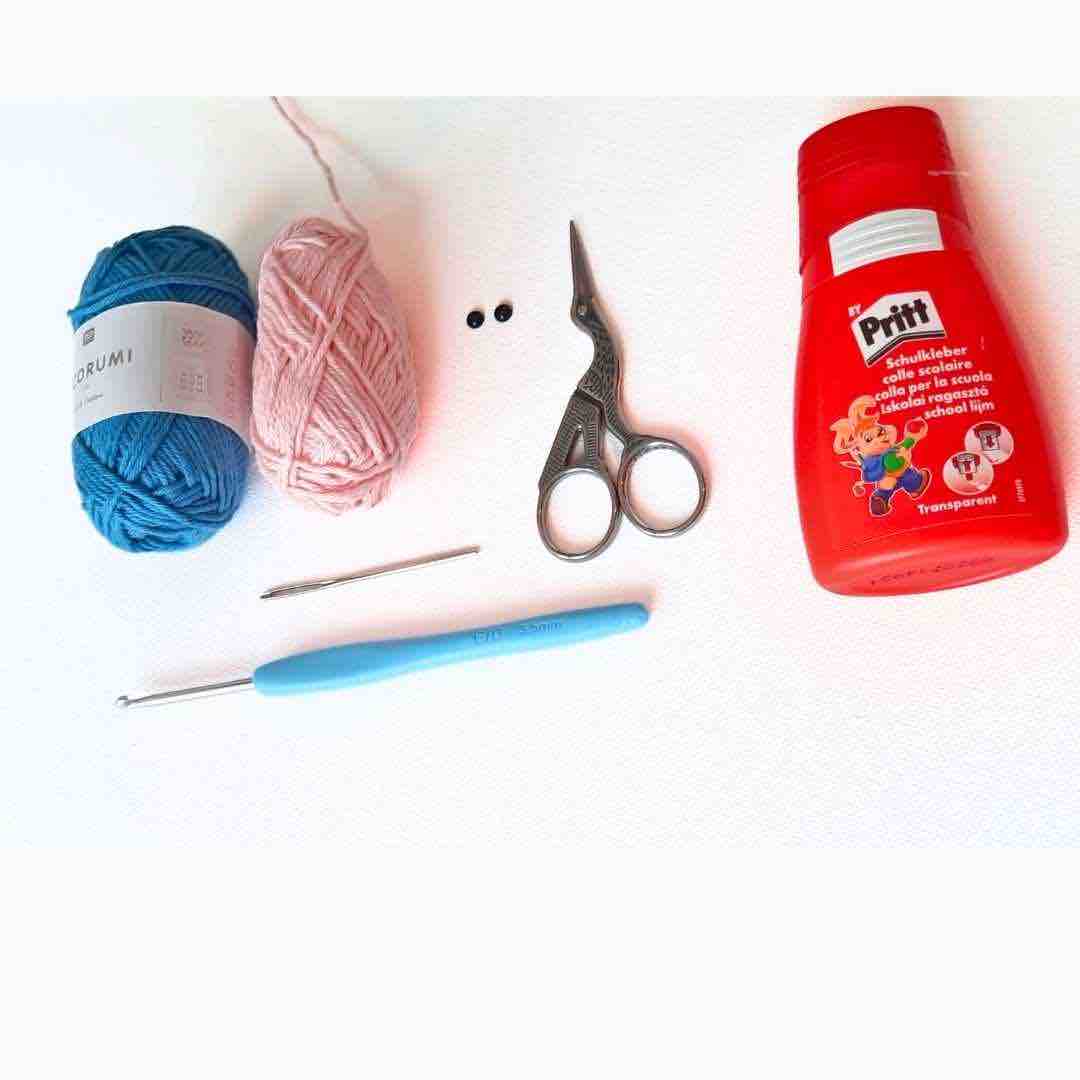
- Some DK cotton yarn in colors of choice. I used Ricorumi DK, 100% cotton in white, pink and blue.
- Crochet hook that fits your yarn. For this project I used a 3.5 mm hook.
- A tapestry needle
- A pair of scissors
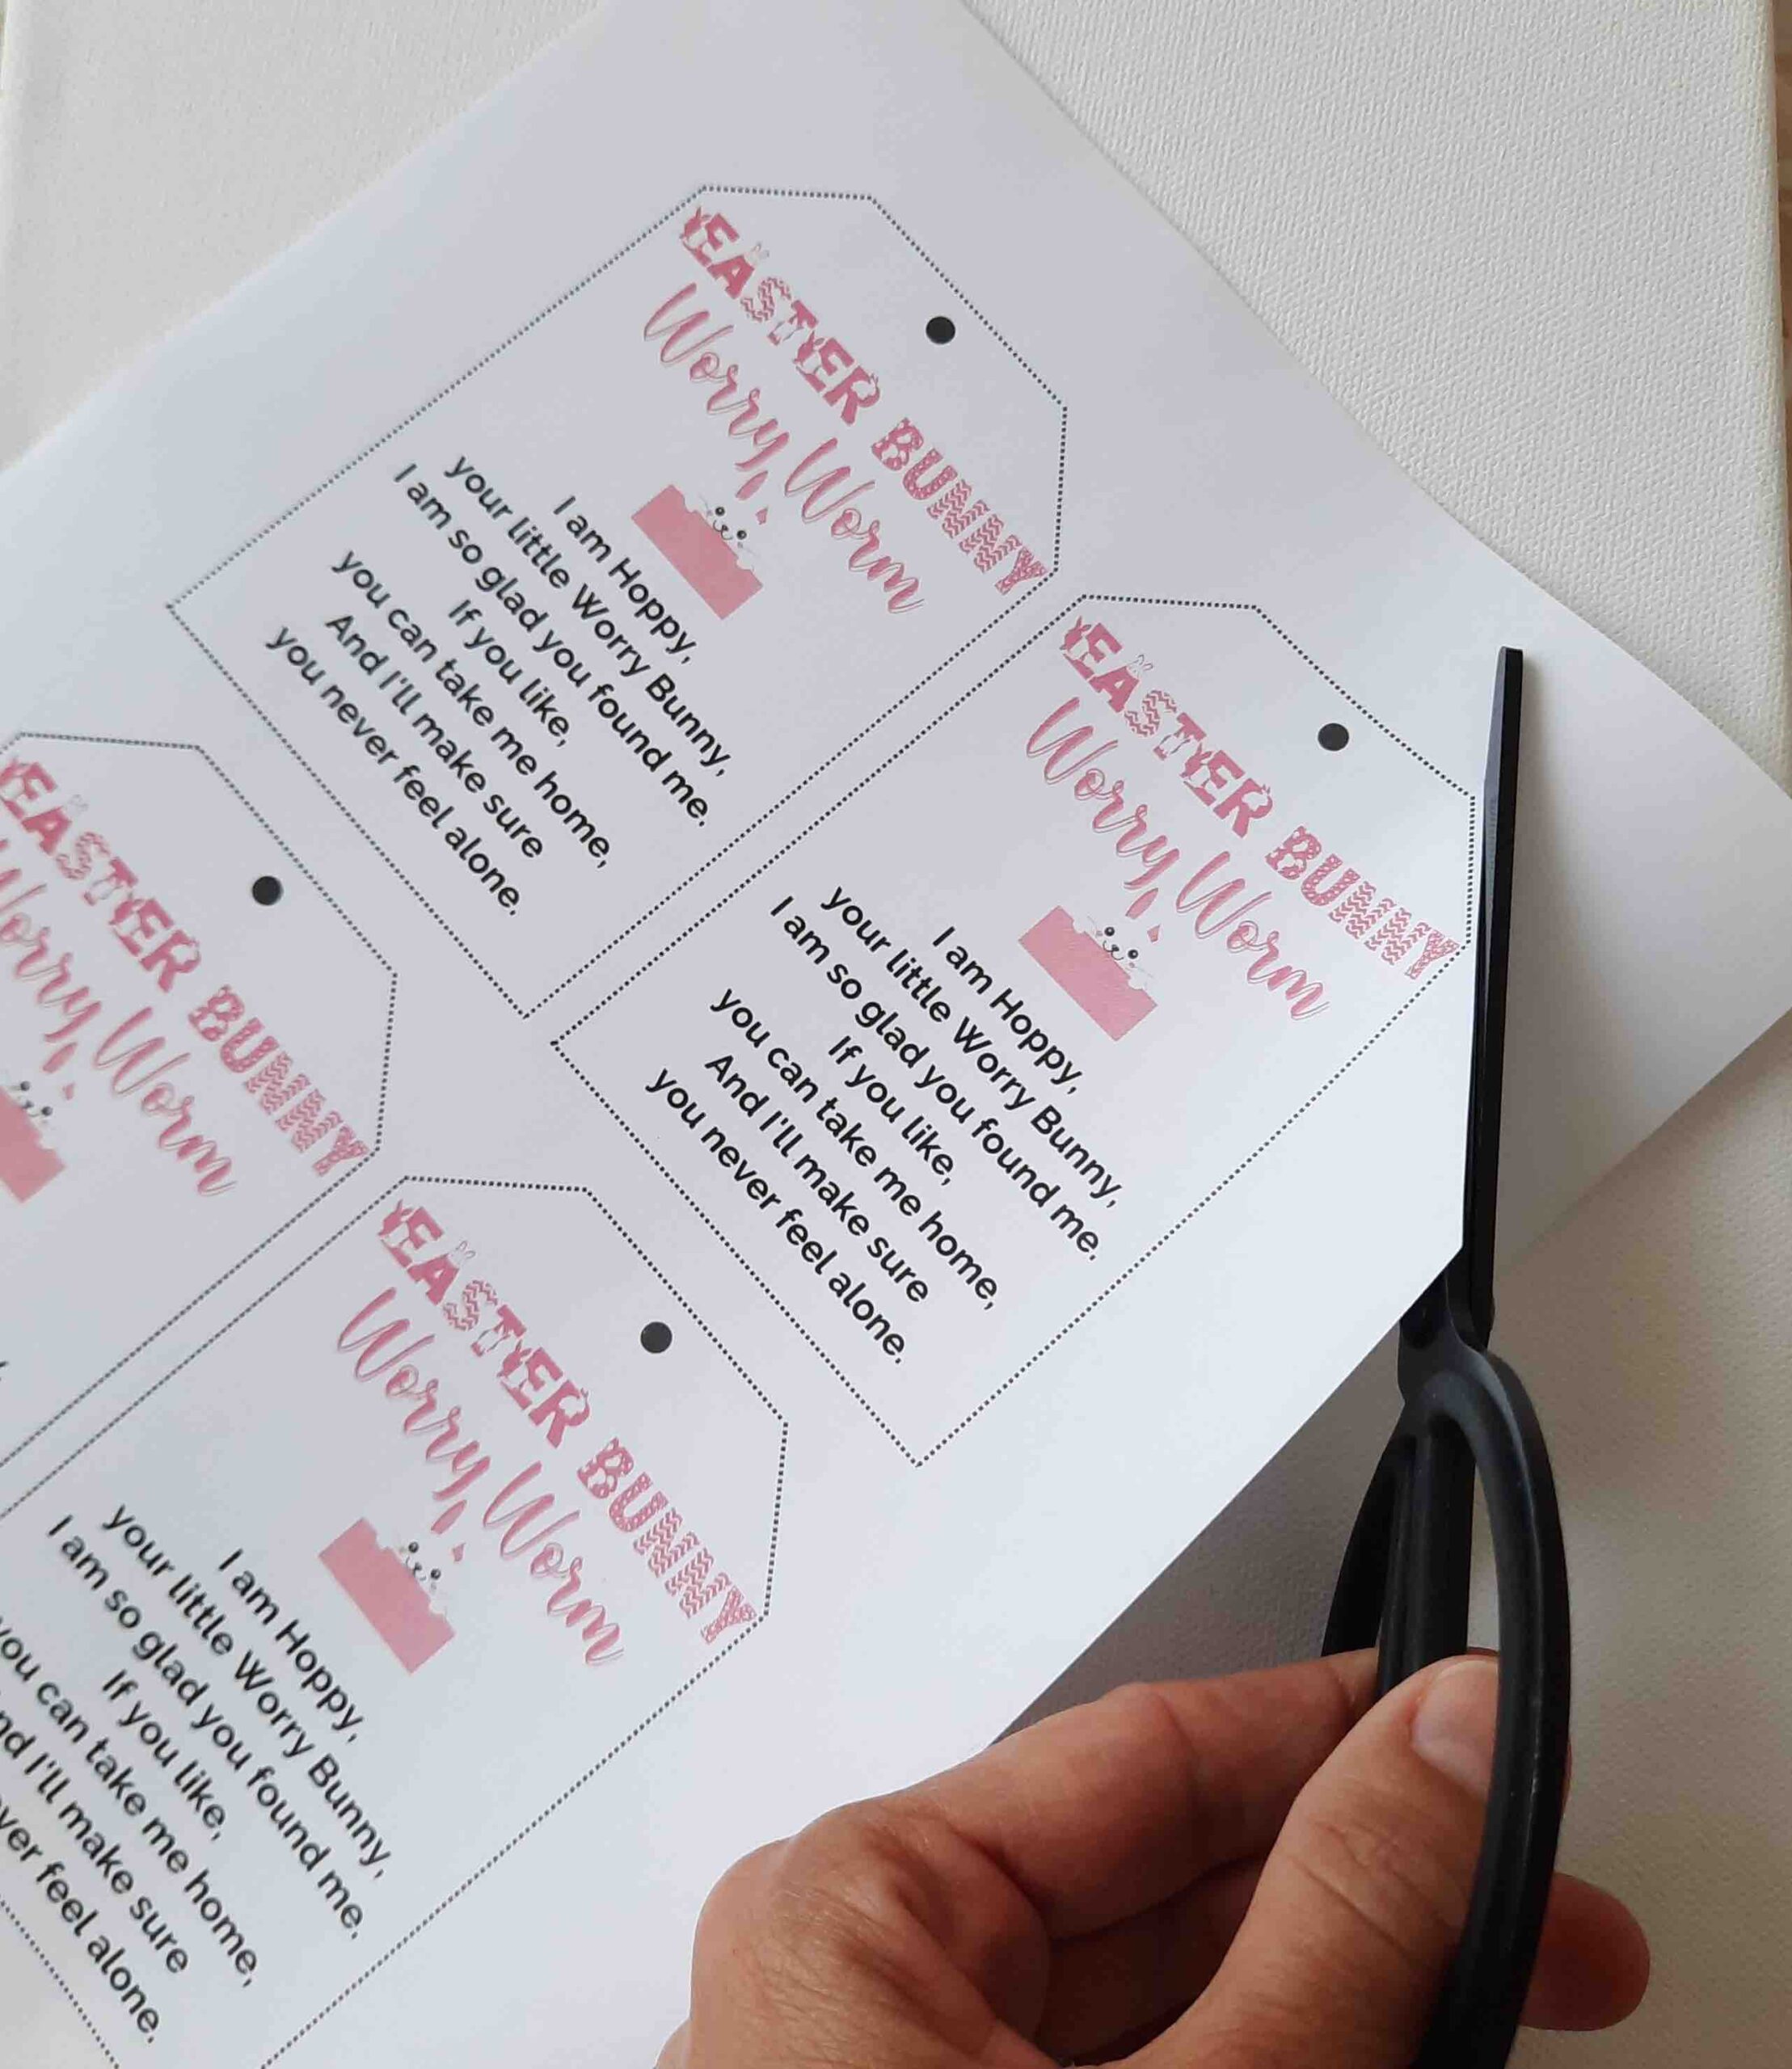
- Printer & A4 paper or card stock to print your cards (optional).
Abbreviations
- mc = magic circle
- ch = chain
- sc = single crochet
- hdc = half double crochet
- dc = double crochet
- sl st = slip stitch
- fo = fasten off
Like this pattern, but not ready to work it yet? Save it to Pinterest!
Skill Level
Beginner – (knowledge of how to crochet a Magic Circle or alternative – please see options in instructions below).
Gauge
Gauge = 13 sts & 4 rows in dc = 2.5" (5 cm)
Gauge is not really that crucial for this project. If you wish to have a smaller bunny, you can go down to a 2.5 mm hook. And if you’d like a larger one, then you could go up half or a whole number/letter hook size (suggestion: between letters C & D hooks).
Measurements:
This bunny measures is 5.1" (13 cm) tall including the ears & 1.18 " (3 cm) wide.
Yardage:
Approx. 7 meters (7.6 yards)
Notes
- Numbers at the end of each step (in brackets) indicate the number of final stitches in that step.
- Beginning Ch 2 counts as a dc st.
- There is no stitching required in this pattern except for weaving in the ends.
- Do not cut your yarn between the different sections of the bunny. Simply continue to the next body part.
- I use US crochet terms. Here's a Free US/UK Conversion Chart
US vs. UK Crochet Terms & Symbols
Free Printable


Your info is 100% secure and will never be shared.
Stitch How-To Instructions
Instructions for Ch (Chain):
Bring the yarn over the crochet hook from back to front and hook it. Draw hooked yarn through the loop of the stitch on your hook and up onto the working area of your hook.
Instructions for sc (Single Crochet):
Insert hook into stitch, yarn over, pull the loop back through the stitch (you now have two loops on hook), yarn over again and pull through both loops on hook (note: this is equivalent to the UK Double Crochet (dc) stitch)
Instructions for hdc (Half Double Crochet):
Yarn over first, then insert hook into stitch, yarn over, pull the loop back through the stitch (you now have three loops on hook), Pull your working yarn over again and pull through all three loops on hook . You've now completed your hdc stitch. [Note: this is equivalent to the UK Half Trebble Crochet (htr) stitch]
Instructions for dc (Double Crochet):
Yarn over first, then insert hook into stitch, yarn over, pull the loop back through the stitch (you now have three loops on hook), Pull your working yarn over again and pull through two loops on hook . You now have 2 loops on your hook. Yarn over and pull through the last two loops on your hook. You are left with only one loop on your hooks, which means you've completed your dc stitch. (note: this is equivalent to the UK Trebble Crochet (tc) stitch)
Instructions for Sl St (Slip Stitch): Insert hook, yarn over, pull the loop back through your last stitch AND through the loop on your hook (through both stitches).
Instructions for Fastening Off: After the last stitch of the last round, cut the yarn, leaving a 6-inch end. Draw the cut end of your yarn completely through the stitch & pull to tighten knot.
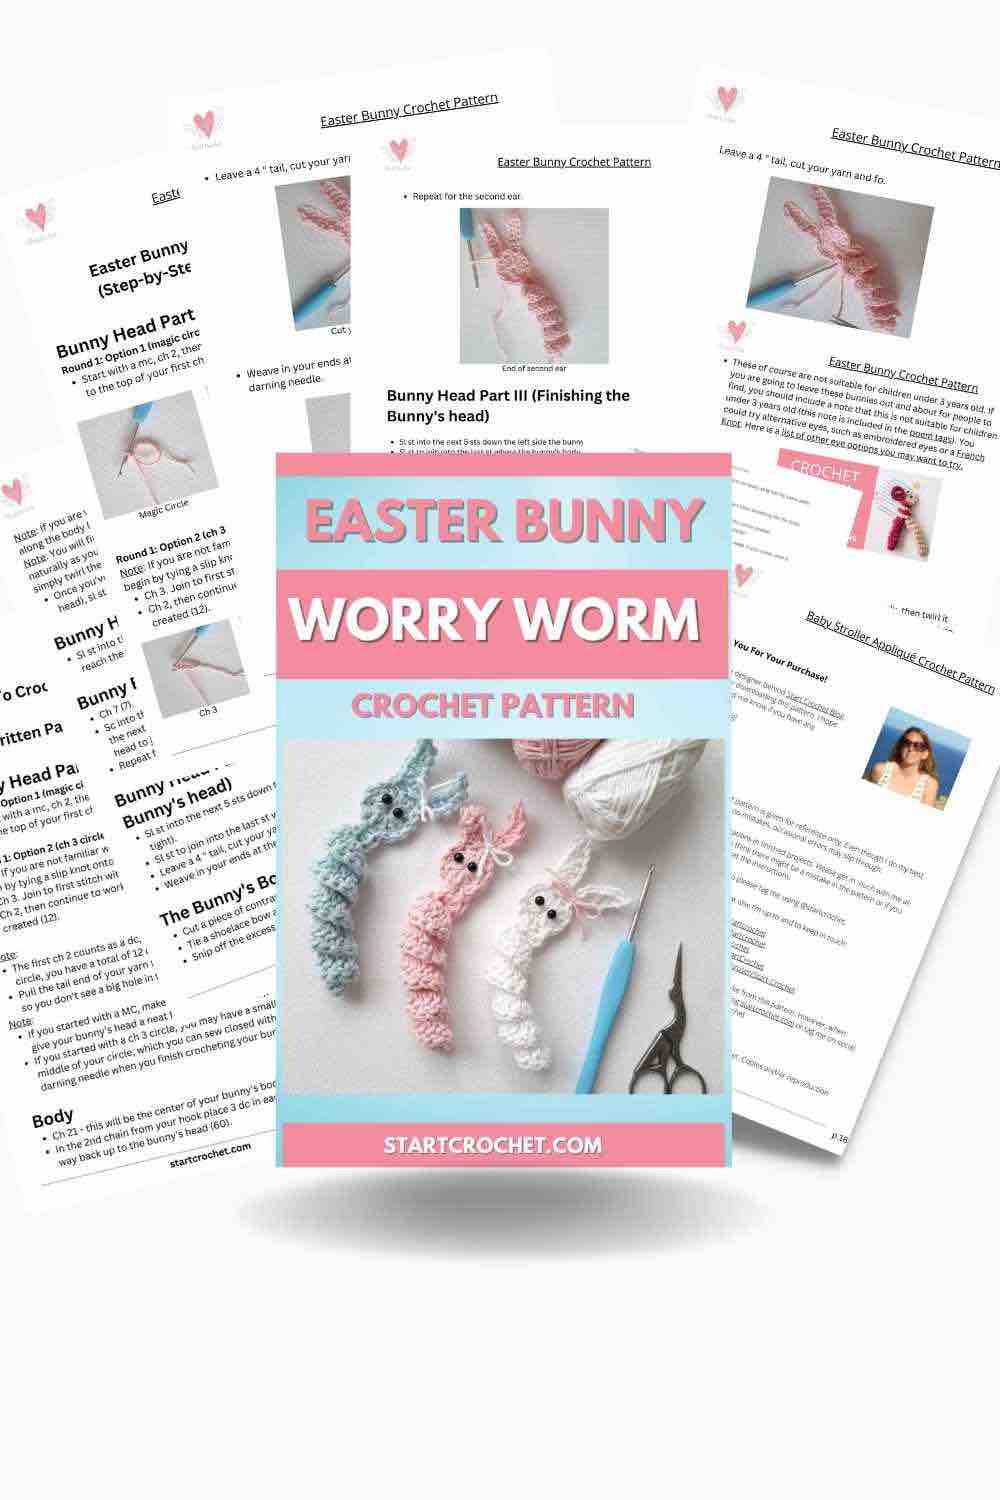
AD-FREE PDF PRINTABLE OFFERS
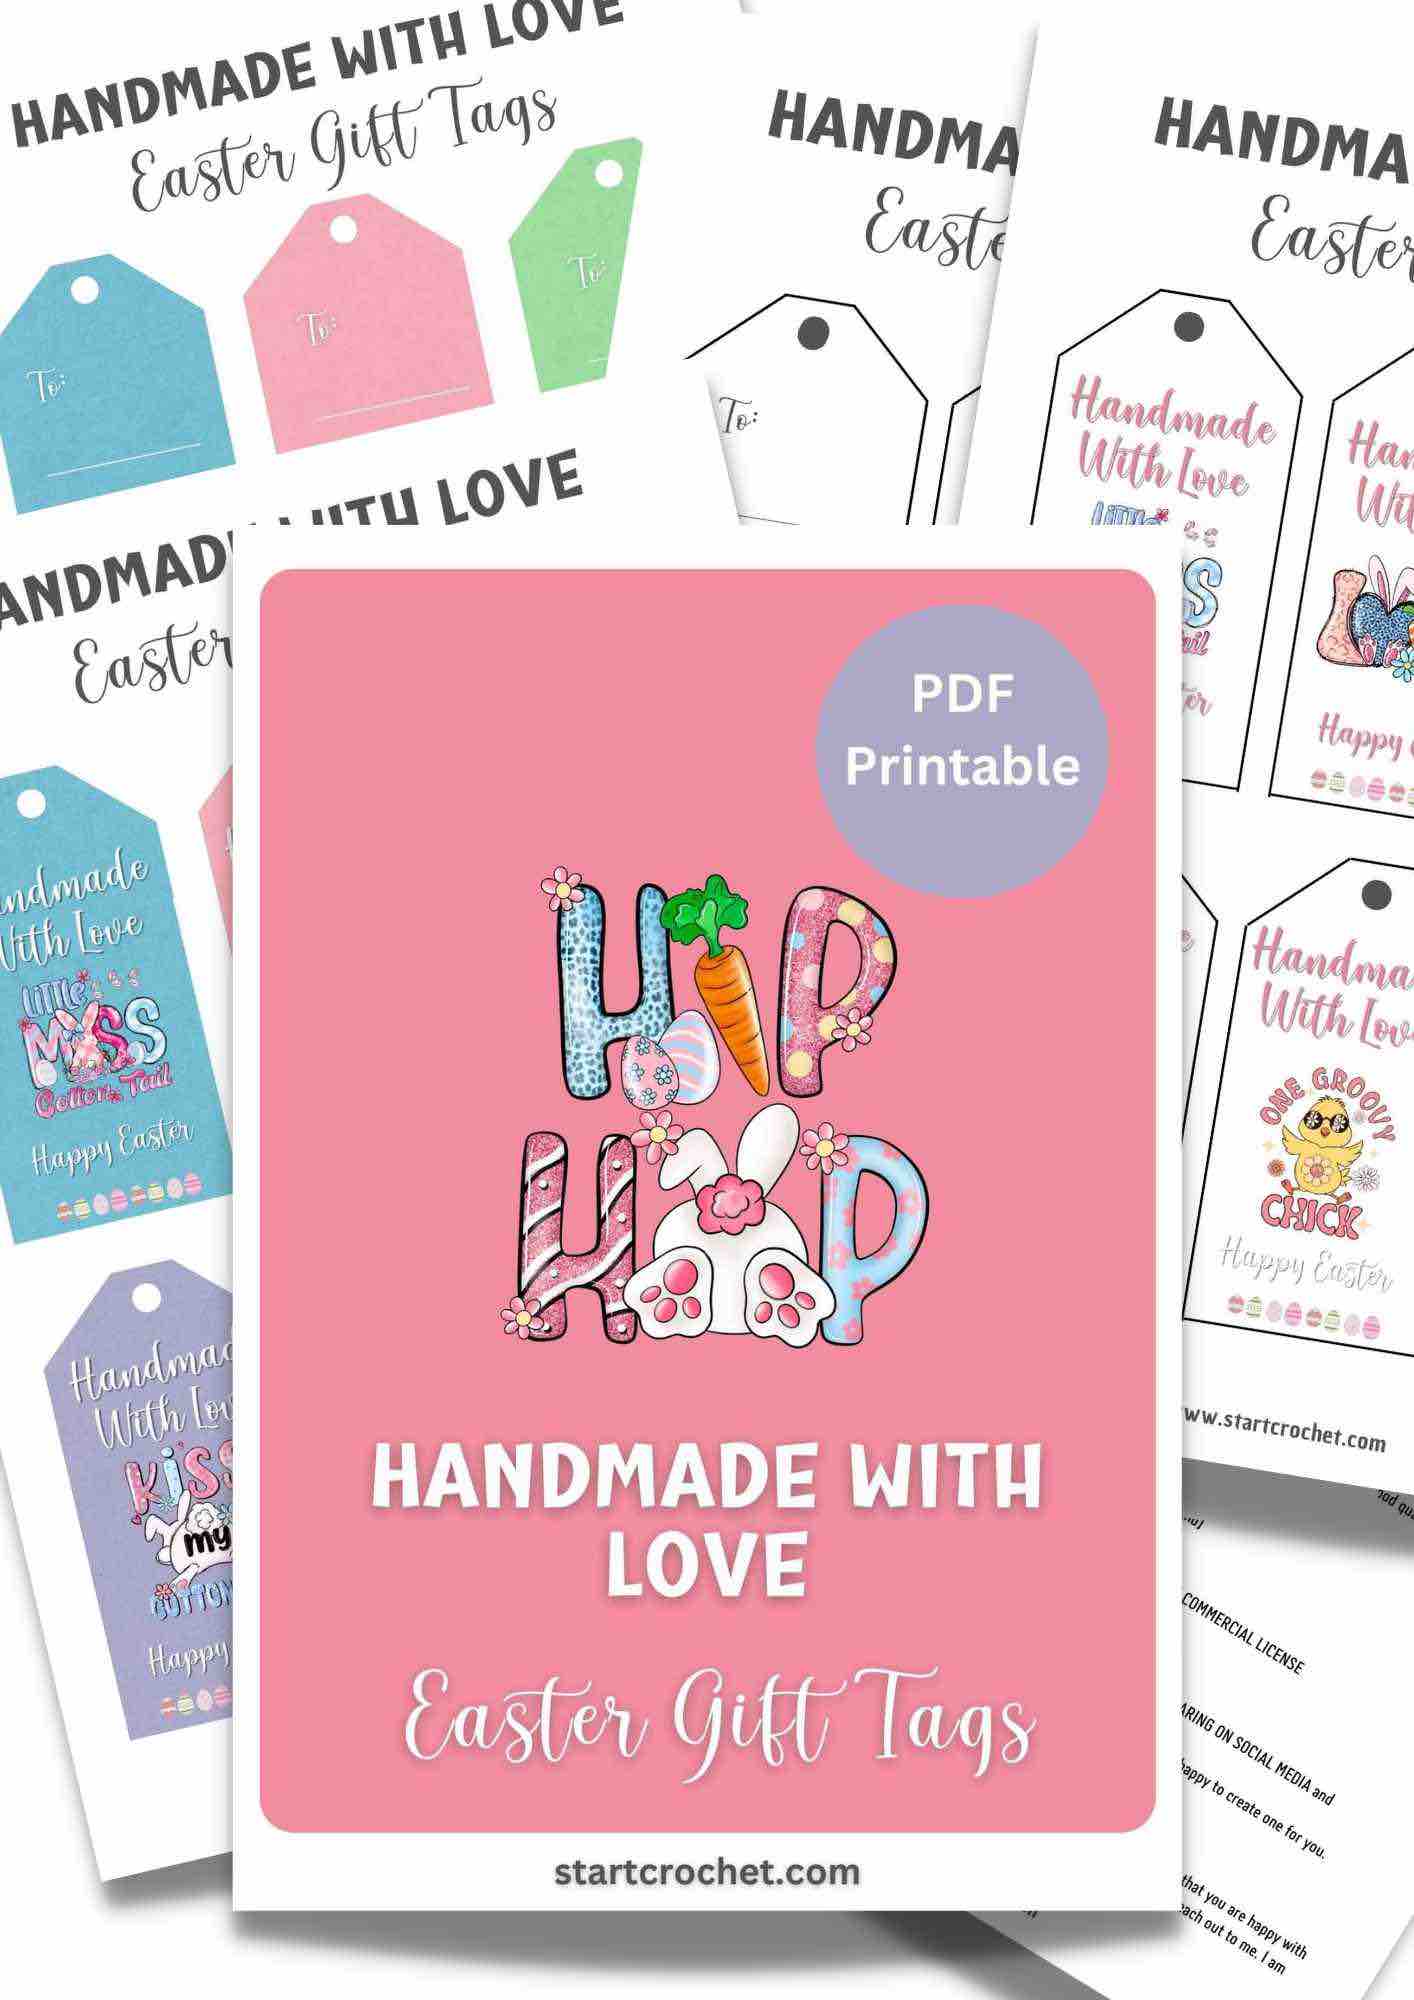
"Handmade With Love"Easter Gift Tags (Sale!)
Looking for some cute Easter gift tags to add to your crocheted bunnies? These printable tags are on Sale Now!
YouTube Video Tutorial
How To Crochet A Bunny Worry Worm Pattern Instructions
Bunny Head Part I
Round 1: Option 1 (magic circle)
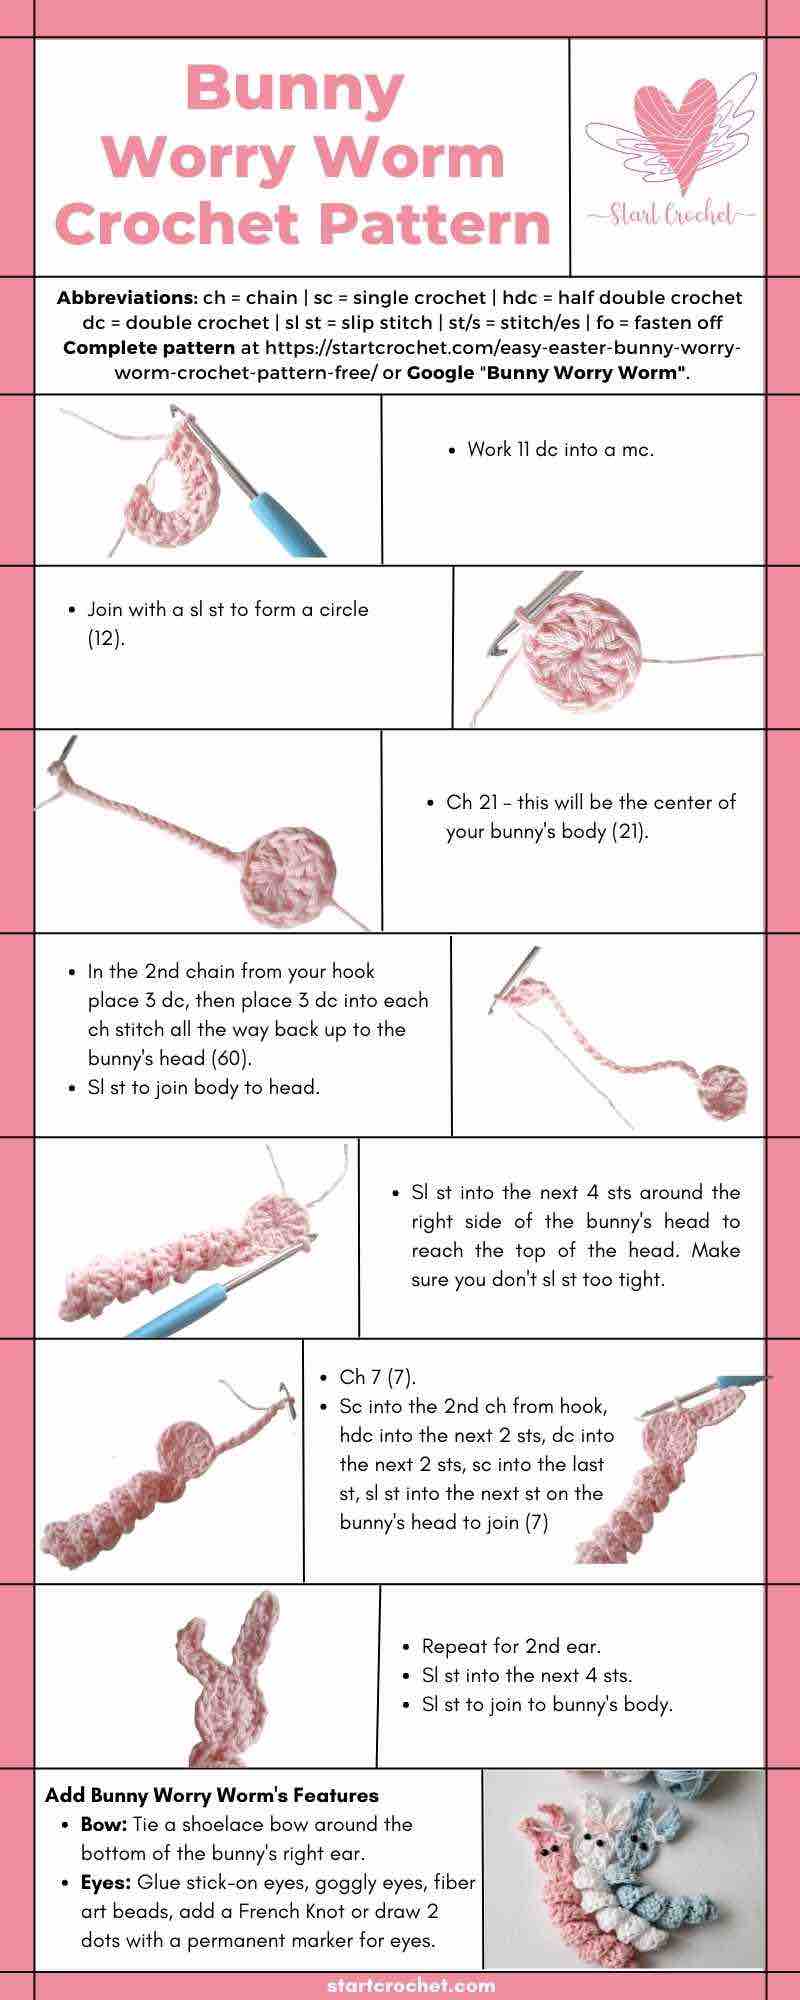
- Start with a mc, ch 2, then work 11 dc into the mc. Join with a sl st to the top of your first ch 2 to form a circle (12).
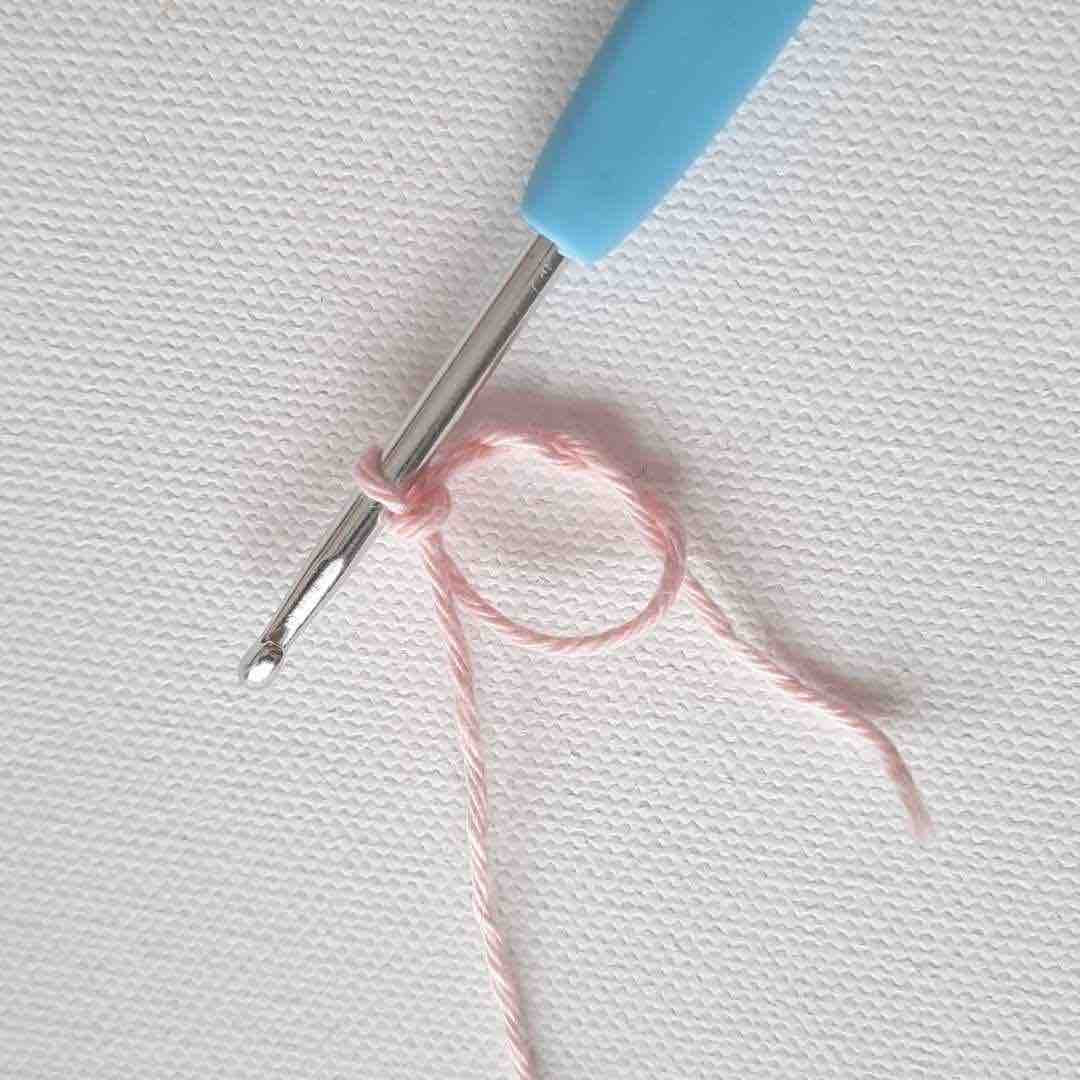
Magic Circle
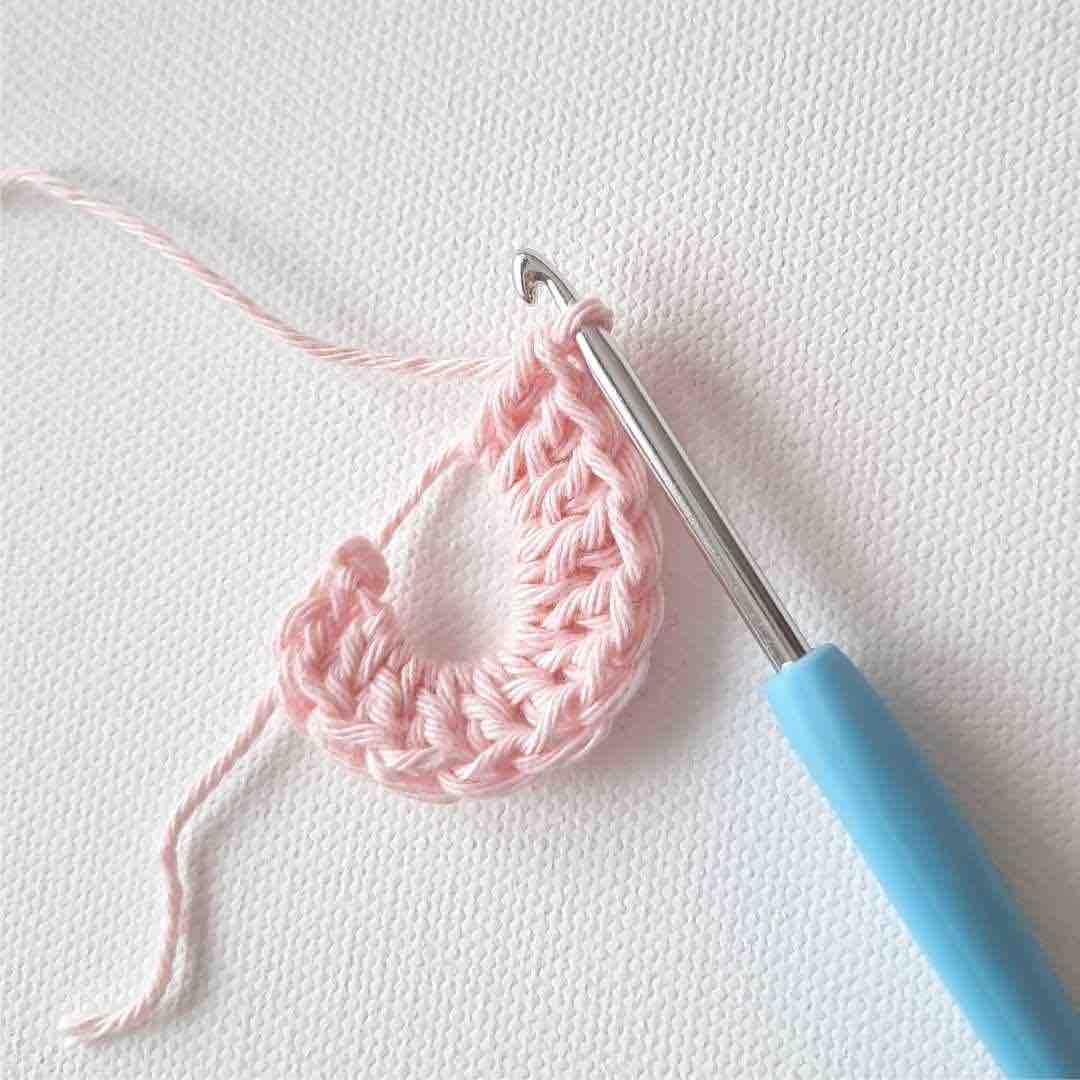
Ch 2, 11 dc into MC
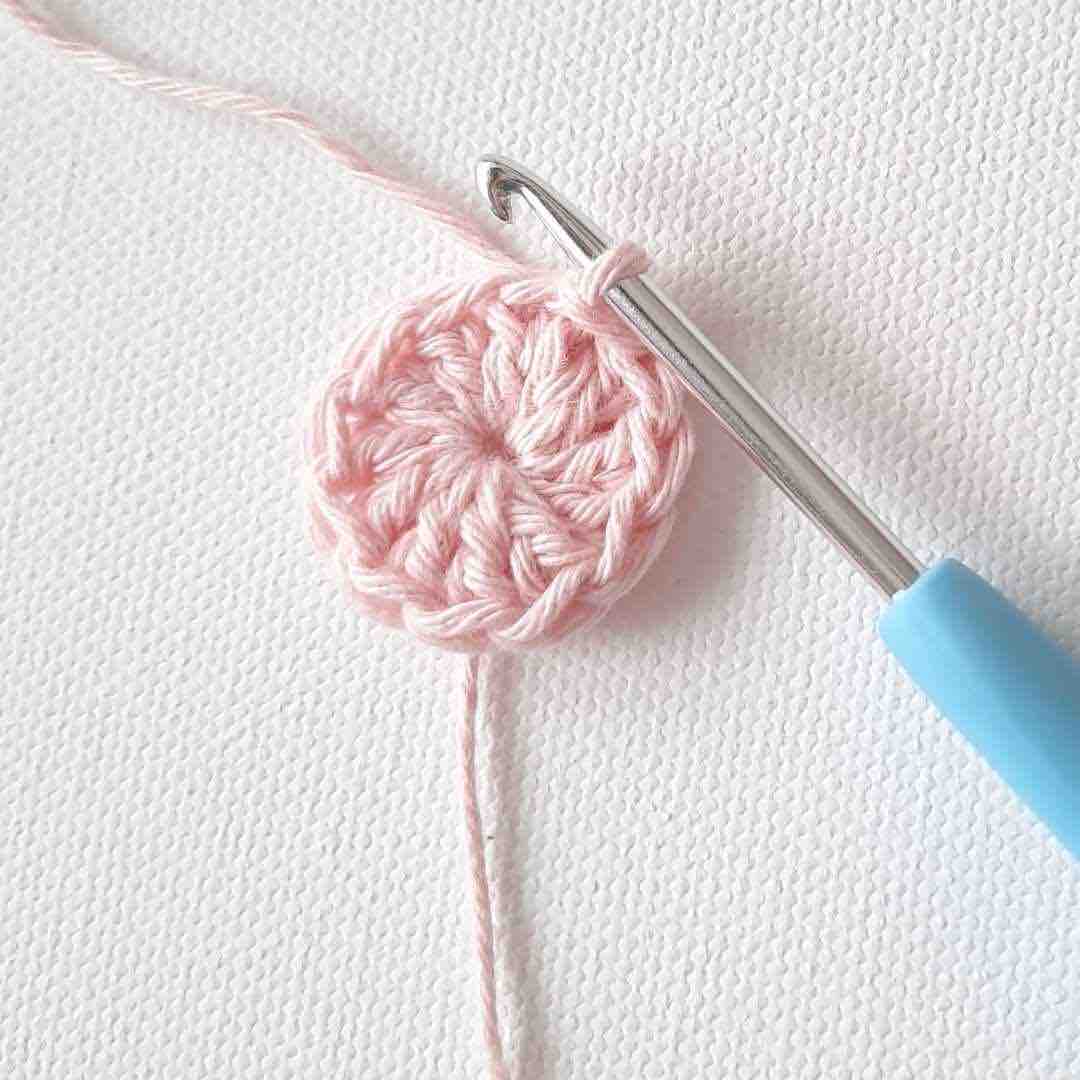
Sl st to top of ch 2 to form a circle
Round 1: Option 2 (ch 3 circle)
Note: If you are not familiar with the Magic Circle (mc), then you can begin by tying a slip knot onto your hook
- Ch 3. Join to first stitch with a slip stitch to form a circle (3).
- Ch 2, then continue to work 11 dc stitches into the circle you just created (12).
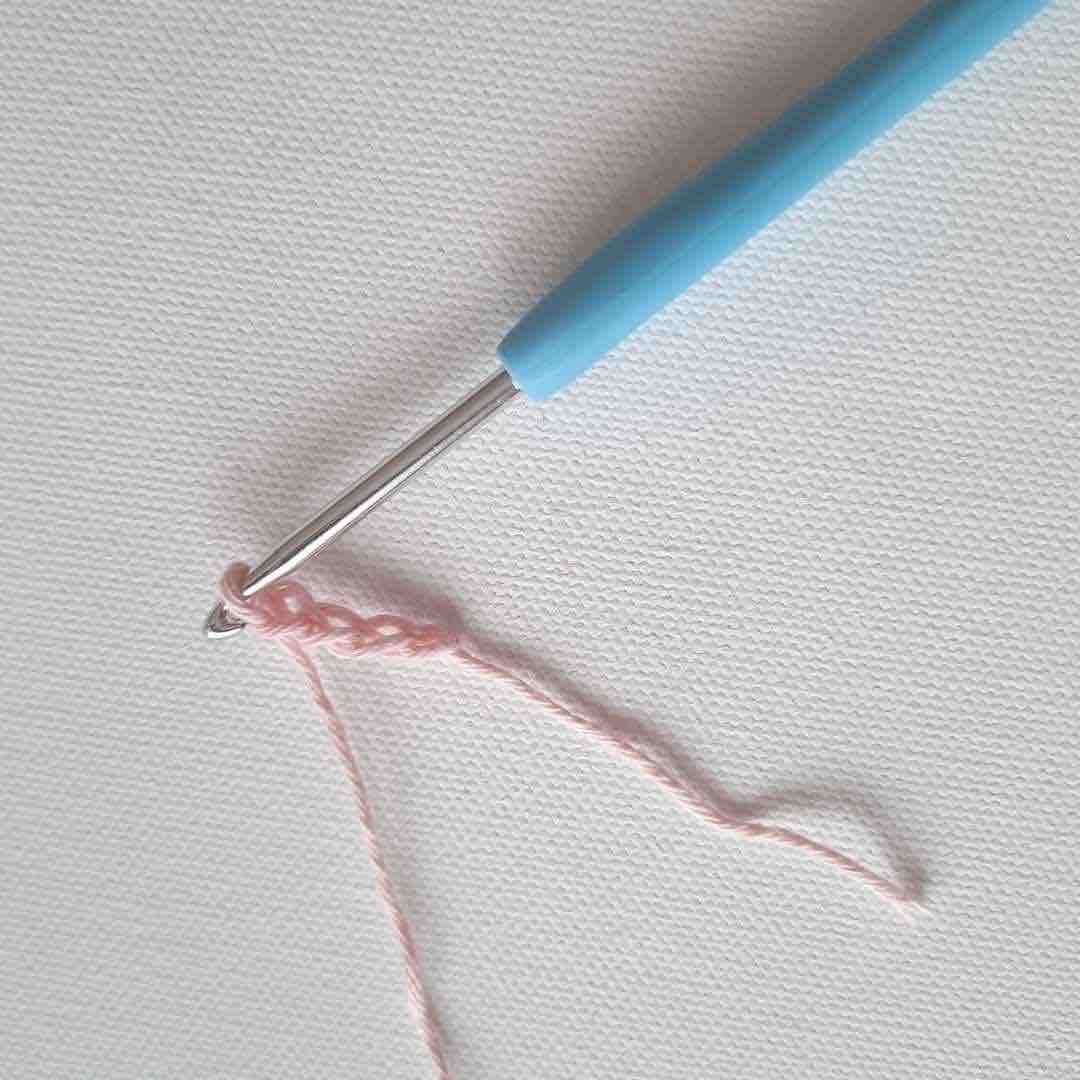
Ch 3
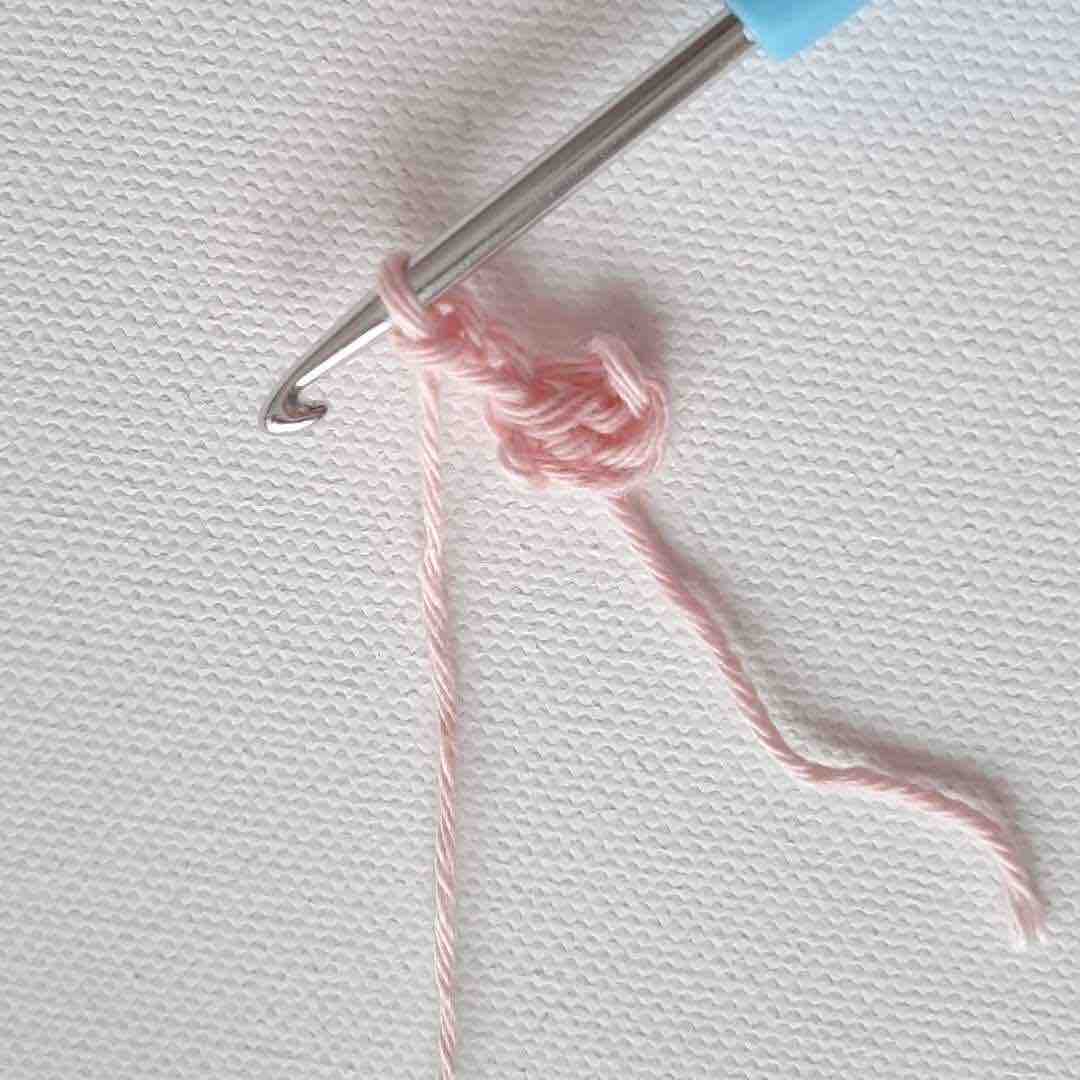
Ch 2
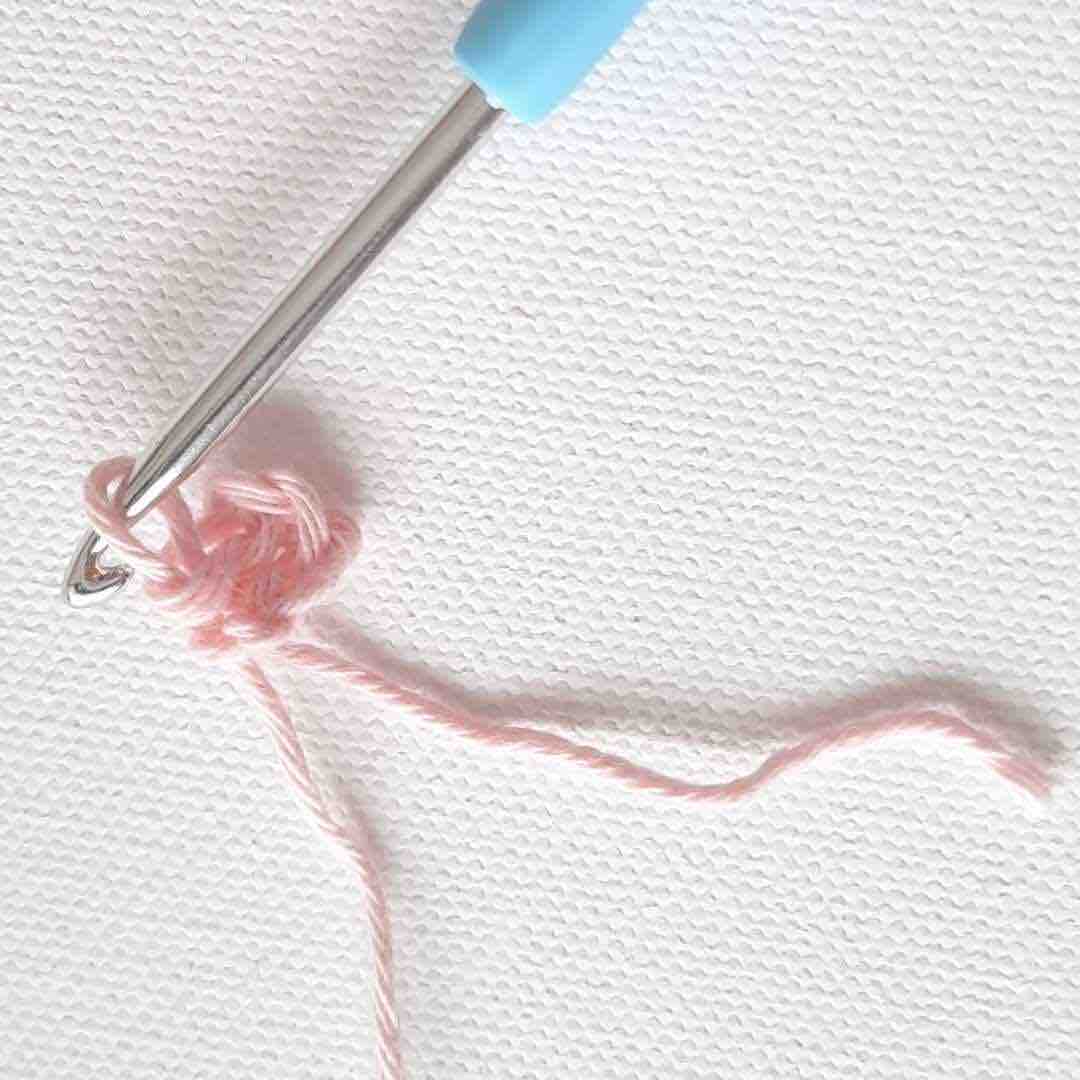
Sl st to first st to form a circle

11 dc into circle & join
Notes:
- The first ch 2 counts as a dc, so when you work 11 more dc into the circle, you have a total of 12 dc for Round 1.
- If you started with a MC, make sure you pull the tail nice & tight to give your bunny’s head a neat finish (closed center).
- If you started with a ch 3 circle, you may have a small gap in the middle of your circle, which you can sew closed with a tapestry / darning needle when you finish crocheting your bunny.
Body
- Ch 21 - this will be the center of your bunny's body (21).
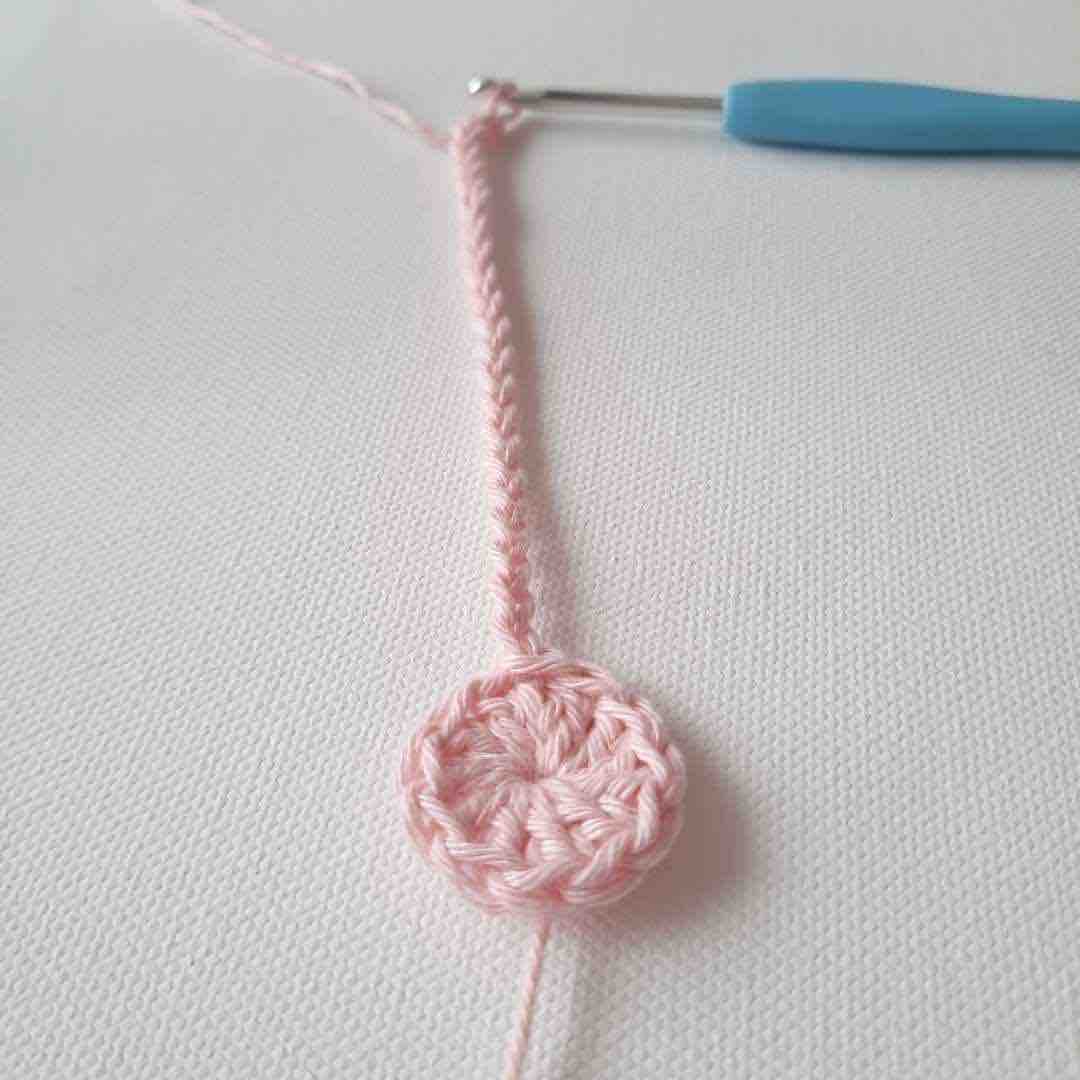
Ch 21
- In the 2nd chain from your hook place 3 dc, then place 3 dc into each ch stitch all the way back up to the bunny's head (60).
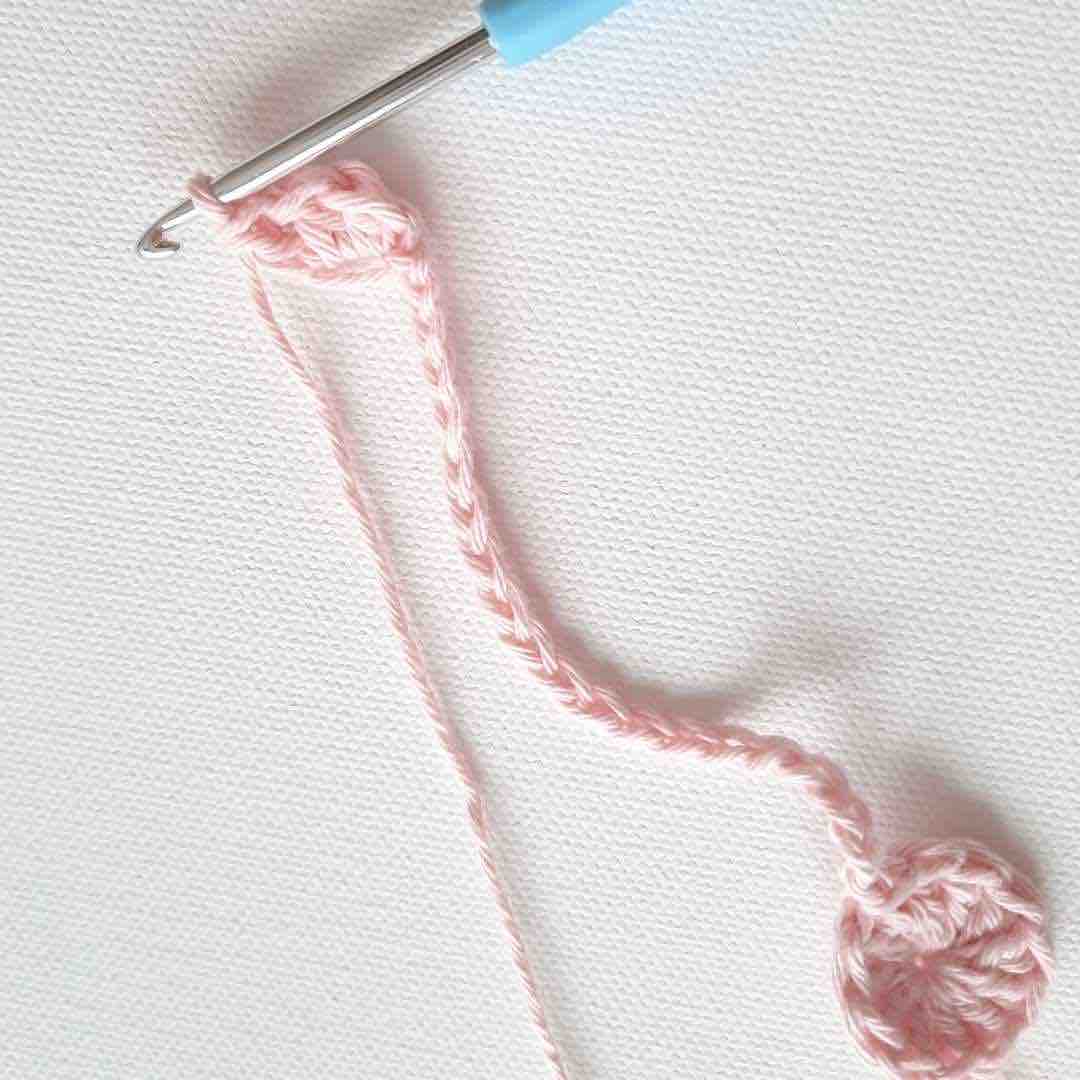
3 dc into second ch from hook
Note: If you are working with thin yarn, then place 4 dc in each chain along the body (80).
Note: You will find that the body of your bunny will start to curl up naturally as you progress with your work. If the curls don't look right, simply twirl the curls around your finger to place them in a nice spiral.
- Once you've reached the top of your bunny's body (nearest to its head), sl st into the same stitch from where you started your chain.
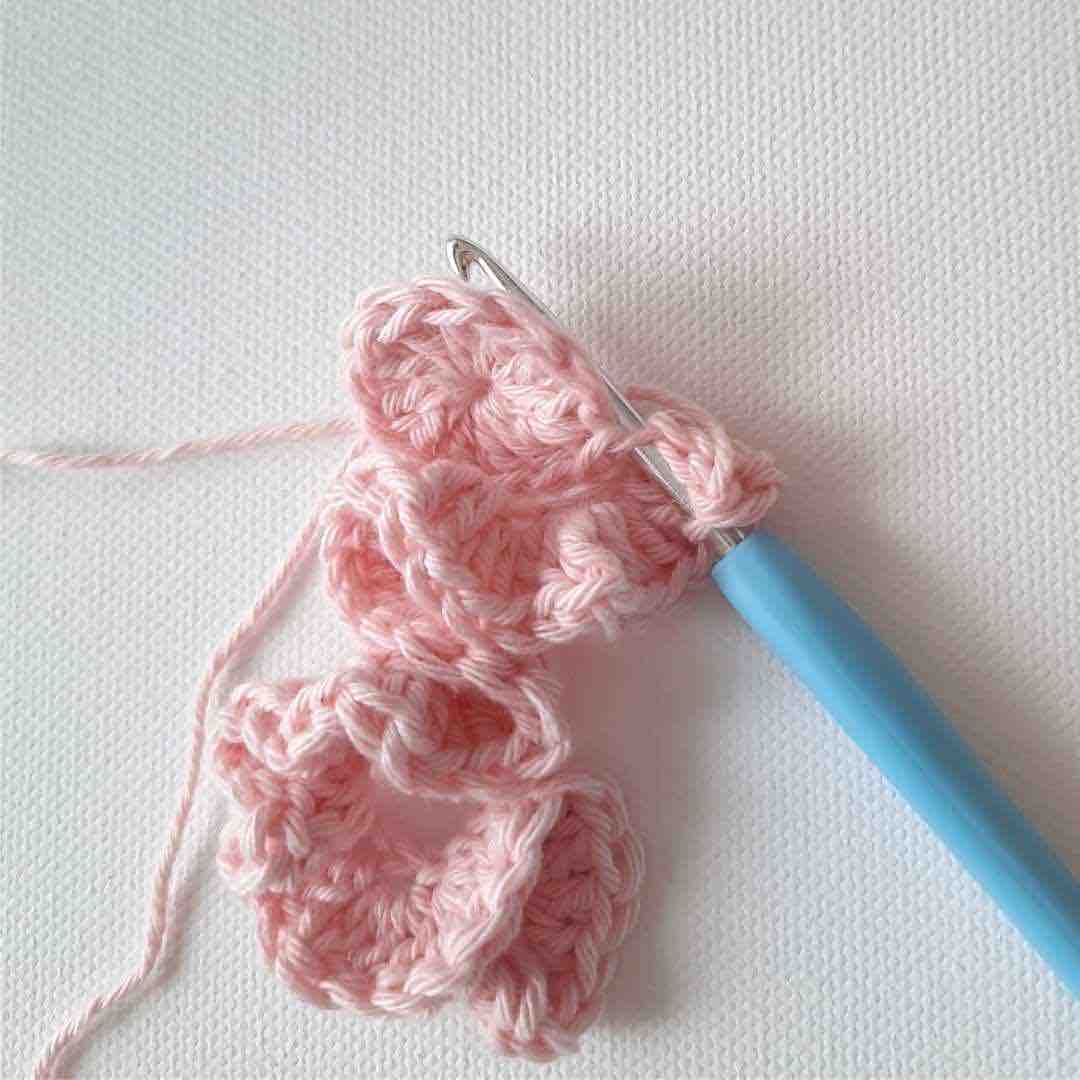
Sl St to Join body to head
Bunny Head Part II
- Sl st into the next 4 sts around the right side of the bunny's head to reach the top of the head. Make sure you don't sl st too tight.
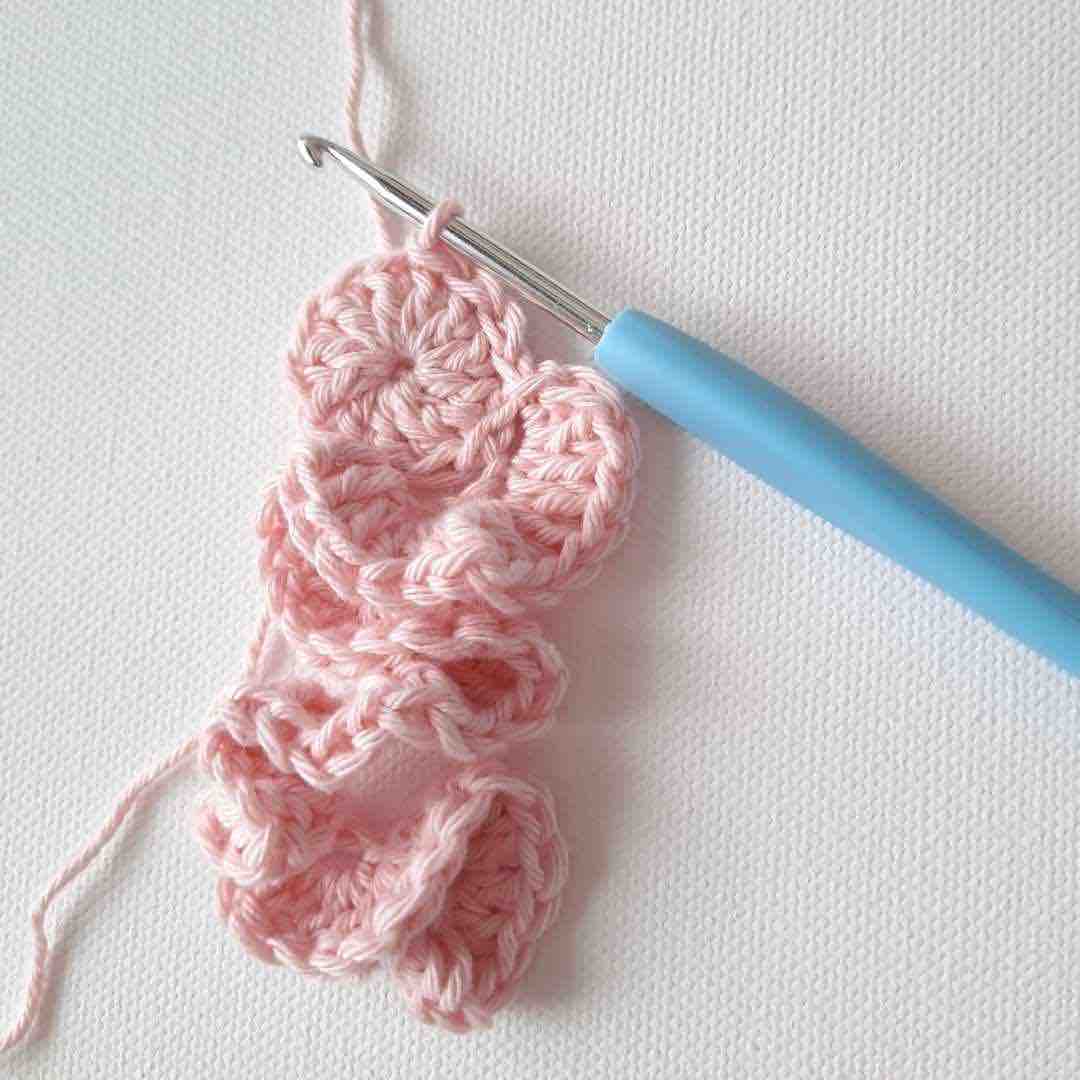
4 sl sts up the right side of the head
Bunny Ears (x 2)
- Ch 7 (7).
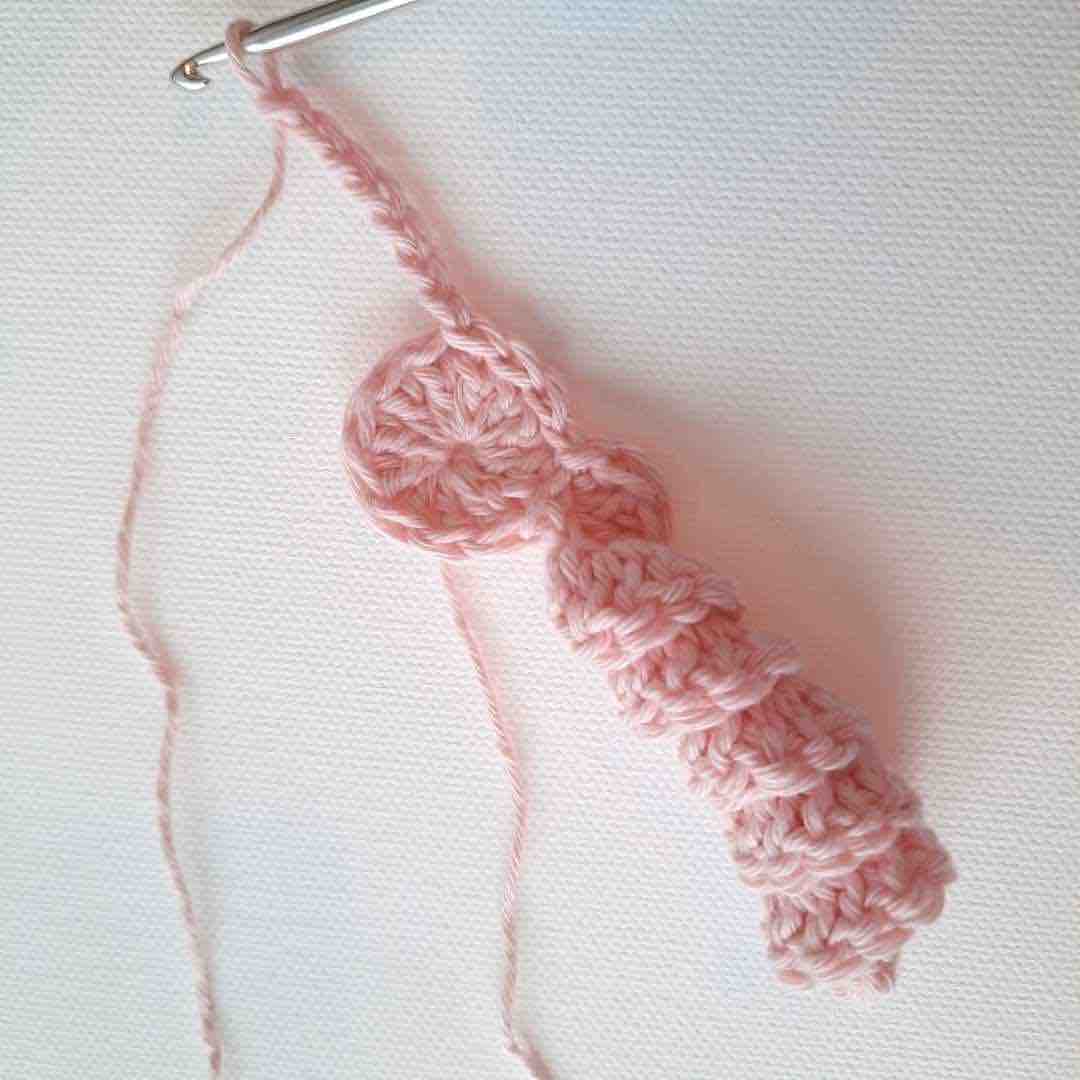
Ch 7
- Sc into the 2nd ch from your hook, hdc into the next 2 sts, dc into the next 2 sts, sc into the last st, sl st into the next st on the bunny's head to join (7).
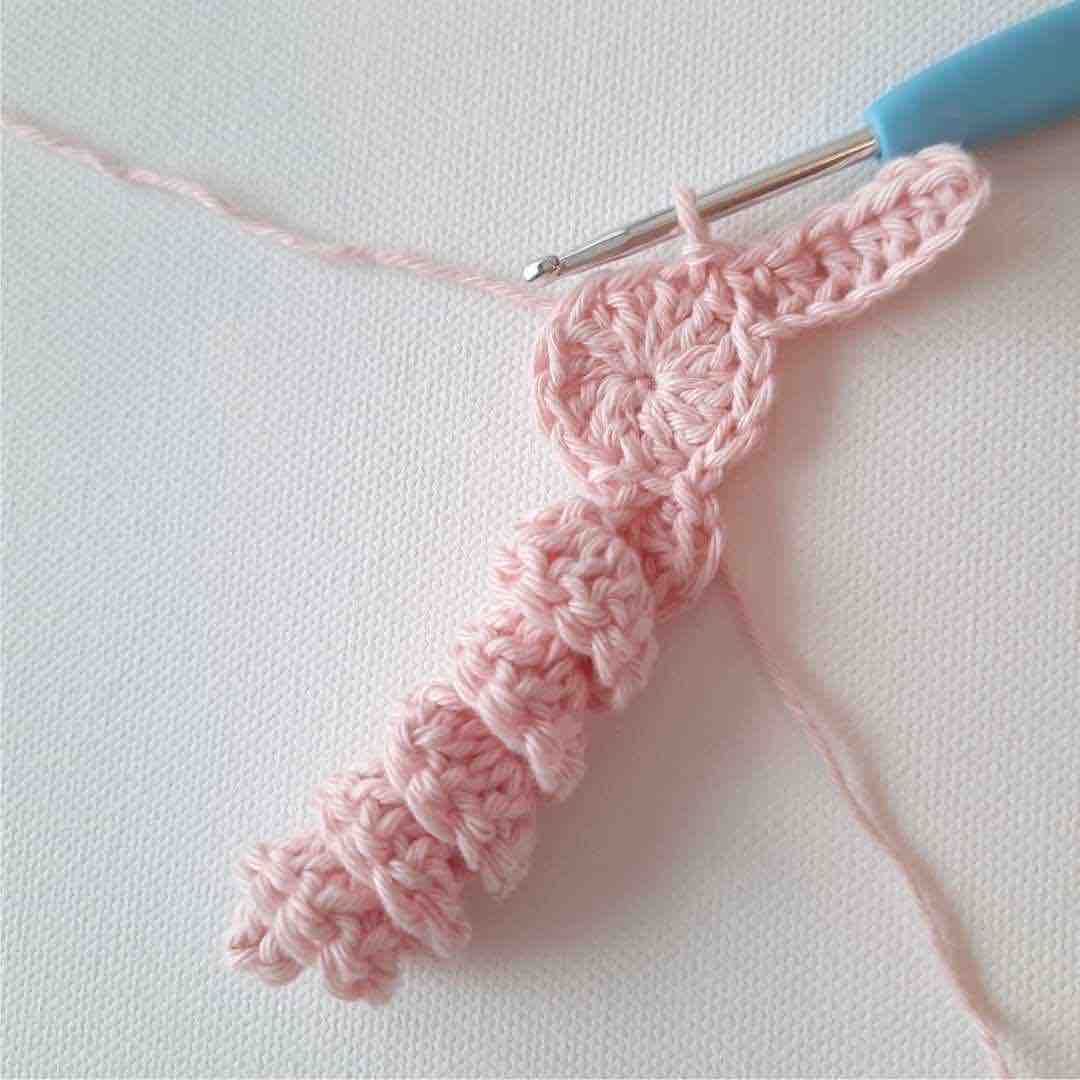
End of first ear
- Repeat for the second ear.
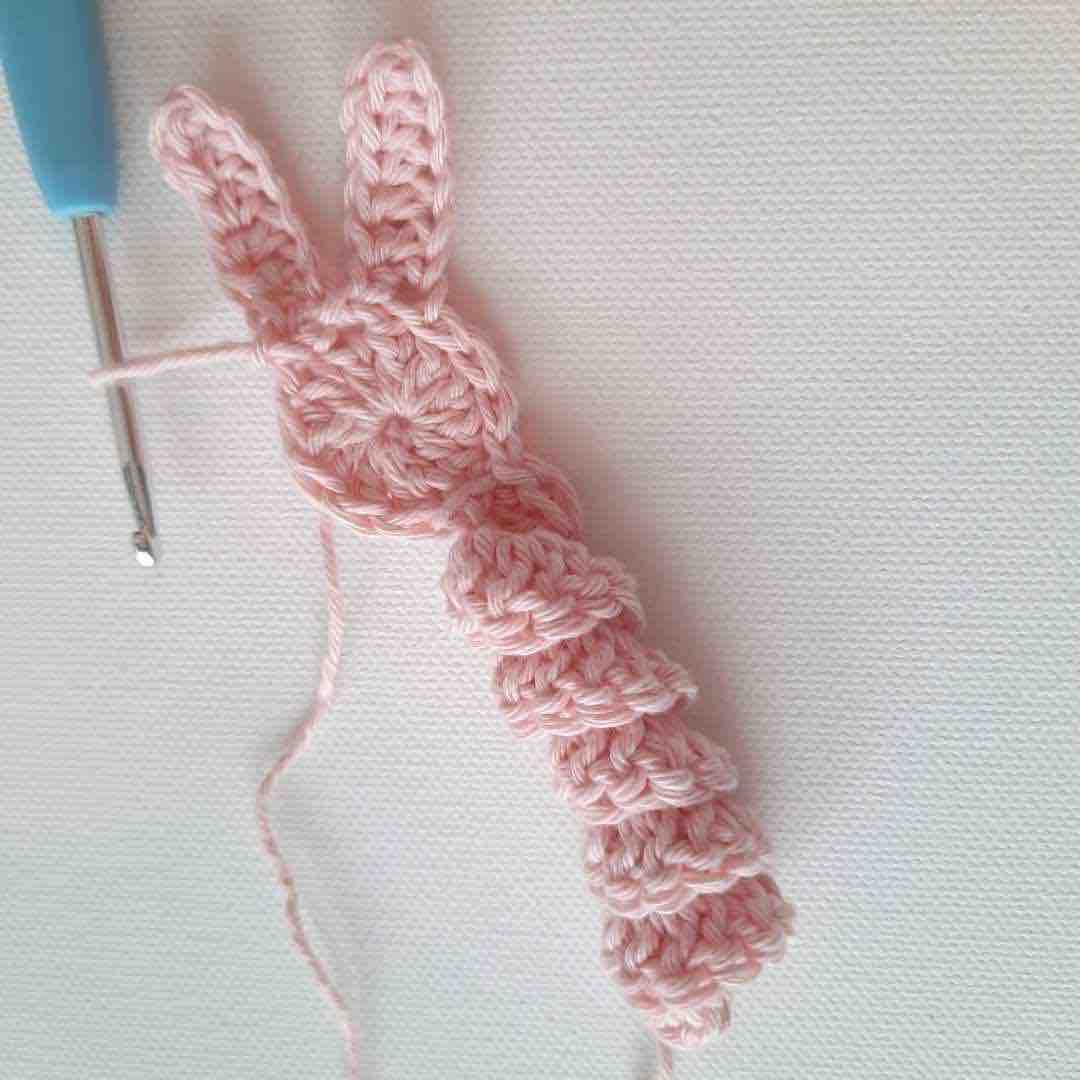
Bunny Head Part III (Finishing the Bunny's head)
- Sl st into the next 4 sts down the left side the bunny's head (not too tight).
- Sl st to join into the last st where the bunny's body started.
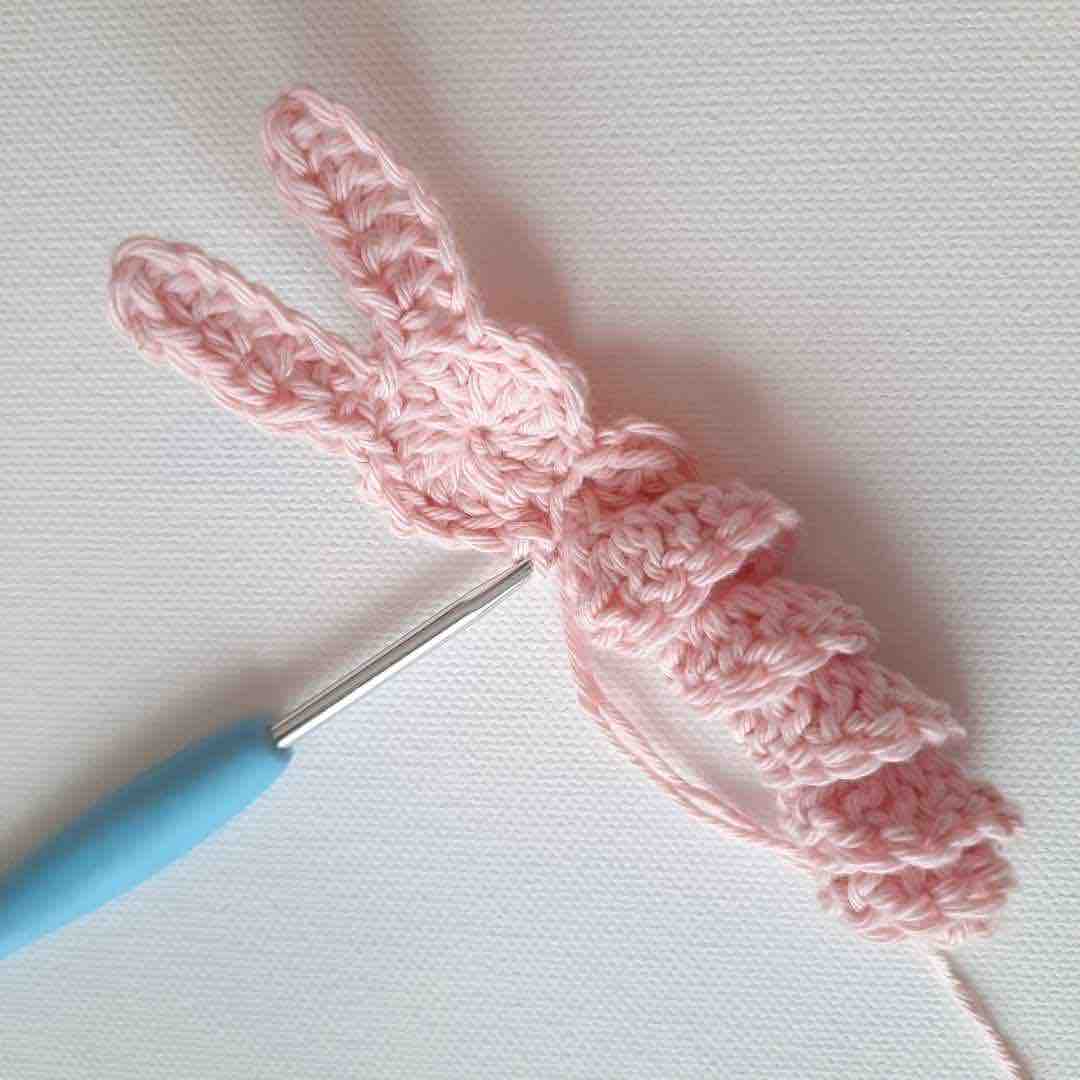
5 sl sts down the left side of the head, sl st to join to body.
- Leave a 4 " tail, cut your yarn and fo.
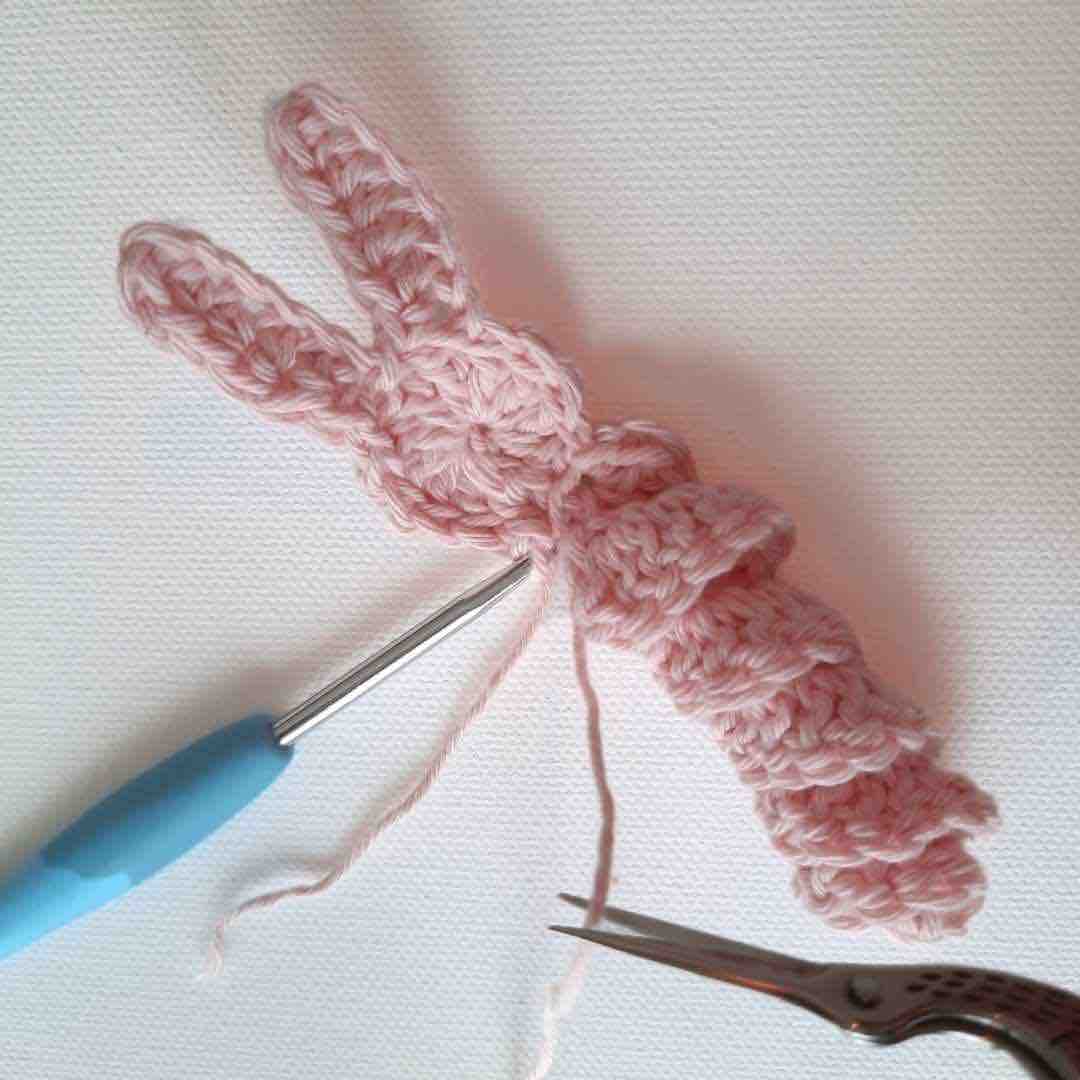
Cut yarn leaving a 4" tail.
- Weave in your ends at the back of the bunny's head with your darning needle.
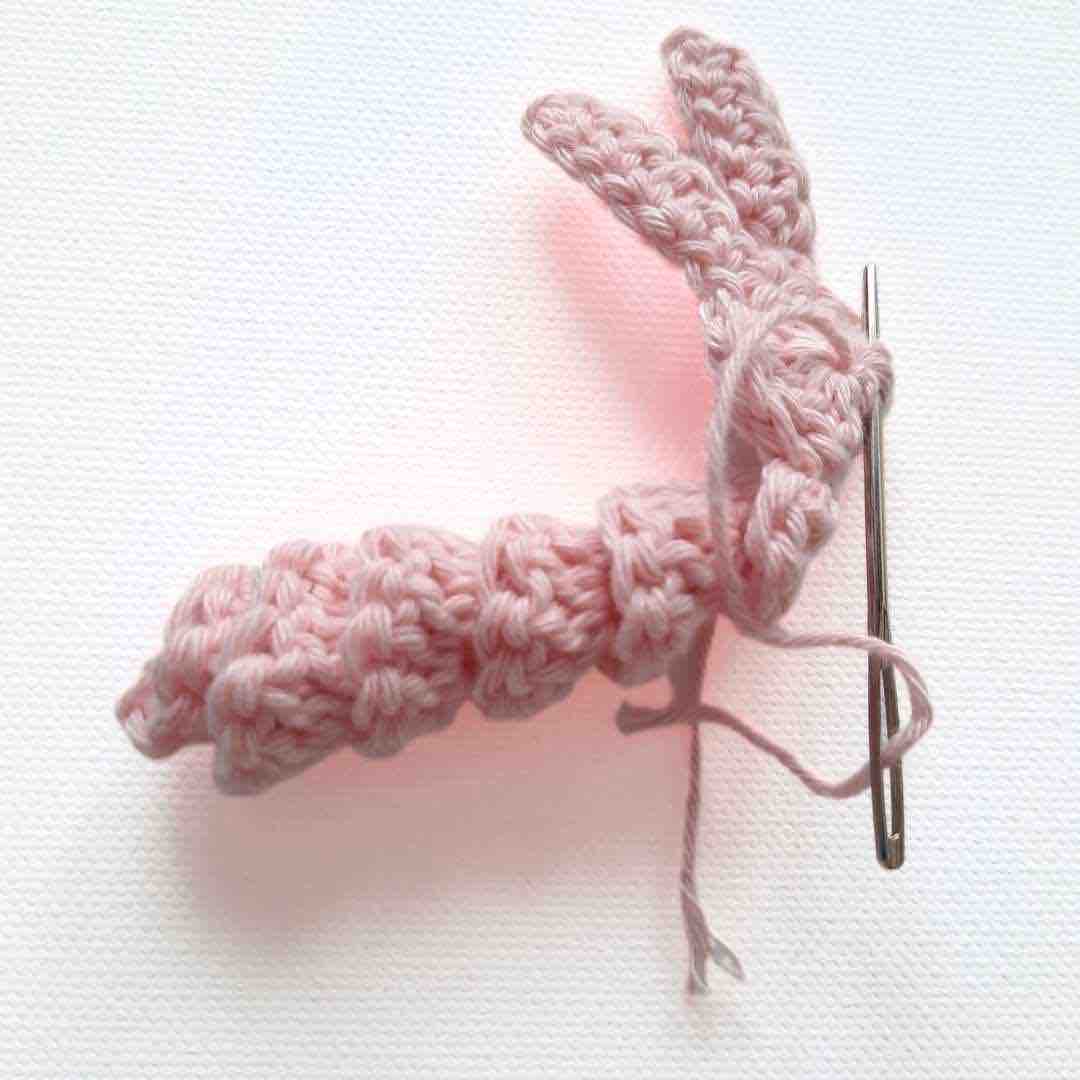
The Bunny's Bow
- Cut a piece of contrasting colored yarn about 6 " long.
- Tie a shoelace bow around the bottom of the bunny's right ear.
- Snip off the excess ends.
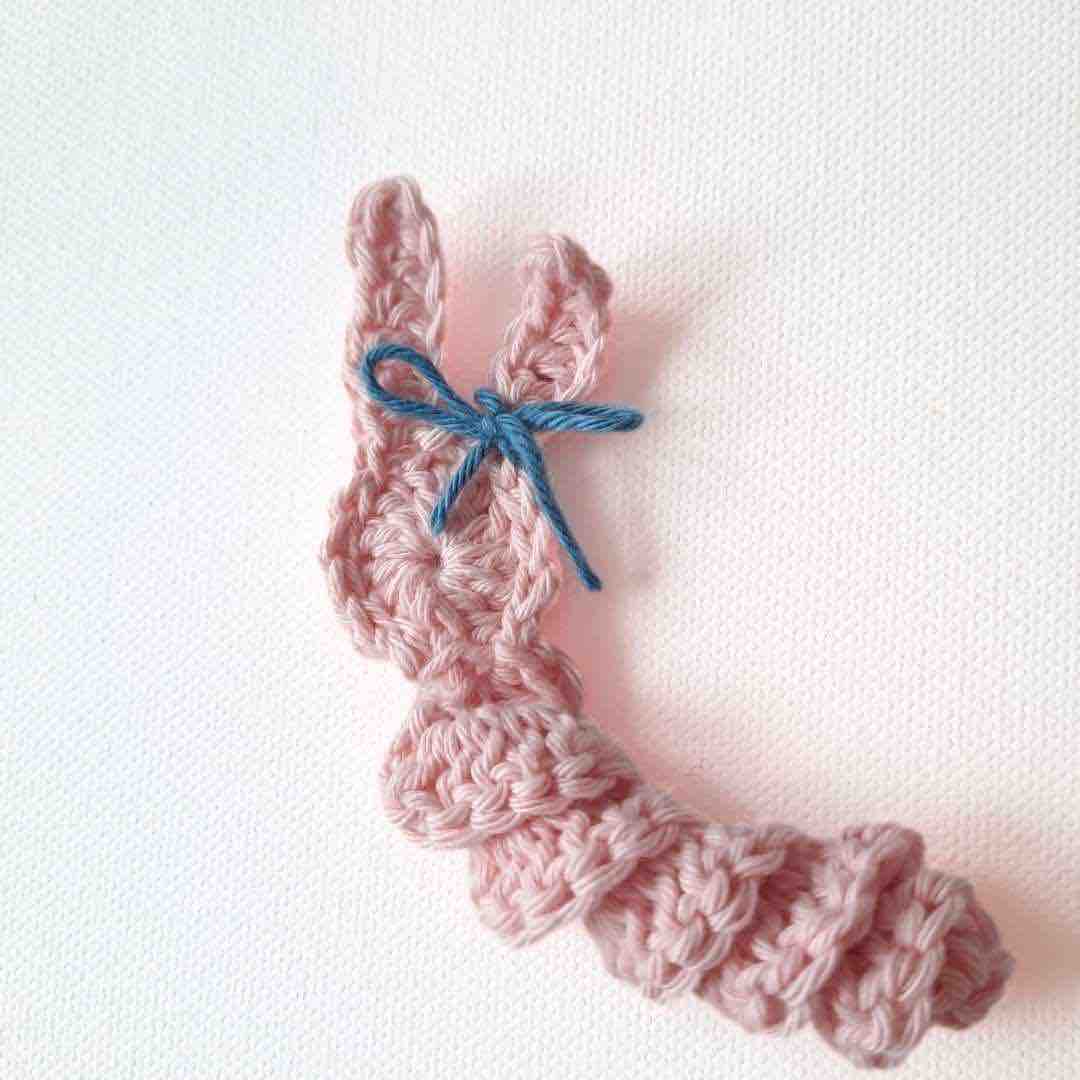
Tie a bow and snip off excess ends.
The Bunny Eyes
- For these bunnies, I used some stick-on eyes that are actually meant for crafting. They are not safety eyes and so do not have anything protruding from the back.
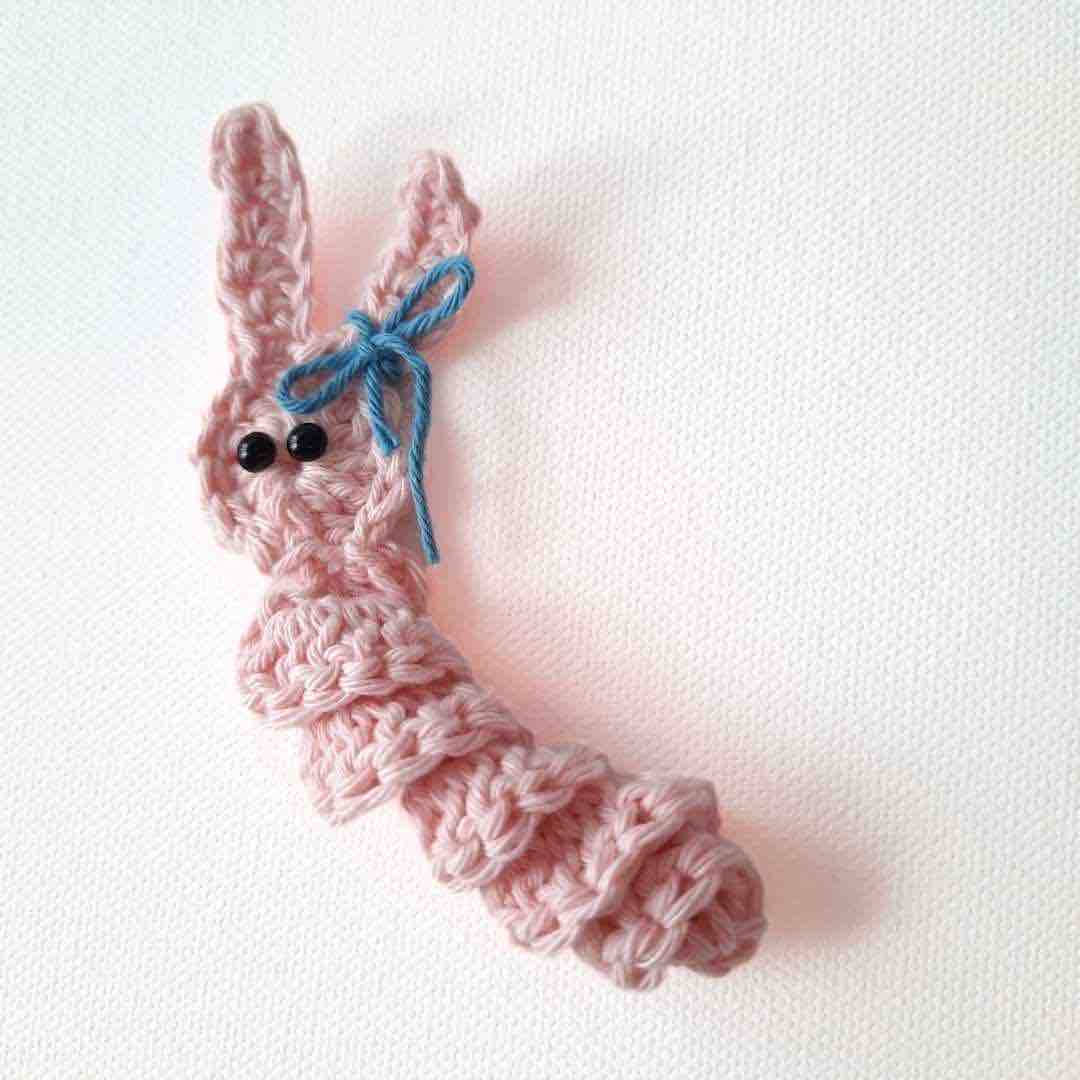
Glue on the eyes
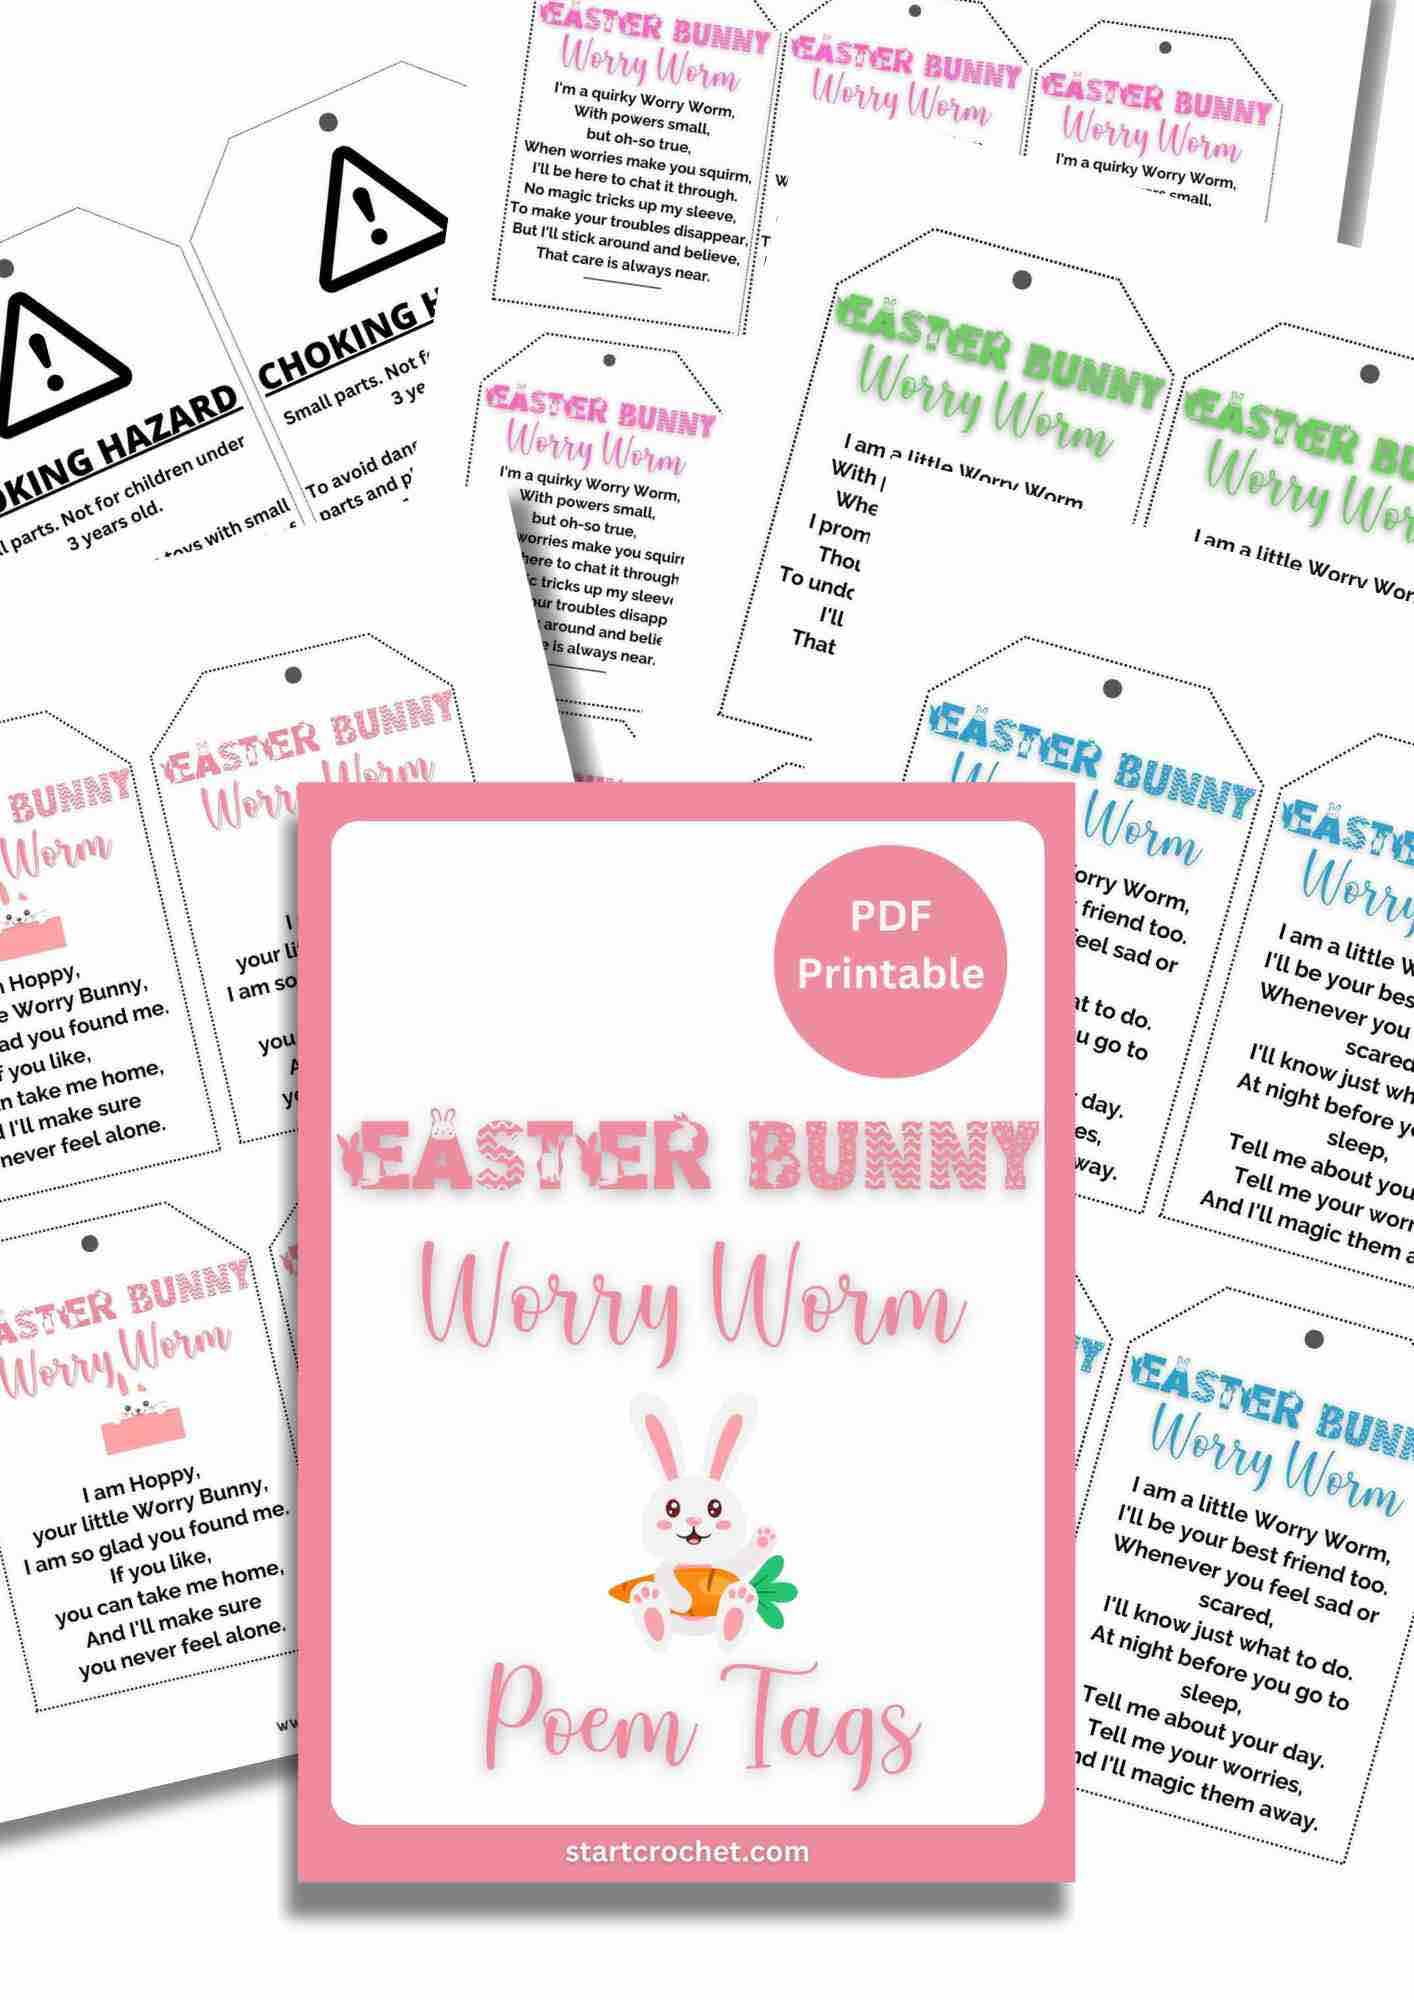
- These of course are not suitable for children under 3 years old. If you are going to leave these bunnies out and about for people to find, you should include a note that this is not suitable for children under 3 years old (this note is included in the poem tags), and you could try alternative eyes, such as embroidered eyes or a French Knot. Here is a list of other eye options you may want to try.
Finishing Touches
- If you feel your bunny’s body didn’t curl up properly, then twirl it around your finger one more time so that each curl falls nicely into place.
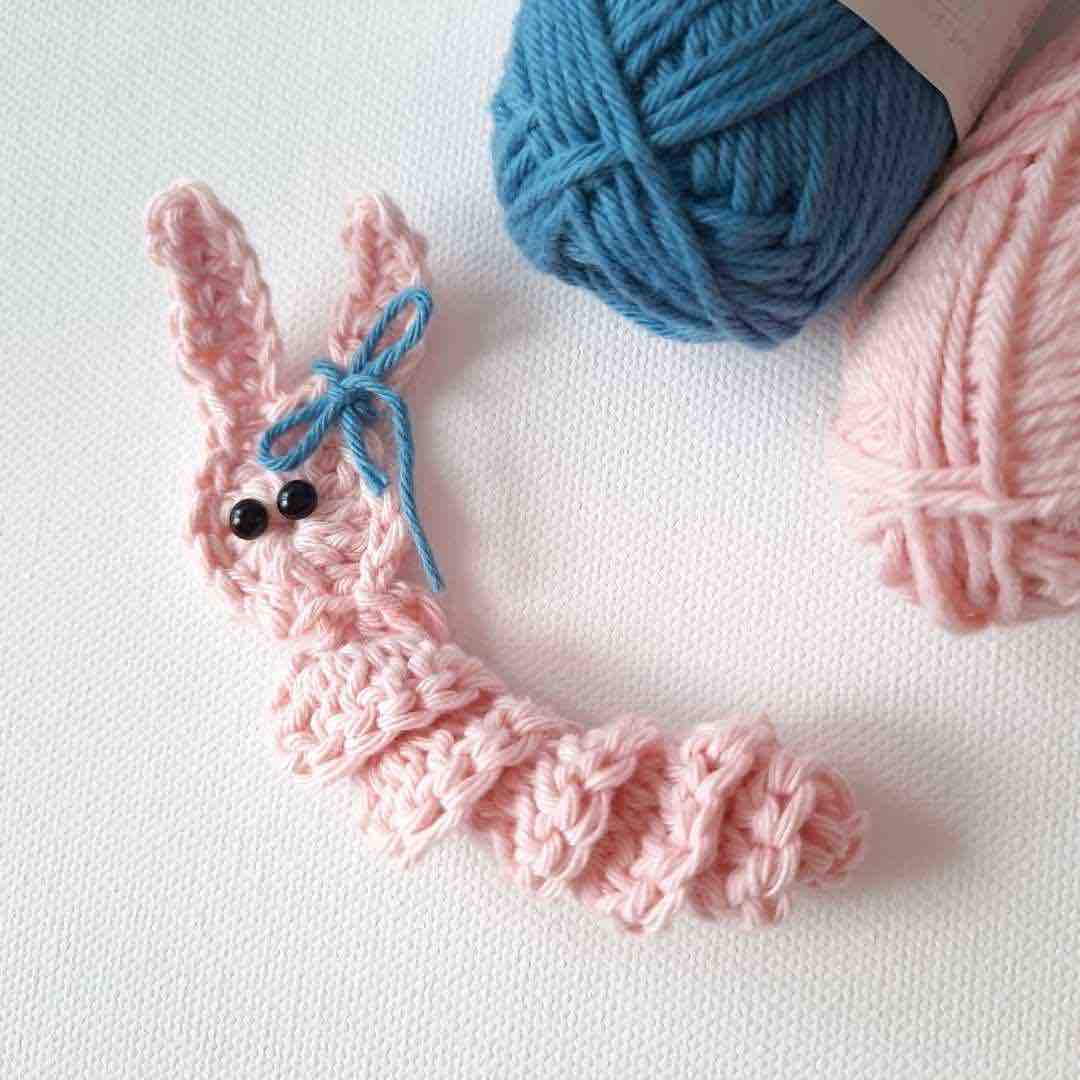
- If you'd like your bunny to have a smile, you could try to embroider a mouth. I prefer my bunnies plain & simple, so I just kept them without.
And there you have it! Your very own easy peasy bunny worry worm. You can work these up in a jiffy once you get the hang of it. They're really great if you need to make lots for a classroom, care home or to add to Easter Baskets at a children's egg hunt.
AD-FREE PDF PRINTABLE OFFERS
Basic
$39.99
Simple, fast and effective flexible move
Fulltime
$89.99
Simpler, faster and more effective flexible move
Private
$119.99
Simple, fast and just for you
Like this pattern, but not ready to work it yet? Save it to Pinterest!
I hope you enjoyed this Easter Bunny Worry Worm Crochet Pattern. I'd love to see yours when you're done!
Let me know if you have any questions and...
Happy crocheting!
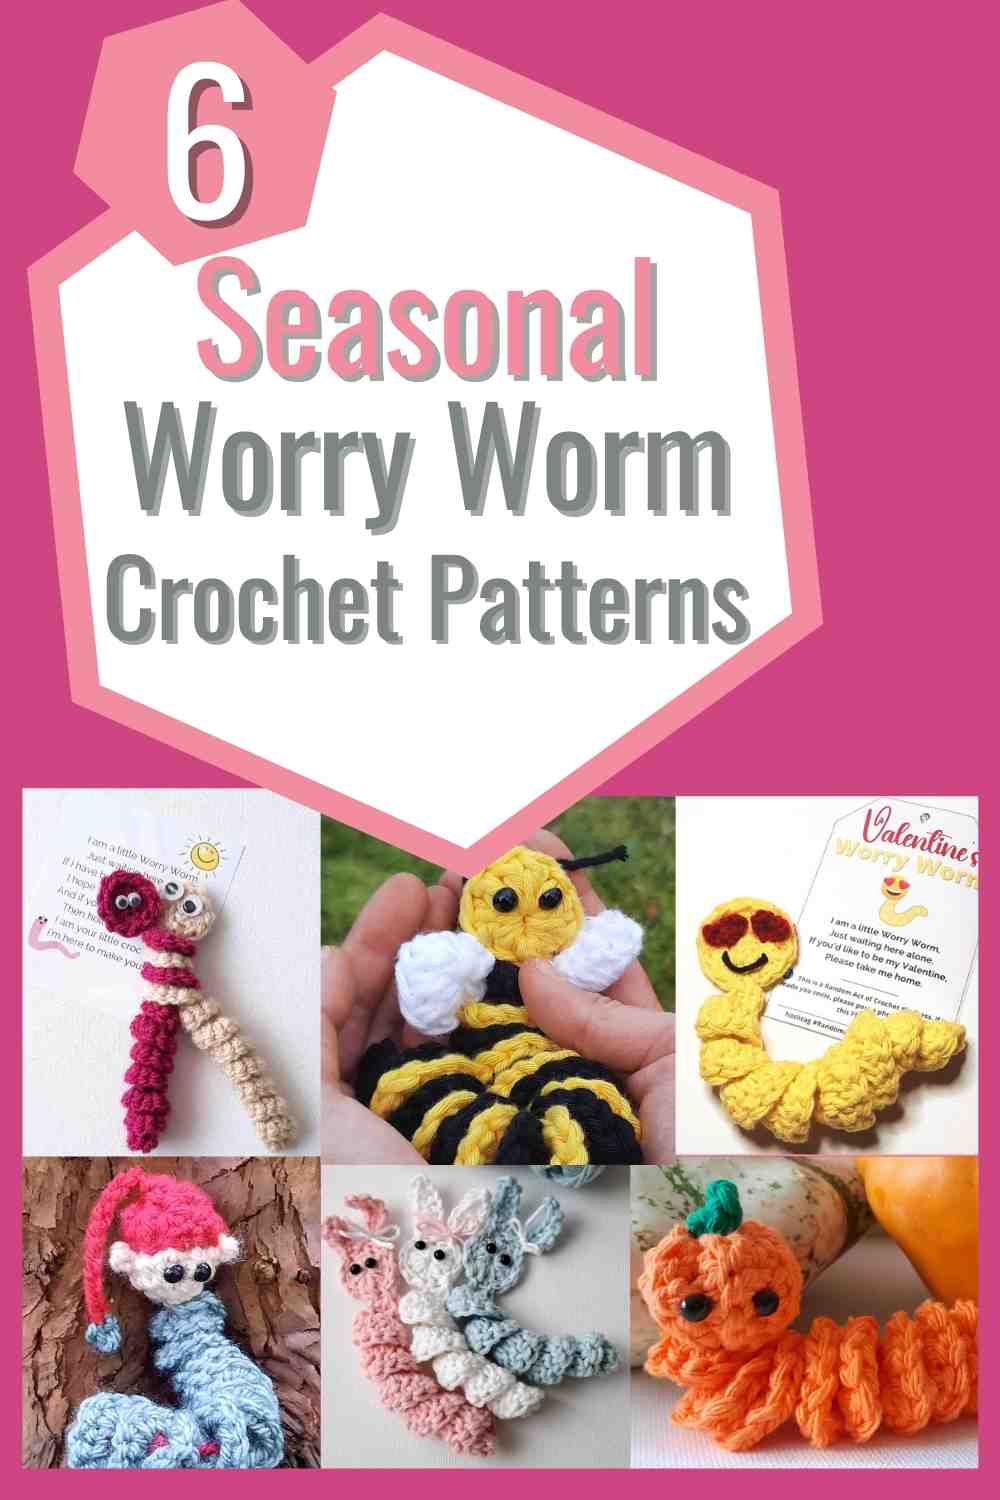
More Worry Worm Crochet Patterns For Different Seasons
Or buy the whole bundle of 6 Seasonal Worry Worms in one bundle and SAVE!
And here are some Christmas worry worms you can get in a bundle at a discount:
Three Christmas Worry Worm Crochet Patterns
Bundle Sale
(PDF Printable)
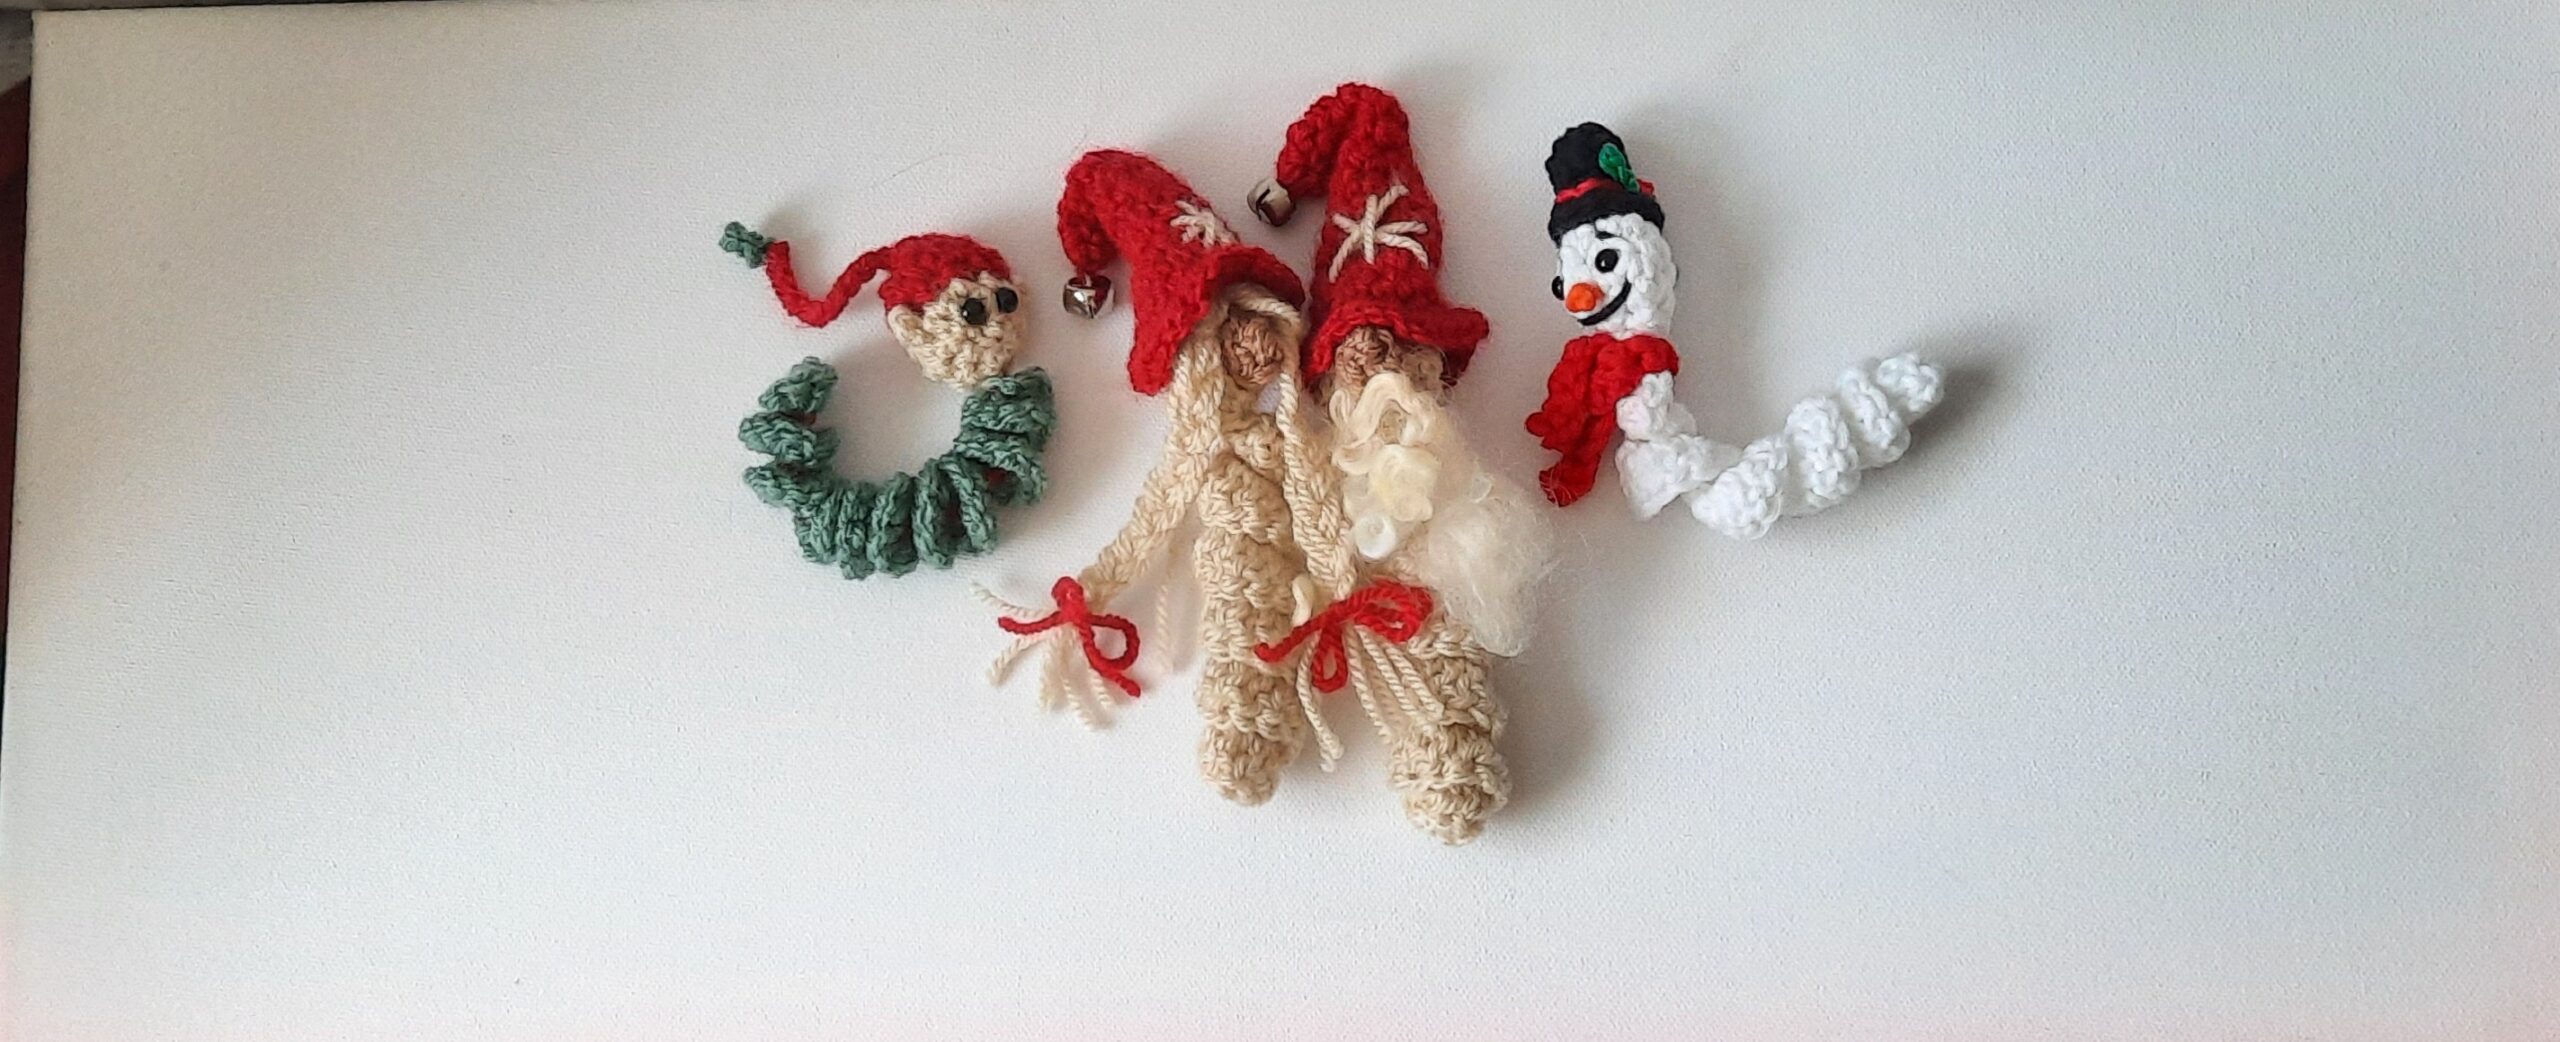
If you'd like to buy all three Christmas Worry Worm crochet patterns in an Ad-free PDF printable format (discounted rate), you can either download them from Ravelry or my online shop. Price is $9.99 instead of $14.97
And if you'd like to check out a little experiment I made about crocheting Corkscrew Spirals using different stitches & stitch counts, you can have a look at this post here.
I'd like to say a big Thank You to my pattern testers:
Victoria Navarrete @CraftsByTory
Shania Foley
Disclaimer: Information in this crochet pattern is given for reference only. Even though I do my best to ensure all patterns have no mistakes, occasional errors may slip through.
No liability is accepted for variations in finished projects. Please get in touch with me at admin@startcrochet.com if you think there might be a mistake in the pattern or if you are unsure about how to interpret the instructions.
I’d love to see your finished item, so please tag me using @startcrochet.
Please follow my accounts to see what else I’m up to and to keep in touch:
Facebook https://www.facebook.com/startcrochet
Pinterest: https://www.pinterest.com/startcrochet
Instagram https://www.instagram.com/startcrochet
Ravelry https://www.ravelry.com/people/StartCrochet
LoveCrafts: https://www.lovecrafts.com/en-gb/user/Start-Crochet/5fccc556-8c97-4521-bcf0-0aadf9853faf
You may sell any finished products that you make from this pattern. However, when selling online, please include a link back to my blog startcrochet.com or tag me on social media with @startcrochet or with hashtag #startcrochet
Thank you!
© All rights for this crochet pattern design and photos are copyright and reserved to Start Crochet (May Shehab © 2023) . Copies and/or reproduction, translating or reselling of this pattern is a violation of the law.

How many slip stitches between the bunny ears?
Hey Susan, thanks for asking. There’s only the sl st of joining the first ear to the head once you’ve completed it, then you continue right away with the second ear. Hope this helps 🙂