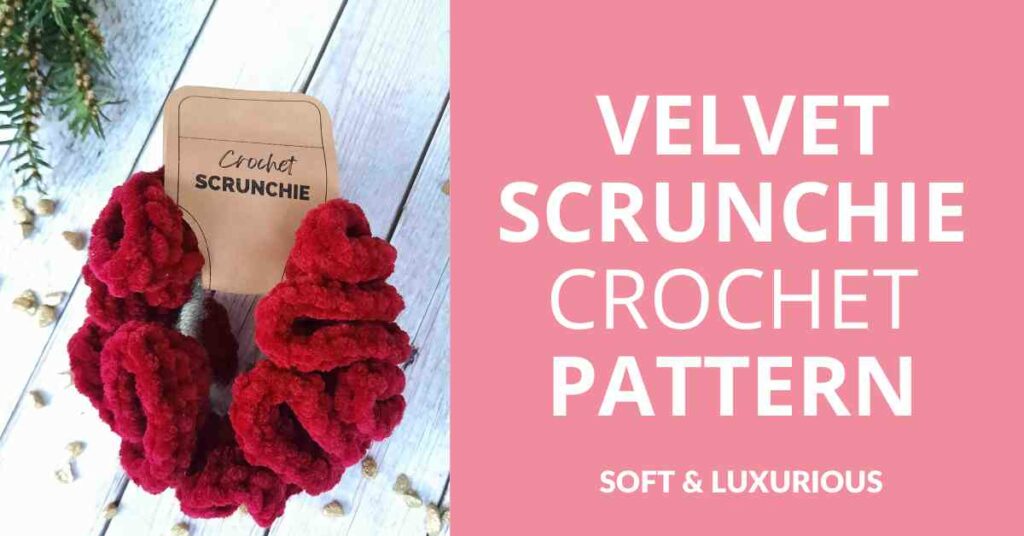
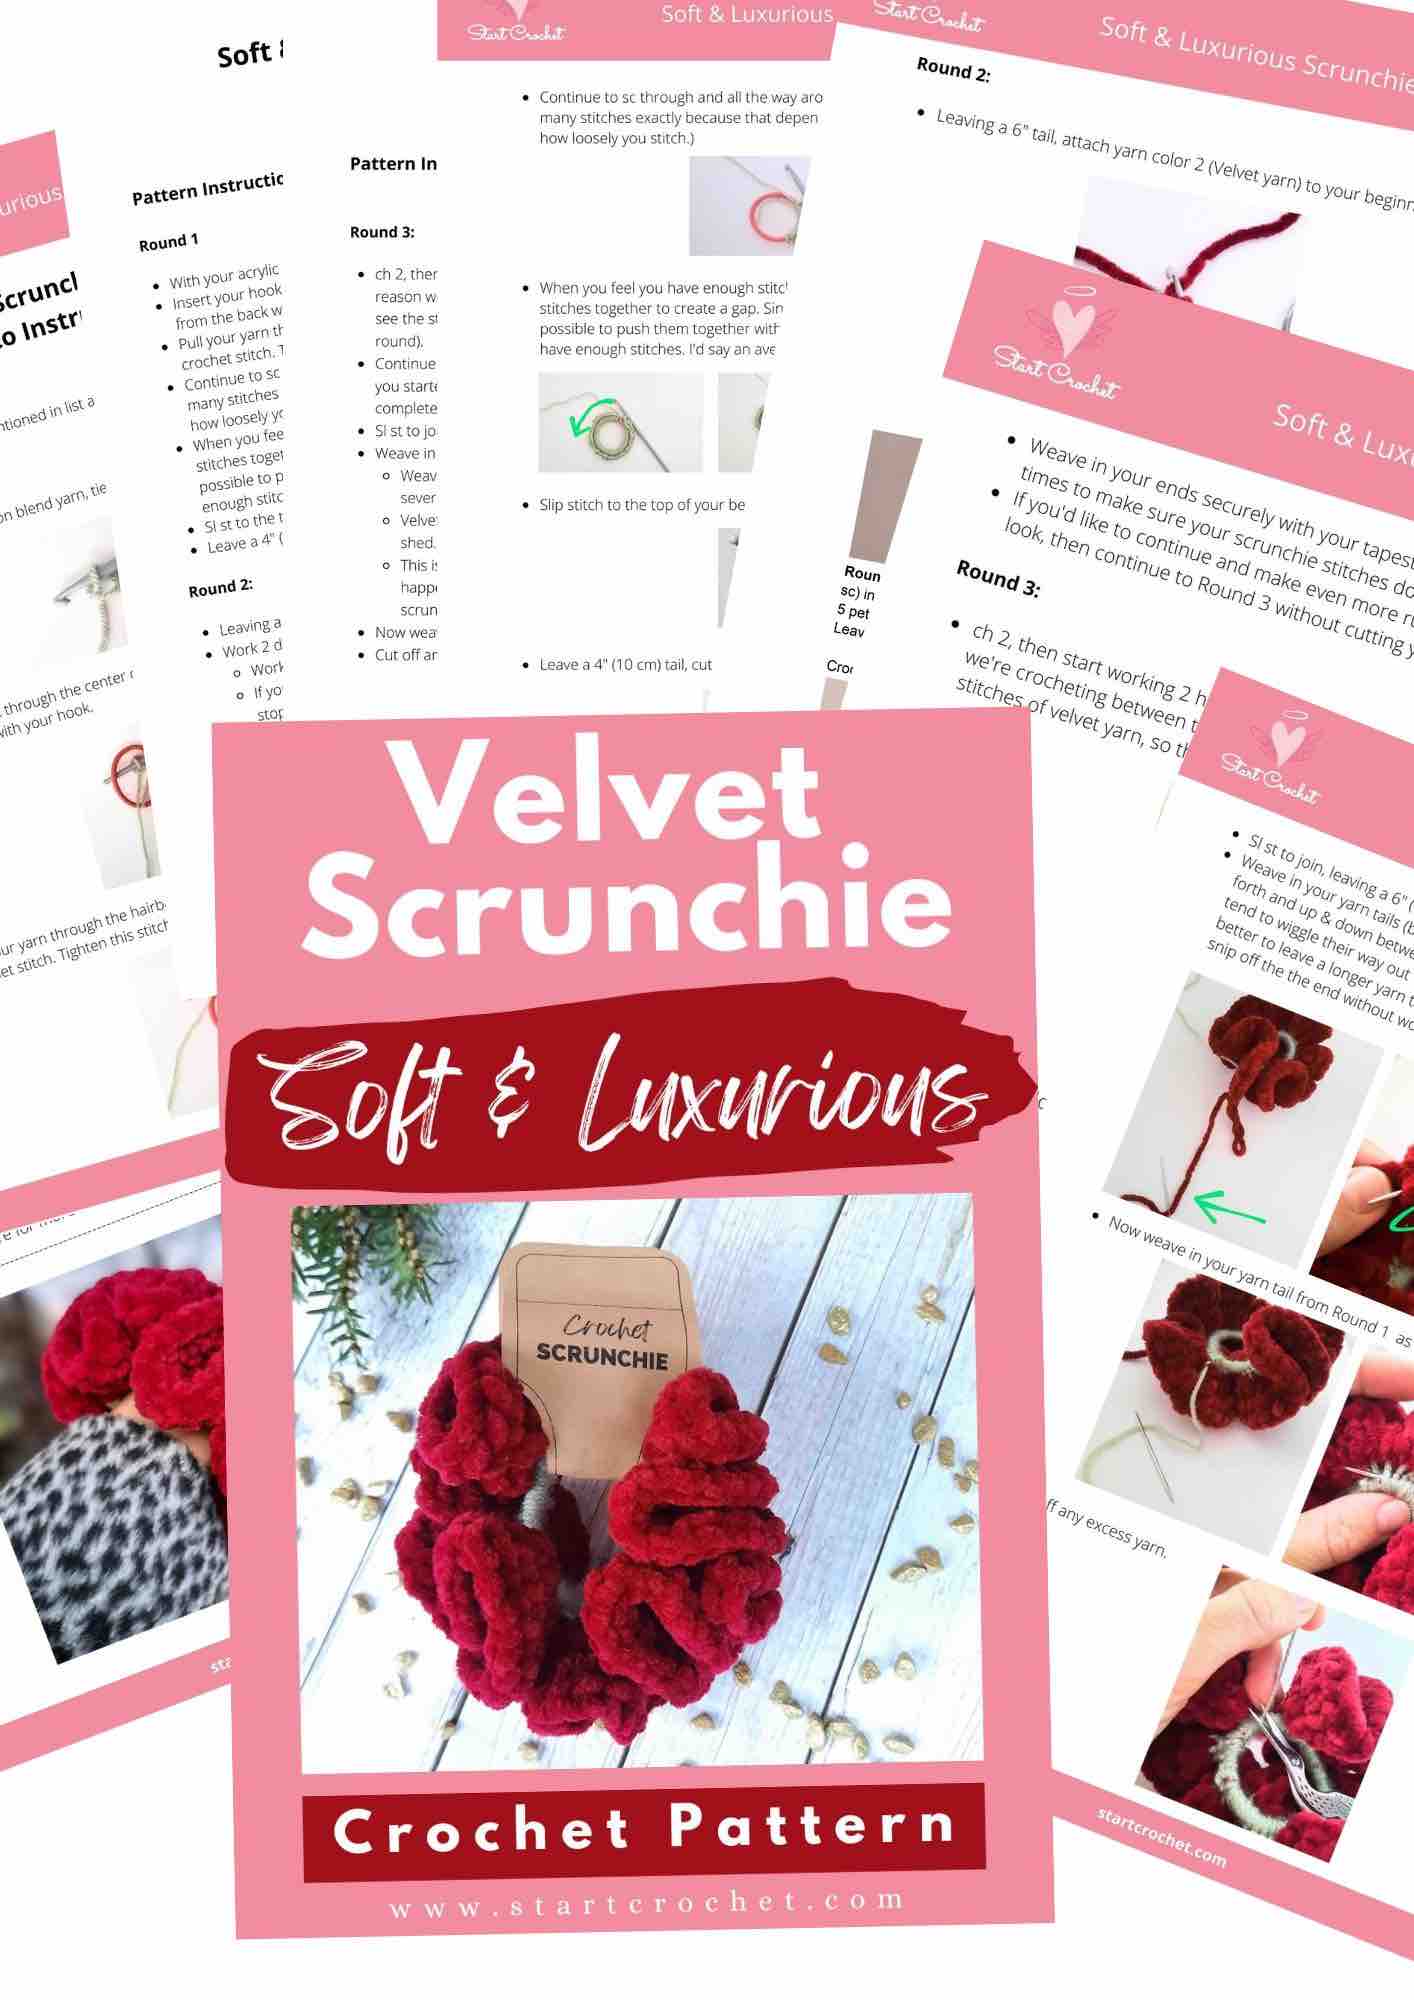
Soft & Luxurious Velvet Scrunchie
Crochet Pattern
Looking for an easy and stylish way to keep your hair out of your face? With just a few basic crochet stitches, you can create a one-of-a-kind velvet scrunchie that will be sure to make you stand out!
In this guide, I'll show you:
- velvet yarn pros & cons,
- fun facts about hyperbolic crochet,
- how to crochet your own fun & stylish scrunchie,
- how to crochet around a hair tie,
- an easy way to crochet with velvet yarn,
- how to make your velvet scrunchie anti-slip and actually hold up your hair, and
- how to make your velvet scrunchie more durable.
Disclaimer: This post contains affiliate links, which means I receive a small commission, at no extra cost to you, if you make a purchase using the Start Crochet links. Please see my disclosure for more details.
Velvet Yarn Review: What You Need To Know About Crocheting With Velvet Yarn
Velvet Yarn manufacturers say that this is a "Soft yarn with a warm velvet touch suitable for baby clothing and home accessories. Bambi is a fantastic yarn for jackets with hoods and baby coats". Katia Website.
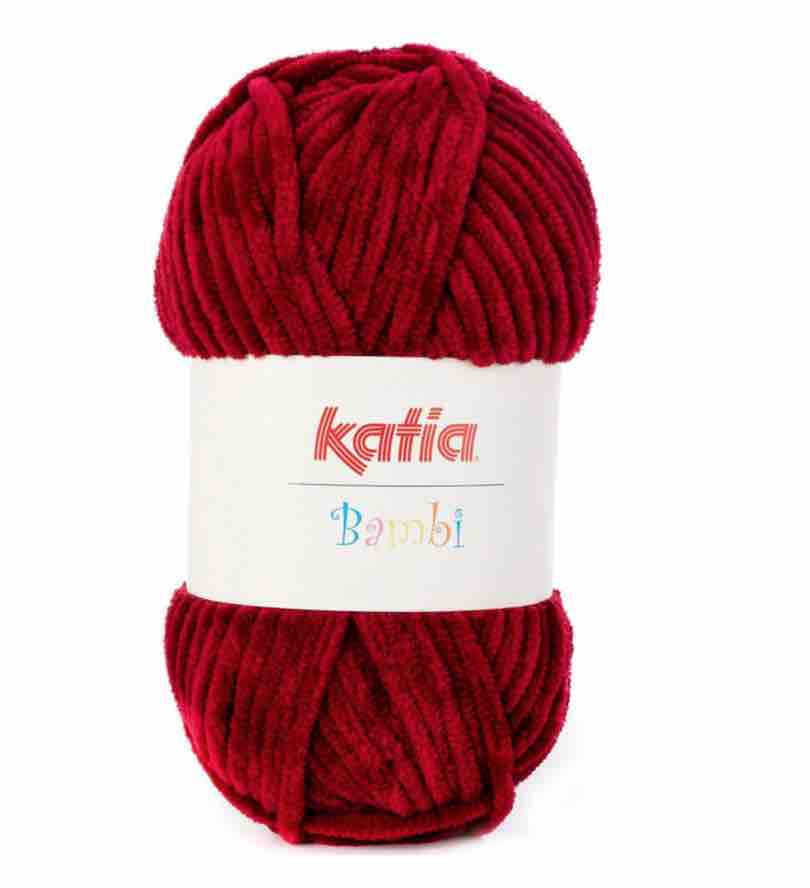
According to Knitting Knowledge, smooth yarns are excellent for stitch definition and color definition, and they’re usually more durable than hairy yarns.
What I love most about velvet yarn is that it's soft, luxurious and glides through your fingers.
It's a real pleasure to crochet with, but on the downside, this can also be aggravating because its texture is also quite slippery.
The recommended hook size for velvet yarn is usually 6mm. For this scrunchie pattern, I went down to 4.5 mm to keep the tension tight (which is important when working with velvet yarn because of the worming issue.
Worming is when stitches get pulled out of place and look like worms protruding from your crocheted piece. This happens when you machine wash your crochet project or if you accidentally catch on things that pull out your stitches.
Let me dive in a little deeper and discuss both the positives and negatives of working with Velvet Yarn:
Positives:
- Velvet yarn Is extremely soft to the touch and feels irresistibly luxurious,
- It has a beautiful shine and looks lovely in many colors,
- It doesn't split, making it easy to use for beginner crocheters,
- It's great for amigurumi toys, baby blankets, and fluffy items,
- It's easy to frog (pull out your stitches if you've made a mistake or want to start over),
- It doesn't tangle easily like other yarns,
- It's very forgiving when you make mistakes, they're not easily visible,
- You can wash it easily, preferably by hand to avoid worming (protruding stitches).
Negatives:
- It's tricky to find a stitch that looks good on velvet yarn.
- Sewing in ends is a bit more challenging. Make sure to leave longer yarn tails than usual and sew them in well in different directions at the end. This is to make sure your scrunchie doesn't fall apart if you wear it a lot.
- Velvet yarn has some shine to it which is both good and not so good:
- Shine looks great on certain patterns, but if you start working on a project and decide to frog it, you'll see that the fibers of your yarn will look very different (worse) once frogged.
- What I'd recommend is working up a pattern with another yarn first as a test, then working it up again with your velvet yarn once you're sure of what you're doing.
- Velvet yarn tends to shed.
- This is another reason I decided to start off the first round of this pattern with another type of yarn that's more durable, so the rubbing of the scrunchie against your hair while putting on and taking off doesn't make your scrunchie shed its fibers and look bald!
- Worming: "This happens when the tension is too loose allowing the stitches to settle and relax in a way that creates unseemly (and super aggravating) loops." Heart Hook Home
Don't let these negatives intimidate you. You really do have to try crocheting with velvet yarn!
At a glance, here's comparison chart of Velvet Yarn pros and cons:
Pros & Cons of Velvet Yarn
Conclusion
I usually advise beginner crocheters that it's best to stay away from fuzzy and furry yarns.
This might be true to some extent, but I'd say it all depends on how you use your yarn, what project you intend to make with it and what stitches you use.
All in all, this Velvet yarn is definitely one you want to experiment with at some point. Its softness and gorgeous feel as well as its luxurious look make it a go-to yarn for many crochet projects.
I designed this particular velvet scrunchie to make sure it's easy for absolute beginners to use this lush and beautiful yarn, without hassle.
You won't have to look for lost loops in a velvet yarn stitch in this pattern 🙂
But before we get started, let's take a quick look at the technique we'll use for this scrunchie...
The Hyperbolic Crochet Technique + Formula
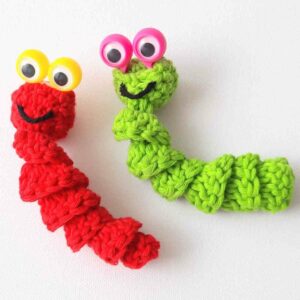
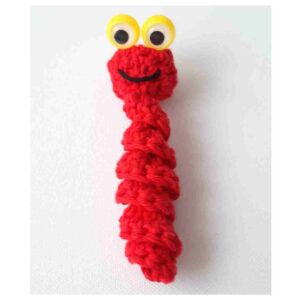
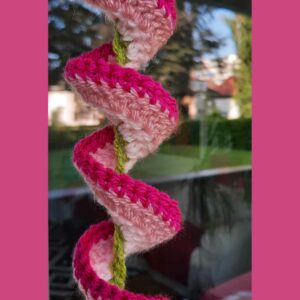
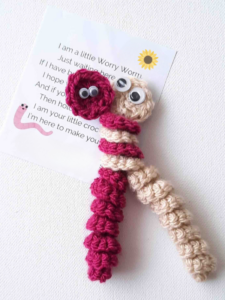
The technique used to crochet most scrunchies and other projects that need curly surfaces is called Hyperbolic Crochet. This technique is also used to crochet Worry Worms and Wind Spinners.
The interesting thing is that hyperbolic crochet is actually a mathematical term for "negative curvature".
"It is named in analogy to the sphere, which has constant positive curvature (every point is just as curvy as every other point)" - Scientific American
Hyperbolic crochet is made up of an infinite number of straight lines and expands exponentially from any one point (a constant and unvarying increase). - Hyperbolic Crochet
The formula for hyperbolic crochet is:
x = n + 1 (where n is any number you choose)
Watch this interesting video that clearly explains how this formula works in crochet:
If you're keen to dive deeper into this topic, there's a book written on the subject by Daina Taimina called Crocheting Adventures With Hyperbolic Planes
In a nutshell, the idea behind Hyperbolic Crochet is you crowd stitches into a small space and this makes the ripple/ruffle shape.
The good thing about this method is that you don't have to feel out your stitches and if you make a mistake, don't worry about it. Just keep going.
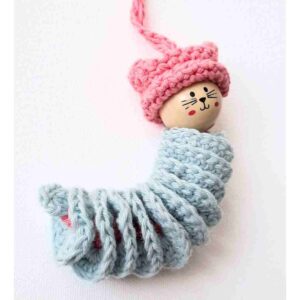
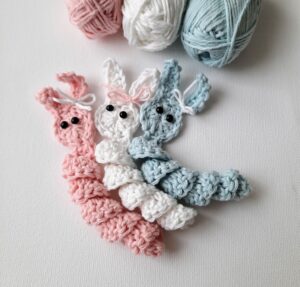
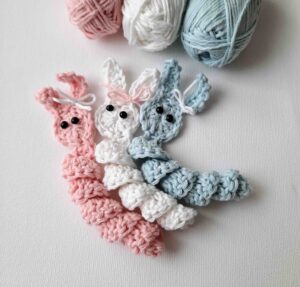
I made a little experiment while I was trying to figure out the best stitch for my worry worm patterns, which also uses hyperbolic crochet, but in the row rather than in the round. You can have a look at this post that explains in detail how to crochet Corkscrew Spirals.
With the hyperbolic crochet technique, the end result is an organic, elegant shape. Let me show you exactly how to get this lovely shape with this easy scrunchie pattern.
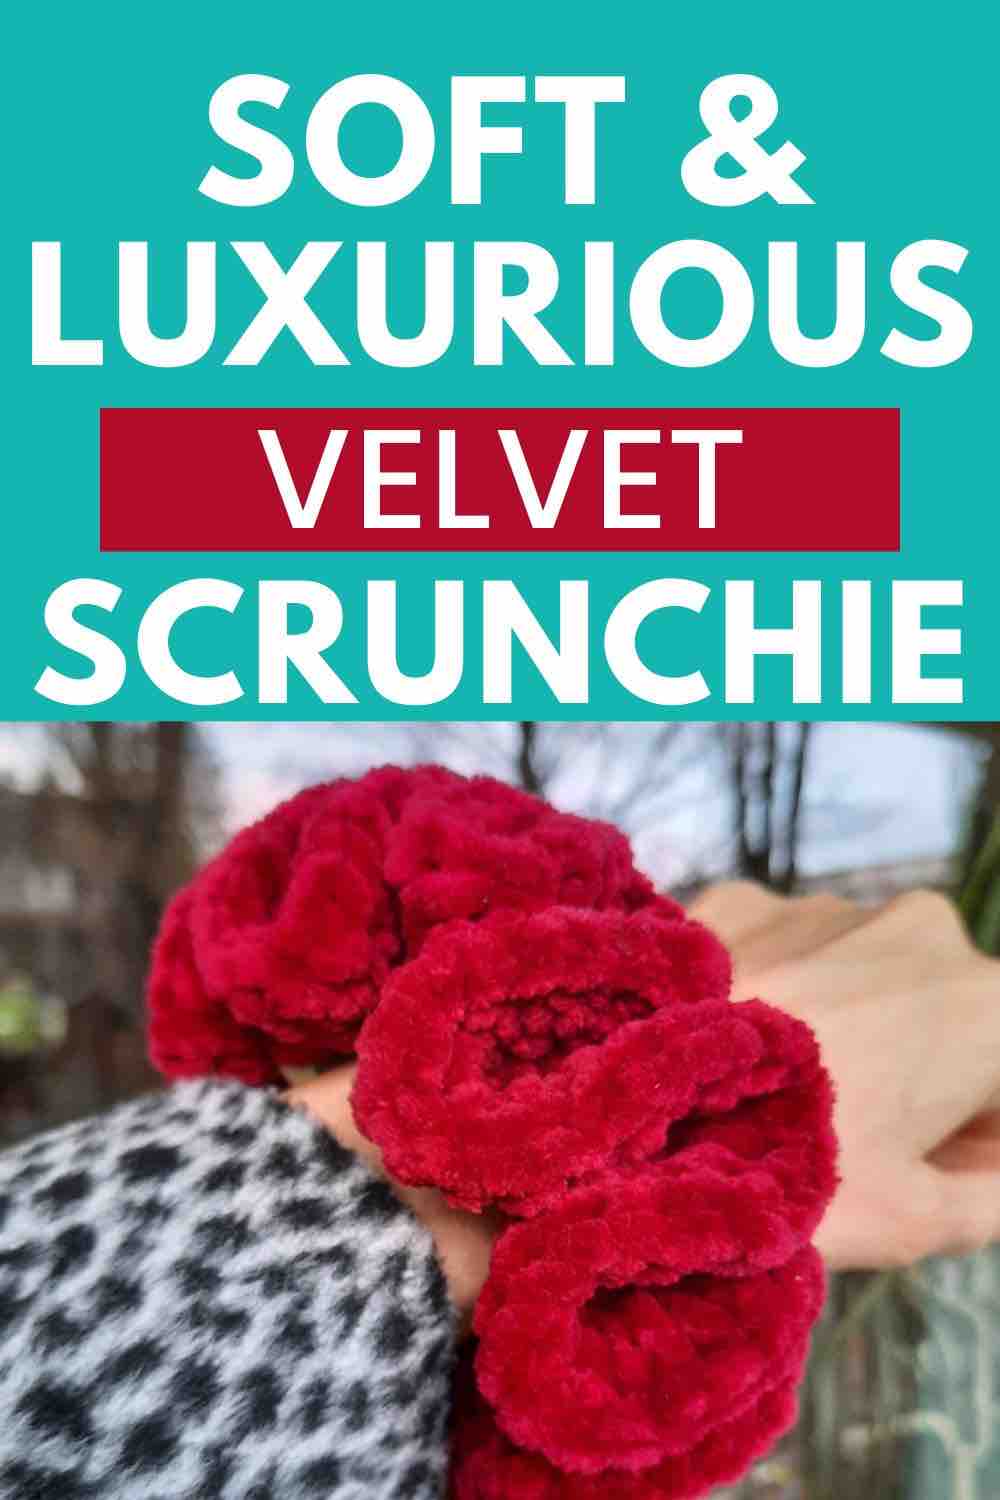
Like this pattern, but not ready to work it yet? Save it to Pinterest!
Why Start A Scrunchie With A Round Of Acrylic First?
Most velvet scrunchie patterns dive right in with the velvet yarn. I chose to start this particular one with a round of acrylic first for these reasons:
- To make this pattern beginner-friendly: It is much easier to see your stitches this way. For beginners especially, trying to figure out where your stitches are on velvet yarn can be quite tricky. I made sure this pattern doesn't make you face this problem.
- For aesthetic purposes: I like having a subtle color variation in the center of the scrunchie.
- Durability: Your scrunchie will last longer because your hair won't be in direct contact with the velvet yarn, pulling off the fuzz every time you wear it and take it off.
- For practical purposes: It's difficult to pull long hair through velvet multiple times.
- To make this scrunchie anti-slip and hold your hair up properly.
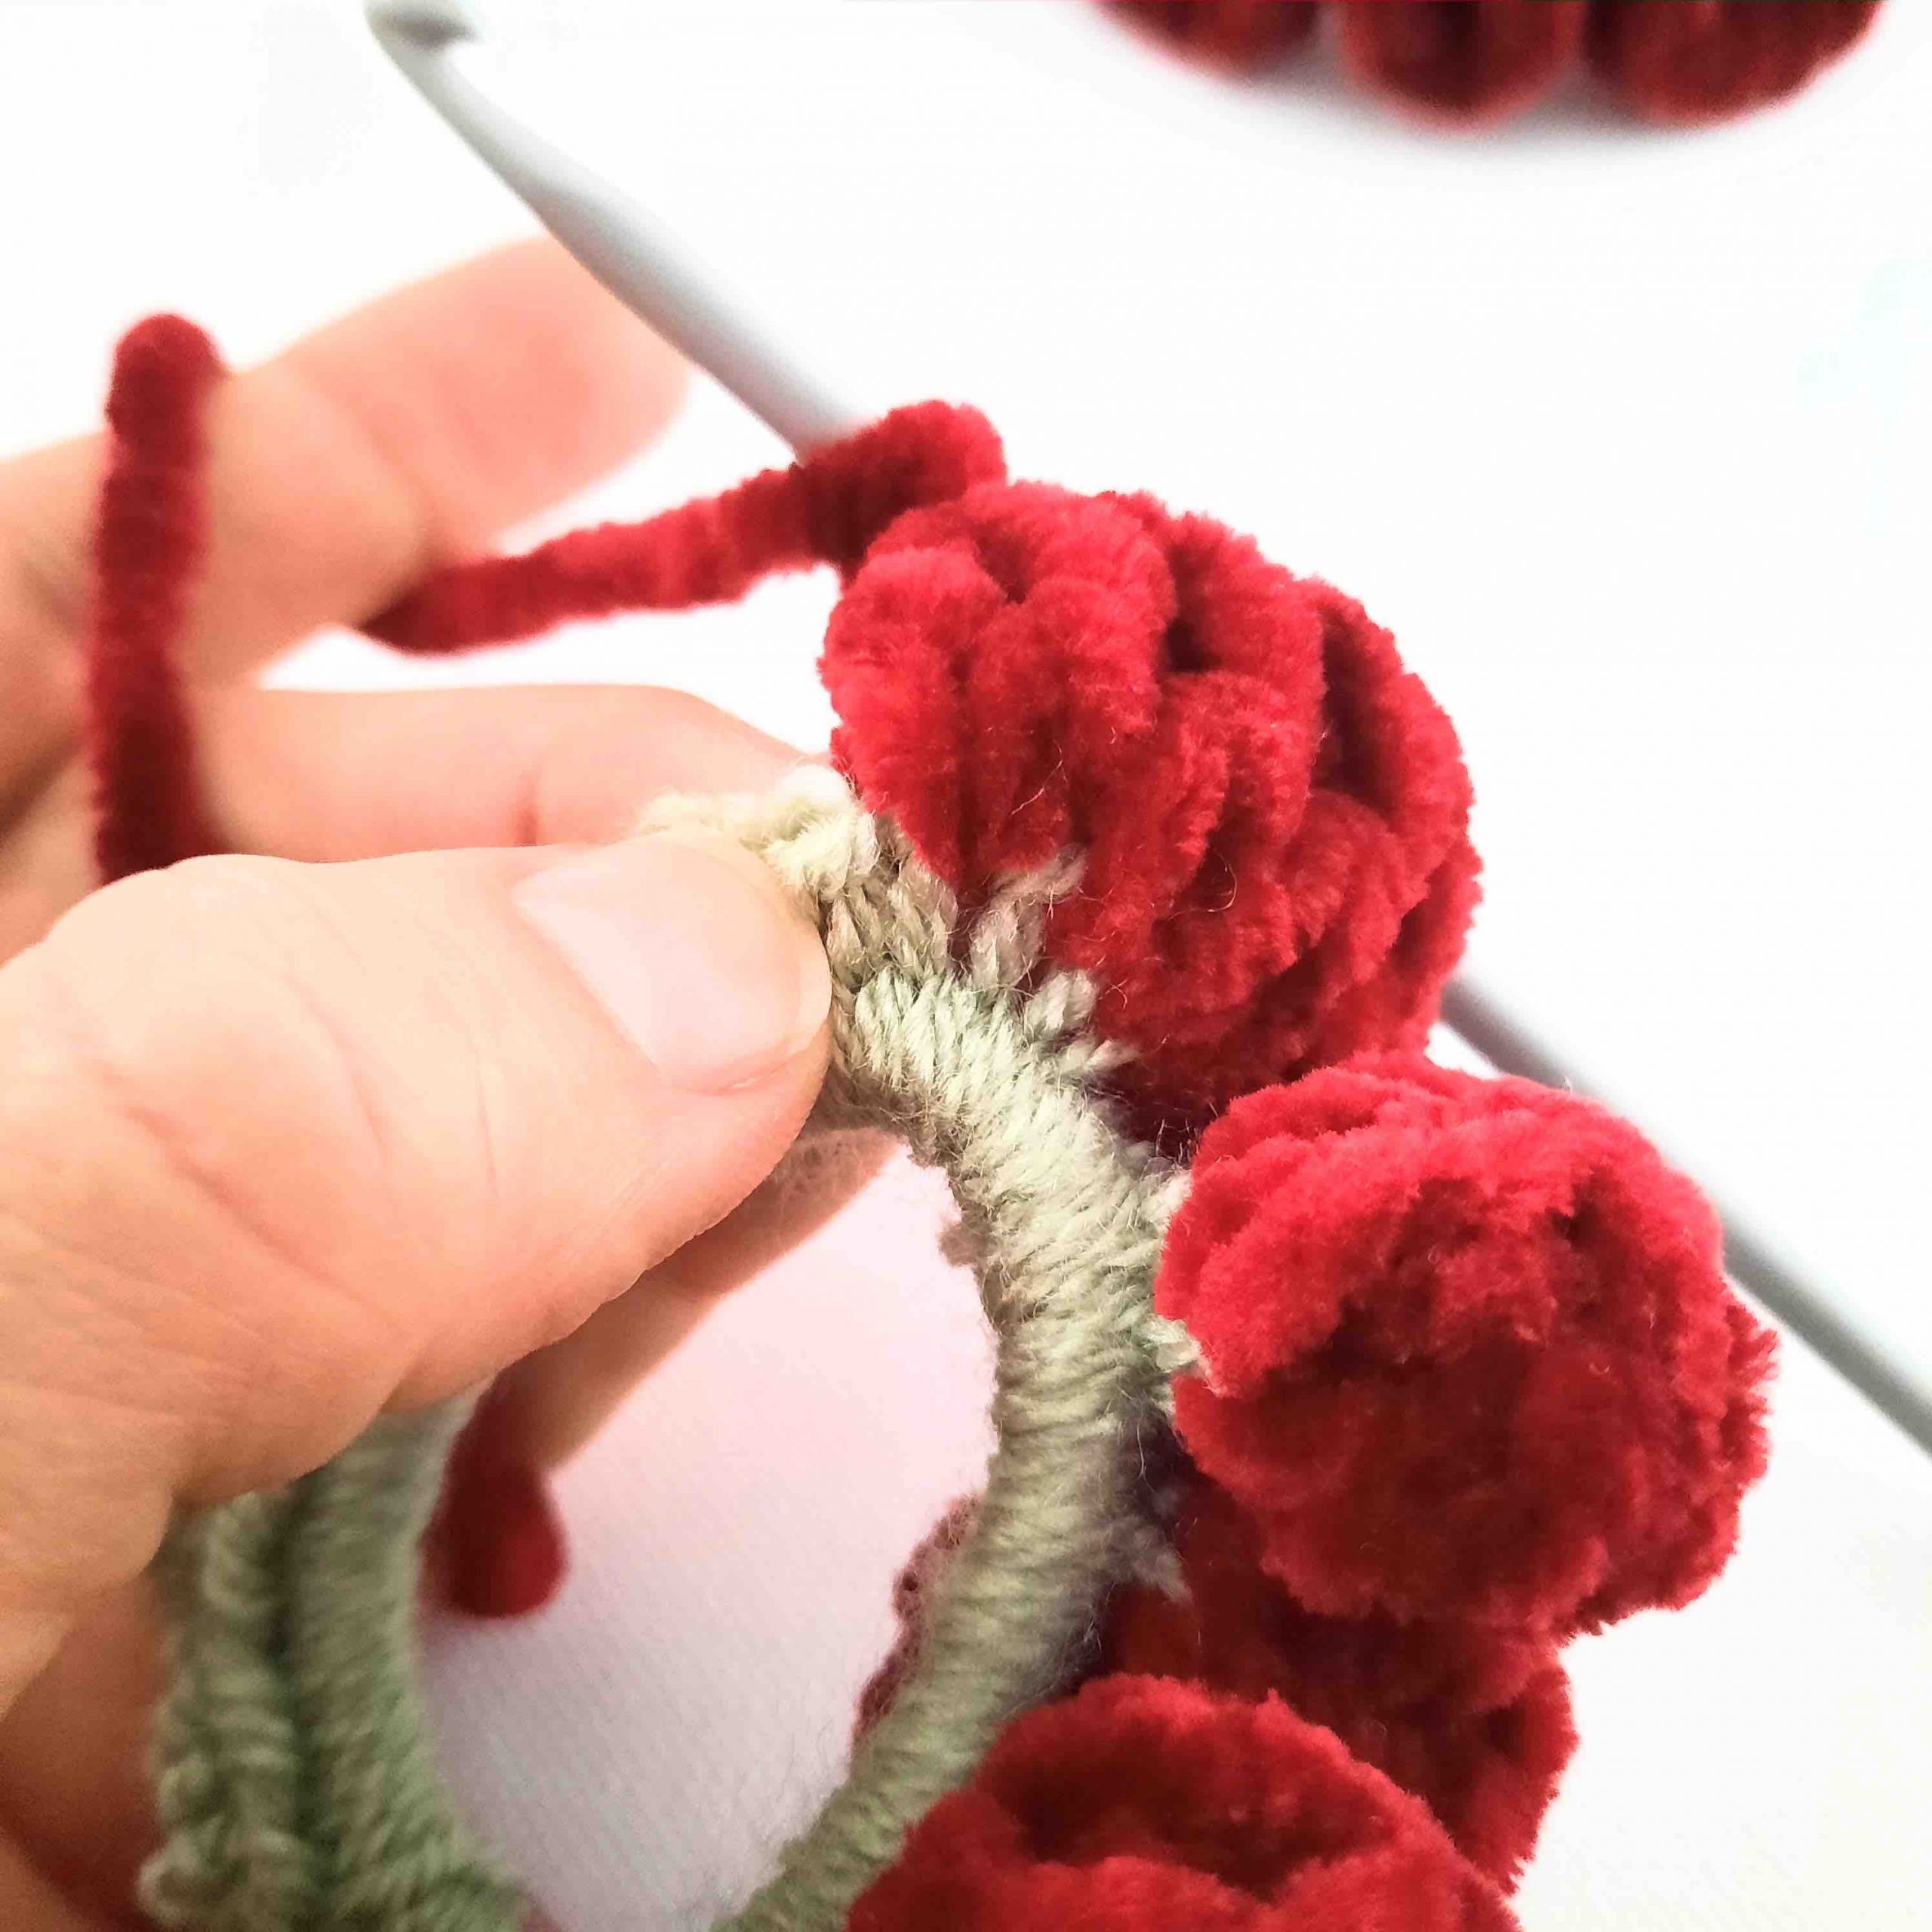
Soft & Luxurious Velvet Scrunchie Crochet Pattern
Materials Needed To Crochet The Velvet Scrunchie
For this project you will need:
- Chunky Acrylic Velvet yarn of any brand (good quality that doesn't shed) in color of choice. I'm using Katia Bambi Baby Love in Bordeaux.
- Acrylic, cotton or cotton blend yarn (DK or Aran) that matches your velvet color, I'm using Paintbox Yarns Simply DK.
- Crochet hook/s. For this scrunchie, I used a US size 7 (4.5 mm) hook (smaller than recommended size) for both the acrylic and velvet yarns. You may choose to use a smaller hook size for Round 1 (acrylic yarn).
- A tapestry needle
- A pair of scissors
- An elastic hair tie (best to be a thick & firm tie without a metal clamp about 6 cm, 2.5 inches in diameter)
Choose colors and textures that bring out the personality of who your scrunchie is for or reflect your own unique style.
Abbreviations Used In This Pattern
- st = stitch
- sts = stitches
- sp = space
- fo = fasten off
Skill Level
Beginner
Measurements
This scrunchie measures about (4.7 inches) 12 cm in diameter
Gauge
11 stitches & 6 rows in dc = 4” (10 cm) square with a 4.5 mm hook.
Yardage
This scrunchie weighs about 30 grams.
You will need around 36 meters (39.5 yards) of velvet yarn and about 5 meters (5.6 yards) of acrylic or cotton blend yarn.
Notes
- Numbers at the end of each round in parentheses ( ) = total number of stitches for that round.
- If you are new to reading crochet patterns, you might find these tips helpful.
- Please note that I use US crochet terms. Here's a US/UK Conversion Chart
US vs. UK Crochet Terms & Symbols
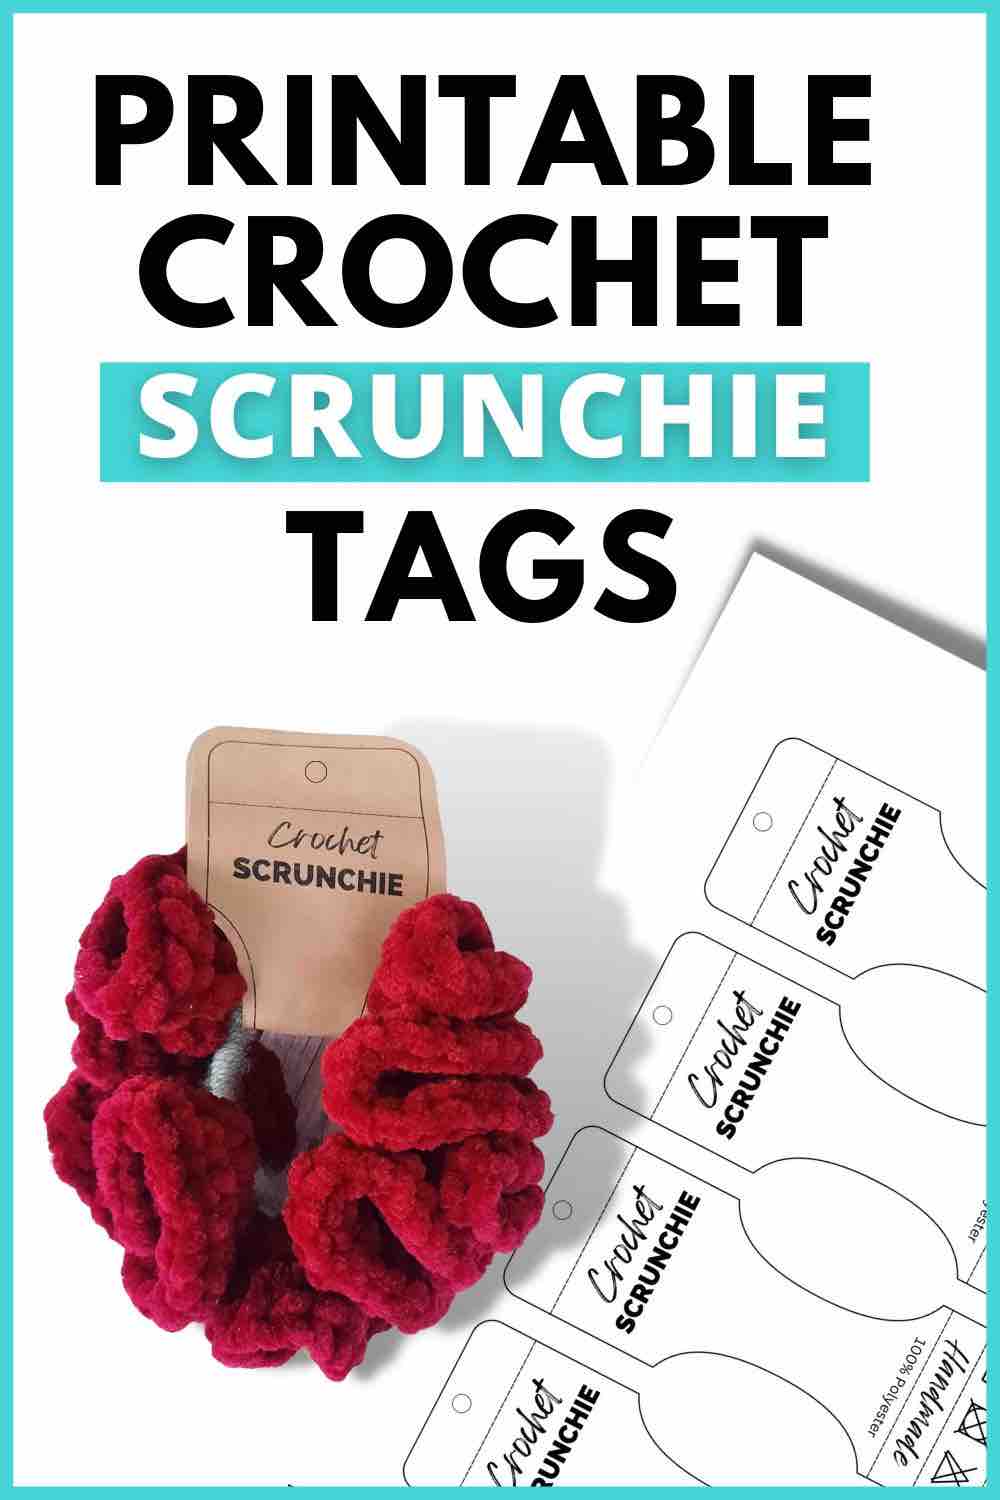
Free Printable

Your info is 100% secure and will never be shared.
Printables
Below you will find a text-only ad-free printable version of the Velvet Scrunchie Crochet Pattern which you can buy for a small fee from my Shop. Pattern is also available on Ravelry.
Pattern Instructions
Round 1
- With your acrylic or cotton blend yarn, tie a slip knot onto your crochet hook.
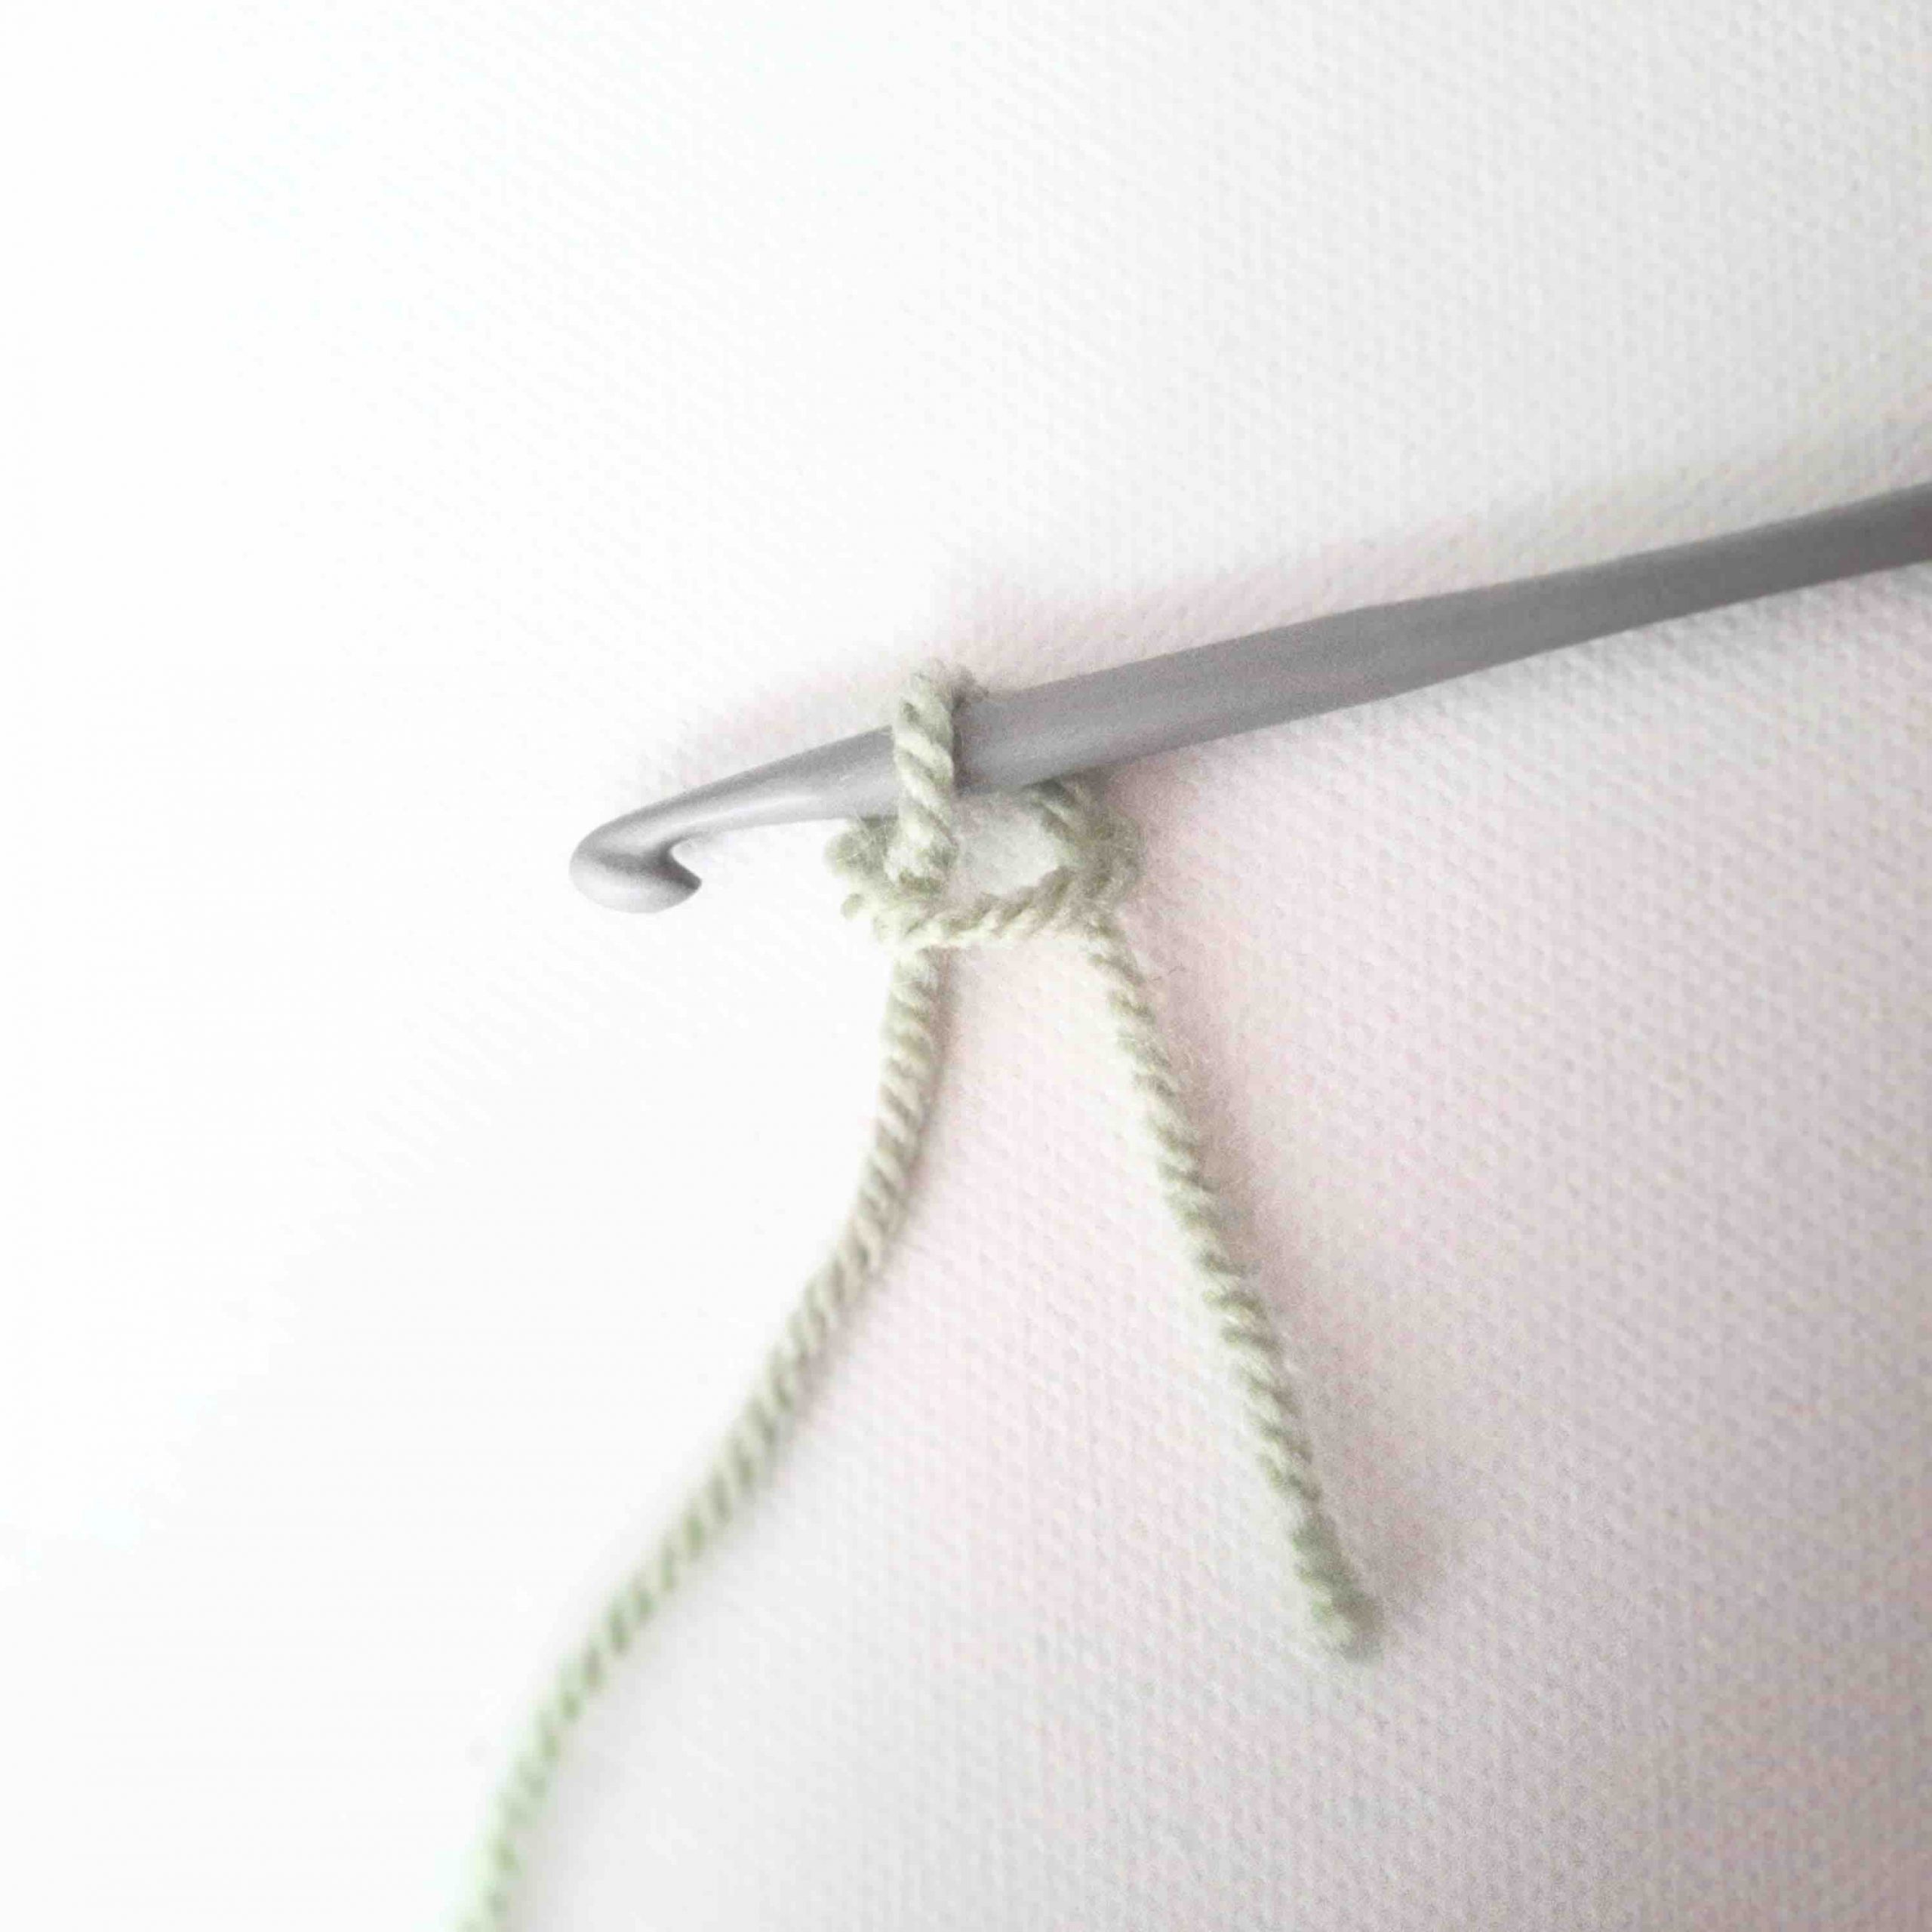

Tie a slip knot onto your crochet hook
- Insert your hook through the center opening of your hairband and grab your yarn from the back with your hook.
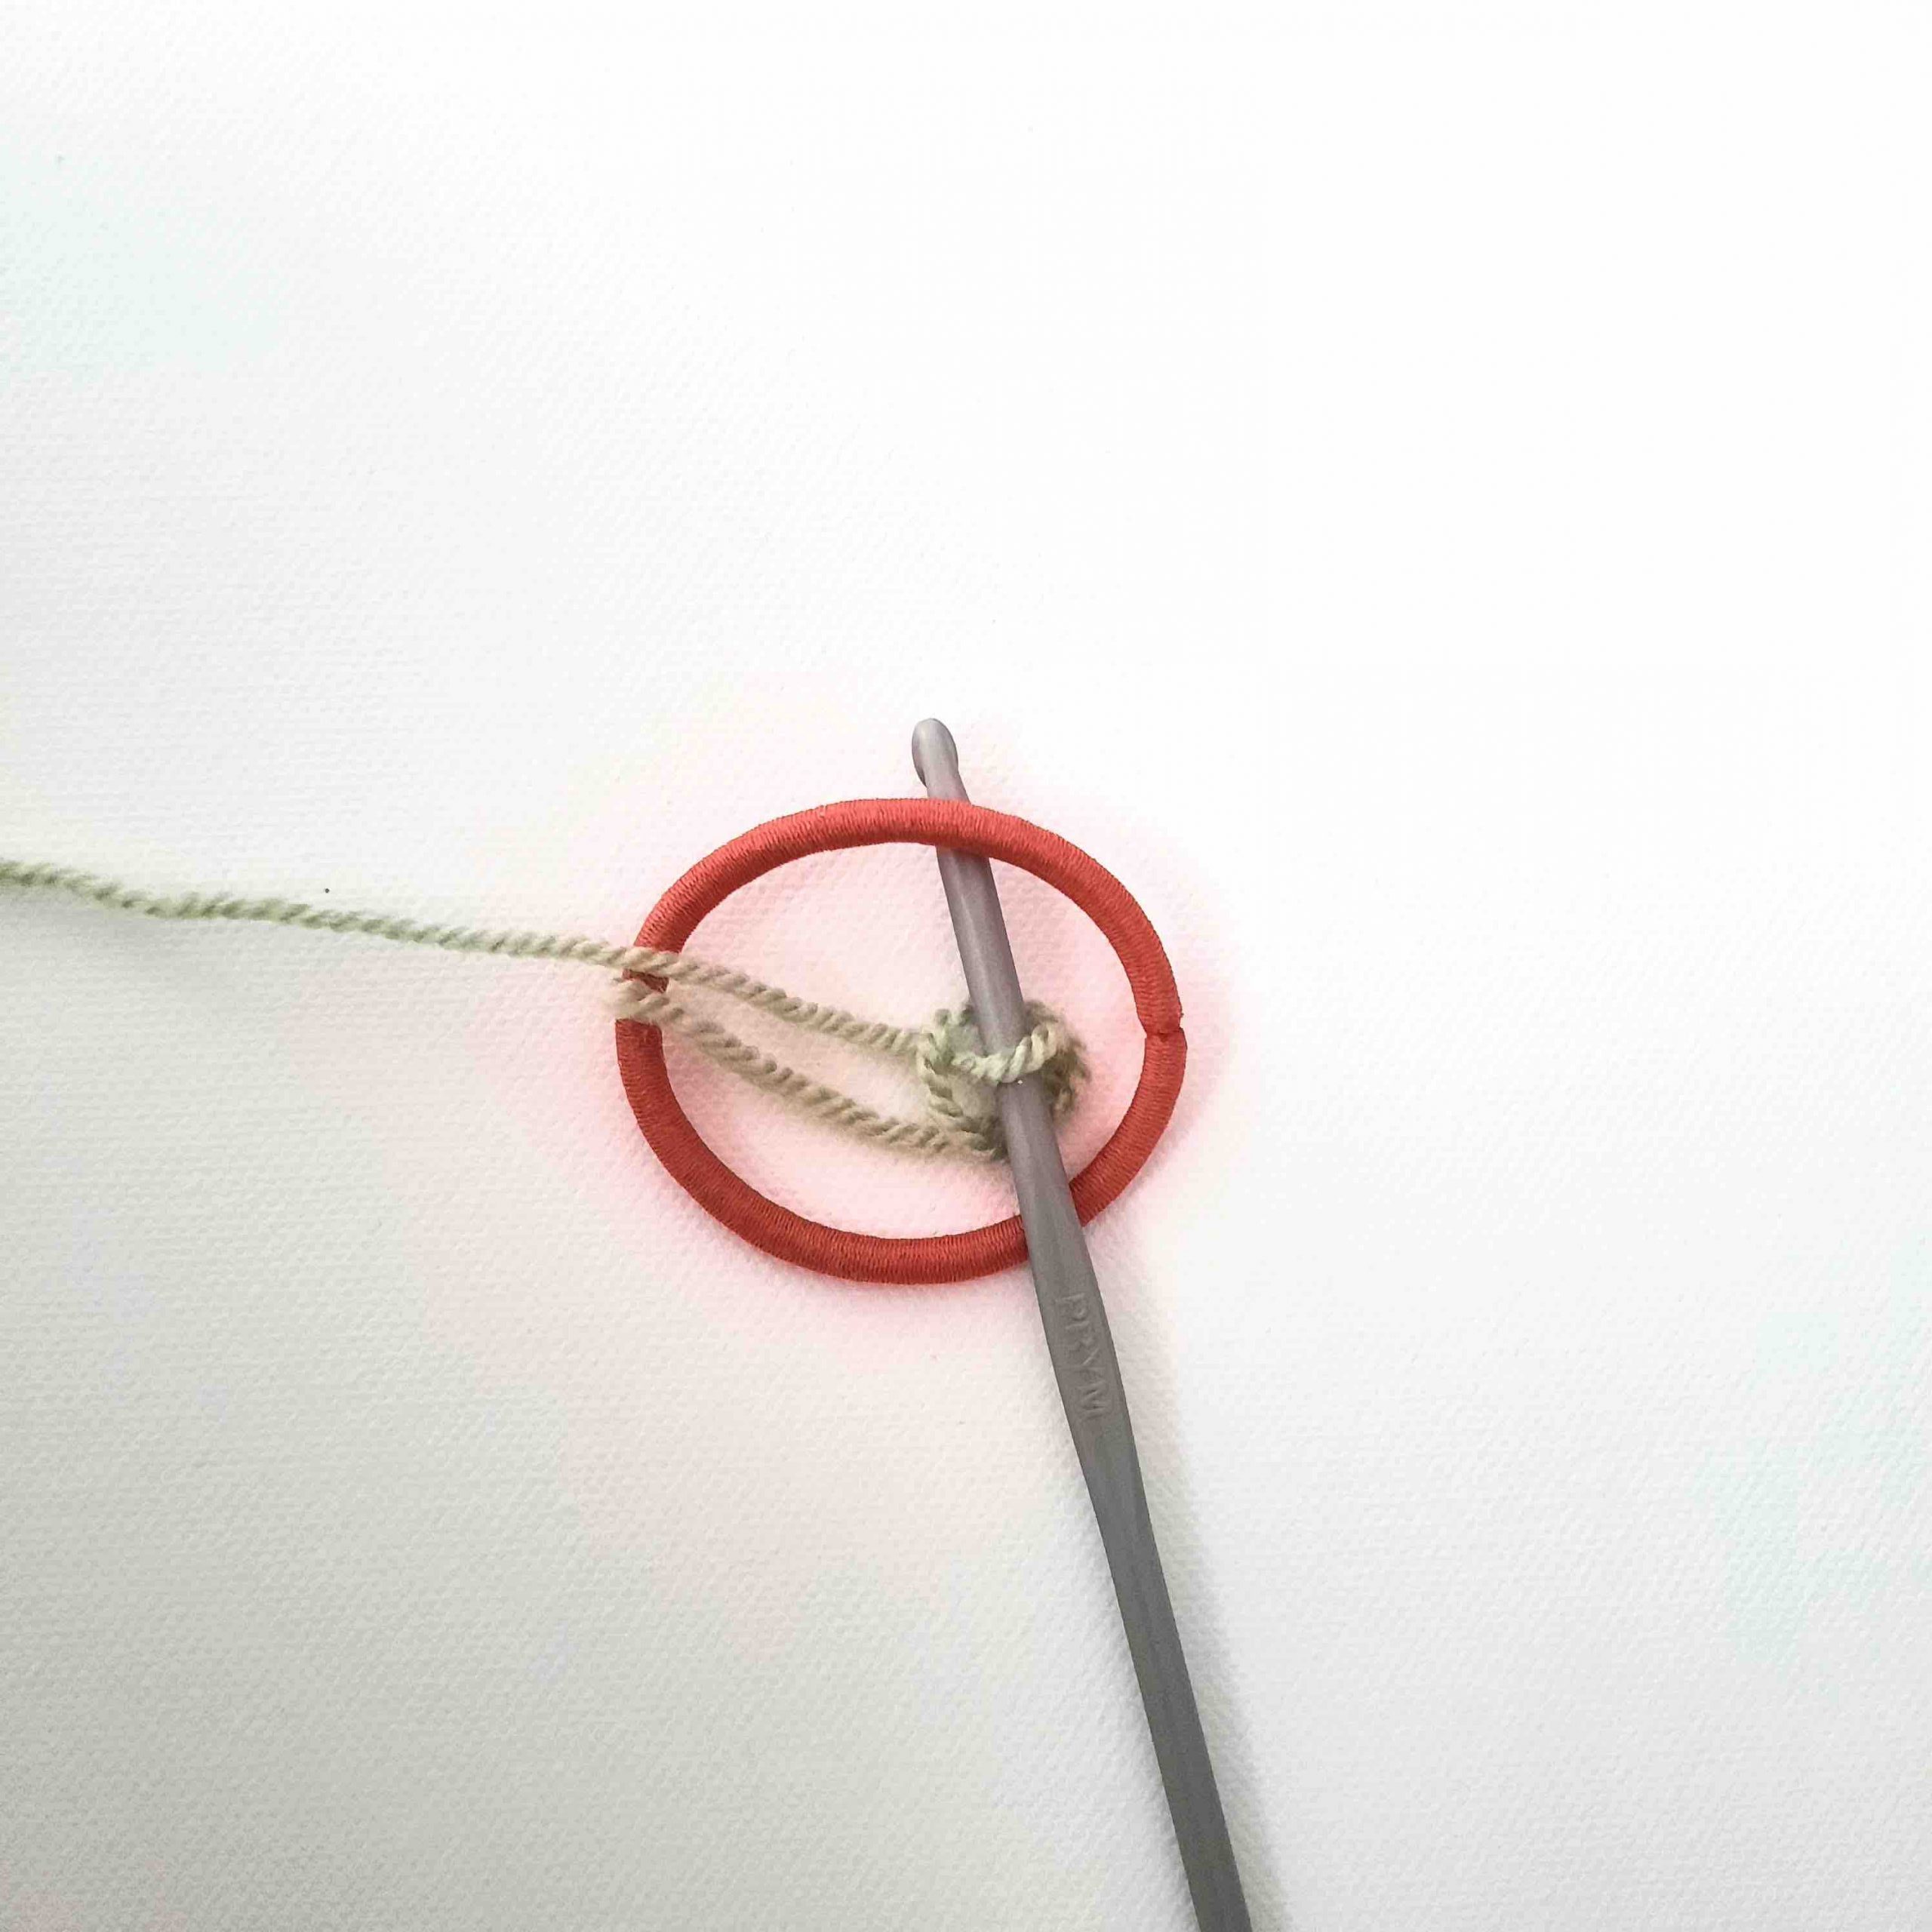

Insert hook through center opening of hairband
- Pull your yarn through the hairband toward the front and complete a single crochet stitch. Tighten this stitch onto the hairband.
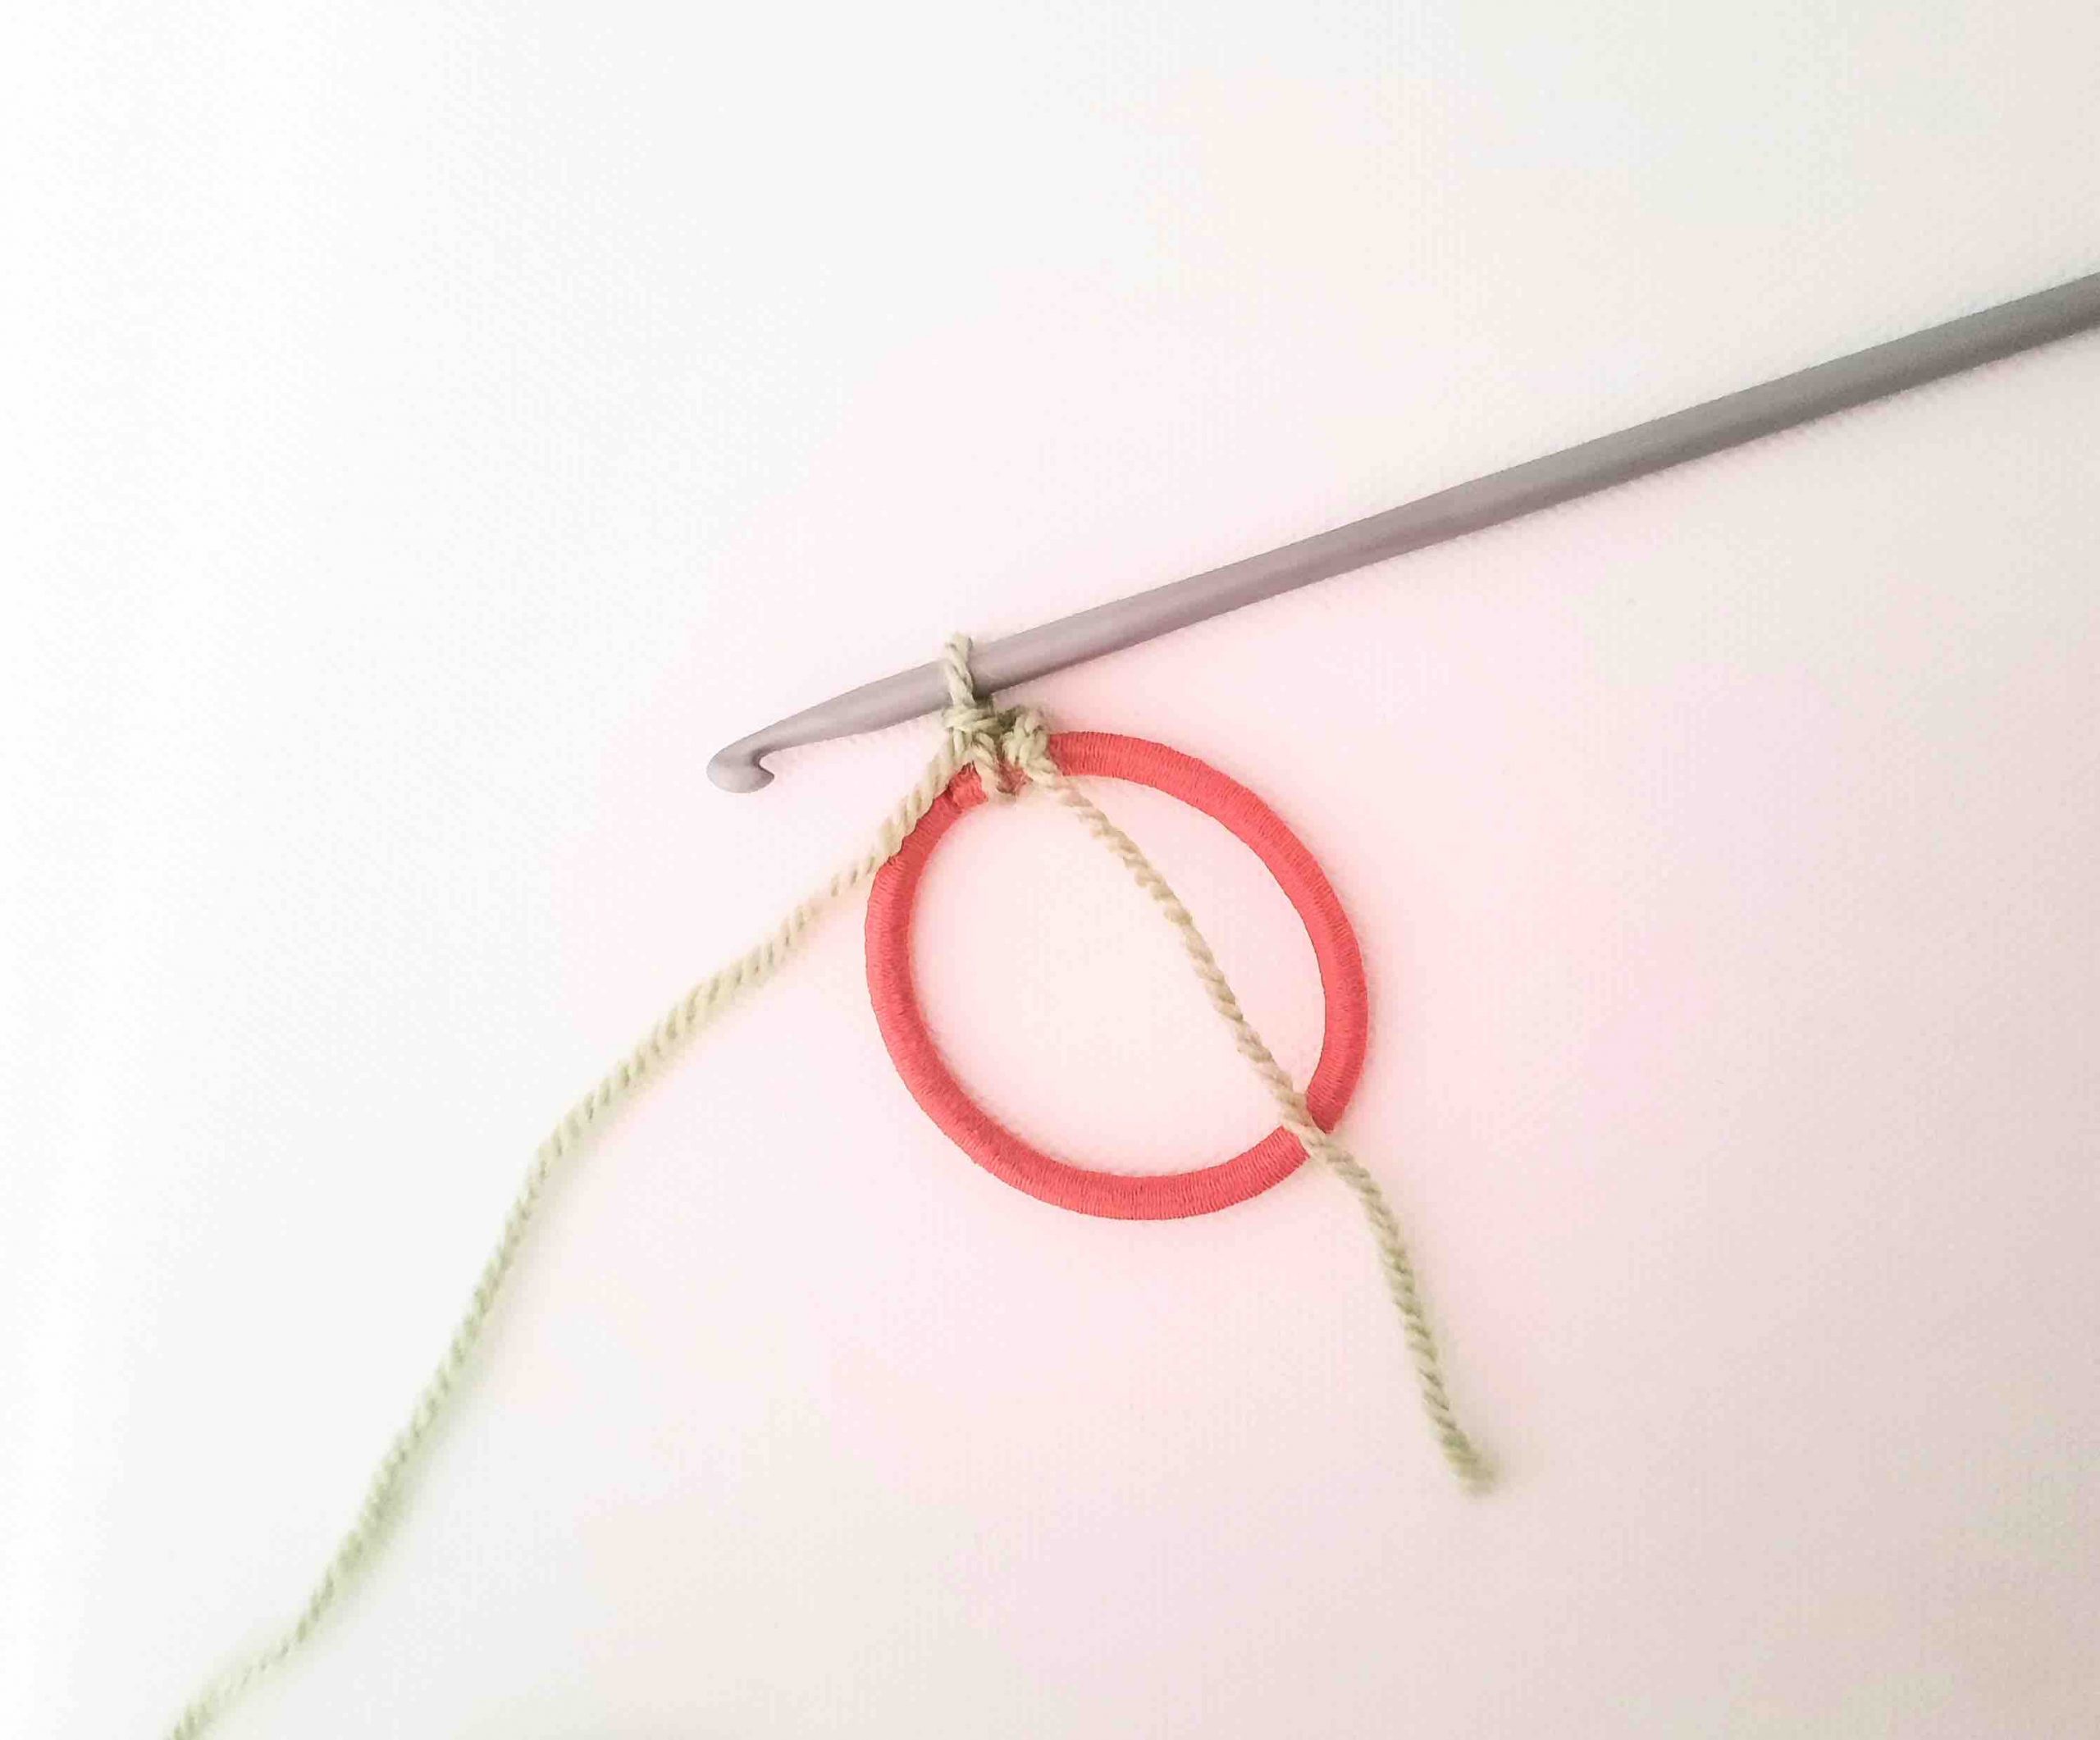

Complete a sc onto hairband. Pull tight.
- Continue to sc through and all the way around the hairband. (I cannot tell you how many stitches exactly because that depends on the diameter of your hairband and how loosely you stitch.)
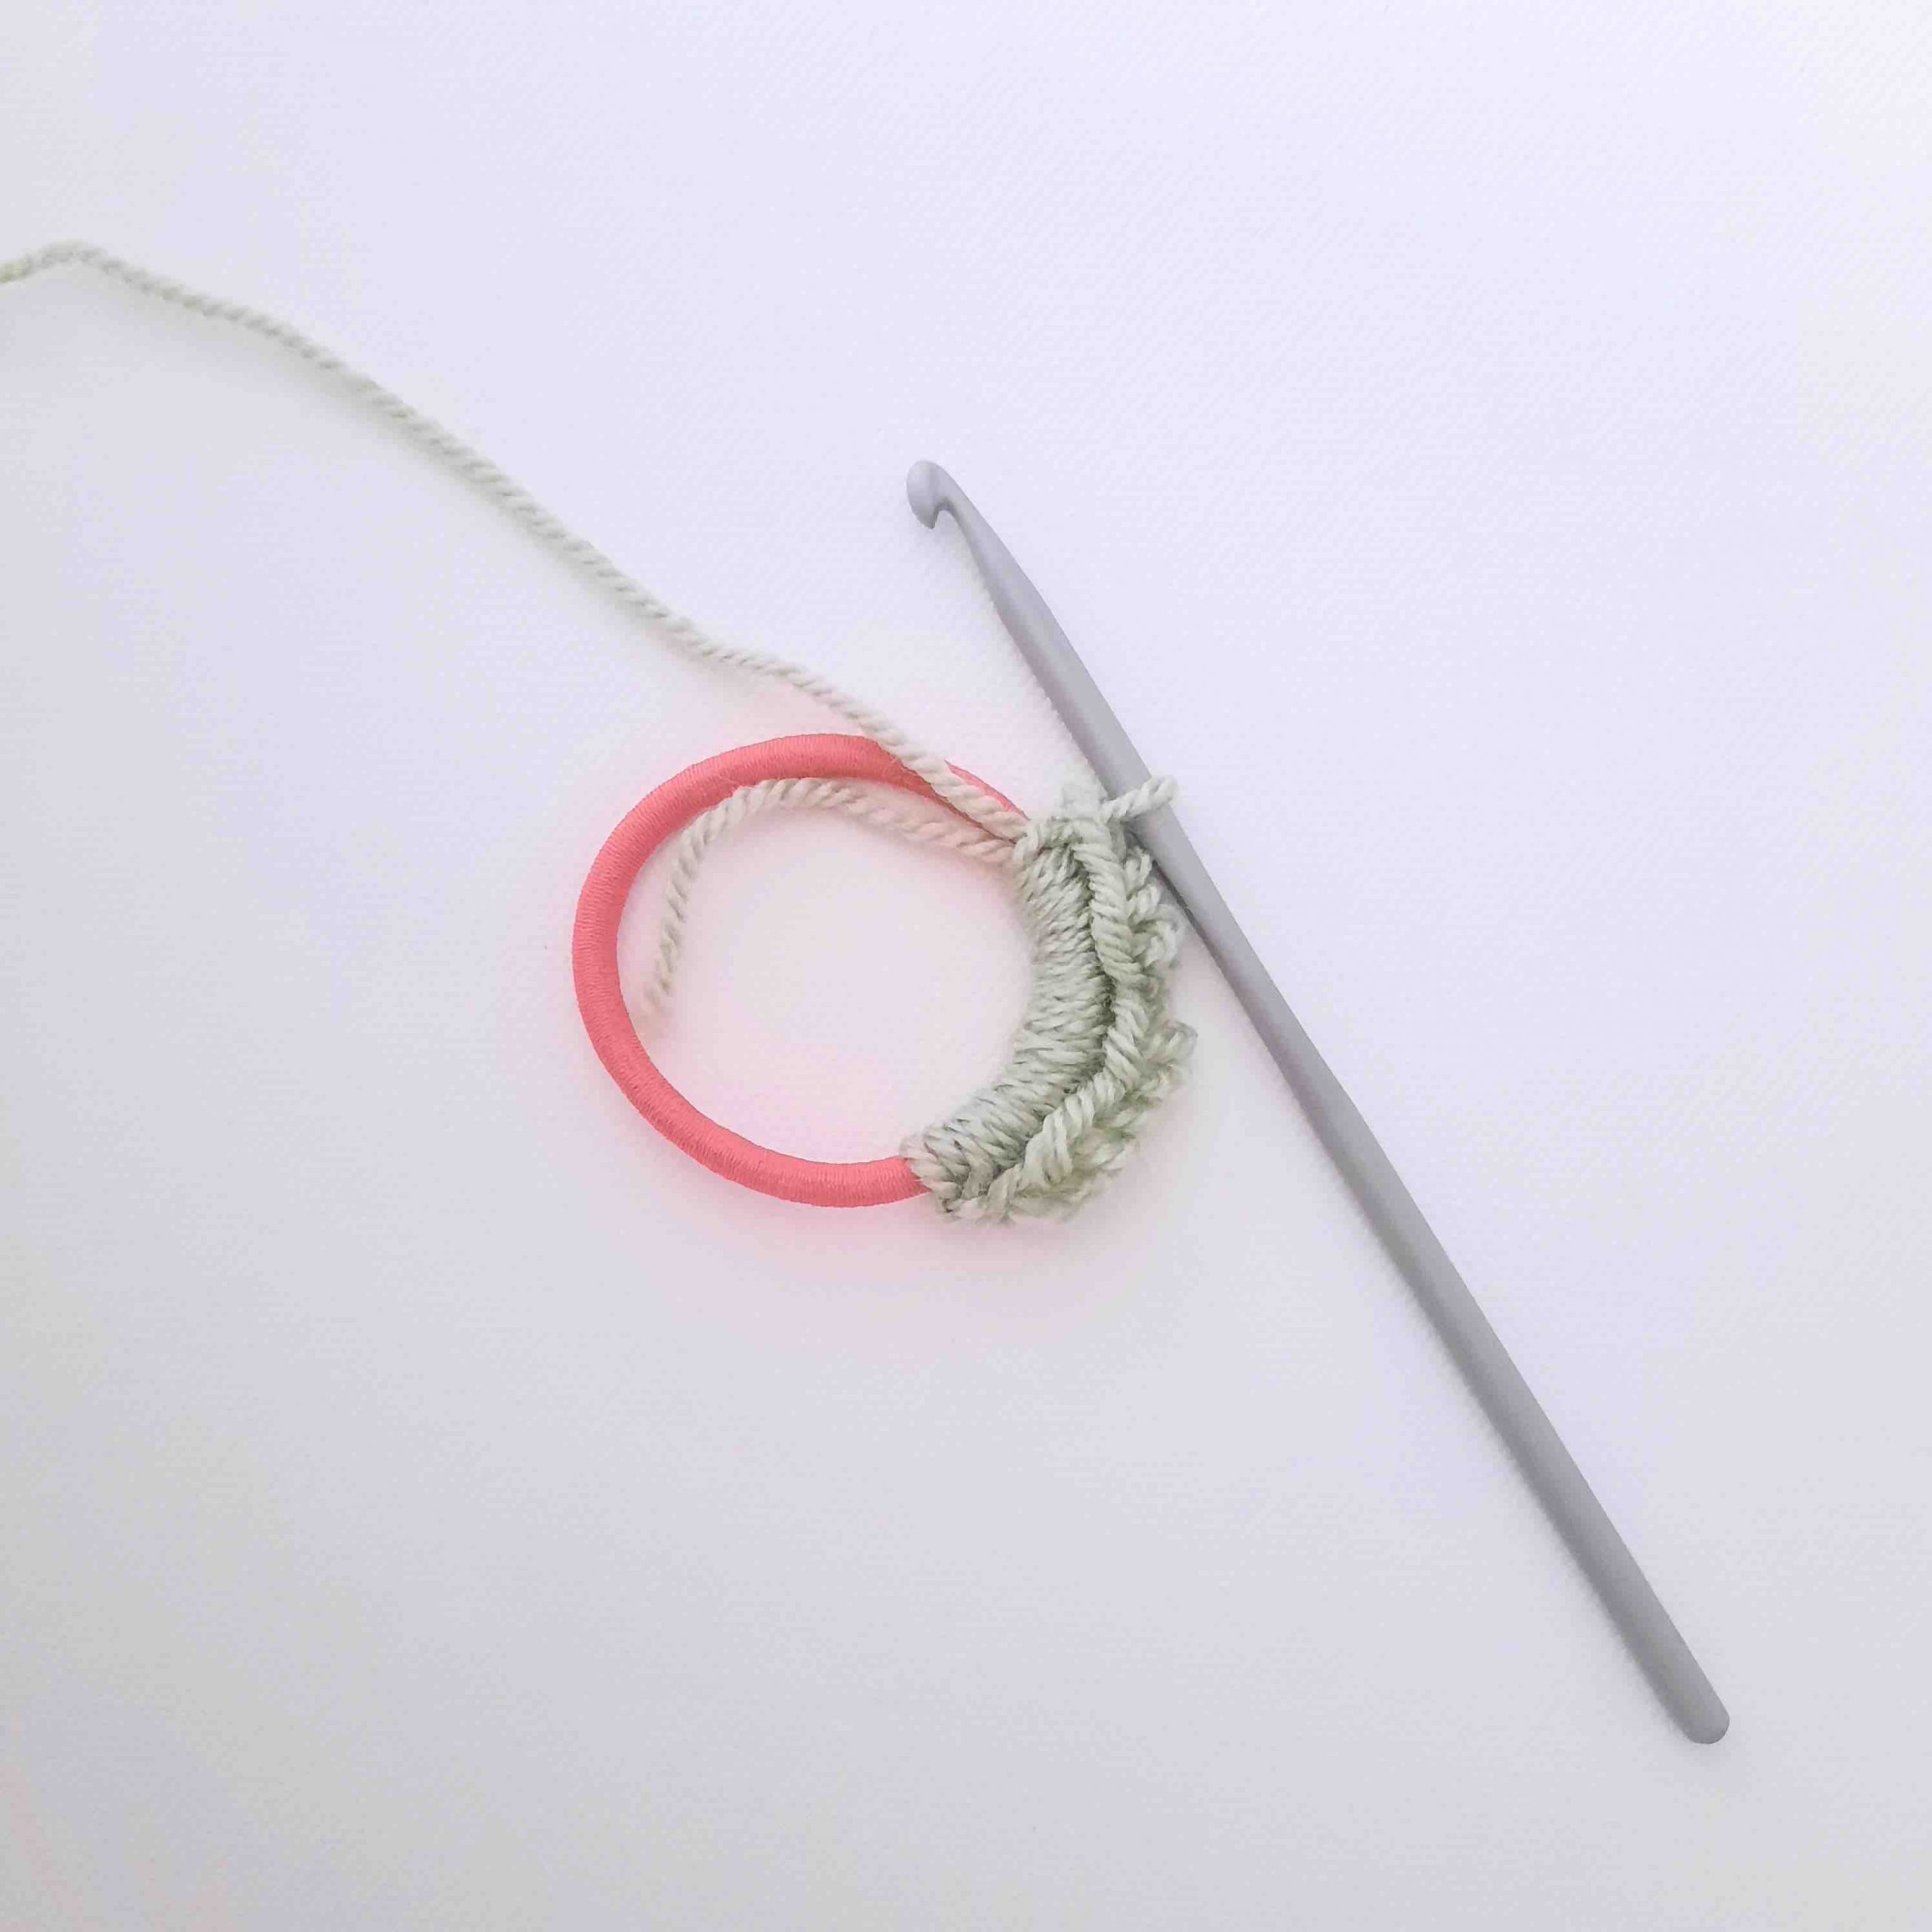

sc around whole hairband
- When you feel you have enough stitches to cover your hairband, push all your stitches together to create a gap. Single crochet some more stitches till it is not possible to push them together without them overlapping. Now you know you have enough stitches. I'd say an average of about 60 sc for this round.
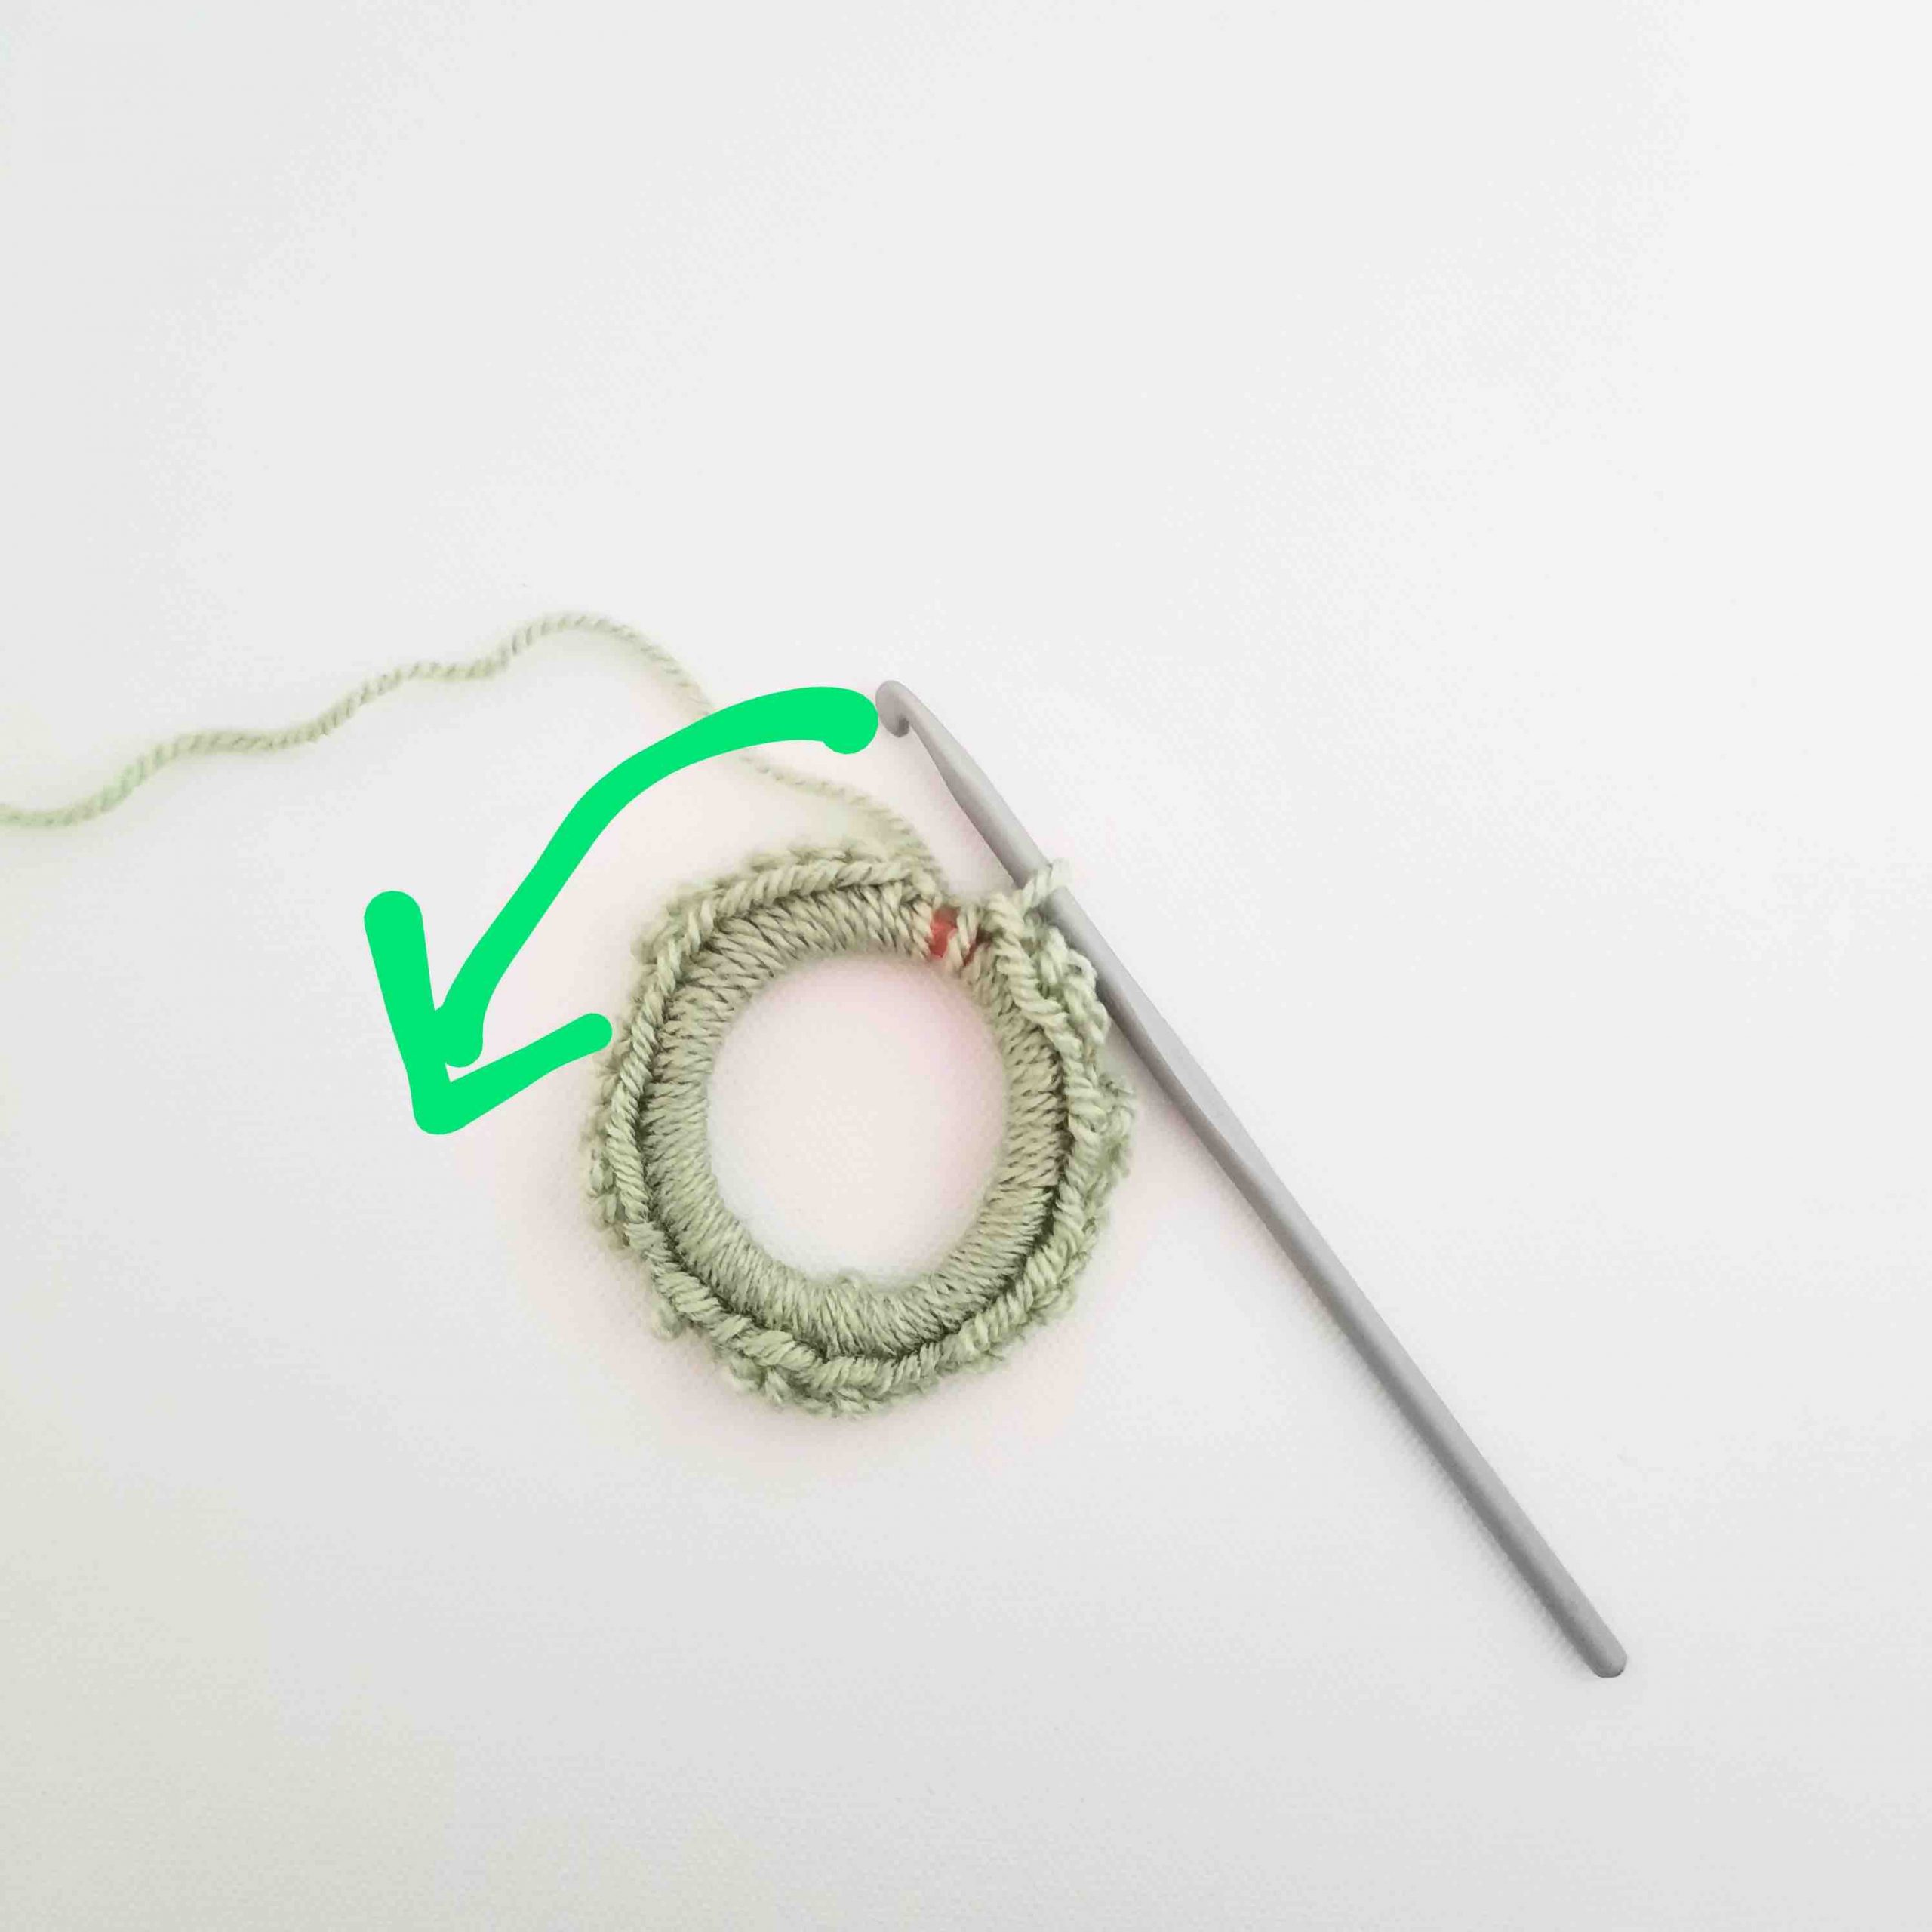

Push stitches to one side
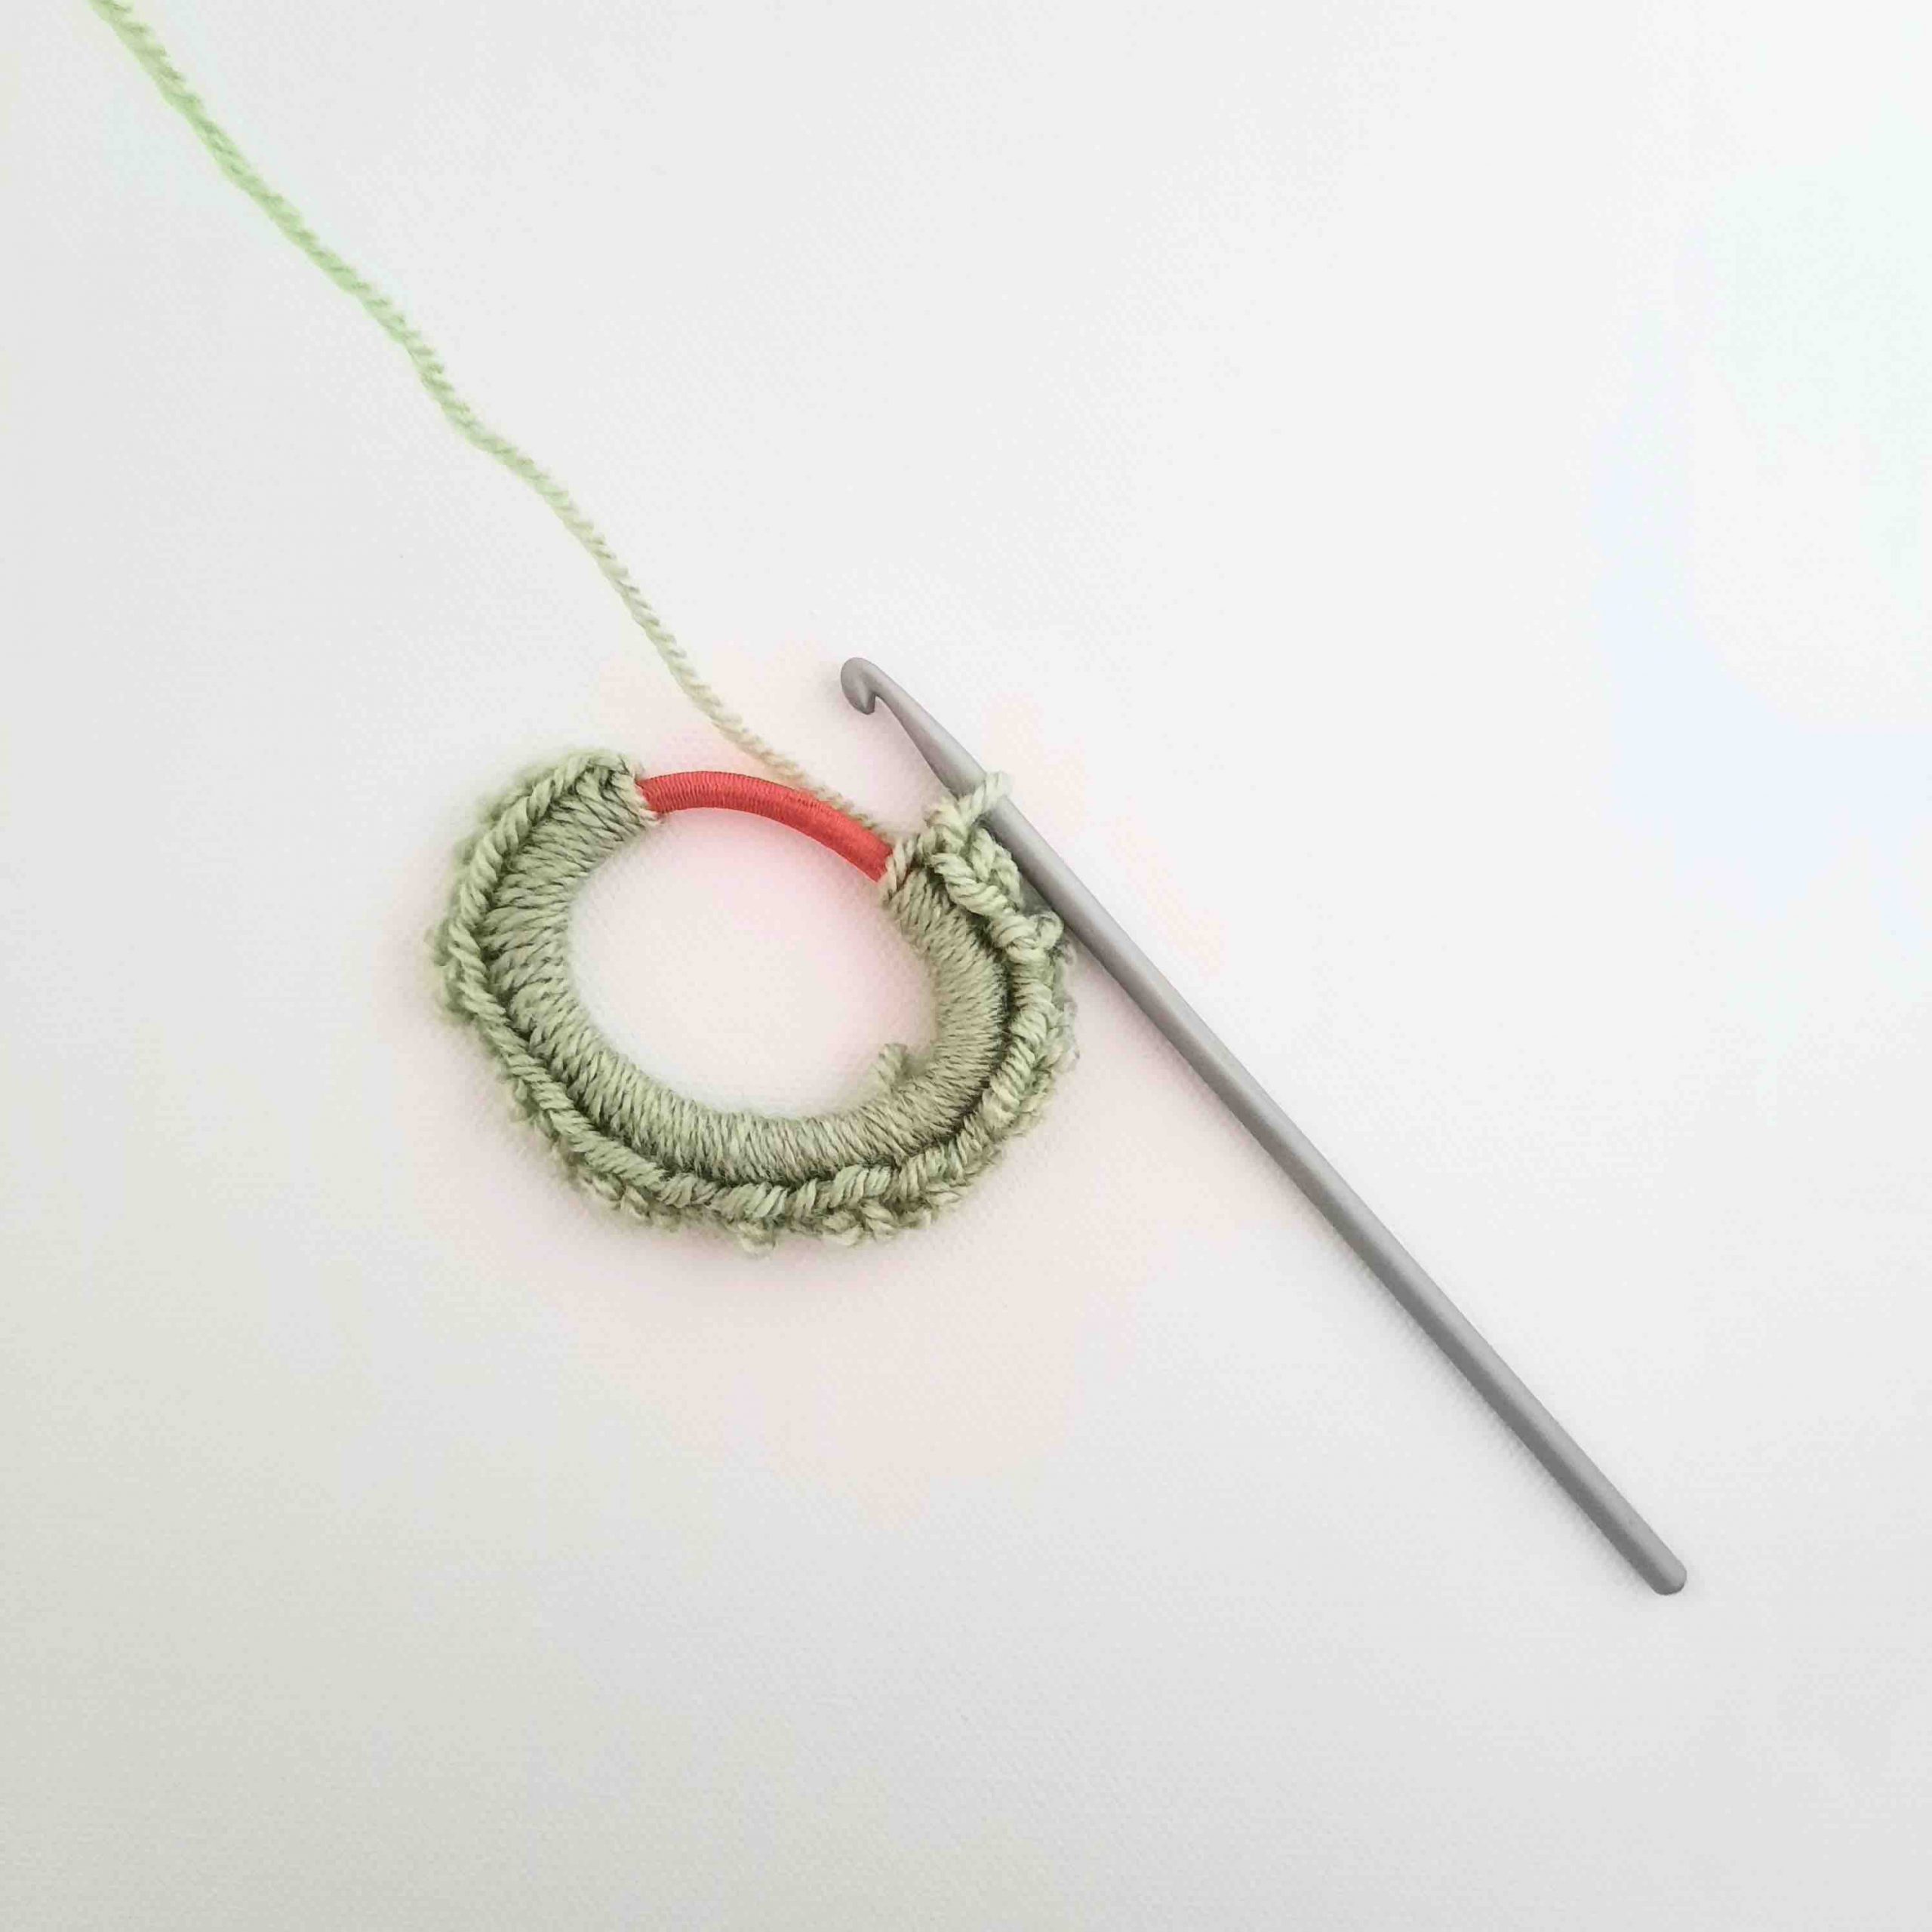

You'll see a gap now, sc more stitches
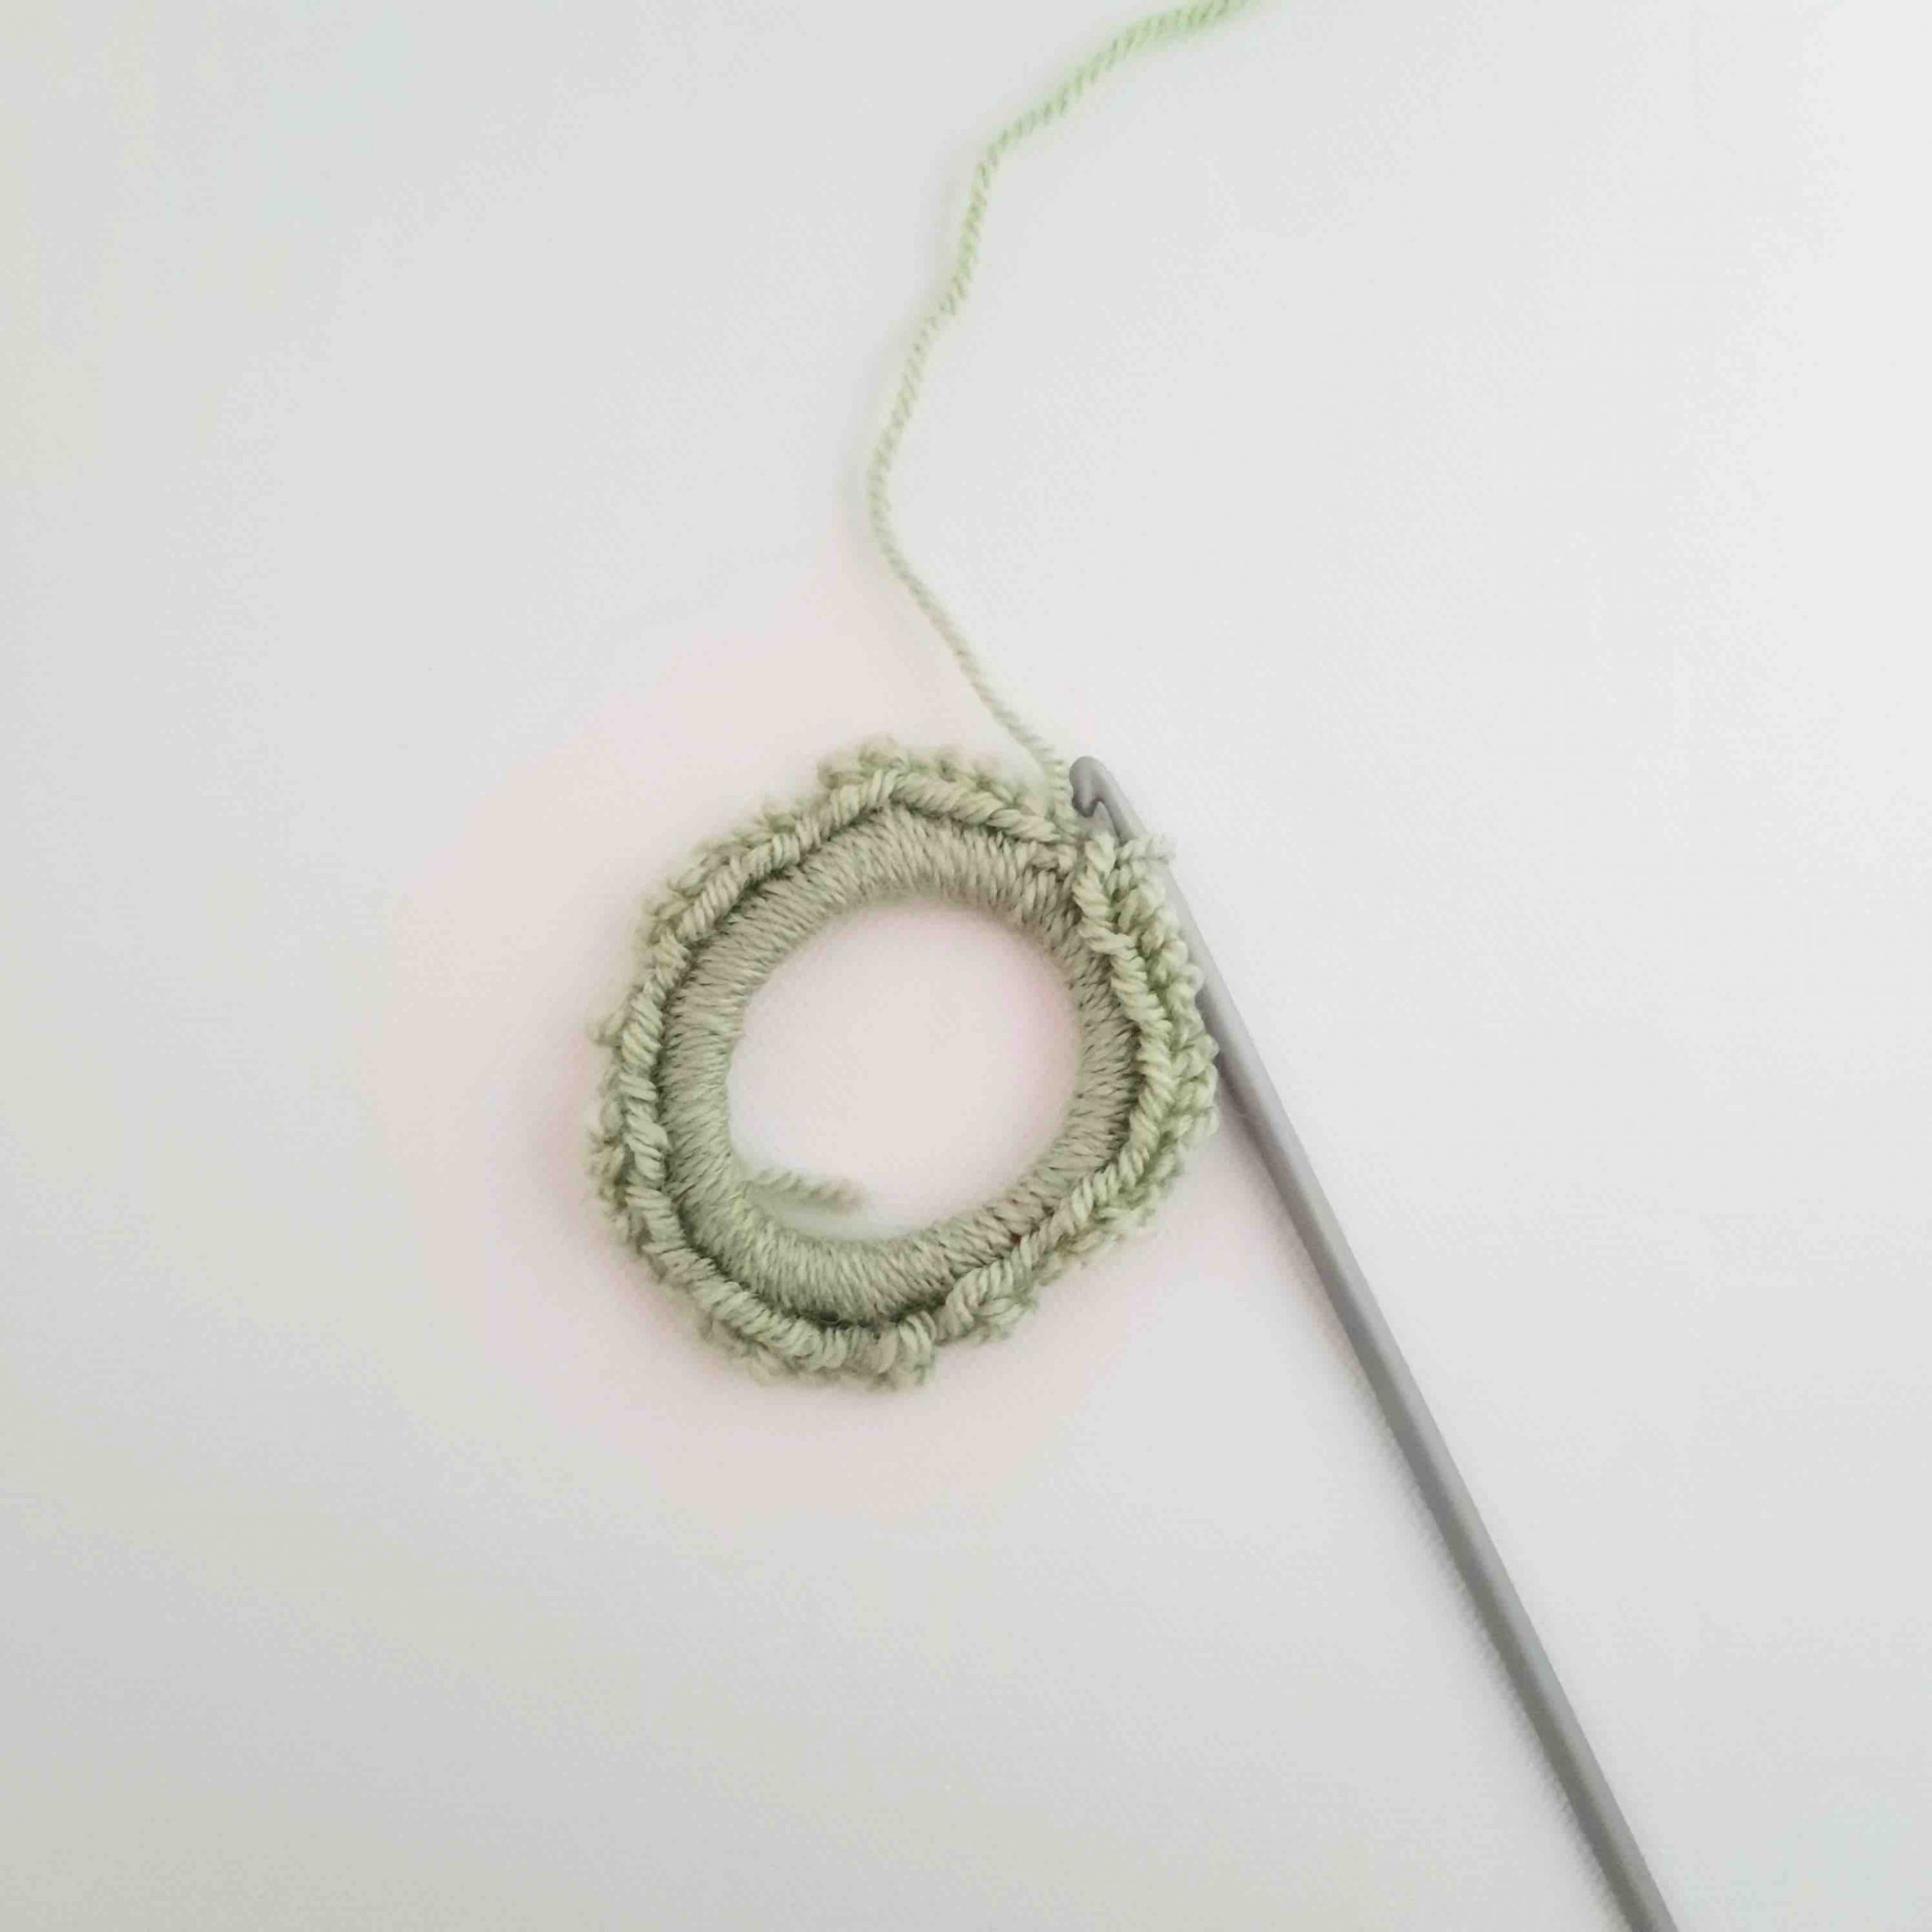

Now you have enough stitches
- Slip stitch to the top of your beginning sc stitch to join.
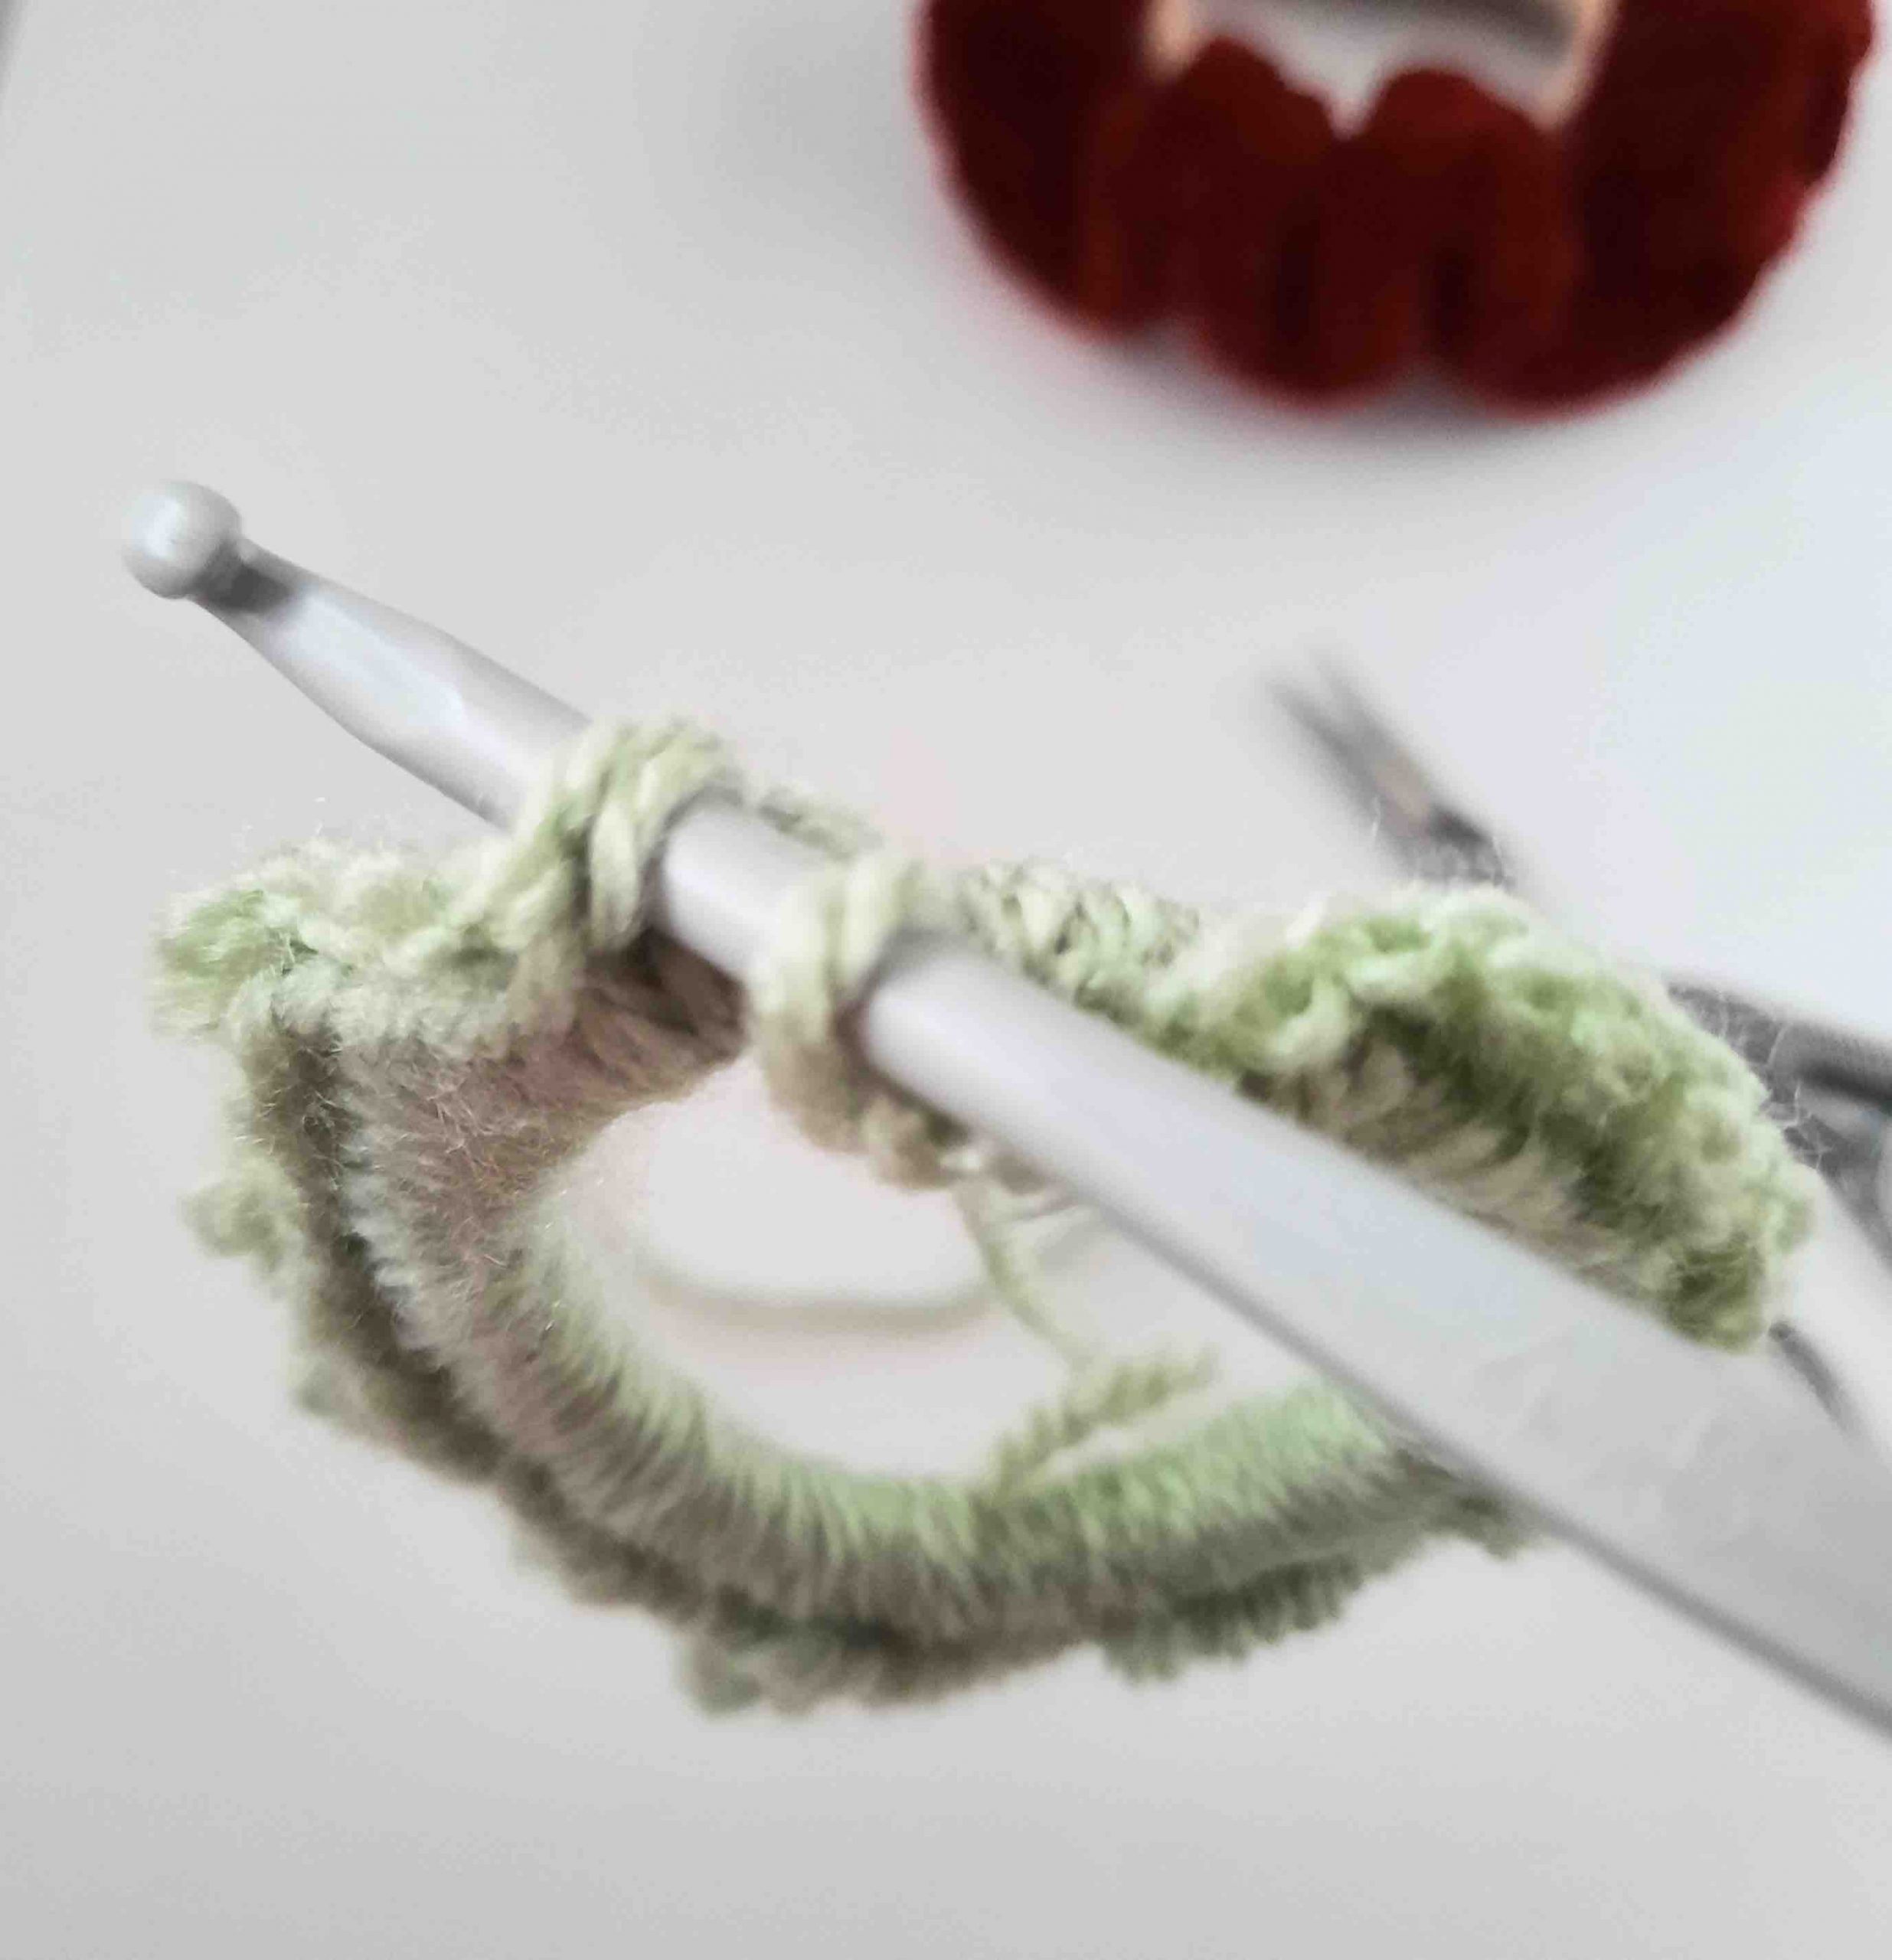

Slip Stitch to join
- Leave a 4" (10 cm) tail, cut your yarn and fasten off.
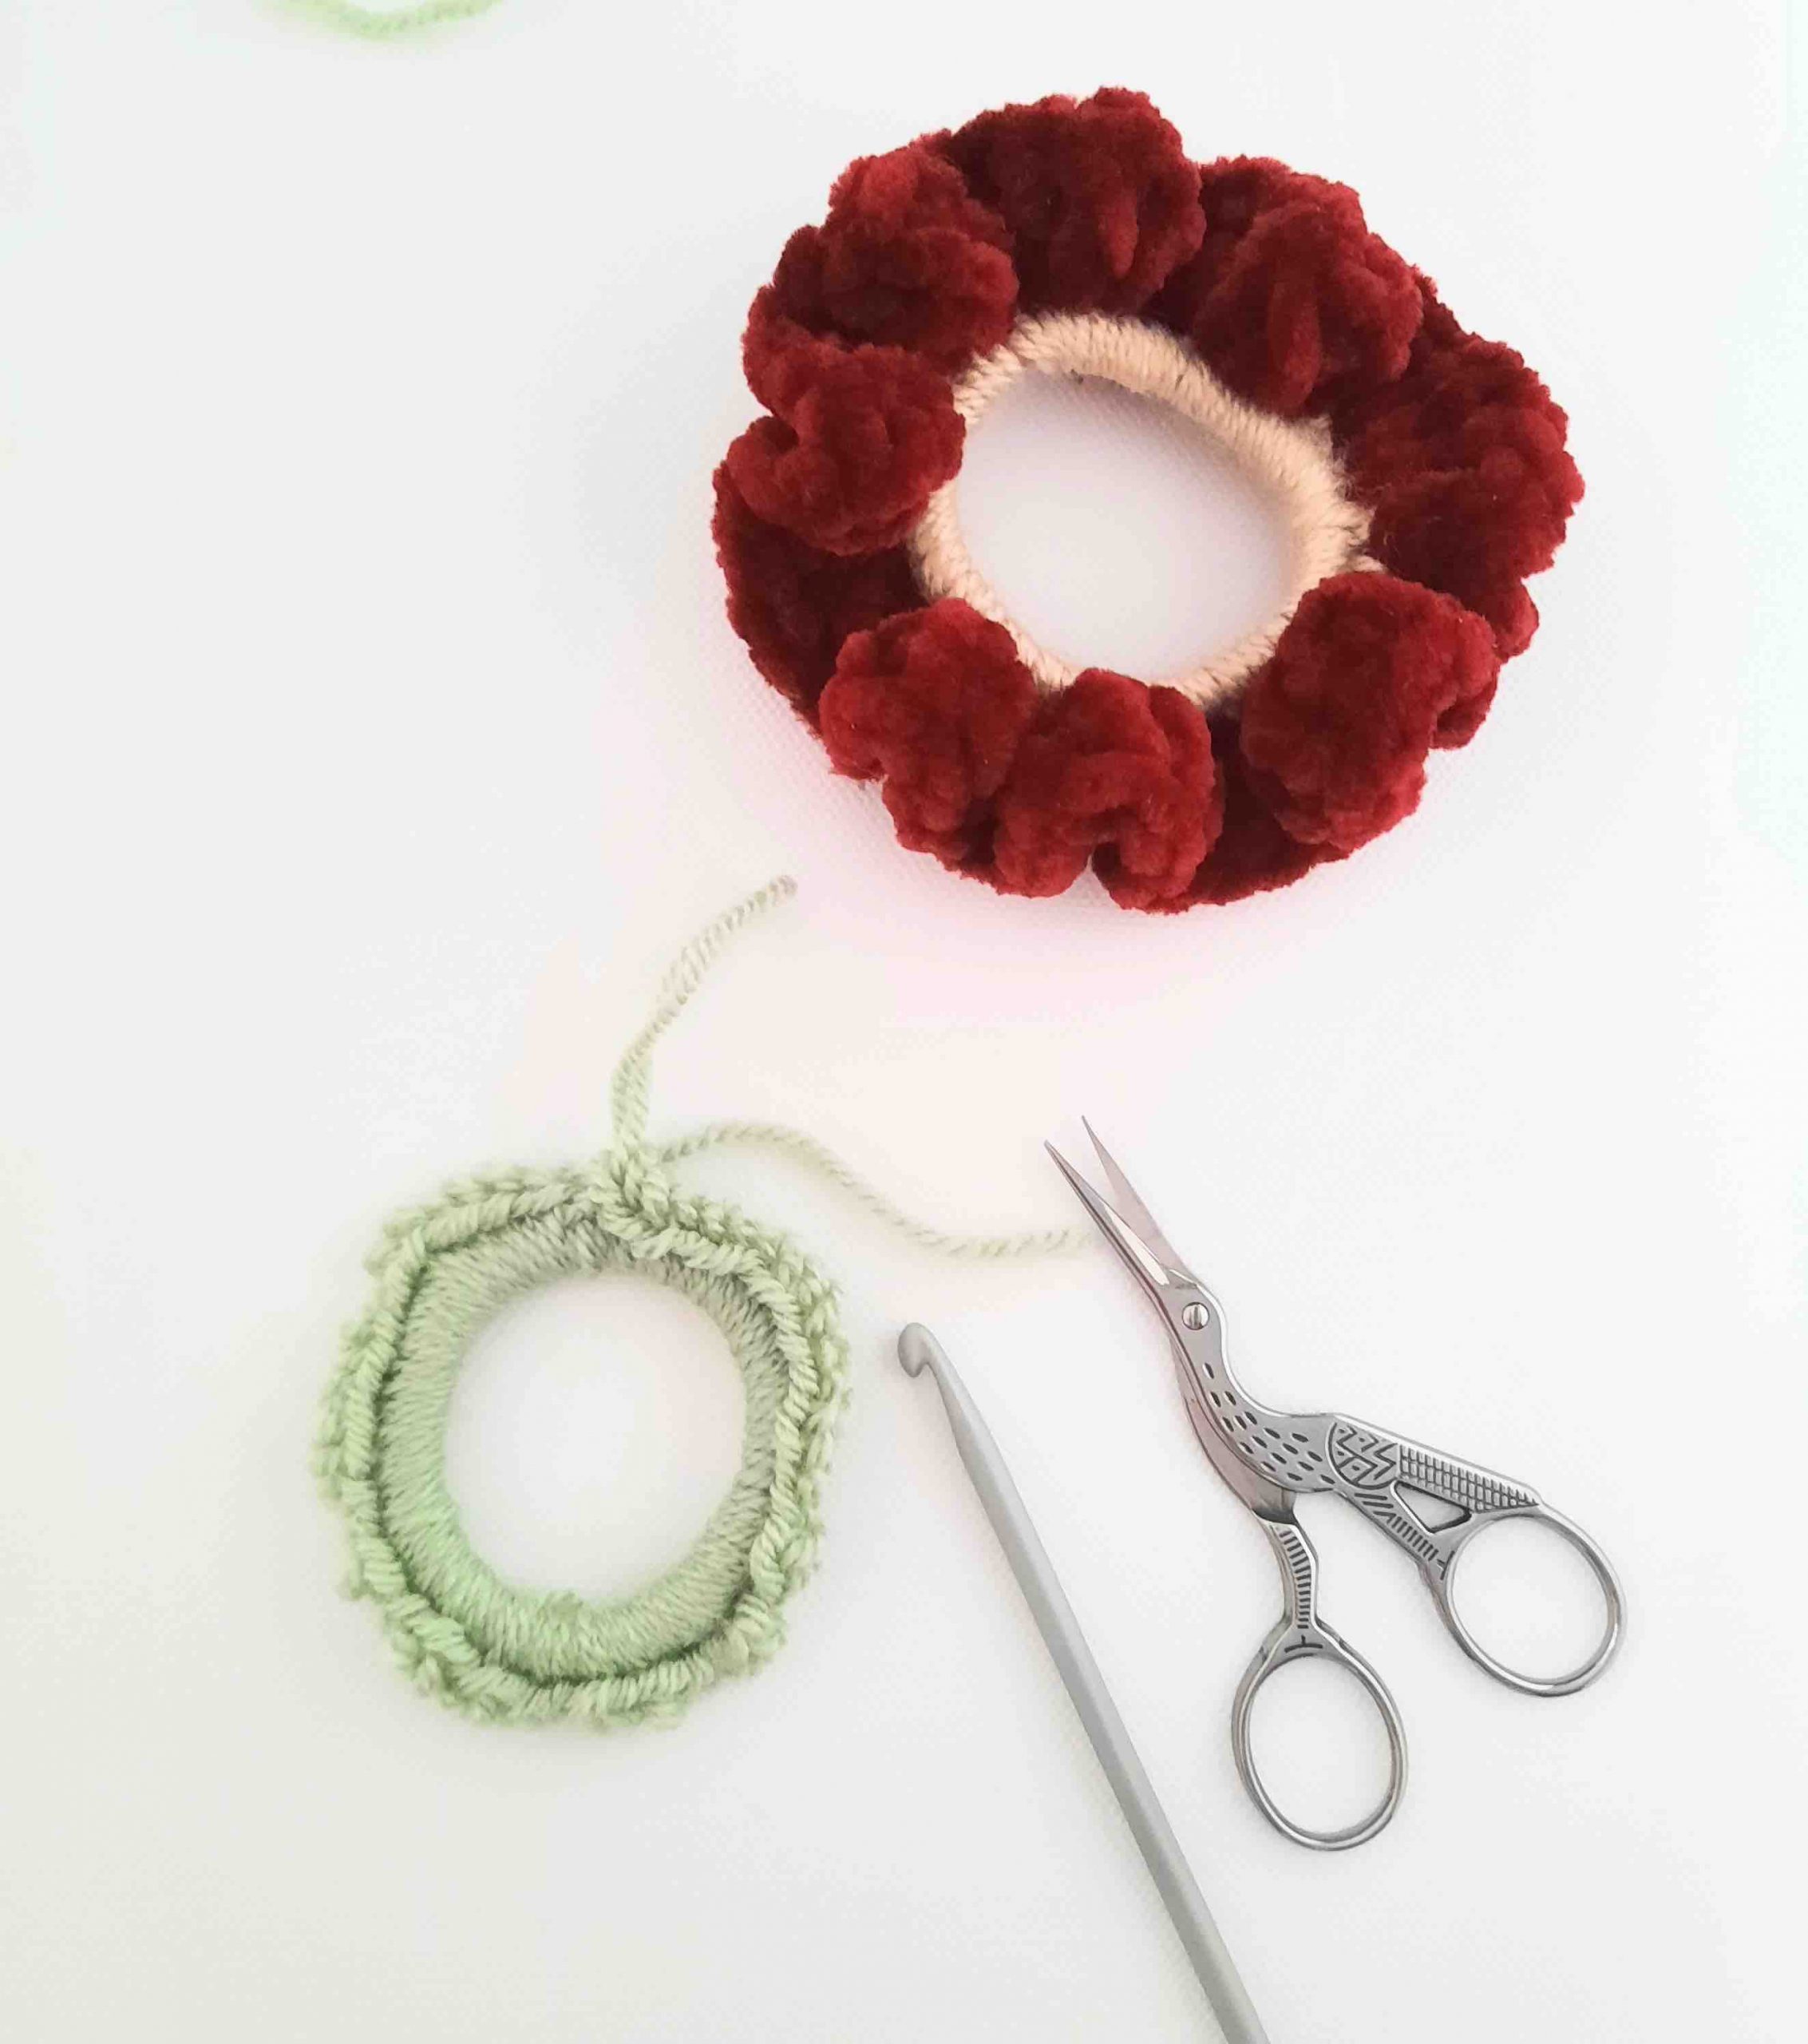

Cut yarn & fasten off
Round 2:
- Leaving a 6" tail, attach yarn color 2 (Velvet yarn) to your beginning sc, ch 2.
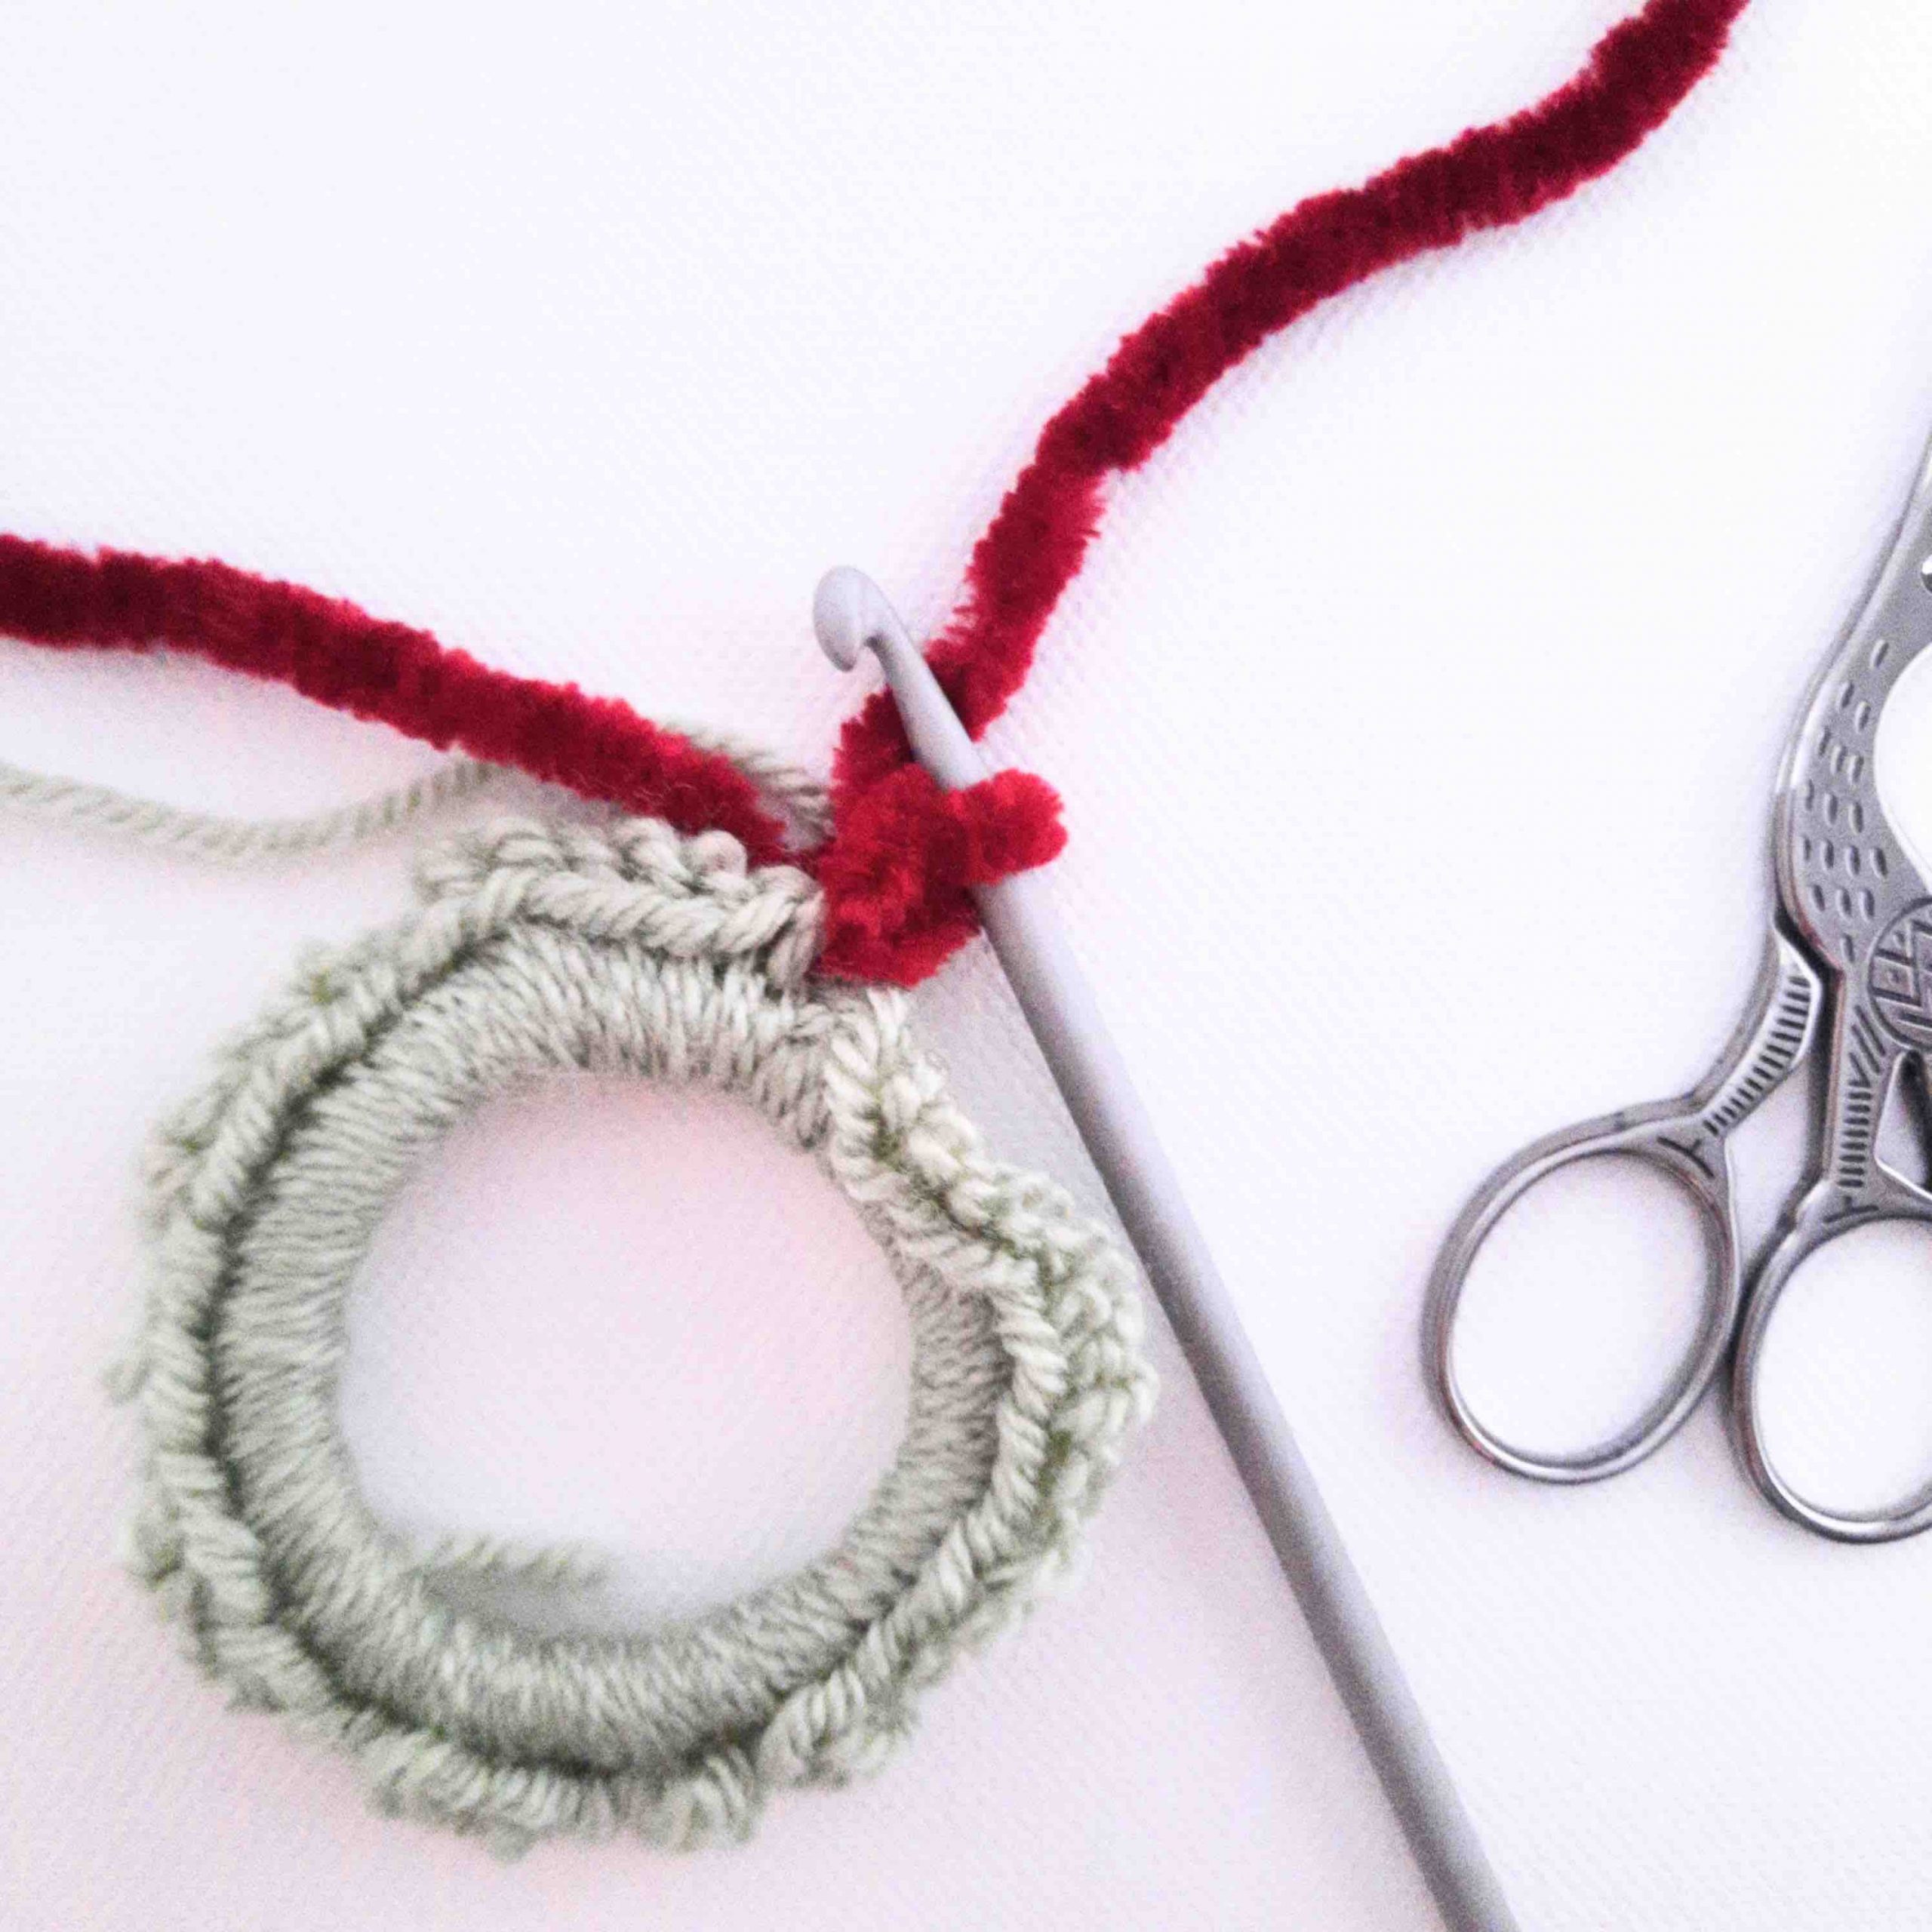

Attach velvet yarn, ch 2
- Work 2 dc into each stitch around.
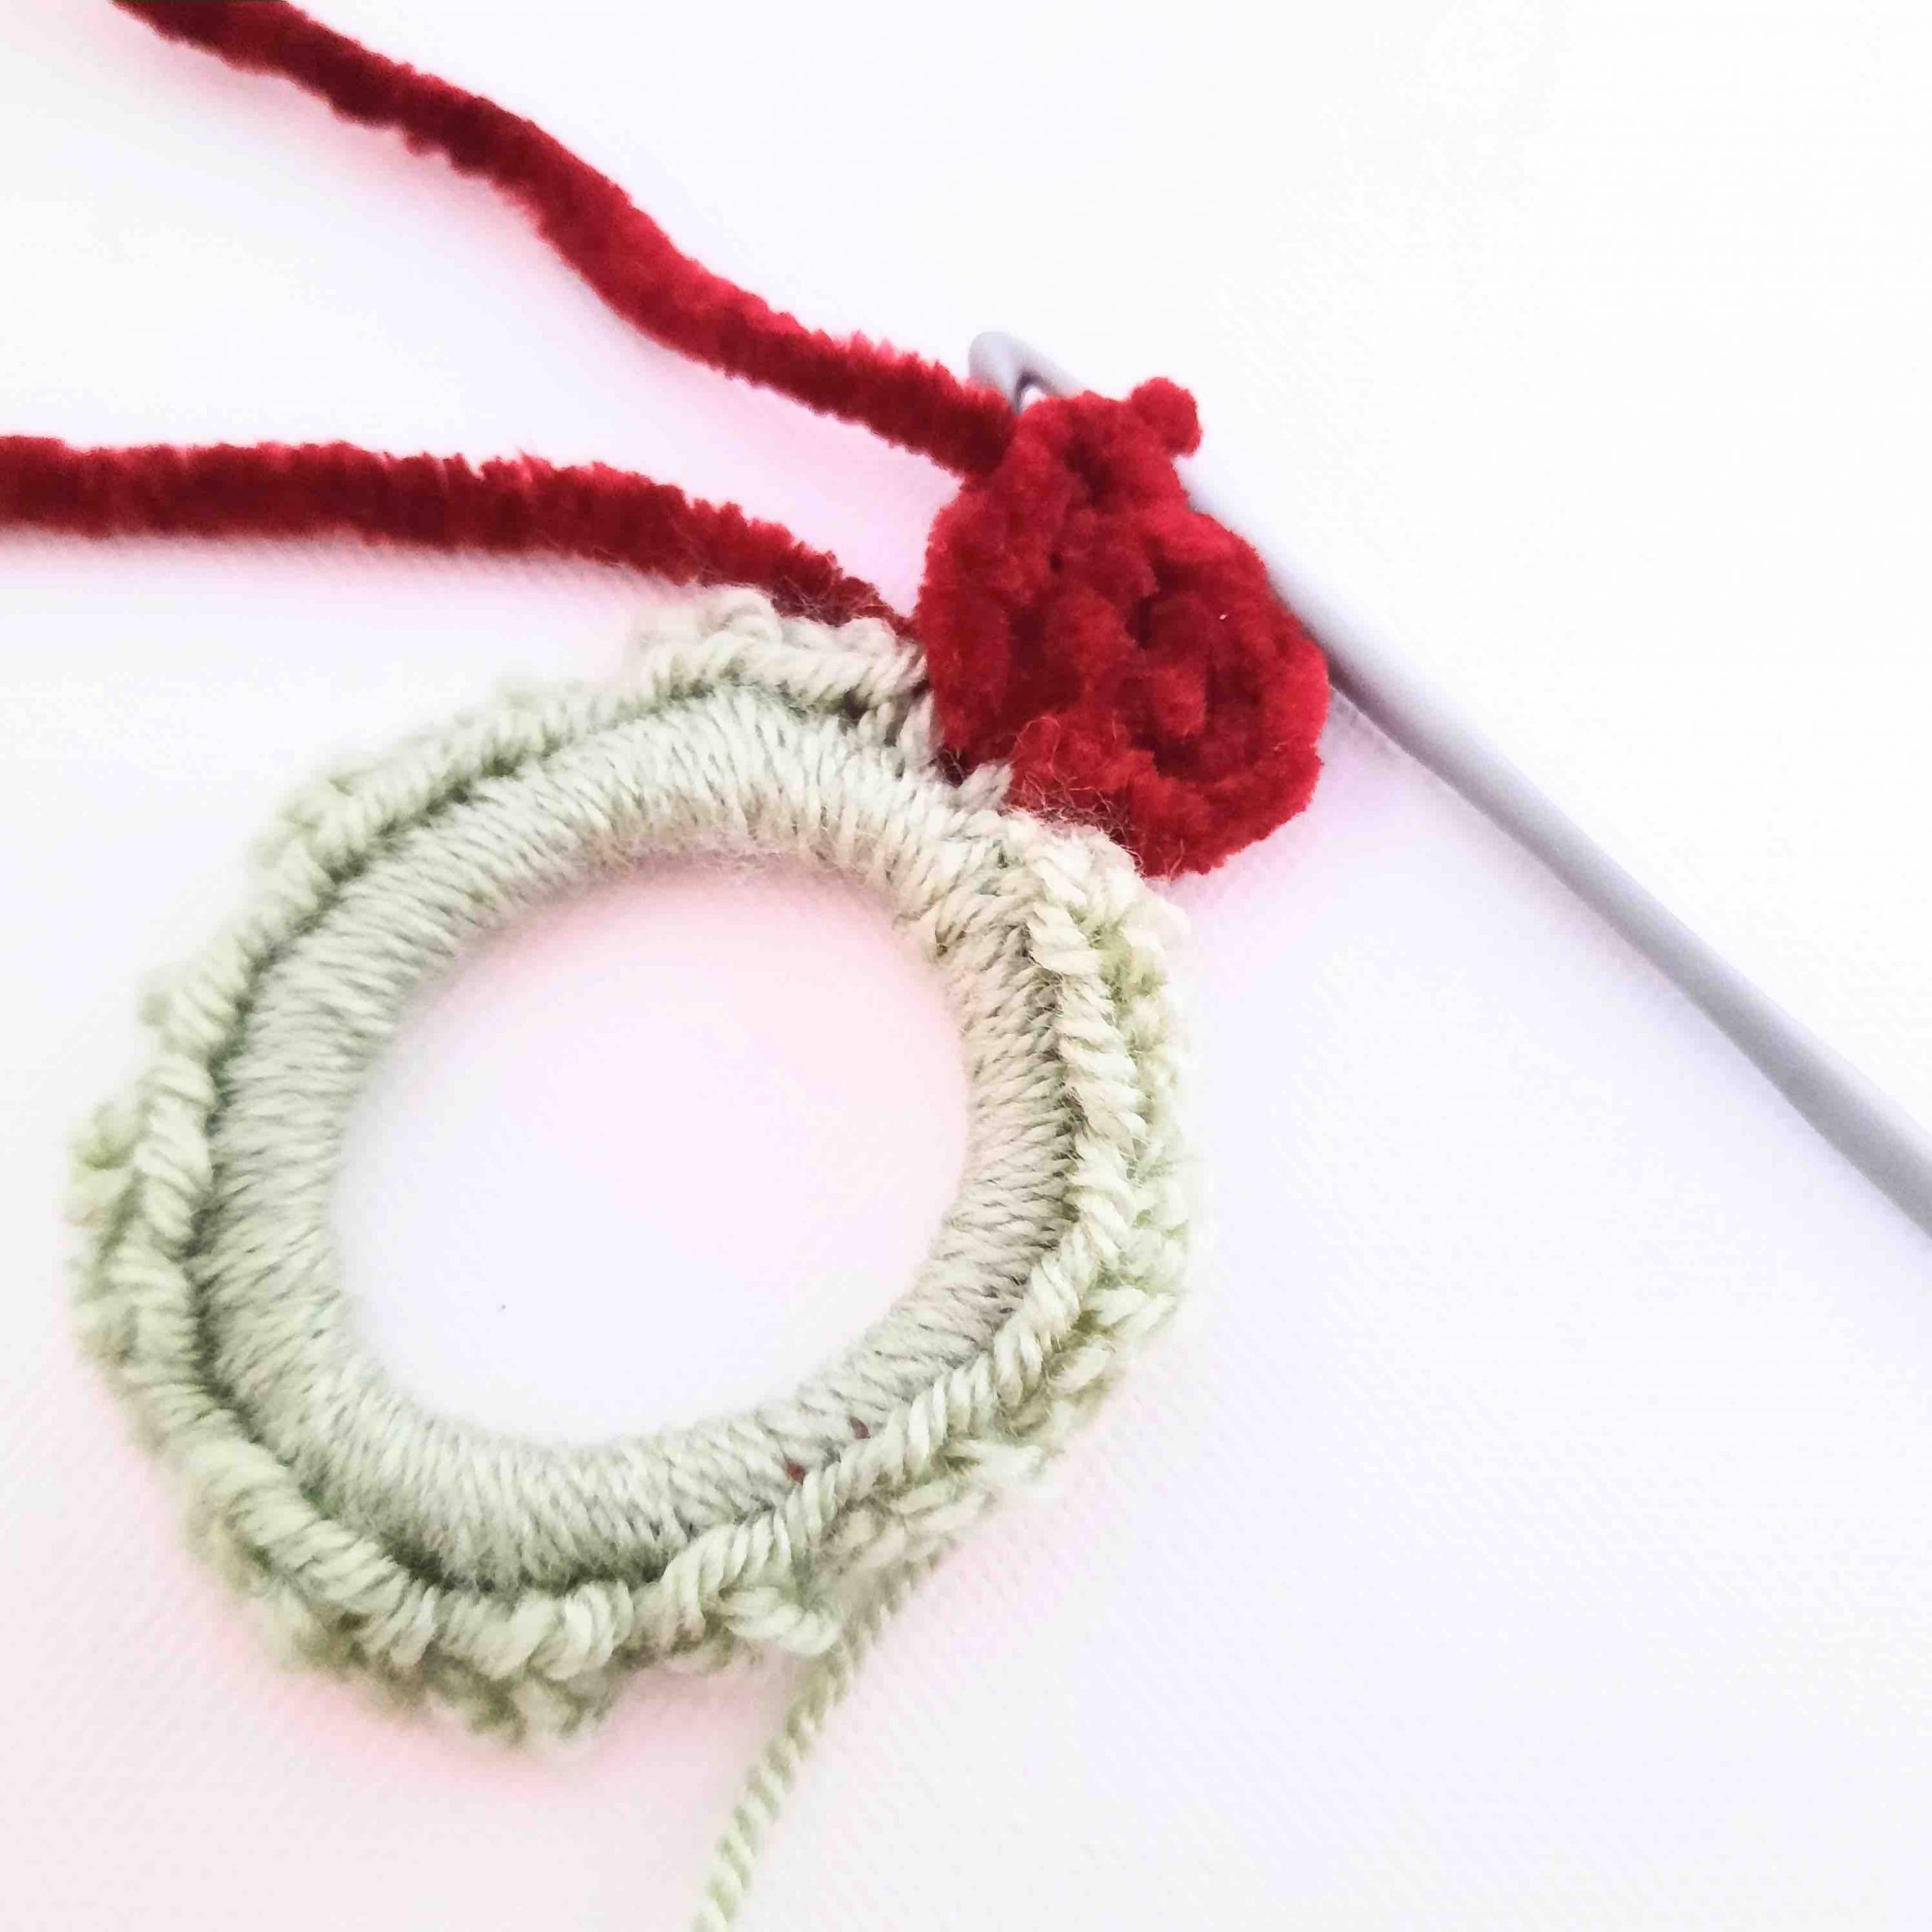

2 dc into each st of Row 1
- Work your sts into the top "v"s of each stitch of Round 1.
- If you worked 60 sts for Round 1, you'll have 120 sts for Round 2. You could stop here and have a perfectly beautiful medium-sized ruffled scrunchie. In that case, you'll sl st to join, leave a 6" (15 cm) tail, cut your yarn and fo.
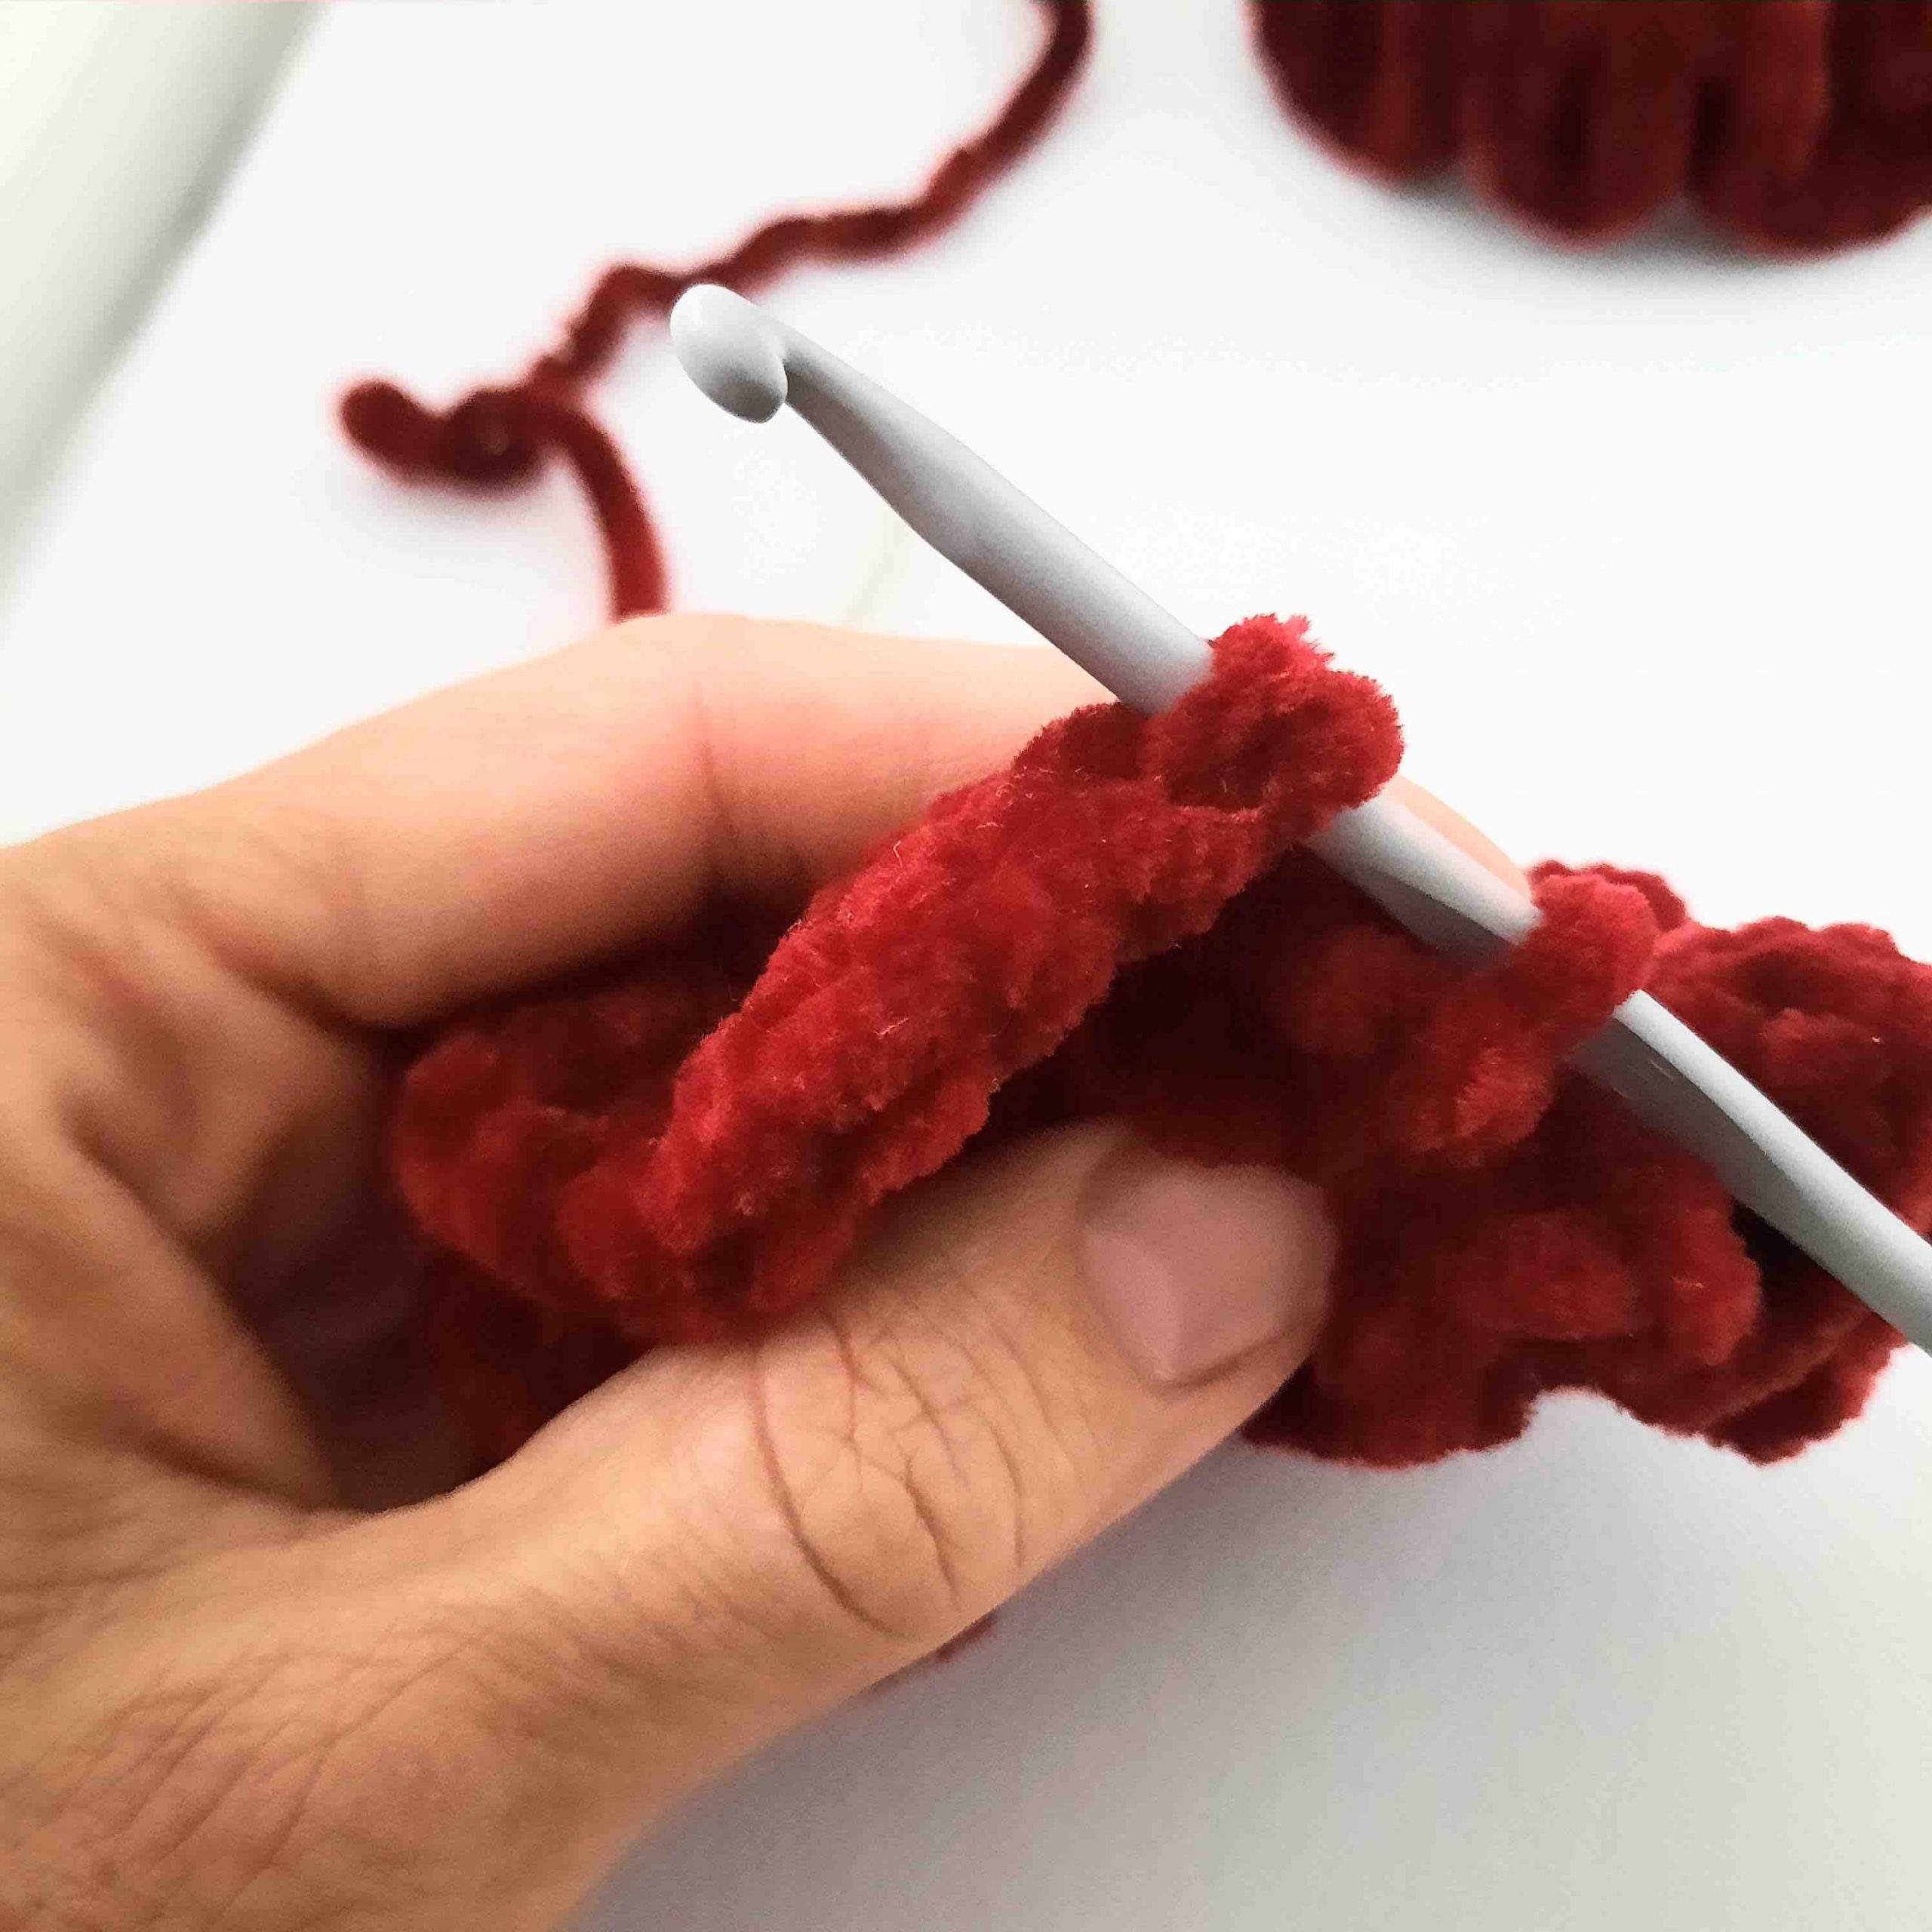

sl st to join
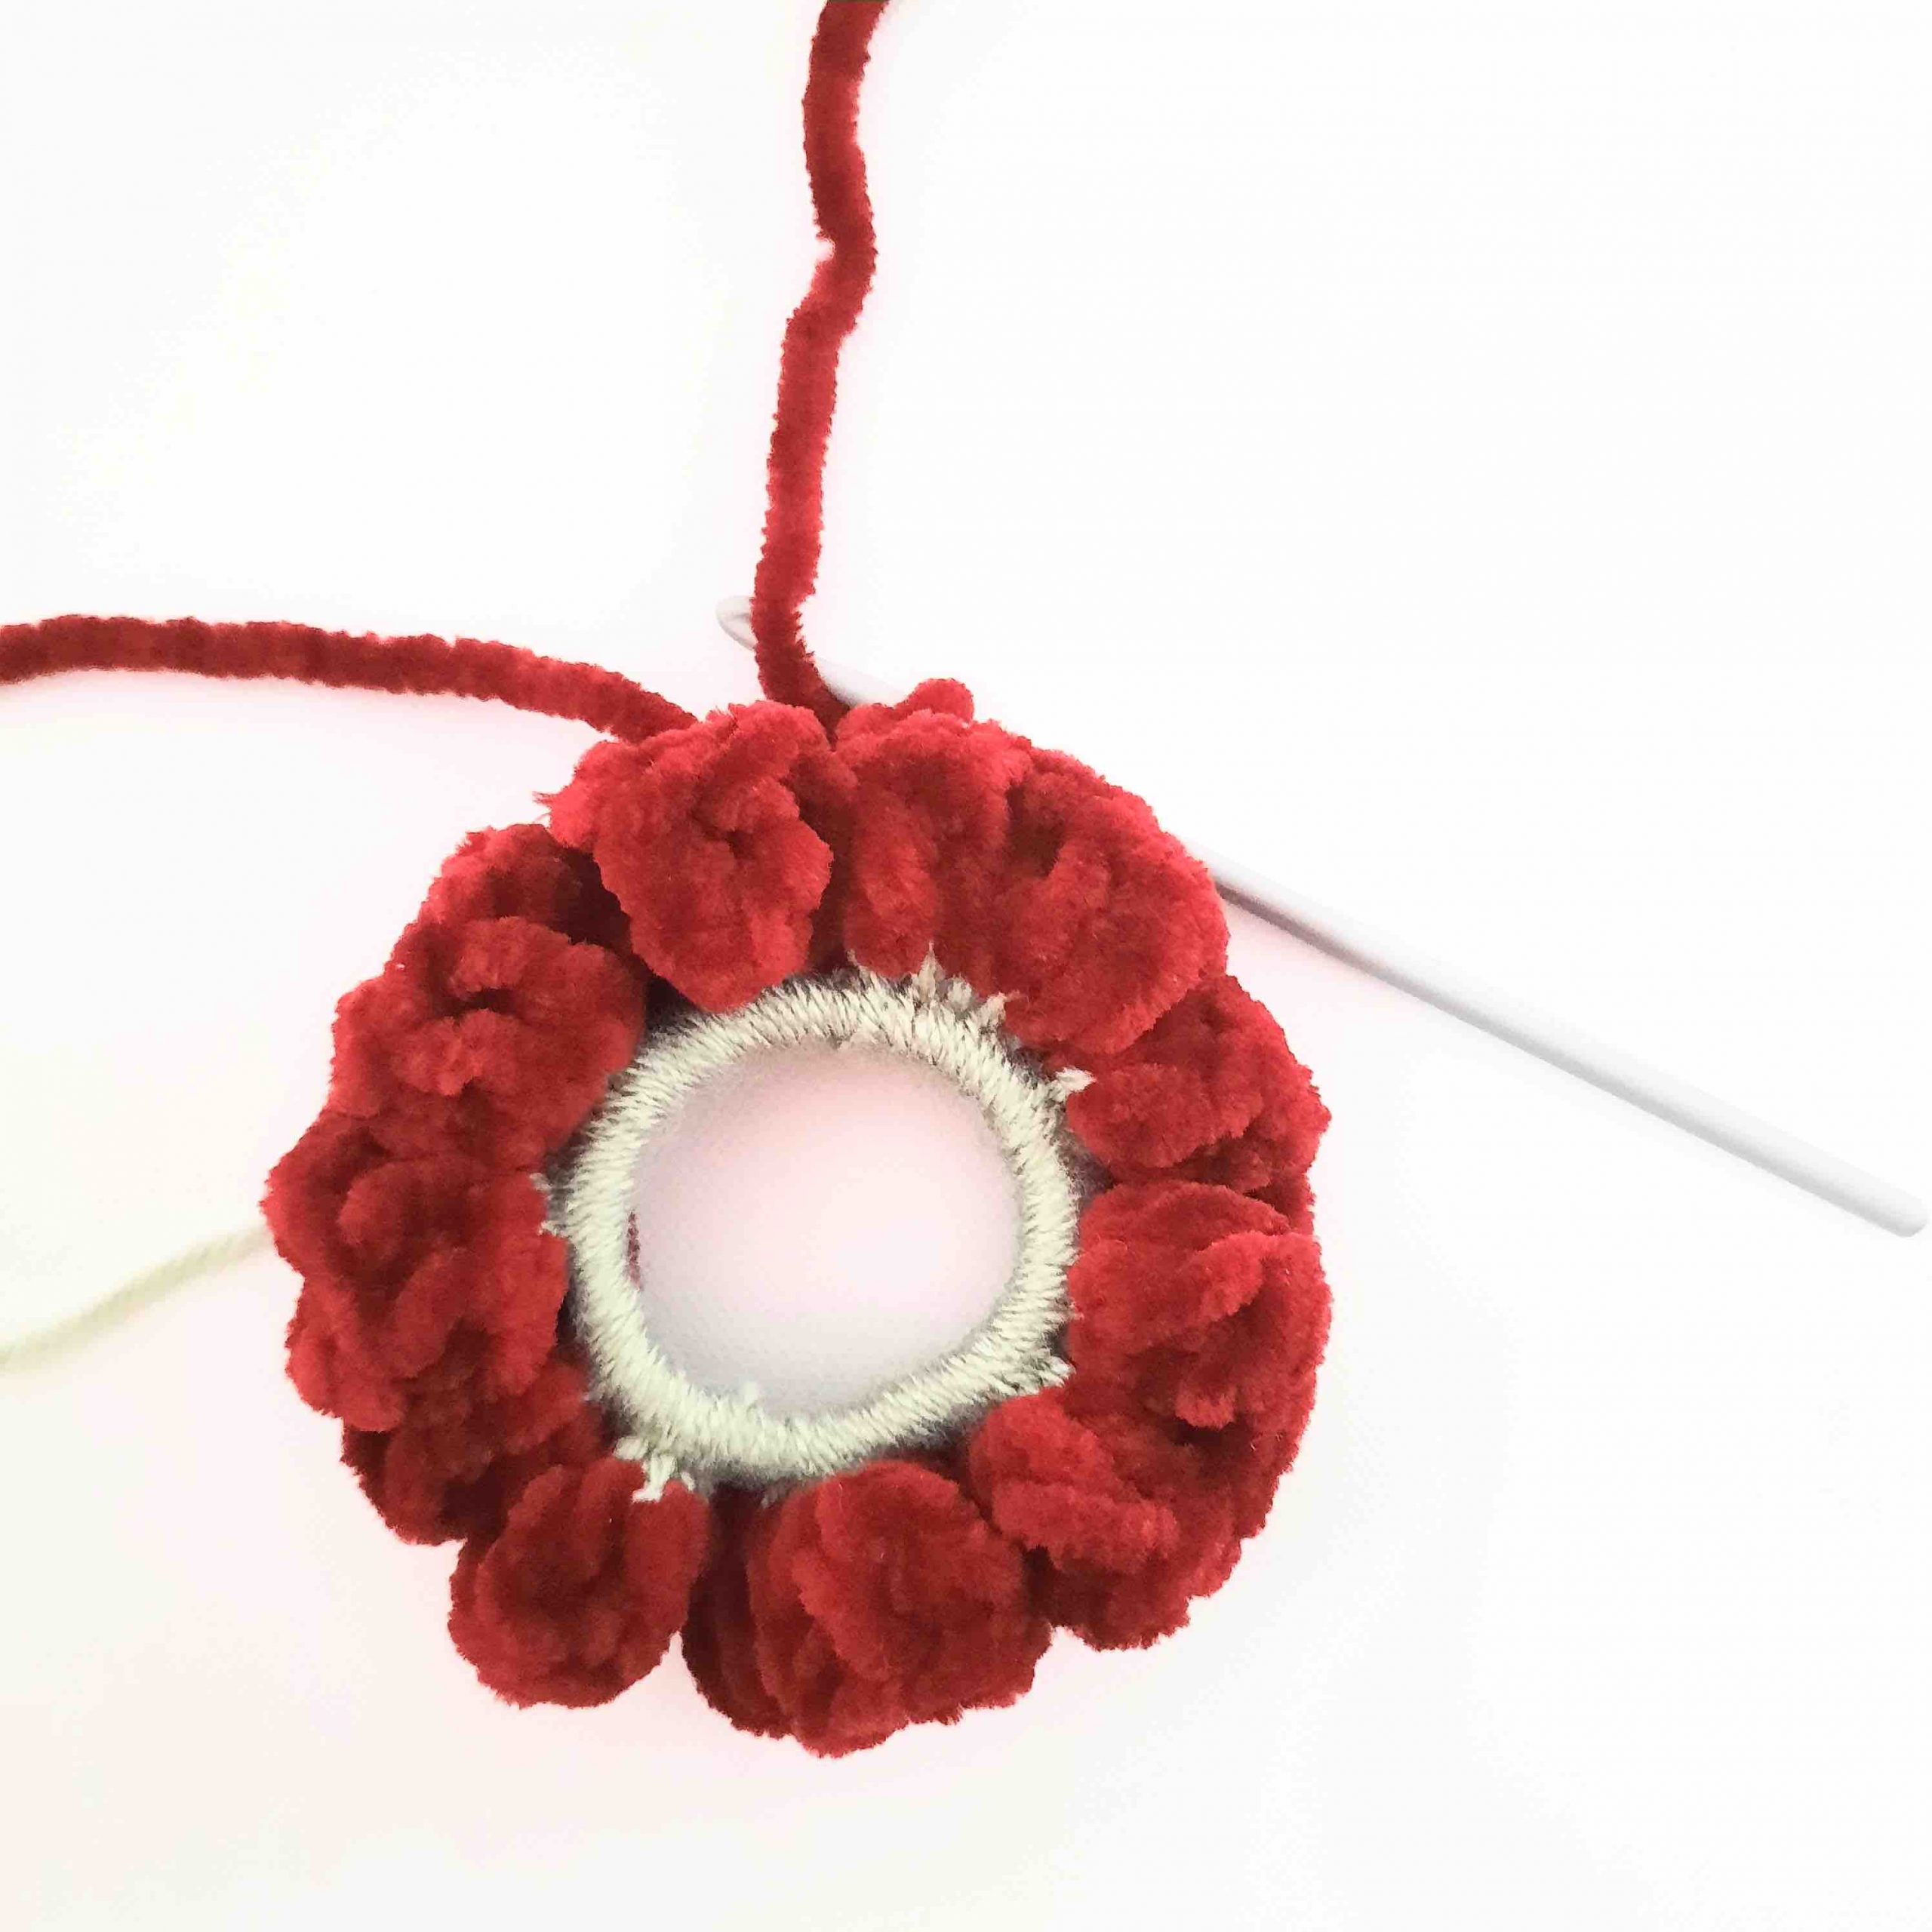

Medium-Sized scrunchie
- Weave in your ends securely with your tapestry needle, going back and forth several times to make sure your scrunchie stitches don't come loose.
- If you'd like to continue and make even more ruffles to get the oversized scrunchie look, then continue to Round 3 without cutting your yarn.
Round 3:
- ch 2, then start working 2 hdc stitches in between the posts of Round 2. (The reason we're crocheting between the posts this time is because it's quite difficult to see the stitches of velvet yarn, so this method makes it much easier to crochet this round).
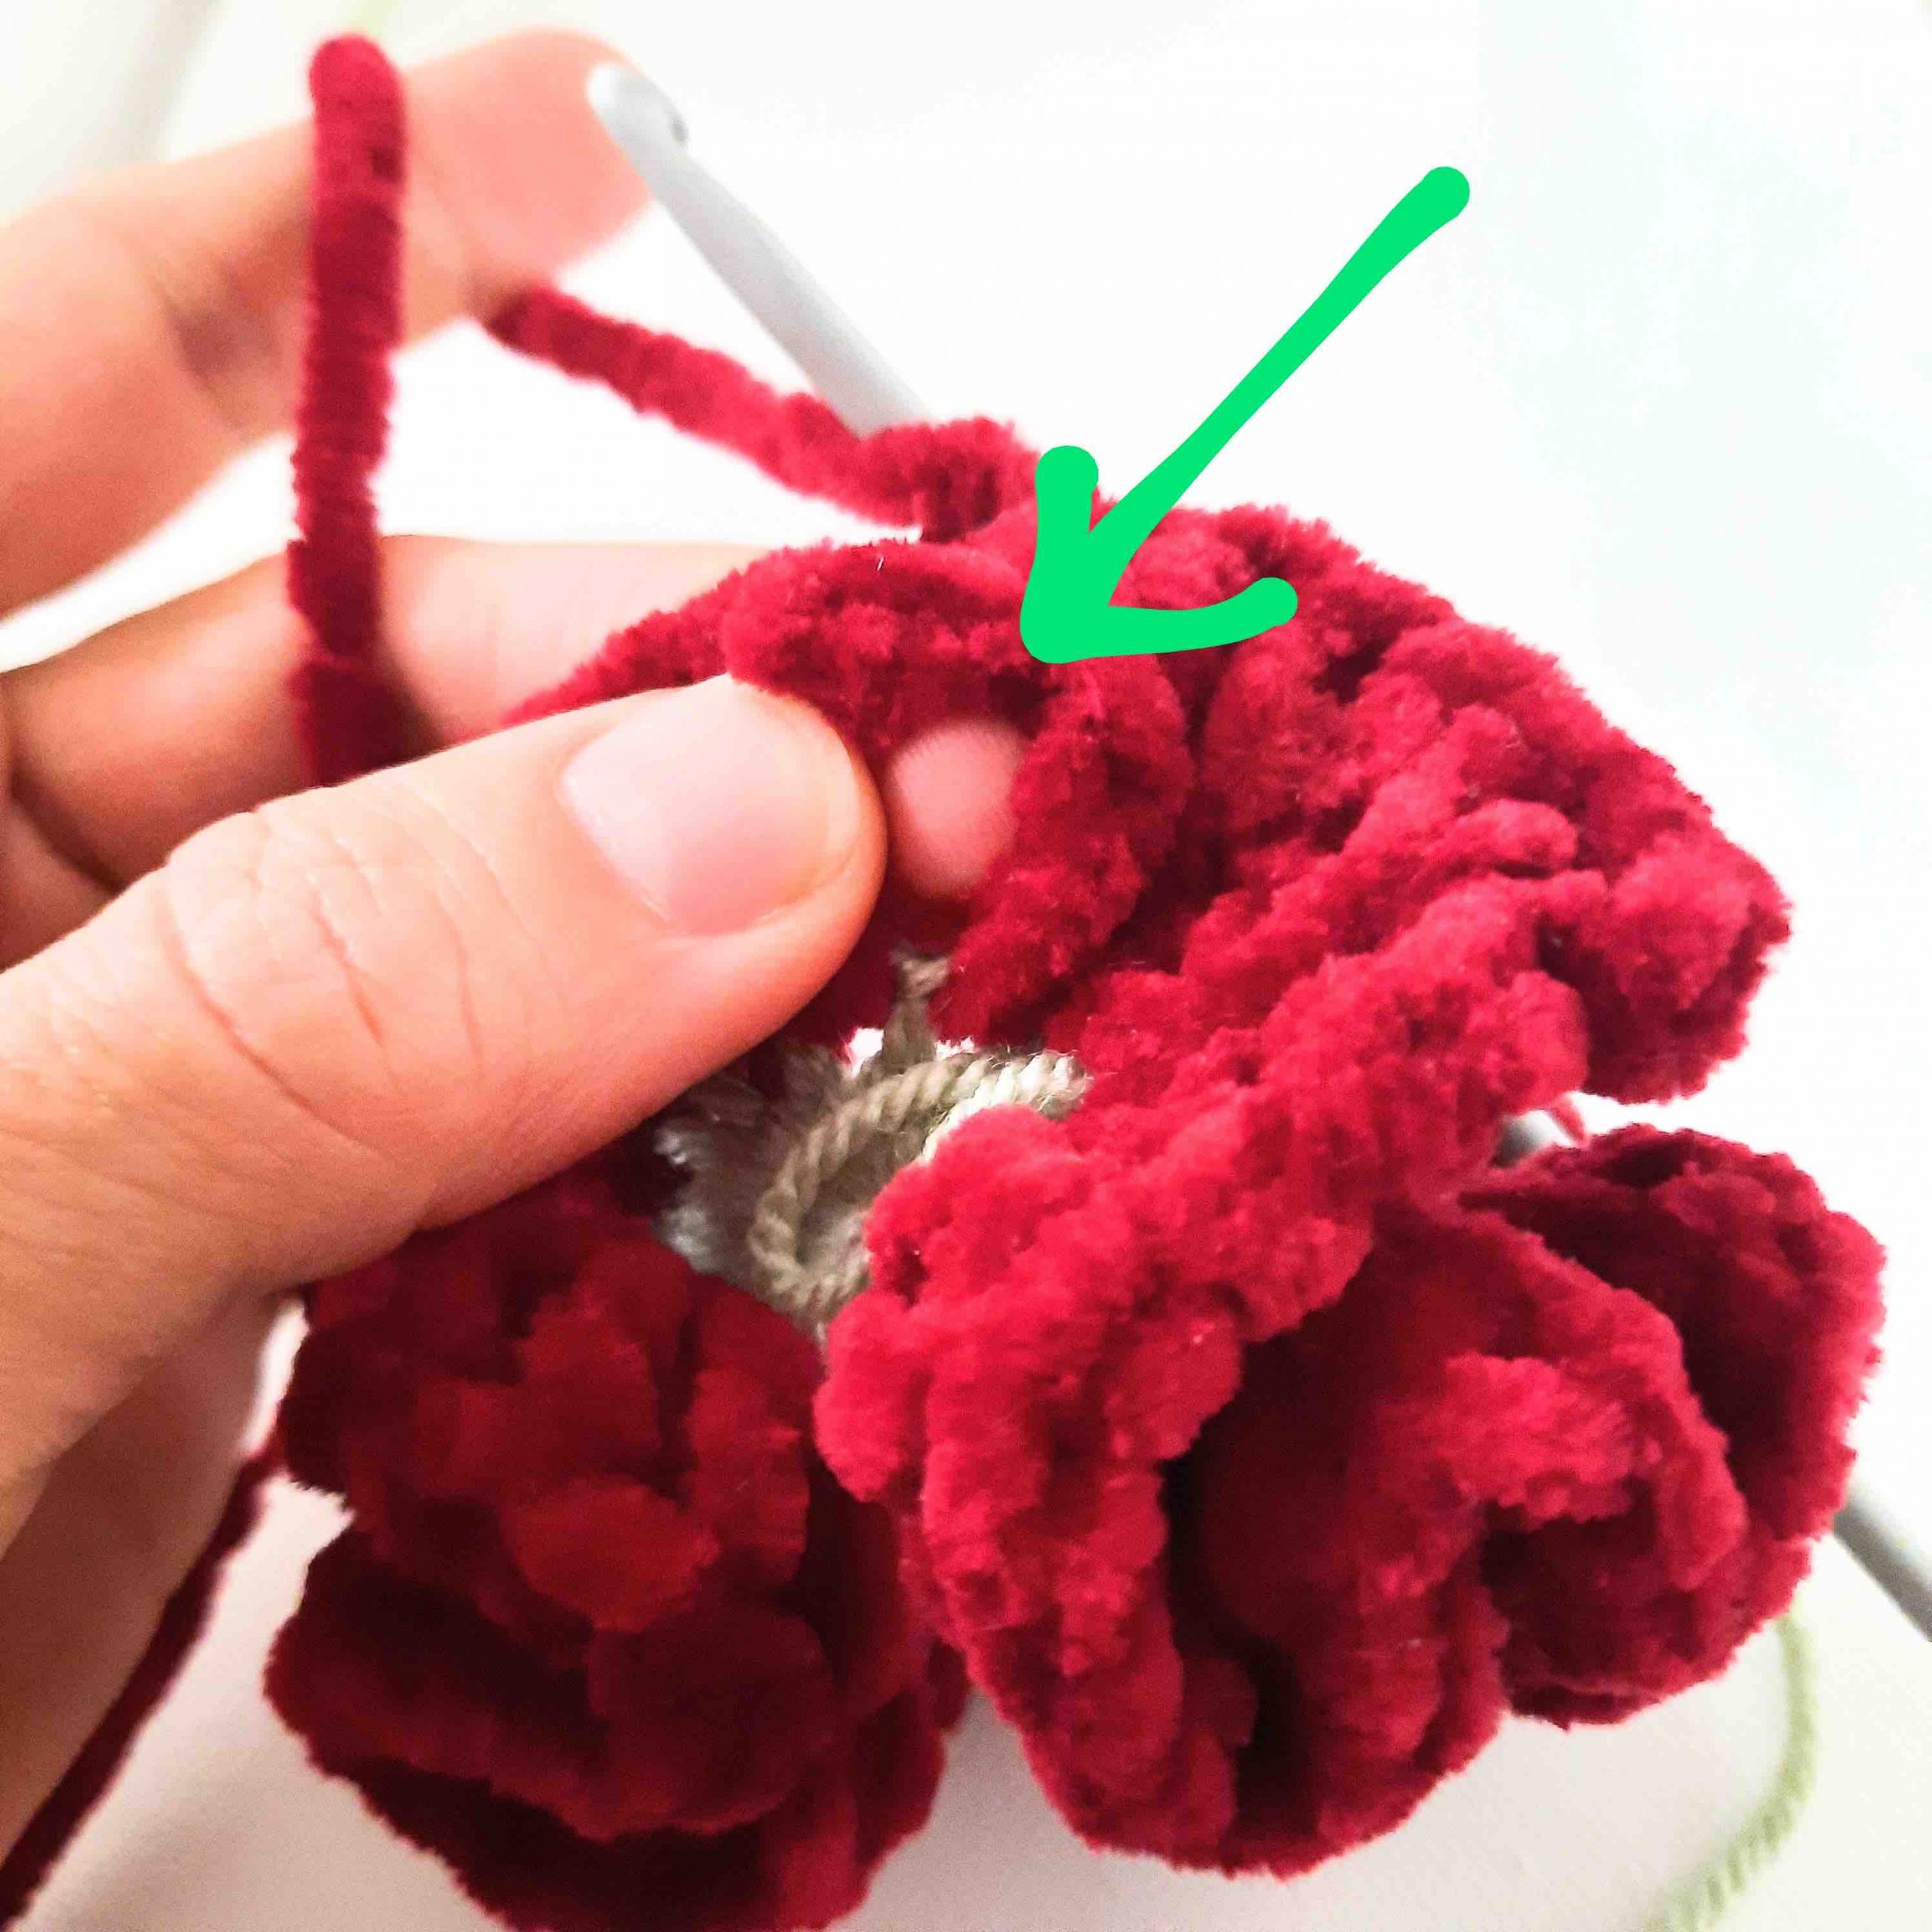

It's easy to feel the gap between dc posts with your finger
- Continue to work 2 hdc stitches in between the posts of each stitch of Round 2. If you started off with 60 stitches, you will have 3 times that amount of stitches to complete for this round.(240)
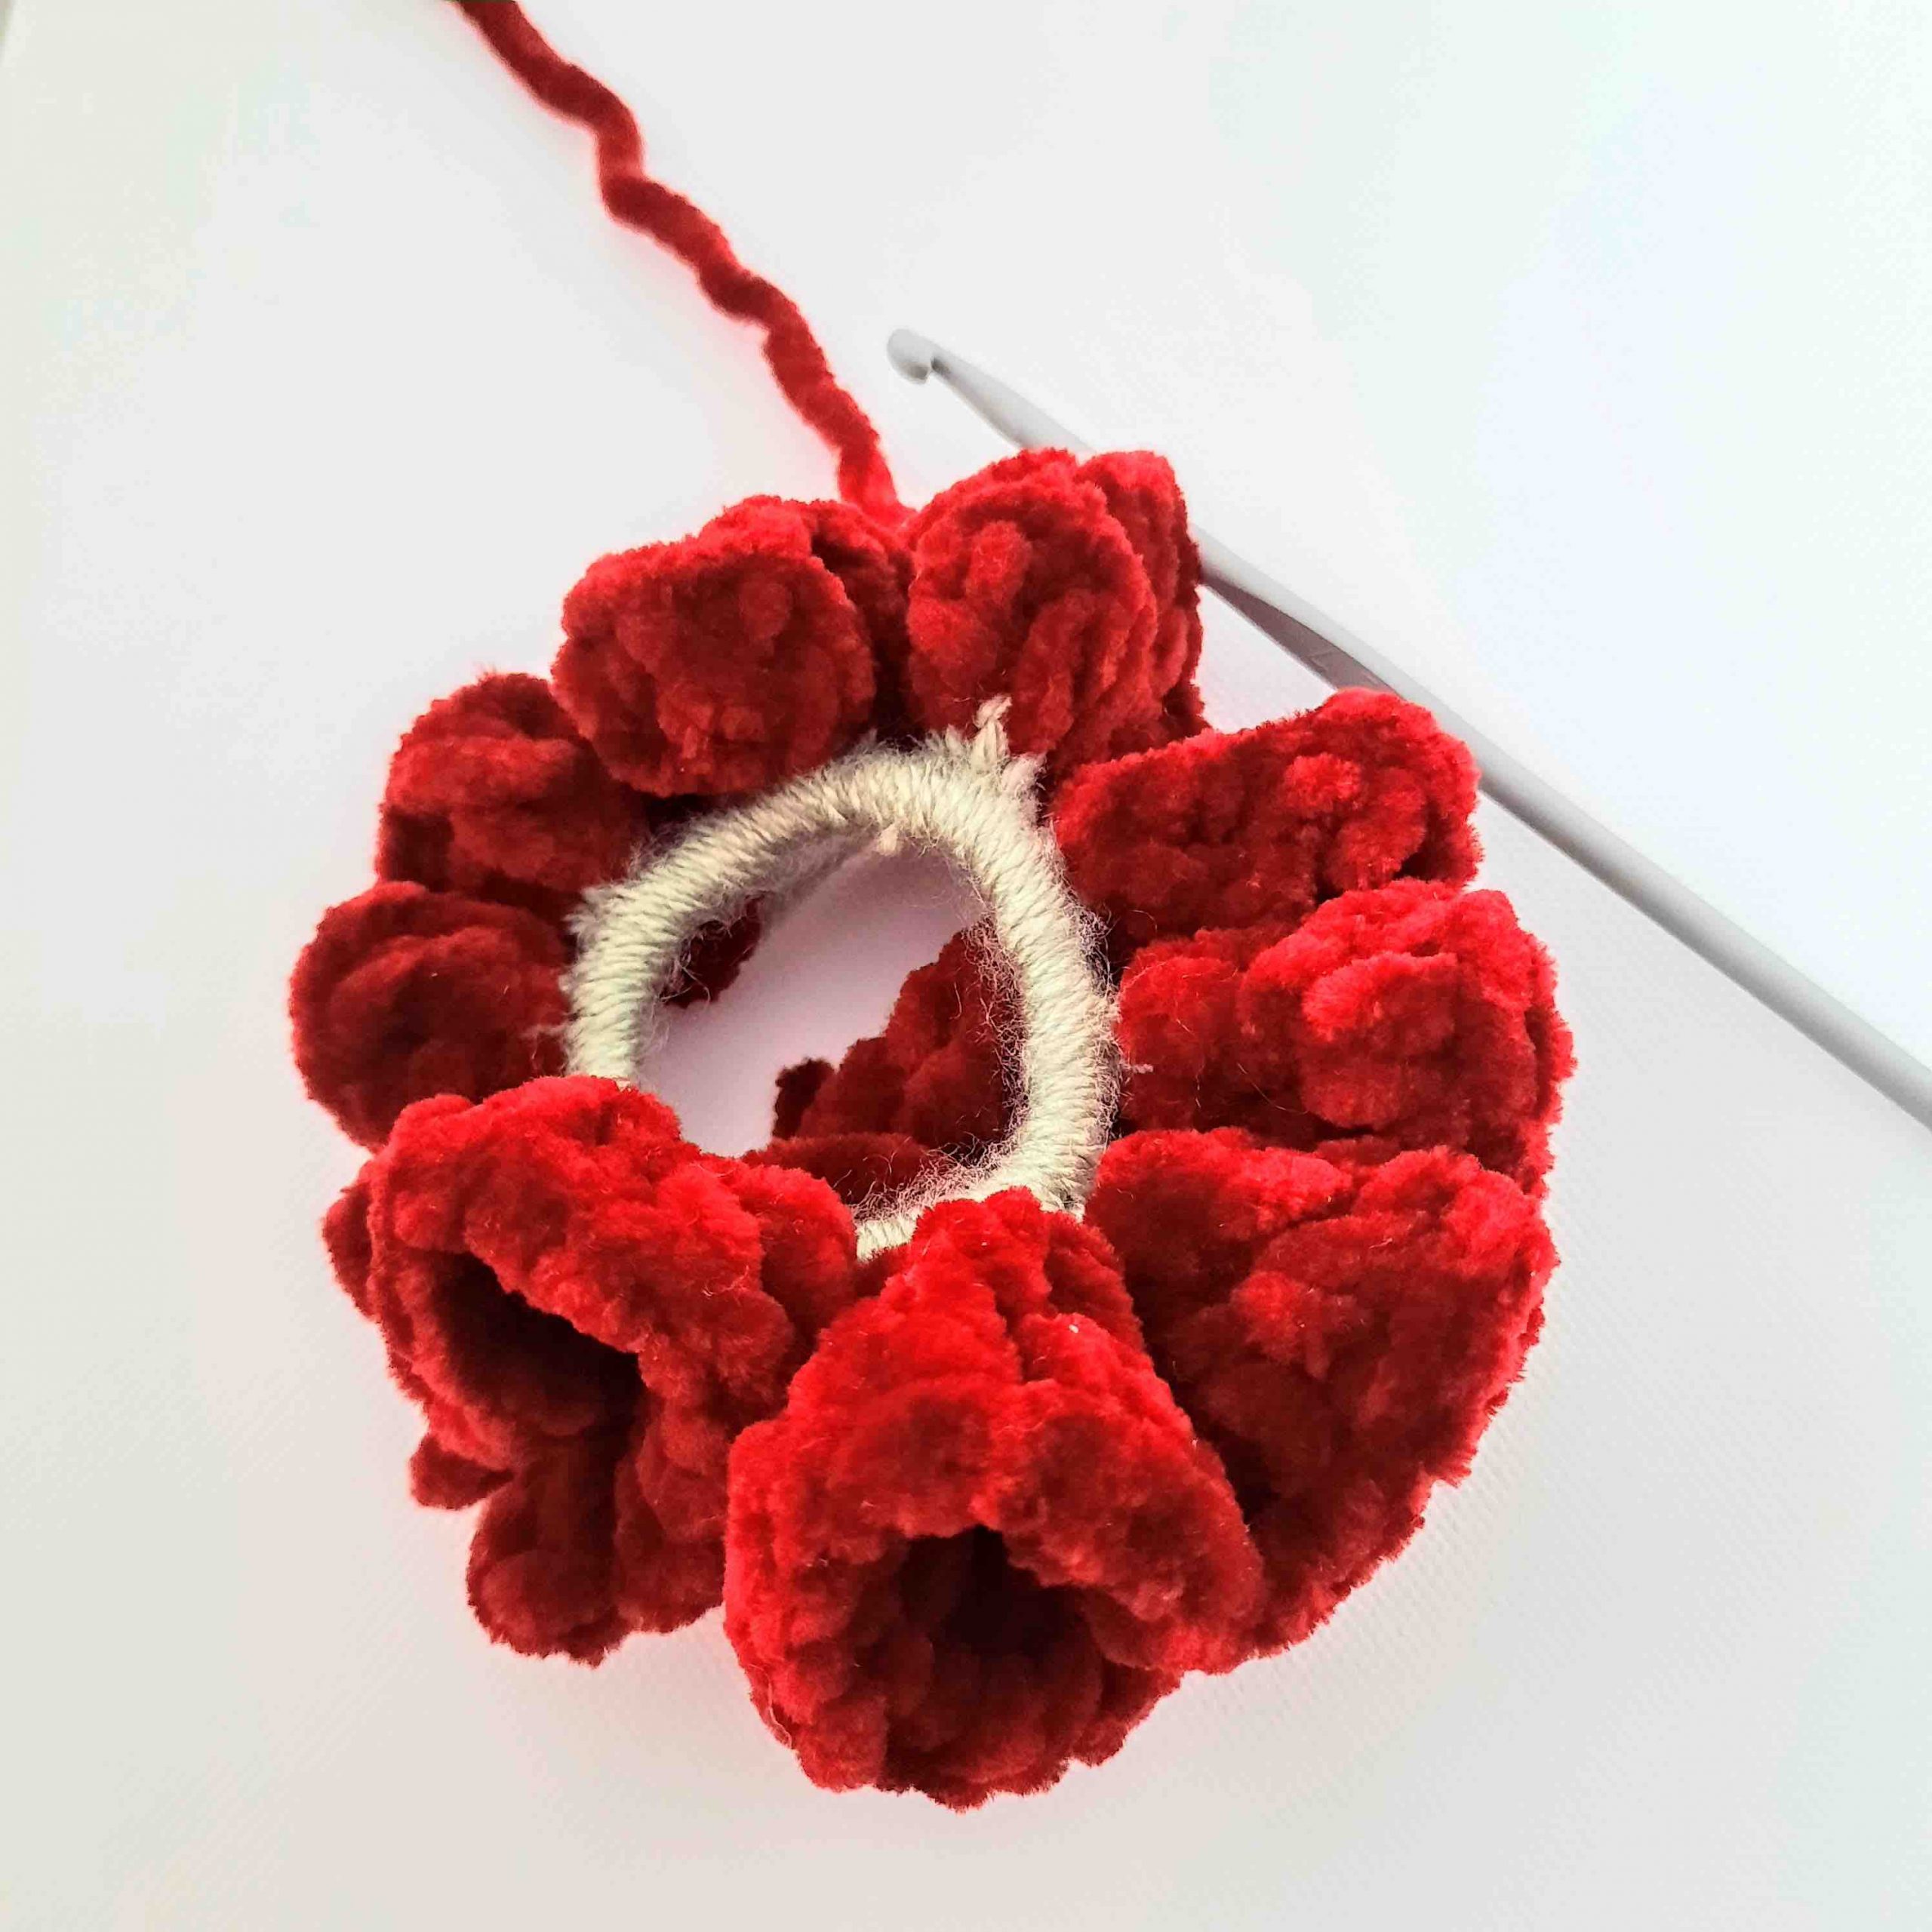

Work 2 hdc into each stitch from R 2
- Sl st to join, leaving a 6" (15 cm) tail, cut your yarn and fasten off.
- Weave in your yarn tails (beginning and end tails): Weave each tail very well back & forth and up & down between your stitches several times to secure. Velvet yarn ends tend to wiggle their way out with wear and they also tend to shed. This is why it's better to leave a longer yarn tail than usual.so in case this does happen, you can just snip off the the end without worrying that your whole scrunchie will unravel.
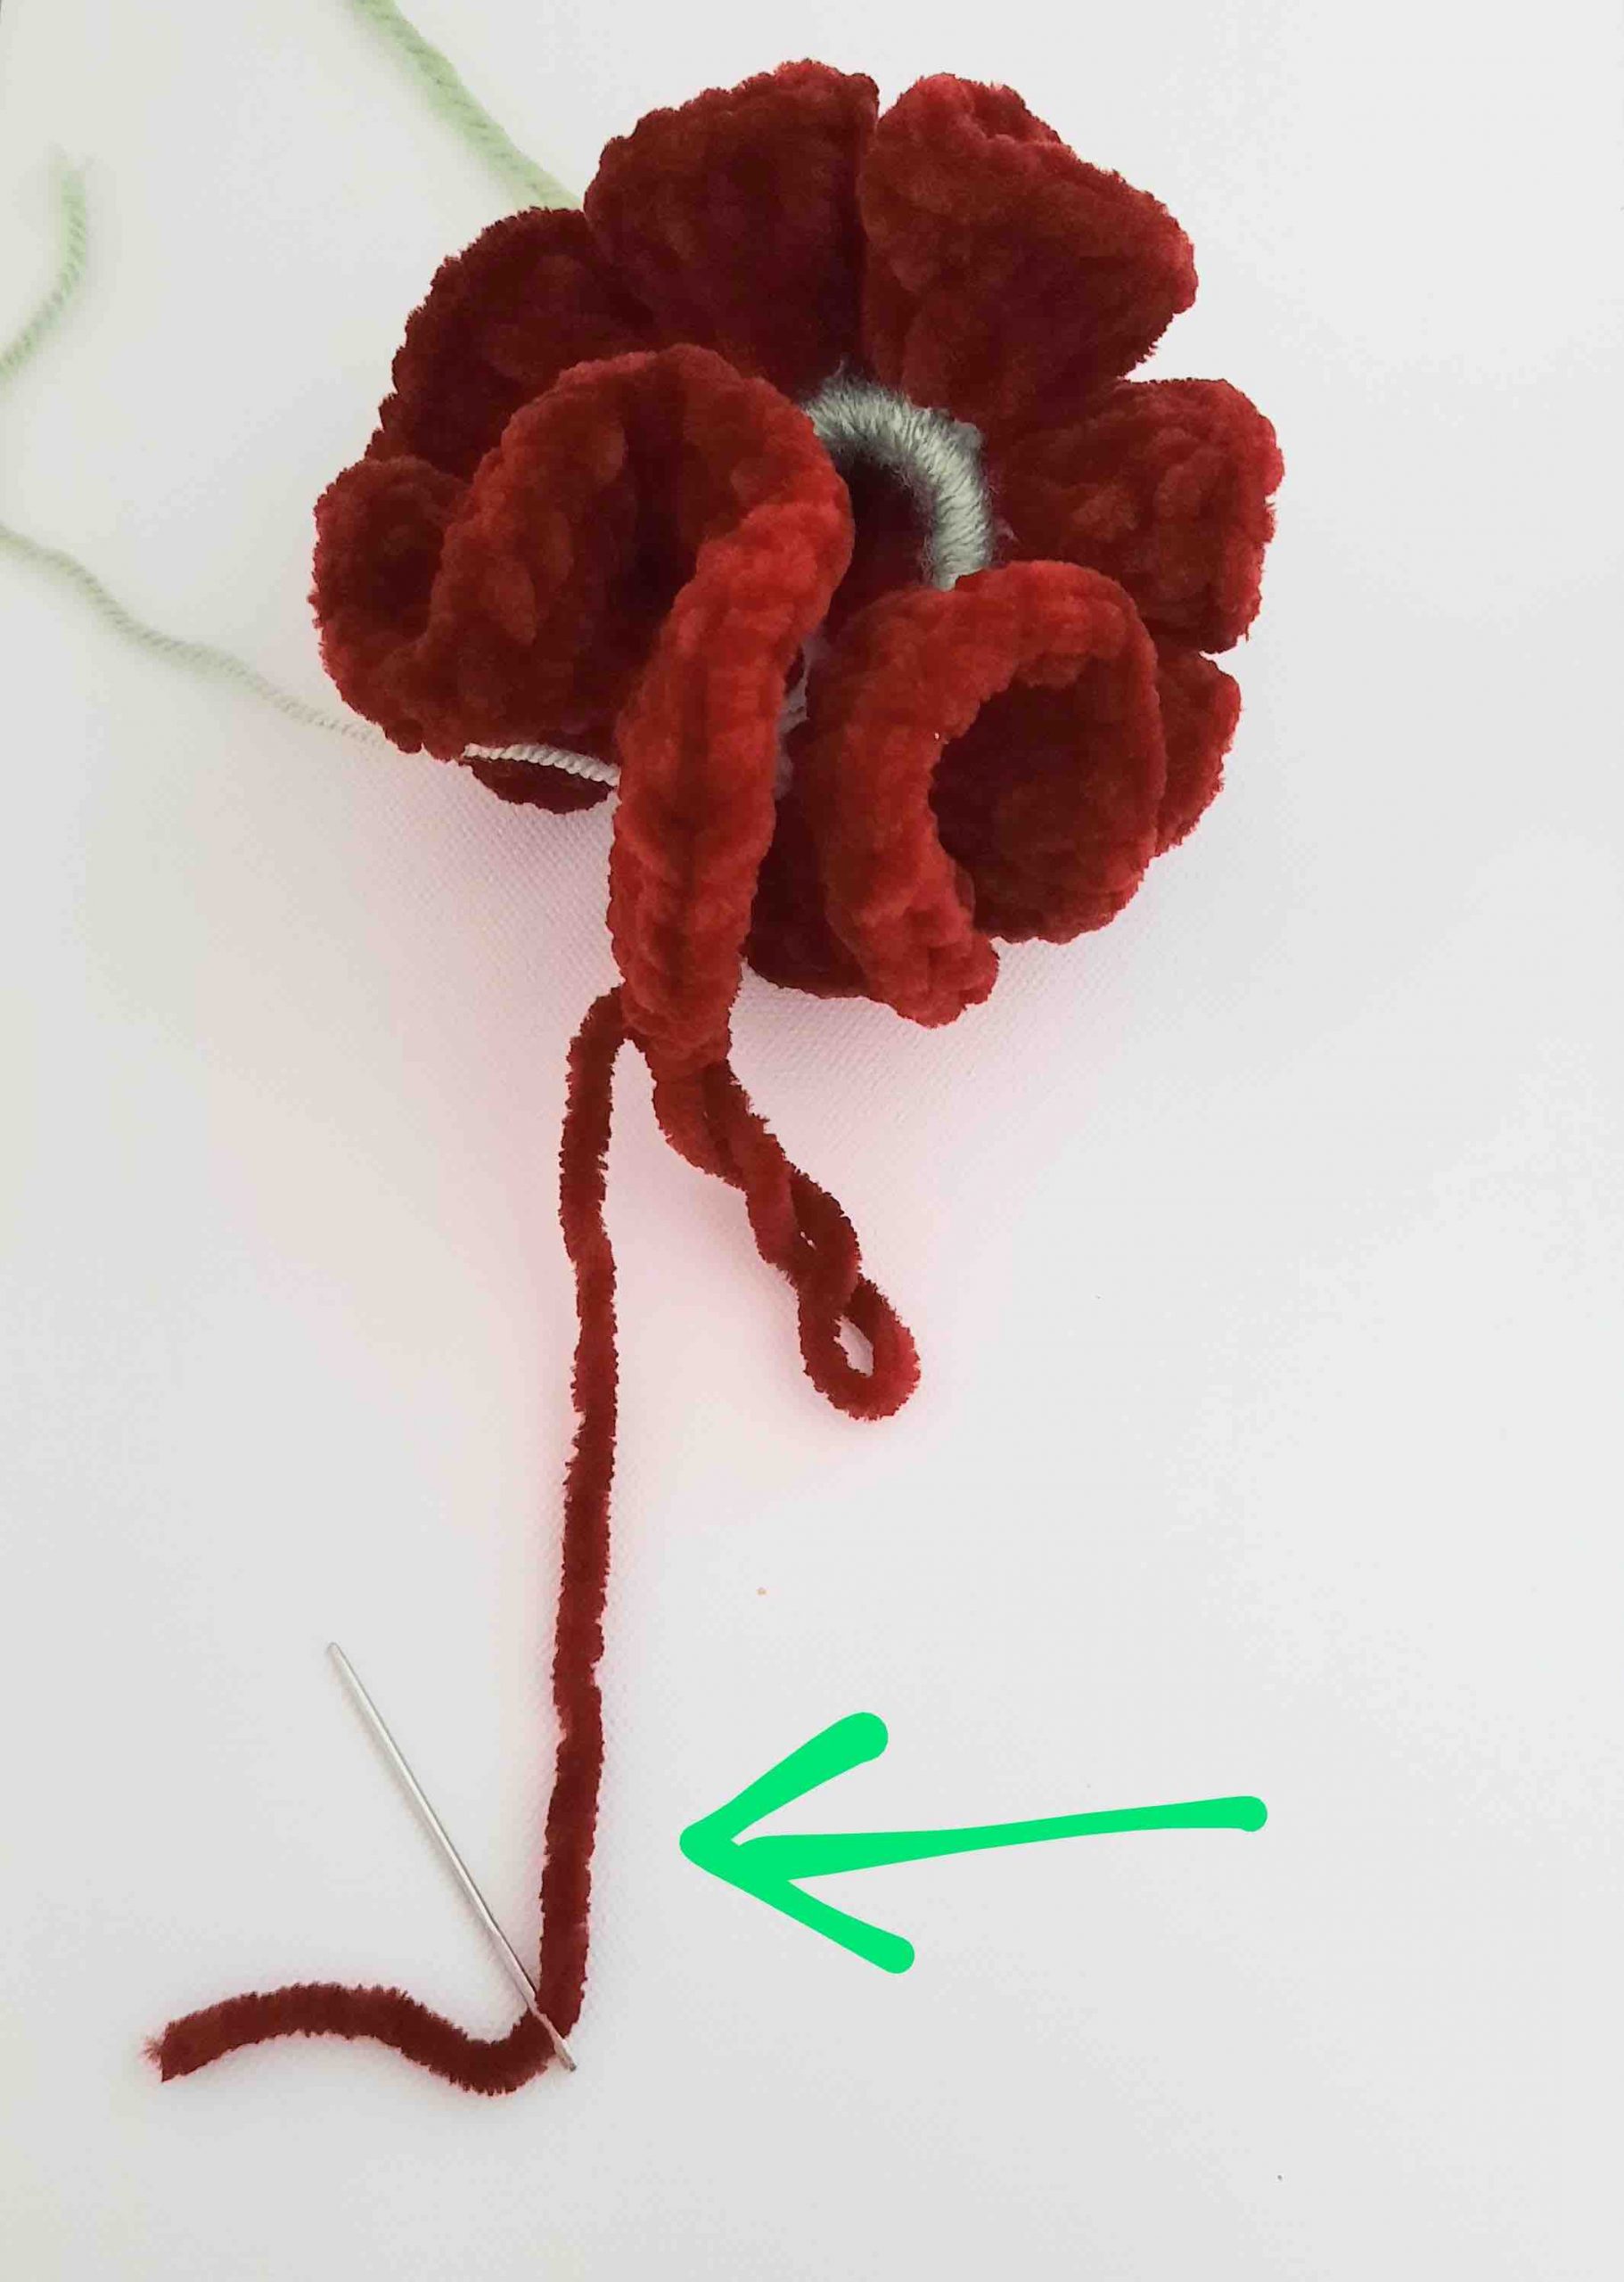

Thread yarn needle
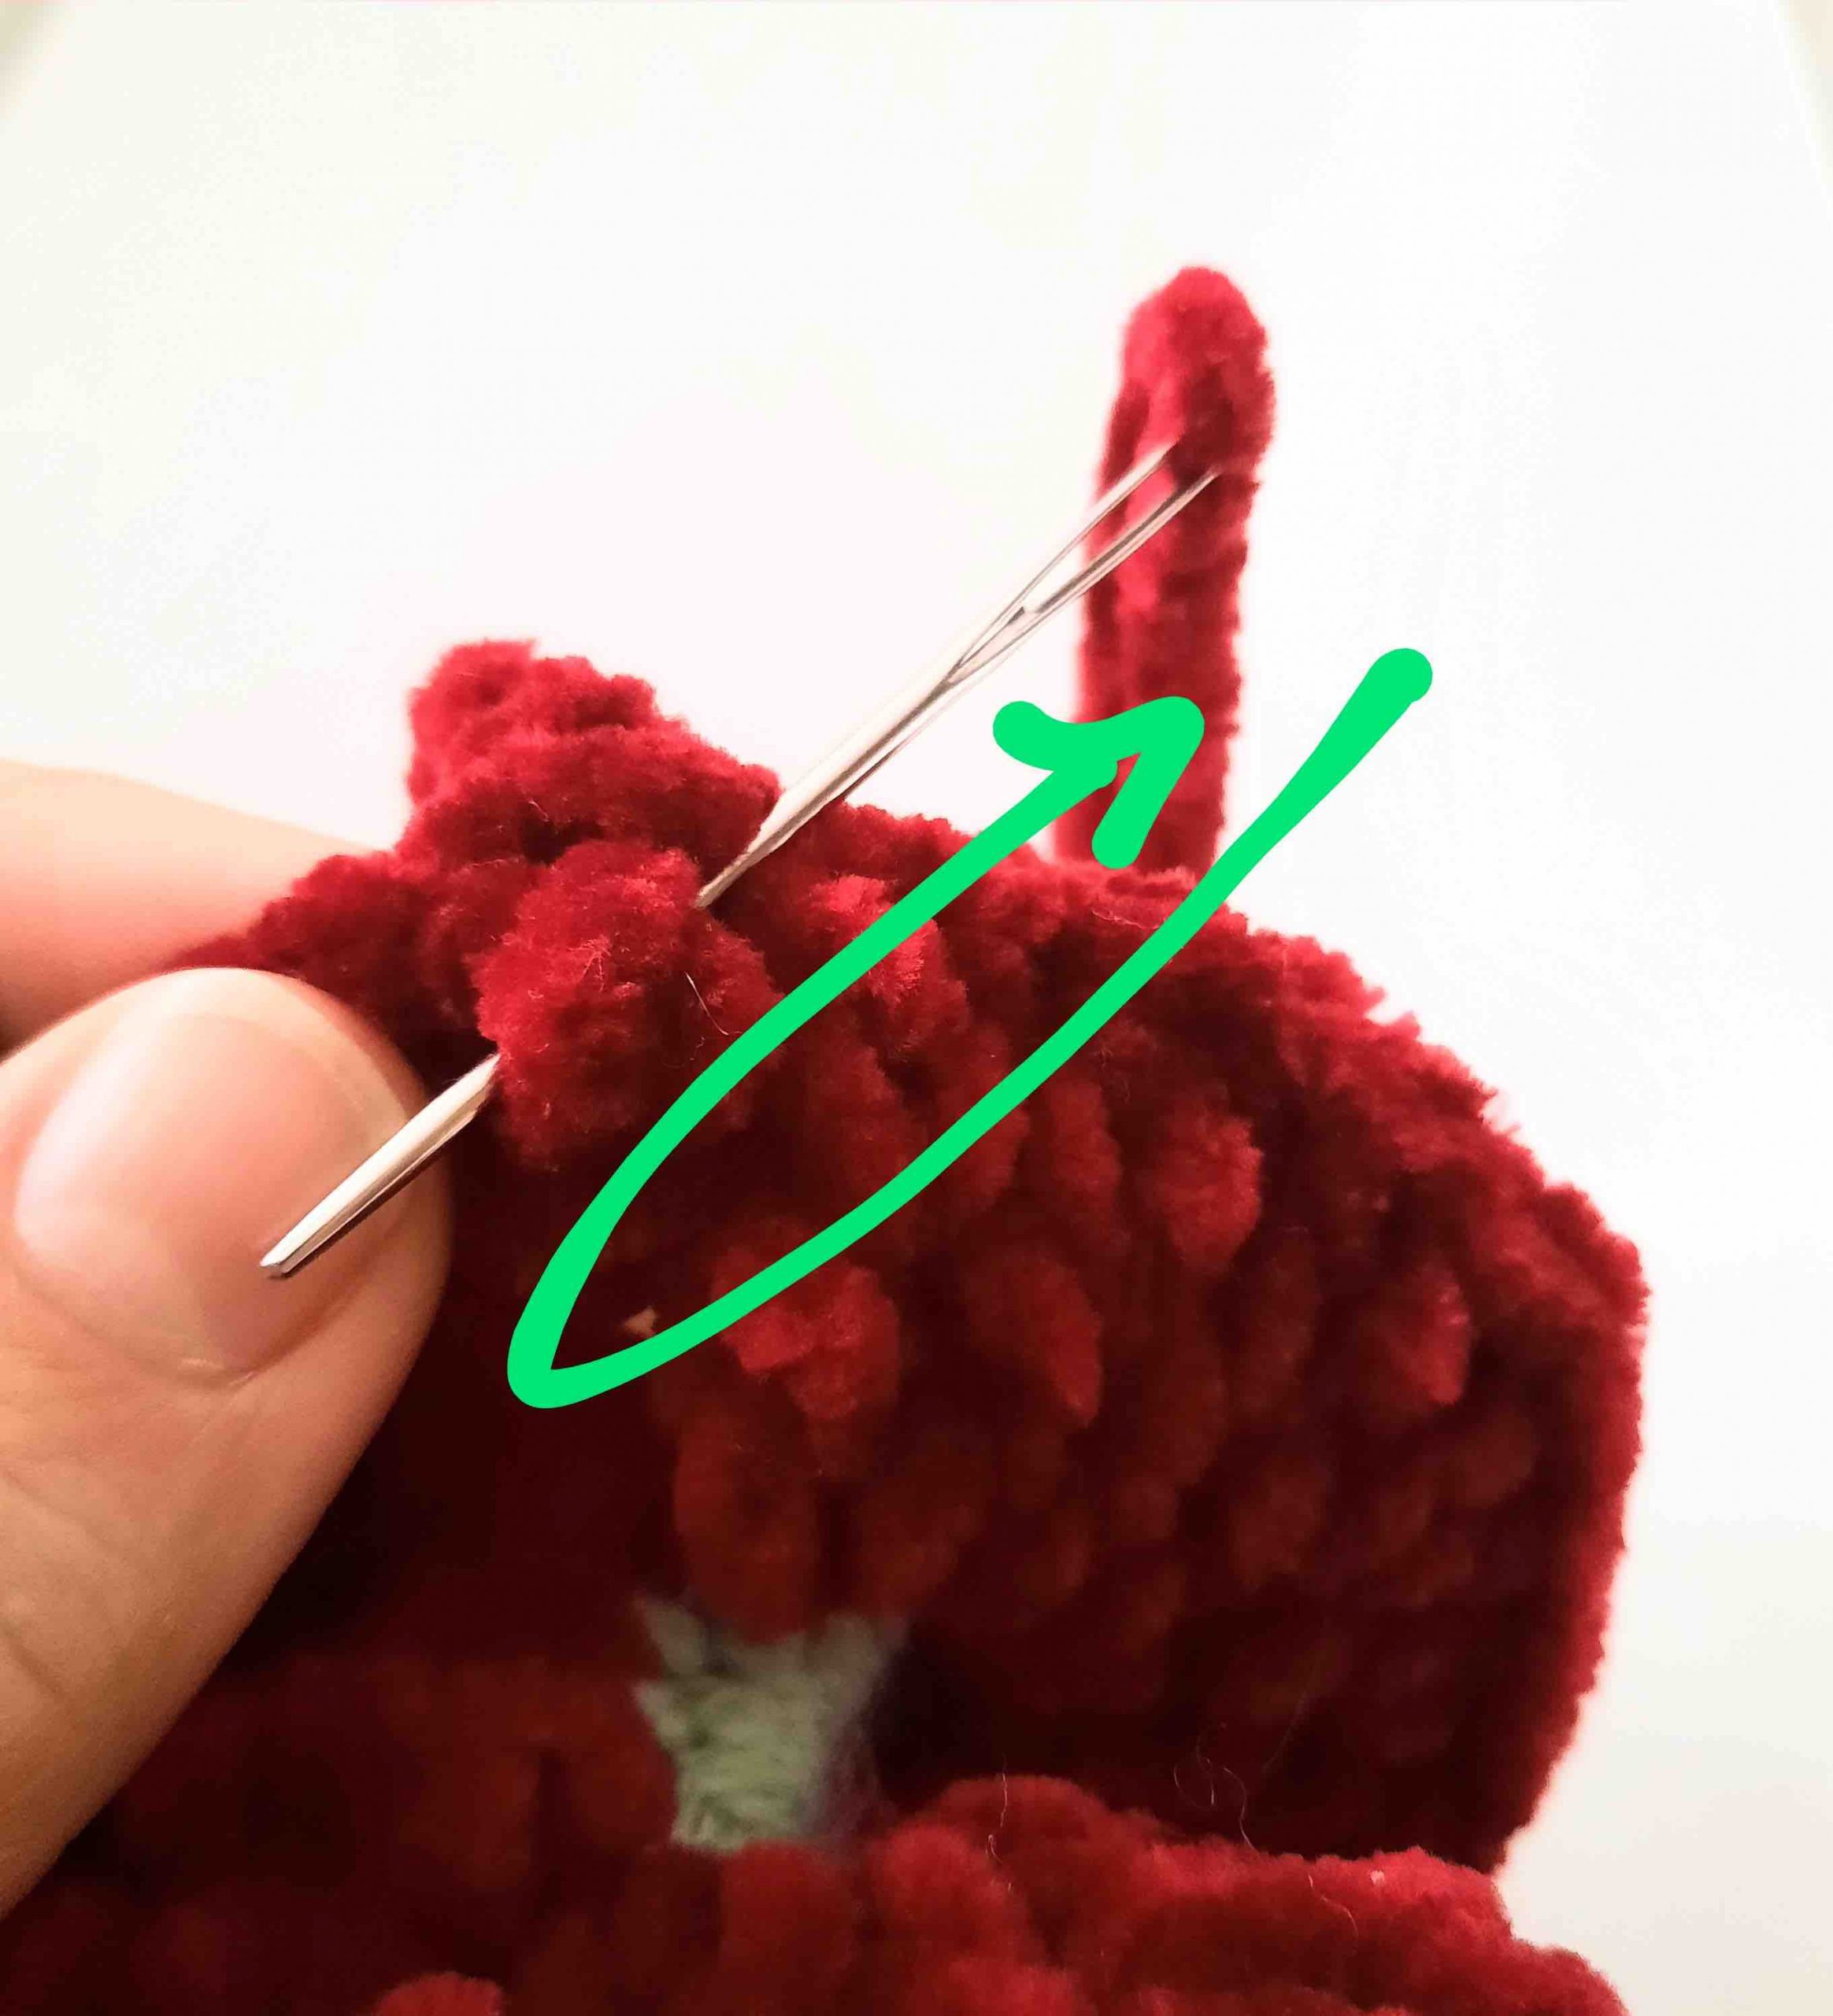

Weave in ends back & forth
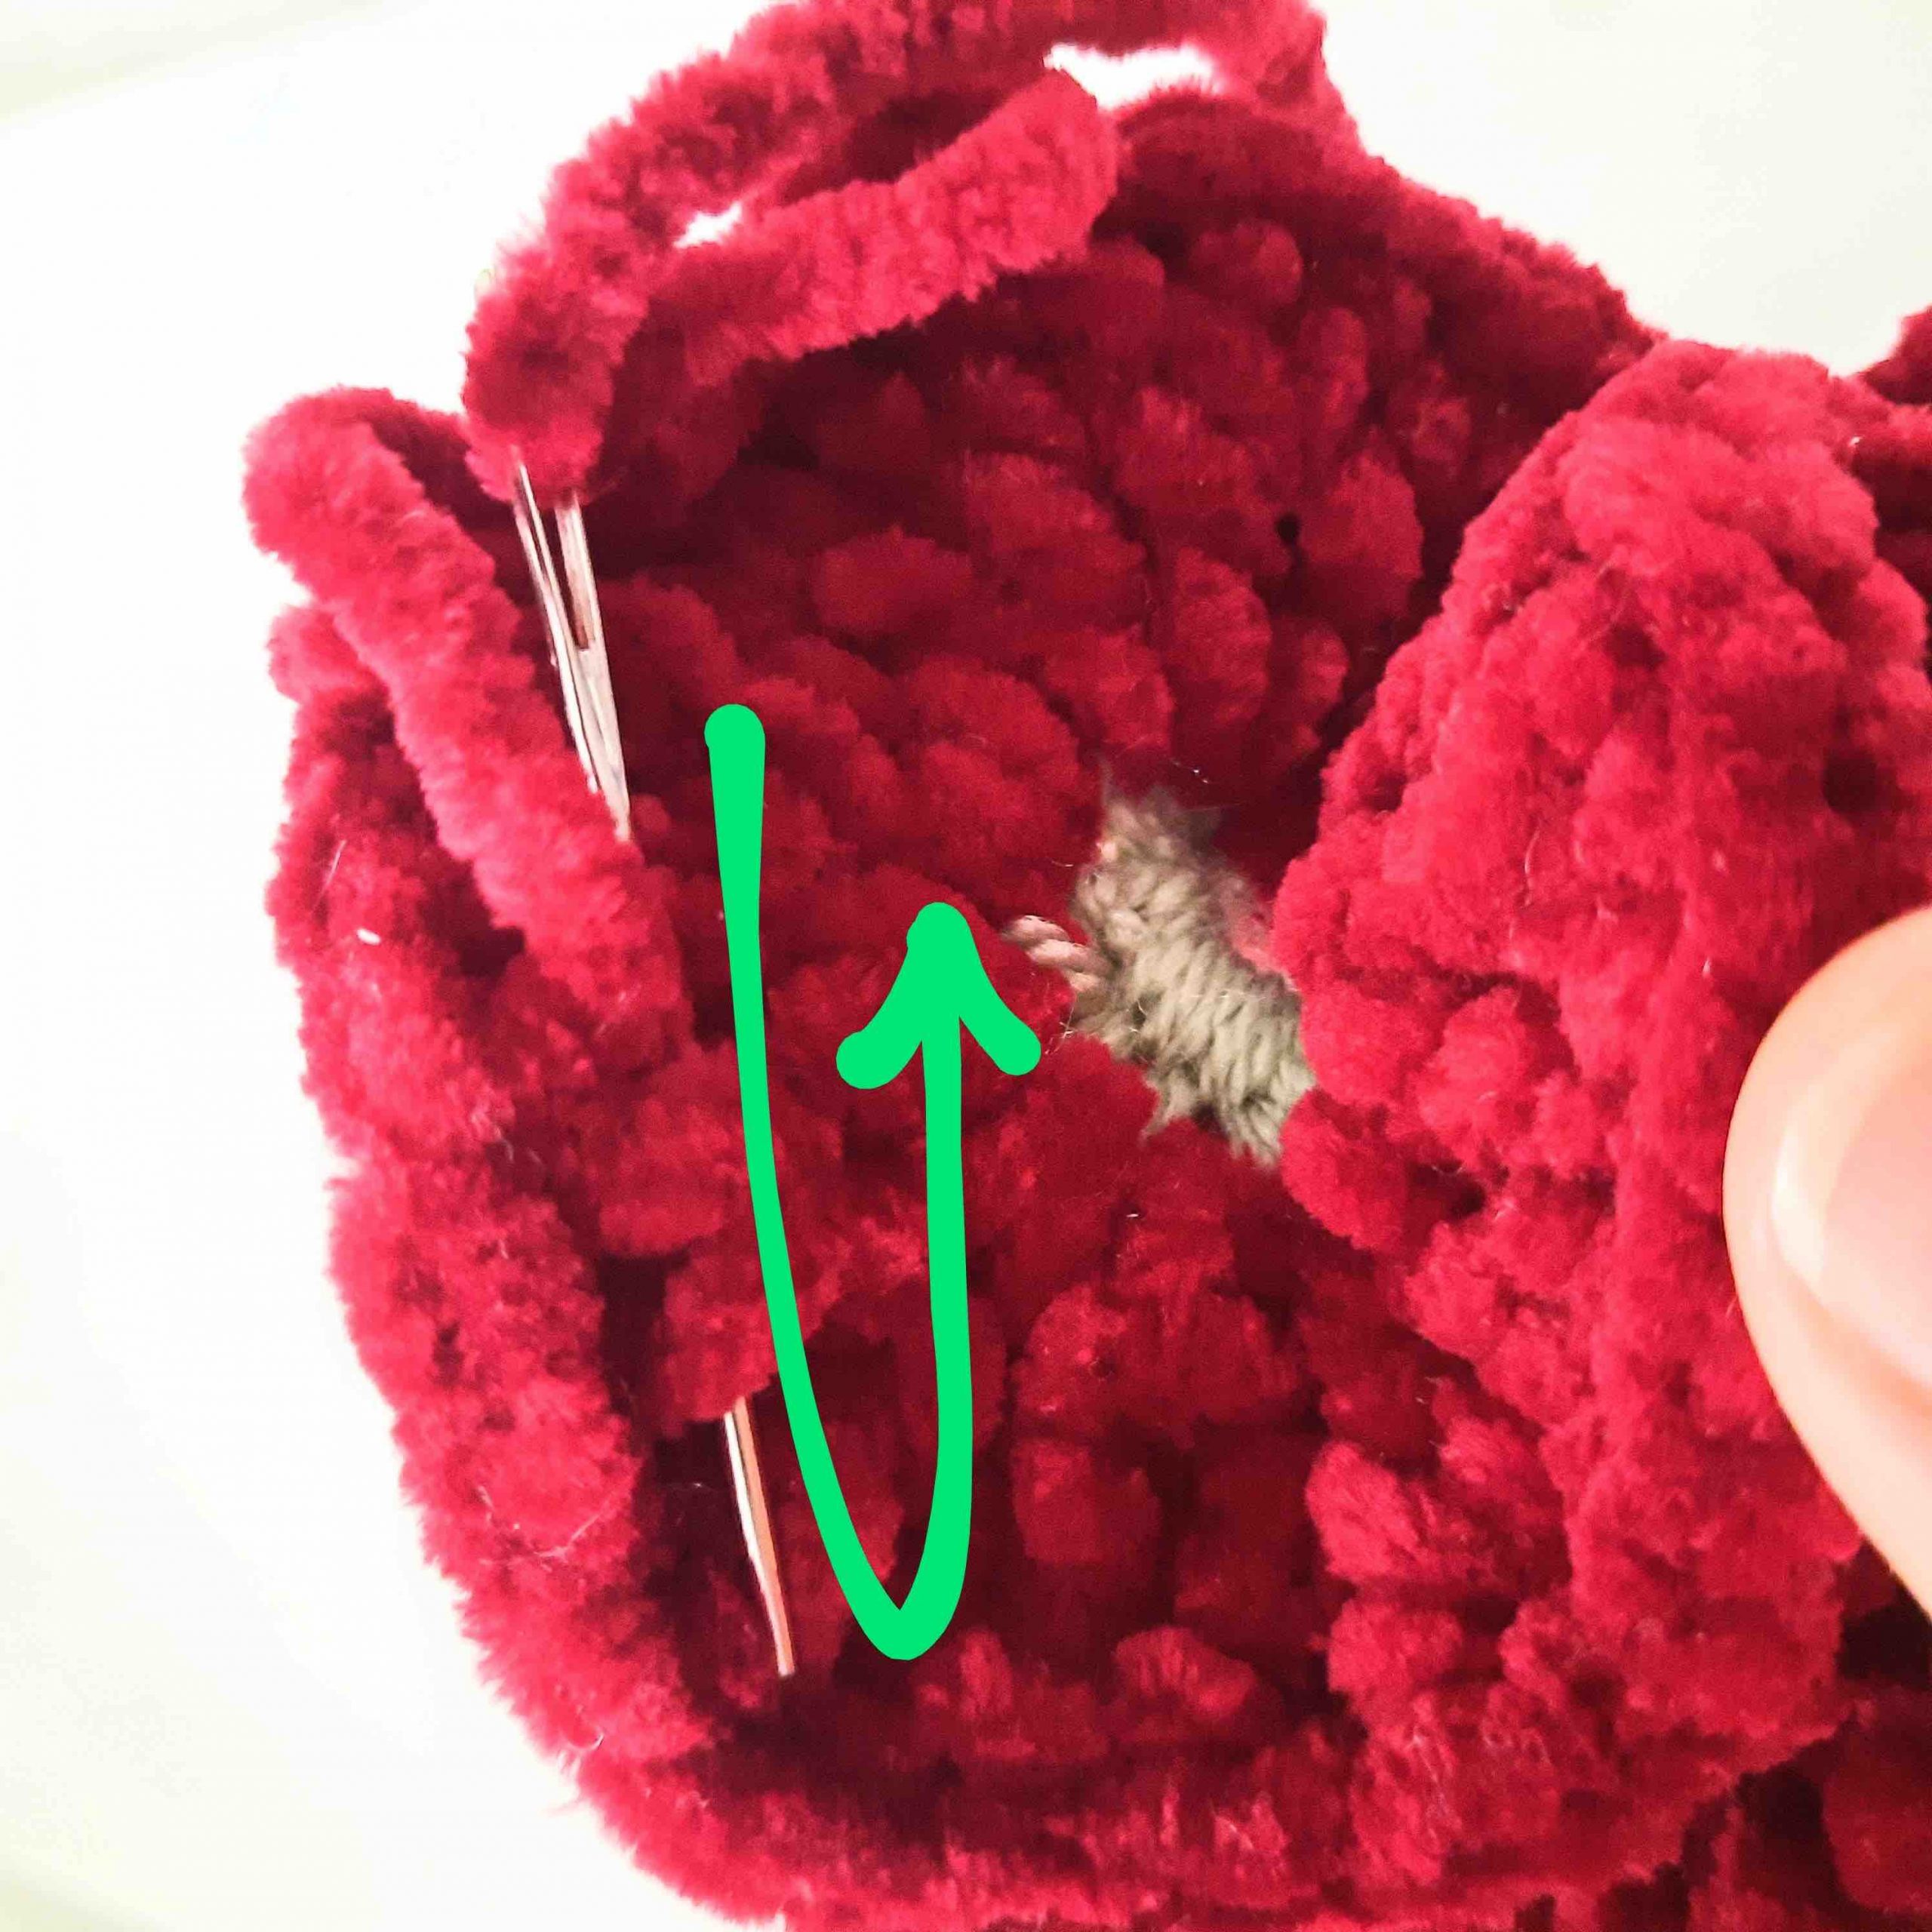

Weave in ends up & down
- Now weave in your yarn tail from Round 1 as well.
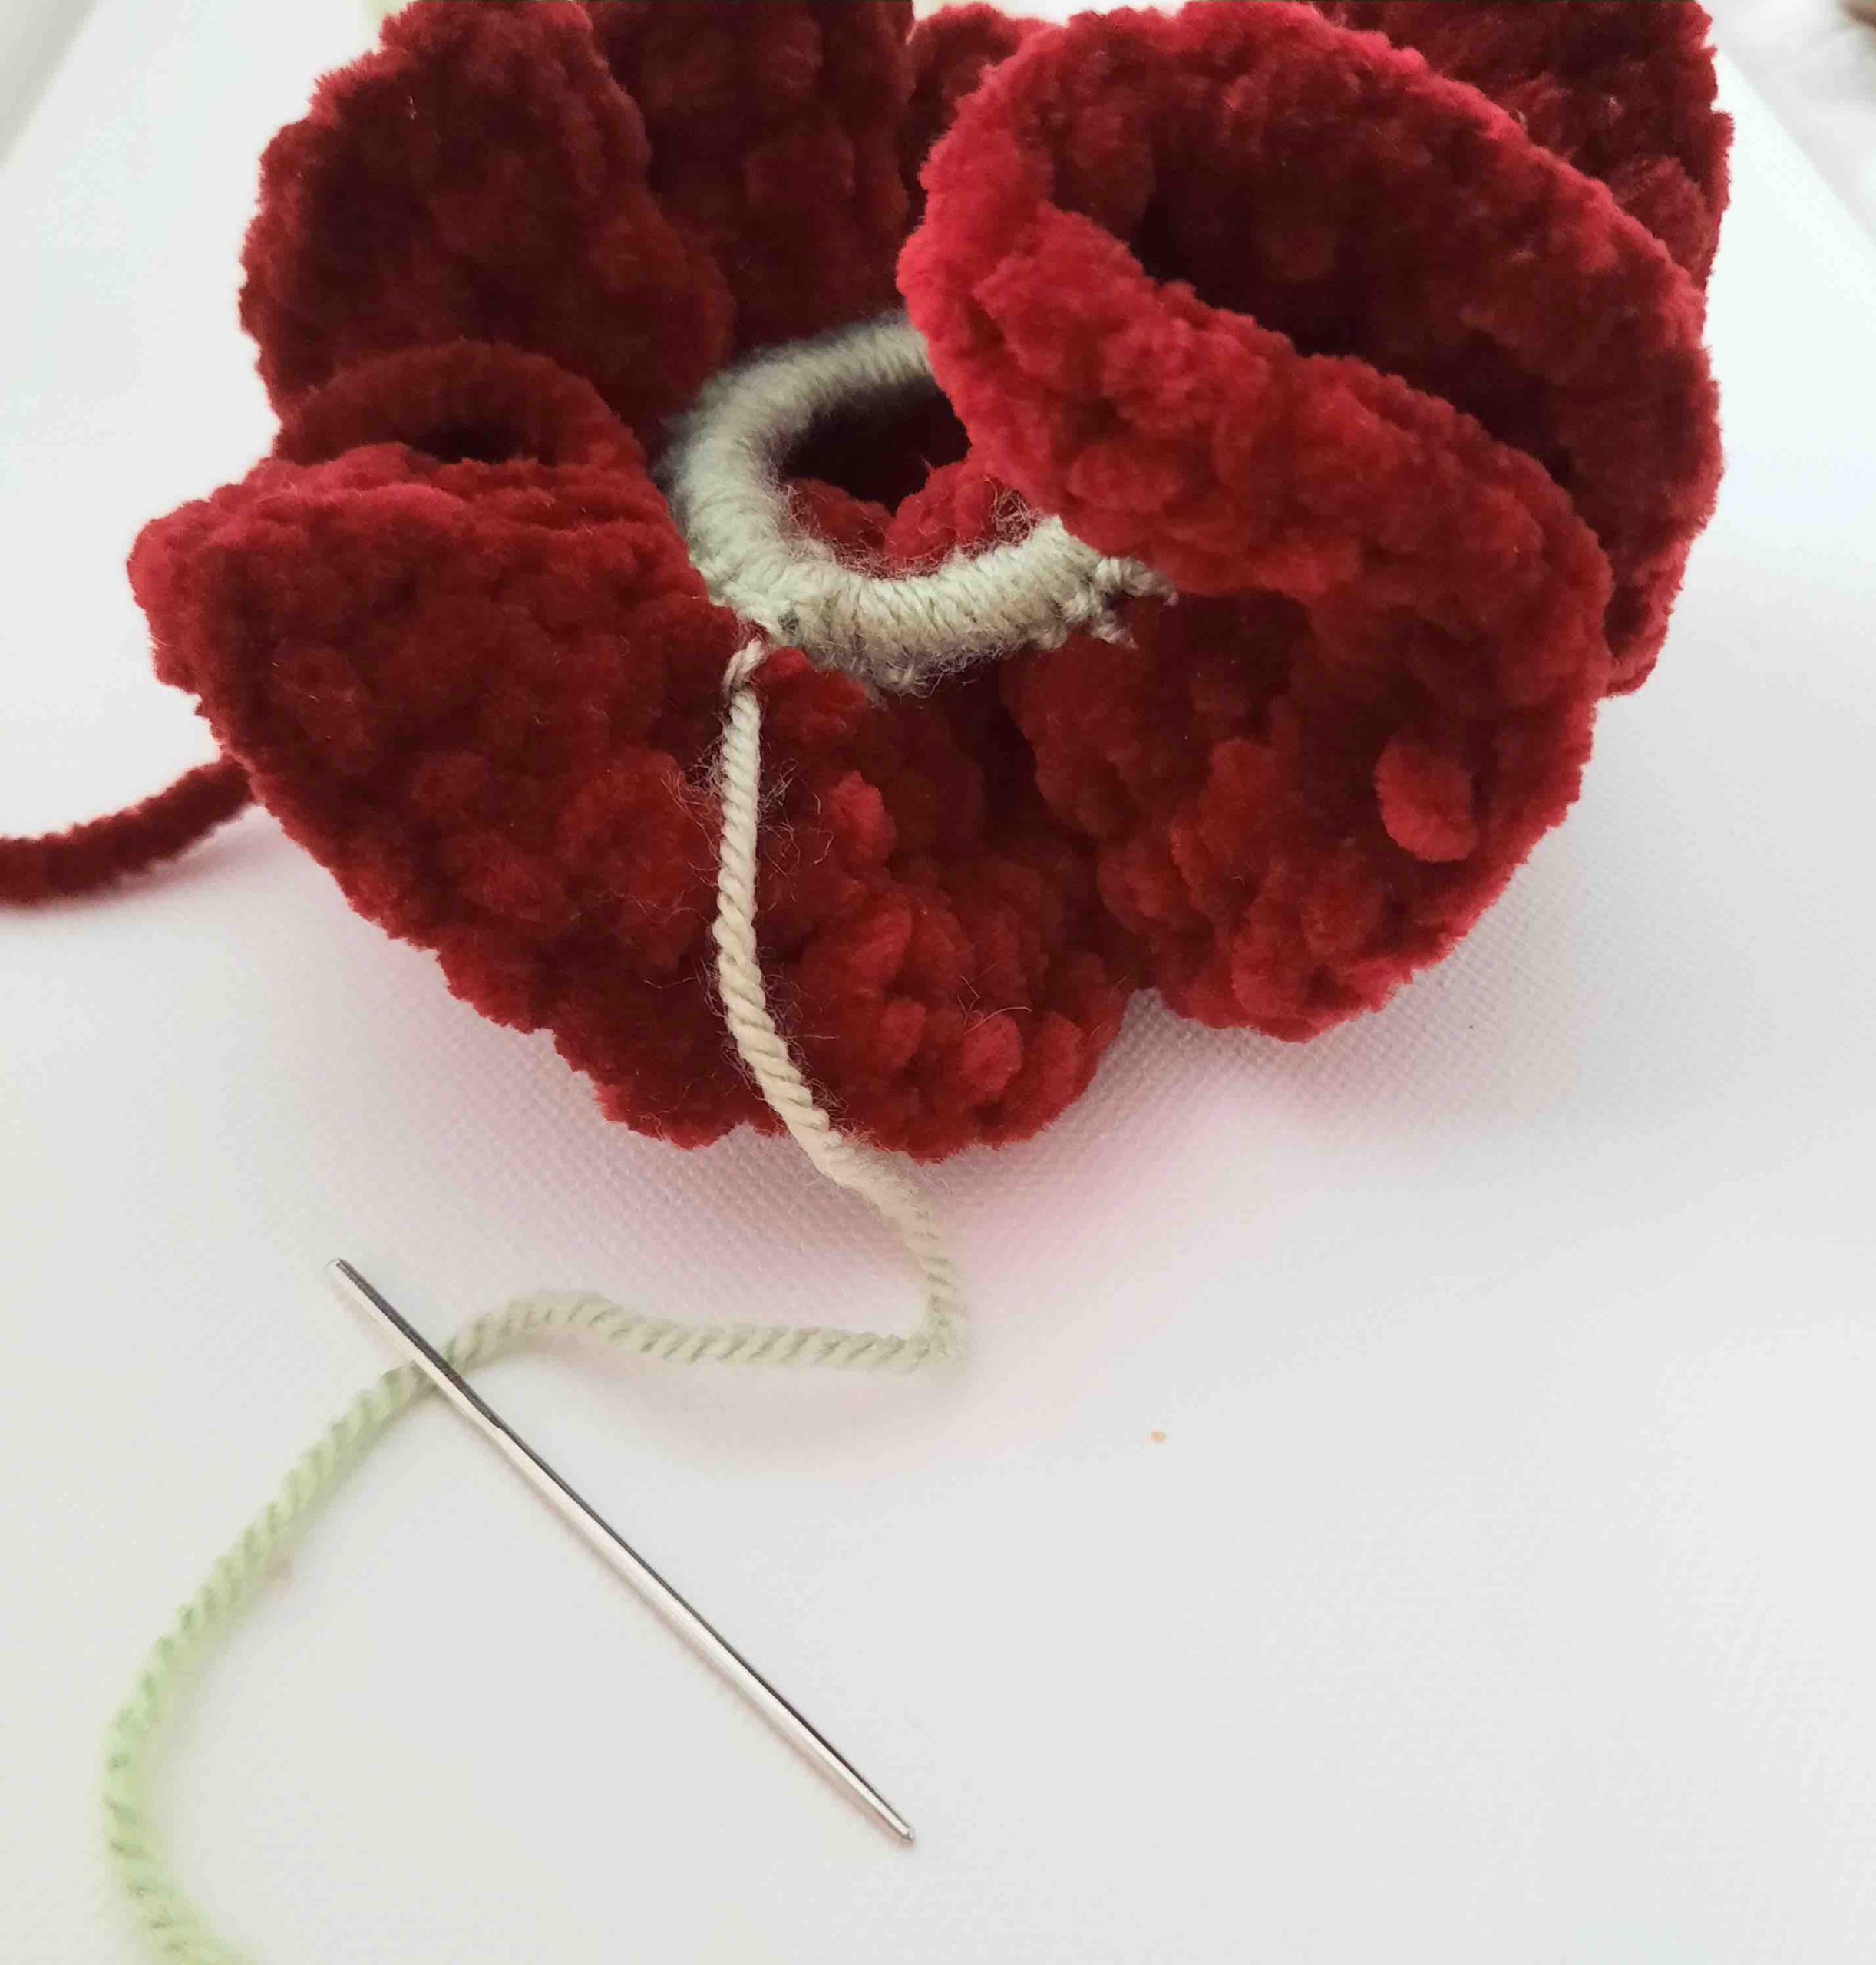

Thread yarn needle into tail of R 1
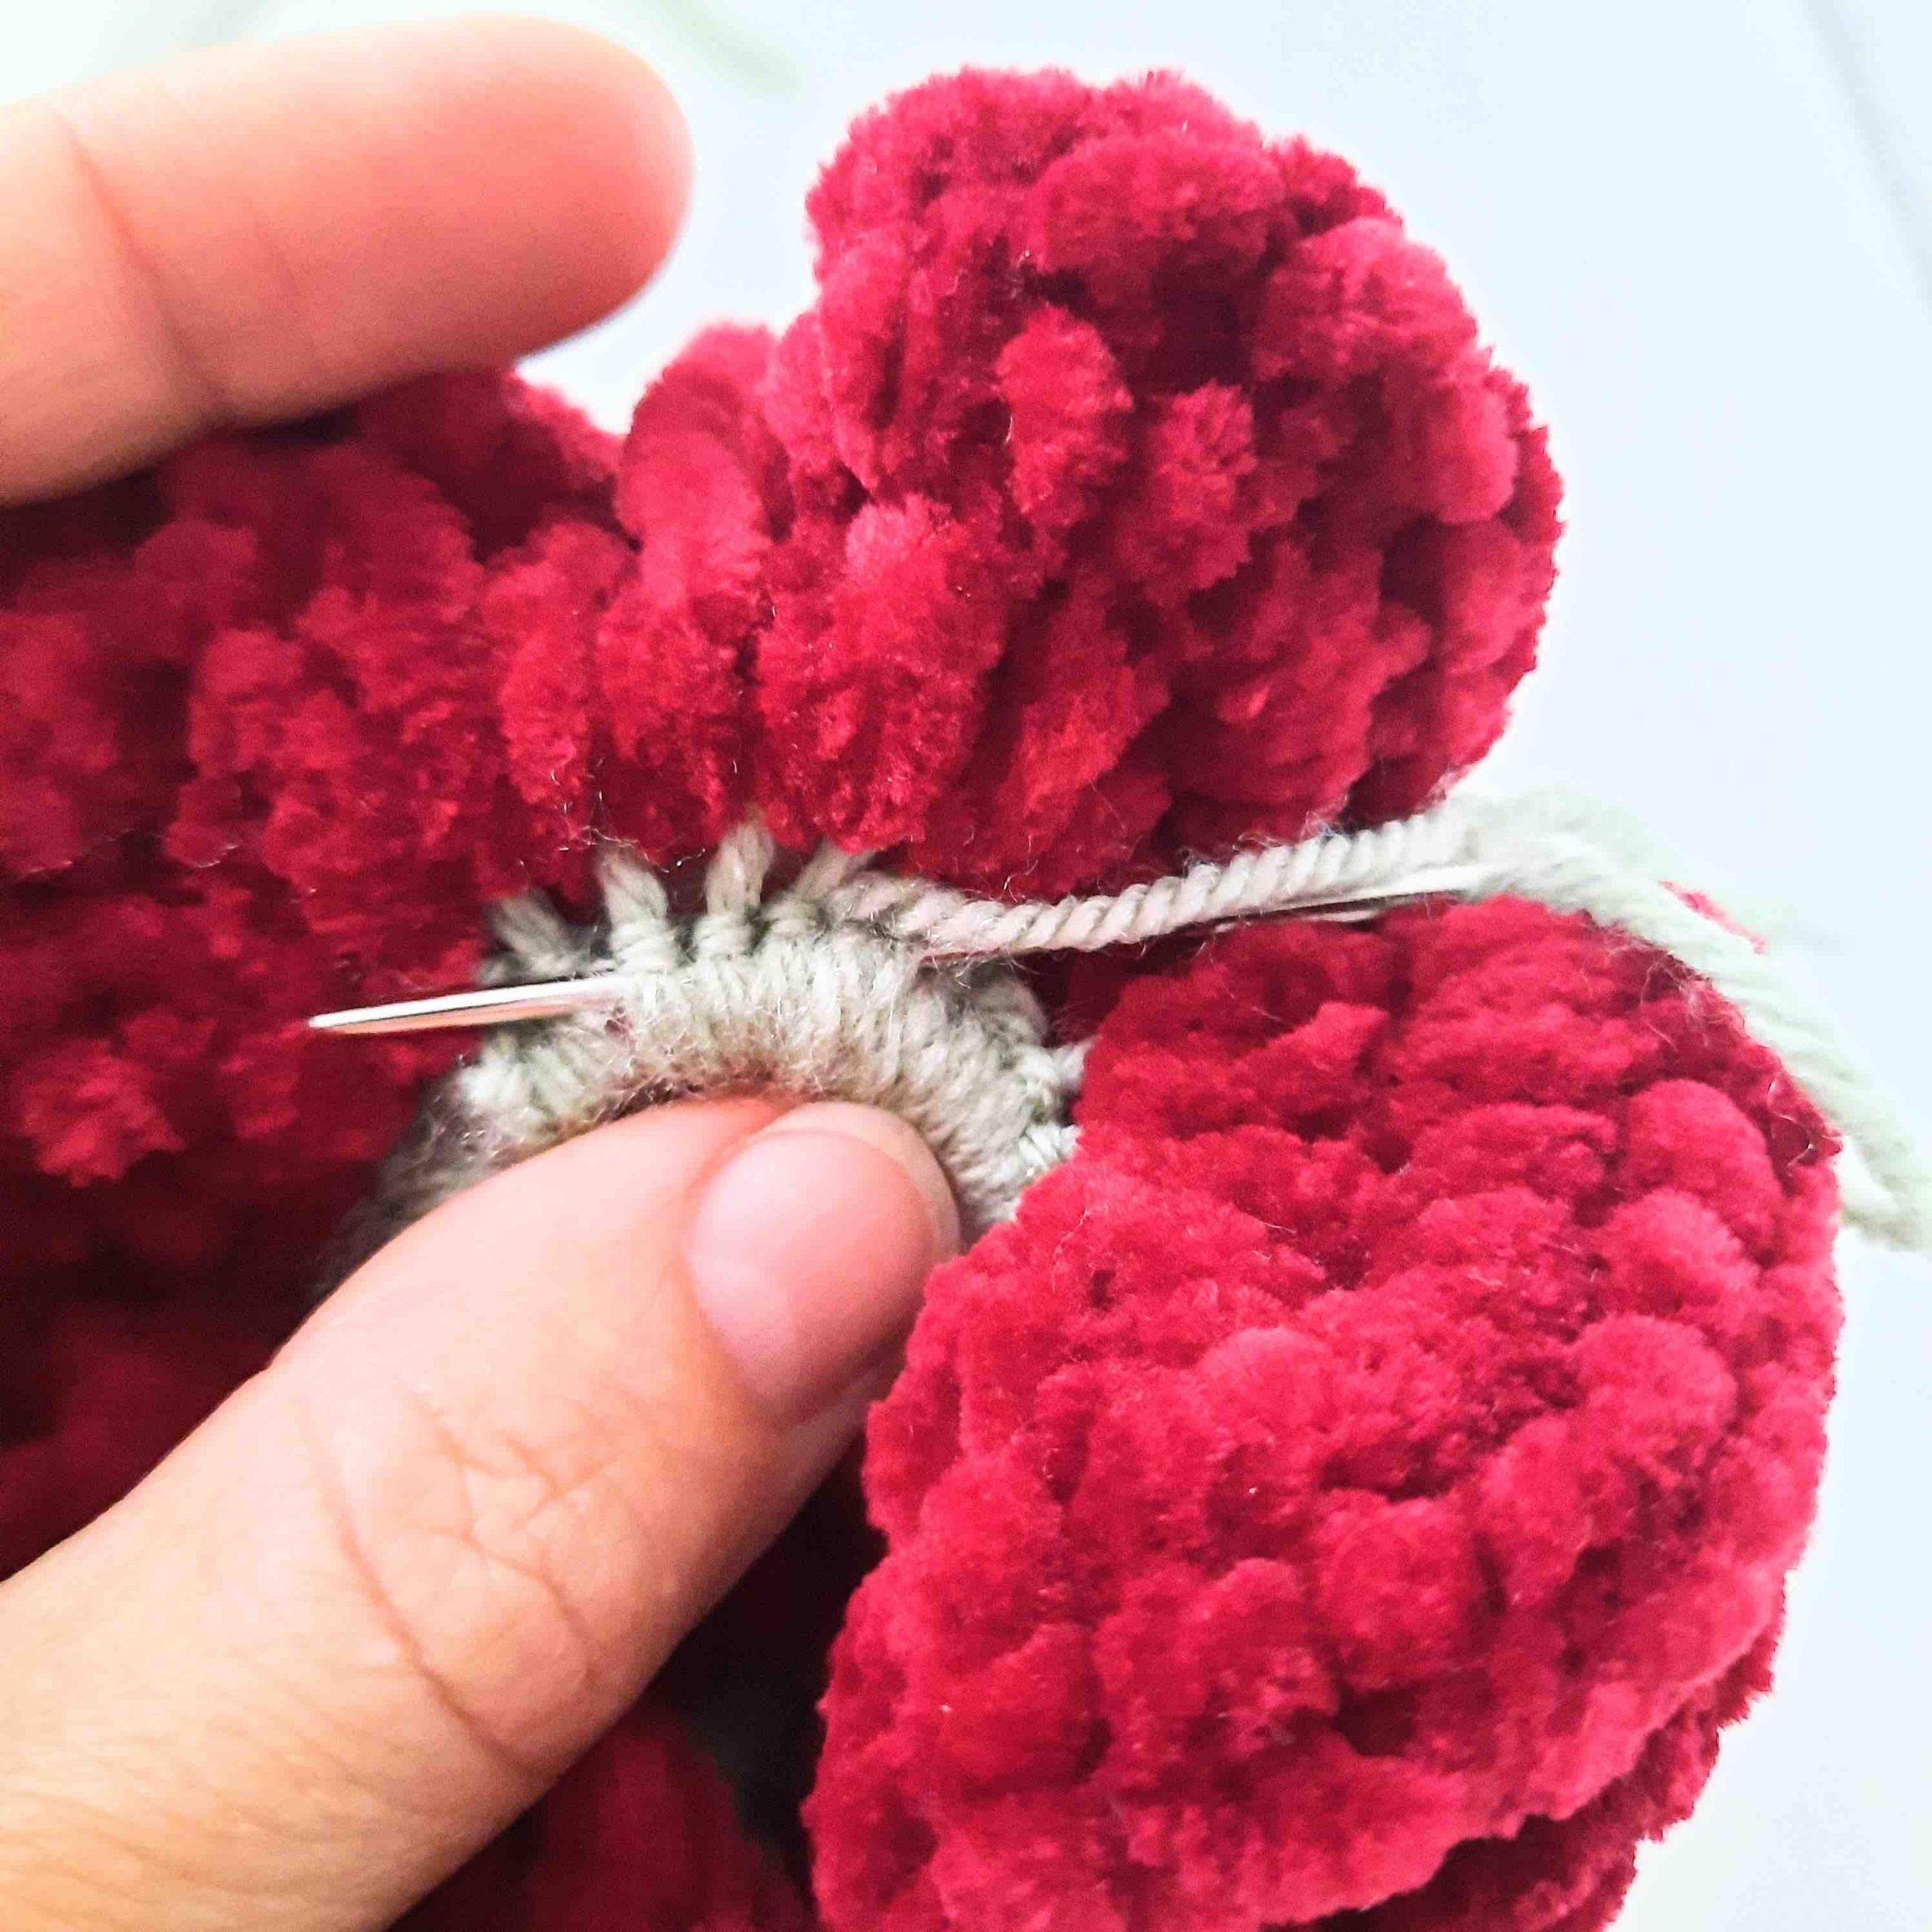

Weave in neatly back & forth
- Cut off any excess yarn.
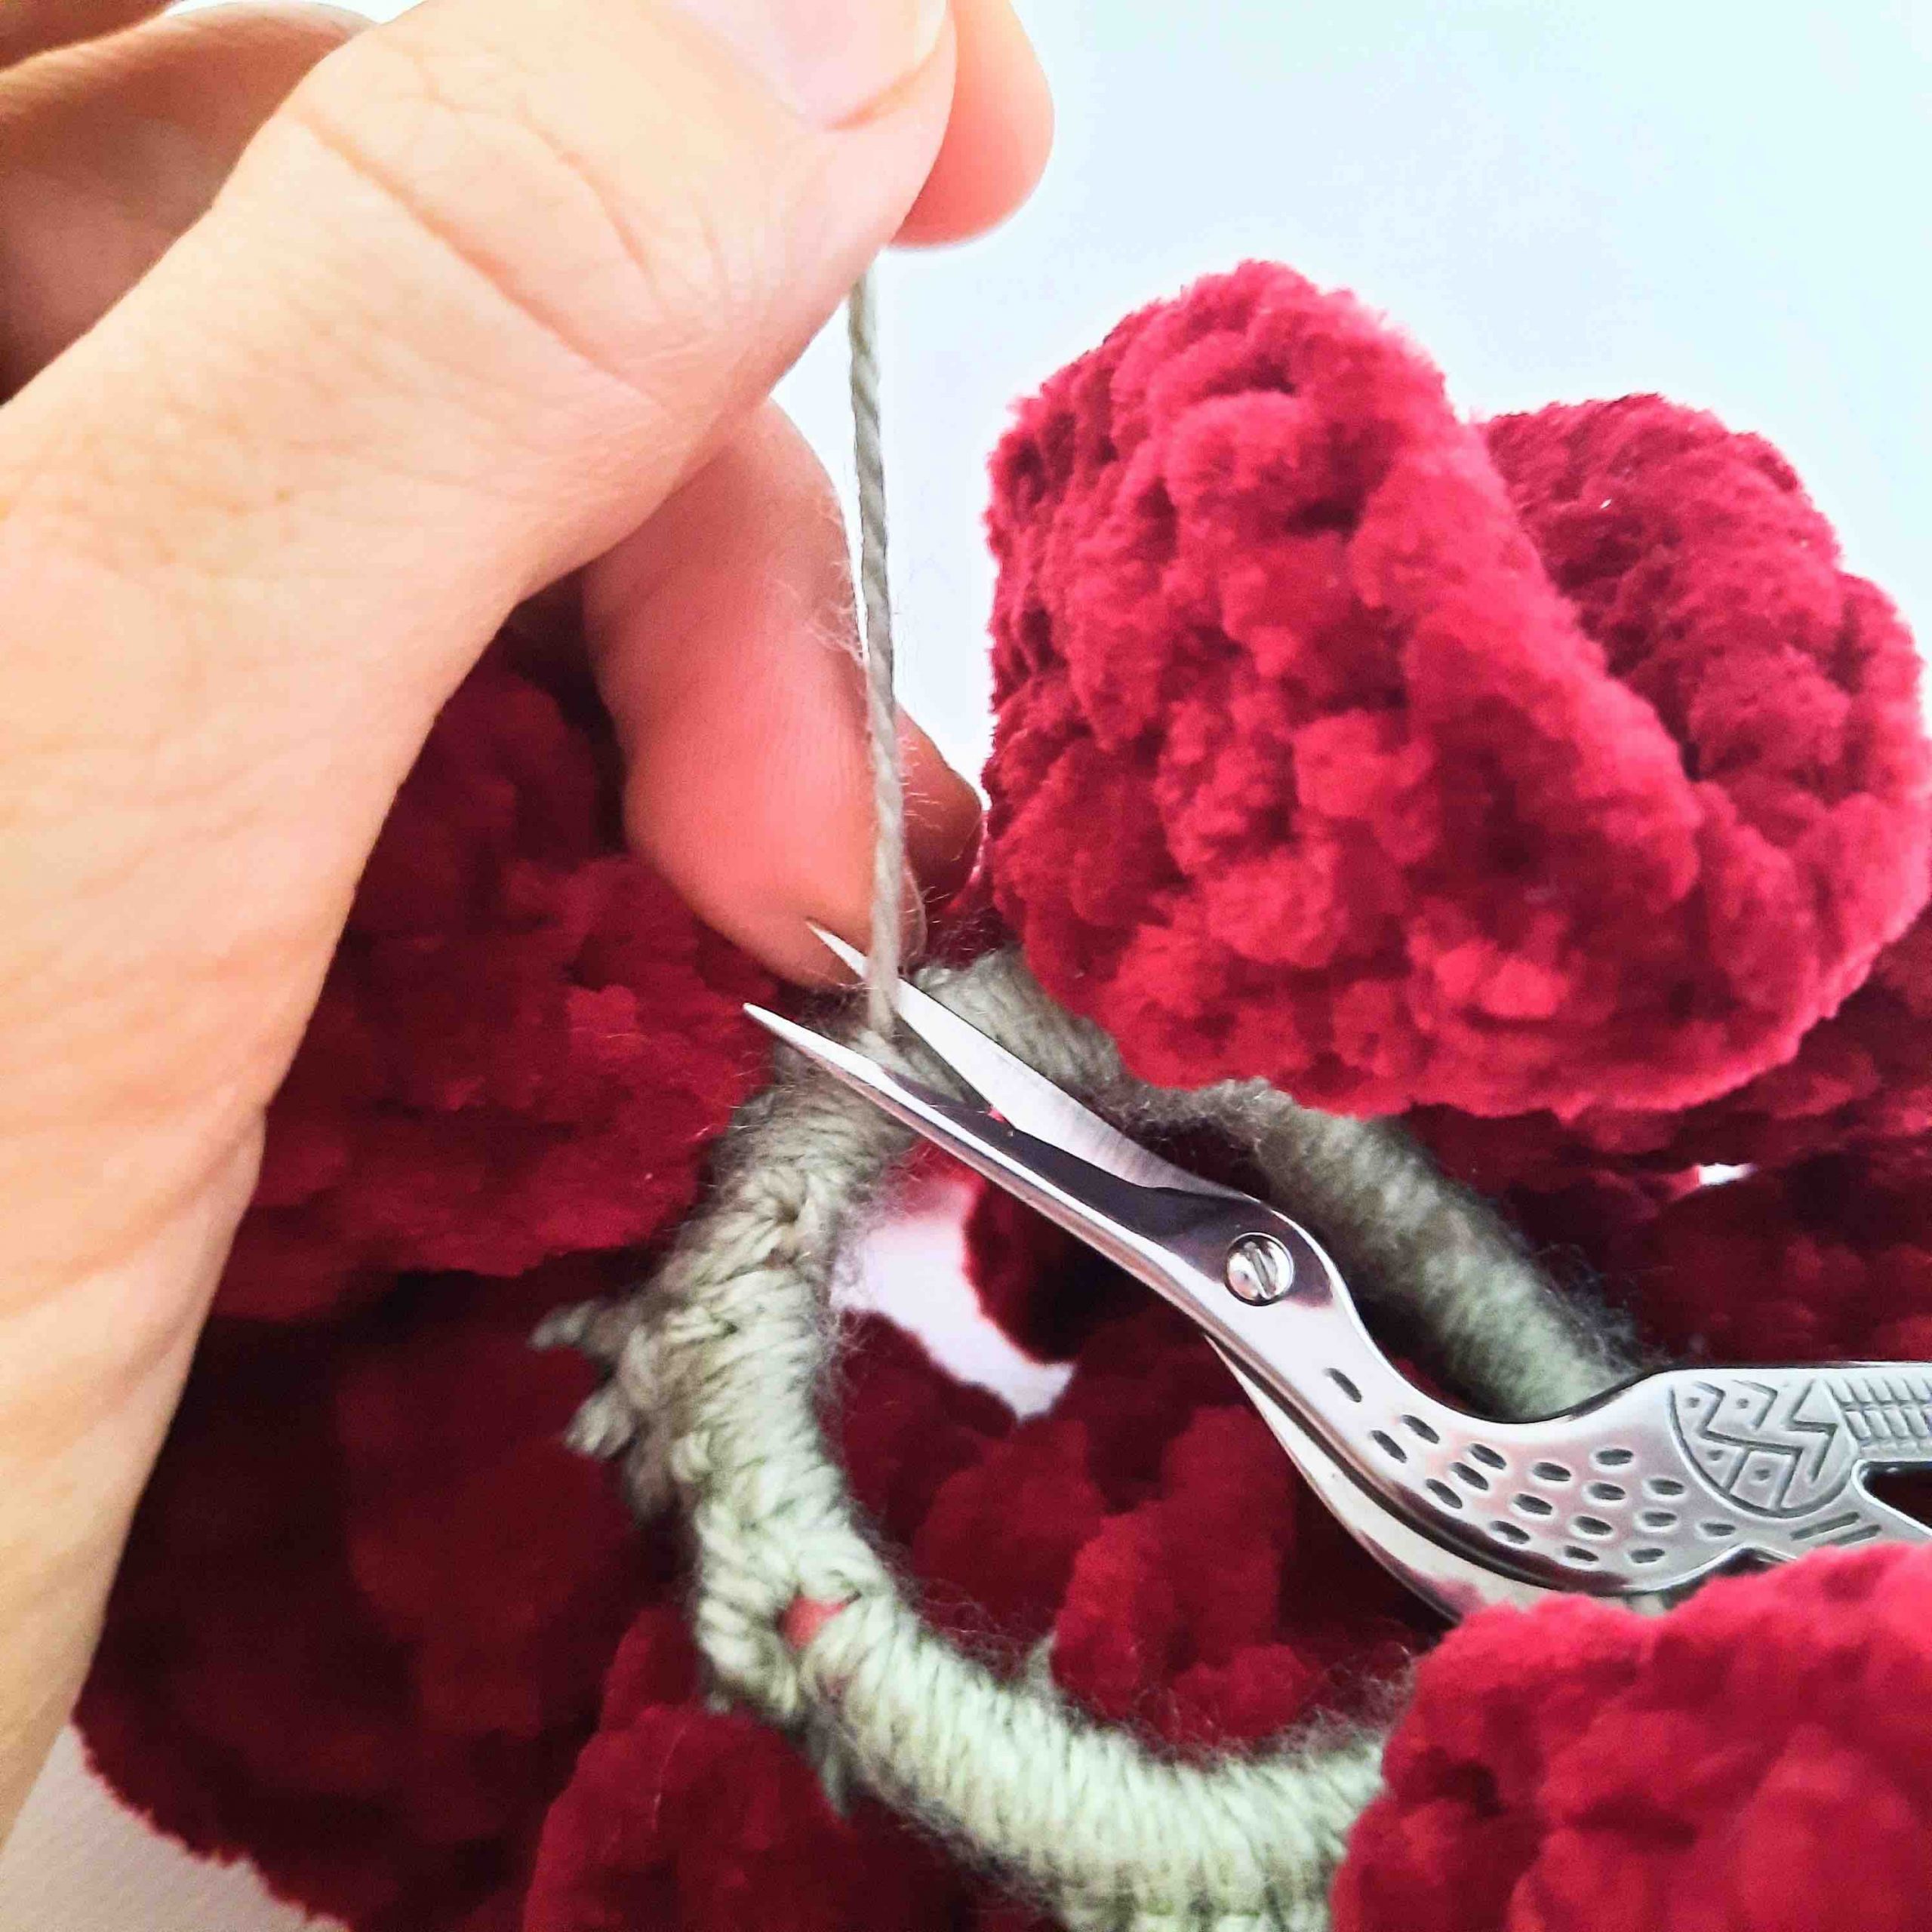

Cut off excess yarn
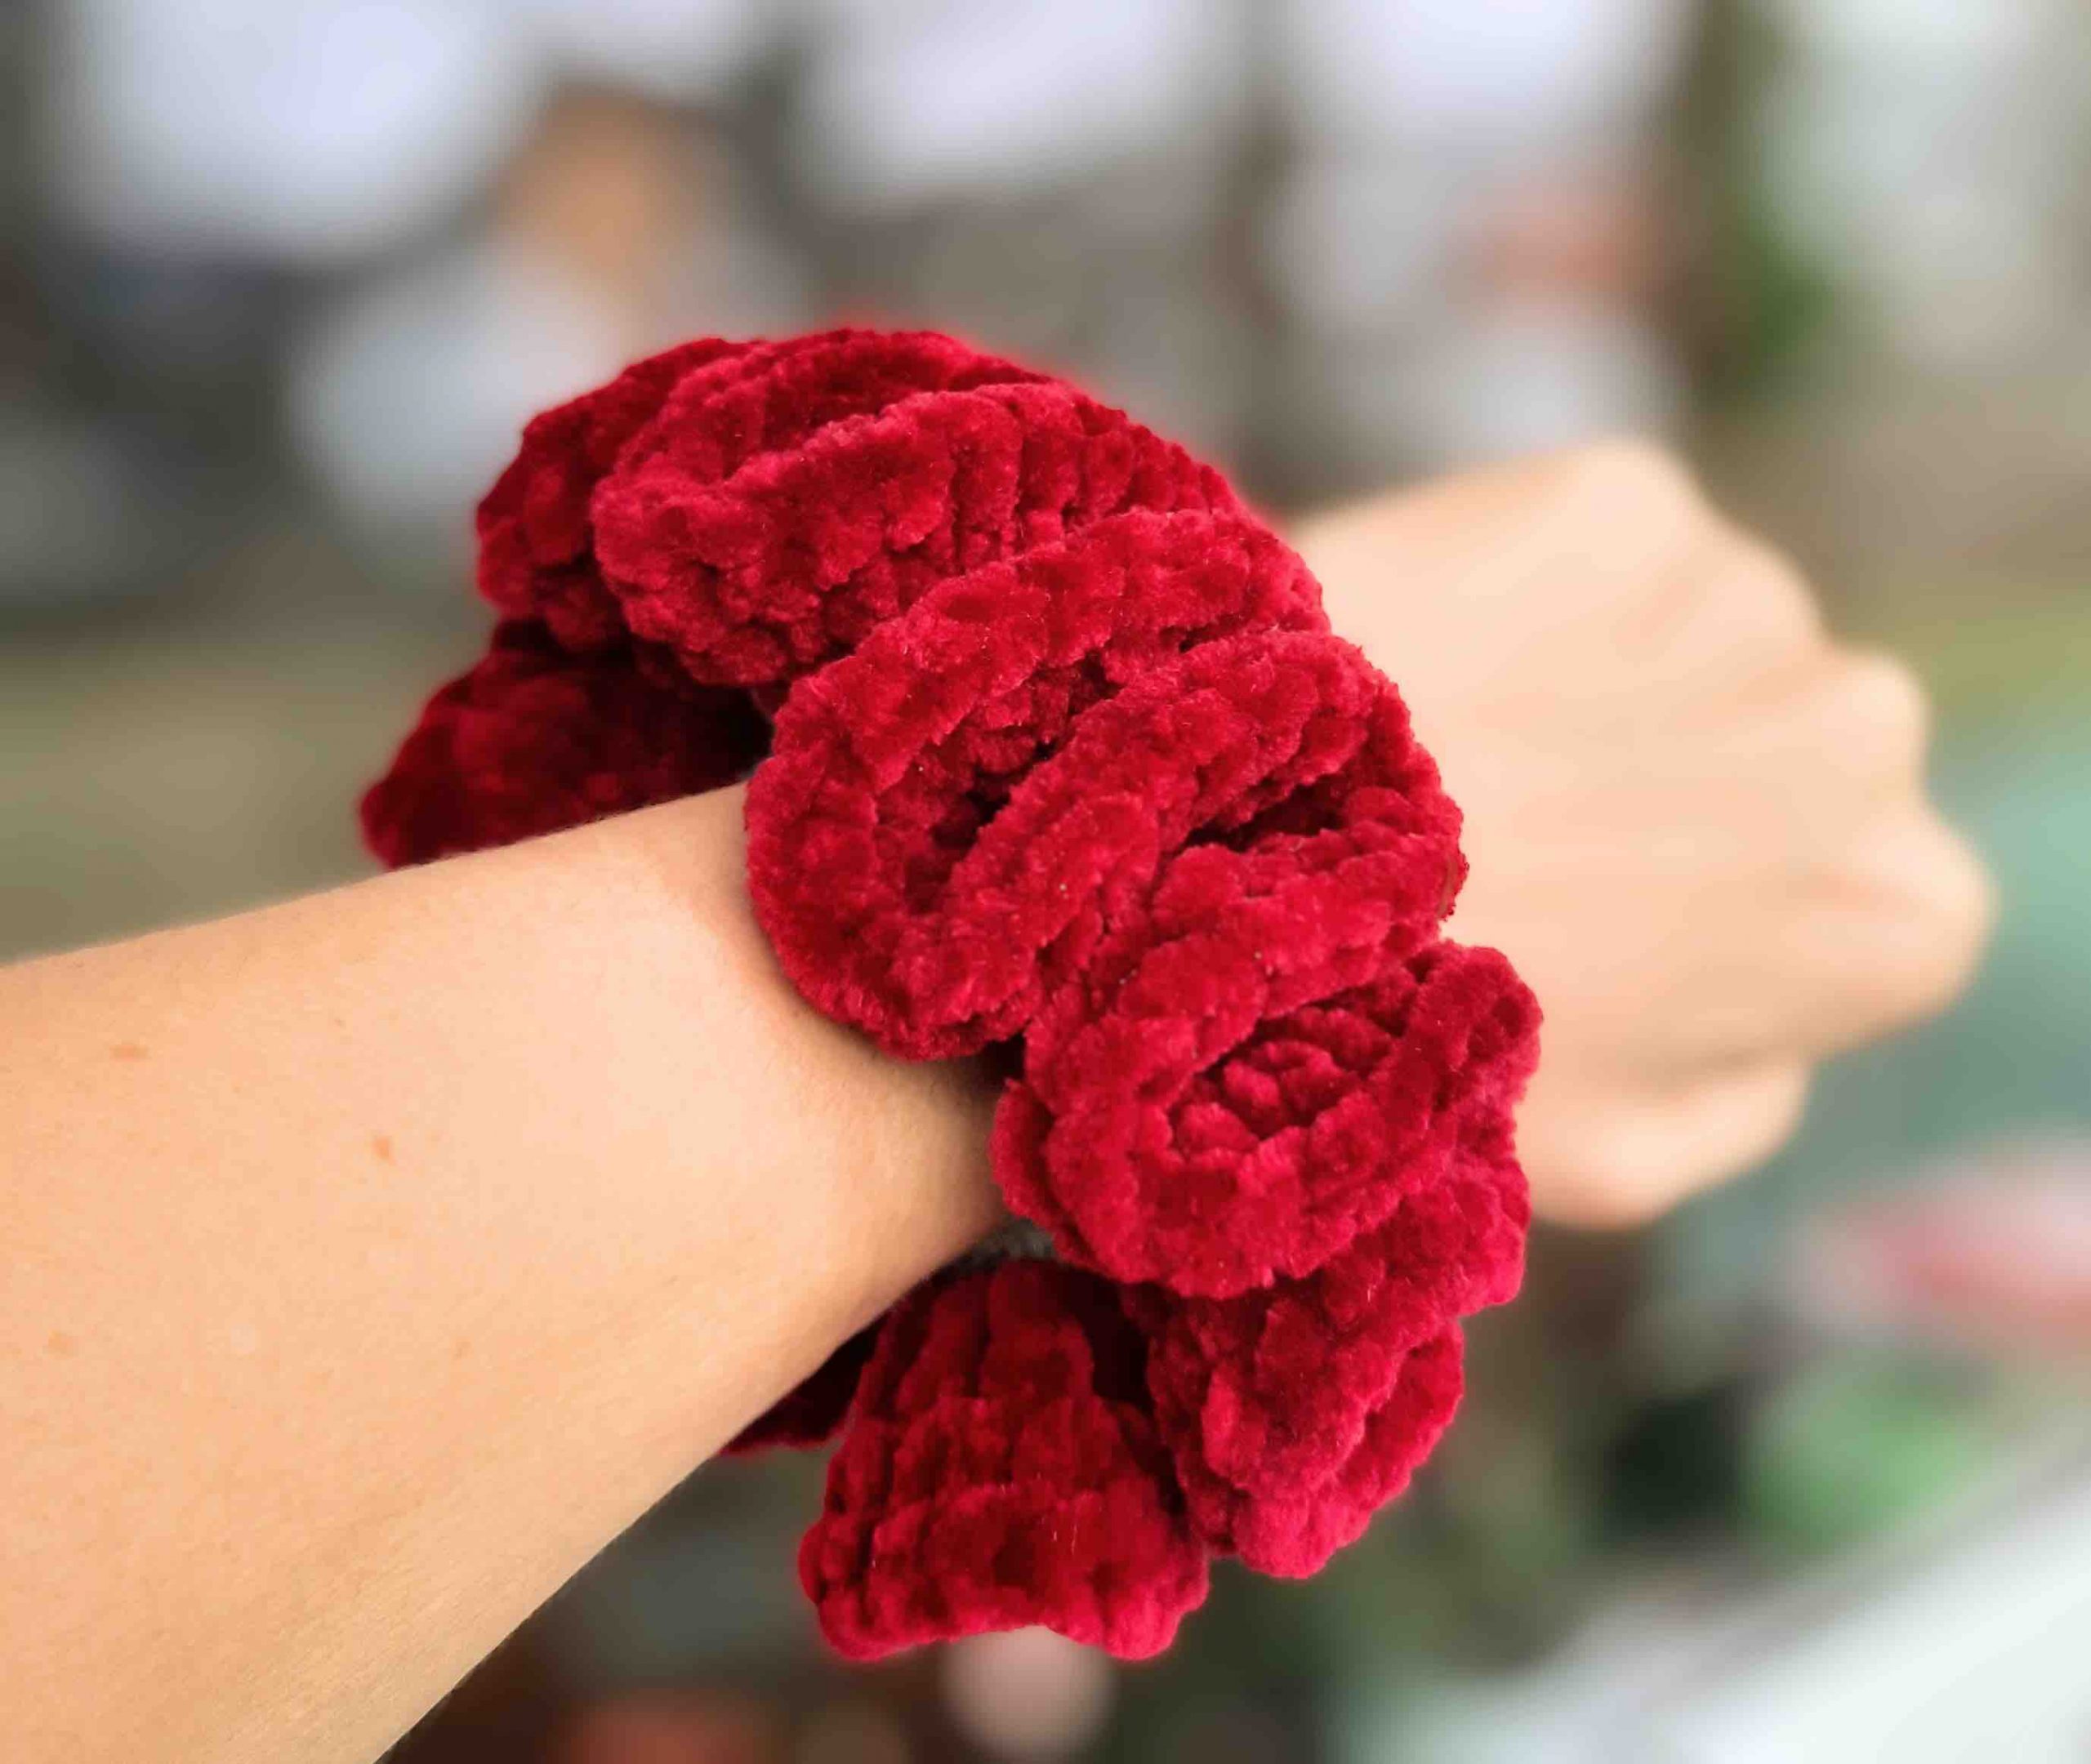
So there you have it! Your very own crochet velvet scrunchie!
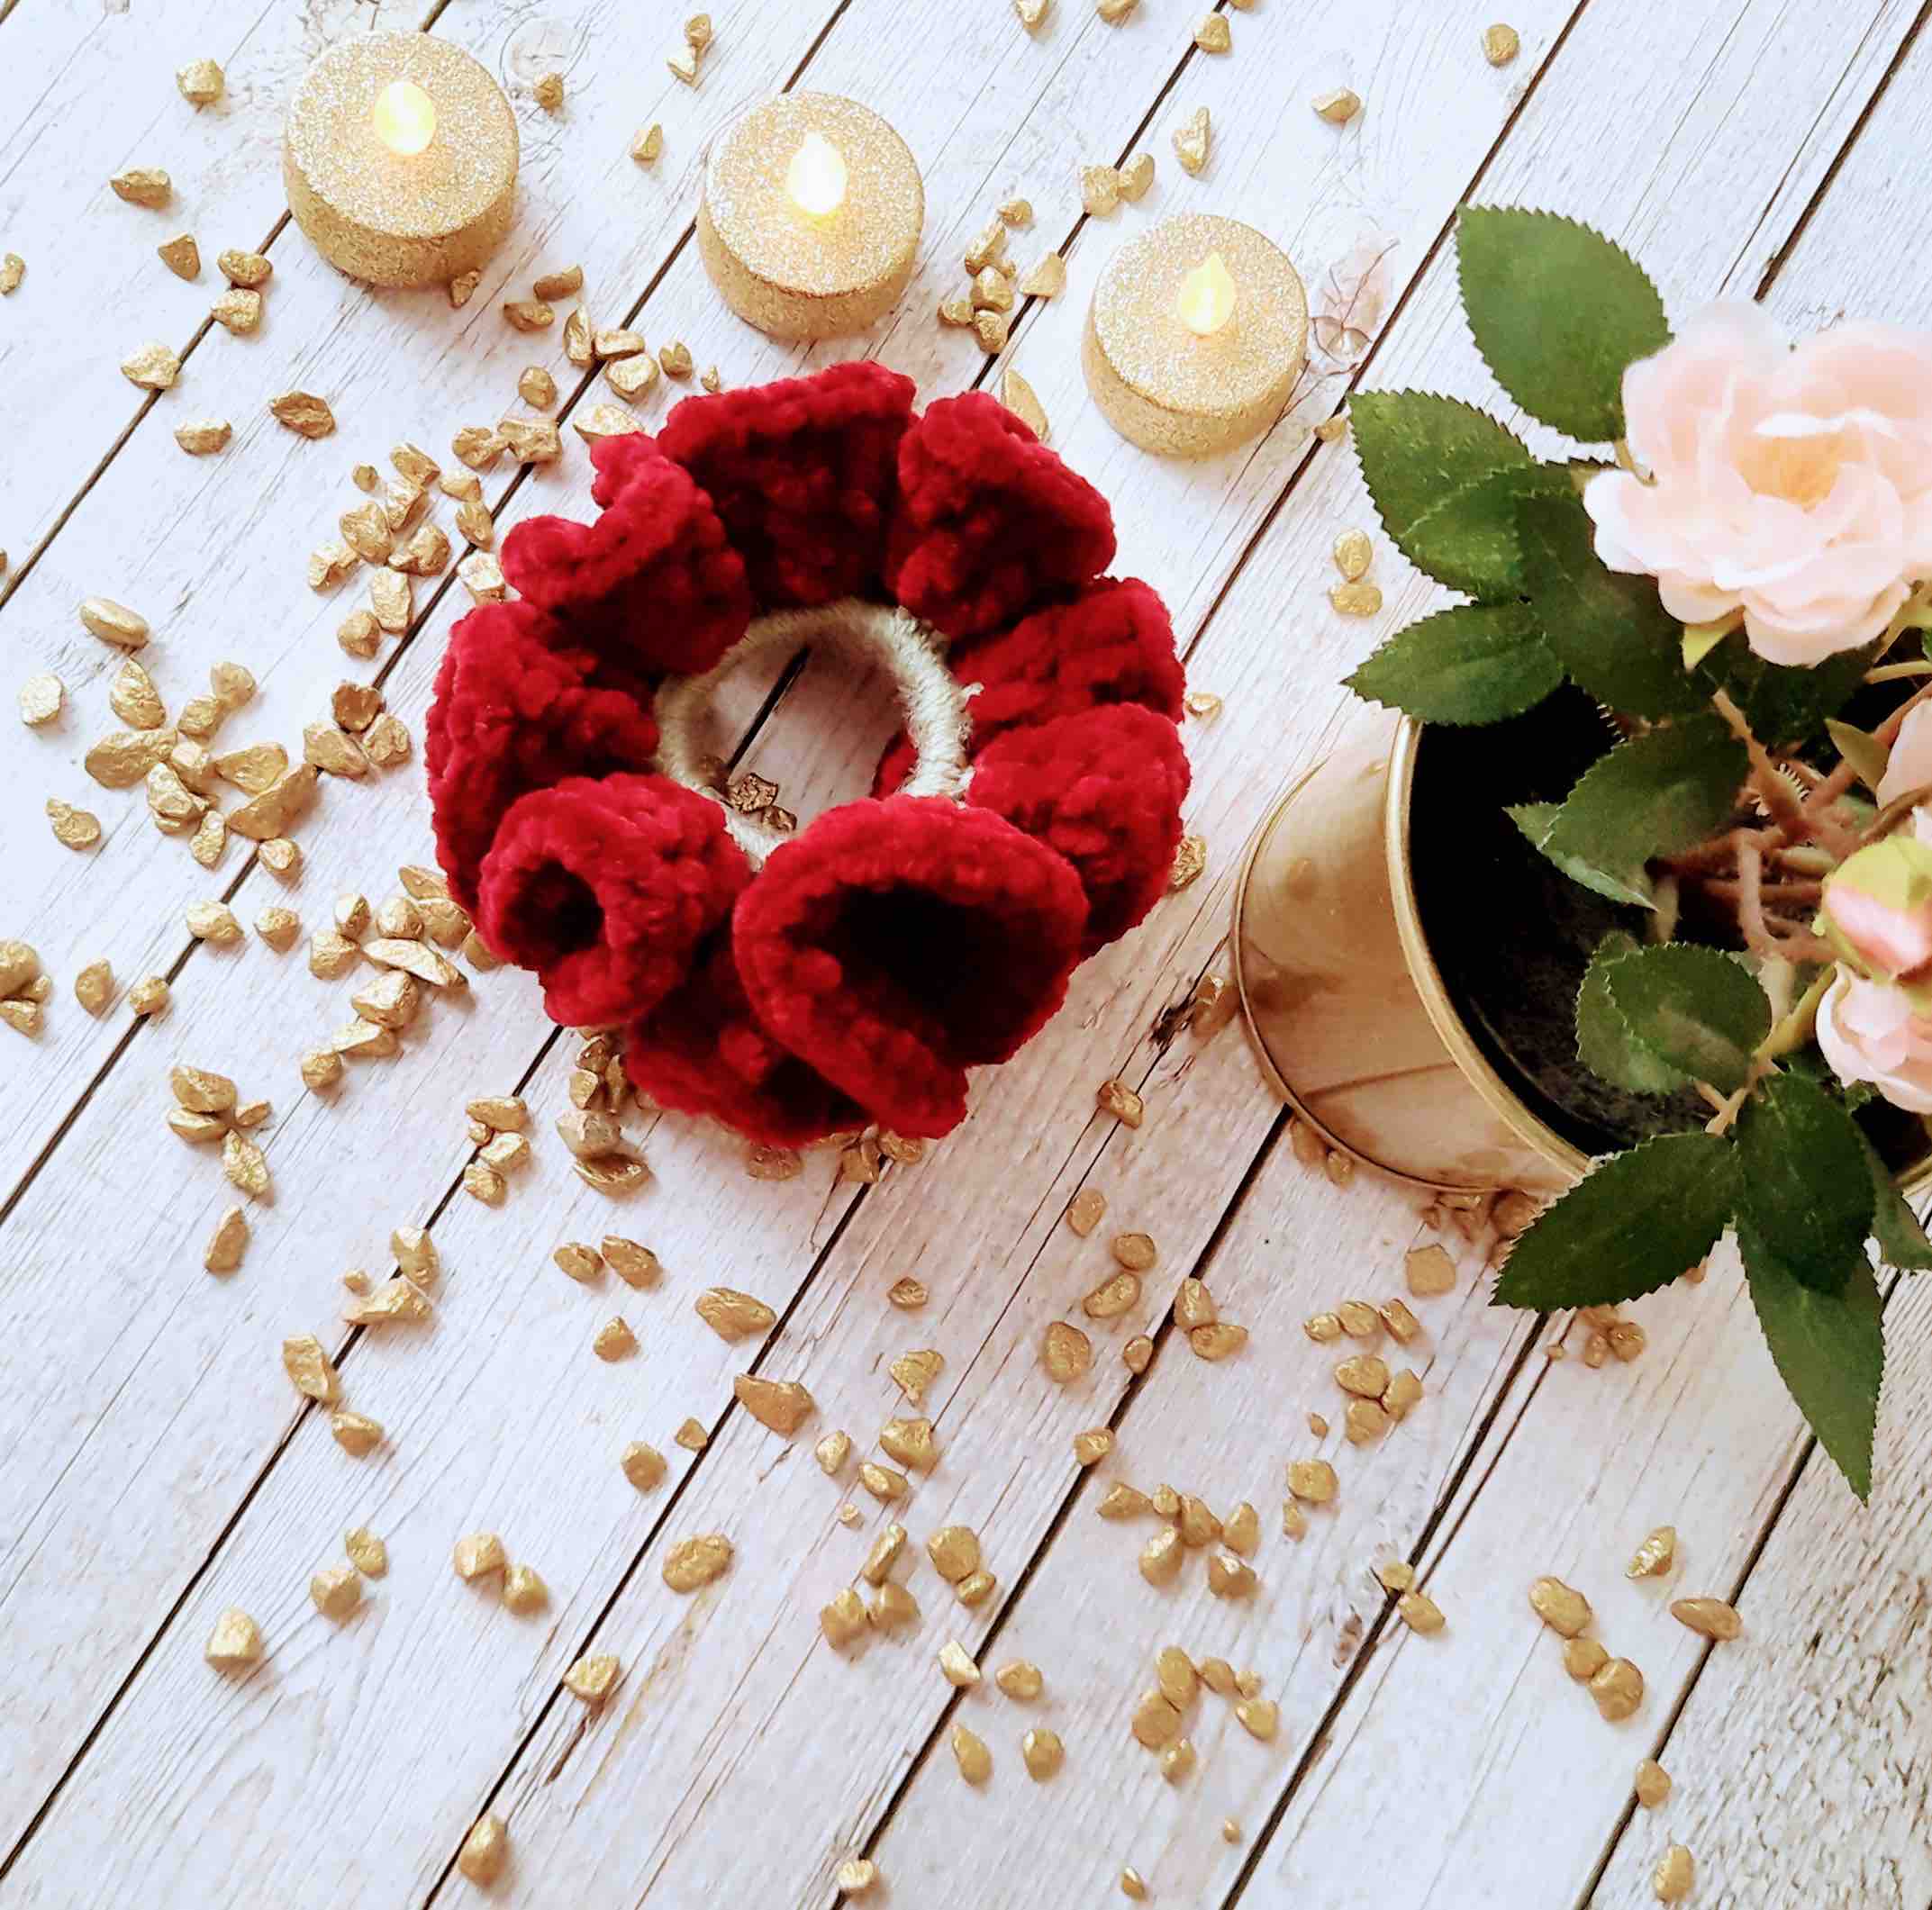

I hope you enjoyed this Velvet Scrunchie crochet pattern and that you'll make a few of these to give as gifts as well 🙂
Let me know if you have any questions and...
Happy crocheting!

Disclaimer: Information in this crochet pattern is given for reference only. Even though I do my best to ensure all patterns have no mistakes, occasional errors may slip through.
No liability is accepted for variations in finished projects. Please get in touch with me at [email protected] if you think there might be a mistake in the pattern or if you are unsure about how to interpret the instructions.
I’d love to see your finished item, so please tag me using @startcrochet.
Please follow my accounts to see what else I’m up to and to keep in touch:
Facebook https://www.facebook.com/startcrochet
Instagram https://www.instagram.com/startcrochet
Pinterest https://www.pinterest.ch/startcrochet
Ravelry: https://www.ravelry.com/people/StartCrochet
LoveCrafts: https://www.lovecrafts.com/en-gb/user/Start-Crochet
Yarnsea https://yarnsea.com/collections/start-crochet
You may sell any finished products that you make from this pattern. However, when selling online, please include a link back to my blog startcrochet.com or tag me on social with handle @startcrochet
Thank you!
© All rights for this pattern are reserved to Start Crochet. Copies and/or reproduction, translation or reselling of this pattern is a violation of the law.
