20 Useful Crochet Tips & Tricks
[To Help You Crochet Better]
It doesn’t matter if you are completely new to crochet or highly experienced. There is always something new to learn from crochet tips that make us better at our craft.
We all love experimenting with new patterns. That's great! But sometimes, we discover that there are terms, abbreviations or instructions we simply don't understand.
To this day, some crochet patterns still baffle me! I get stuck, can't finish my project, and give up mid-way. I just find it easier to move onto other more exciting or easier patterns.
It doesn't have to be that way though!
I realized I was going way ahead of myself!
I saw all those lovely crochet projects on Pinterest and went straight for them, even when I wasn't ready for complicated patterns yet!
When I got all frustrated, I joined crochet FB Groups and found out this happens quite often to crocheters!
An important lesson I learned is that there are always new things to learn in crochet. It just never ends!
That's what makes crochet so exciting! There is always room to expand your talent and figure out new stitches, different techniques, new terms, or new tips & tricks.
It takes a bit of research, learning, trial & error. You need to experiment and see what works for you.
The most important skills you need to have with crochet are patience and thorough determination. If you have those, you're good to go!
What I can help you out with here, is to give you a few useful crochet tips & tricks that'll make your crochet-learning experience a little faster and easier.
Disclaimer: This post contains affiliate links, which means I receive a small commission, at no extra cost to you, if you make a purchase using the Start Crochet links. Please see my disclosure for more details.
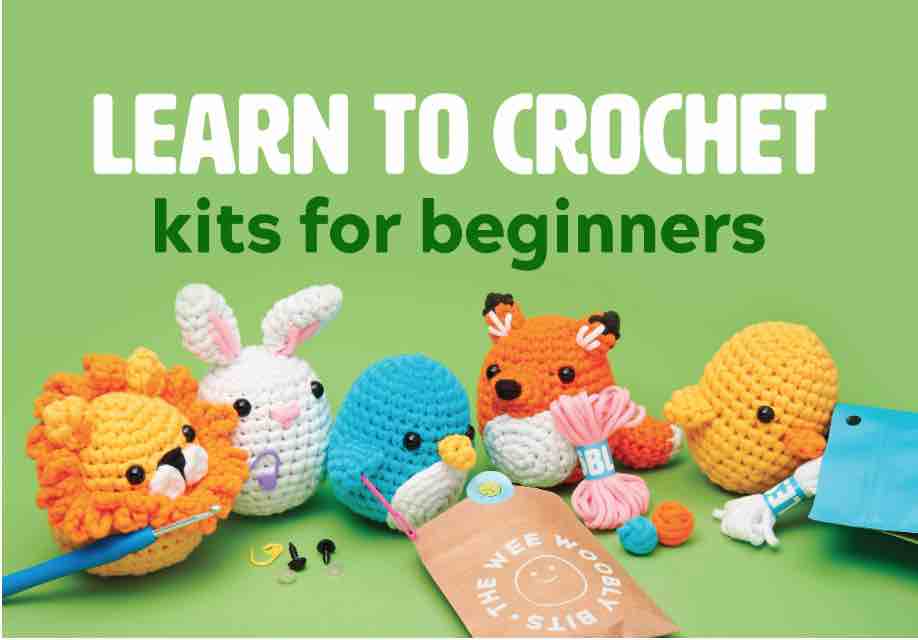
Are you just learning how to crochet? Have a look at these awesome crochet kits, perfect for beginners! I wrote a complete hands-on review on The Woobles Kits for you 🙂
Most Important Crochet Tips For Beginners
Tip # 1: Be Patient
I can't stress this enough because I've seen so many beginner crocheters feel defeated after trying a few stitches that didn't come out as picture-perfect as they expected.
You need to know that crochet requires a lot of patience, but that it's really not so difficult.
So don't be hard on yourself and just keep at it. You'll get it eventually, I promise you!
I know it's frustrating when you're trying to figure out a new stitch, lose count of your stitches, or look at your project only to see that it's turning out all wonky!
It can happen that your type or colour choice of yarn didn't quite give the effect you were looking for.
Don't let this frustration get the better of you! These are all learning opportunities 🙂
You have to understand that these little frustrations are absolutely necessary for you to progress with your crochet skills.
Once you've understood that, know for sure that you're on the right track.
Yarn Fiber Types
Natural vs. Synthetic
Free Printable

Your info is 100% secure and will never be shared.
Tip # 2: Know The Basic Crochet Stitches
Whenever you start reading a crochet pattern, you'll notice that there are just a few types of stitches used throughout the project that are repeated many times.
Stitches such as the chain stitch, single crochet stitch, double crochet stitch, and so on form the foundation of your project.
Every crochet project can be broken down into the most basic of crochet stitches. The best thing to do before starting a crochet project is to check which stitches are used, make sure you know how to crochet these particular stitches, check if they are written in US or UK Terms and off you go!
Here's a FREE Printable for you to check the difference between US and UK Crochet Terms & Symbols:
US vs. UK Crochet Terms & Symbols
Free Printable


Your info is 100% secure and will never be shared.
Knowing these basic stitches will help you break down the most complicated projects into simple basic stitches.
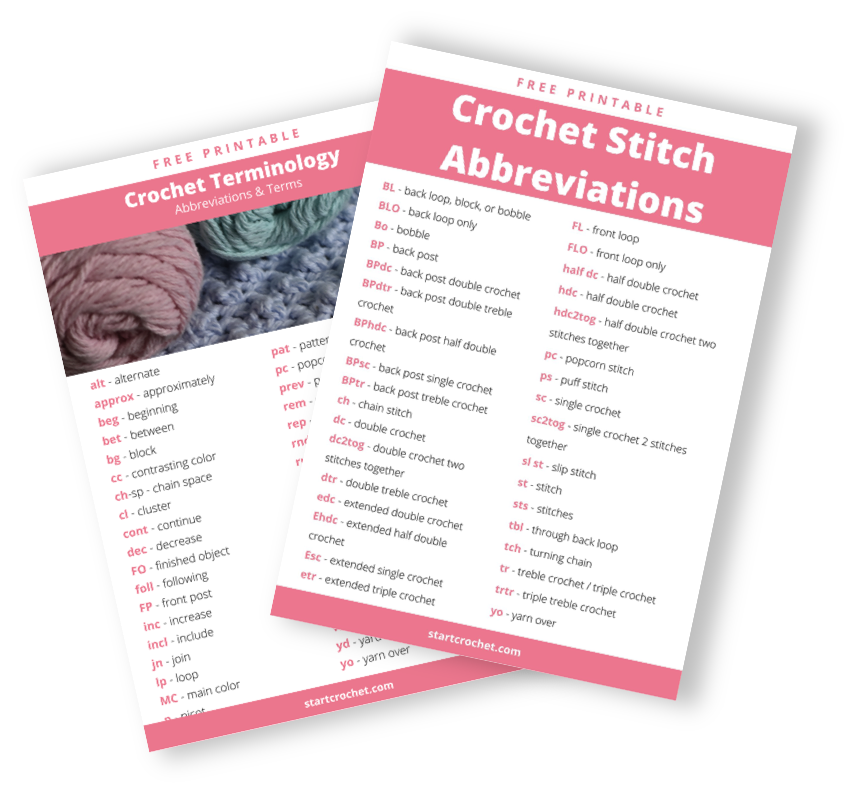
To be able to decipher the crochet terminology and stitch abbreviations used in a crochet pattern, I've put together a free printable for you (below) that you can download, print and keep at hand while reading a pattern.
CROCHET TERMINOLOGY &
STITCH ABBREVIATIONS
Free Printable
Tip # 3: Join FB Groups
There are so many crochet FB Groups, I'd fill the whole page here listing them out for you!
It's easy to simply search for "Crochet" as a key term in FB, and all the relevant groups will pop up. What I'd recommend you to do is choose a few of the ones that sound interesting to you and submit a "Join" request.
There are many groups dedicated to Beginner Crocheters and you'll find tons of helpful information in those.
The reason getting into these virtual communities is so beneficial is because this is where interesting conversations happen. Real people out there are asking questions and getting advice from others who have the answers. You can discover all kinds of crochet tips & tricks that'll be so exciting to try out.
You could also pose some questions yourself and I'm pretty sure you'll quickly get the answers you're looking for from someone who's a little more experienced than yourself.
It's also good to post photos of your work and get feedback on it. Even if you're a beginner crocheter, posting your crochet creations will boost your confidence as people applaud your work and encourage you to continue.
Tip # 4: Don’t Be Shy To Ask For Help
We often run into roadblocks while crocheting and don't really know where to turn.
What I mean, is sometimes you might be working on a project and can't understand the instructions on the written pattern. Or perhaps something looks a little off in your project and you're not sure what to do about it, or you made a mistake and don't know how to fix it, or can't decide what colours to choose for a project.... and so on.
The best thing I can recommend for you is to ask for help.
You can either ask an experienced crocheter nearby who can help you face-to-face, or ask the thousands of crocheters you have at your disposal in those FB Groups you joined.
There's no better time in history to do that! It's so easy now to hop onto FB Crochet Groups and ask your question. There are literally millions of crocheters hanging out in those FB Groups helping each other out. Get in there and become part of the community.
You'll love being part of crochet social media because you can share your excitement, frustrations and all, and there will be thousands of people applauding you and answering your questions.
You'll see that so many others just like you are asking for help and getting answers to their questions, no matter how silly you might think the question might be. There are lots of people out there who are happy to offer you vital advice, pointers, and suggestions that will definitely be valuable to your project and help you improve your crochet skills.
And of course it goes without saying, you can ask any questions you have about crochet in the comments below.
Crochet Tips For Straight Edges
Tip # 1: Keep A Loose Grip
As a newbie crocheter, you'll often find yourself holding your crochet hook too tightly, trying to keep your stitches from slipping through.
This can numb or even injure your hand and make it really hard for you to insert your hook into the next stitches.
A lot of beginner crocheters usually make a tight chain at the beginning of a project and loosen up as they move along.
When you do this, you'll notice that the beginning of your work is much tighter than the rest of it because as you get more comfortable with the project at hand, you'll be crocheting more loosely, which will in turn make your work get wider as you progress.
If you're working on a project that should have straight edges, make sure to start off and continue with an equally loose grip and loose stitches (not too loose of course, but you'll get to the sweet spot with some practice).
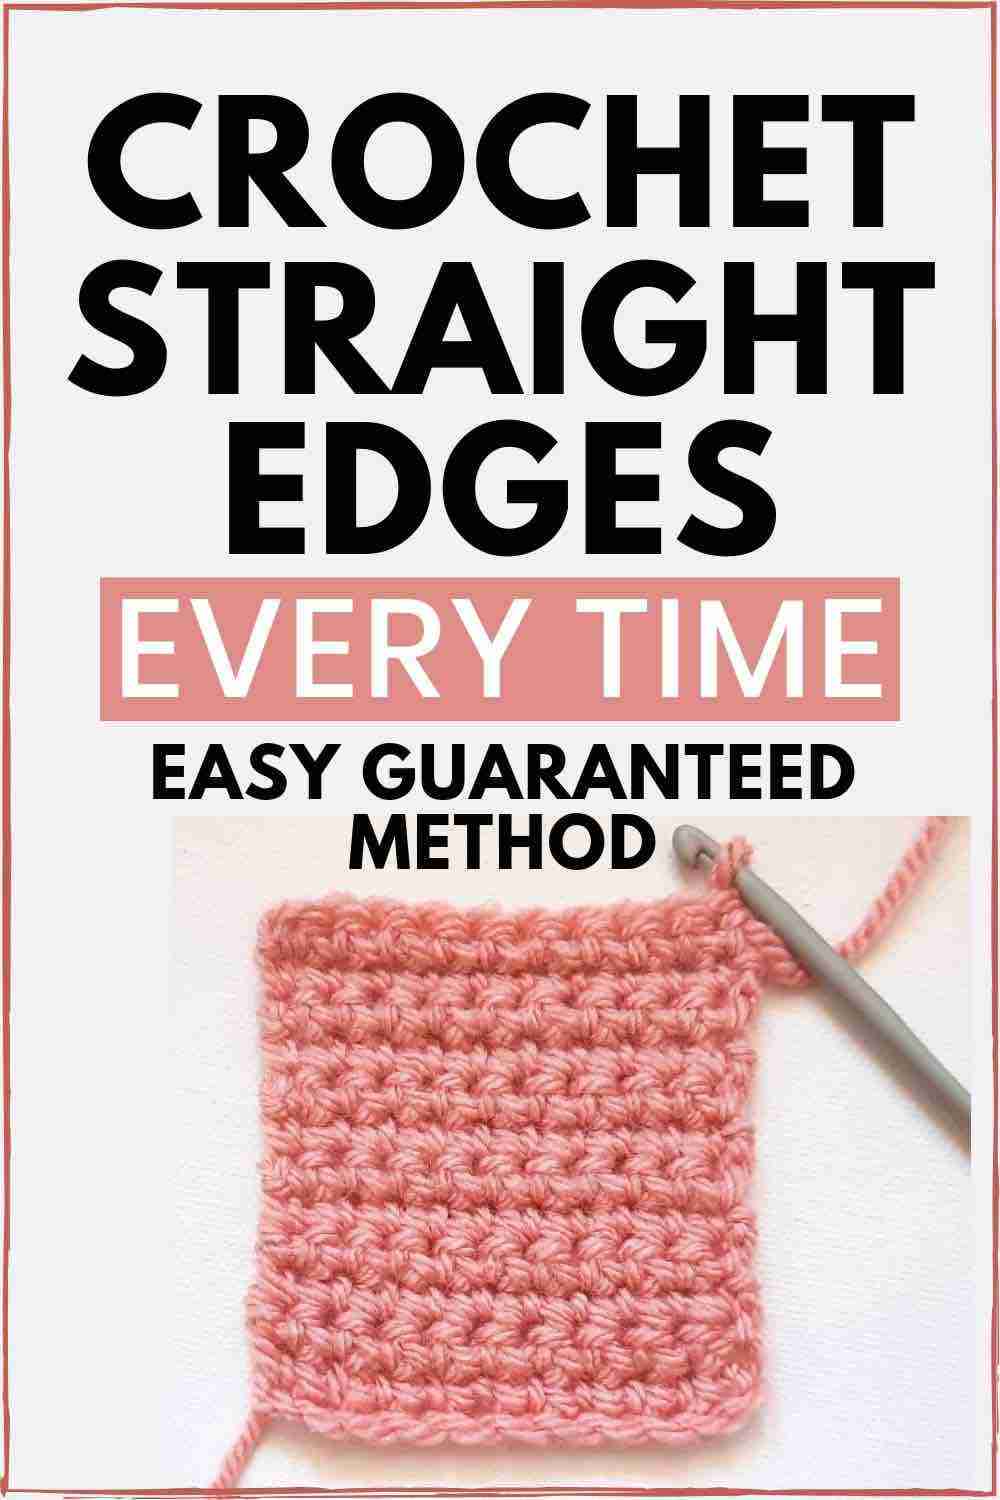
Here's a step-by-step tutorial to guarantee that your crochet edges are straight every time.
Tip # 2: Count Your Stitches Correctly
One of the most common mistakes crocheters make (beginners as well as experienced) is that they get distracted when counting their stitches.
It might seem a bit tedious to have to count so many stitches and make sure you have the same number on each row, but trust me on this one... doing it right goes a looooong way.
And what I mean here is that counting stitches is not only the best thing you can do to get your project to look picture perfect. Counting those stitches is also great for your brain!
Think of counting as a form of meditation! You are completely and utterly focused on your work, and that my friend, is excellent exercise for your brain function. You'll feel the benefits of that as you age 🙂 It's been scientifically proven that crocheting defers age-related memory loss.
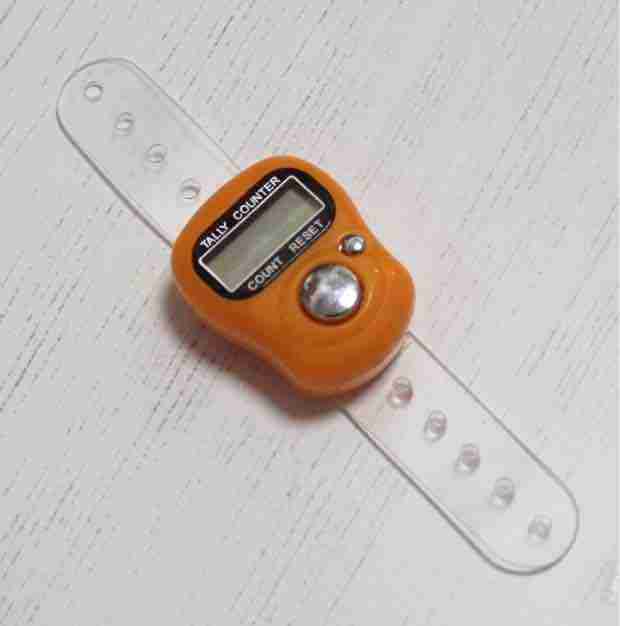
You can find special crochet Stitch & Row Counters to help you count your stitches correctly.
Tip # 3: Understand Tension
Tension, is probably one of the most important things to learn when you start crocheting.
You know how they say "Location, location, location" for real estate?
Well, it's "Tension, tension, tension" for crochet!
What exactly is tension, you ask? Well, the dictionary definition is that it's the "state of being stretched tight".
So in crochet terms, it's how tightly you stretch your yarn as you're working on your crochet project.
Some people naturally crochet tighter than others, and that's perfectly OK. (It'll just affect your gauge which is important to get project sizing right, but that's another story and has several solutions of its own).
The point is, you want your yarn to glide smoothly through your fingers as you're stitching along.
When you get this right and find a way to get your tension to be consistent, you'll find that your crochet project is working up nicely.
For starters, hold your crochet hook and yarn the way that feels most comfortable to you.
Some people hold their hook like a pen, but others hold it like a knife.
Try both methods, and choose what fits you best.
Another important tip is to hold your crochet hook with your dominant hand. So if you're right-handed, hold you hook with your right hand and your yarn with your left hand.
If you start crocheting and you feel like your tension is too tight, try using a larger size hook.
On the contrary, if you feel you are crocheting too loosely, try using a smaller size hook.
Here's an excellent video explaining how to control your yarn tension:
Tip # 4: Hack For Crocheting Straight Edges in Single Crochet
Another hack for crocheting straight edges is to work a single crochet stitch into the first stitch after you've turned your work to work on the next row. Then when you get to the end of the row, you work a single crochet stitch into the last single crochet stitch of the previous row, not into the turning chain.
Check out this post where I show you how to crochet straight edges step-by-step:
Here's a video to demonstrate this tip:
Tip # 5: Hack For Crocheting Straight Edges in Double Crochet or Taller Stitches
When you're working a project using double or trebble crochet stitches, you might find that your edges are uneven and have holes in them. This is absolutely normal if you use the traditional way of chaining 2 & turning your work (which you might find written in a crochet pattern), so you don't need to worry about it if your work turns out this way.
If you feel you'd like to have a cleaner finishing, you might want to try this hack of crocheting two single crochets on top of each other instead of a chain 2. Here's a video tutorial explaining exactly how to do this:
Crochet Tips For Weaving In Ends
This tip is useful when you're working on a project that uses different coloured yarn, or any project where you add on yarn in the middle of a project. It's quite tedious to do the finishing touches to the project after you've spent so much time crocheting all those stitches. Most people dread the thought of having to weave in all the ends to finish off the project, but there are a few tips I can give you to make this process a little easier.
Tip # 1: Crochet OVER Your Ends
Have No Ends To Weave In!
This might sound a little strange, but there is a way to complete a crochet project that uses several colours of yarn WITHOUT having to weave or sew in any ends at all!
What you need to do for this is to work right over your end strands. This means that as soon as you change yarn colours, you hold the previous yarn colour behind and parallel to the new row and make sure you crochet over it for a few stitches.
In a sense, you are encasing that previous strand with your new strand along the back of your work while you continue with your stitches.
Here's a good video tutorial that explains how to do this:
Tip # 2: Crochet WITH Your Ends
Another way to weave in your ends in a very secure way (ideal for blankets) is to work your beginning stitches with the coloured yarn you're changing to.
Let's say you are crocheting a blanket in double crochet. What you do when you change colours is you hold the tail and the working yarn for your first yarn-over, pull it through the first two loops, then drop the tail and yarn-over with the working yarn.
I know this might be a little difficult to understand, so here's a great short video tutorial explaining exactly how to do this:
Tip # 3: Use an Appropriate Yarn / Darning Needle
By using the correct yarn needle, you'll be able to weave in those ends easily. I prefer metal needles, but there are also plastic ones. They come in all different sizes, so just make sure you use the correct size needle for the yarn you're working with and the size of the stitches you'll be weaving through.
Here's a short video tutorial to show you exactly how to sew in your ends of your crochet projects using a yarn needle:
Tip # 4: Use Your Needle Threader
Akh, some yarns are just notorious for splitting! And sometimes, I just can't see well enough to get the yarn through the eye of the needle, especially when working with a thinner yarn.
Instead of wasting your time fiddling around trying to thread your needle, try using a needle threader.
Needle threaders are real time-savers! All you need to do is insert the diamond wire into the eye of your darning needle. Pull your yarn through the diamond wire, and ta daaa! You’re done! 🙂
Here's a simple needle threader you can get from Etsy:
And here's a short video to show you how to thread your needle using a needle threader:
Tip # 5: No Needle? No problem!
Sometimes, if I don't have a needle at hand, what I do is I knot the end strands together a couple of times. This method is not ideal, but at least it ensures the end stitches don't come loose. Then I use my crochet hook to go in and out of a couple of stitches of the same colour, back and forth, similar to what I'd do if I had a yarn needle.
Tips To Reduce Pain While Crocheting
Tip # 1: Stretch
As you crochet, you might notice some tension slowly starting to build up in your fingers, arms, elbows, neck and back.
This can't be a good thing, so you should take note of it and do something about it right away.
When you feel pain in your fingers, take a break and do a few simple hand stretches so your muscles loosen up.
Be gentle and don't overstretch yourself! You could cause further injury!
Here's a video to show you some simple hand stretches ideal for crocheting:
Tip # 2: Positioning & Support
It's always a good idea to use pillows or blankets to support your back and arms while crocheting. Make sure you maintain good posture and don't slump on the couch or sofa while you crochet.
Try to use both of your active & passive hands equally to avoid straining one hand more than the other.
Shift your body forward, lean forward and make sure you have a straight back as you crochet. It's a good idea to also shift the position of your legs every few minutes as you crochet.
Tip # 3: Take Breaks
If you feel pain while crocheting, it might be a good idea to give your hands, shoulders and whatever part of your body that's aching, a well-deserved rest. Get up, move around and take breaks.
Tip # 4: Use Braces & Compression Packs for Support
Some really helpful tools that are easy to use are braces or compression packs that help stop the pain.
Tip # 5: Use Ergonomic Crochet Hooks
There are some great ergonomic crochet hooks that are easier to hold than regular thin crochet hooks and therefore reduce the pain that might be caused from crocheting for a long time.
These ergonomic crochet hooks come in a variety of styles and some of my favourite are the handmade ones made of art resin. They can be customized to suit your desires! You can fill the handle with dried flower petals or even write someone's name on the hook and give it as a gift 🙂
Tip # 6: Don't Ignore Your Crochet Pain!
The best thing to do if you notice recurring pain while crocheting is to speak with your medical professional and let them show you some stretching exercises that could relieve your pain.
So there you have it! A few tips & tricks that'll help you with your crocheting. I hope you found them helpful and please do let me know if you have any questions in the comments below.
If you are completely new to crochet, you might want to have a look at this Beginner's Guide for some helpful tips.
Happy crocheting!
