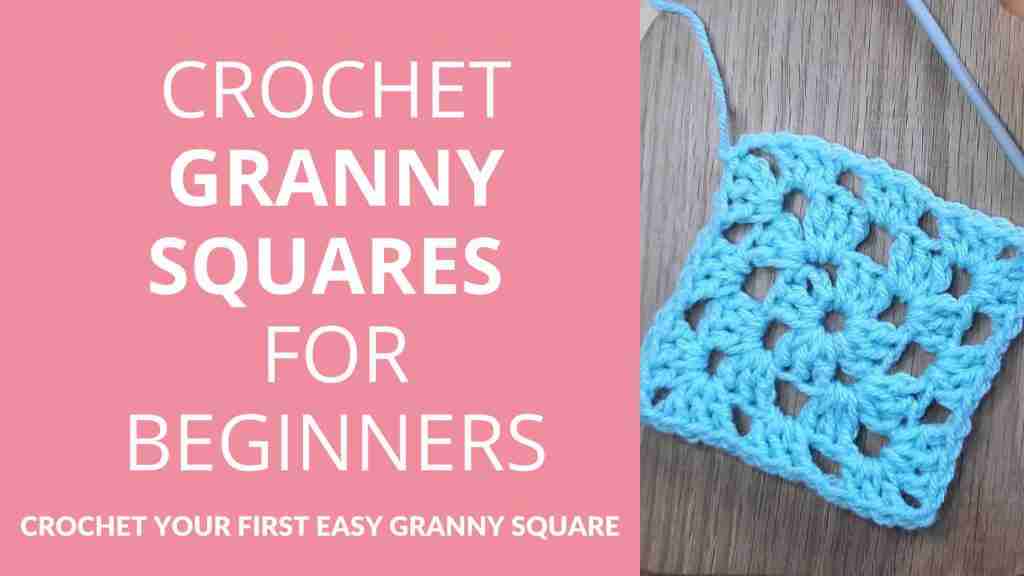
Crochet Granny Squares For Beginners (Written & Video Tutorials + Printable Diagram)
Crochet Your First Easy Granny Square
Crochet granny squares are ideal for beginners because they are super easy to crochet and they take very little time per piece.
They are such a classic style of crochet, you'll find them both in vintage and modern crochet patterns.
Crochet granny squares have a very simple composition, made up of clusters of double crochet (dc) stitches.
Once you've made a few Granny Squares, all you gotta do is join these lovely granny squares to create just about anything you can imagine: hats, sweaters, cardigans, baby blankets, large blankets, bags, dresses, pants, shorts, pillow covers, mason jar cozies, you name it!

The great thing about Crochet Granny Squares is you can carry them with you whenever you're out. Even if you're working on a large project like a crochet blanket, you don't have to carry the whole project along with you. Just the Granny Squares you're working on and then join them all together at home.
Crochet granny squares come in a variety of different designs, shapes and sizes, but for this tutorial, I will focus on the classic granny square for a start. If you want to see how to make colorful granny squares, have a look at this post:

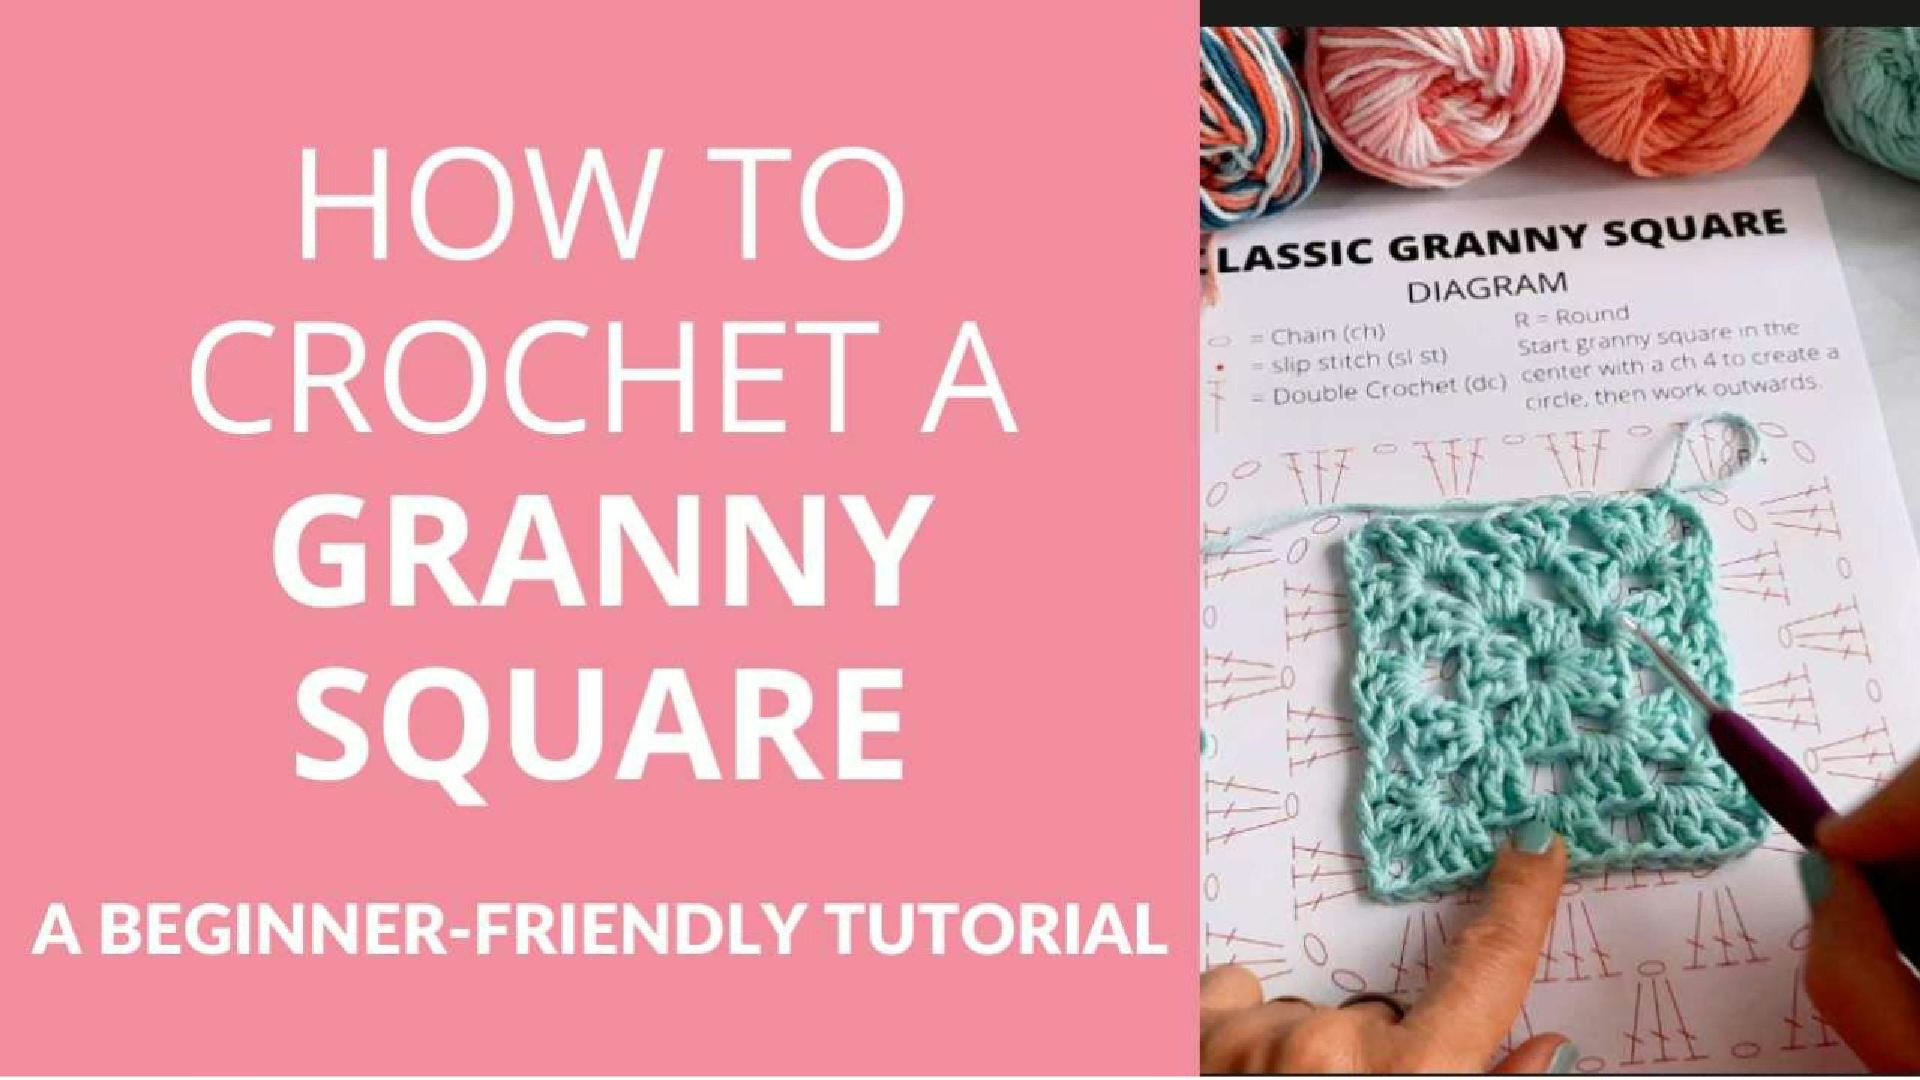
I've prepared a crochet granny square digram for you to make it easier to visualize how exactly the stitches are placed. You may print it out and keep it in your crochet binder for future reference.
You will also find a list of frequently asked questions at the end of the tutorial. If you have any questions that I haven't answered there, please drop me a comment below.
Disclaimer: This post contains affiliate links, which means I receive a small commission, at no extra cost to you, if you make a purchase using the Start Crochet links. Please see my disclosure for more details.
Crochet Granny Square For Beginners: Tutorial
What You’ll Learn
- How to crochet a Classic Granny Square in one colour (for beginners)
- Three ways to join you Granny Squares so you can make your projects come to life.
- Some project ideas for your Granny Squares
- Answers to Frequently Asked Questions about crochet Granny Squares

Materials Needed
- Some classic worsted weight yarn (colors of your choice). Any yarn would do really, just make sure it's not hairy or fuzzy.
- Crochet hook that fits your yarn. Generally I use between a size G/4mm to H/5mm hook.
- A tapestry needle
- A pair of scissors

Abbreviations
- mc = magic circle
- ch = chain
- dc = double crochet
- sl st = slip stitch
- sp = space
- ch sp = chain space
Skill Level
Beginner
Are you just learning how to crochet? Have a look at these awesome crochet kits, perfect for beginners! I wrote a complete hands-on review on The Woobles Kits for you 🙂

Gauge
Gauge: A Granny Square of 4 rounds = 4 1/2”•
Note: Gauge is not really that crucial for most granny square projects (unless you're making wearables!). Just try experimenting with different hook sizes to get a gauge you are happy with for the project you are working on.
Notes
- This Granny Square is worked in the round from the center outwards.
- You will work your stitches into the chain spaces, not the tops of the stitches of the previous rounds.
- The ch 2 at the beginning of a round counts as a double crochet stitch.
- I use US crochet terms. Here's a US/UK Conversion Chart
US vs. UK Crochet Terms & Symbols
Free Printable

Your info is 100% secure and will never be shared.
Crochet
Granny Square Diagram / Chart
Free Printable

Crochet Granny Square Video Tutorial
Written Instructions For Classic Crochet Granny Square (Single Colour )
There are actually several ways to crochet a classic Granny Square, but I find this one the easiest and most straight forward. Here we go:
- Start off by tying a slip knot, then Ch 4. You could also try the Magic Circle for a tight & closed center.
- Join to the first stitch with a slip stitch to form a circle.
Round 1:
- Ch 3 (counts as your first double crochet)
- 2 dc into center of circle, ch 2, (3 dc into center of circle, ch 2) repeat brackets 2 more times
- Join with a sl st to top of first ch 3 at beginning of this round.
You should have 4 clusters of 3 dc at this point and 4 corners (the ch 2 after each cluster creates a corner).
Round 2:
- Ch 3 (counts as first dc, 2 dc into same corner space, ch 2, 3 dc into same corner space, ch 1 (This is a corner cluster)
- * skip to the next corner space (big hole) and work (3 dc, ch 2, 3 dc, ch 1) into that space.
- Repeat from * 2 more times (one in each corner space)
- In the final corner, work 3 dc, ch 2, 3 dc, ch 1 and join with sl st to top of your beginning ch 3 (remember that chain 3 counts as a dc stitch).
Round 3:
- Ch 3, 2 dc into same space, ch 1,
- * Skip to corner space (in corner space work 3 dc, ch 2, 3 dc, ch 1
- Skip to next ch 1 space and work 3 dc, ch 1)
- Repeat from * 3 times
- Work final corner, ch 1 and join with a sl st to the top of ch 3.
Round 4:
- Continue Round 4 the same way.
- Ch 3, 2 dc into same space, ch 1,
- Skip to next ch 1 space and work 3 dc, ch 1
- When you get to the next corner space, work a corner cluster (3 dc, ch 2, 3 dc, ch 1) and continue around your Granny Square repeating the clusters.
- When you're done with your Granny Square, take a tapestry needle and weave in your ends for a clean finished look.
- You might also want to create a border along the edges of your Granny Square. You could experiment with different colours and different stitches. You could use the sc (single crochet stitch) for a neat and easy border.
You can continue more rounds until you have a large Granny Square which you could turn into a sweater, cardigan, pillow cover or blanket.
The other option would be to make a lot of smaller squares (in different colours perhaps) and join them together to form the project you want.

Frequently Asked Questions:
I'll answer some of the questions people ask most about crocheting Granny Squares like:
How to crochet Granny Squares?
Granny squares are fairly easy to crochet so they make for ideal crochet projects for beginner crocheters.
All you need is some yarn (some leftover yarn will do), a corresponding crochet hook and a pair of scissors. You may follow the instructions above to make your first Classic Granny Square using a single colour of yarn.

How to crochet a Granny Square blanket?
Granny square blankets are very popular these days! Just have a look on TikTok to see what I mean!
All you need for these blankets is to crochet a given number of Granny Squares (as indicated in the pattern you are following), then join them together and add a border to finish off your beautiful Granny Square Blanket!
Here's a photo of my daughter when she was just born. I had just learned how to crochet while I was pregnant with her and made her this Granny Square baby blanket to wrap her in.
I added a single crochet border to it to give it a finished look. This is one crochet baby blanket I will surely treasure forever!

How can crochet granny squares be joined?
There are several ways you can join crochet granny squares. You can either use a yarn/darning needle or a crochet hook to join them.
Option 1: whip stitch with a darning / yarn needle:
Do a whip stitch by holding 2 Granny Squares together right sides together and stitching along each stitch till you get to the end of one side and then connect another two Granny Squares and continue with your whip stitch.
Here's a good video tutorial by Bev's Country Cottage where she demonstrates how to join your Granny Squares using the Whip Stitch.
Option 2: sc join with crochet hook:
With this method, you'll be joining your crochet Granny Squares using the sc (single crochet) stitch going through the spaces between your (dc) double crochet stitches you formed as part of your clusters. Have a look at this tutorial below where Bella Coco shows exactly how to do this easy joining method.
Option 3: sl st with crochet hook:
Place 2 squares together, right sides facing each other. You will see 2 sets of front and back loops along the edge you are joining (the little v's on the top of your stitches).
Make a slip knot with your yarn and insert hook into the 1st and 4th loops, or in other words, the front loop of the front square, and the back loop of the back square, then hook onto your slip knot from behind the Granny Squares.
Start to slip stitch from the right hand side of your Granny Squares and continue to sl st across towards the left until you reach the end of that side of the two squares.
Continue by adding another set of squares next to the first. Connect them by continuing your slip stitches along the tops of these Granny Squares until you reach your desired number of Squares to give you the length required for your project.
Once you're done with one side, you'll turn your work 90 degrees and repeat the process to join all sides of all your Granny Squares. Best to work in "columns" and then "rows" so to speak.
Here is a video tutorial where Bella Coco shows you exactly how to join your crochet Granny Squares using the sl st (slip stitch).
How long does it take to crochet a Granny Square?
It takes me about 6-7 minutes for a 4-round crochet granny square of one colour. If I change colours after each round, I'd have to add a couple of minutes to that. But in general, I'd say it would take about 10 minutes per 4" * 4" Granny Square.
Are there crochet Granny Squares with flowers?
Yes! There are some beautiful Granny Squares with flower patterns like the Daisy Granny Square, Sunburst Granny Square, the African Flower Granny Square or the Crochet Rose Granny Square.
There are really all kinds of flowers you could incorporate into your Granny Squares that would make your project look super interesting or even 3-dimentional.

The Last Thing You Need To Know About Crochet Granny Squares
As you can see, crochet Granny Squares are super simple to make. In this tutorial, I hope you were able to learn how to crochet single-colored Granny Squares and how to join them for a Granny Square crochet pattern of your choice.
Once you've mastered this plain classic granny square, you should venture into more colorful ones and from there, try different styles of granny squares like themed squares for different occasions like Christmas or Halloween, or ones with flowers as I showed you above.
Granny Square Project Suggestion
How about starting with this easy crochet Granny Square baby blanket pattern? It is is super simple & beautiful and you can take part in this exciting crochet-along with Edie Eckman!
I hope you enjoyed this Crochet Granny Square tutorial. All you need to do now is practice and you'll get the hang of it pretty quick!
Let me know if you have any questions and...
Happy crocheting!
Let's Keep in Touch :)
You May Also Like

About the Author
May
Follow me on socials here: