
How to Crochet A Flat Snowman
Easy Snowman Appliqué Crochet Pattern With Printable
Christmas Gift Tags
Looking for a simple snowman crochet pattern?
If you're anything like me, it's about this time every year that I think of what I could crochet as a cute little addition to the handmade Christmas gifts I make. Snowman crochet pattern
This year, I opted for a tiny little snowman appliqué to add to my gift tags.
I wrote up the Snowman Appliqué Crochet Pattern so I could share it with you!
It's one that works up really quick and I think would look really sweet on your wrapped Christmas gifts.

Disclaimer: This post contains affiliate links, which means I receive a small commission, at no extra cost to you, if you make a purchase using the Start Crochet links. Please see my disclosure for more details.

Your info is 100% secure and will never be shared.
Materials
Yarn (small amounts of White, Black, Red & Orange - Worsted weight)
Hook Size: 3.5 mm (size E)
Tapestry needle
Gift Tags: Either blank store bought ones (recycled cardstock would be nice!) or you can print the ones I designed for you here on some nice cardstock.
Are you just learning how to crochet? Have a look at these awesome crochet kits, perfect for beginners! I wrote a complete hands-on review on The Woobles Kits for you 🙂

Finished Size
The finished size of this snowman will be H:7.5cm x W:3.5cm (H:2.9 inches x W:1.2 inches) & should fit perfectly onto your printed gift tags
Gauge
3 rounds = 3.5cm (1.2 inches)
Difficulty Level
Beginner
Like this pattern, but not ready to work it yet? Save it to Pinterest!
Abbreviations (US Terms)
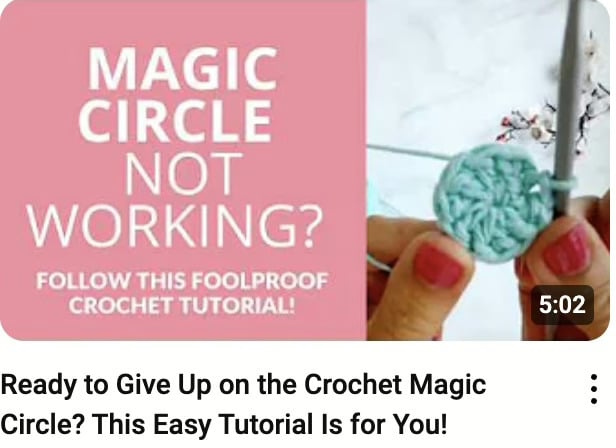
Magic Circle: If you don’t yet know how to make a Magic Circle, have a look at this post to learn how.
Ch = Chain
Sl St = Slip Stitch
SC – Single Crochet
French Knot (optional) (If you’d like to learn how to make a French Knot, watch this tutorial here).
Stitch How-To Instructions
Instructions for Ch (Chain):
Bring the yarn over the crochet hook from back to front and hook it. Draw hooked yarn through the loop of the stitch on your hook and up onto the working area of your hook.
Instructions for SC (Single Crochet):
Insert hook into stitch, yarn over, pull the loop back through the stitch (you now have two loops on hook), yarn over again and pull through both loops on hook (note: this is equivalent to the UK Double Crochet (DC) stitch). You may see the US/UK conversion sheet below.
Instructions for Sl St (Slip Stitch): Insert hook, yarn over, pull the loop back through your last stitch AND through the loop on your hook (through both stitches).
Instructions for Fastening Off: After the last stitch of the last round, cut the yarn, leaving a 6-inch end. Draw the cut end of your yarn completely through the stitch & pull to tighten knot.
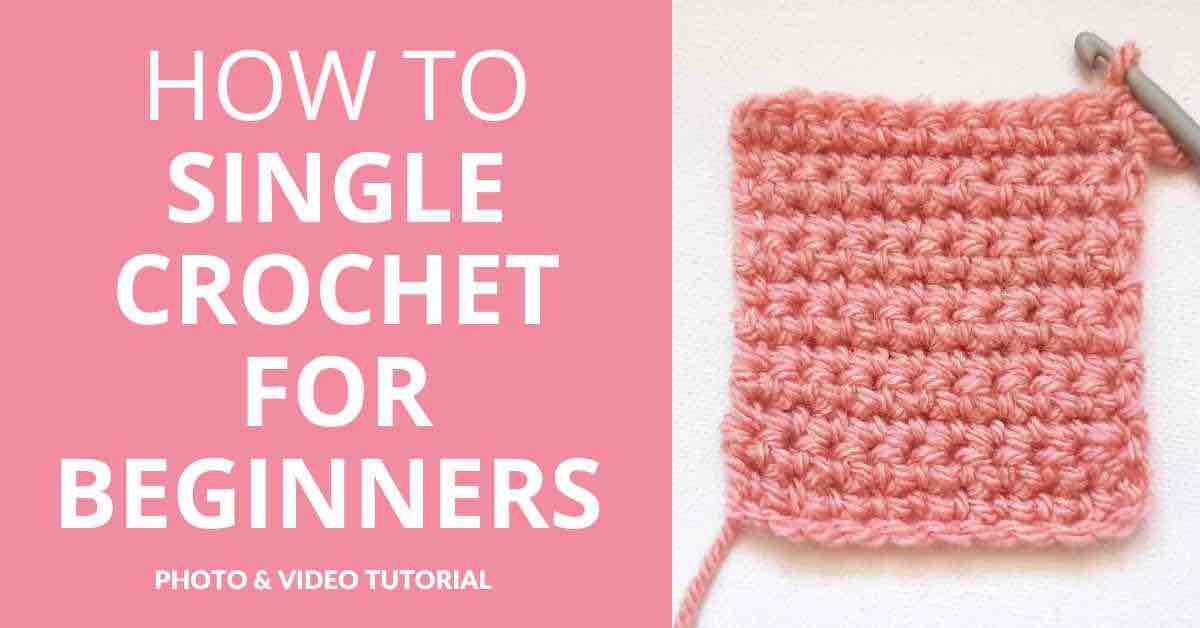
Here you can get more clarity on how to crochet a flat circle with a single crochet stitch.
US vs. UK Crochet Terms & Symbols
Free Printable

Your info is 100% secure and will never be shared.
Notes
- Pattern is written in US crochet terms
- If you need more detailed instructions on how to work the required stitches, check out these video tutorials on my YouTube Channel.
- You can make the pattern larger or smaller by changing the type of yarn and/or hook size.
- Numbers at the end of each round [in brackets] indicate the number of final stitches in that round. Be sure to double check your stitch counts at the end of each round to ensure you get the snowman size correct.
- The head and body of the snowman are not worked in a continuous spiral circle. The Ch1 in each row does not count as a stitch. This little Ch1 serves as a visual marker only to help you keep track of the starting place of each round.
Snowman Crochet Pattern Instructions:
Snowman Head: (White Yarn)
Start off with a Magic Circle, Ch 1 (this Ch 1 does not count as a stitch)
Alternatively, you can chain 3, then slip stitch into the first chain to form a ring.
Round 1: 6 SC in Magic Circle (or ring), Sl St into first SC, pull tail tight to close center hole, (that’s the first proper SC stitch, not the Ch1), (6)


You should be able to clearly see and count the 6 SC stitches you've just made. You will be working out of these stitches in the next round. Make sure you pulled the tail nice & tight to give your snowman a neat finish.
Round 2: Ch 1, then 2 SC in each stitch around, join with Sl St to first SC. (12)

Fasten off and weave in ends.

Snowman Body: (White Yarn)
Start off with a Magic Circle, Ch 1 (this Ch 1 does not count as a stitch)
Alternatively, you can chain 3, then slip stitch into the first chain to form a ring.
Round 1: 6 SC in Magic Circle, Pull tail tight to close center hole/circle, Sl St into first SC (that’s the first proper SC stitch, not the Ch1), [6 SC]
You should be able to clearly see and count the 6 SC stitches you've just made. You will be working out of these stitches in the next round. Make sure you pulled the tail nice & tight to give your snowman a neat finish.
Round 2: Ch 1, then 2 SC in each stitch around, join with Sl St to first SC (pull your Sl St tight so you remember not to work it in the next round [12 SC]
Round 3: Ch 1, [2 SC in next stitch, 1 SC in next], repeat instructions in bracket all the way around, join with Sl St into top of first chain [18 SC]
Fasten off and weave in ends.
Snowman Hat: (Black Yarn)

Tip: Leave long tail to start so you have enough yarn to sew hat onto snowman head later.
Make sure you have good lighting as it’s quite tricky crocheting with black yarn!
Row 1: Make a slip knot on your hook, Chain 8 (8).
Row 2: Slip stitch into 2 stitches, Ch 1 & SC into same stitch (the 3rd stitch), 4 SC, turn (5).
Row 3: Ch1, 4 SC, turn (4).
Row 4: Ch1, 4 SC, fasten off (4).
Use a tapestry needle to sew your snowman hat onto his head.
Snowman Scarf: (Red Yarn)
Row 1: Chain 10 (10)
Fasten off
Lay your snowman head a little overlapped over his body, then lay the scarf on top
Use red yarn & a tapestry needle to sew your snowman scarf onto his head & body at the same time (to join all 3 pieces - head, body & scarf).

Snowman Nose: (Orange Yarn)
Make a French knot in the middle of the snowman’s face. (If you haven’t made a French Knot before, you can watch this tutorial here)
Alternatively, you could just stitch two stitches diagonally at the center of the snowman’s face.
Snowman Eyes & Buttons: (Black yarn)
With your darning needle, stitch two small black eyes to the right & left of the nose.
Create 2 buttons on Snowman’s body by stitching two small stitches above each other with one stitch distance apart.
Now you’ve finished your cute little snowman!!

Next Steps To Complete Your Snowman Crochet Pattern Gift Tags
- Sew in all ends to secure your snowman.
- Cut off excess yarn.
- Print out the Gift Tag Templates on cardstock, Recycled cardstock or whatever reinforced paper of your choice.
- Cut Out the tags along the dotted lines
- Punch a hole on the top of the tags (either with a hole puncher which could be a little tricky to get right, or simply snip a hole with a small pair of scissors)
- Insert a piece of string or jute twine & tie.
- Glue your crocheted snowman in place on your gift tags.
Your info is 100% secure and will never be shared.
Voila! You’re done!!
Ready to deliver those awesome handmade gifts you made for your loved ones this Christmas?!
Thank you so much for your support. Would be great if you could follow Start Crochet & share your finished product on Pinterest, FB or Instagram & tag me (@startcrochet!
I’d love to hear your feedback!!

—--------------------
If you have any questions, please send me an email to admin@startcrochet.com
Happy Crocheting!!
May xx
P.S. If you're looking for some really nice cardstock & twine for your gift tags, you can check out these over here.

Copyright: This pattern is an original pattern by May of Start Crochet. Please do not claim this pattern as your own. If you wish to share this pattern, you may link to this pattern but please do not reprint it on your site. You may keep a copy for your own personal use but please DO NOT sell the pattern or distribute it.
You may sell products made from this pattern but please clearly credit the design to me and provide a link to my blog startcrochet.com. Thank you for being respectful and for your understanding!
Disclaimer: This post contains affiliate links, which means I receive a small commission, at no extra cost to you, if you make a purchase using the Start Crochet links. Please see my disclosure for more details.
Let's Keep in Touch :)
You May Also Like

About the Author
May
Follow me on socials here: