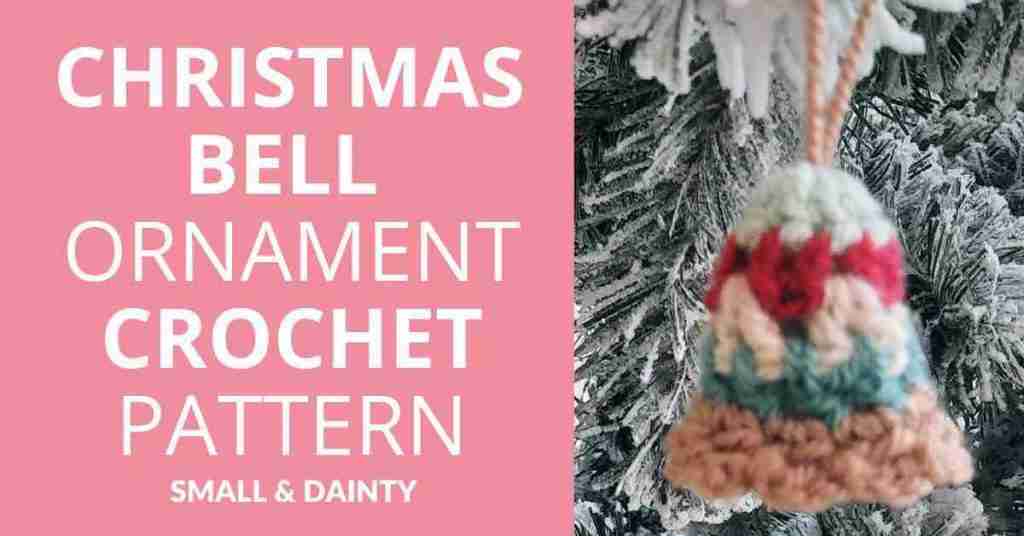
Crochet Christmas Bell
FREE Ornament Pattern
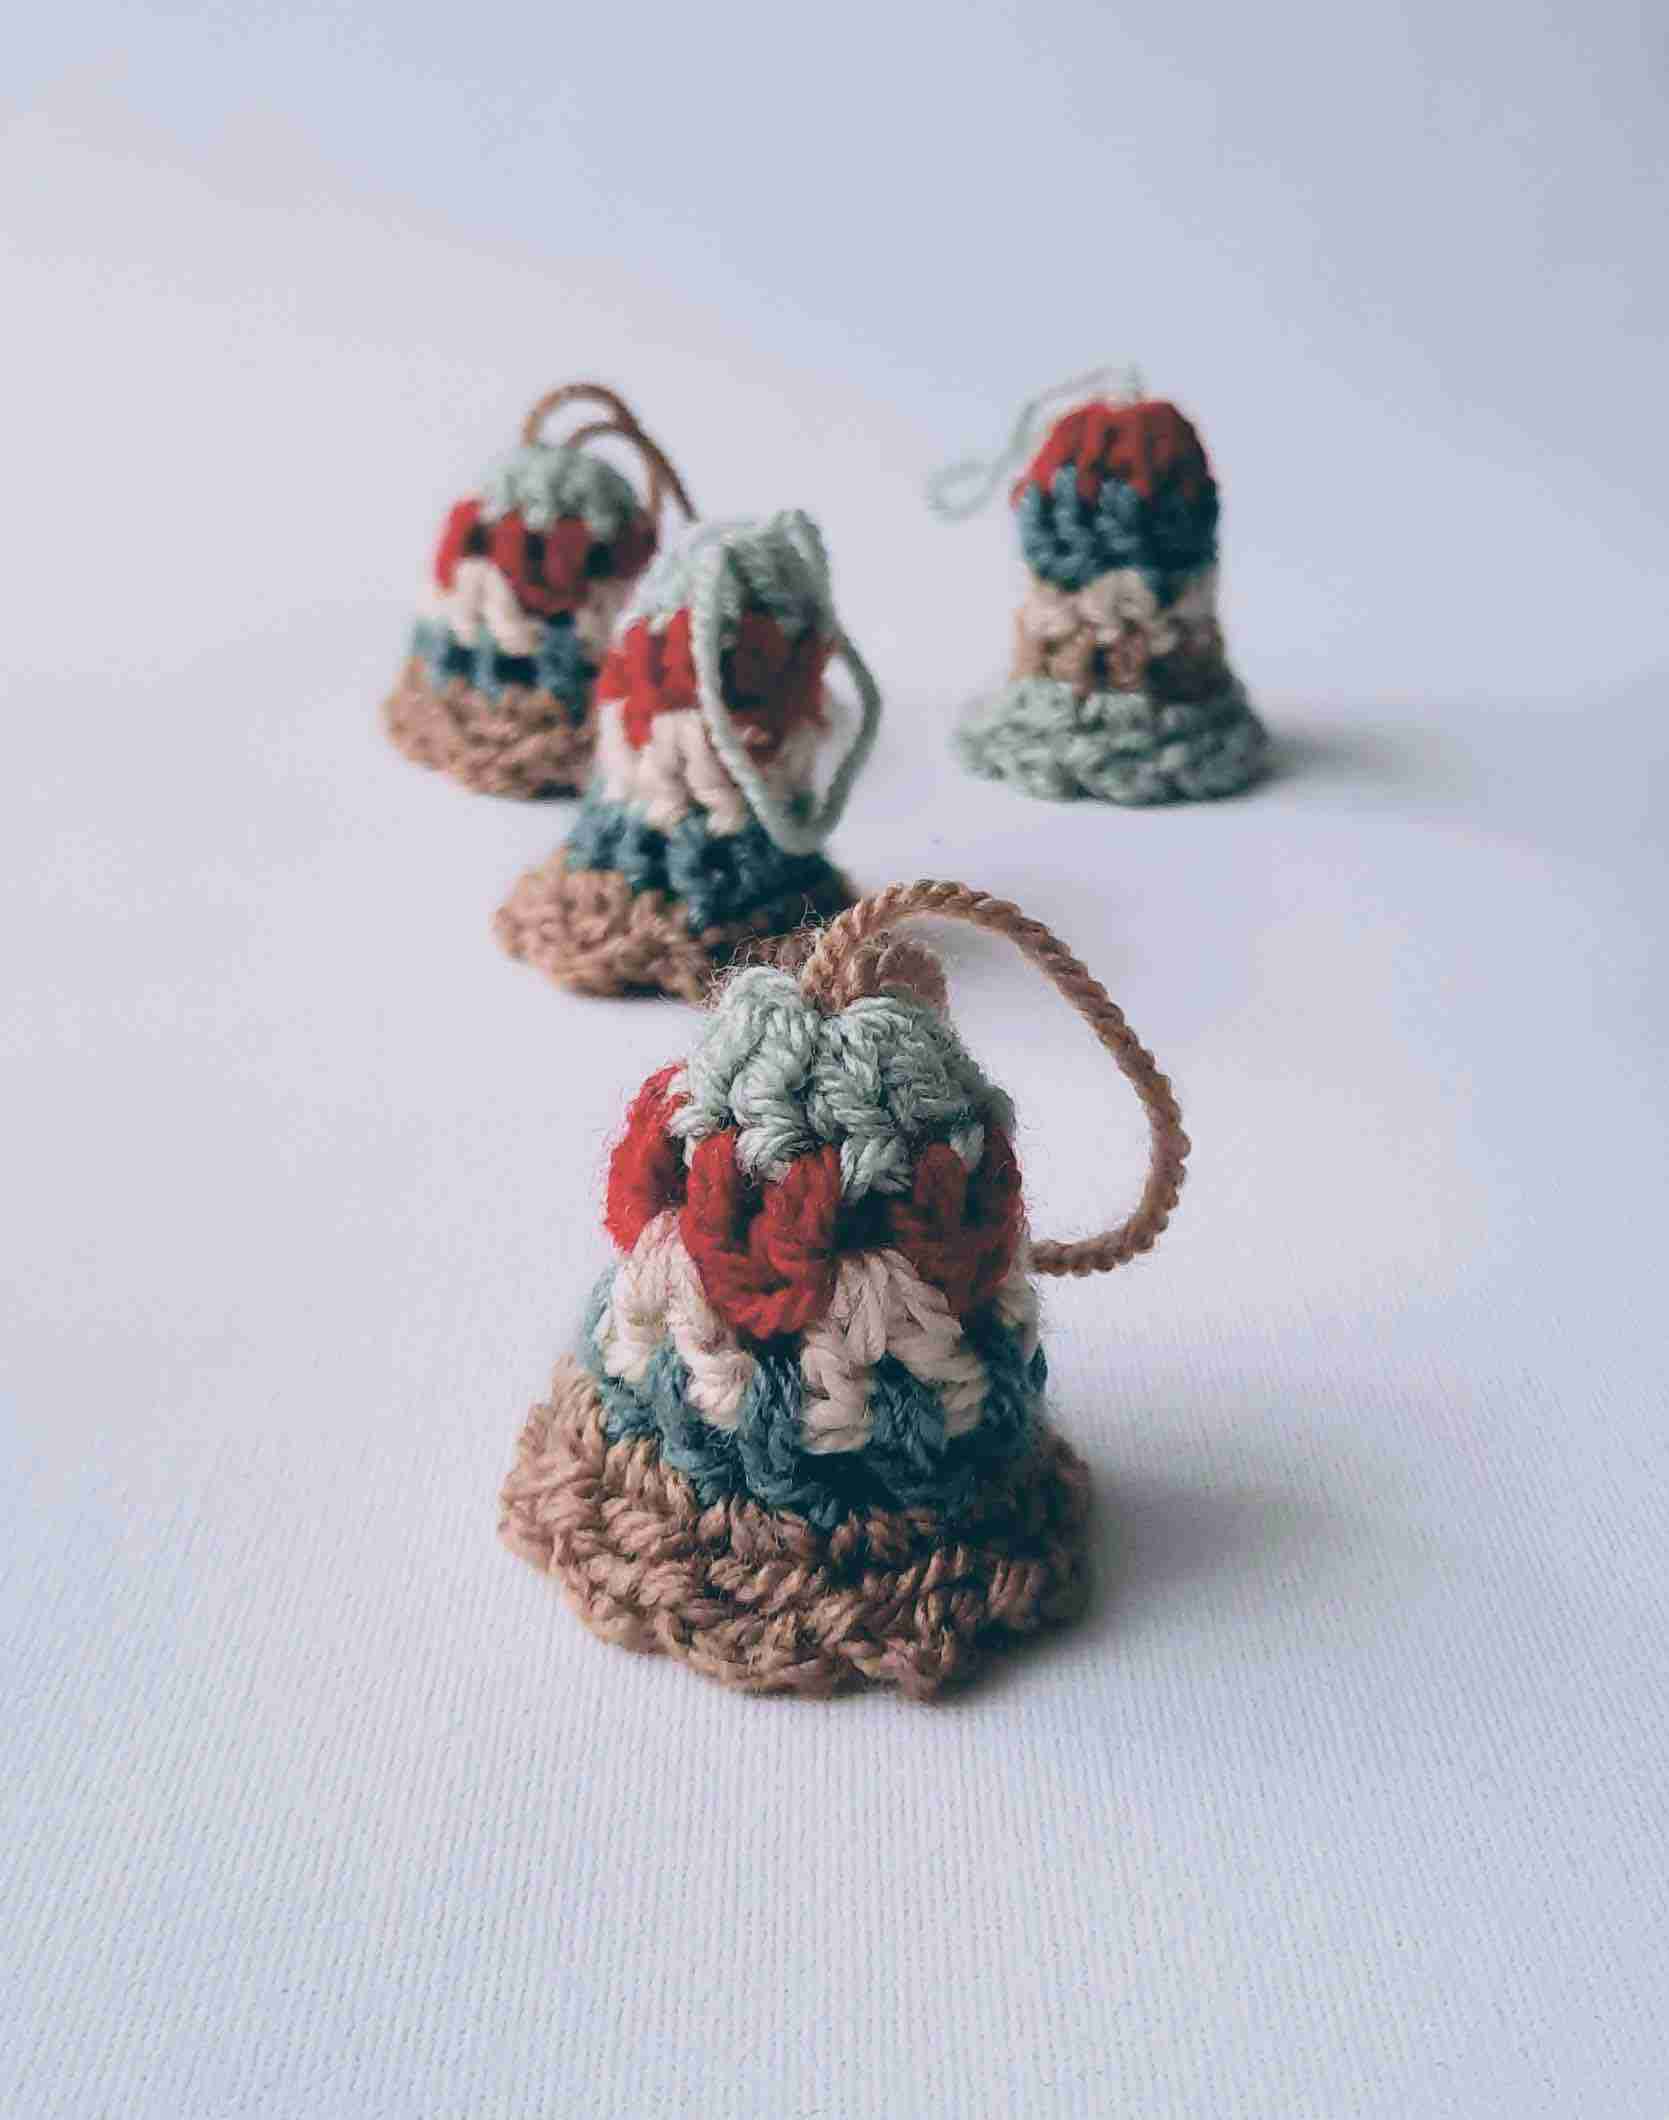
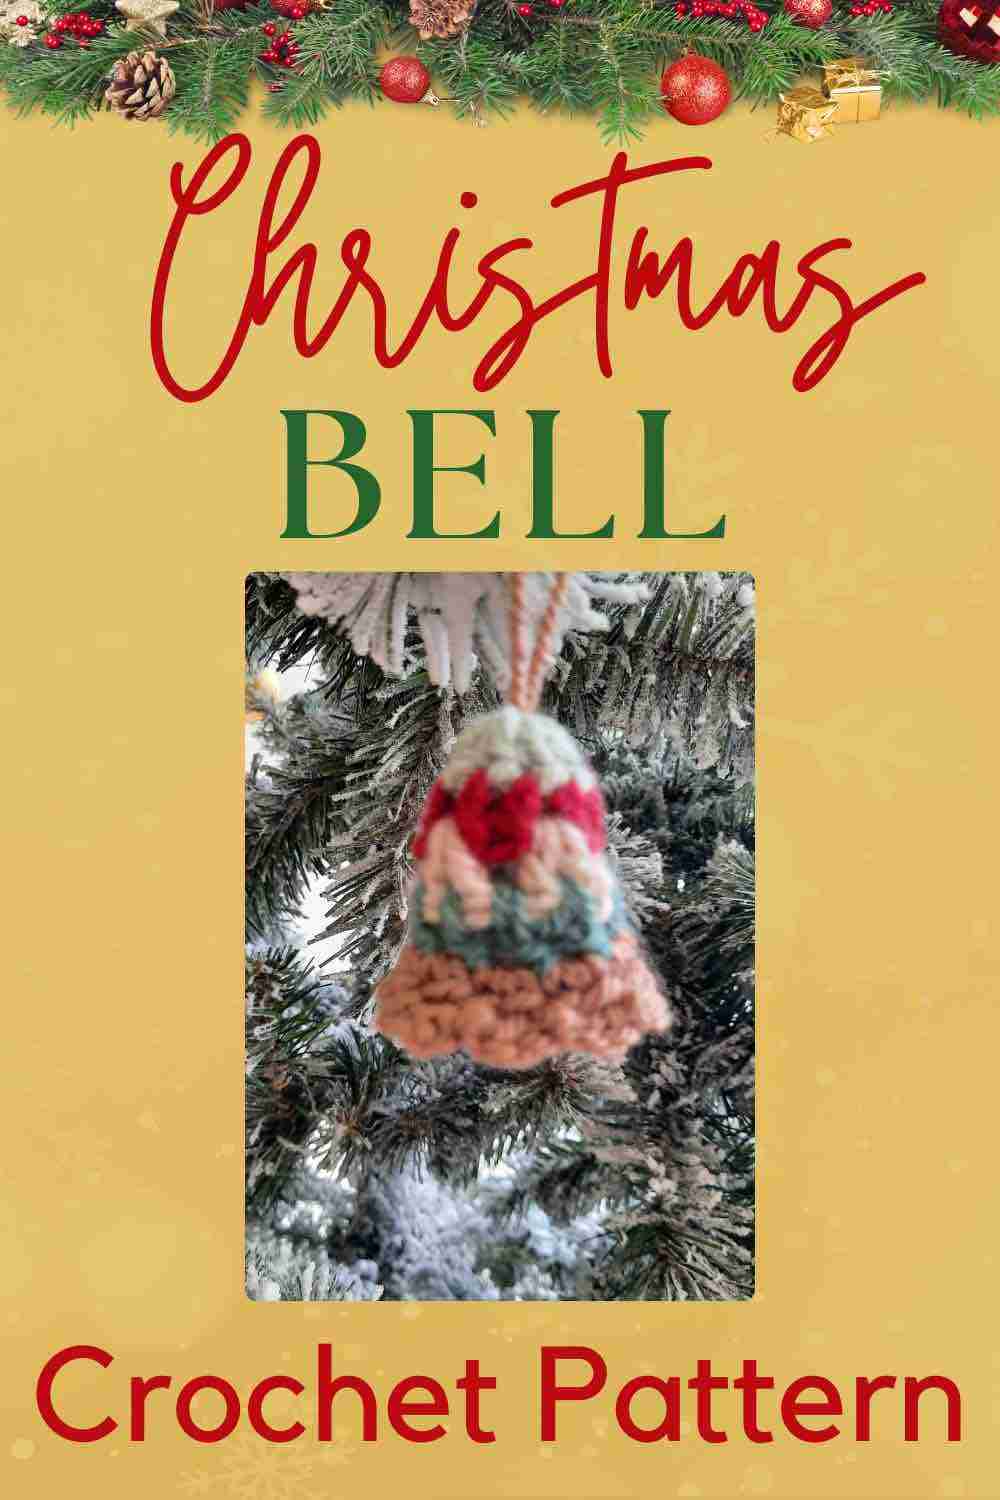
This Crochet Christmas Bell will make a cute addition to your Christmas Tree decor.
You can use it in so many ways, let me show you a few here...
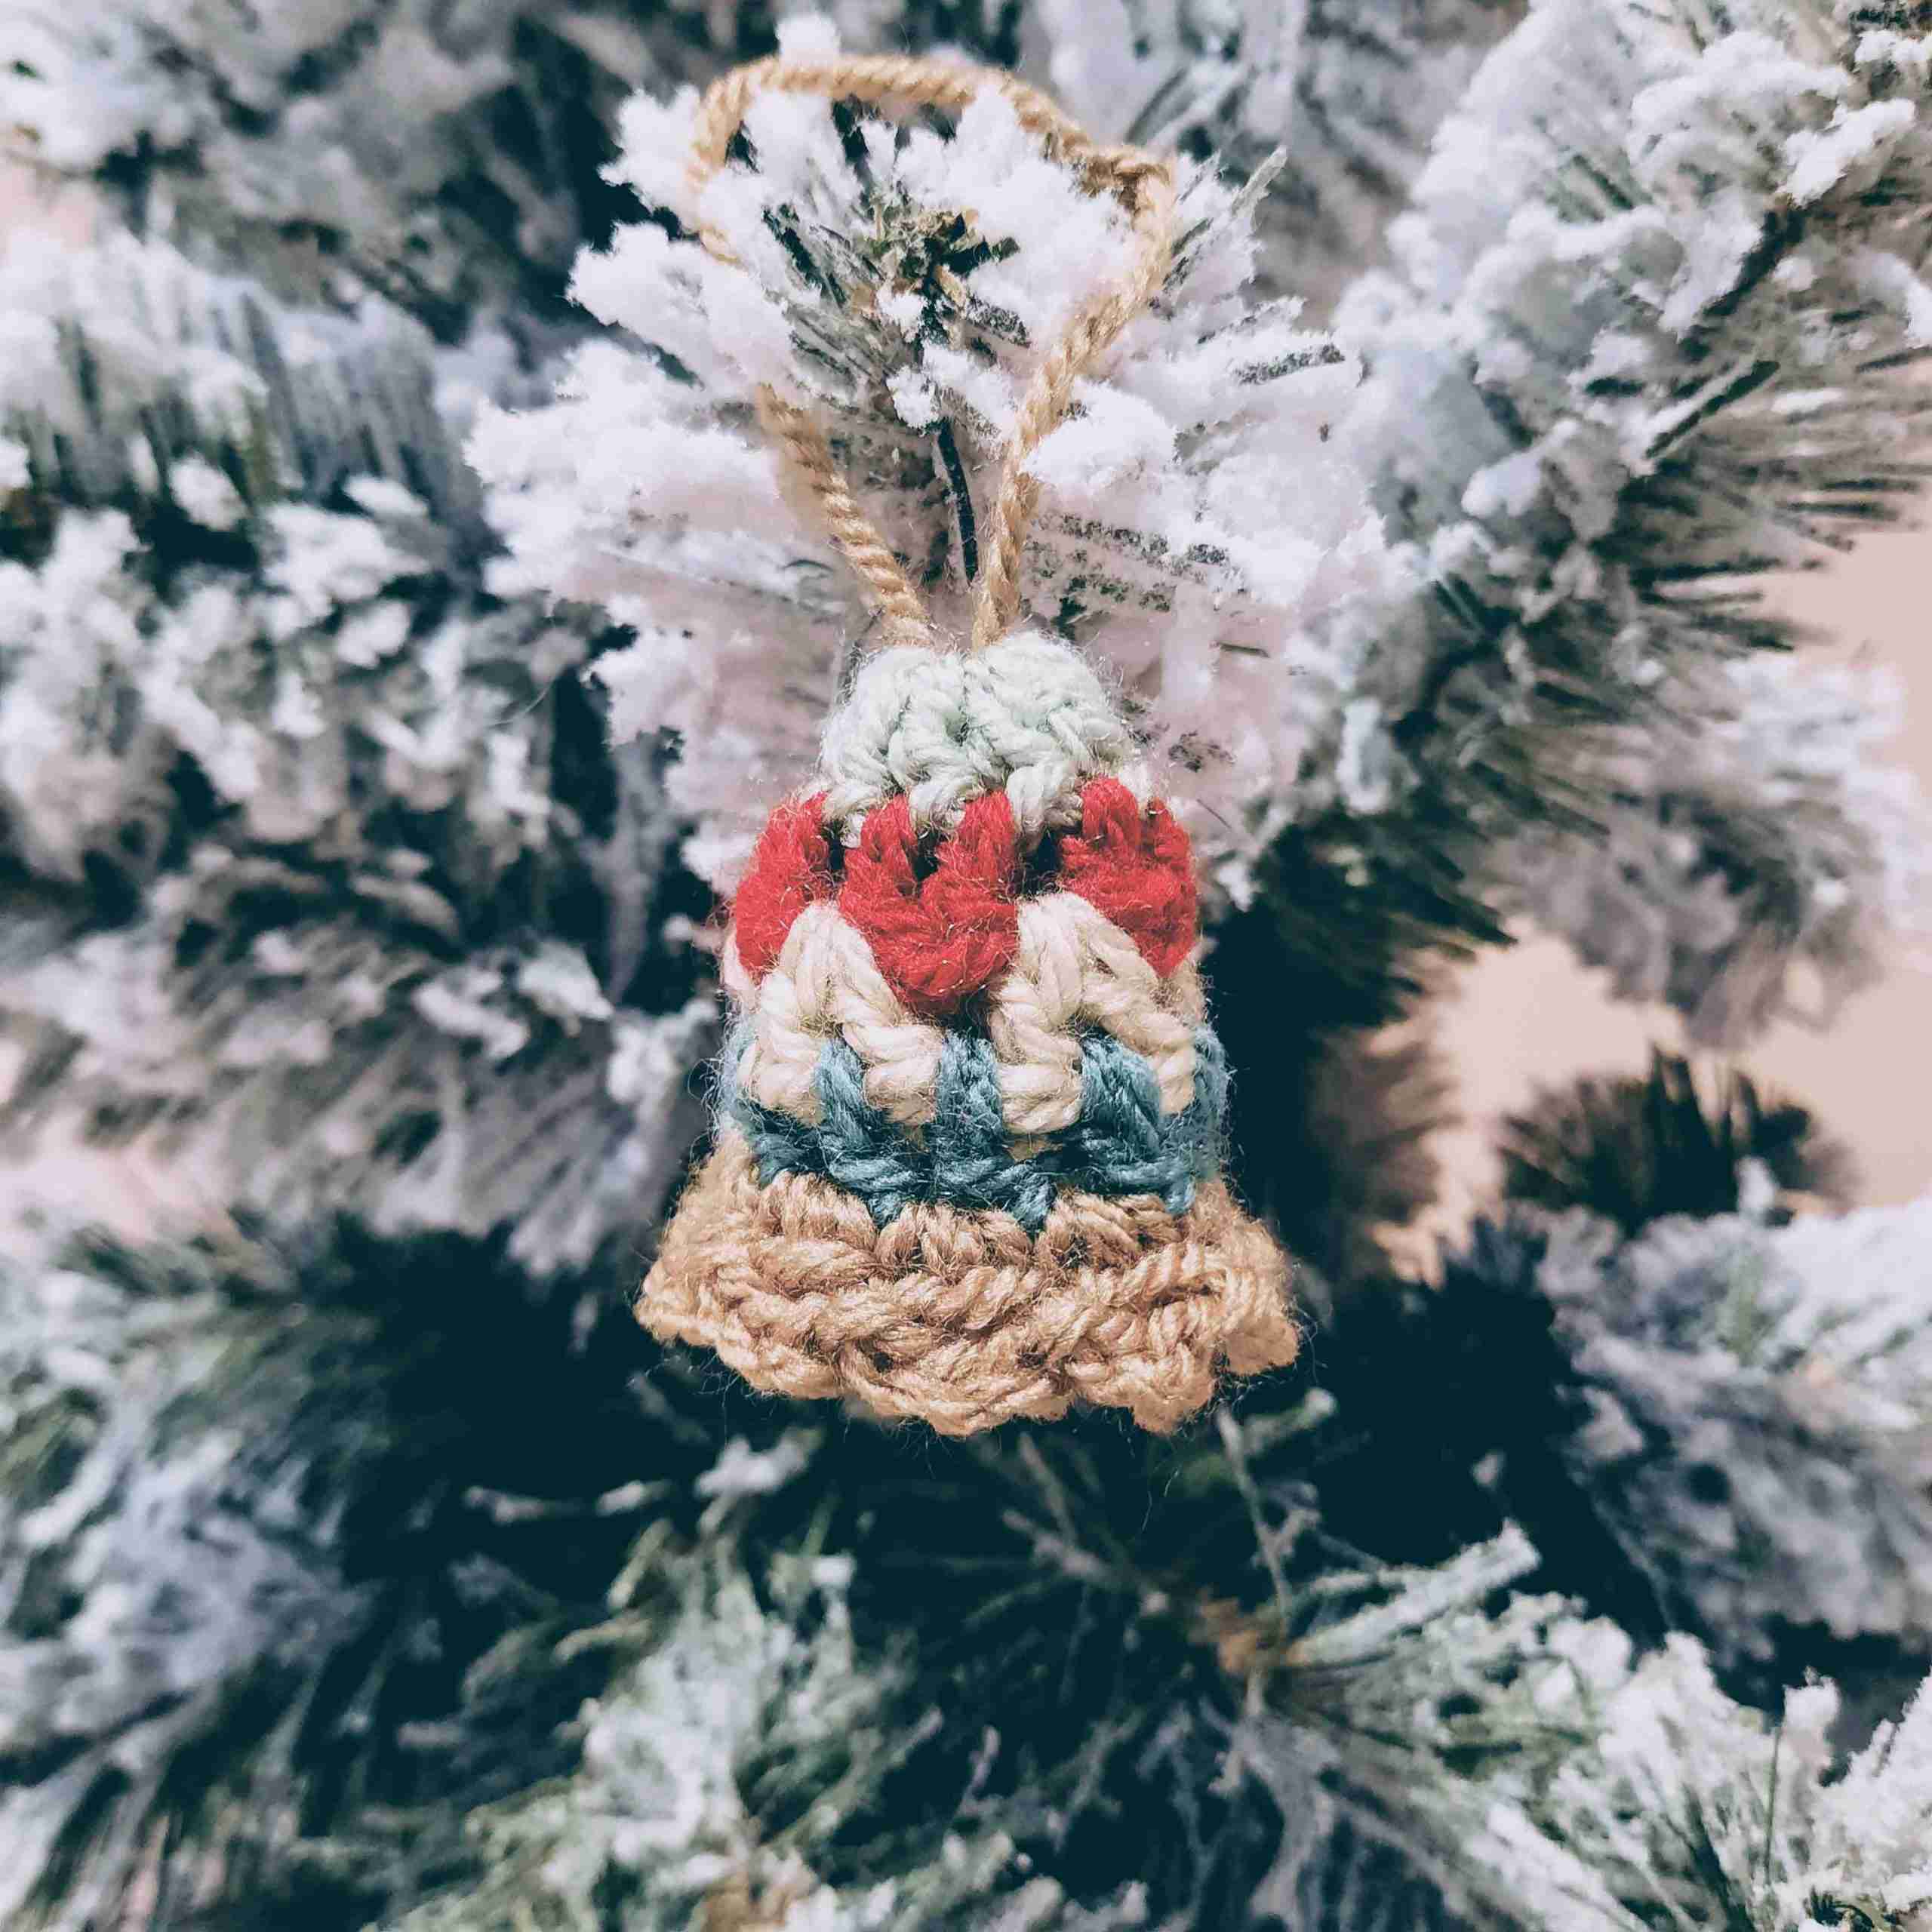
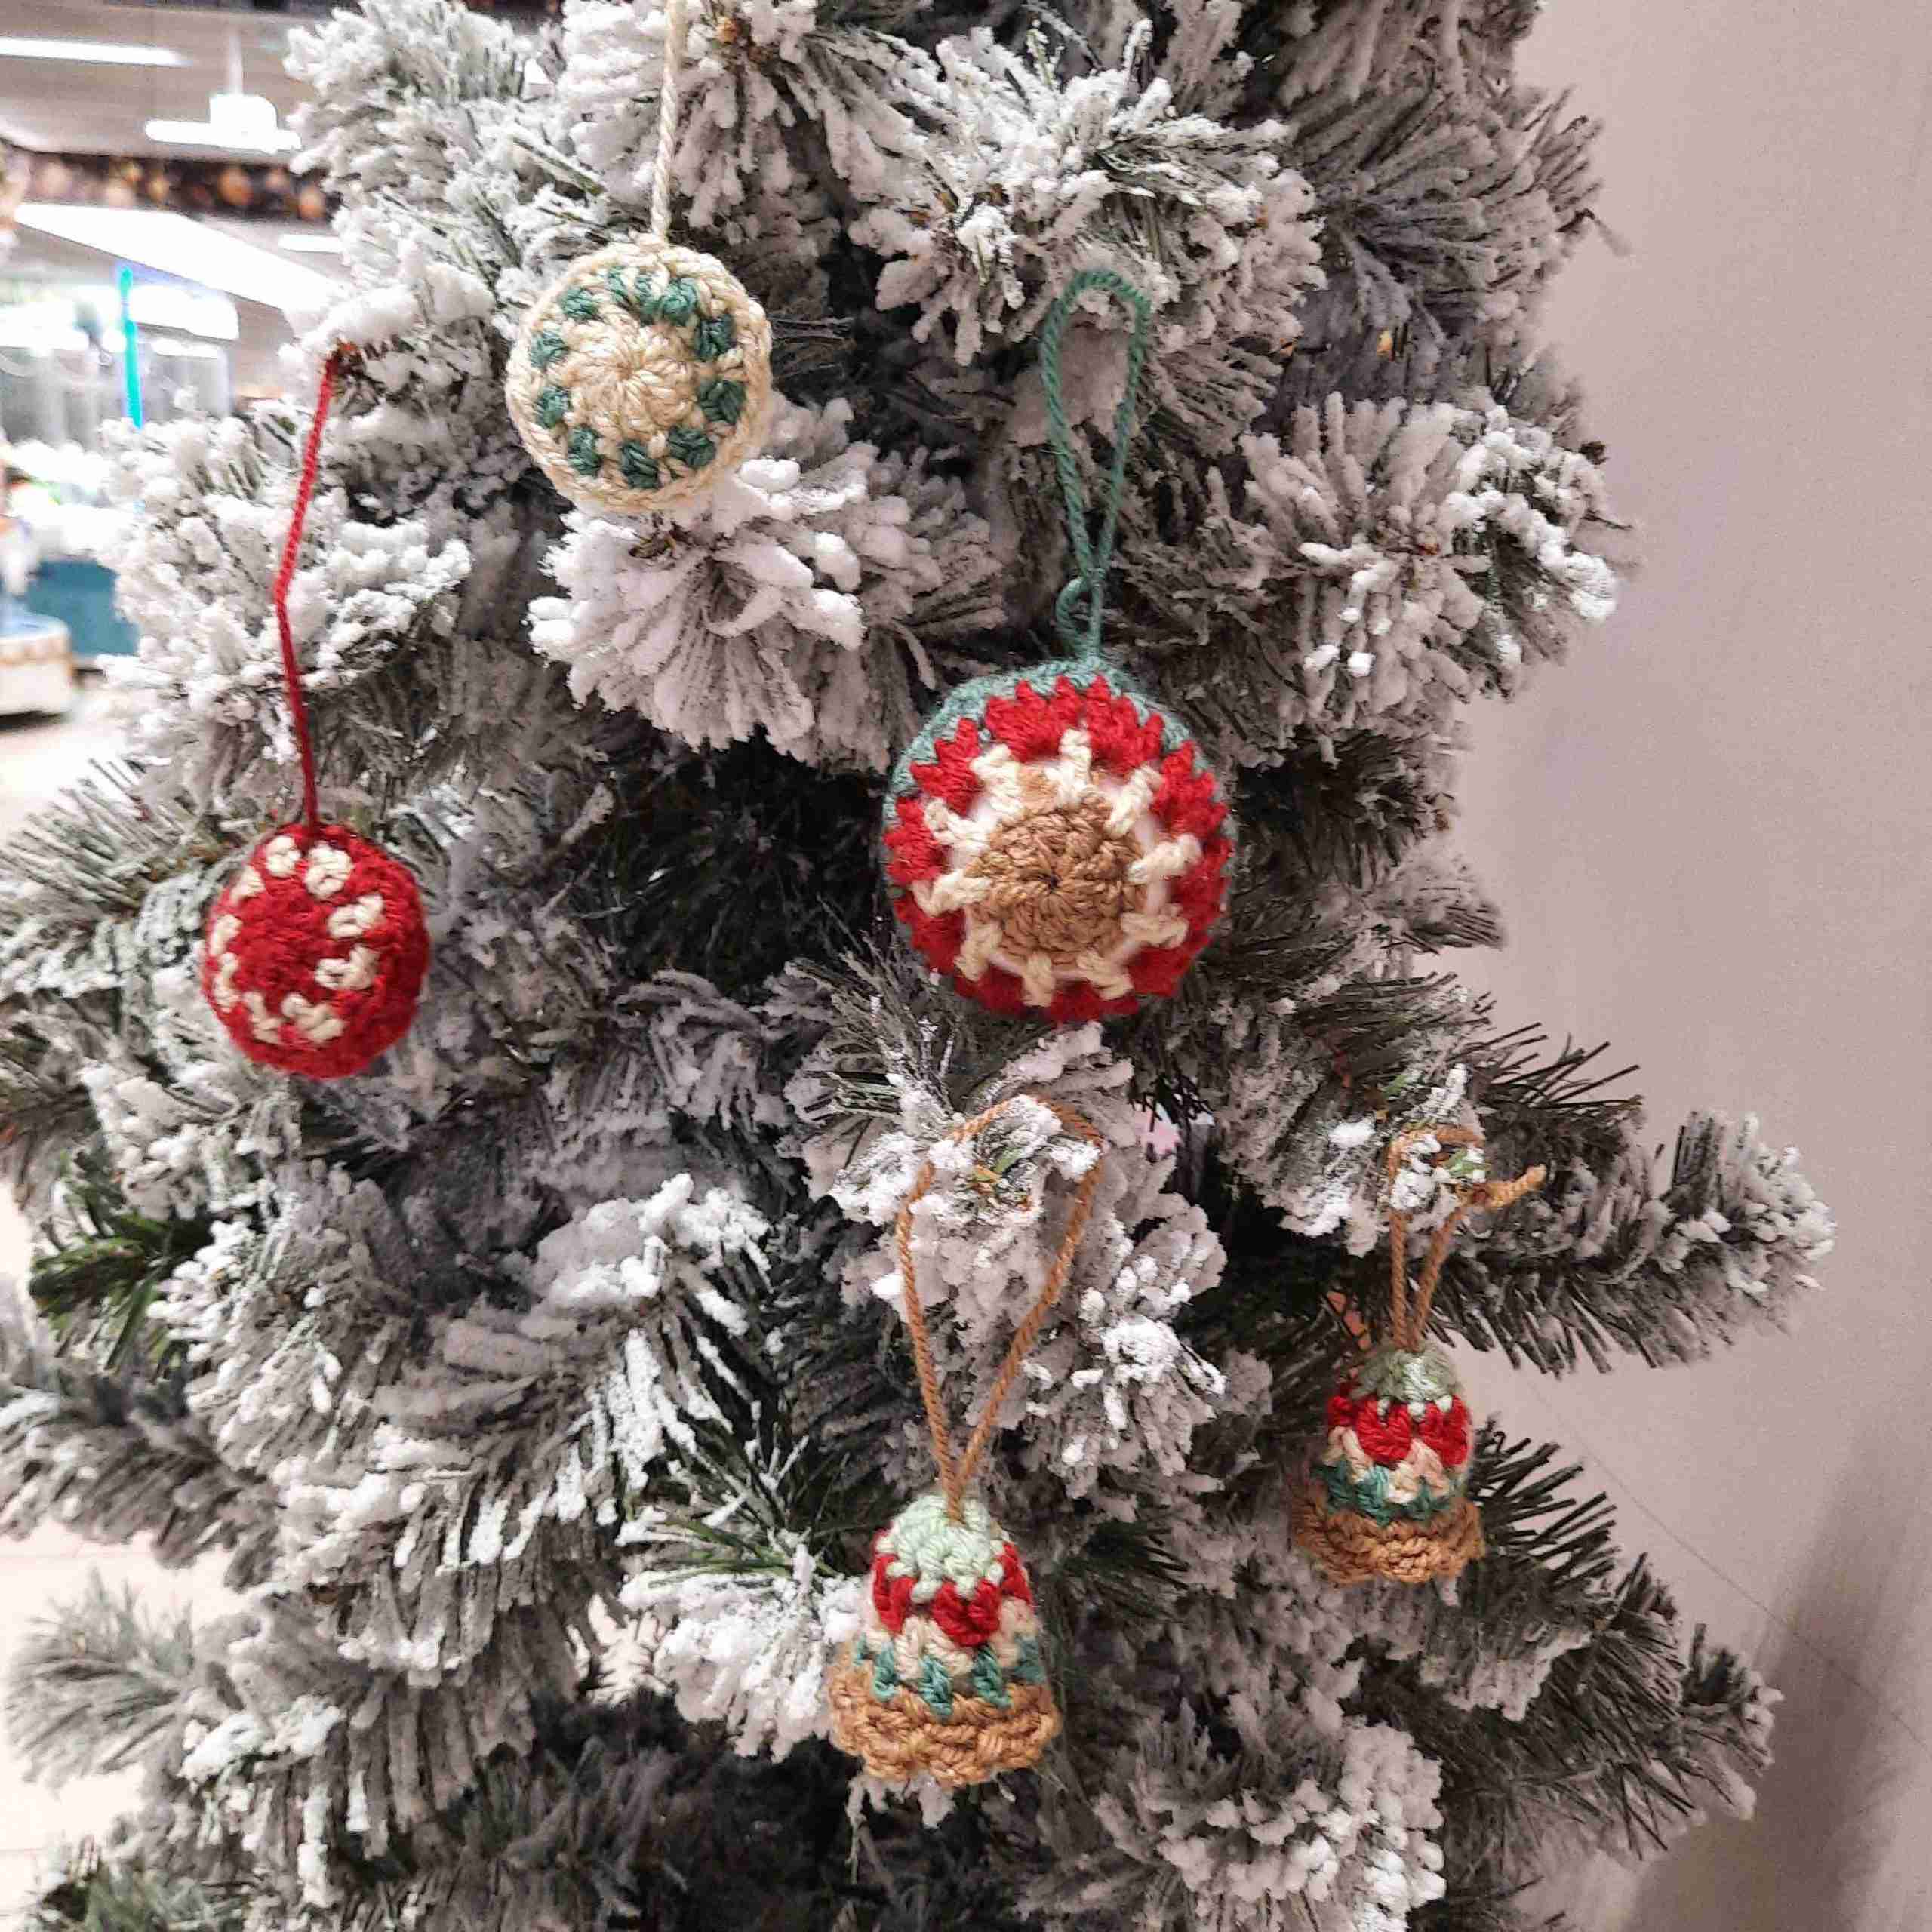
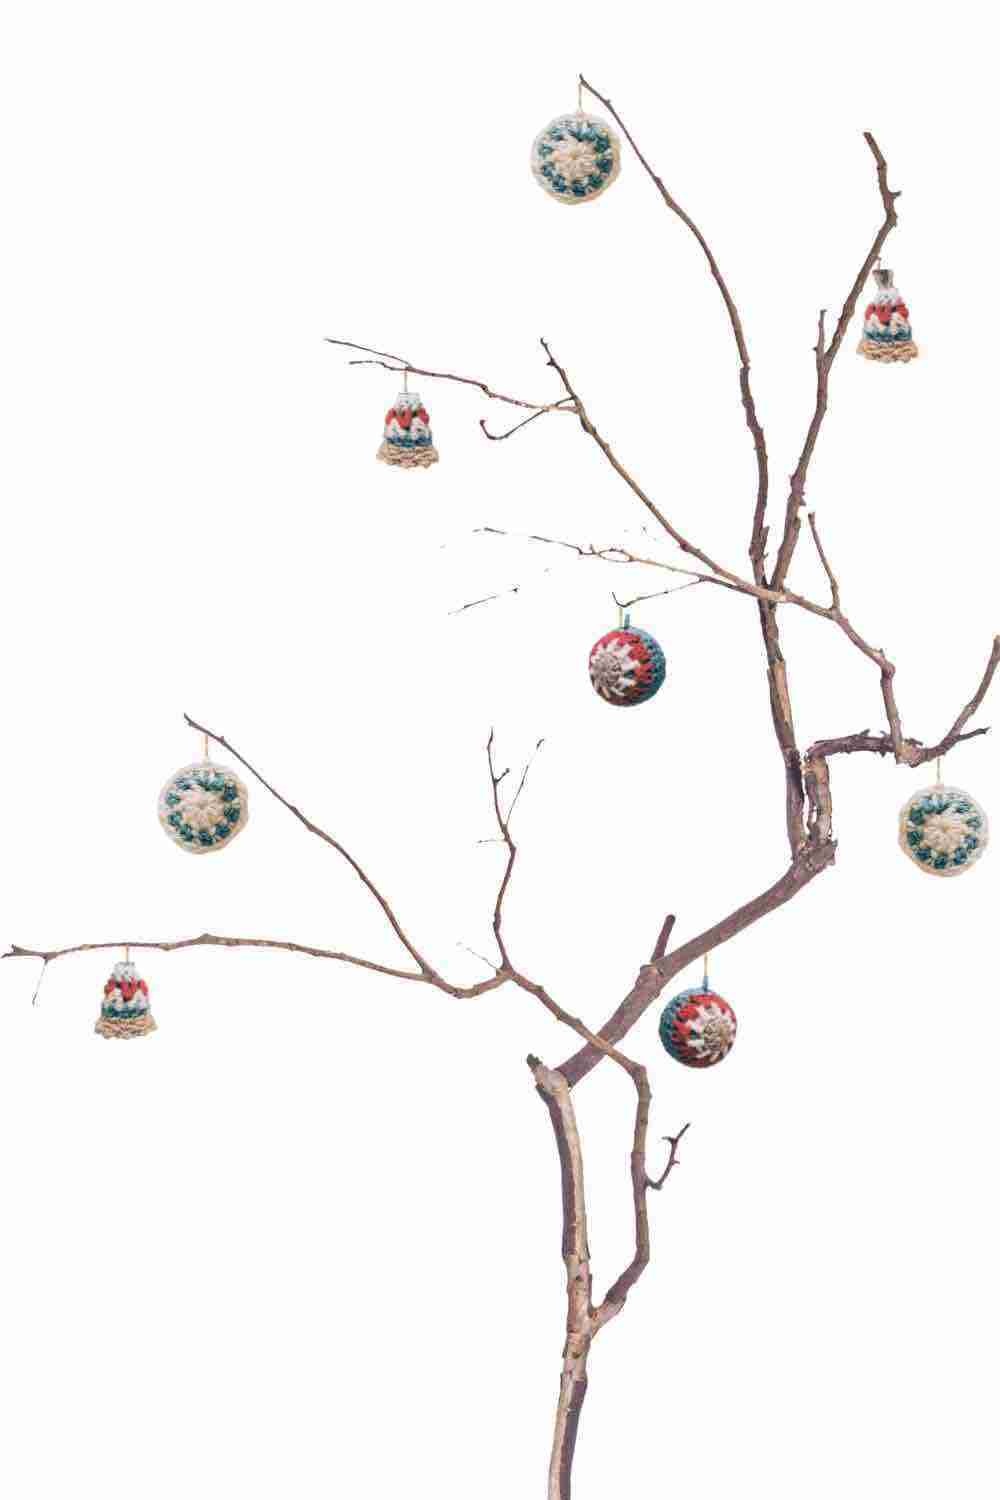
1. Display on a Christmas Tree, the traditional way:
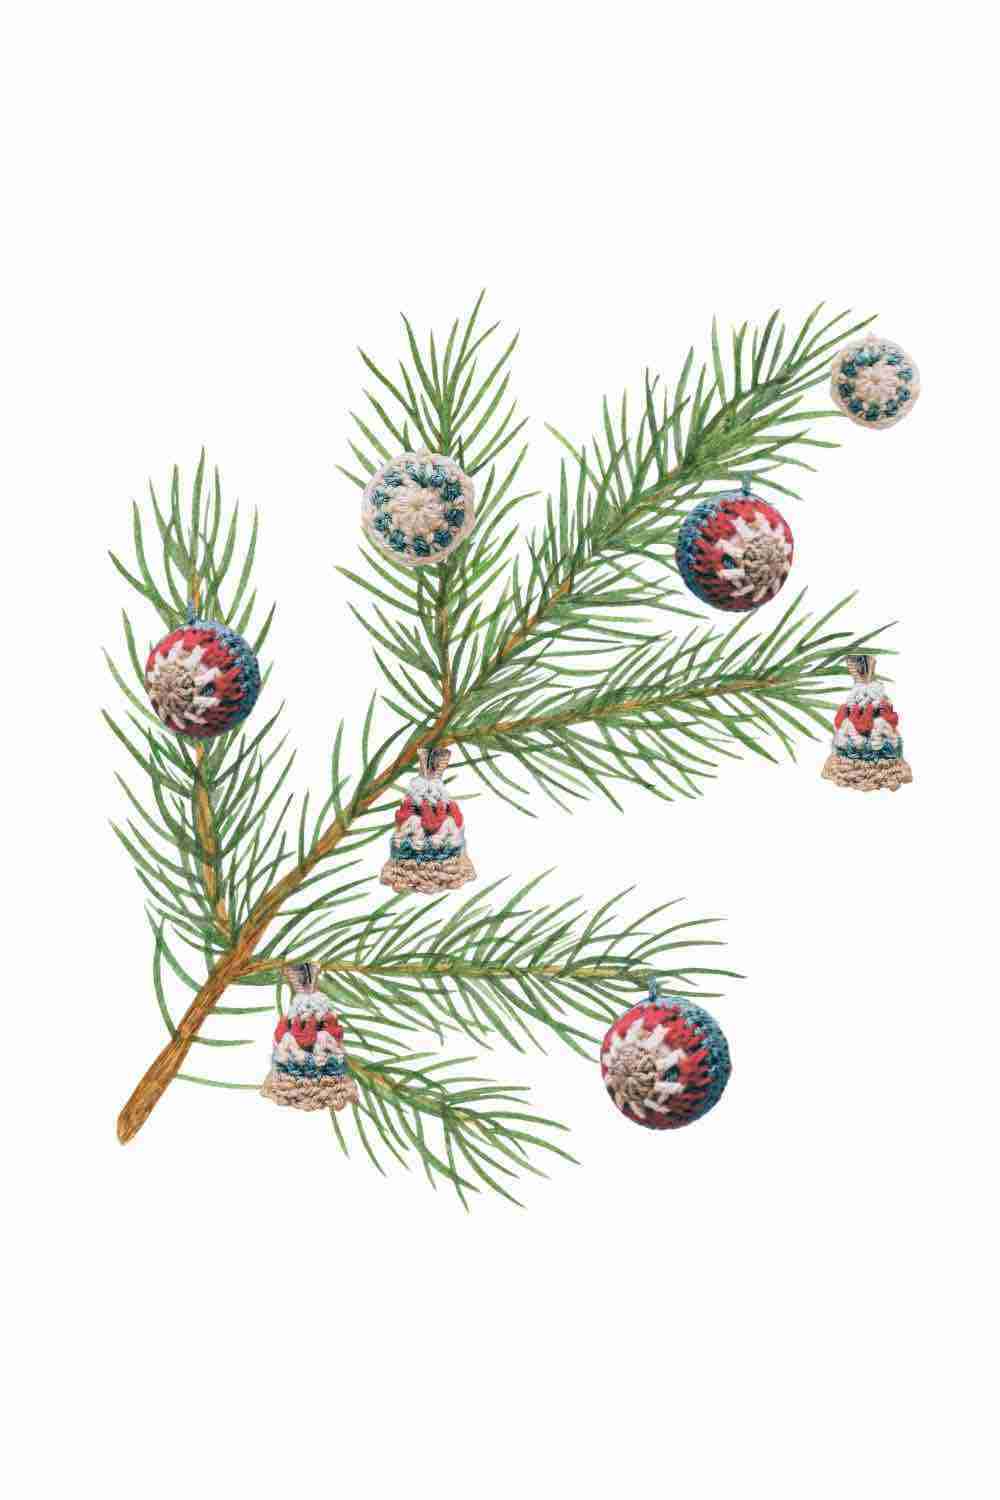
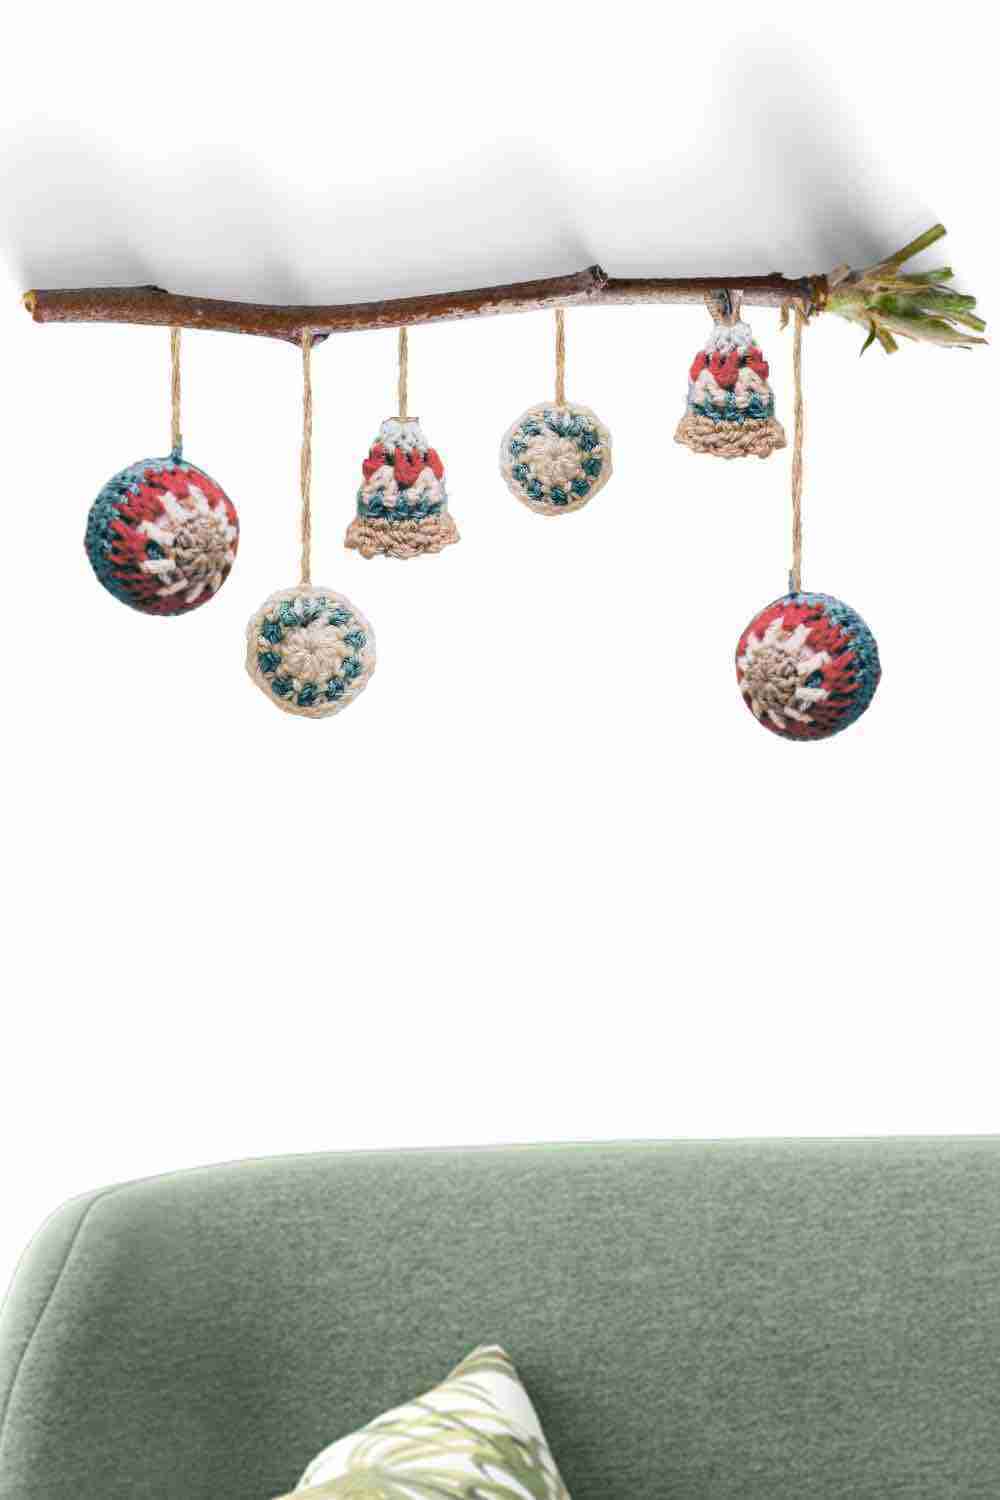
2. Display on a branch:
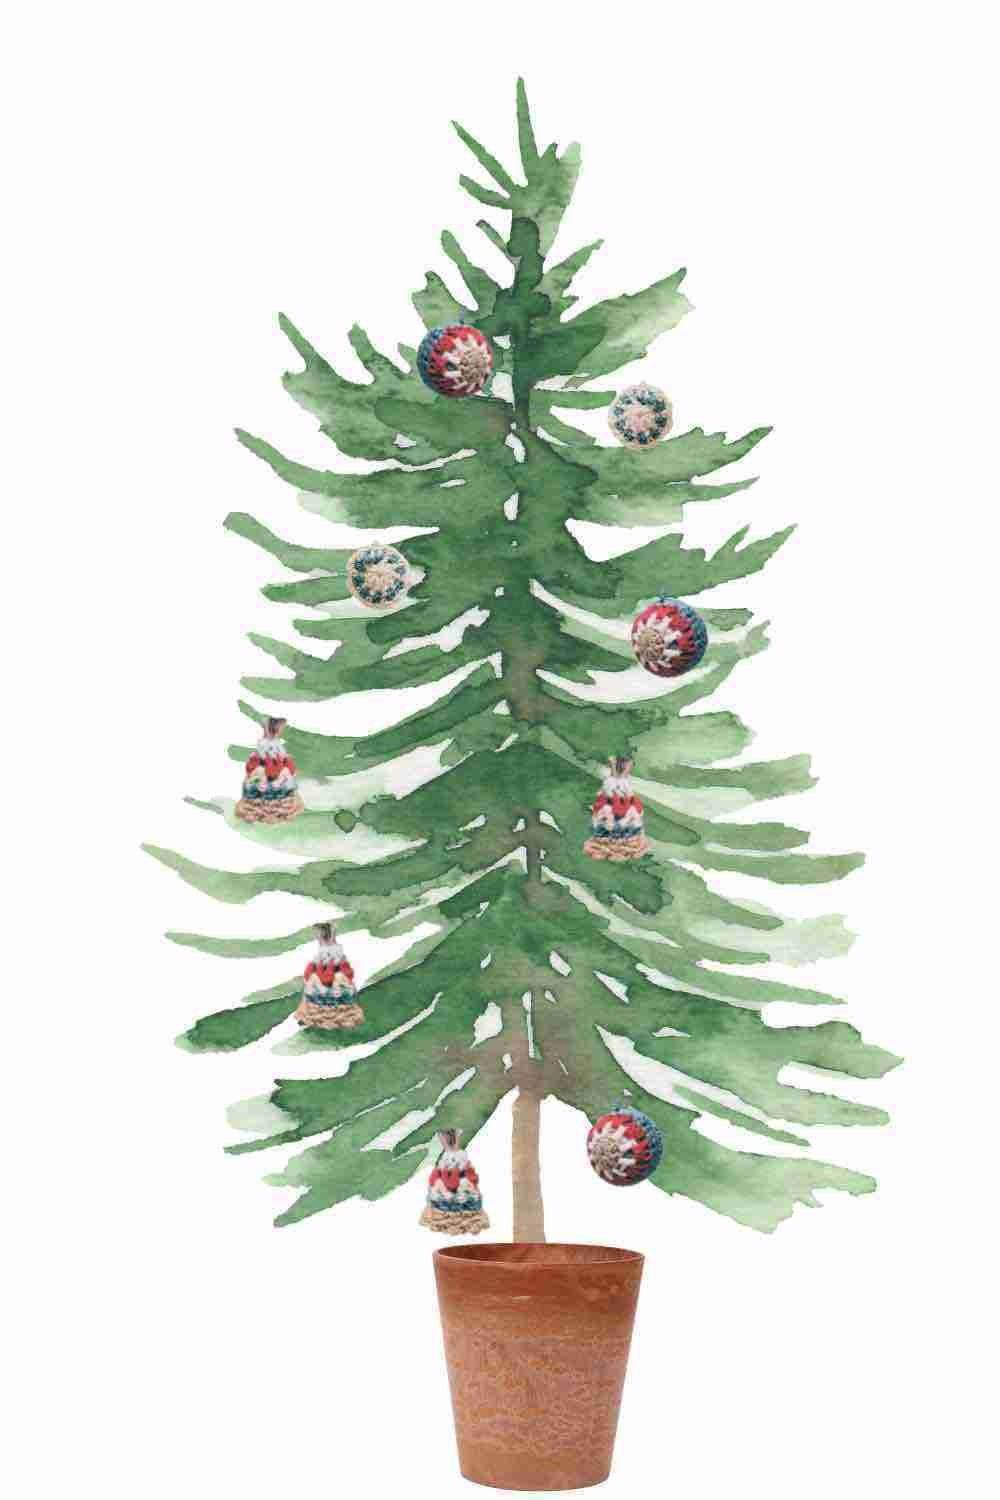
3. Or paint yourself a Christmas Tree on Canvas:
So now that you have an idea of how to display your crocheted Christmas ornaments, let's get to actually working them up!
Below, you'll find step-by-step instructions that will show you exactly how to crochet a Christmas bell.
If you have any questions, please drop me a comment below.
Disclaimer: This post contains affiliate links, which means I receive a small commission, at no extra cost to you, if you make a purchase using the Start Crochet links. Please see my disclosure for more details.
What You’ll Learn
- How to crochet in the round
- How to crochet a Magic Circle (if you don't yet know how to crochet a Magic Circle, have a look at these video tutorials.) Otherwise, follow alternative instruction given in the pattern.
- How to change colors in crochet
- How to use basic stitches to create pretty crocheted Christmas Ornaments
- How to crochet a bell shape.
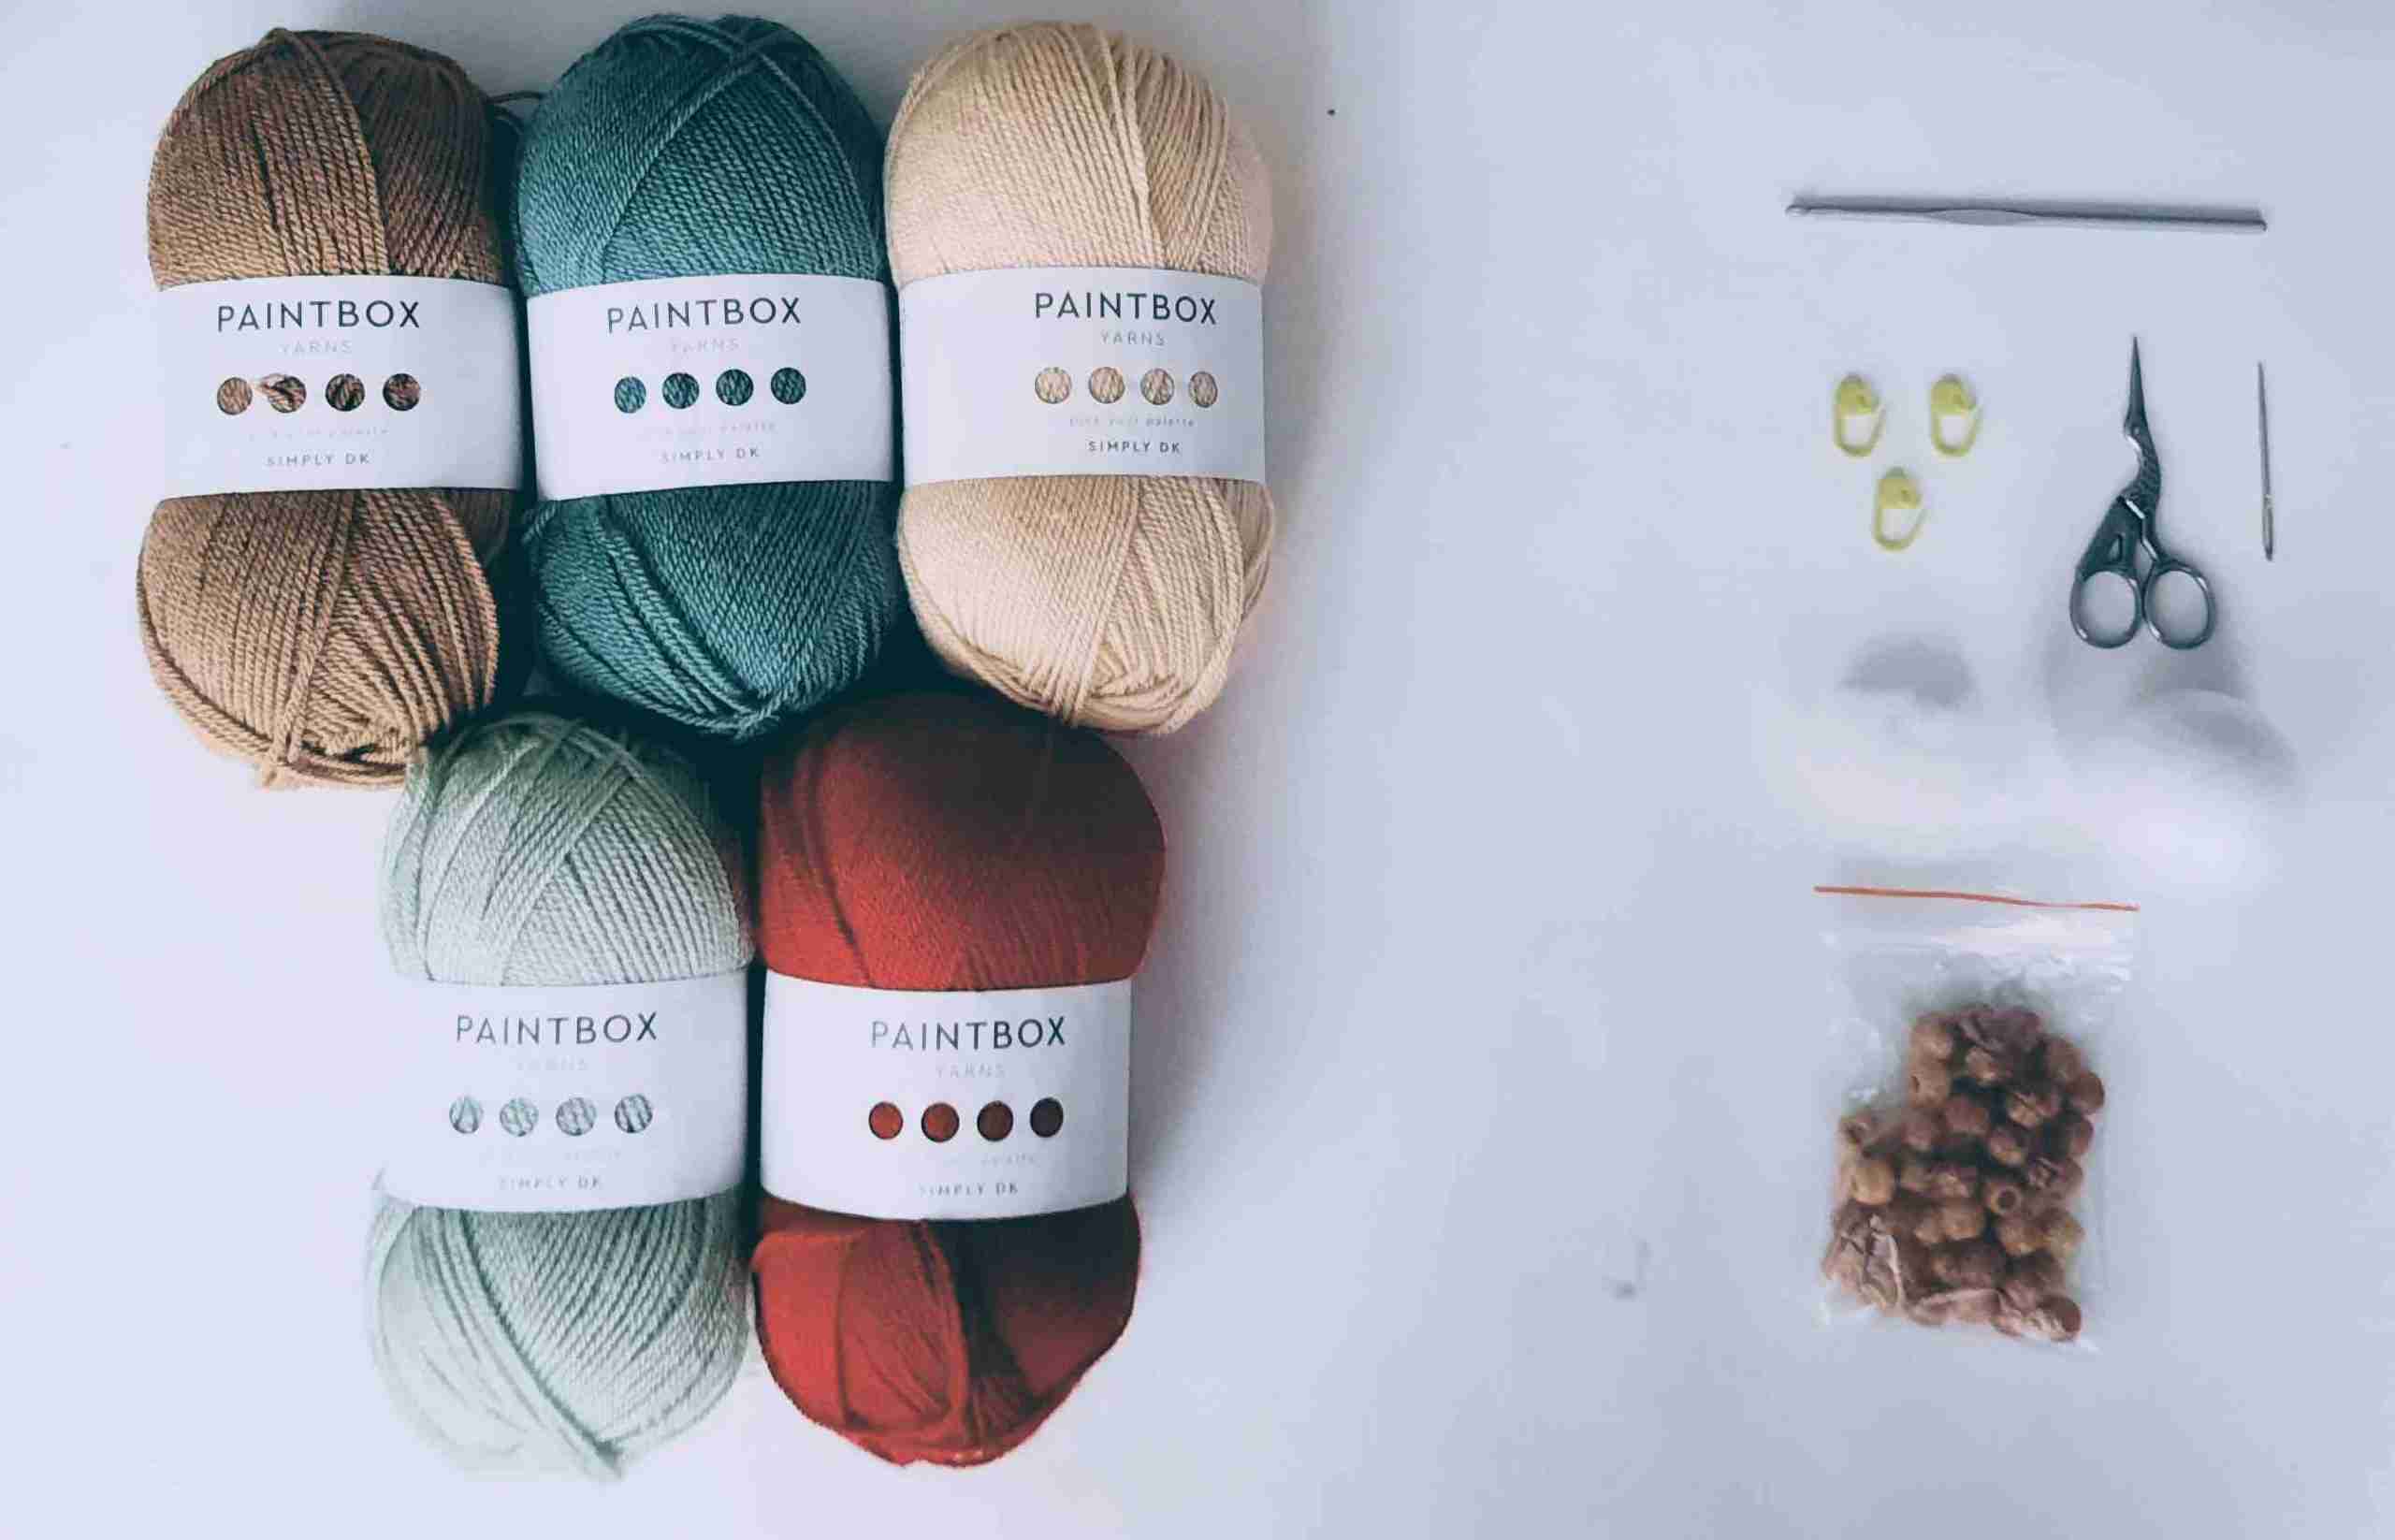
Materials Needed
You could use any combination of colors you have from leftover yarn. Each ornament uses only a very small amount. See yardage for details.
- Yarn: Paintbox Yarns Simply DK in 5 colors:
- Pistachio Green
- Slate Green
- Red Wine
- Vanilla Cream
- Soft Fudge
- Crochet Hook: US size 7 (4.5 mm) hook for the scarf body and sleeves,A darning needle
- A pair of scissors
- Stitch markers or contrasting snippets of yarn
- A tapestry needle
- Ribbon (optional)
- Beads for embellishments (optional) - have a look at the Online Bead Store LLbeads for a wide selection.
- Tape measure
Abbreviations & Stitches Used
- ch = chain
- sc = single crochet
- dc = double crochet
- MC = Magic Circle
- sk = skip
- sp = space
- st = stitch
- sts = stitches
- sl st = slip stitch
- yo = yarn over
- fo = fasten off
Skill Level
Beginner
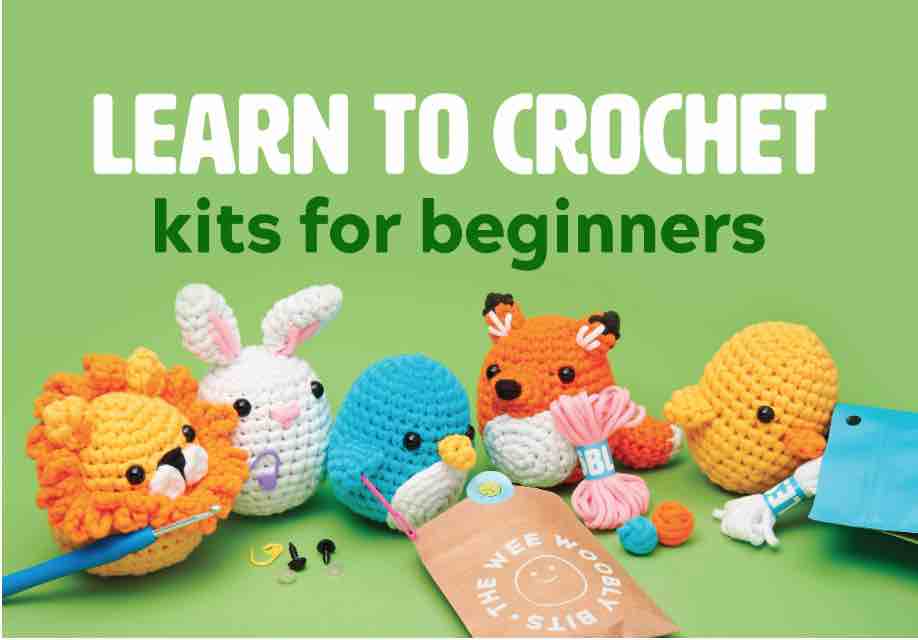
Are you just learning how to crochet? Have a look at these awesome crochet kits, perfect for beginners! I wrote a complete hands-on review on The Woobles Kits for you 🙂
Yardage
1 skein of DK Paintbox Yarns = 100 g / 3.5 oz / 276m - 302 yards)
For this project you will need approx. 8.5 m (9.3 yards) of yarn
Size
Bell Size: 2” (5 cm) high
Have you started several crochet projects and are worried you won't remember your hook size, the yarn you used or which pattern you were following? Download this Free Crochet Project Tracker and keep it in your projects folder.
Crochet Project Tracker
Free Printable
Keep track of your crochet projects with these printable sheets.
Your info is 100% secure and will never be shared.
Gauge
17 stitches & 16 rows in sc = 4” (10 cm) square with a 4.5 mm hook
Notes
- You can use any type of yarn as long as you have a corresponding crochet hook size (check yarn label for recommendations).
- Numbers at the end of each step (in brackets) indicate the number of final stitches in that step.
- For this pattern, I tended to crochet between the dc post stitches, as opposed to into the “v” of the dc sts.
- Ch 2 sts at the beginning of a round count as a dc st.
- Please note that I use US crochet terms.
Like this pattern, but not ready to work it yet? Save it to Pinterest!
Stitch How-To Instructions
Instructions for Ch (Chain):Bring the yarn over the crochet hook from back to front and hook it. Draw hooked yarn through the loop of the stitch on your hook and up onto the working area of your hook.
Instructions for sc (Single Crochet):Insert hook into stitch, yarn over, pull the loop back through the stitch (you now have two loops on hook), yarn over again and pull through both loops on hook (note: this is equivalent to the UK Double Crochet (dc) stitch)
Instructions for dc (Double Crochet): Yarn over, insert hook into stitch, yarn over again, pull the loop back through the stitch (you now have three loops on hook), yarn over again and pull through two loops on hook, yarn over again and pull through the remaining 2 loops on your hook. (note: this is equivalent to the UK Trebble Crochet (tr) stitch)
Instructions for Sl St (Slip Stitch): Insert hook, yarn over, pull the loop back through your last stitch AND through the loop on your hook (through both stitches).
Instructions for Fastening Off: After the last stitch of the last round, cut the yarn, leaving a 6-inch end. Draw the cut end of your yarn completely through the stitch & pull to tighten knot.
If you need more detailed instructions on how to work the required stitches, check out Annie’s Catalogue for visual instructions.
Printables
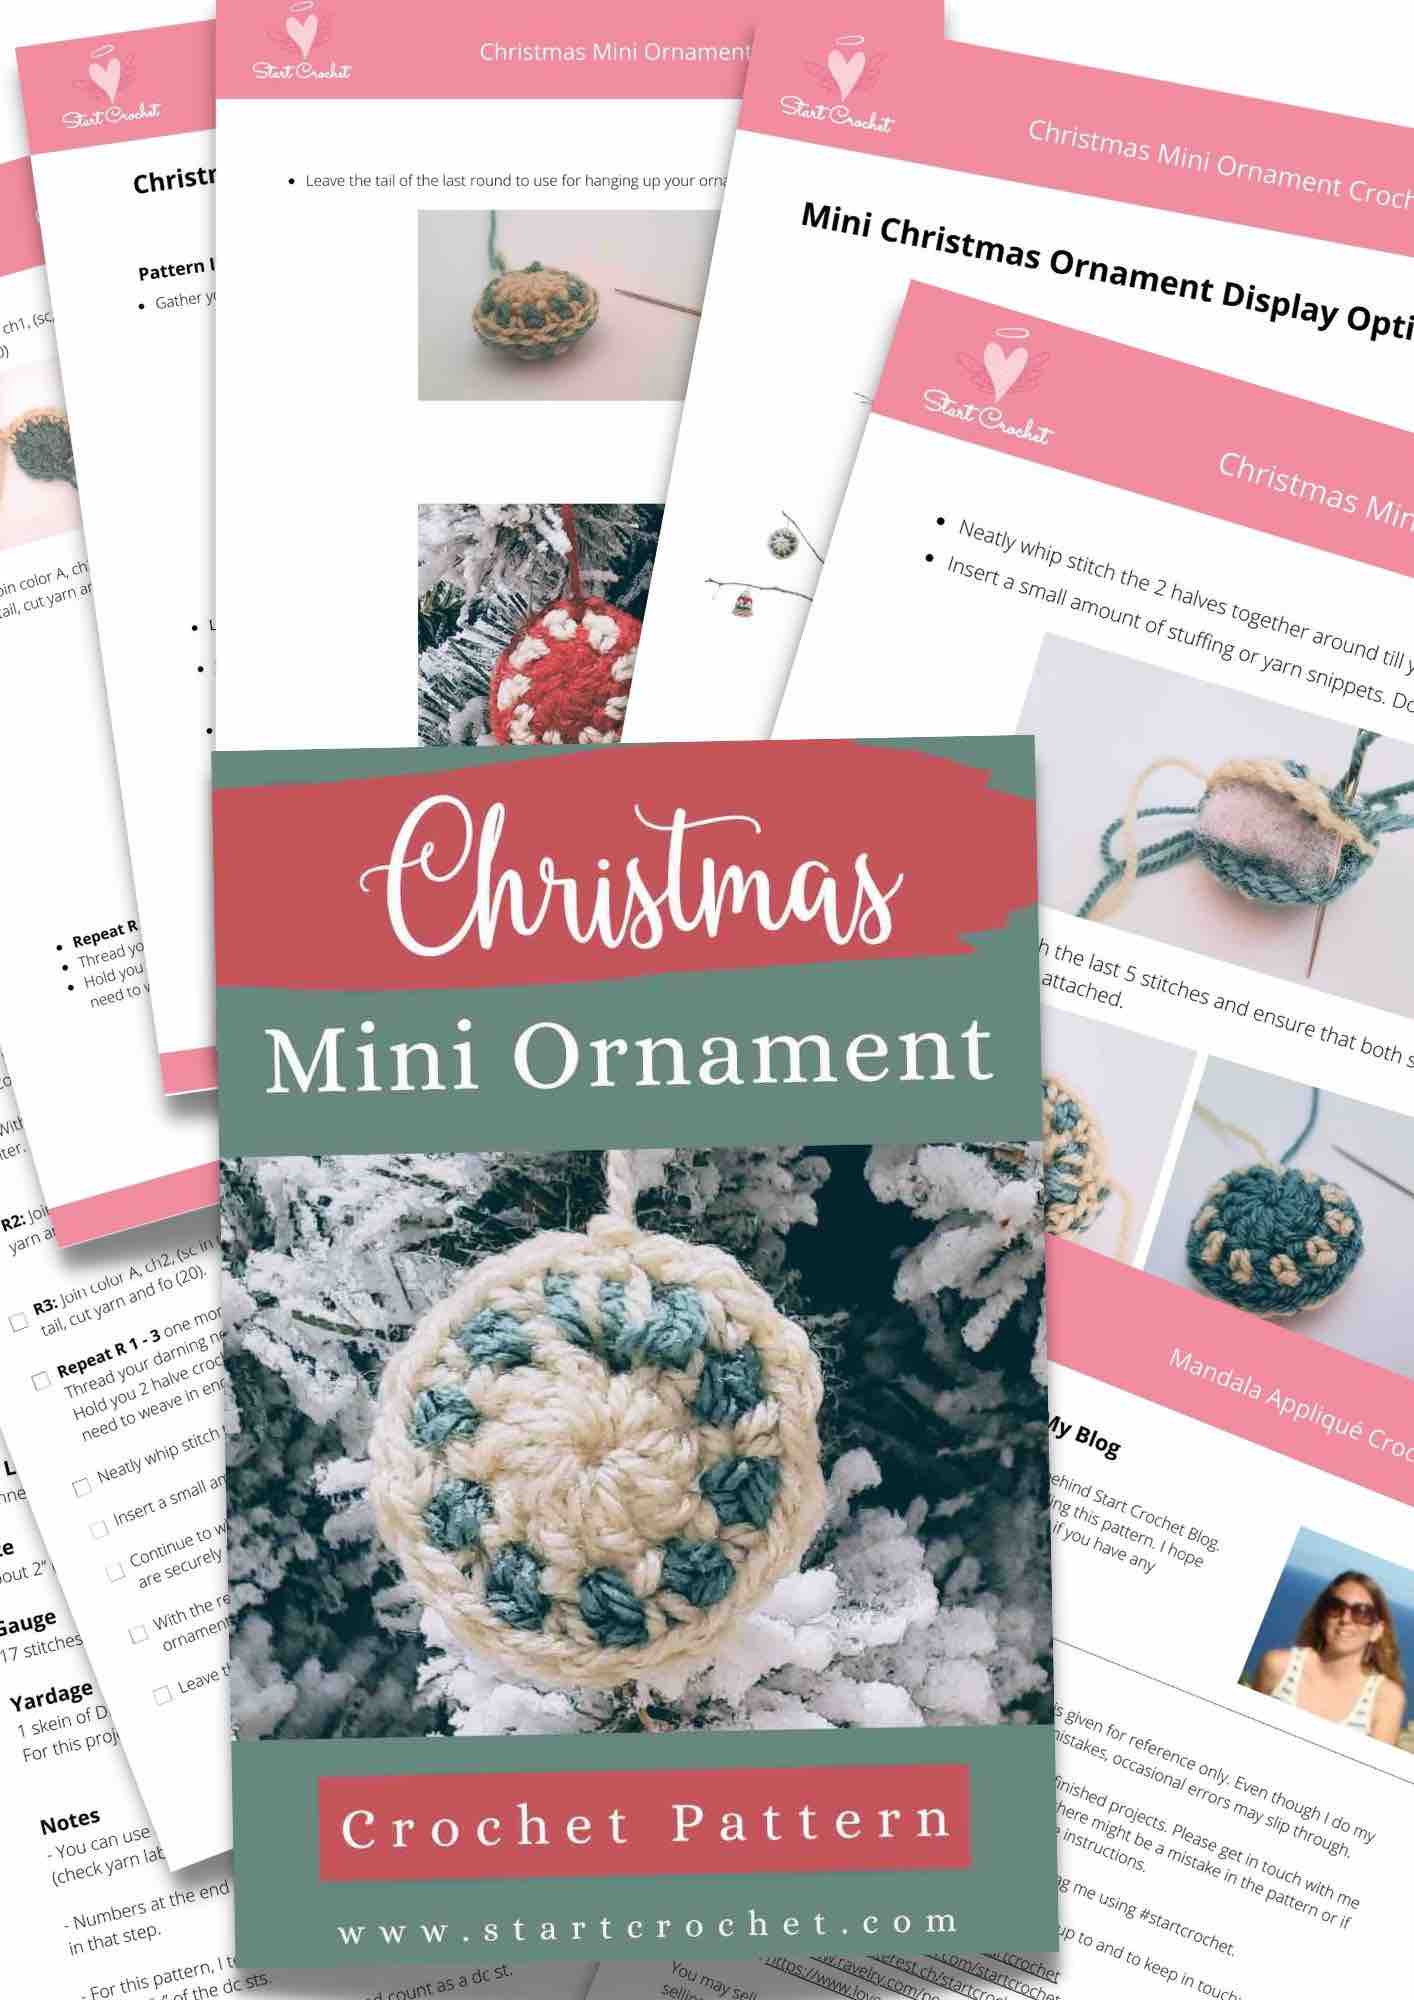
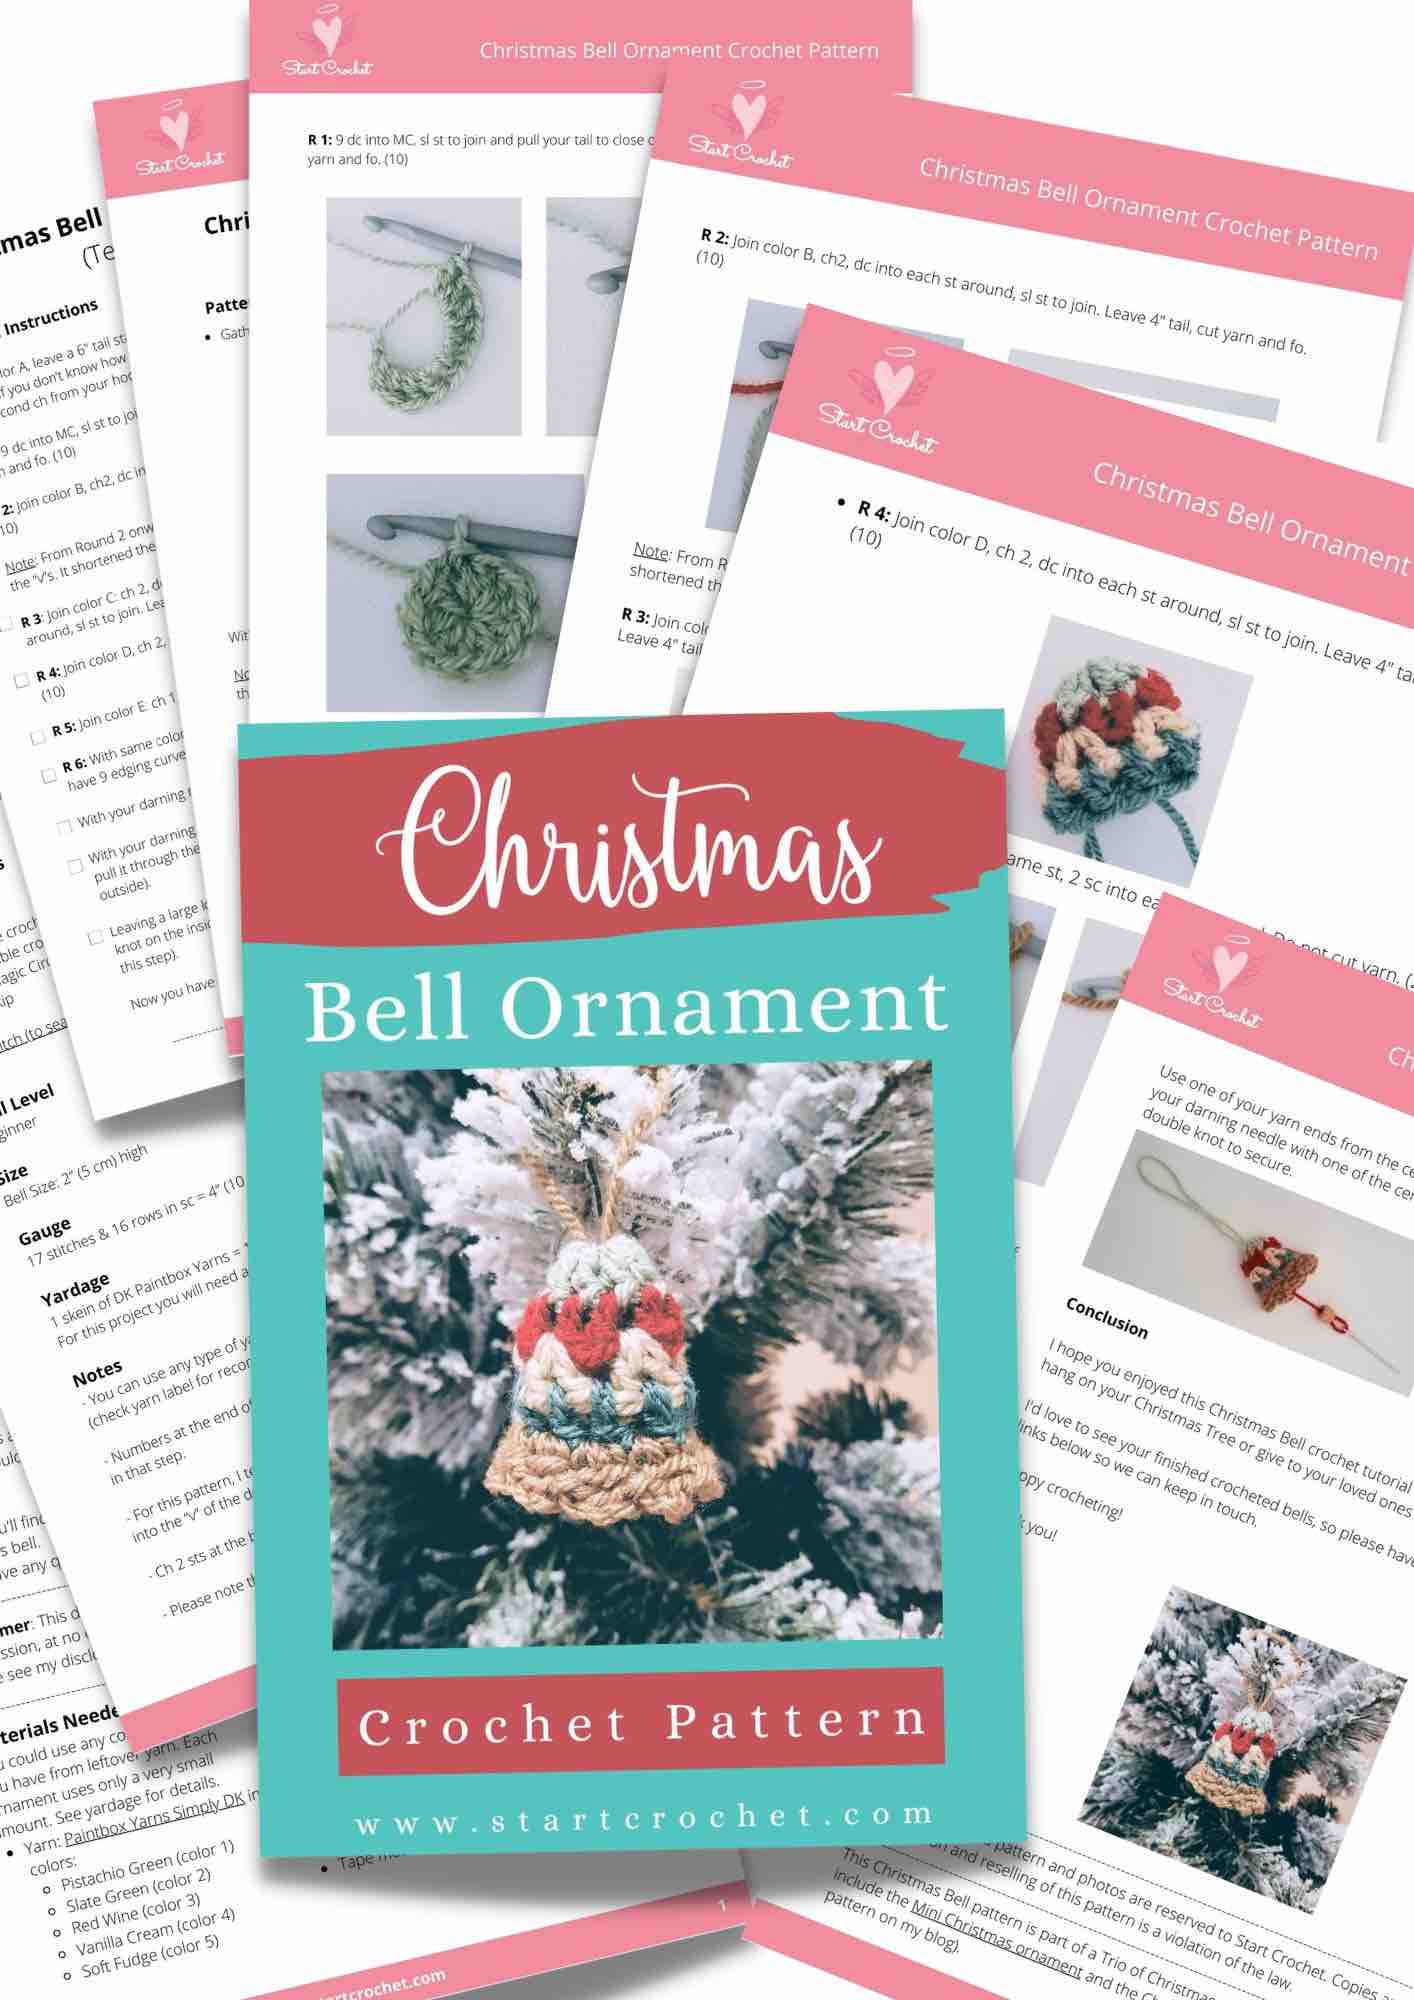
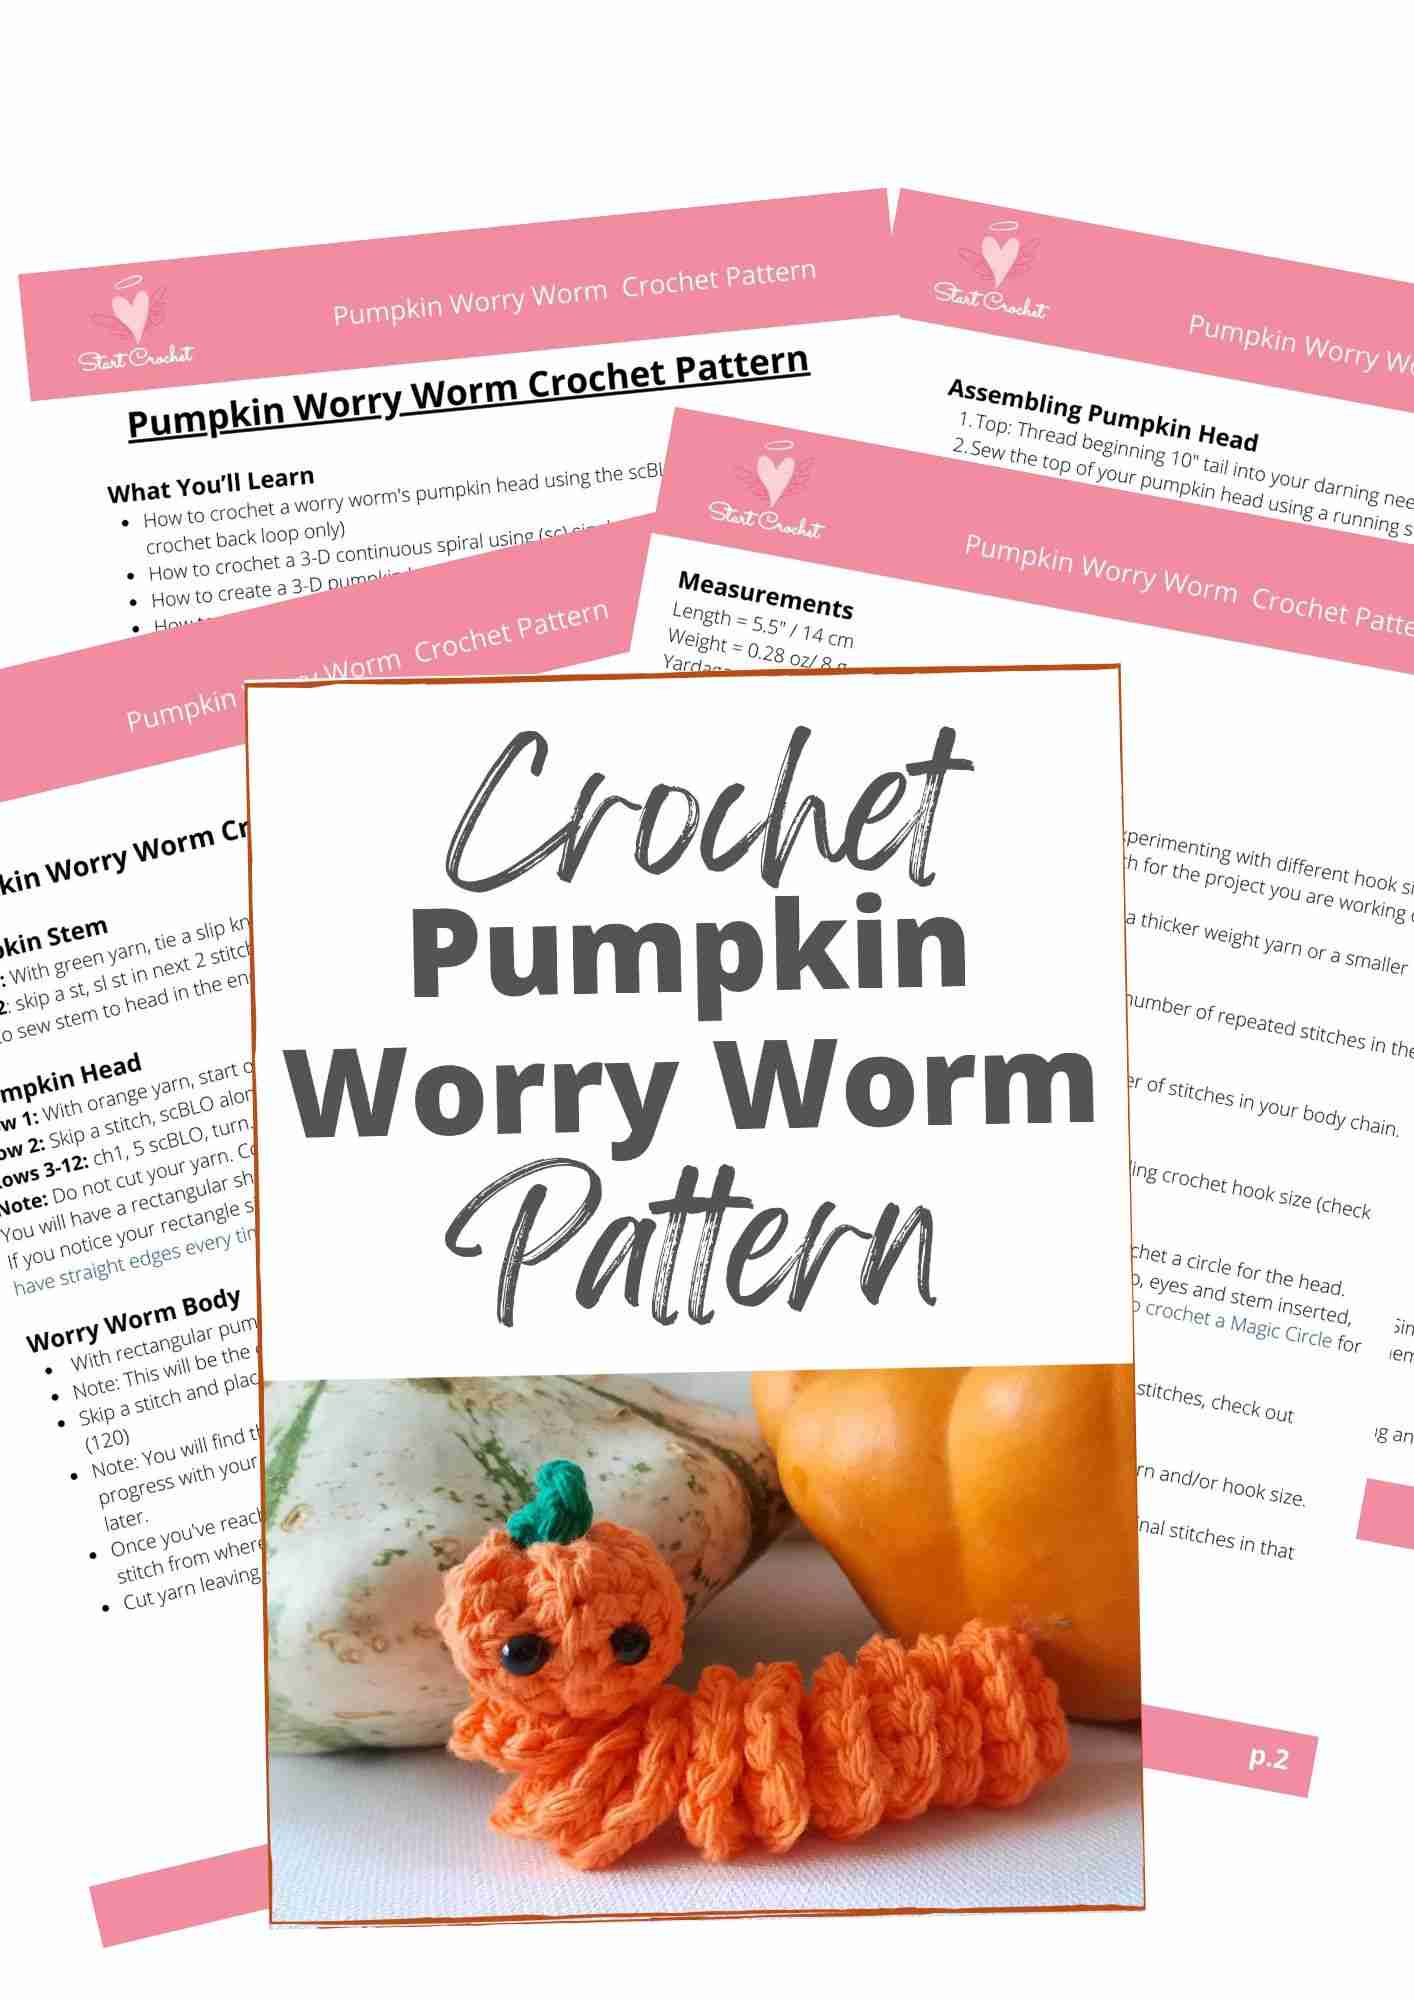
Below you will find a text-only ad-free printable version of the Christmas Ornaments which you can buy for a small fee.
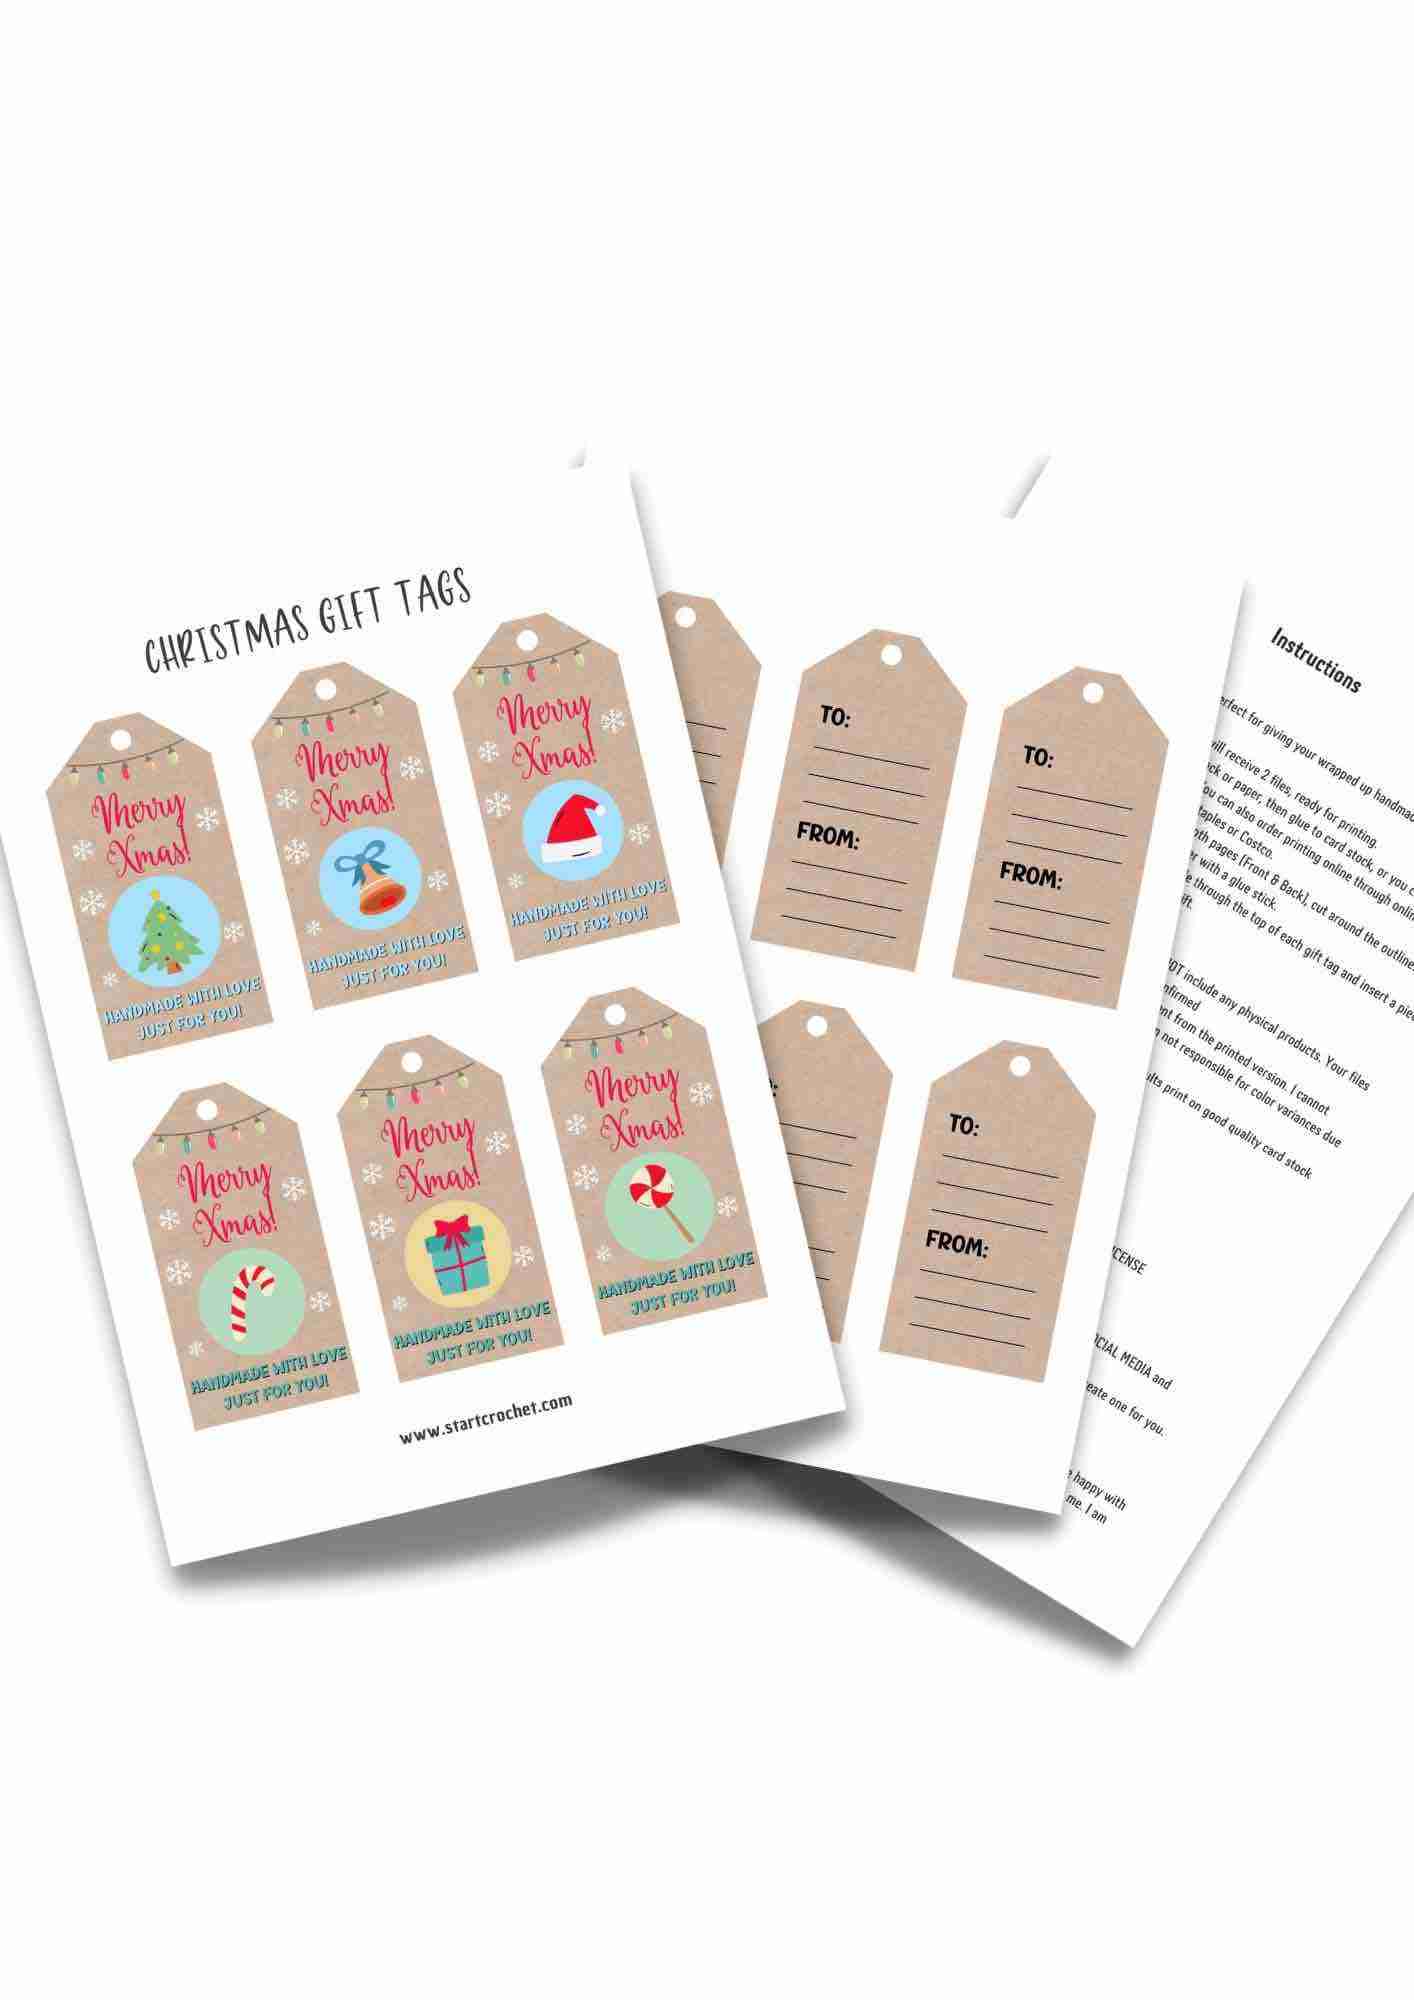
The second printable is for Christmas Gift Tags that you could add as tags to your crocheted gifts.
You may also purchase this pattern from Ravelry if you prefer.
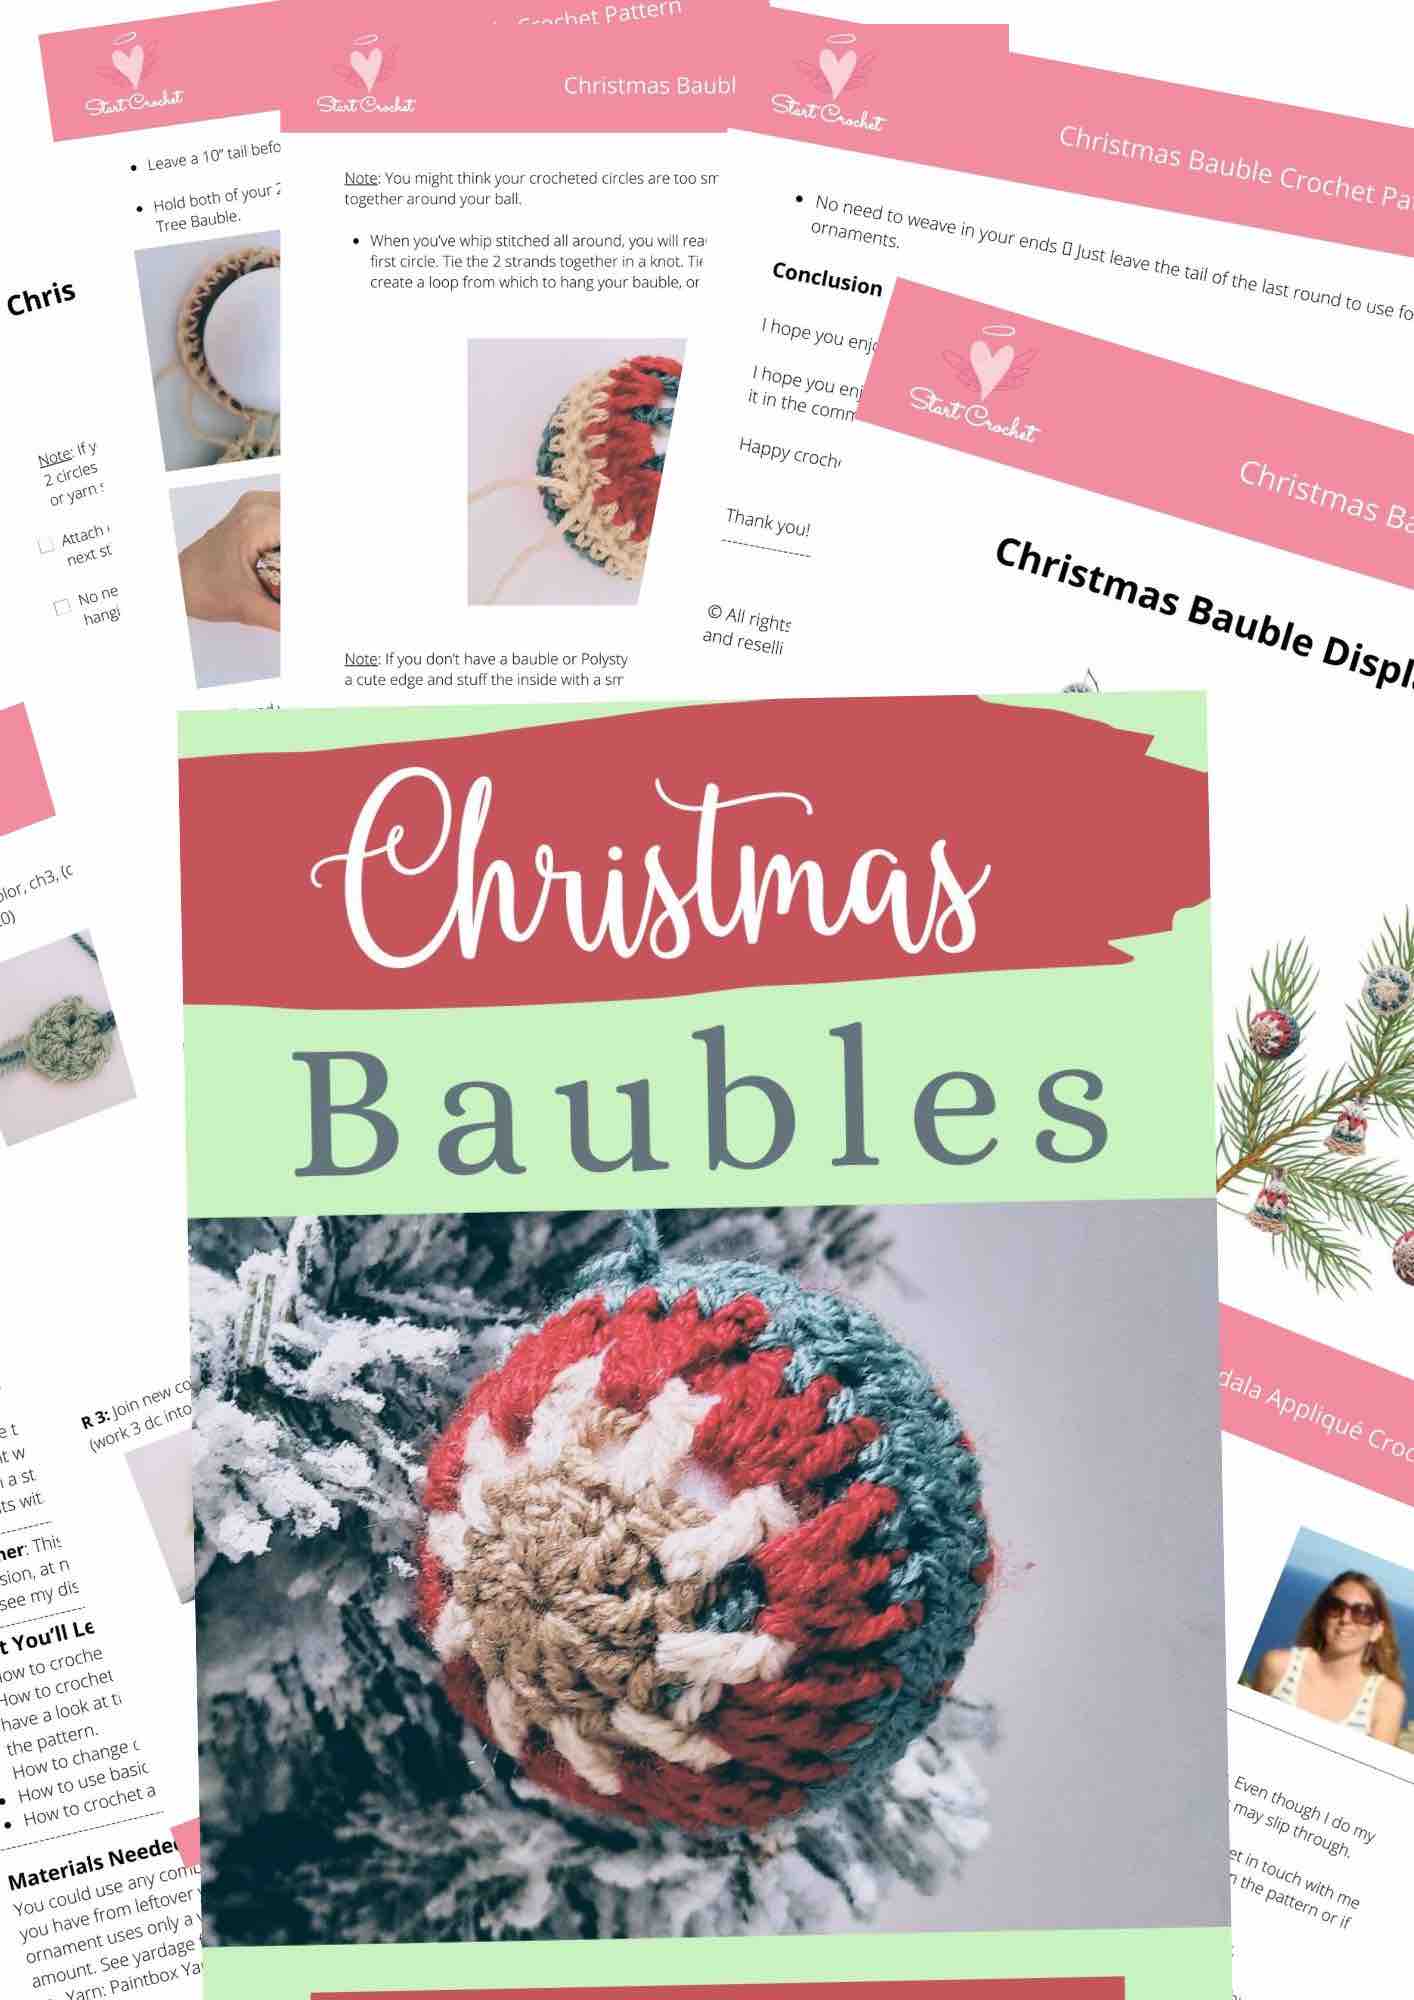
Or buy all 3 Baubles & Bells Crochet Patterns as a bundle for a discounted price on Ravelry:
How To Crochet A Christmas Bell (Written Pattern Instructions)
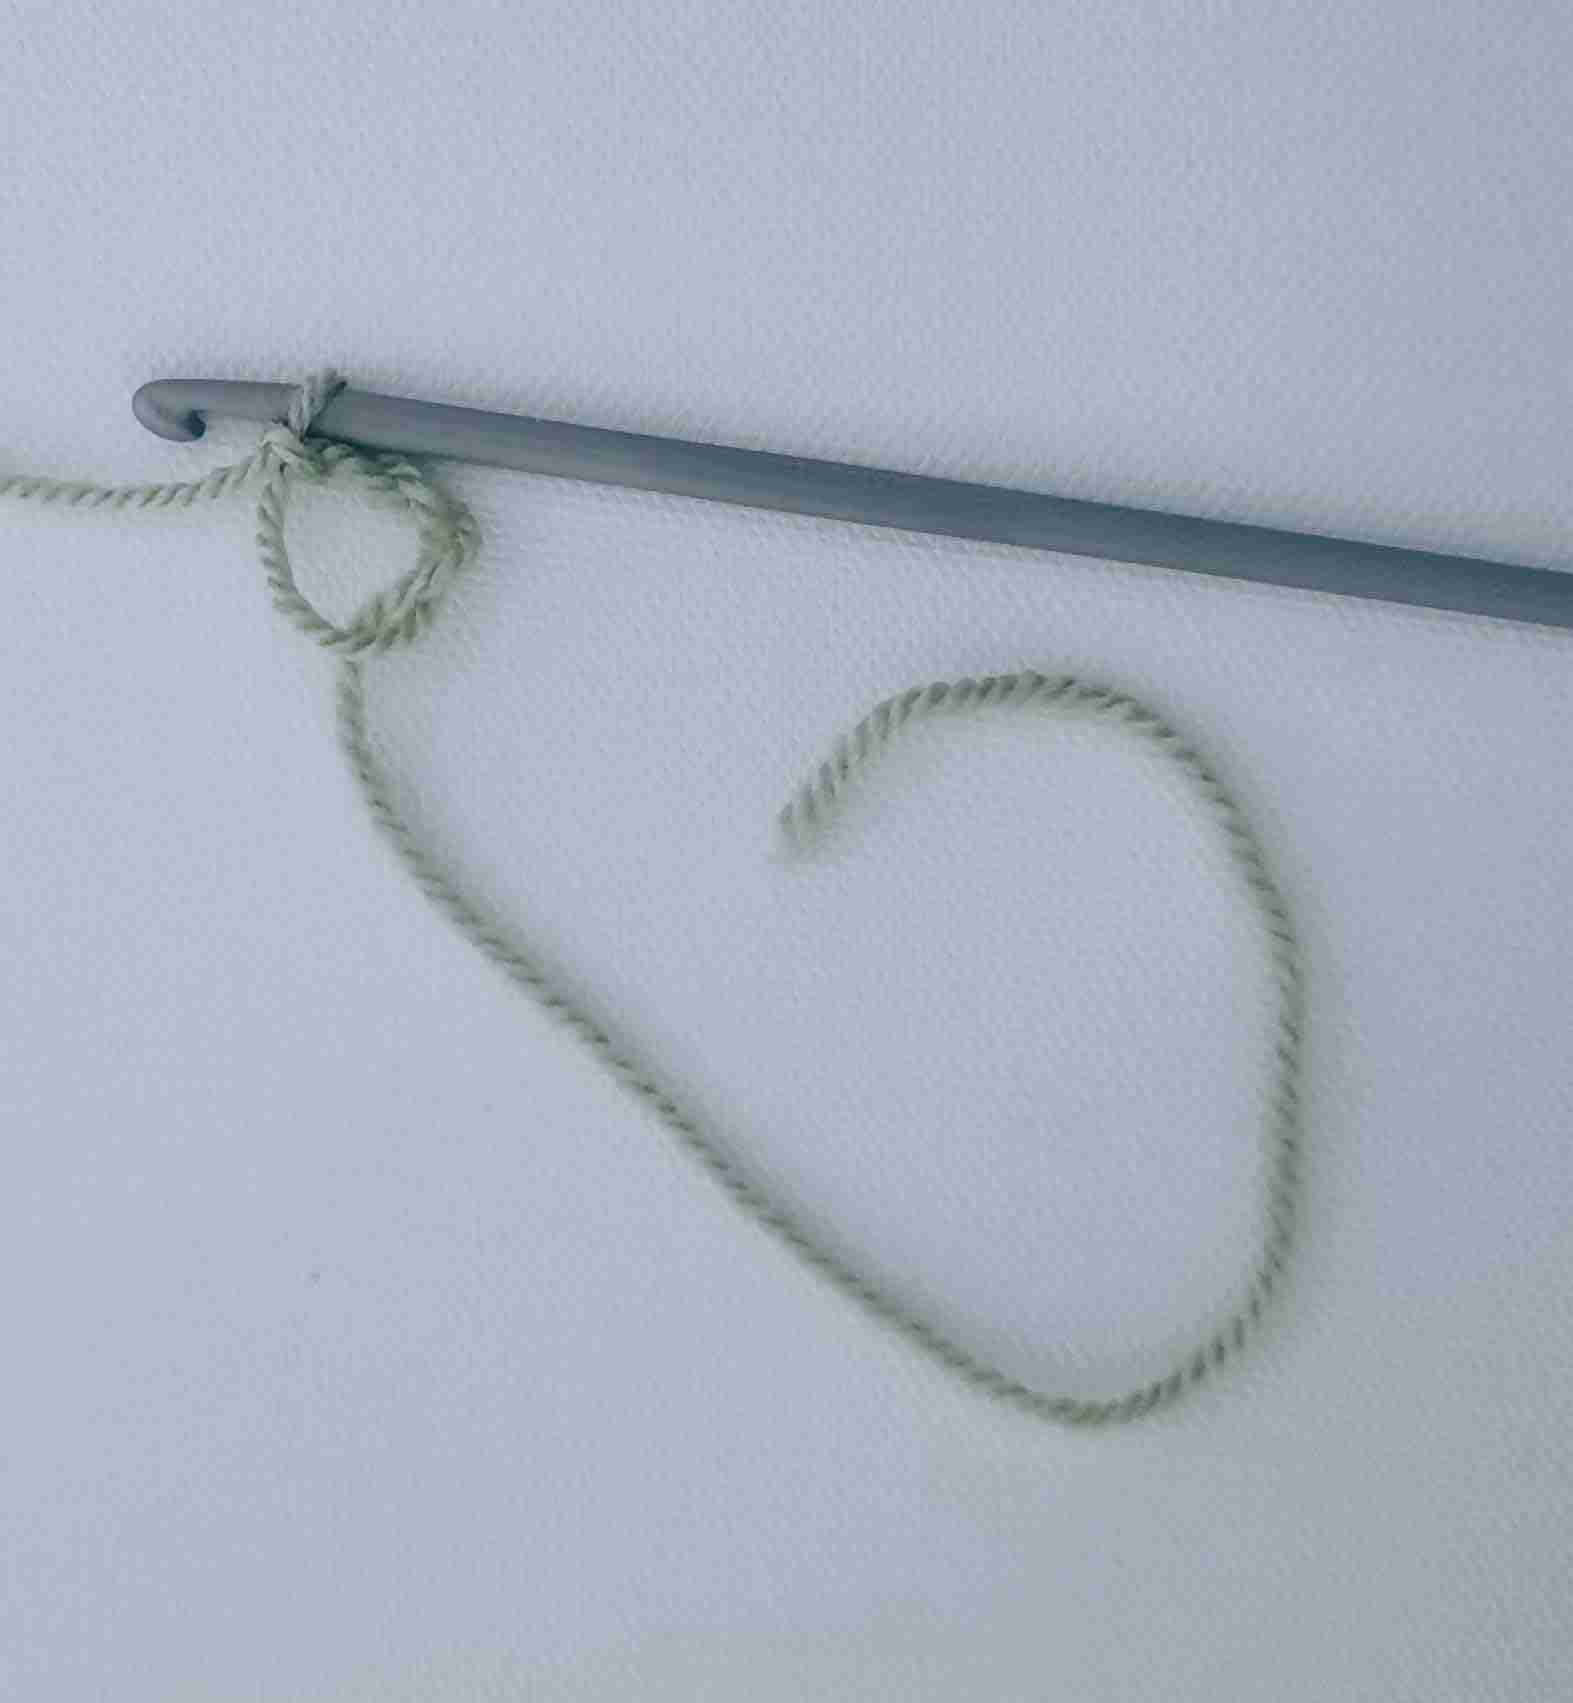
With Color A, leave a 6" tail start with a MC, ch 2 (counts as first dc)
Note: (If you don’t know how to crochet a Magic Circle yet, then ch 2, and work R 1 into the second ch from your hook)
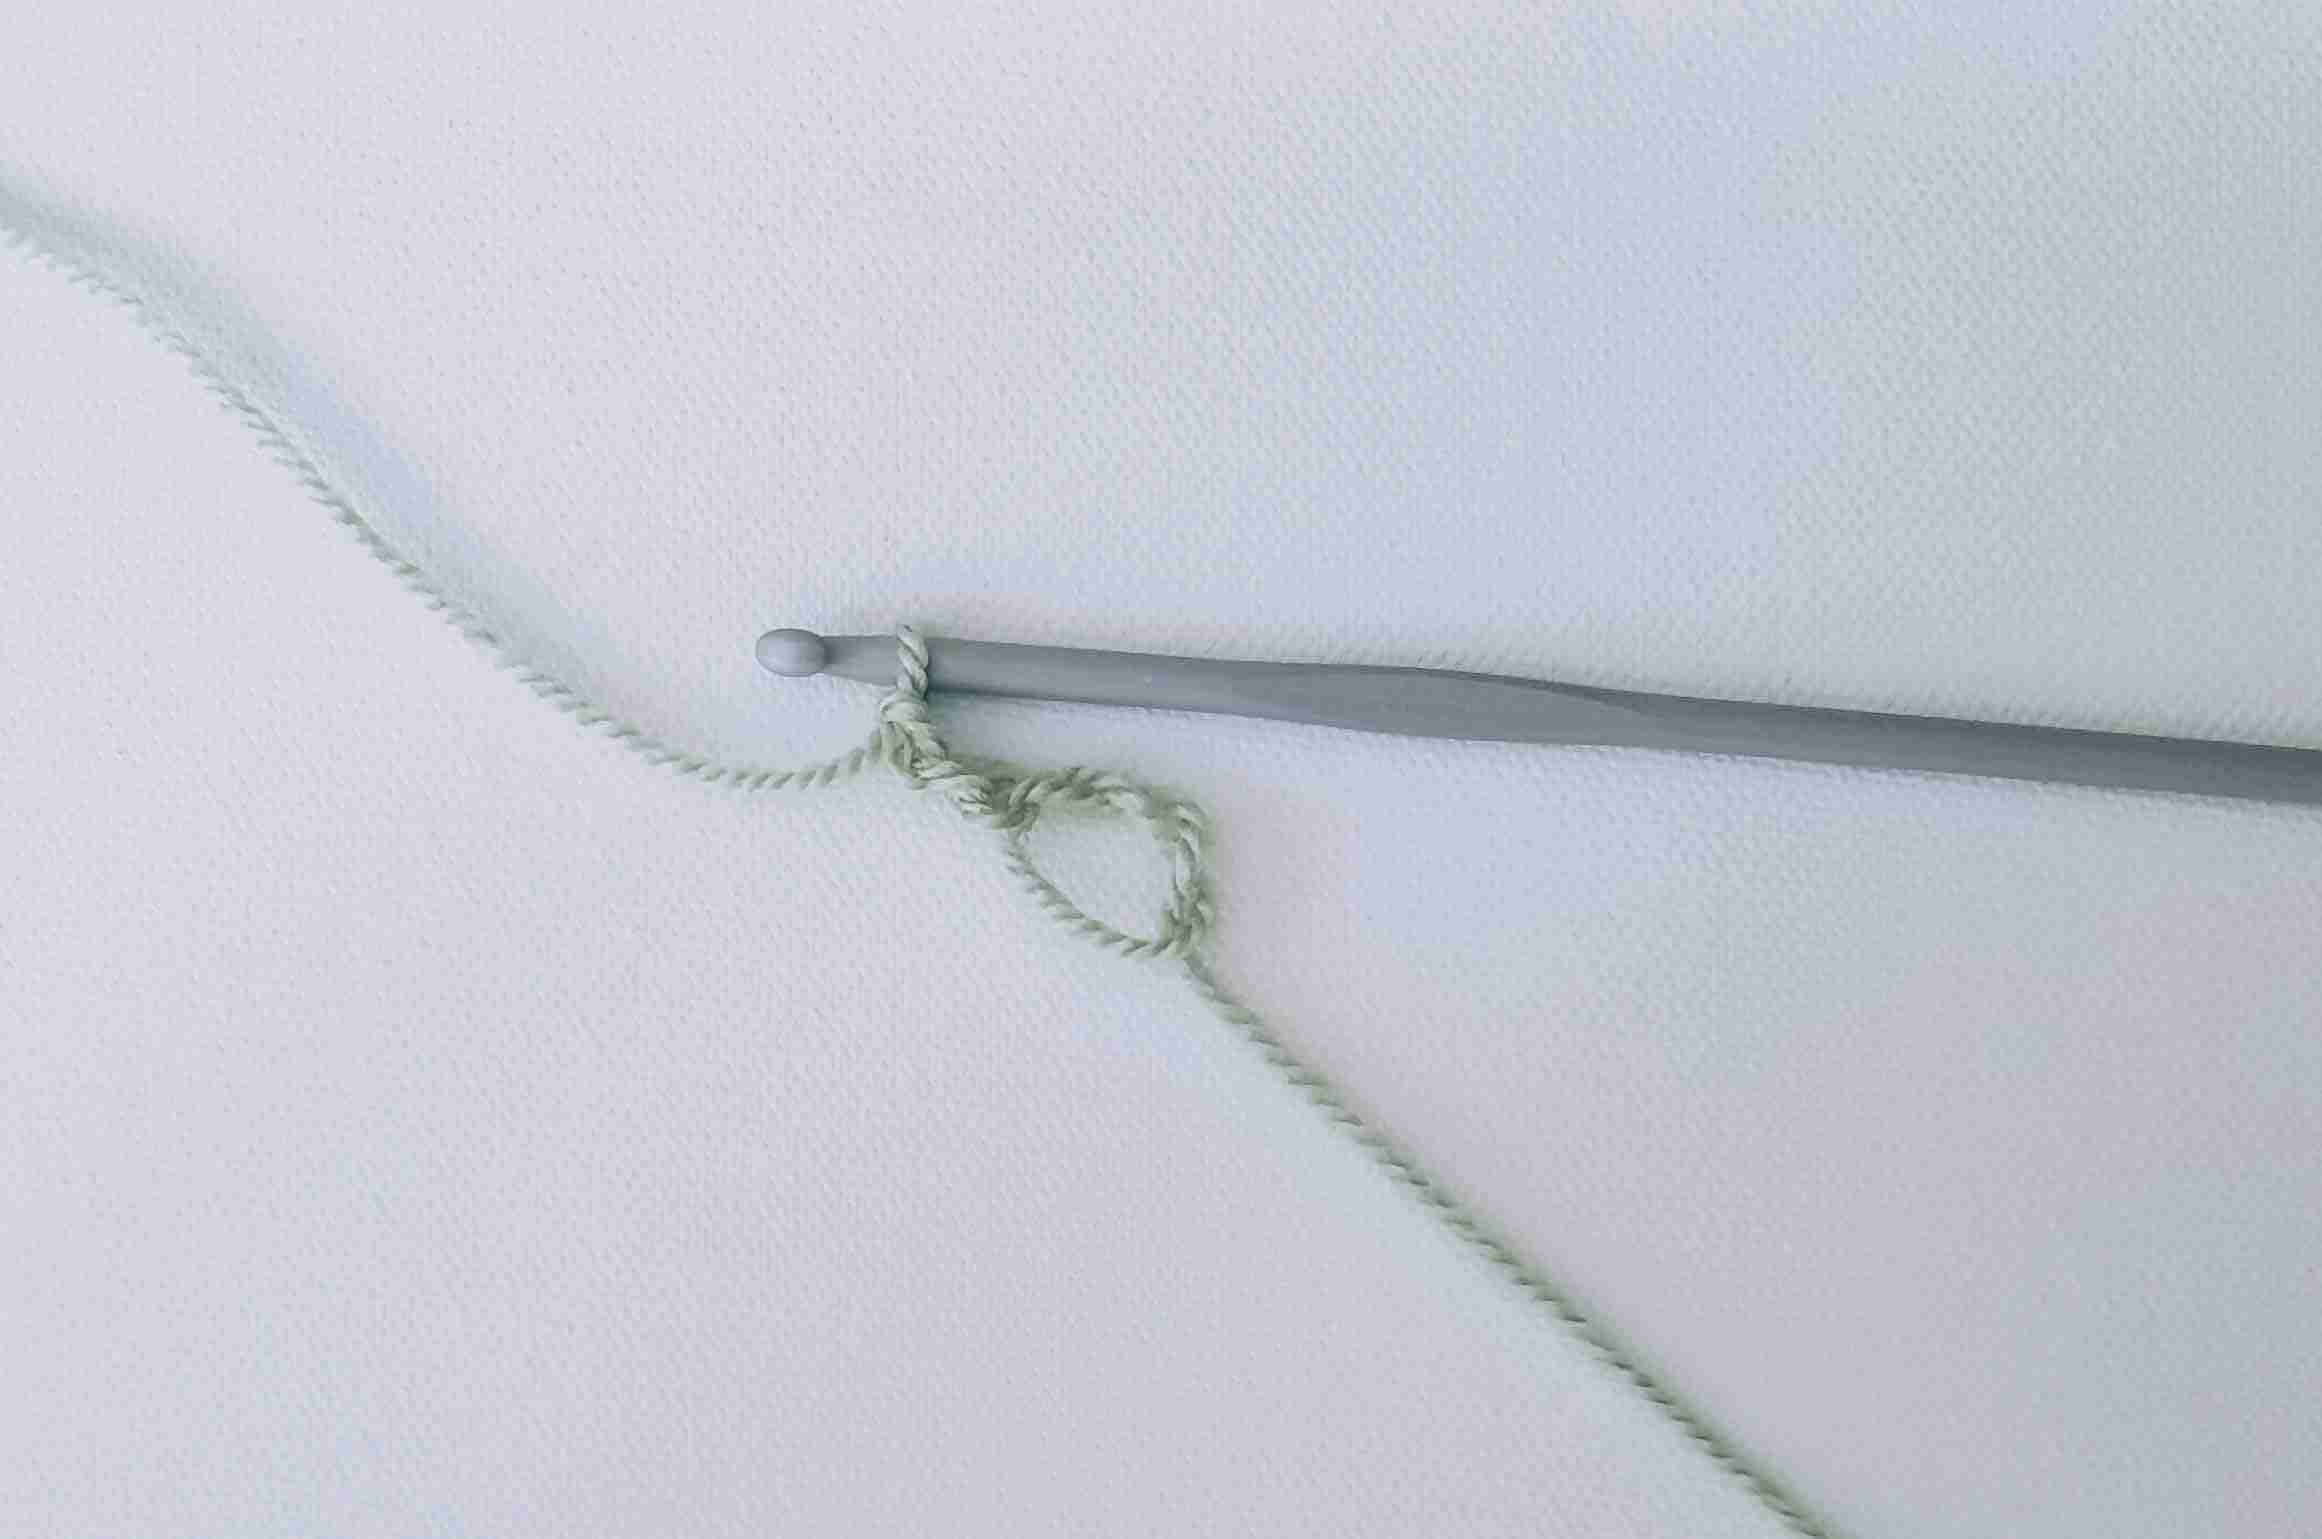
R 1: 9 dc into MC, sl st to join and pull your tail to close off your center. Leave 4" tail, cut yarn and fo. (10)
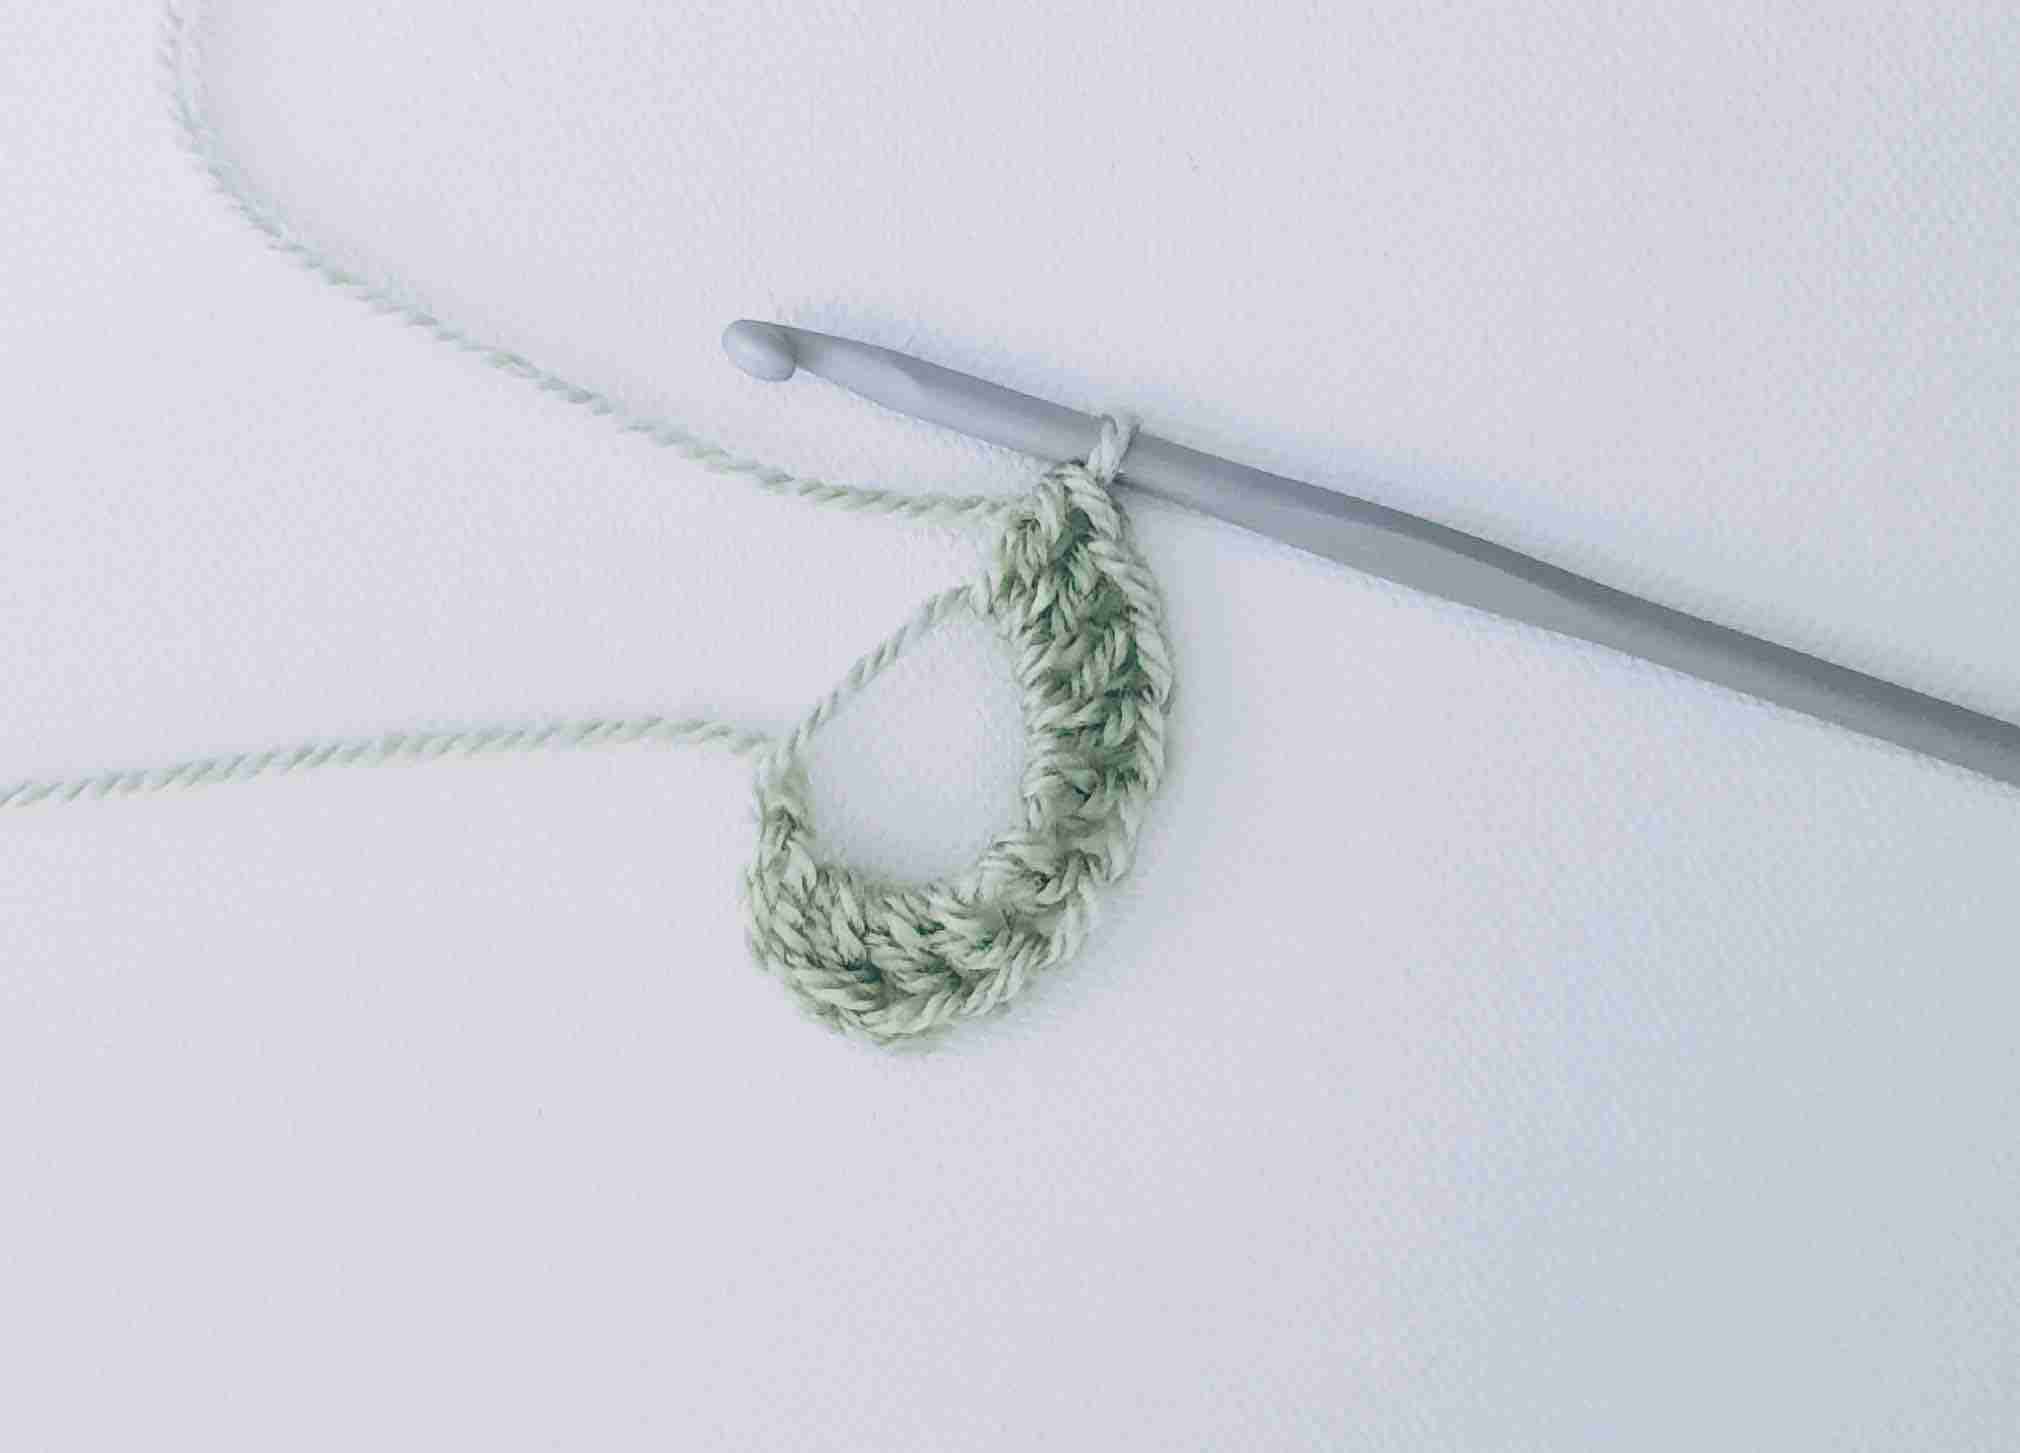
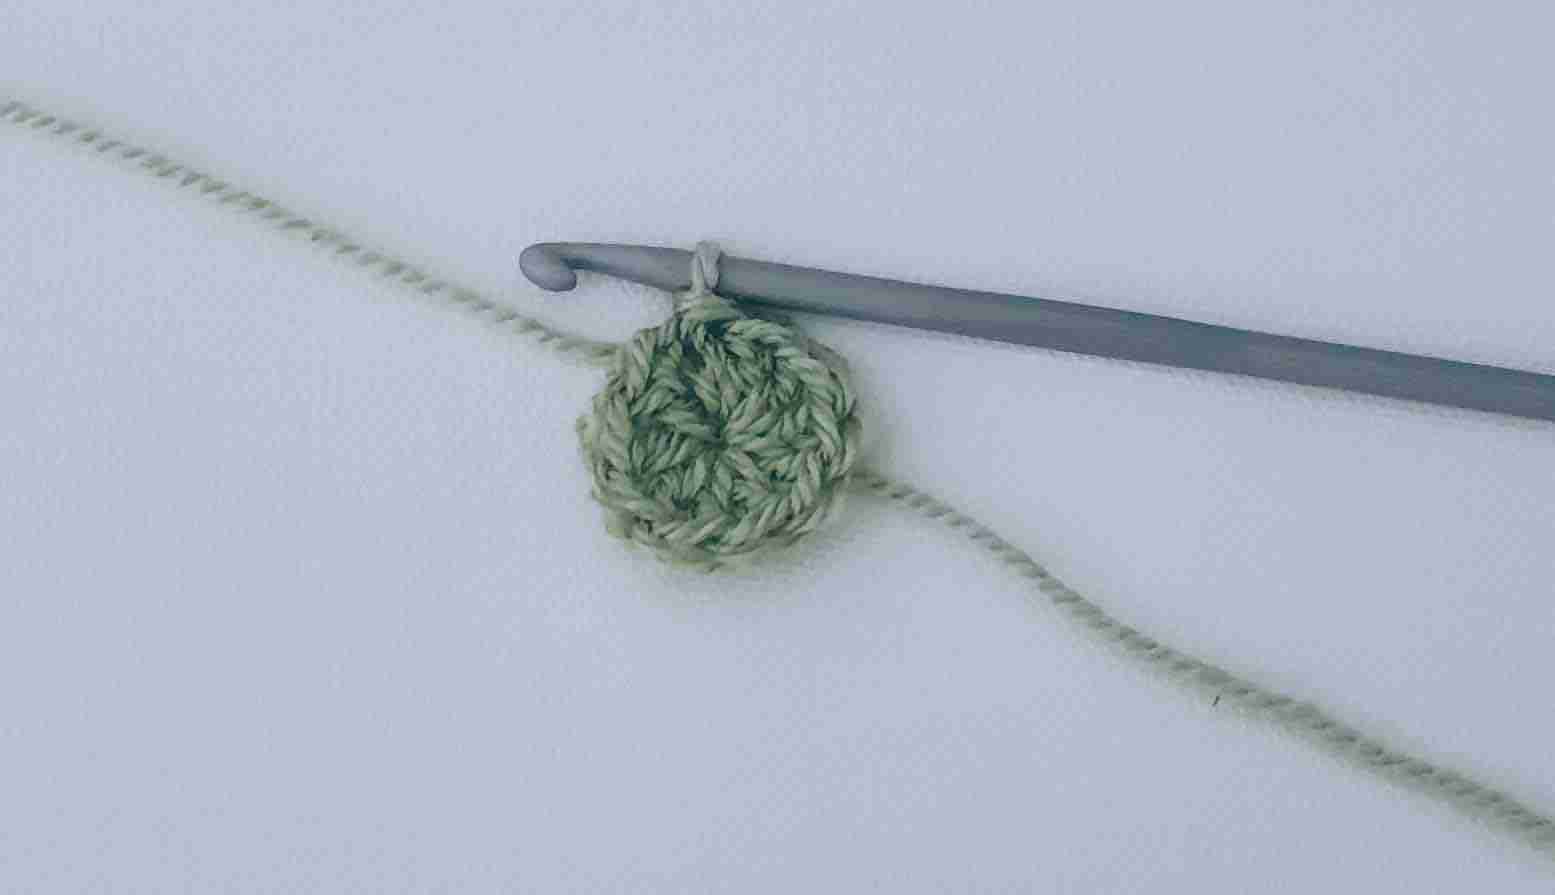
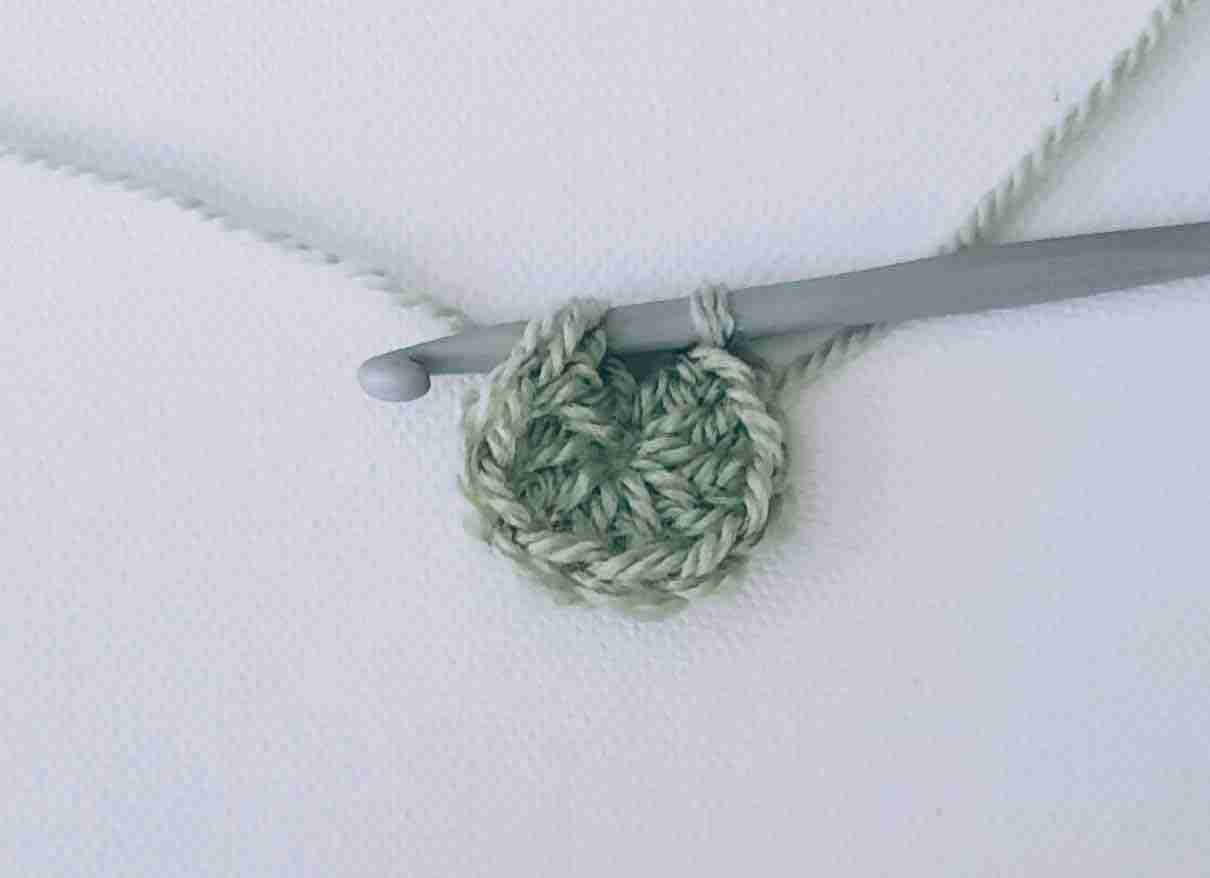
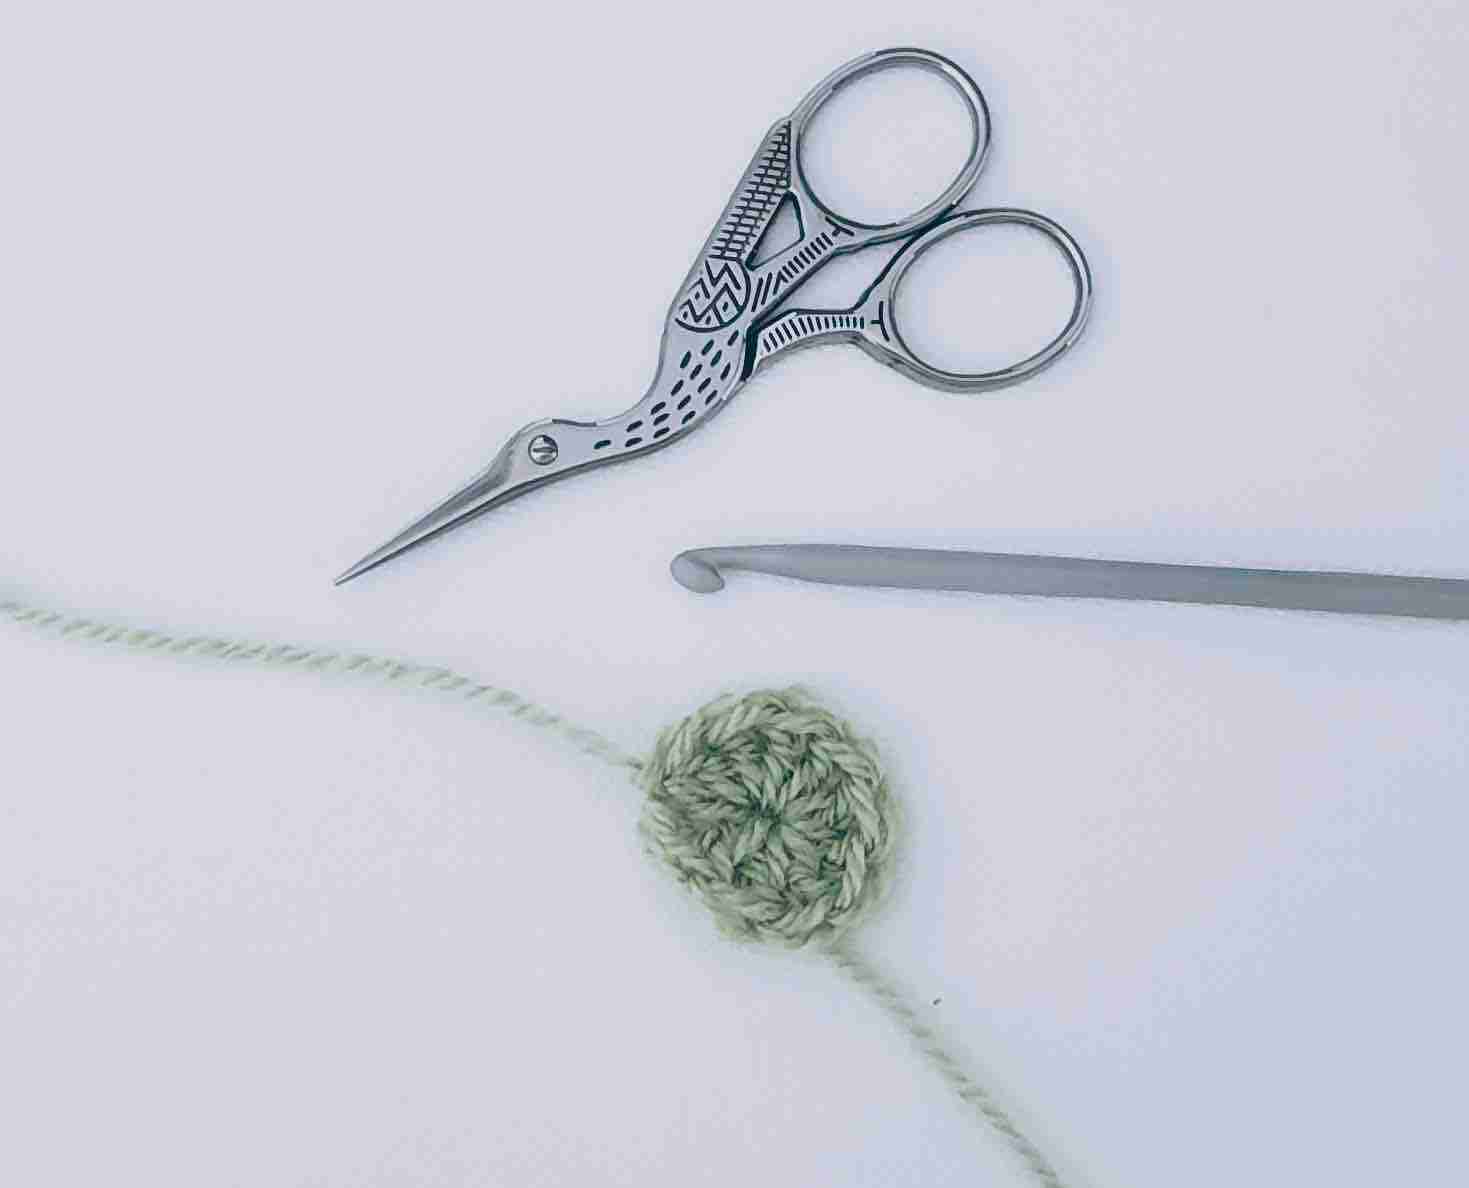
R 2: Join color B, ch2, dc into each st around, sl st to join. Leave 4" tail, cut yarn and fo.(10)
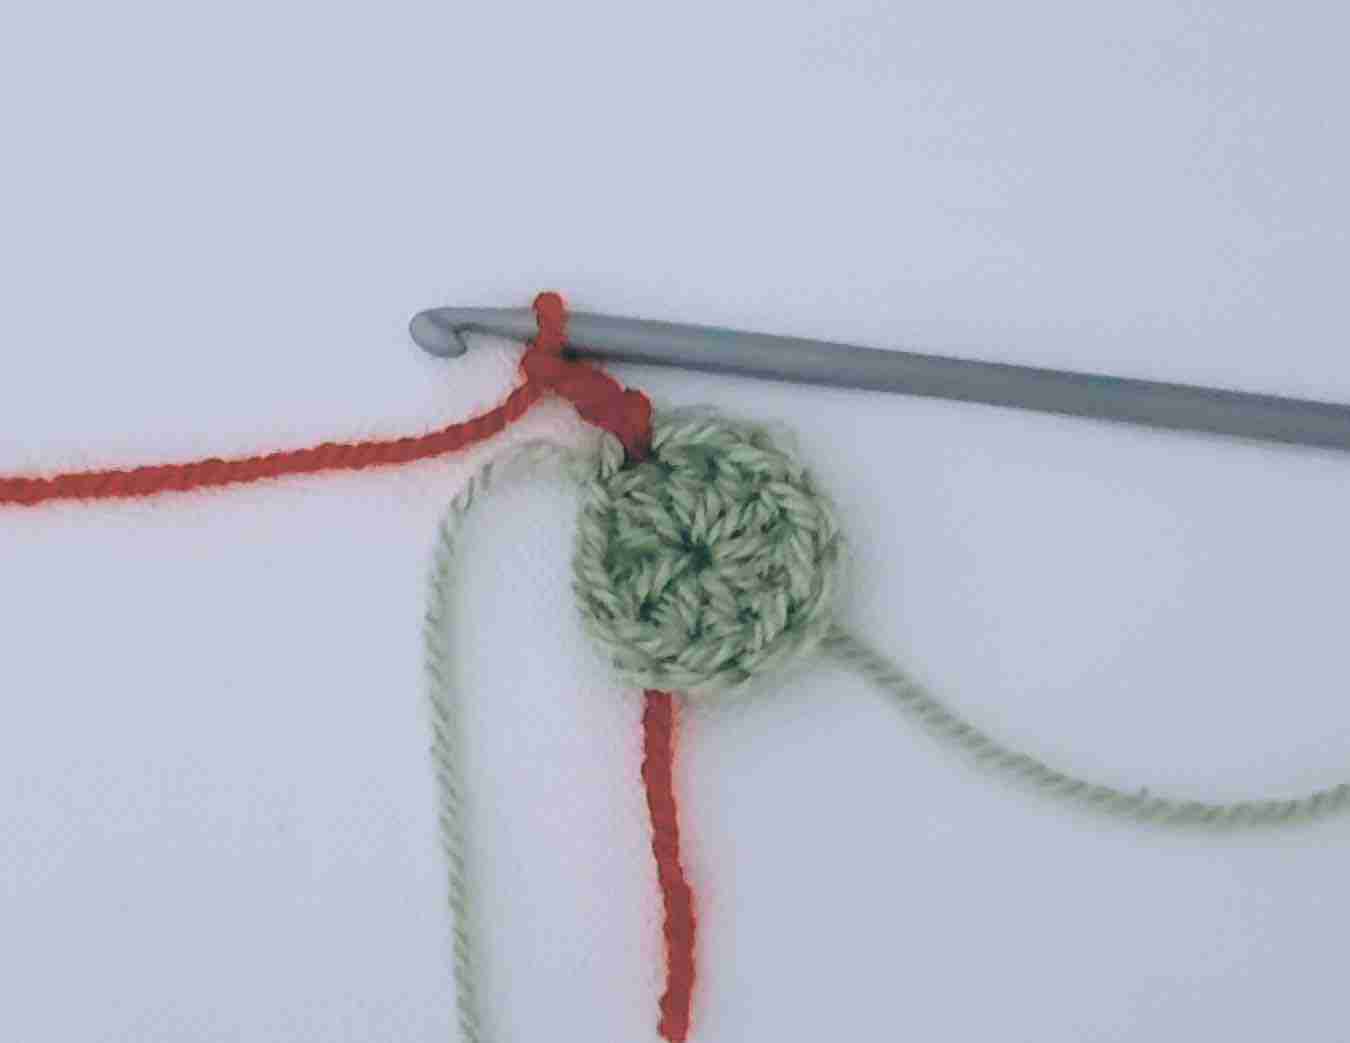
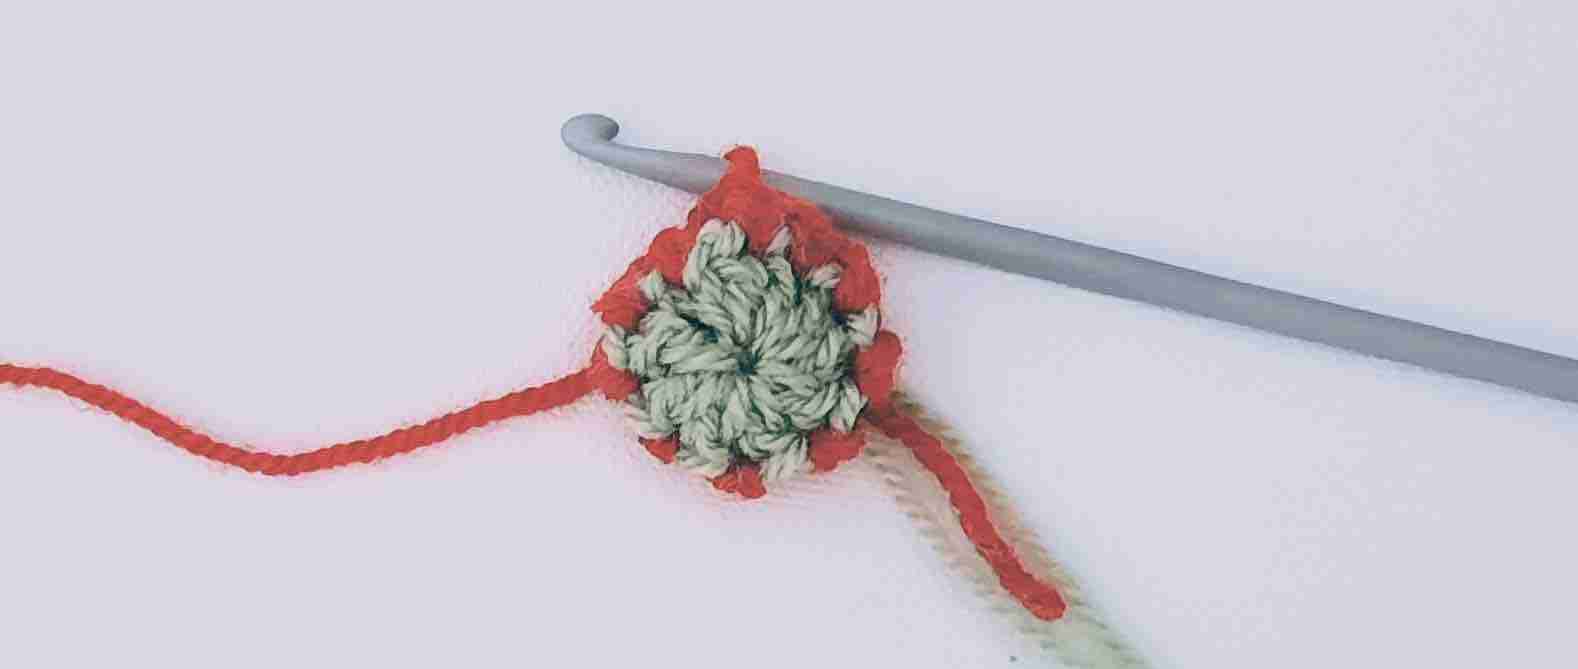
Note: From Round 2 onward, I crocheted in between the ch 2 posts as opposed to into the “v”s. It shortened the bell a tiny bit, which gave it a better look in the end.
R 3: Join color C: ch 2, dc into same st, (sk a st, 2 dc into next st), repeat brackets around, sl st to join. Leave 4" tail, cut yarn and fo. (10)
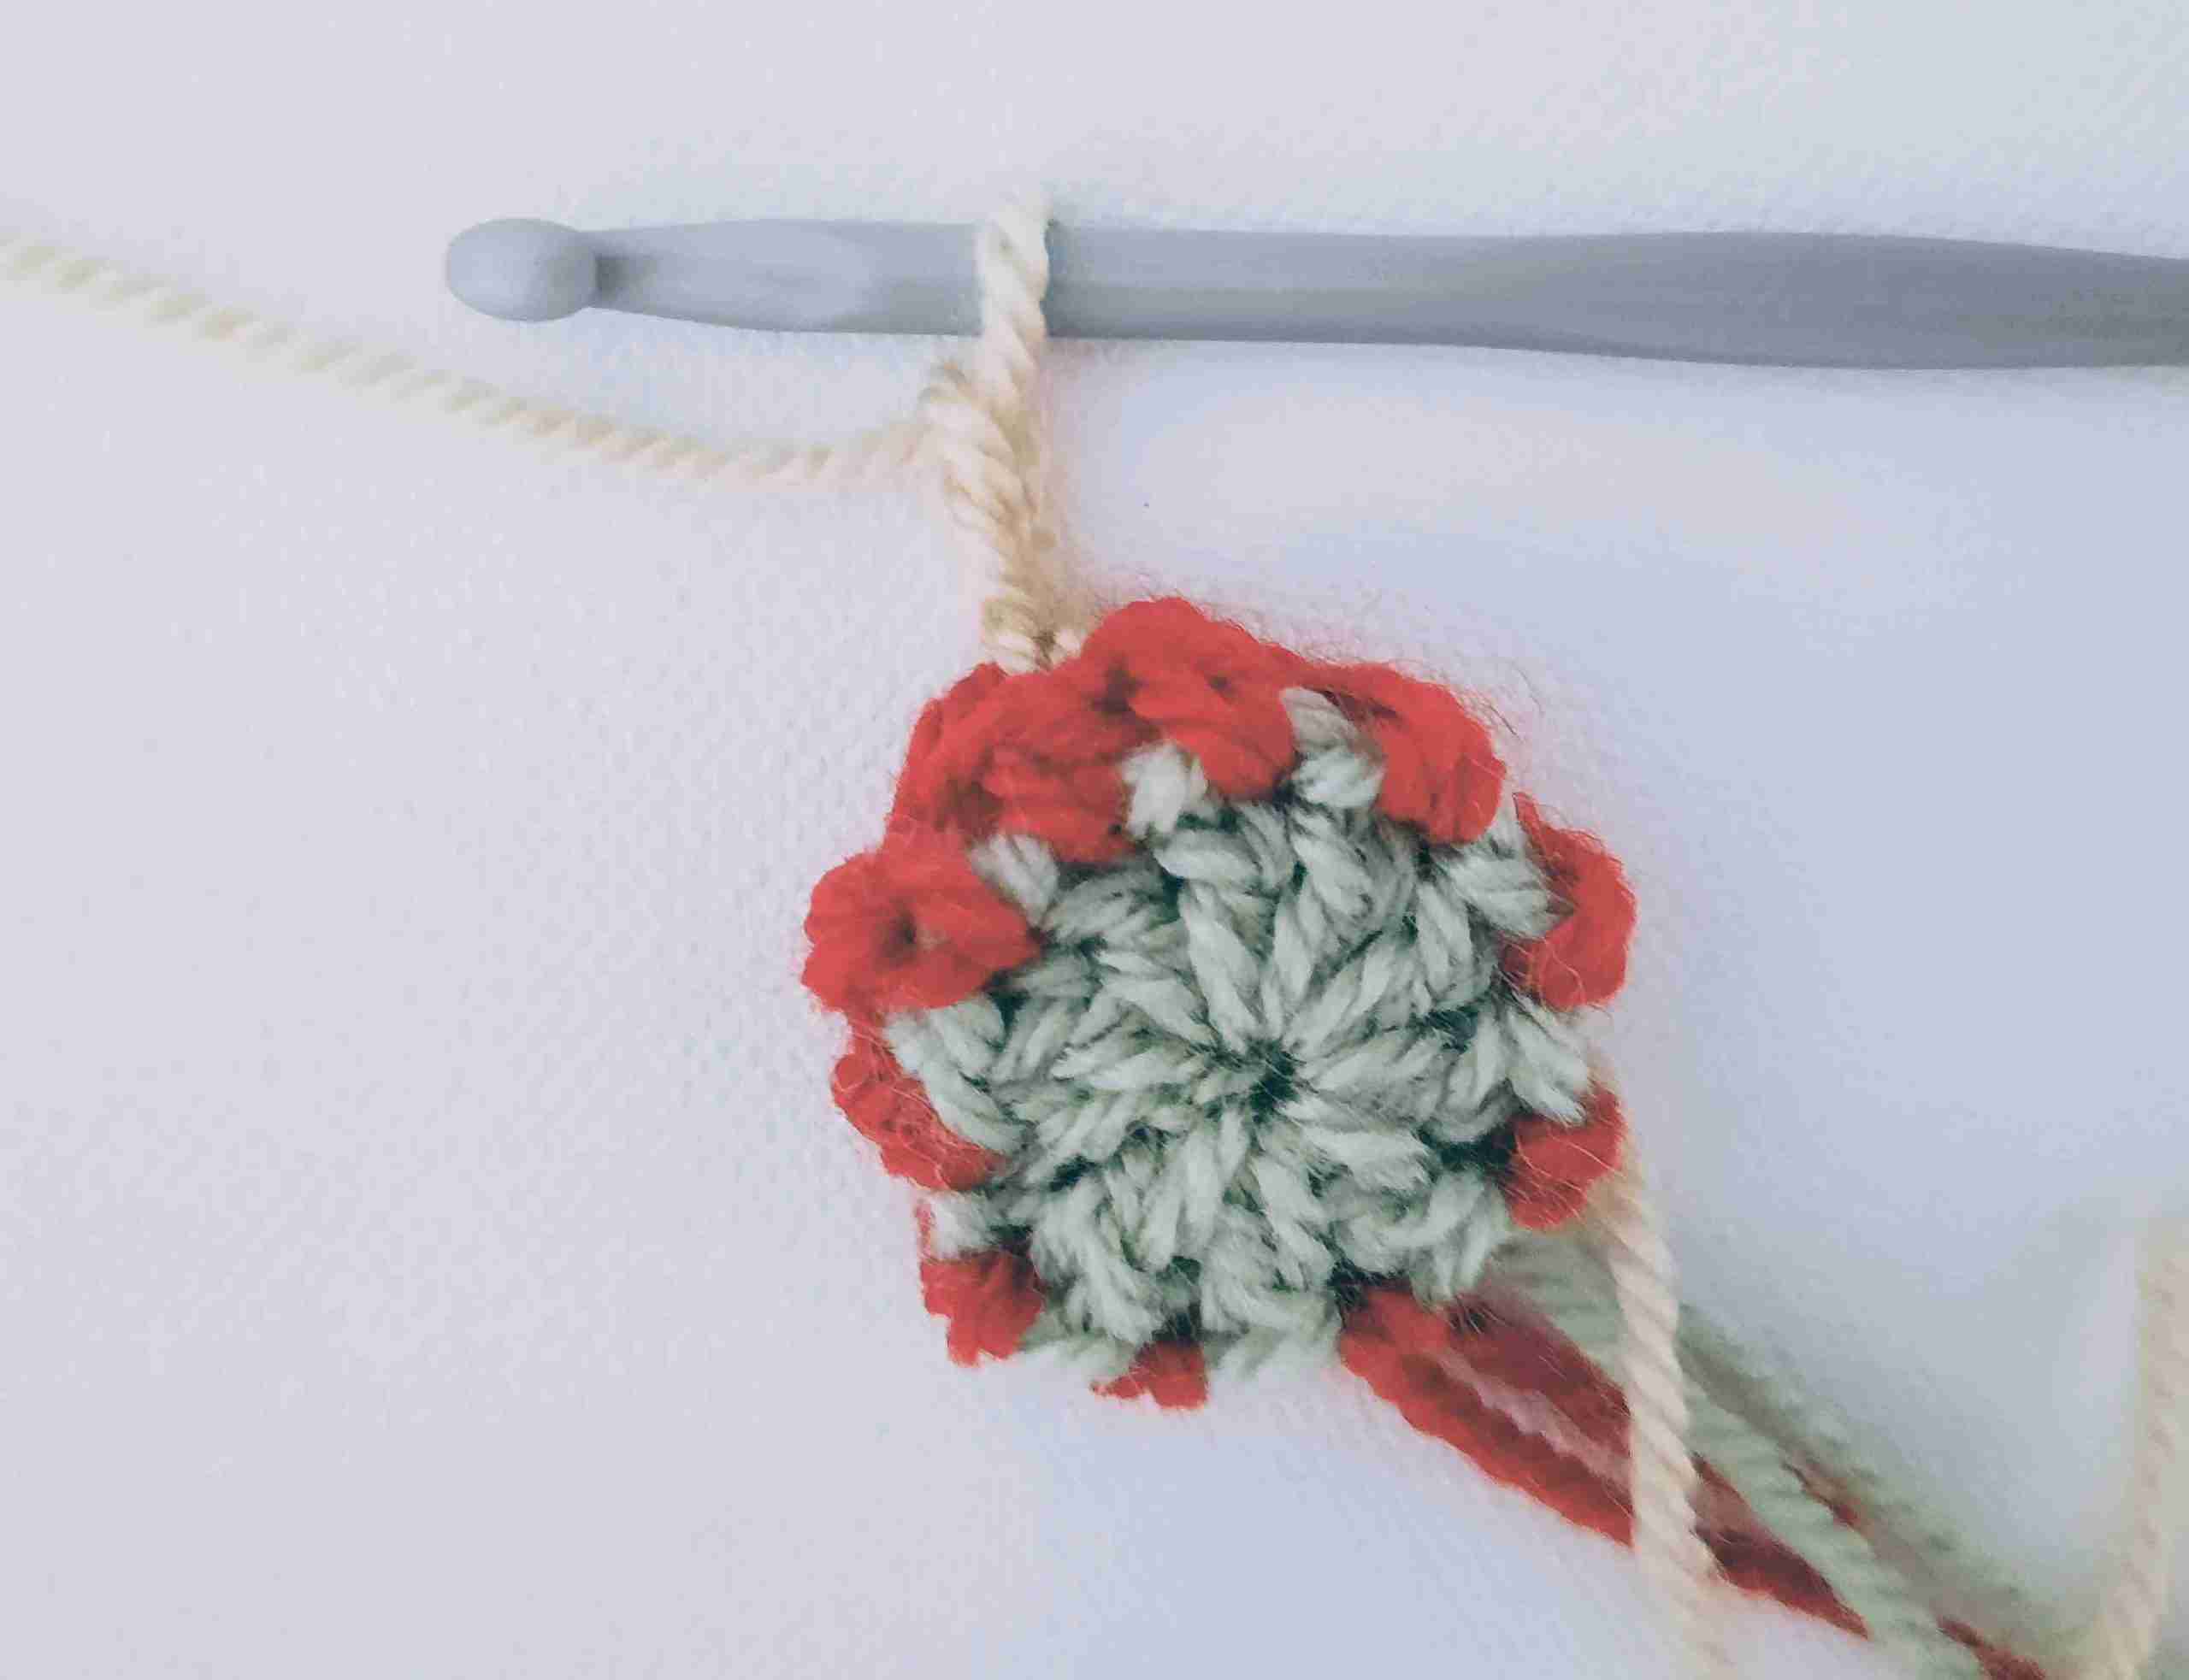
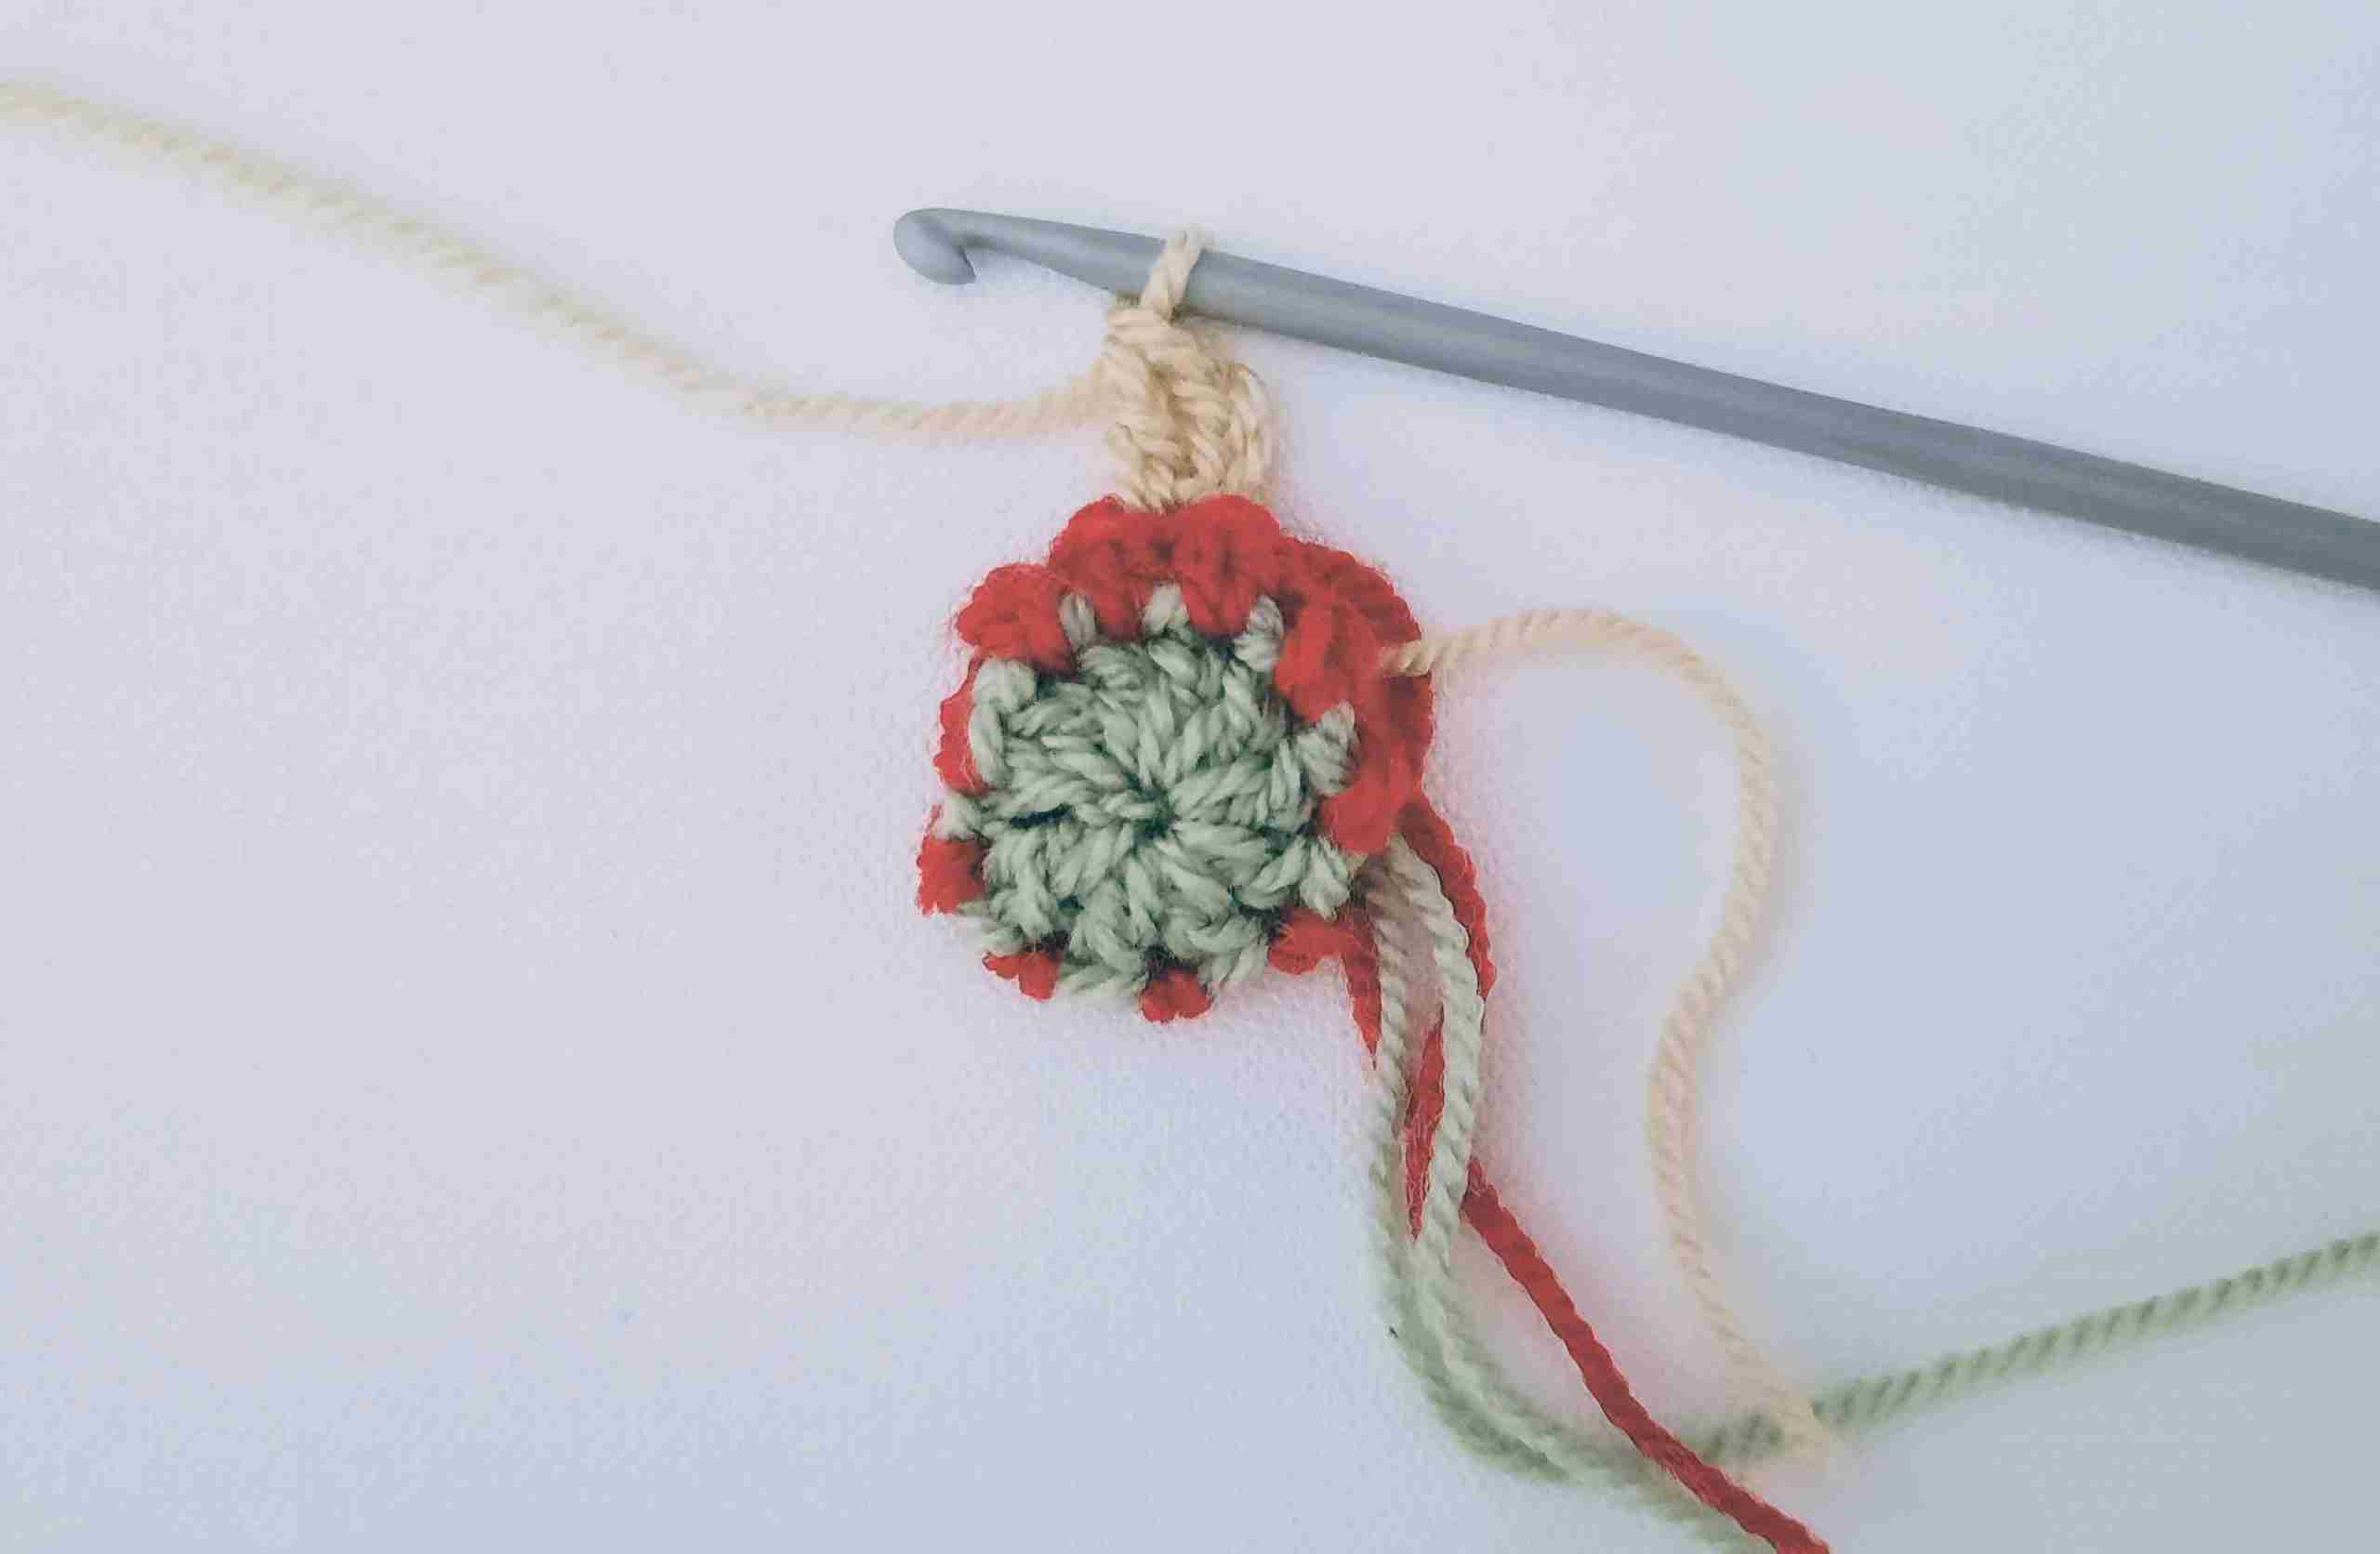
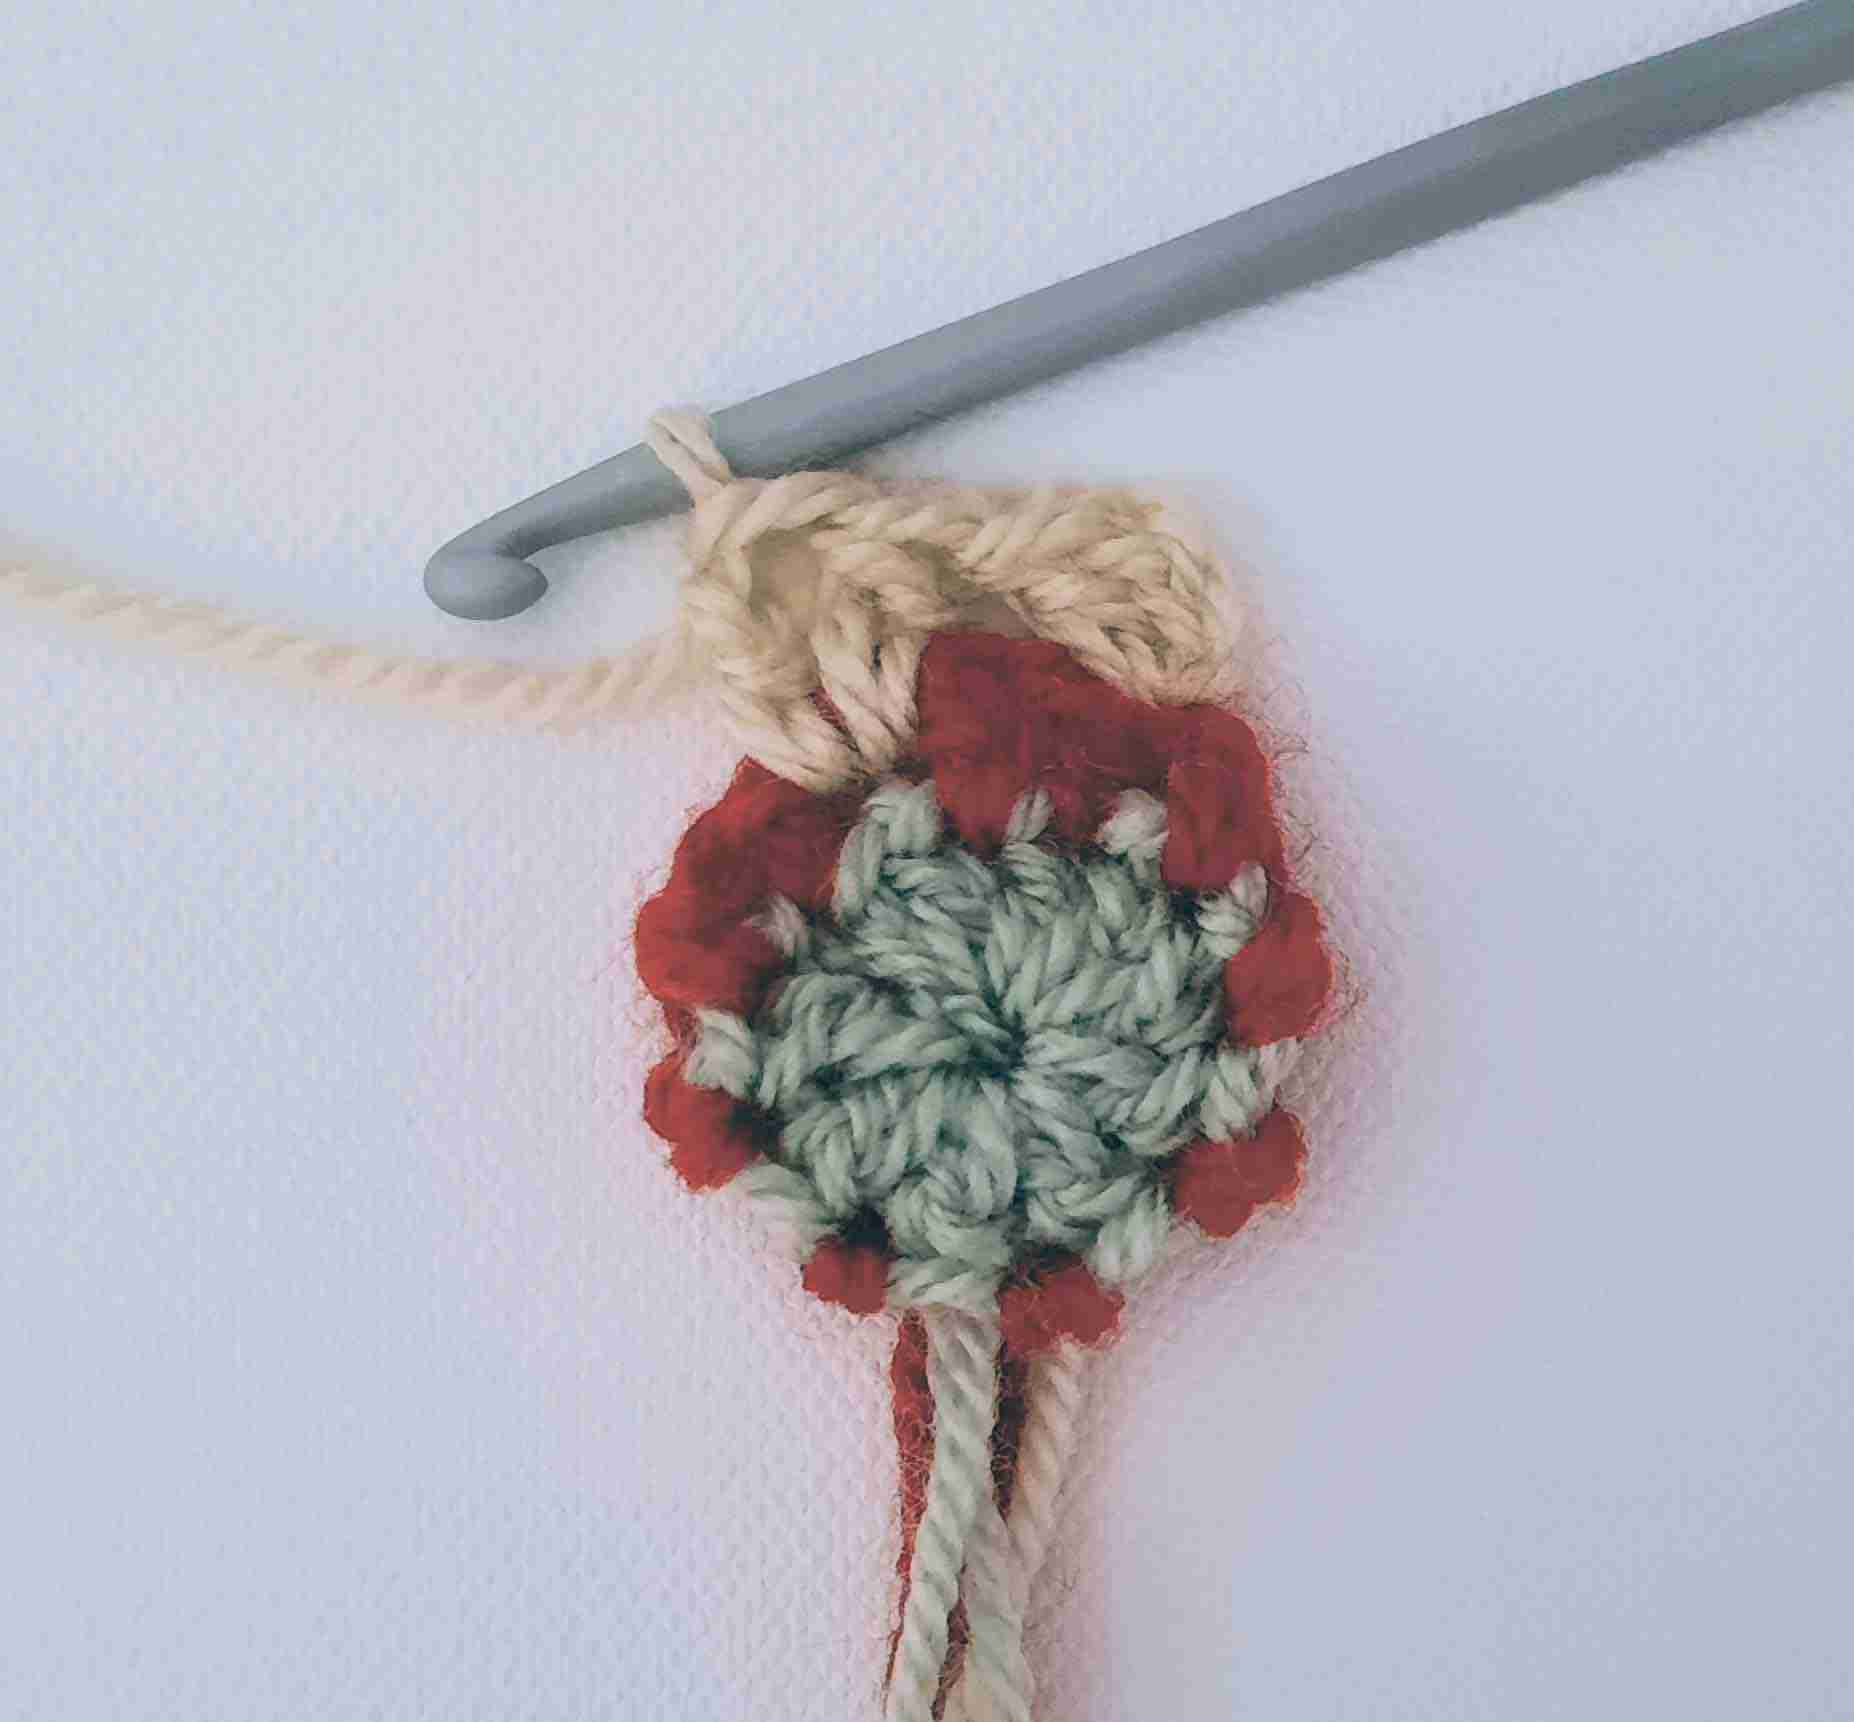
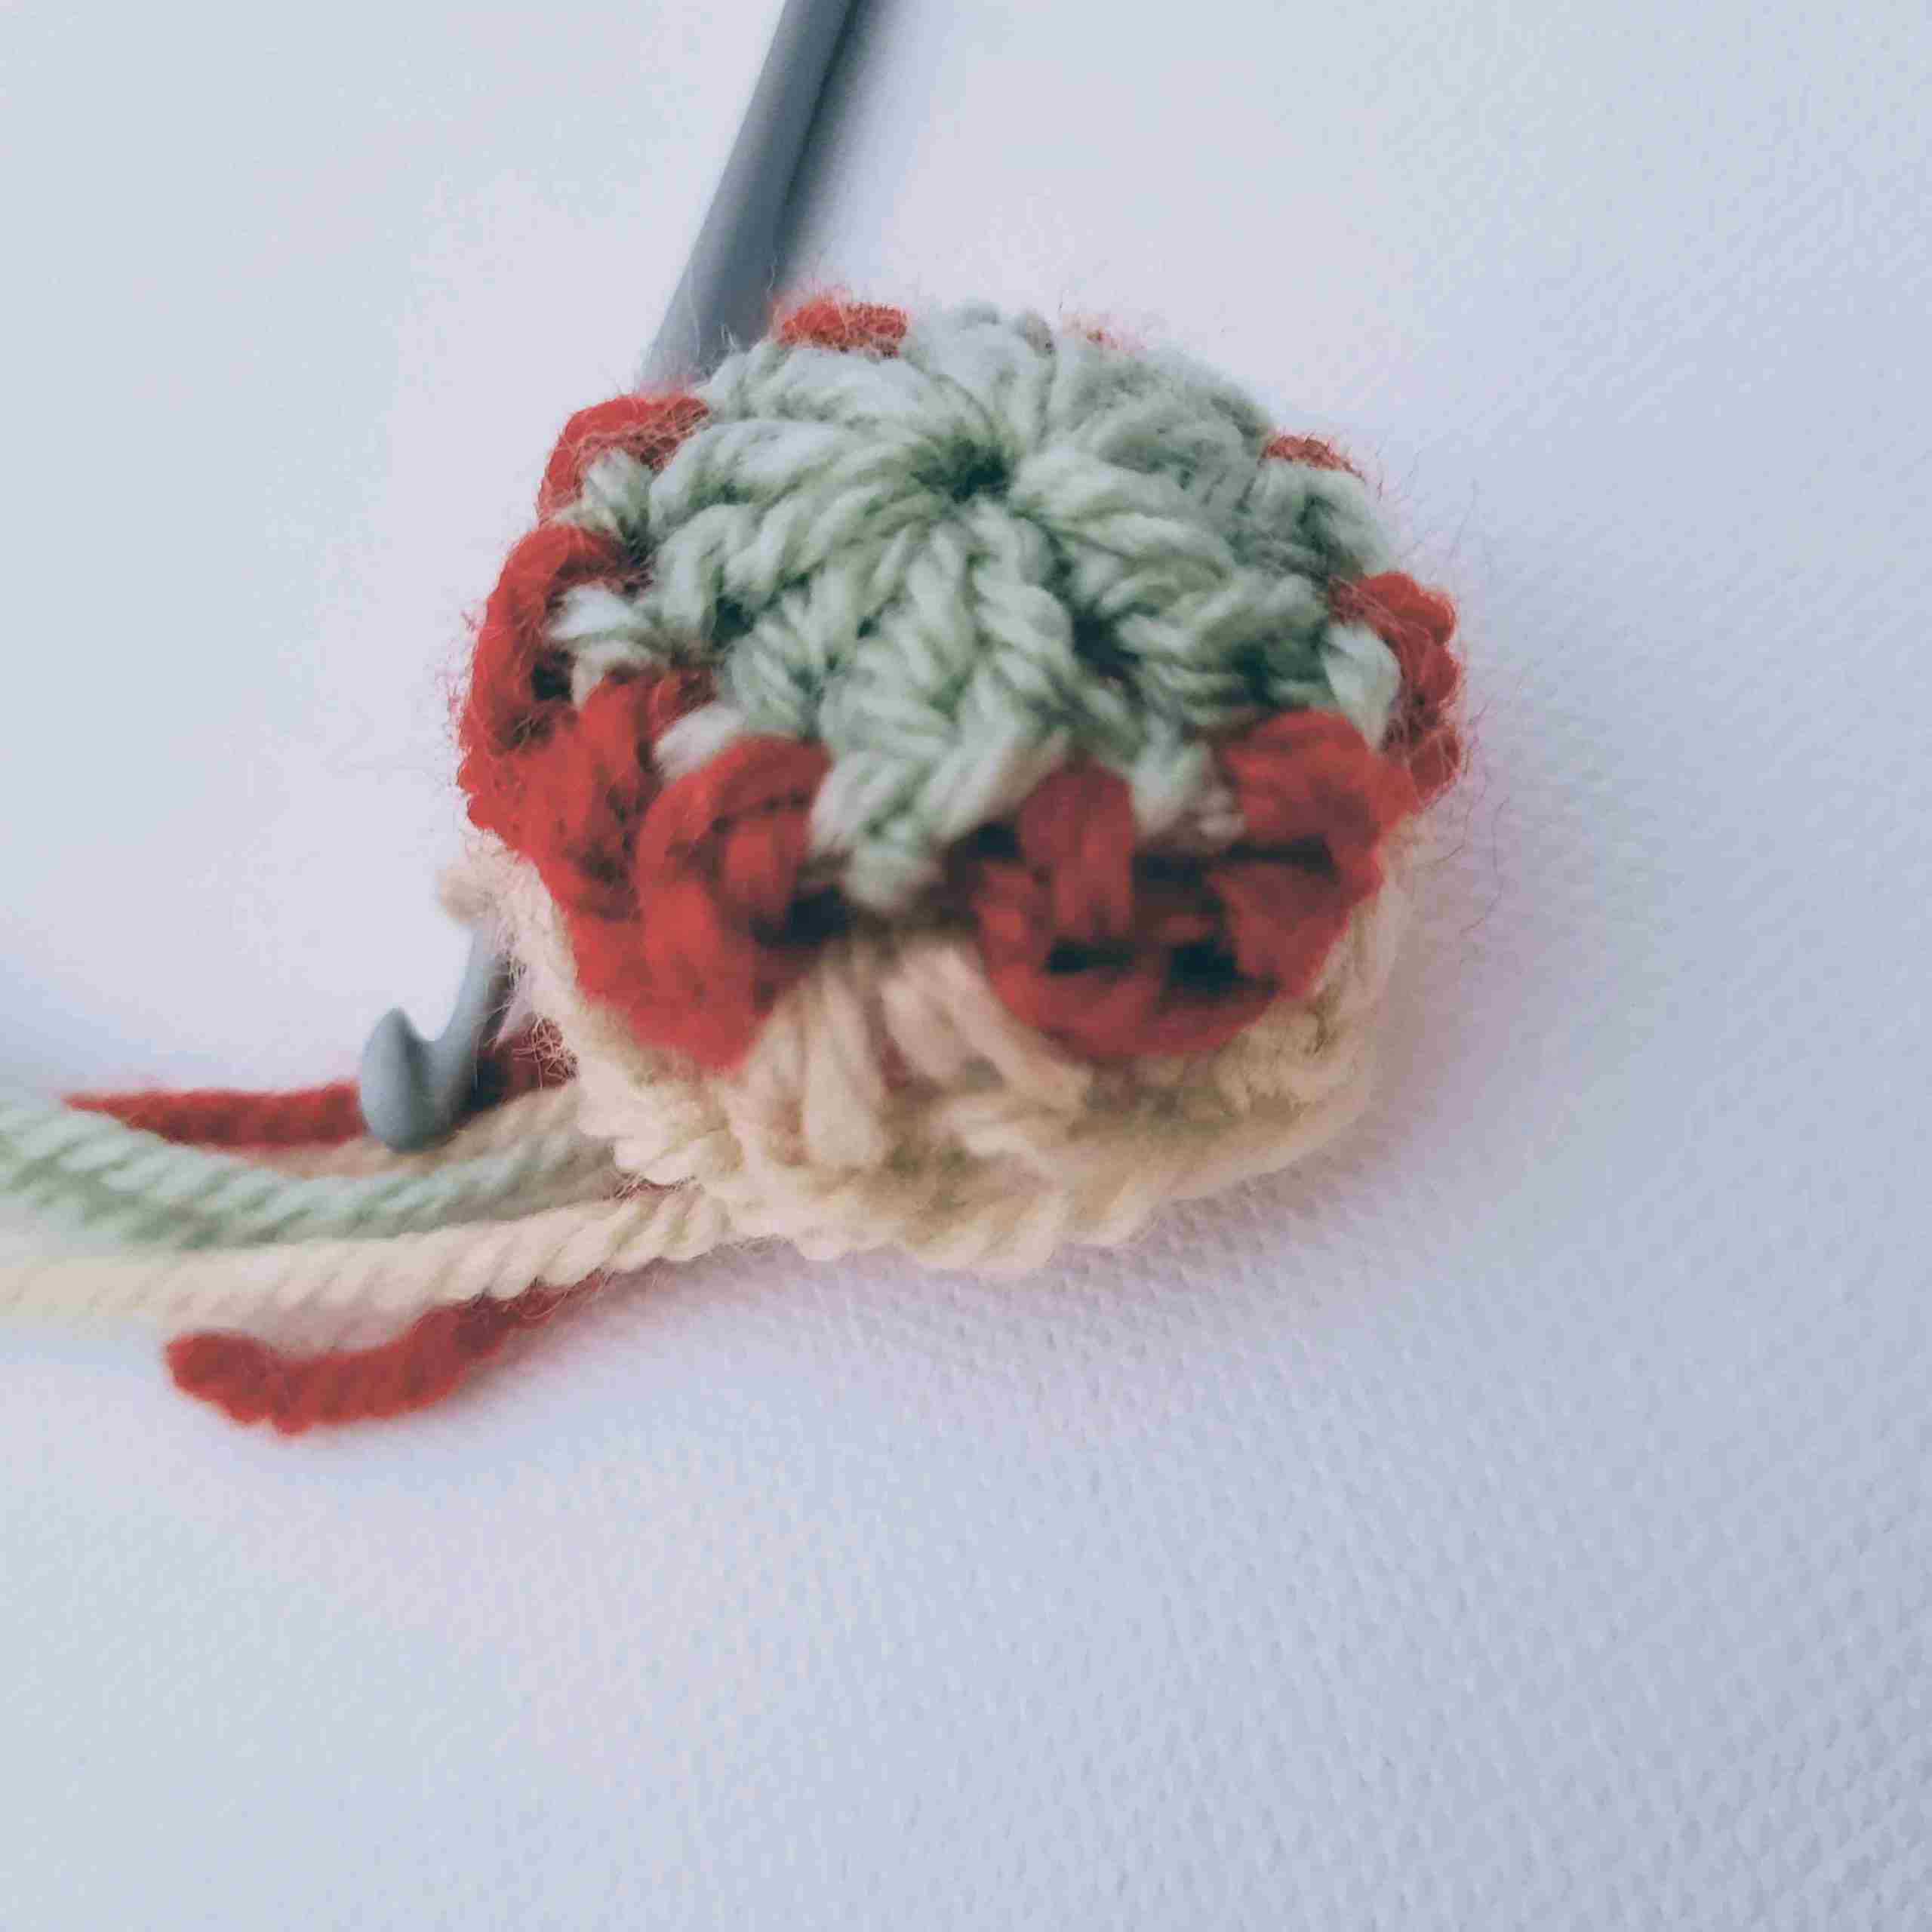
R 4: Join color D, ch 2, dc into each st around, sl st to join. Leave 4" tail, cut yarn and fo.(10)
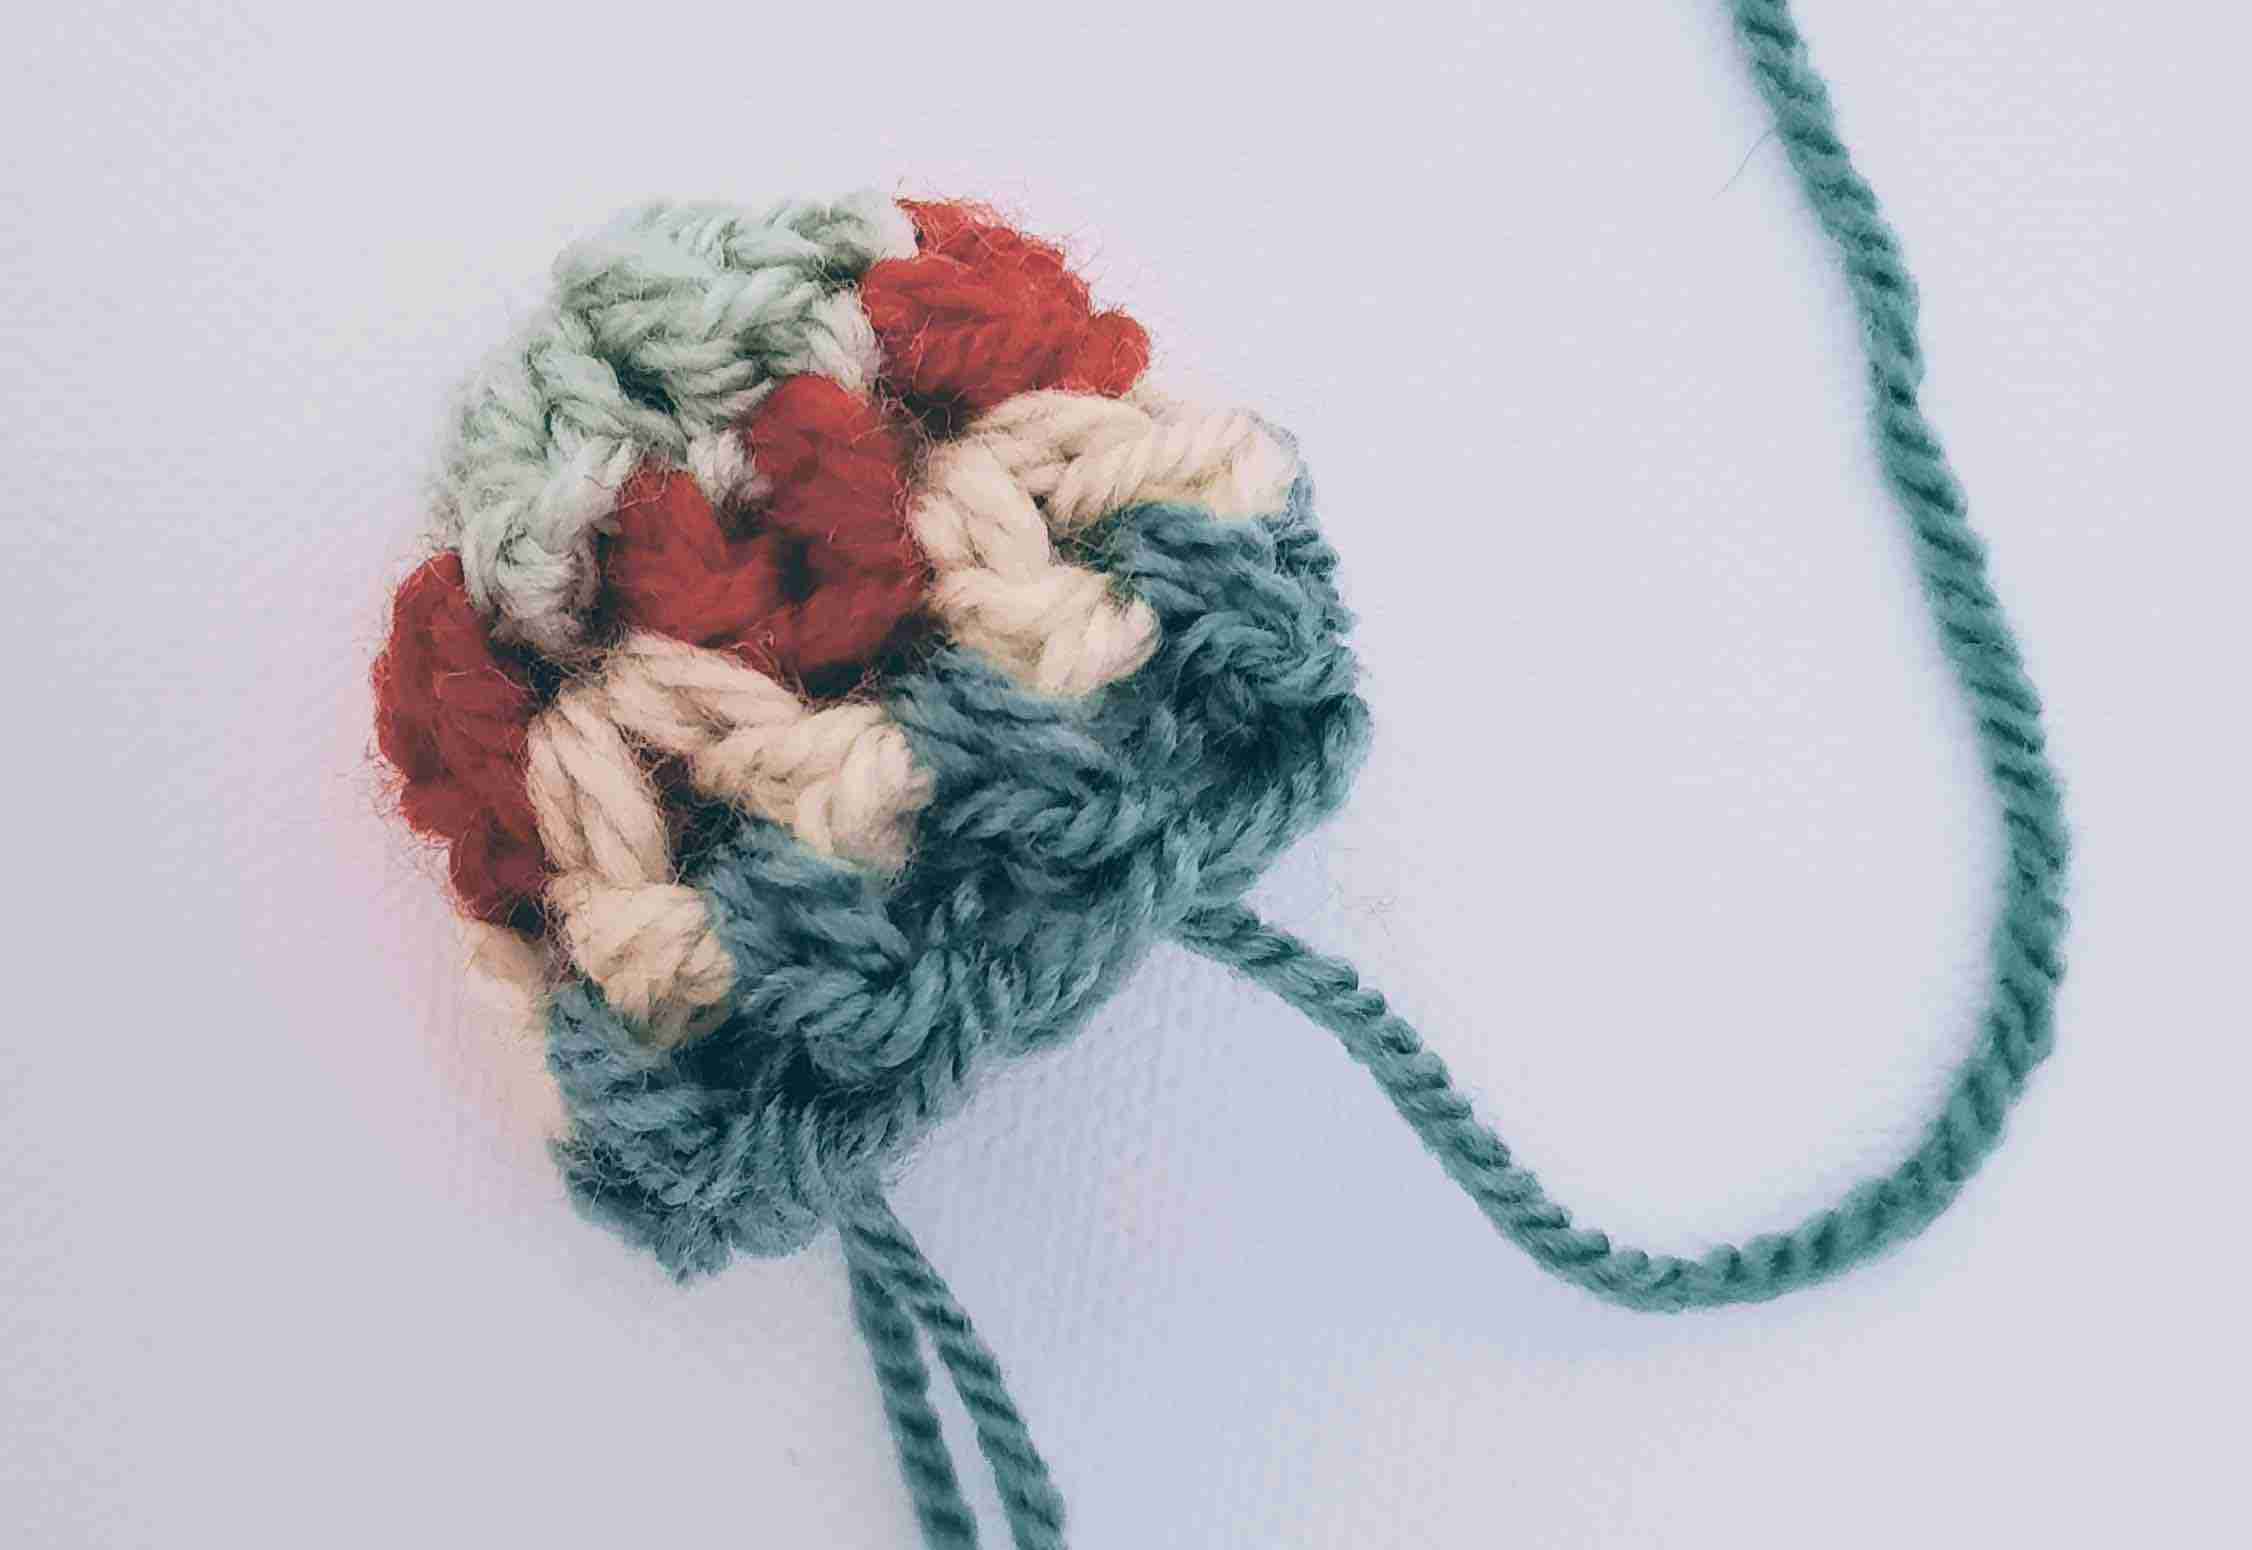
R 5: Join color E: ch 1, sc into same st, 2 sc into each st around, Do not cut yarn. (20)
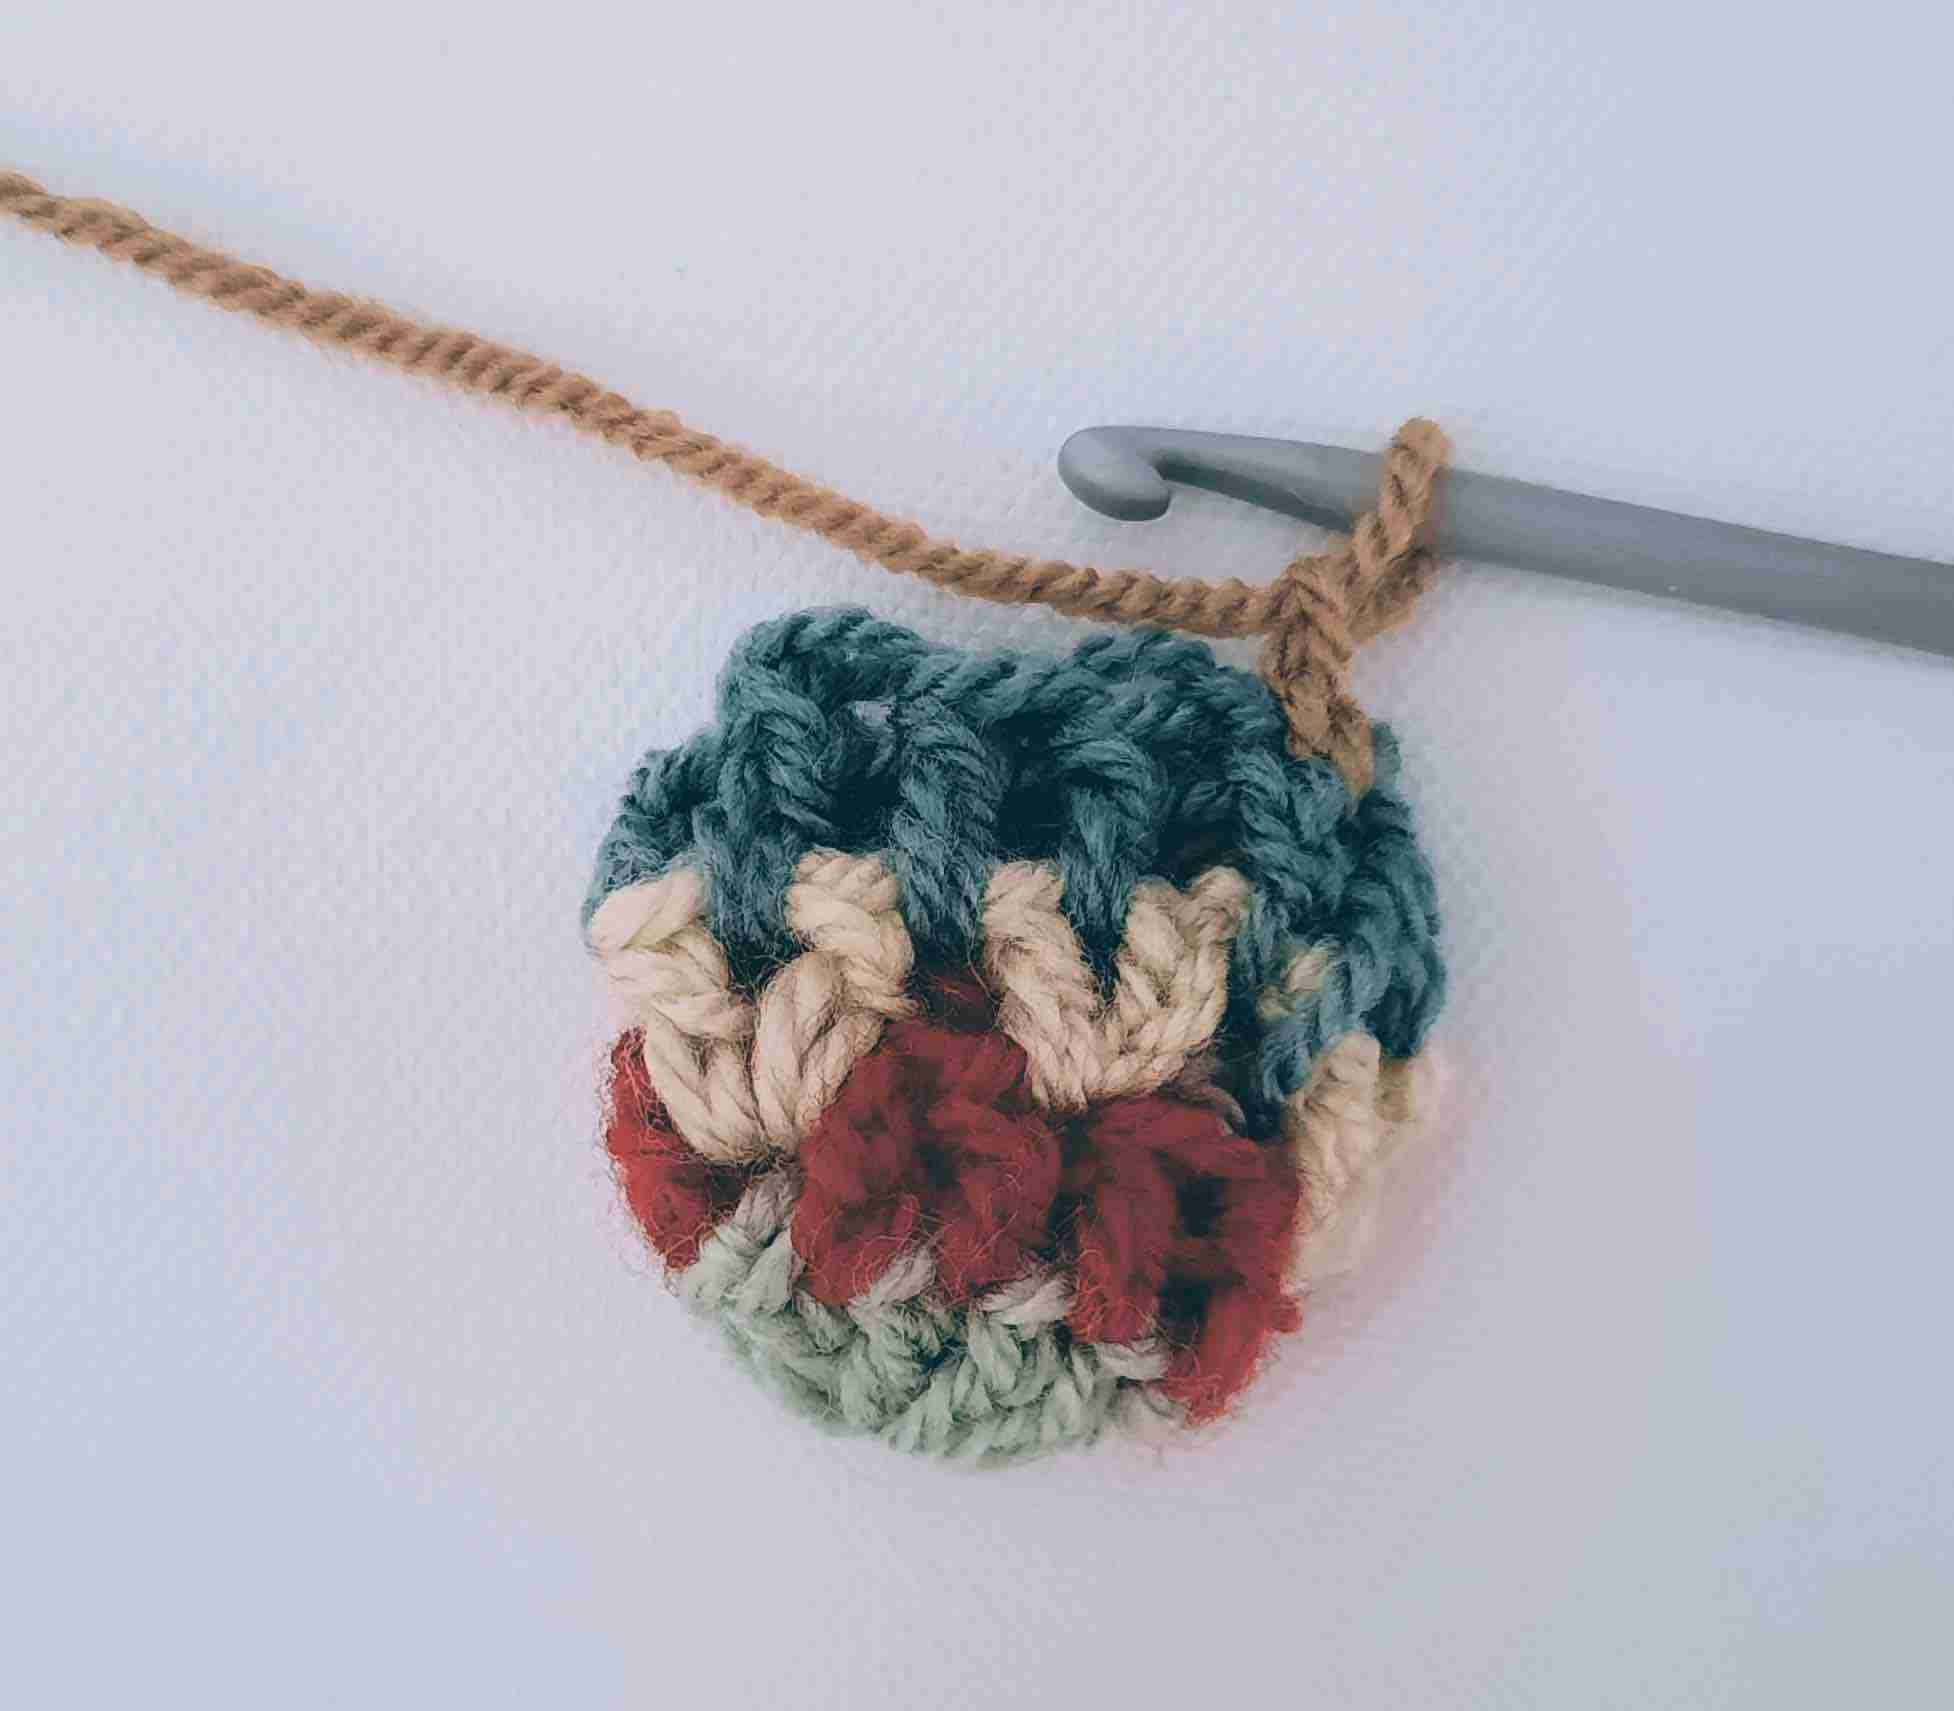
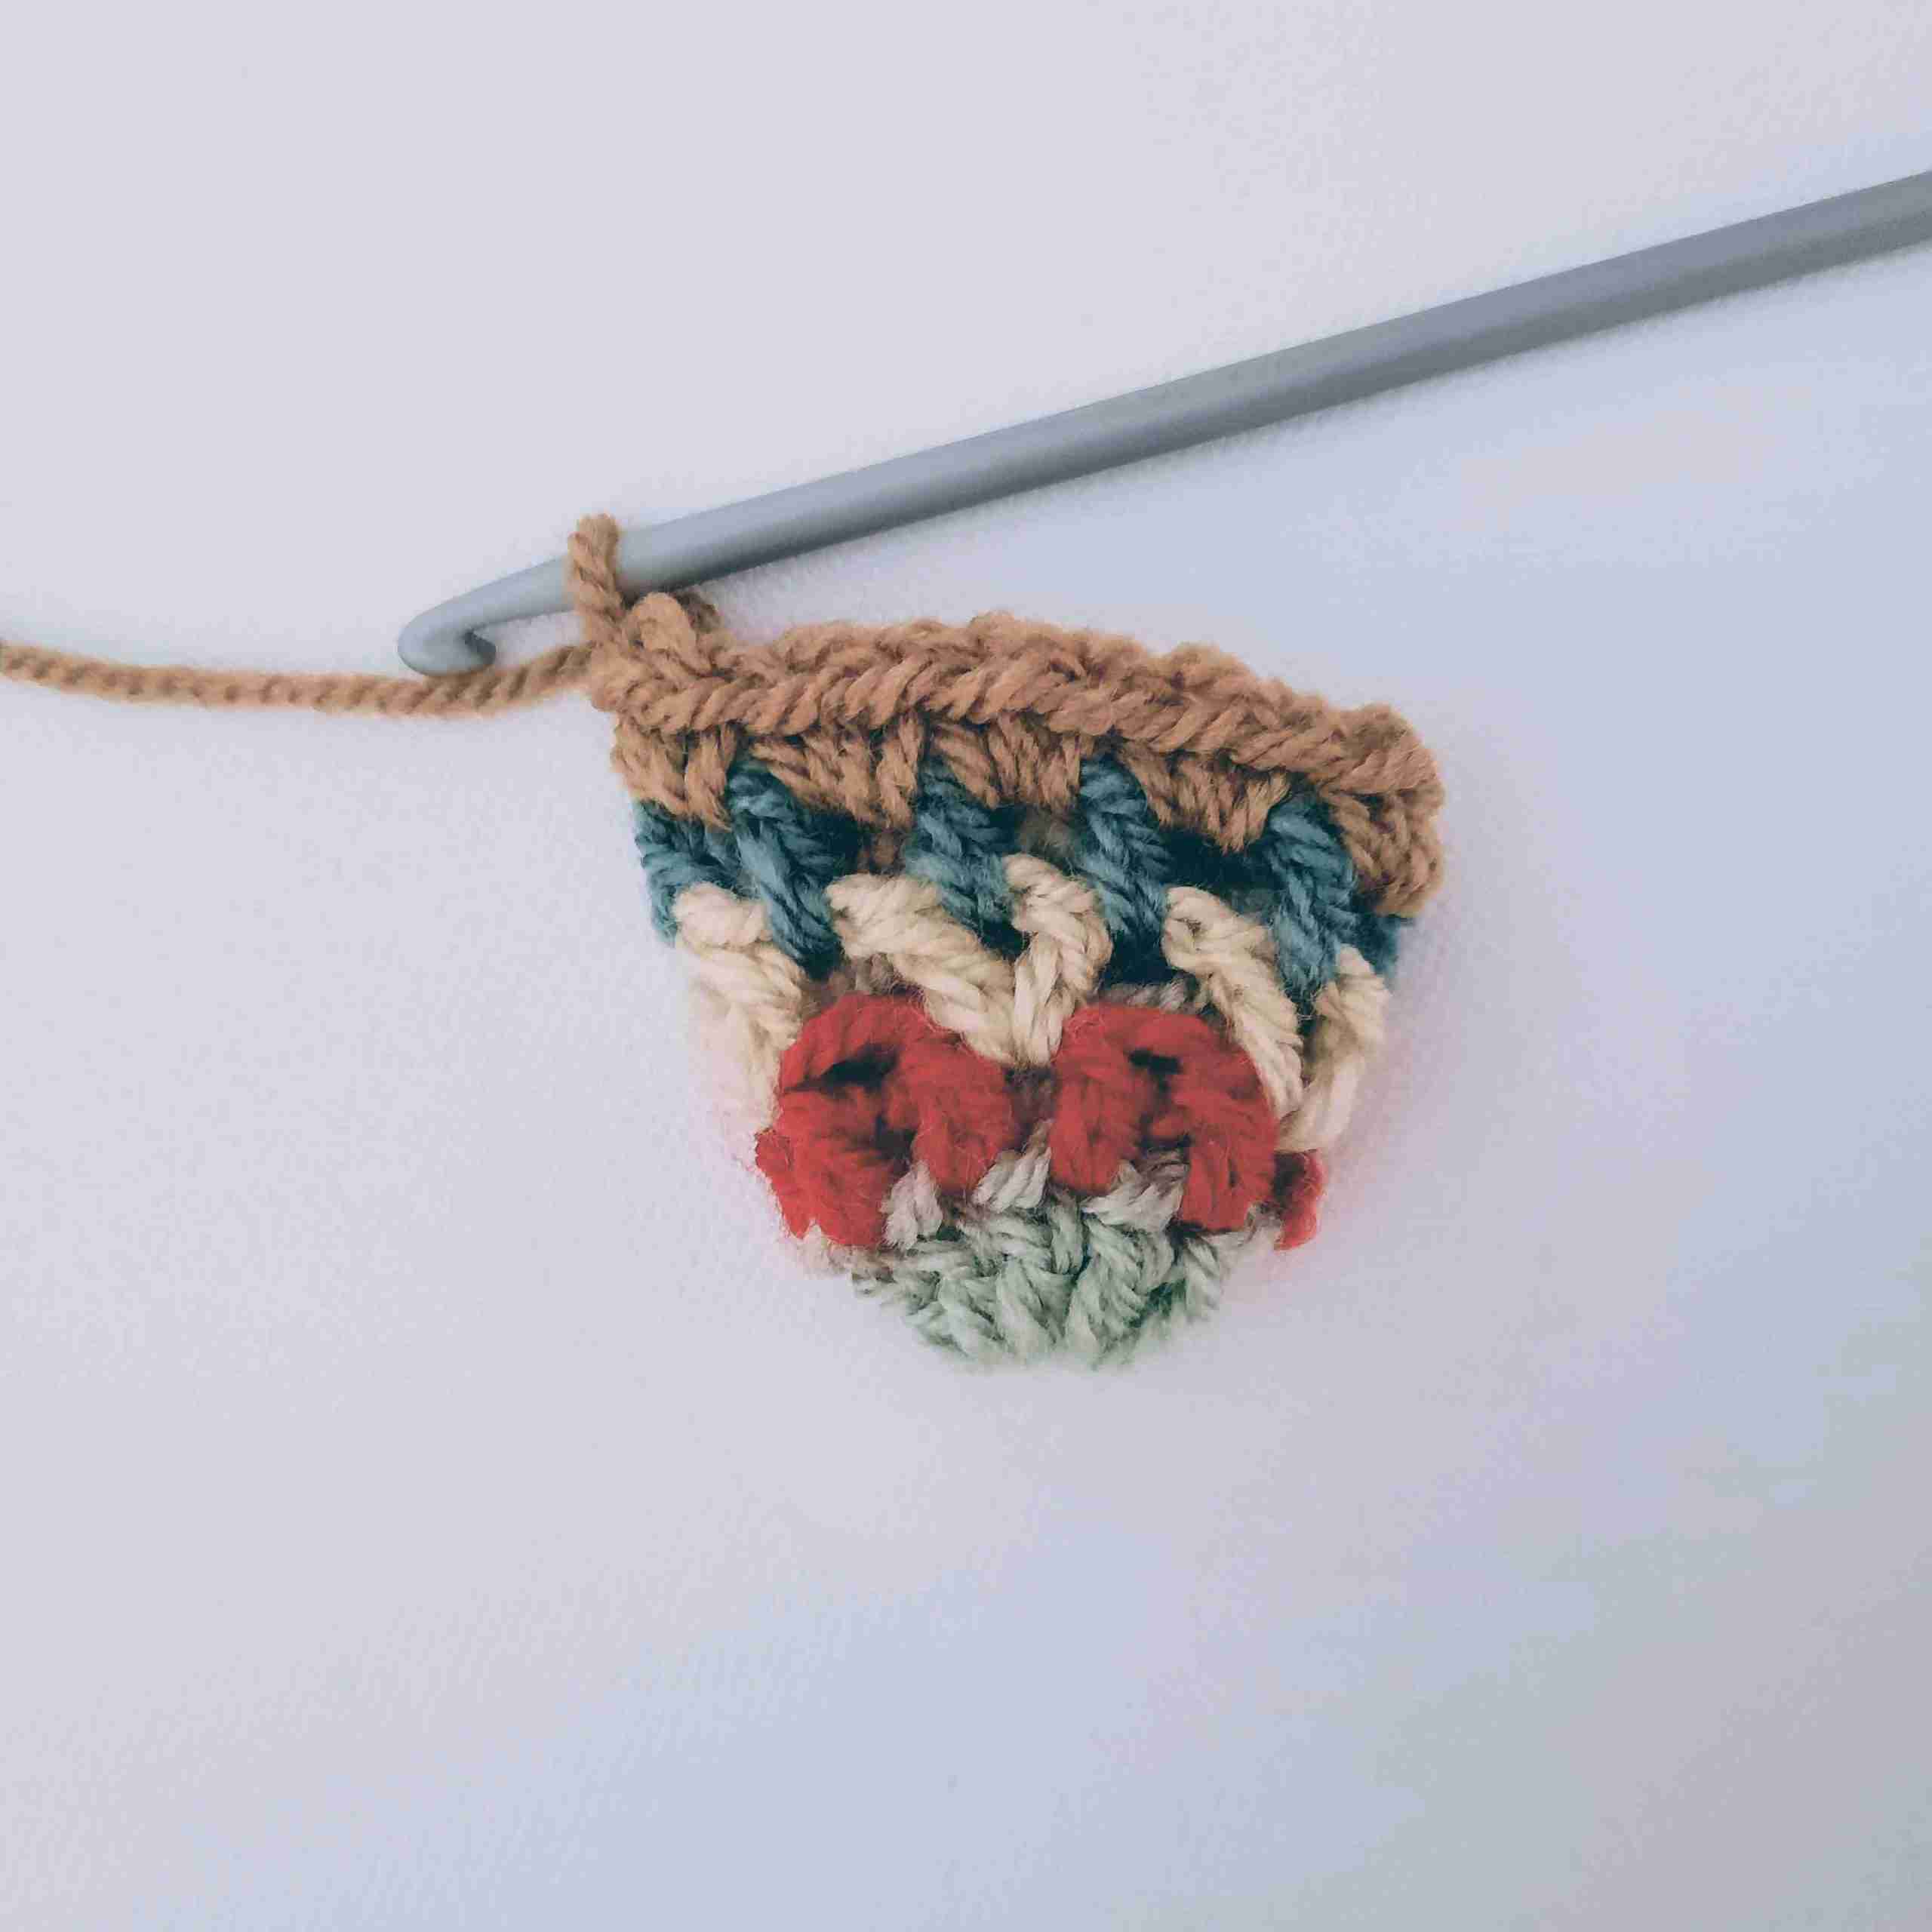
R 6: With same color E (ch 3, sk a st, sl st in next st), repeat all the way around till you have 9 edging curves, sl st to join.
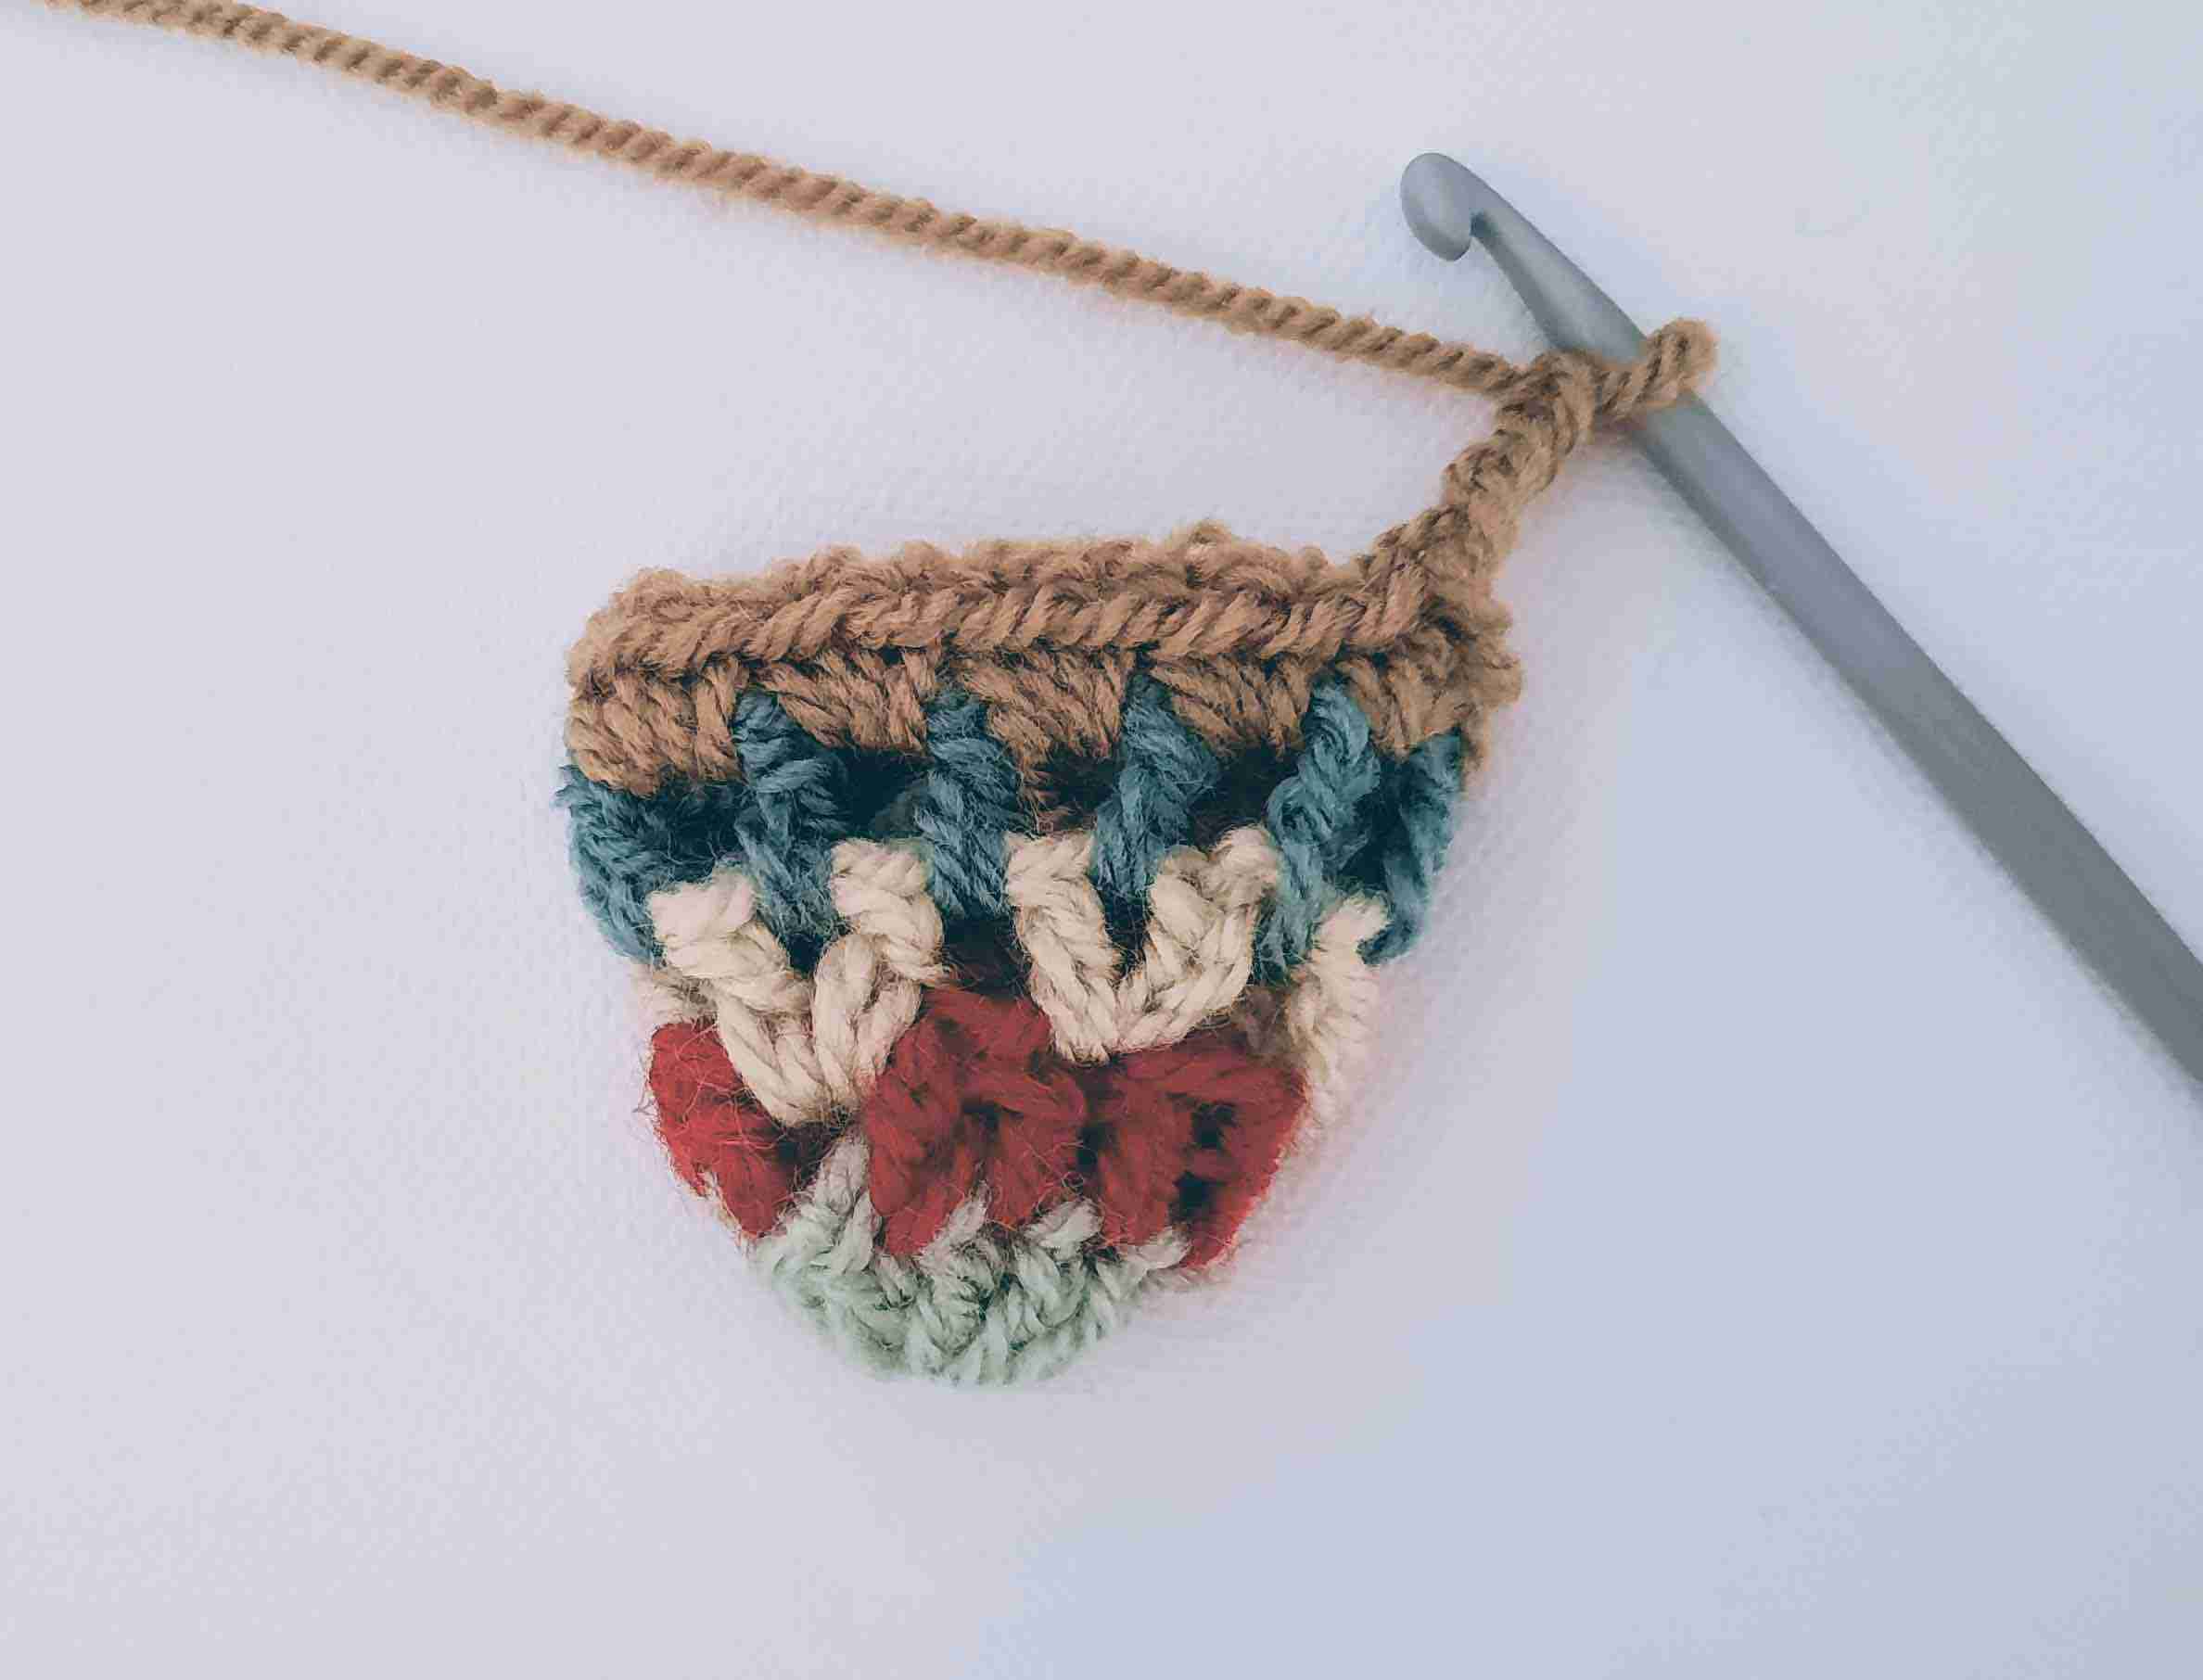
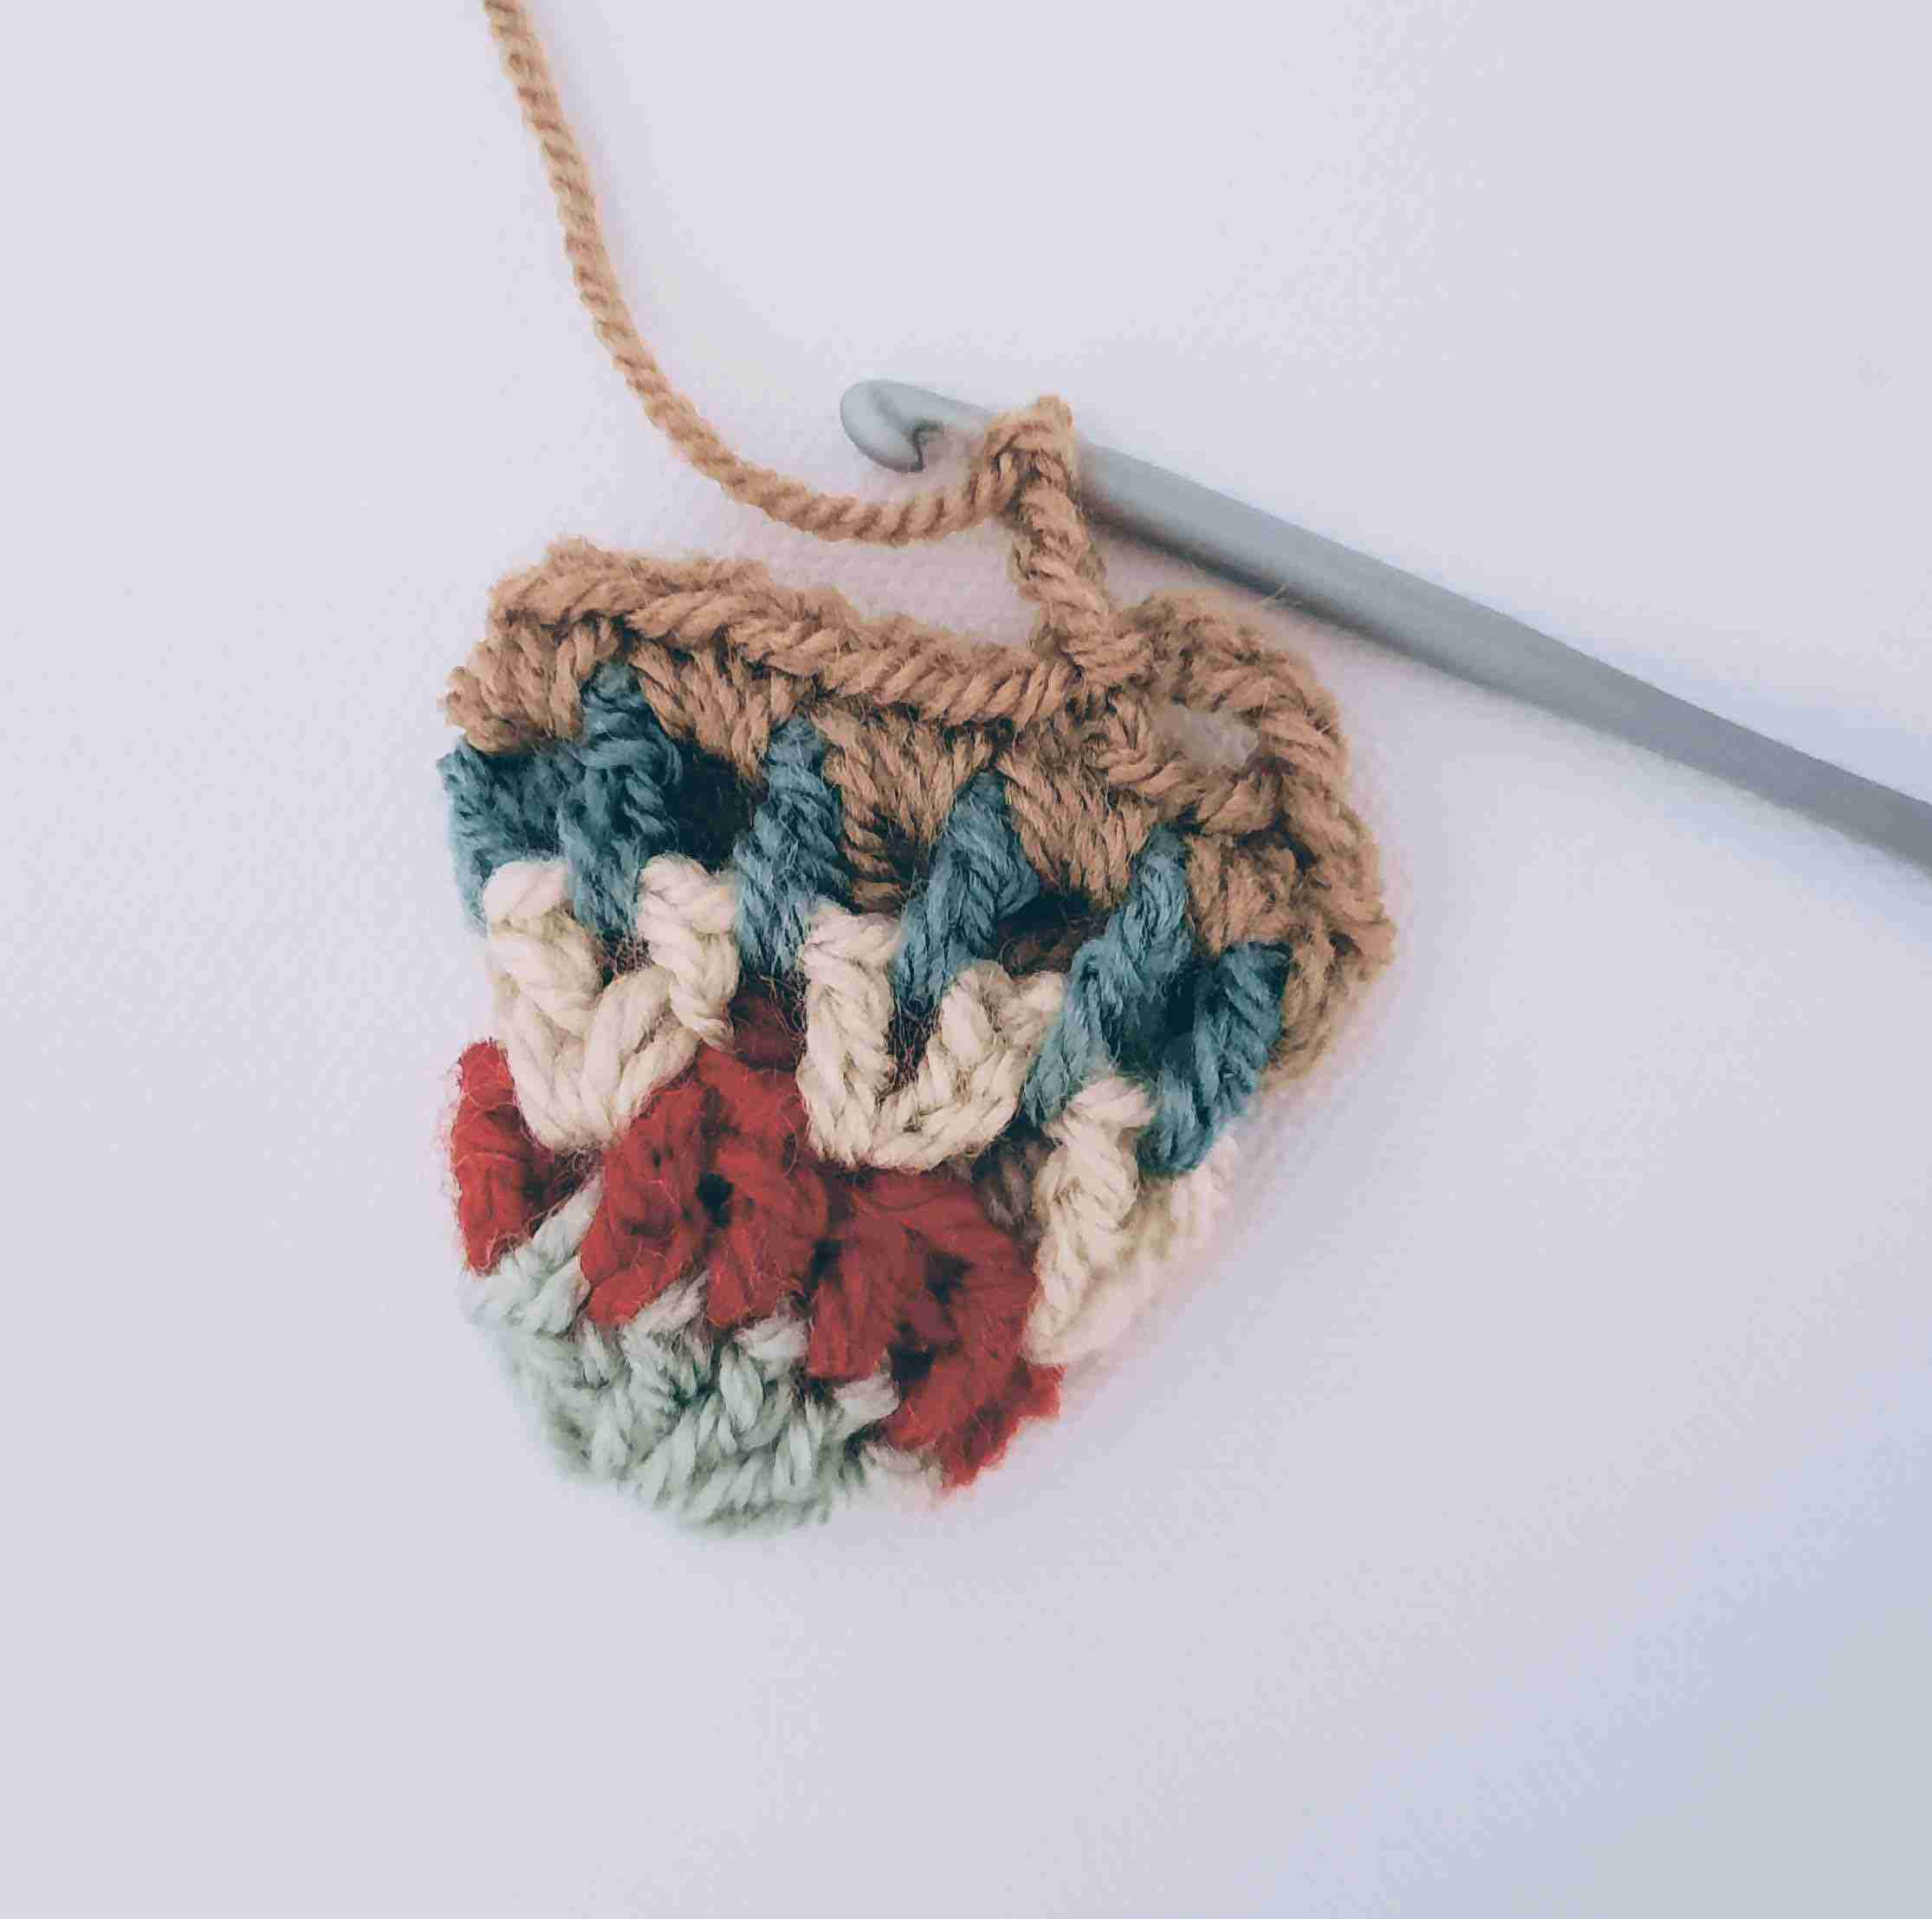
With your darning needle, weave in your last end.
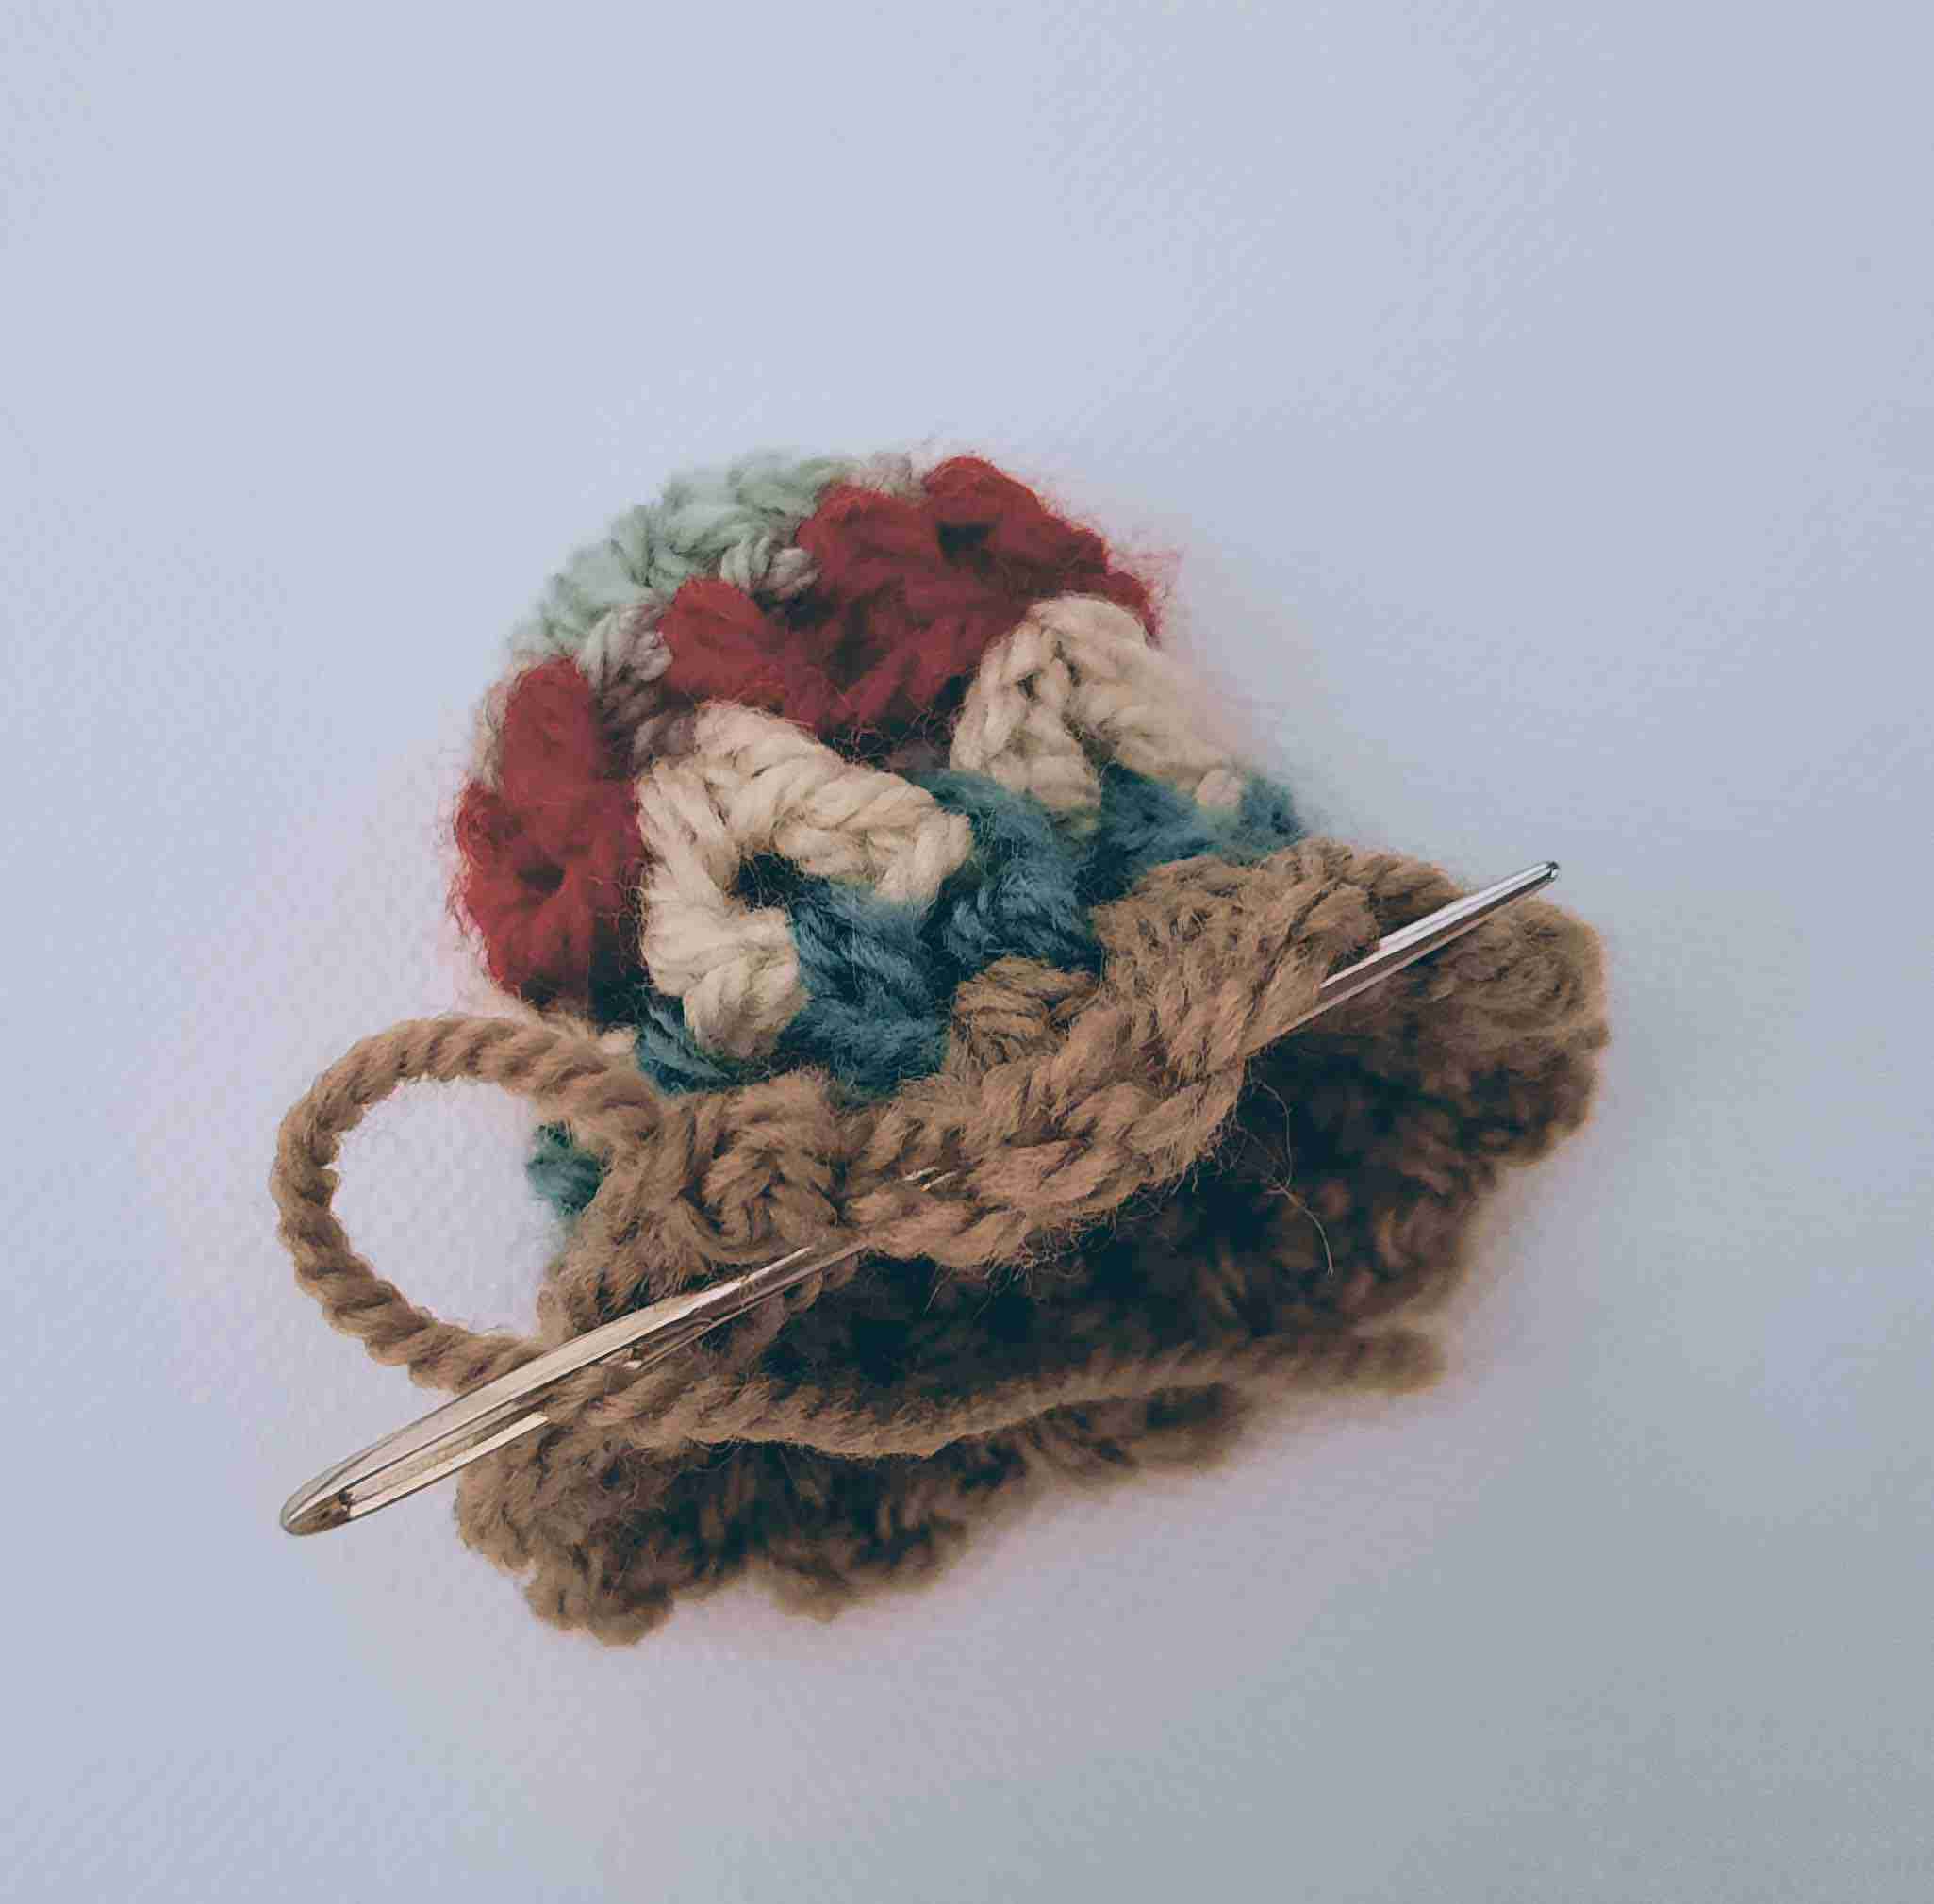
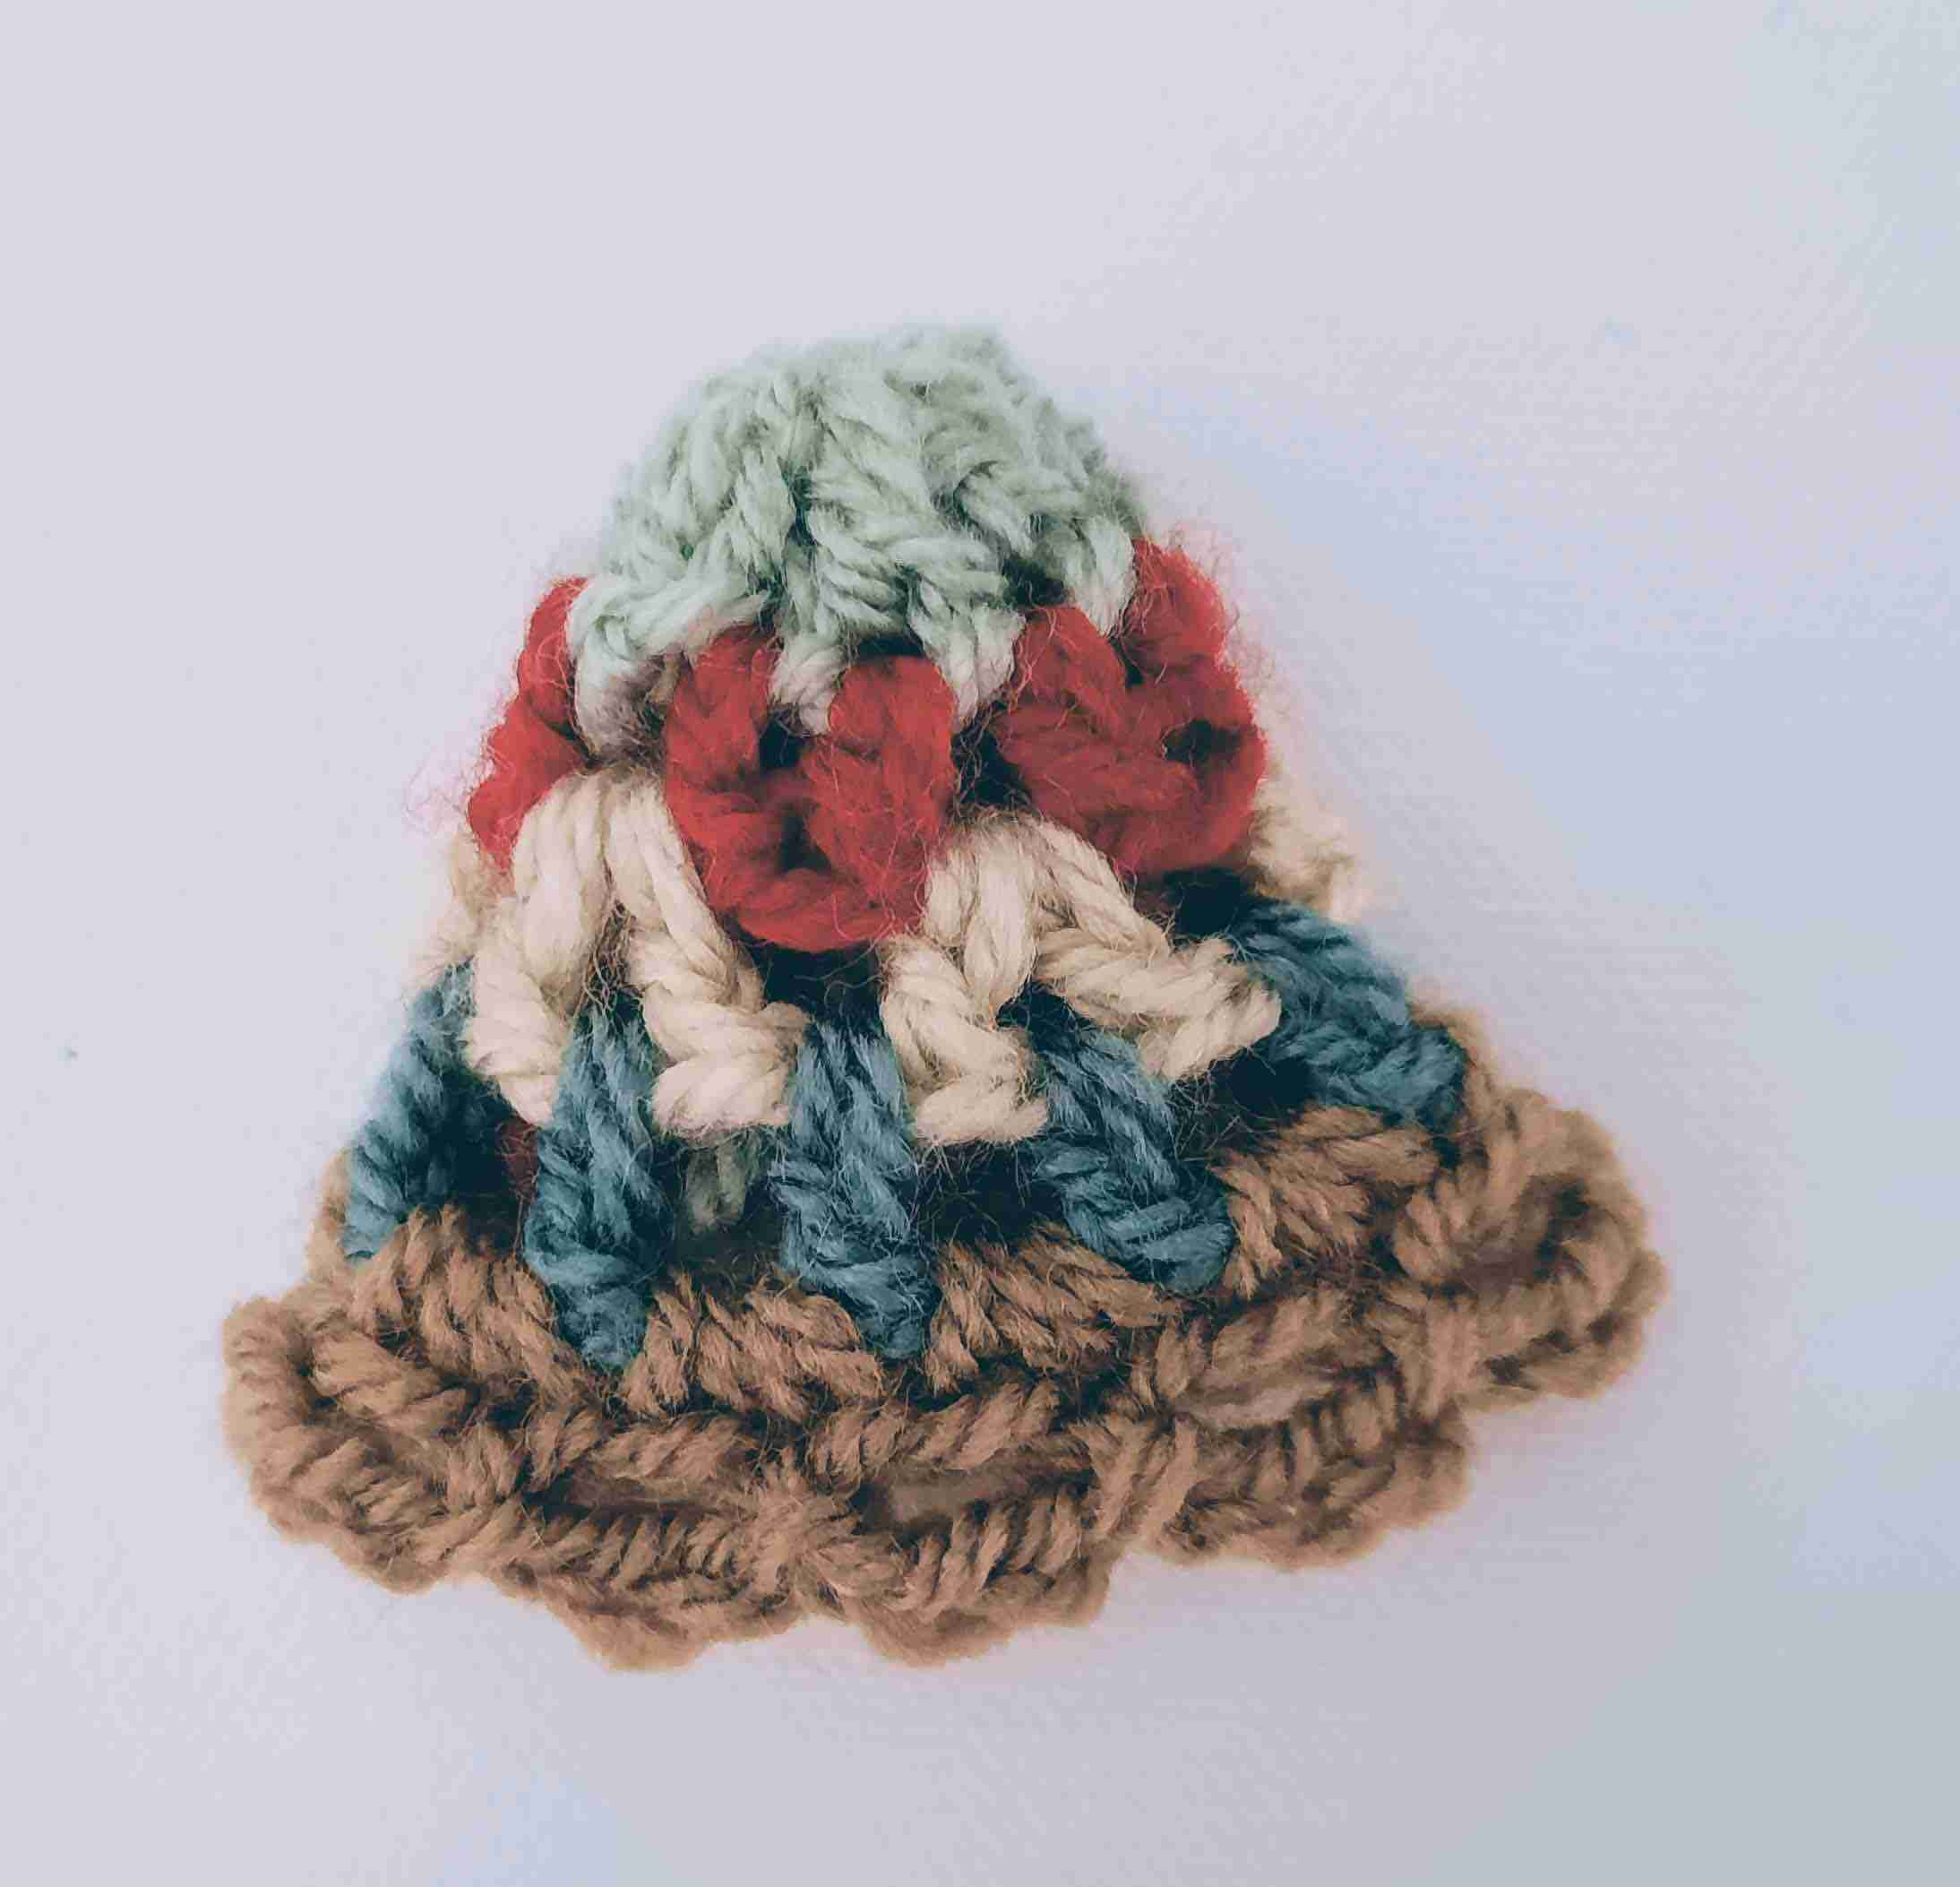
With your darning needle, thread through your long yarn strand from R 1 (Color A) and pull it through the center of your beginning circle (from the inside of the bell to the outside).
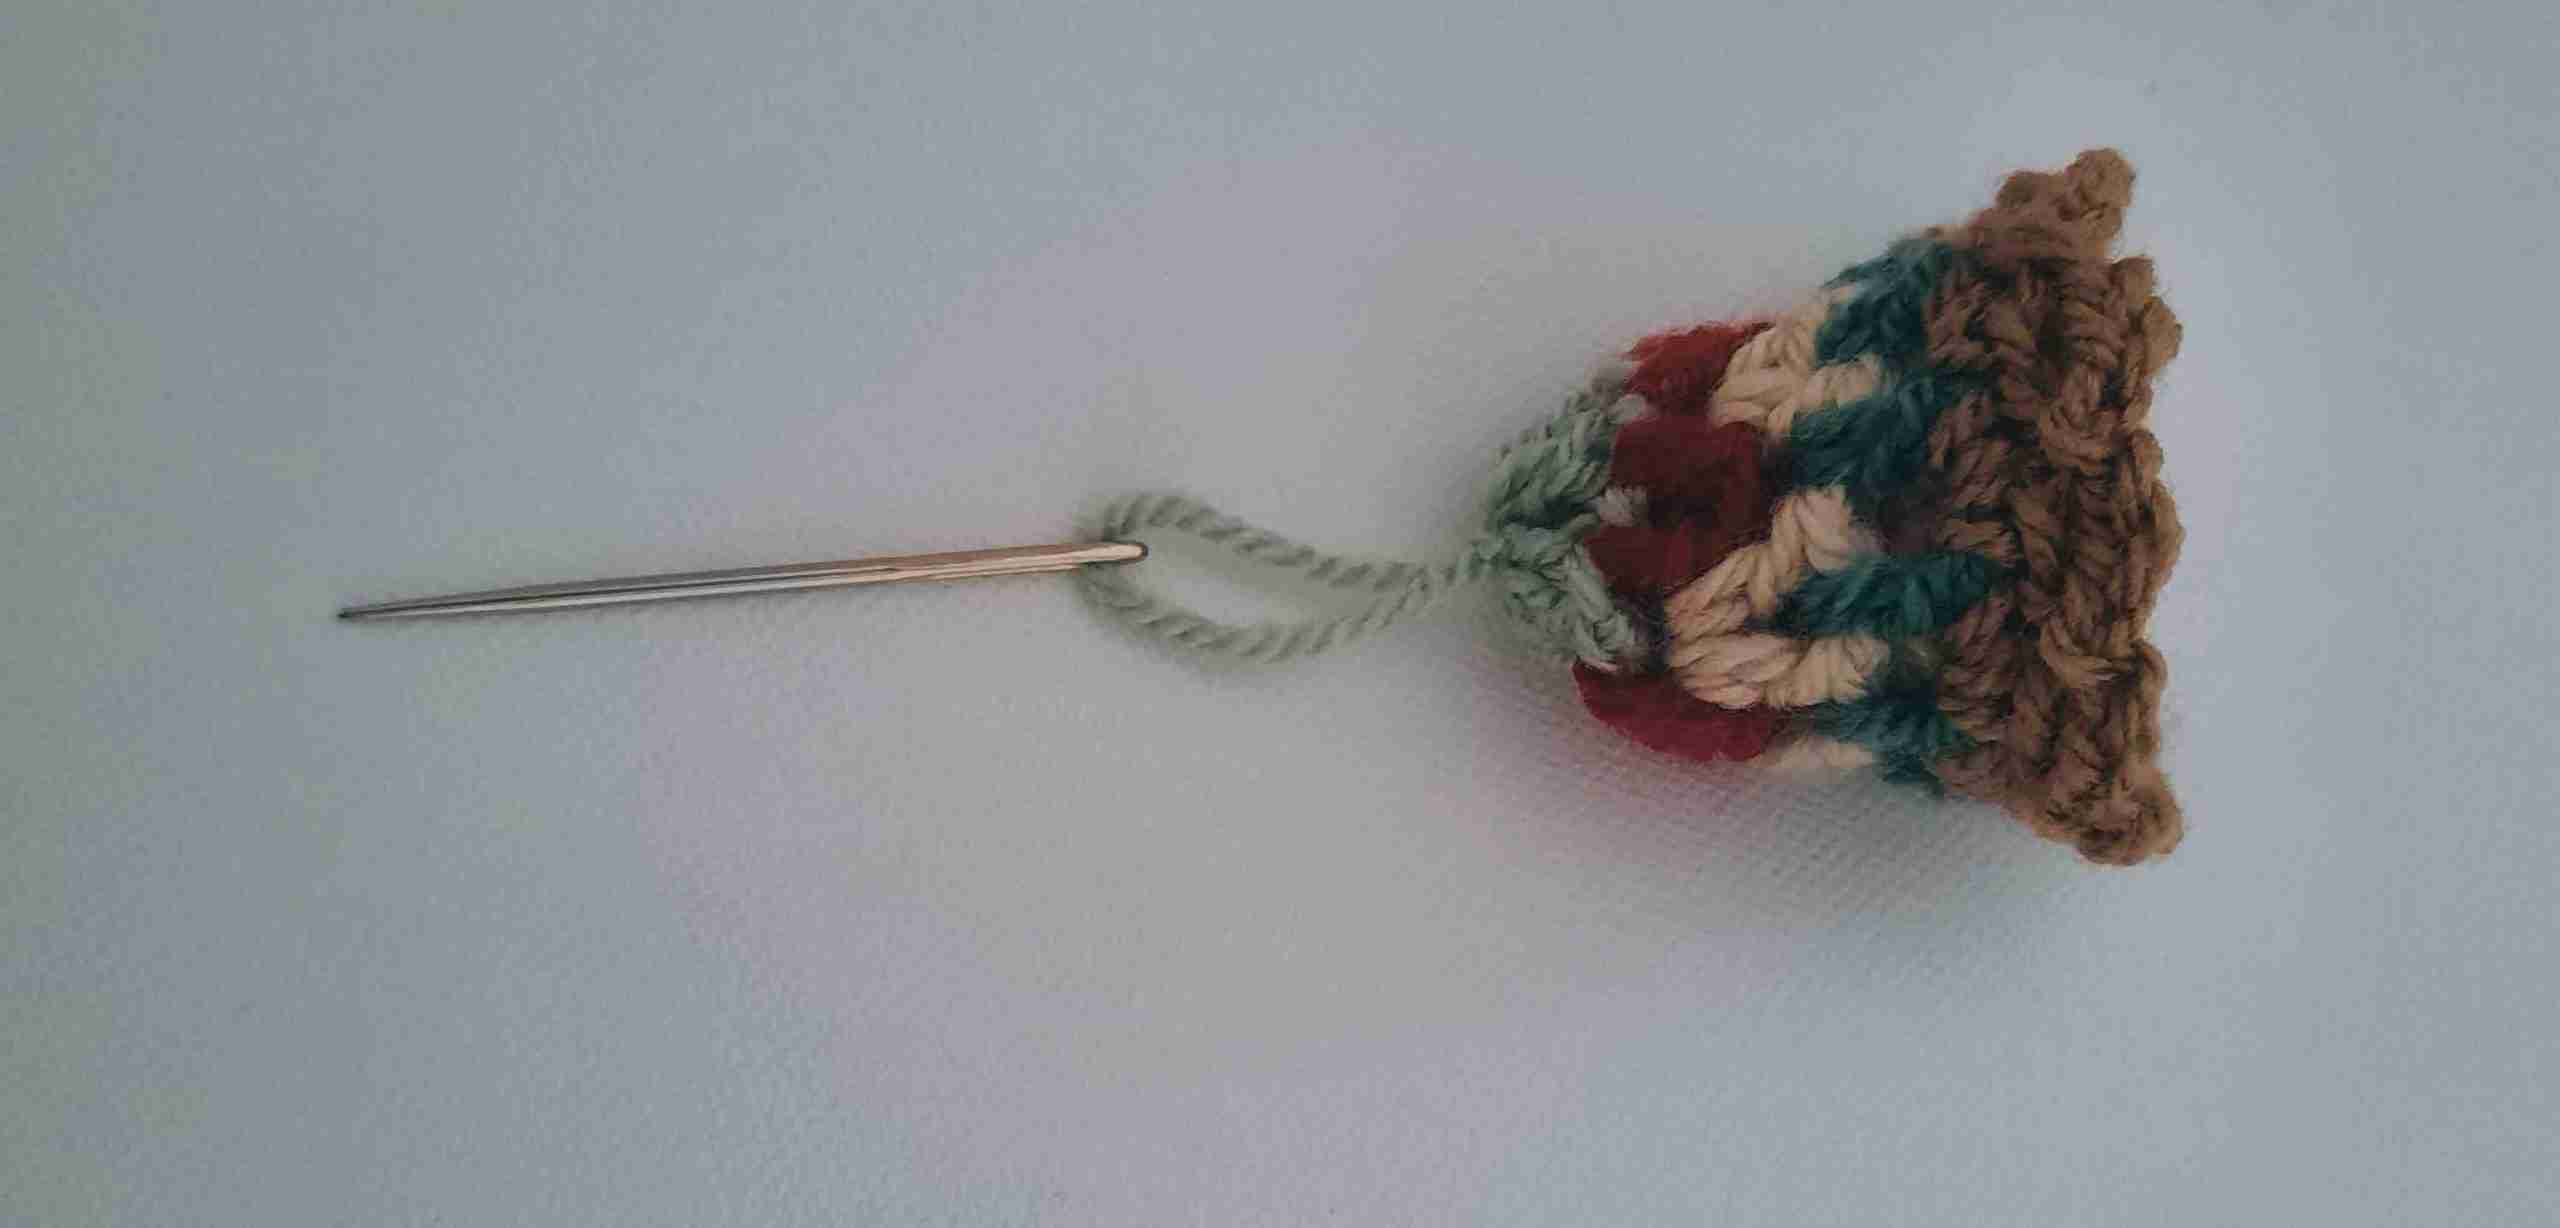
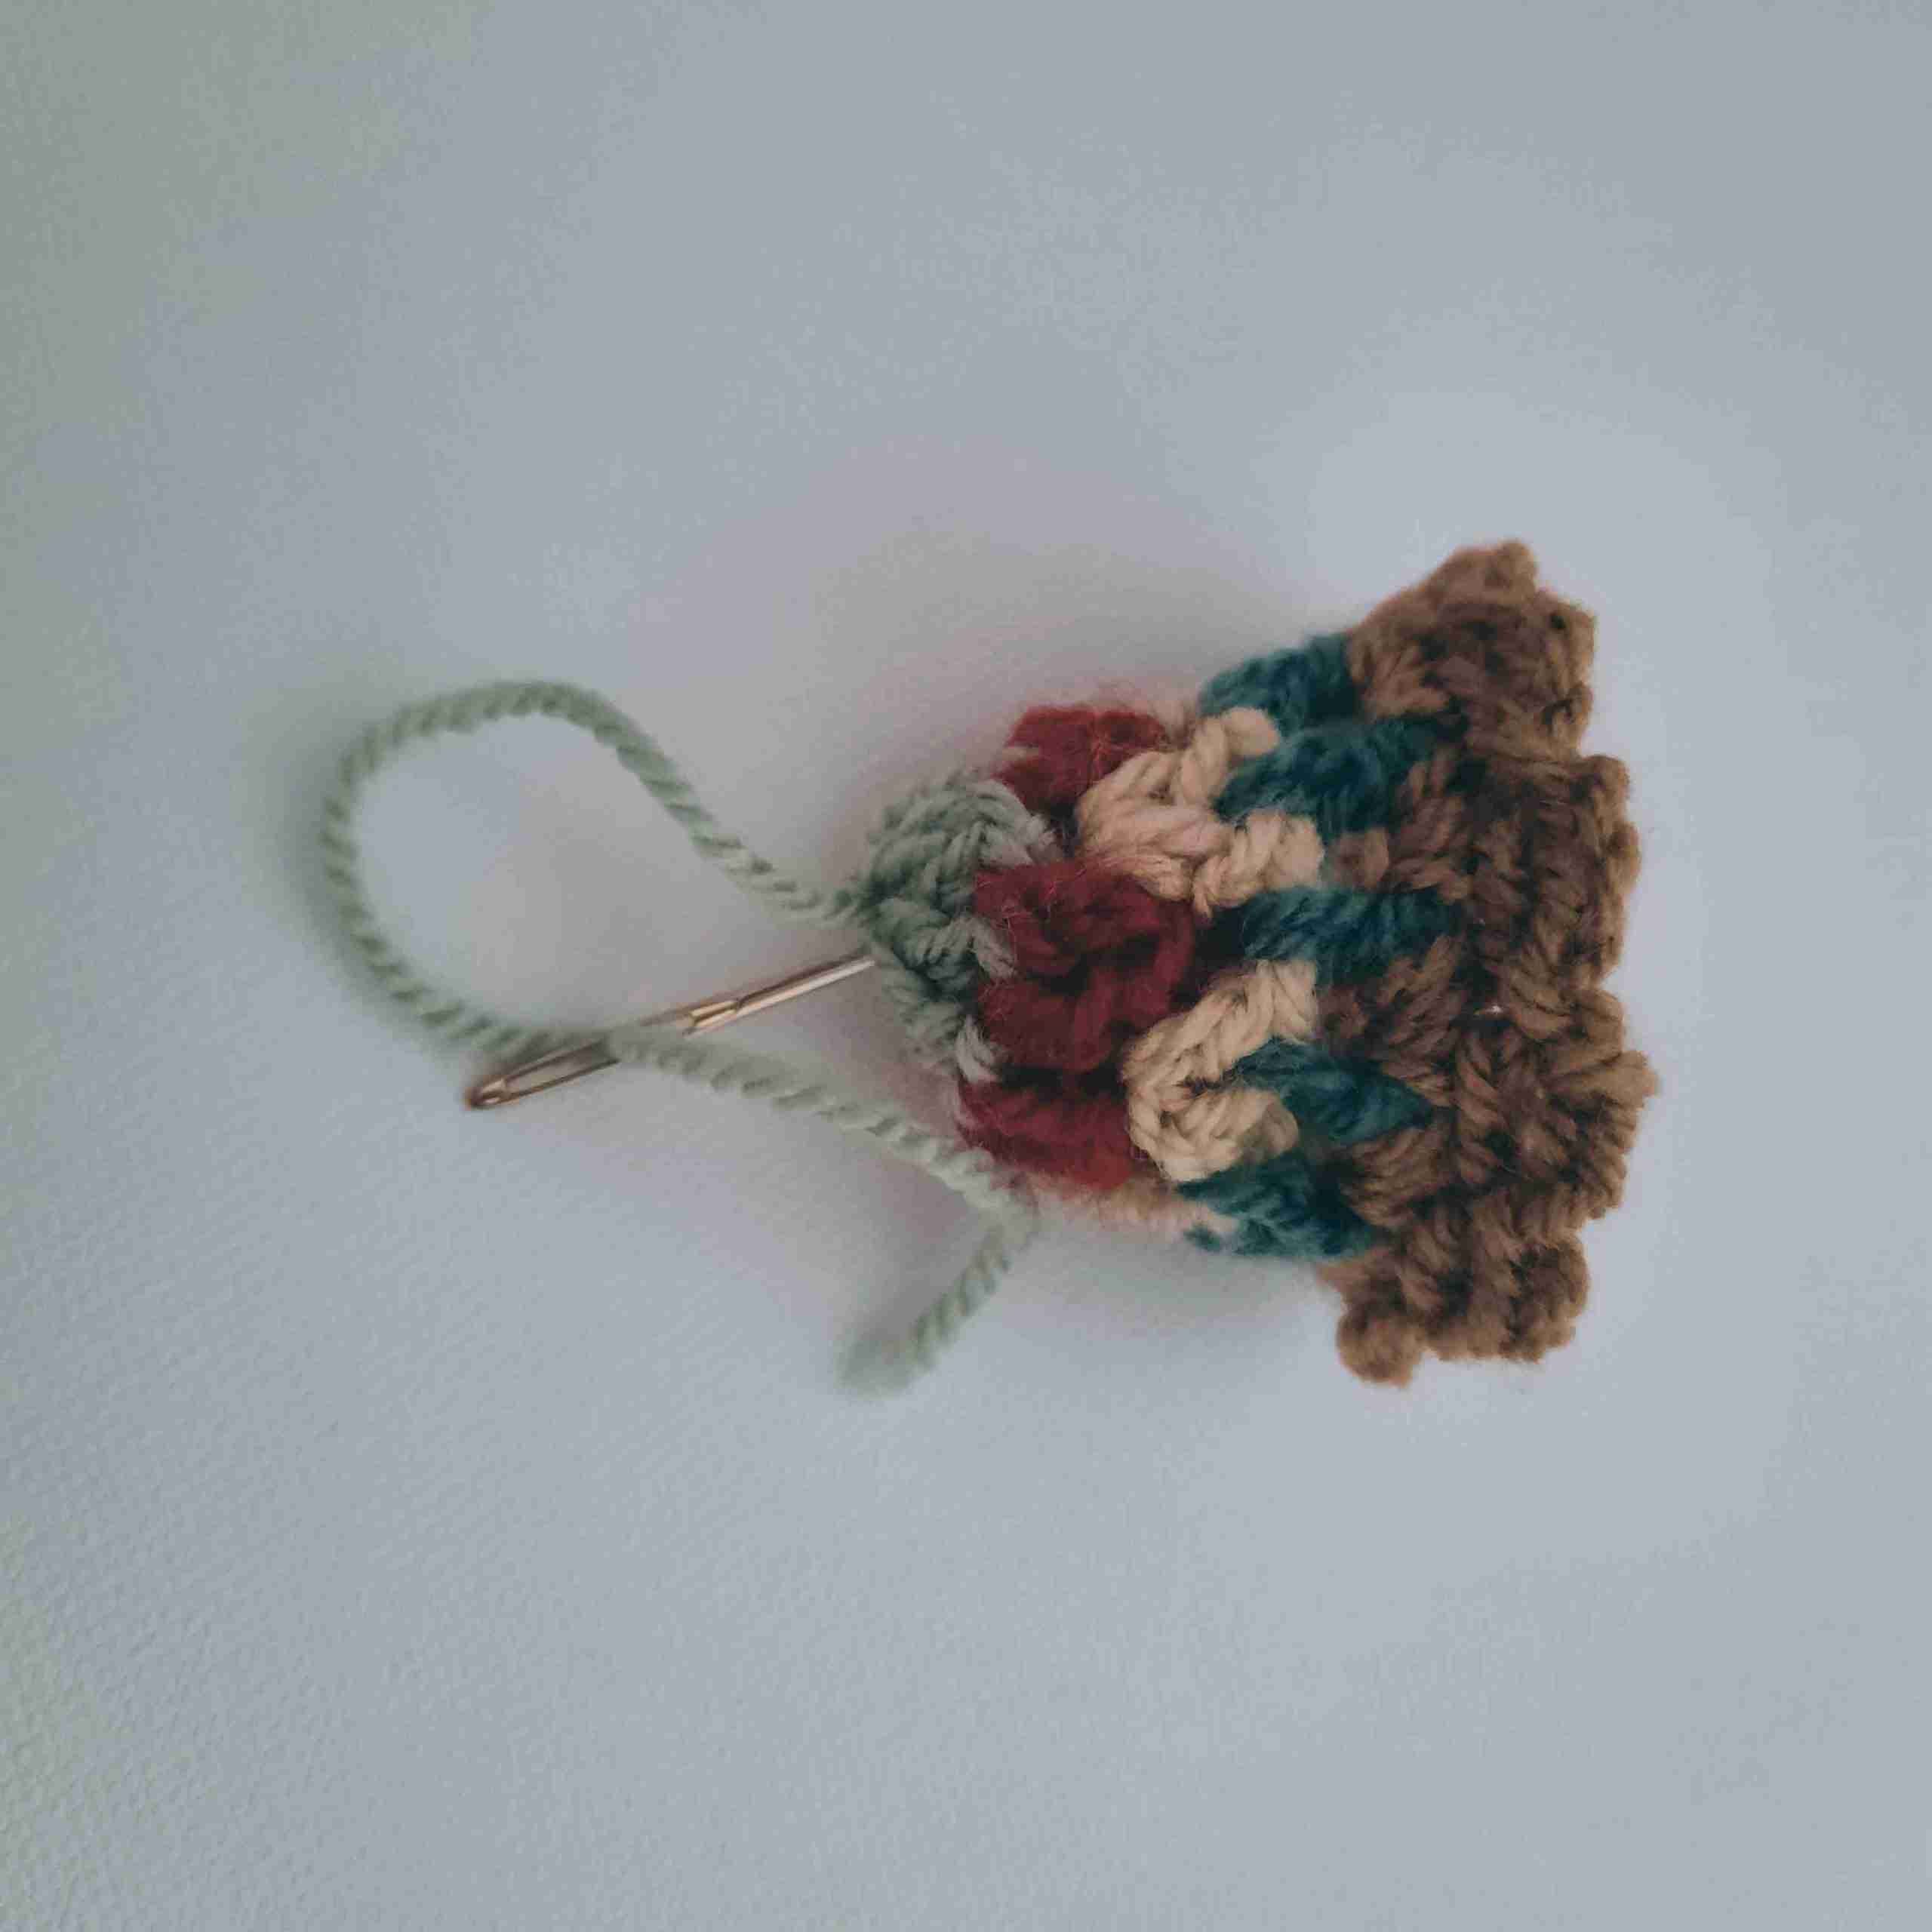
Leaving a large loop, pull your needle through the top of the bell again and tie a double knot on the inside of your bell to secure. (You will have to flip your bell inside out to do this step).
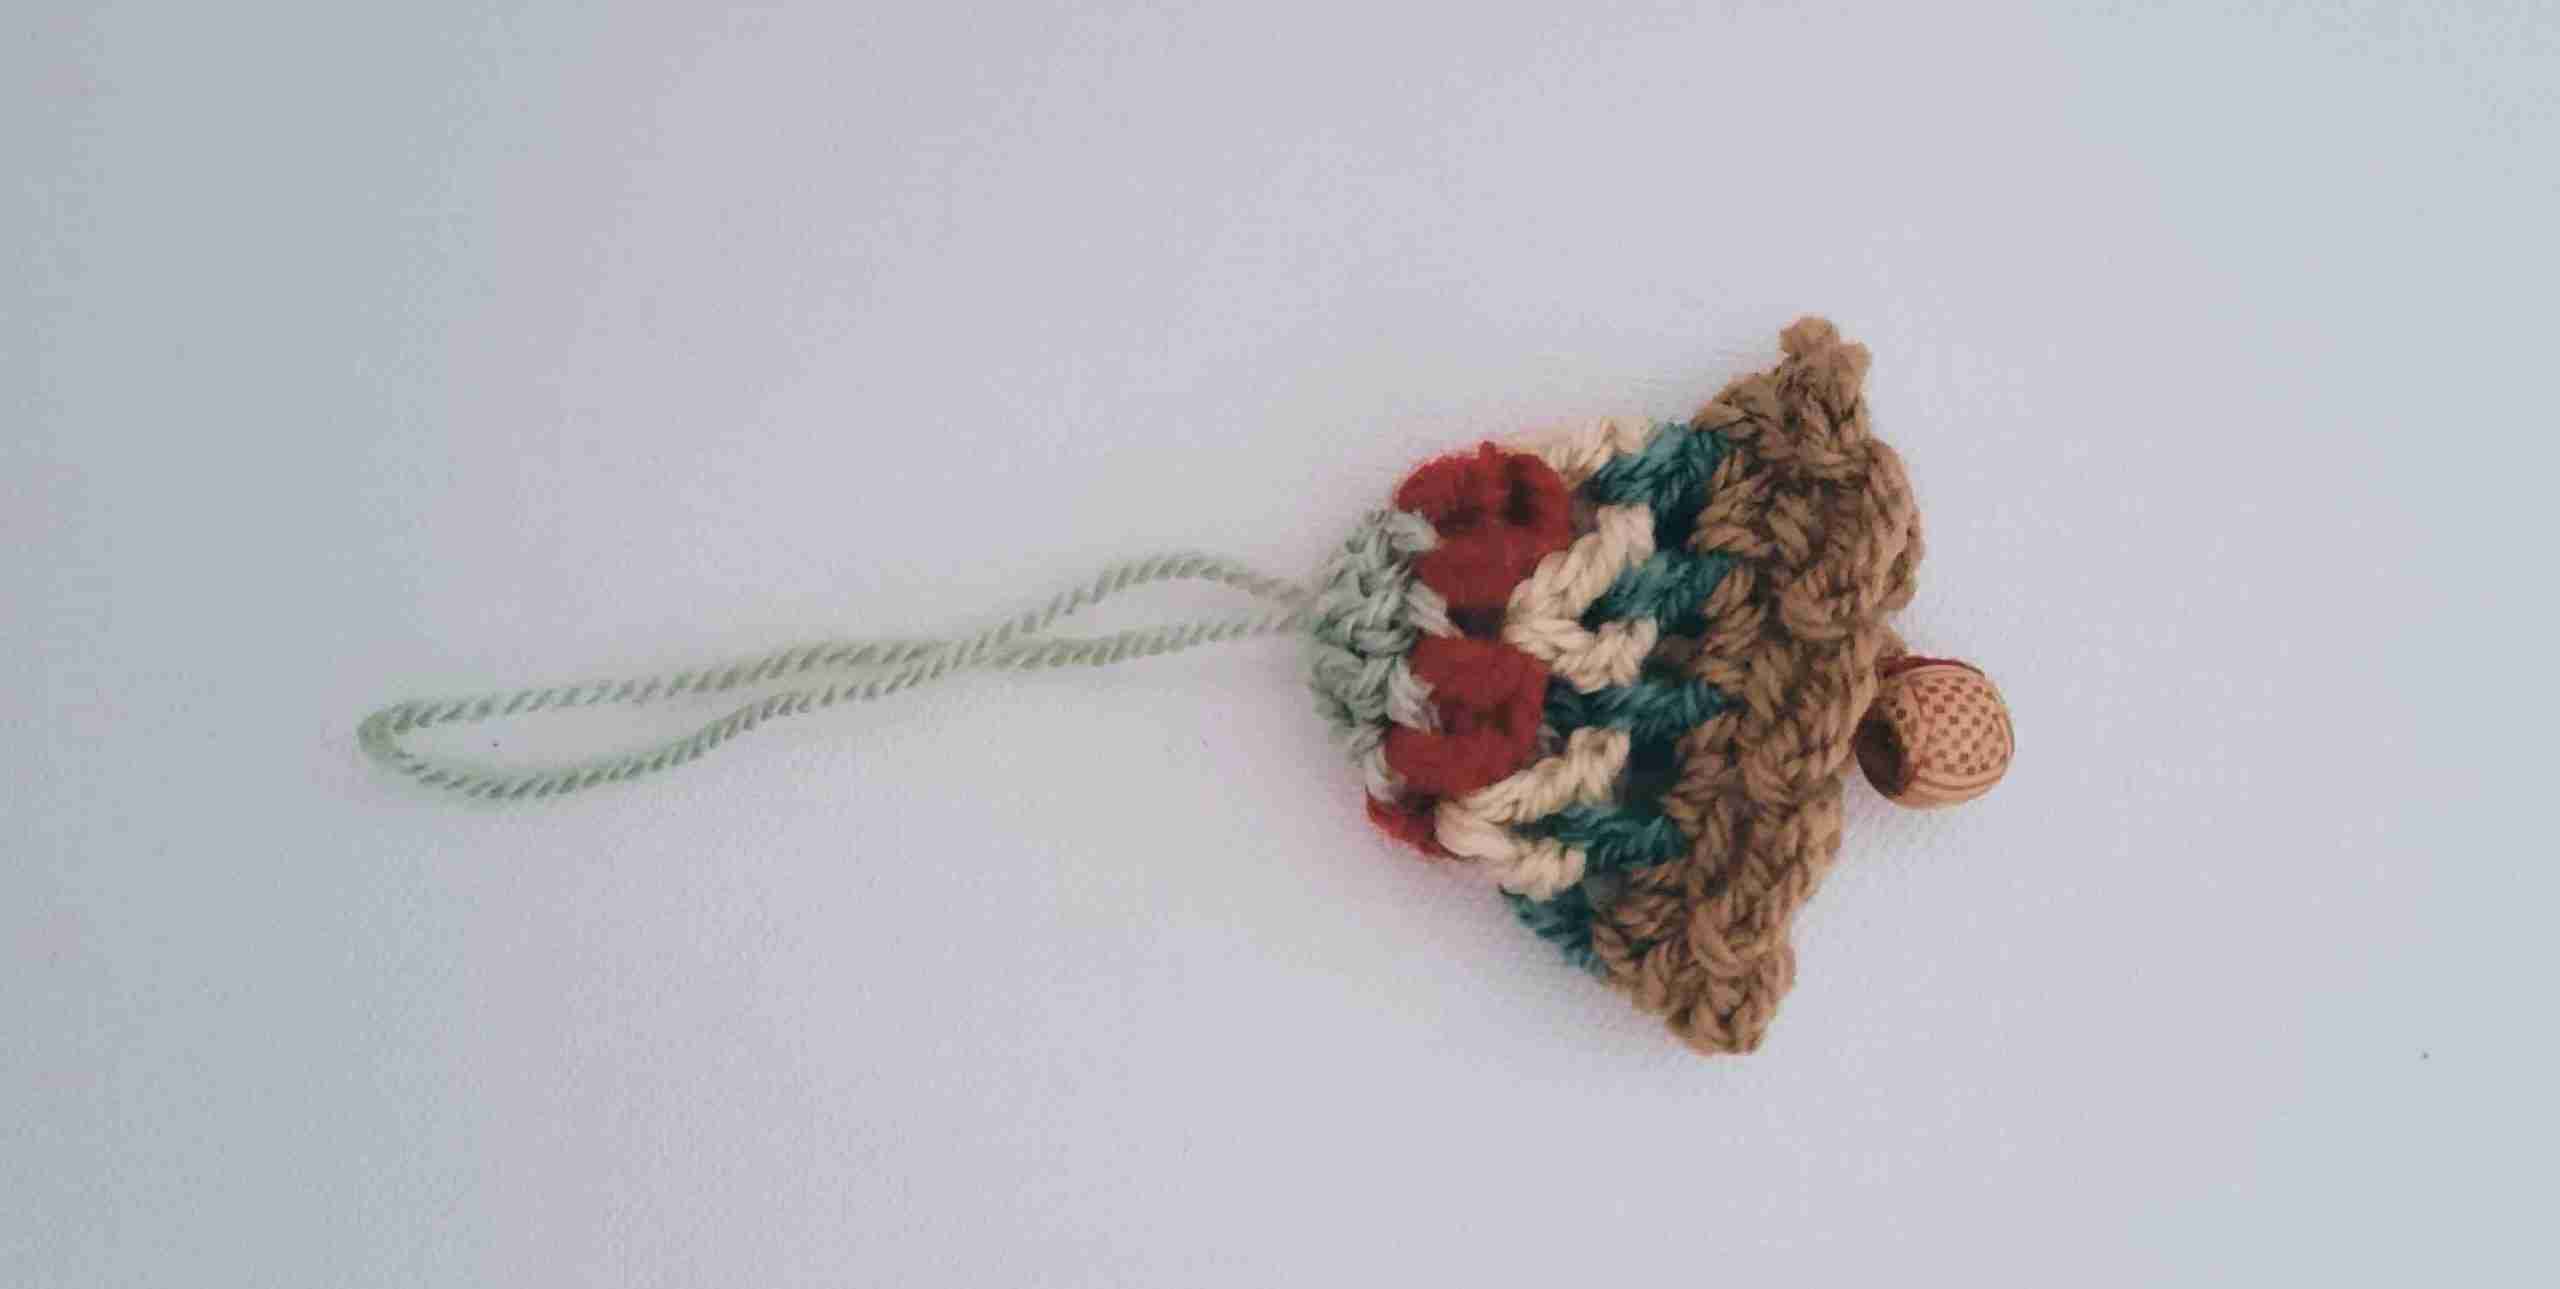
Now you have a loop from which to hang your bell ornament.
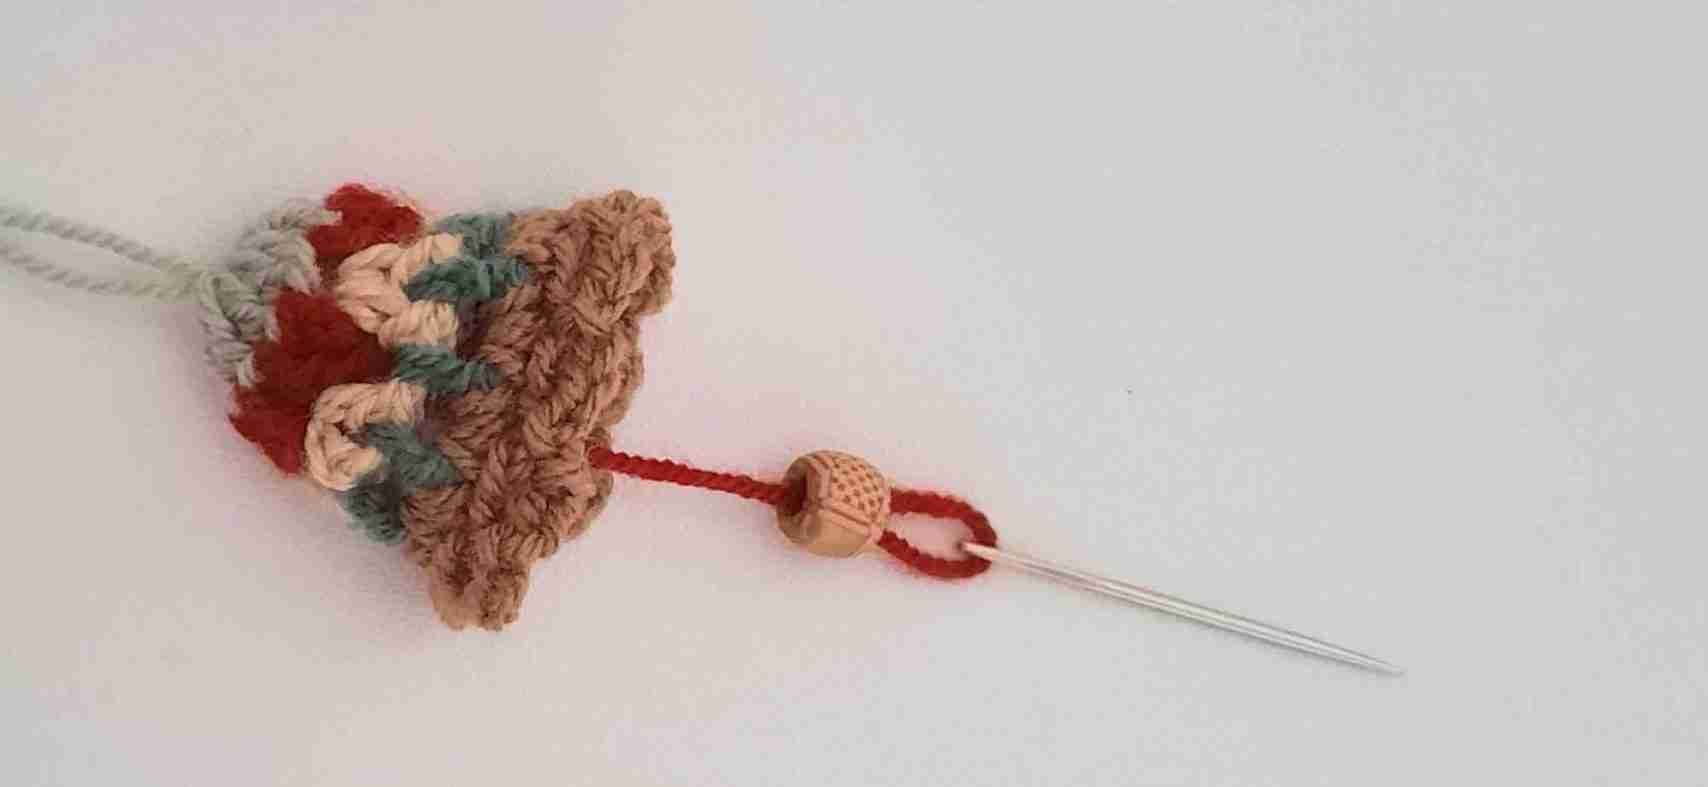
Use one of your yarn ends from the center of your bell to add a bead. Simply thread your darning needle with one of the center strands, thread your bead with it and tie a double knot to secure.
Conclusion
I hope you enjoyed this Christmas Bell crochet tutorial and will make many of these to hang on your Christmas Tree or give to your loved ones as gifts. I'd love to see your finished crocheted bells, so please have a look at my social media links below so we can keep in touch.
If you have any questions about this pattern, please leave me a comment below.
Disclaimer: Information in this crochet pattern is given for reference only. Even though I do my best to ensure all patterns have no mistakes, occasional errors may slip through.
No liability is accepted for variations in finished projects. Please get in touch with me at [email protected] if you think there might be a mistake in the pattern or if you are unsure about how to interpret the instructions.
I’d love to see your finished item, so please tag me using @startcrochet.
Please follow my accounts to see what else I’m up to and to keep in touch:
Facebook https://www.facebook.com/startcrochet
Pinterest: https://www.pinterest.com/startcrochet
Instagram https://www.instagram.com/startcrochet
Ravelry https://www.ravelry.com/people/StartCrochet
LoveCrafts: https://www.lovecrafts.com/en-gb/user/Start-Crochet/5fccc556-8c97-4521-bcf0-0aadf9853faf
You may sell any finished products that you make from this pattern. However, when selling online, please include a link back to my blog startcrochet.com or tag me on social media with @startcrochet or with hashtag #startcrochet
Thank you!
© All rights for this pattern and photos are reserved to Start Crochet. Copies and/or reproduction and reselling of this pattern is a violation of the law.









































Thank you so much for the lovely crochet Christmas Bell pattern. I have gathered my materials in various weights and can hardly wait to make the bell. I read through the written and photo directions. Easy to understand and see. Thank you so much. I really enjoy your patterns.