Great quick and easy project! So many options for colors.

The Ballerina Scarfigan Crochet Pattern
Crochet Scarf with Sleeves
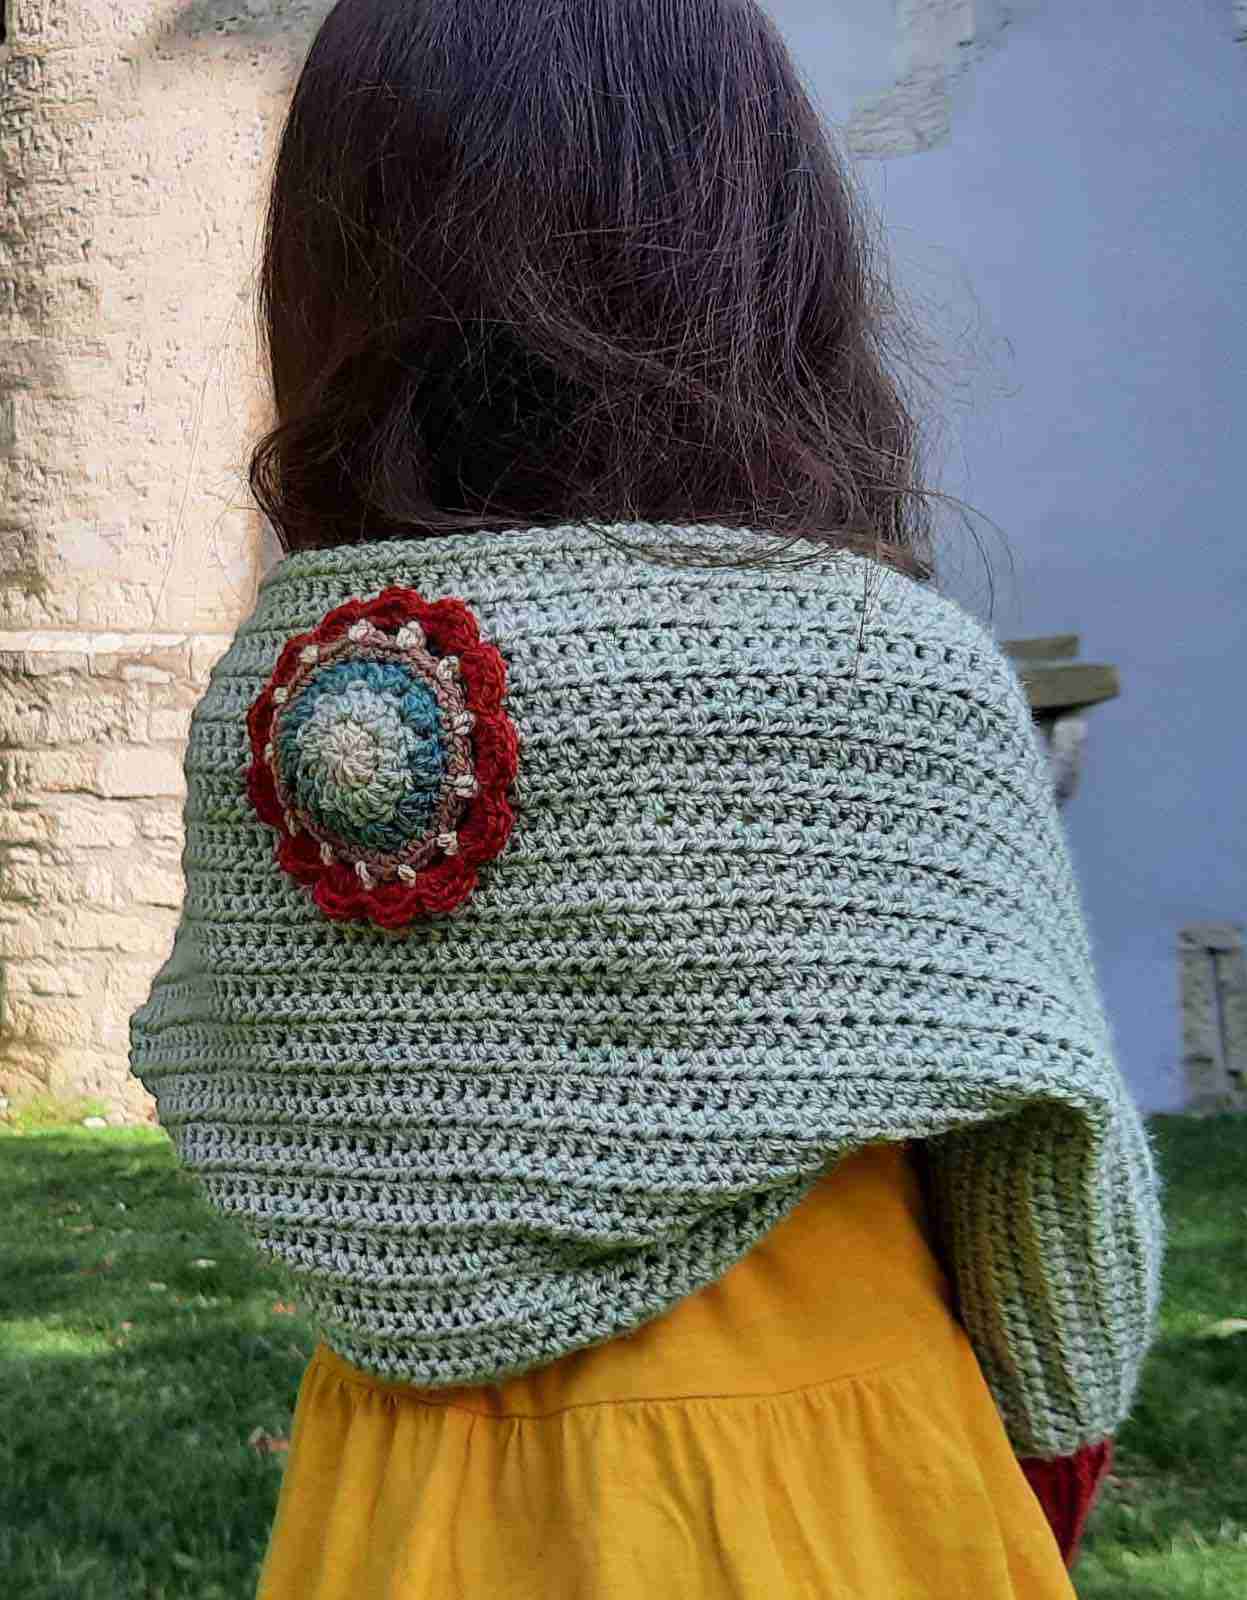
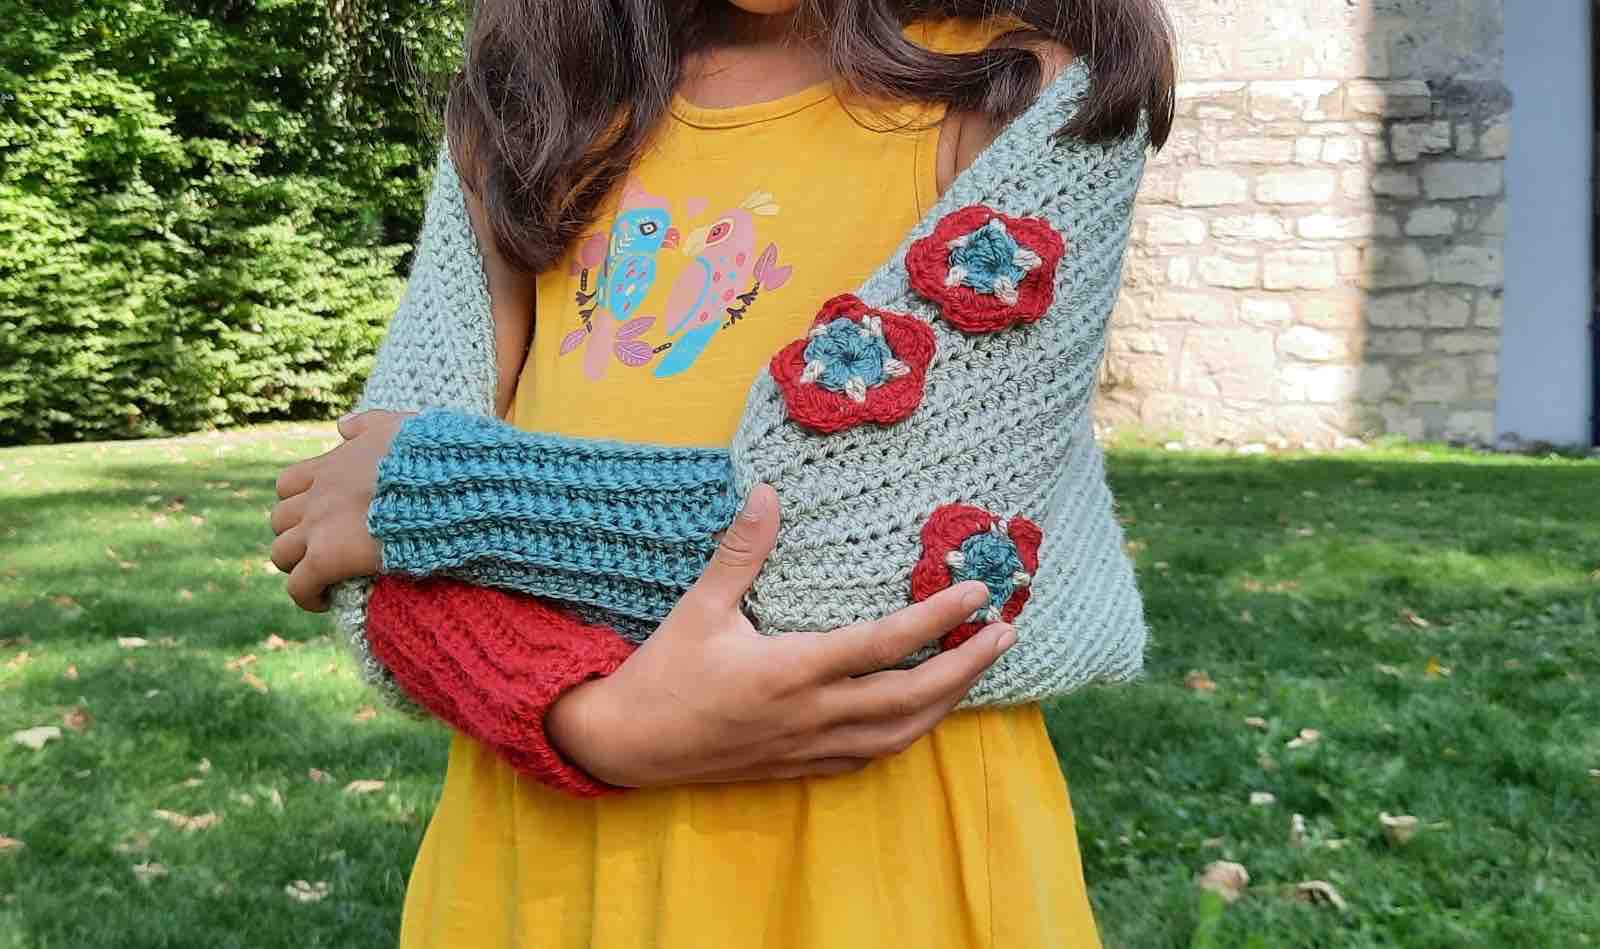
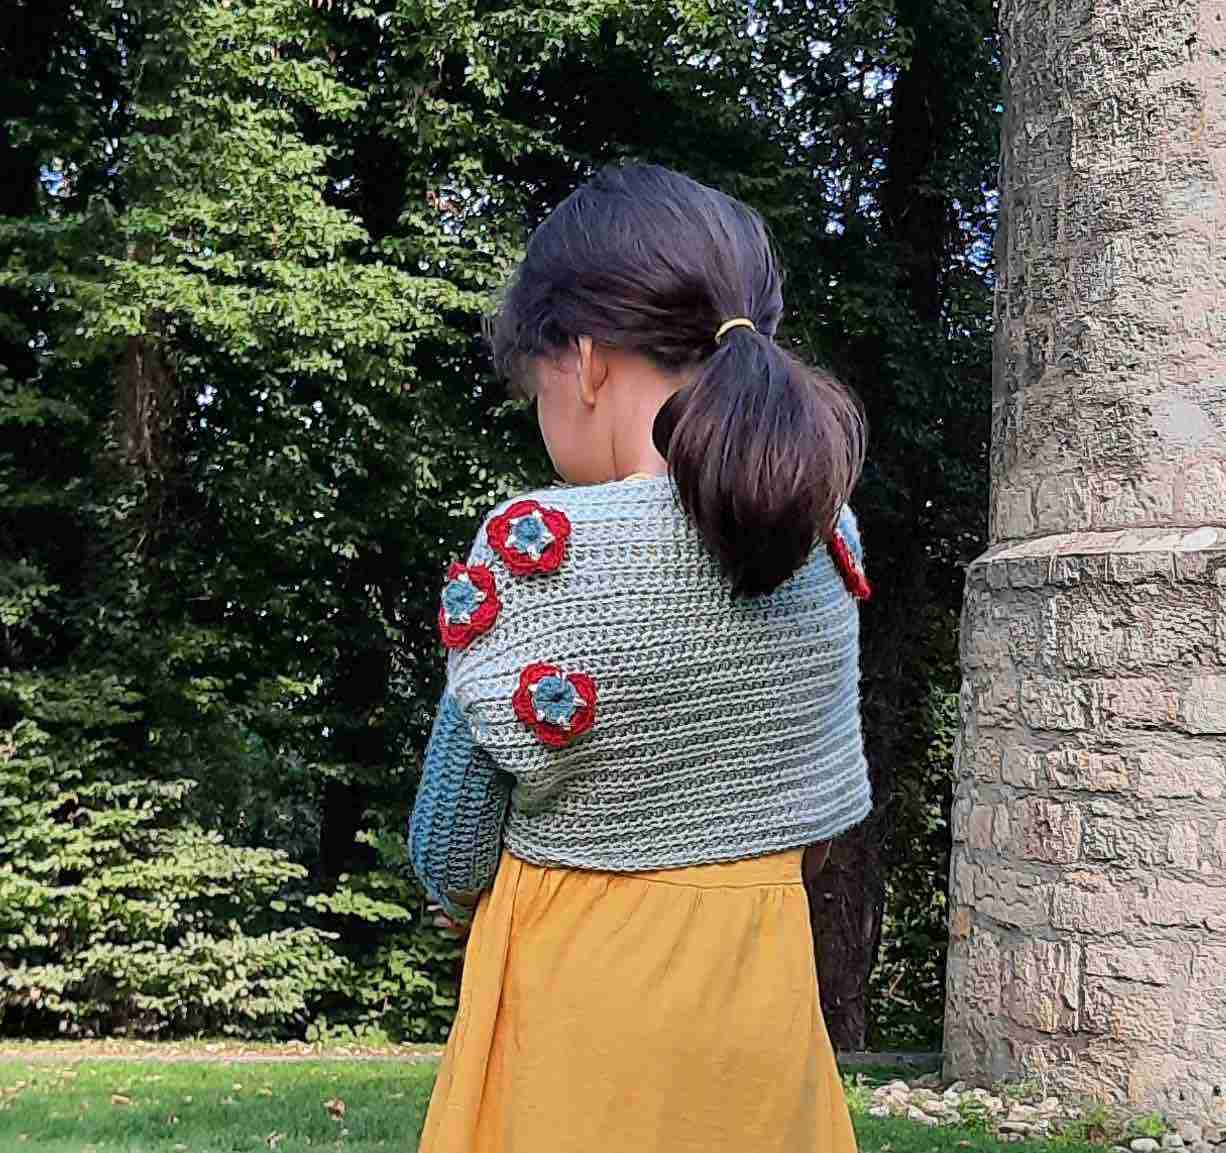
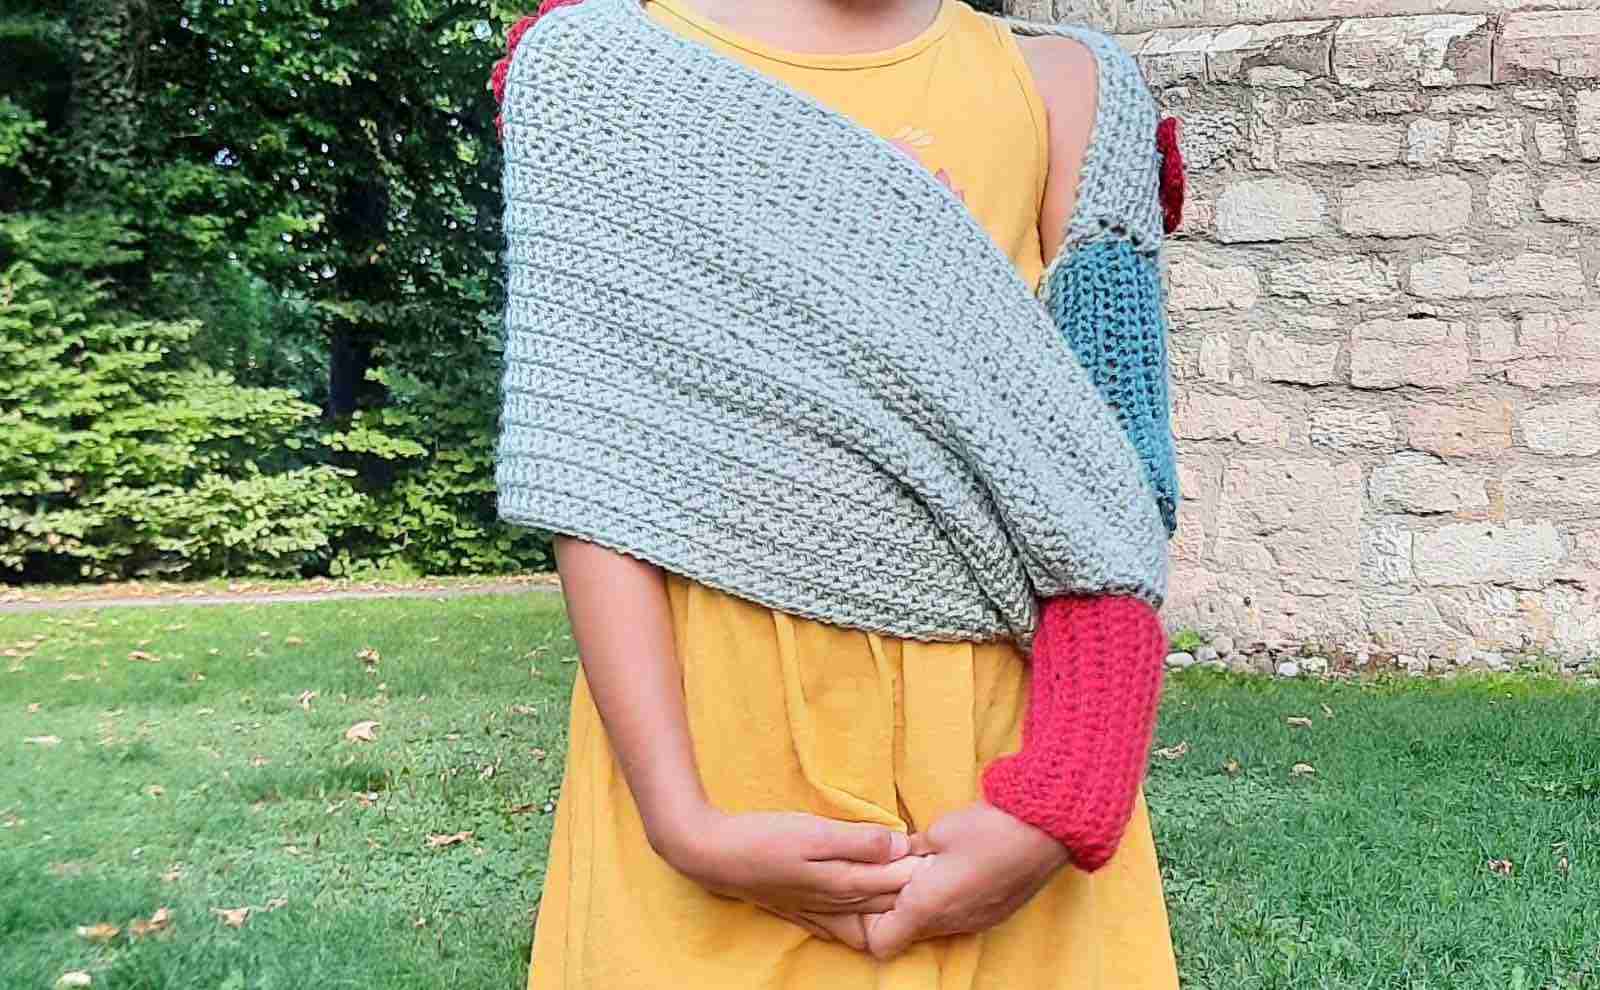
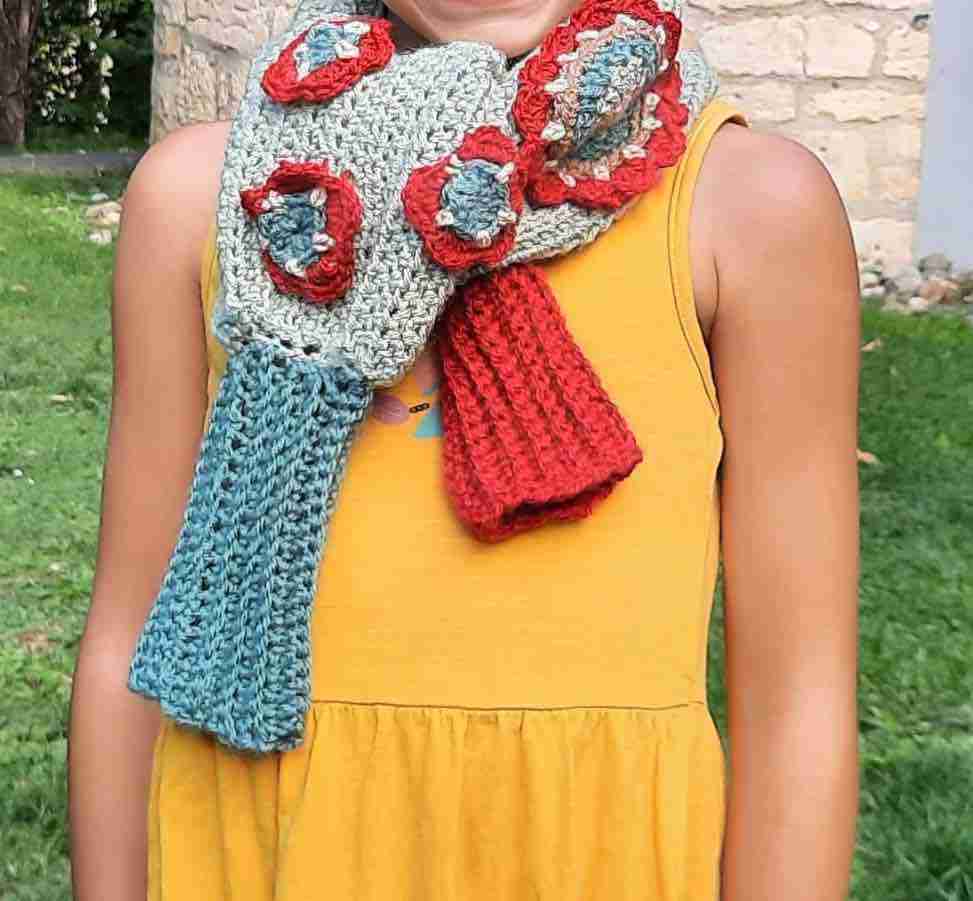
The Ballerina Scarfigan is a scarf with sleeves that is both comfortable to wear and is sure to keep you warm & cuddly in the cooler months.
Some people call it a "sweater scarf", others call it a "scarf with sleeves", I decided to name it the "Ballerina Scarfigan."
I designed this sweater scarf for my 6 year-old daughter who loves to snuggle up in softness on her way to Ballet class.
I also wanted to use a simple stitch for the body of the scarf, then add appliqués as embellishments.
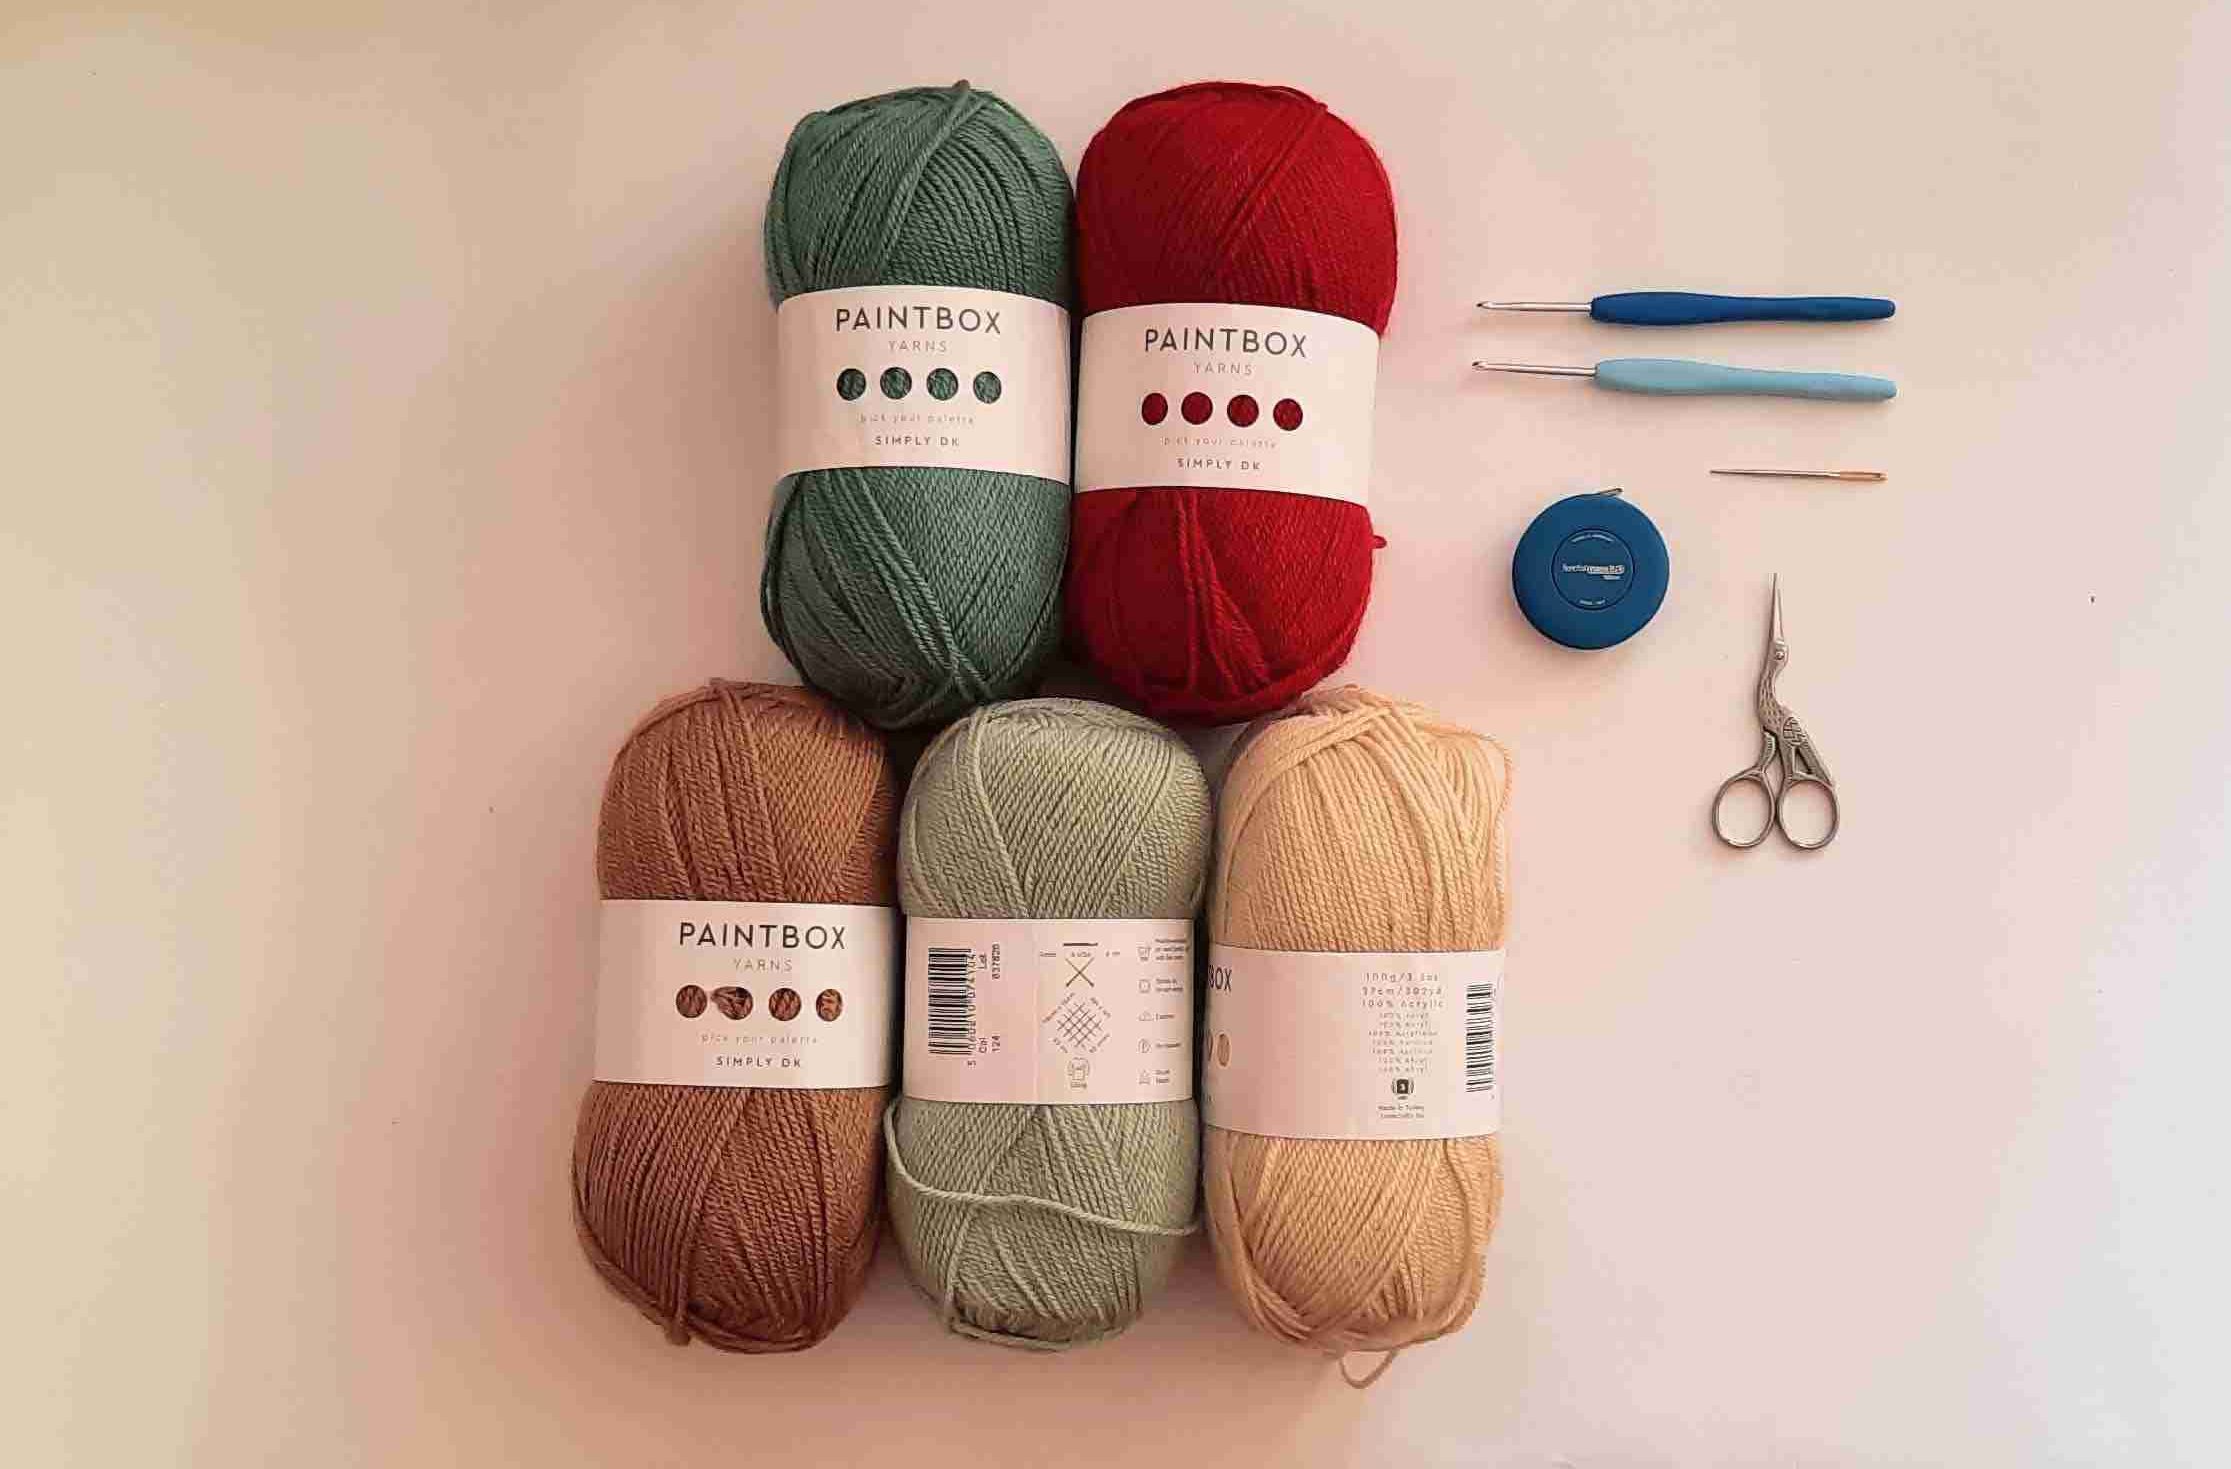
I had a wonderful colorwork of Paintbox Yarns (5 color pack) and knew this would be the perfect color combination for this new "scarfigan"!
Disclaimer: This post contains affiliate links, which means I receive a small commission, at no extra cost to you, if you make a purchase using the Start Crochet links. Please see my disclosure for more details.
Materials Needed
- Yarn: Paintbox Yarns Simply DK in 5 colors:
- Pistachio Green
- Slate Green
- Red Wine
- Vanilla Cream
- Soft Fudge
- Hooks:
- US size 7 (4.5 mm) hook for the scarf body and sleeves,
- US size E-4 (3.5) mm hook for the embellishments.
- A darning needle
- A pair of scissors
- Stitch markers or contrasting snippets of yarn
- Tape measure
Yardage
For this project you will need:
Pistachio Green: 250 m
Slate Green: 35 m
Red Wind: 40 m
Vanilla Cream: 15 m
Soft Fudge: 10 m
Abbreviations
- ch = chain
- sc = single crochet
- dc = double crochet
- MC = Magic Circle
- scBLO = single crochet back loop only
- Sc2tog = single crochet 2 stitches together
- hdc = half double crochet
Skill Level
Advanced beginner
GAUGE
17 stitches & 16 rows in sc = 4” (10 cm) square with a 4.5 mm hook
SIZE
This scarf is designed for a child. I made this one for my 6 year-old daughter. Size indicated in this pattern is for this child-size only. To adjust sizing for adults, measure horizontally along back from wrist to wrist while arms are stretched wide open then subtract the lengths of the sleeves. In my case, length of each sleeve is 15 cm, so deduct 30 cm from total length from wrist to wrist.
Body: 67 cm W x 30 cm H [26.3” W x 11.8” H]
Sleeves: 15 cm x 15 cm (x2 sleeves) [5.9” x 5.9”]
Embellishments:
Large flower: 10 cm diameter [4” diameter]
Small flower: 5 cm diameter [2” diameter] (x 3 flowers)
Notes
- You can use any type of yarn as long as you have a corresponding crochet hook size (check yarn label for recommendations)
- Numbers at the end of each step (in brackets) indicate the number of final stitches in that step.
- Ch1 at beginning of rows do not count as a stitch.
- Please note that I use US crochet terms.
Like this pattern? Save it to Pinterest!
SPECIAL STITCHES
Instructions for scBLO:
To crochet in the back loop of a stitch, insert your crochet hook in the center of the “v” underneath the back loop only instead of under both loops of the “v” and continue the sc stitch as usual.
Instructions for sc2tog:
Single Crochet 2 Together (sc2tog) is a way to decrease your stitches. This means you will be making an item smaller. You join 2 single crochet stitches into one sc stitch. To do this, insert your hook into the stitch and draw up a loop, insert your hook into the next stitch and draw up a loop again. Yarn over then draw through all 3 loops on your hook.
Pattern Reviews
This was a super easy pattern to follow. The designer wrote the pattern in simple terms that are easy to understand
A wonderful pattern and designer. She's very understanding and easy to work with. The pattern is easy enough to teach to my grandkids. Thank you for all you do.
Love this! Just made one for my granddaughter thank you for a great pattern
Very very nice
Definitely going to try this.
Thanks for sharing.
.....my first task to do.
Love it!!!
This pattern is too cute, so easy and fast to complete. Can’t wait to make more.
Great quick and easy project! So many options for colors.
Such a wonderfully simple and quick pattern! I love how fast it was to do and how easy it is to understand.
Very very nice
Definitely going to try this.
Thanks for sharing.
.....my first task to do.
Love it!!!
Love this! Just made one for my granddaughter thank you for a great pattern
Thank you for posting this tutorial for those beginning to crochet . I know people who have shown an interest in learning but live too far away for me to effectively teach them. This site doesn't just toss a pattern out, but also gives some background on what you are making and other information that may help explain the whole Worry Worm thing and RAOCK. ❤
Granny Squares & Stripes Bucket Hat
Lovely pattern with clear instructions (as are all your patterns), thank you.
I am very happy to have found your blog. I speak and understand little English, but it has been relatively easy to understand all your instructions. Thanks and blessings.
Amazing,fast, adorable pattern so easy to understand and lots of photos and help if you need it. I recommend this pattern to everyone even beginners
What a fun, quick pattern! Very easy to follow, nice and clear.
A fantastic pattern. Well-written and works up quickly. Makes a great gift.
Thanks so much for sharing May!
Super easy to follow and a quick pattern to complete!
Printable PDF Pattern
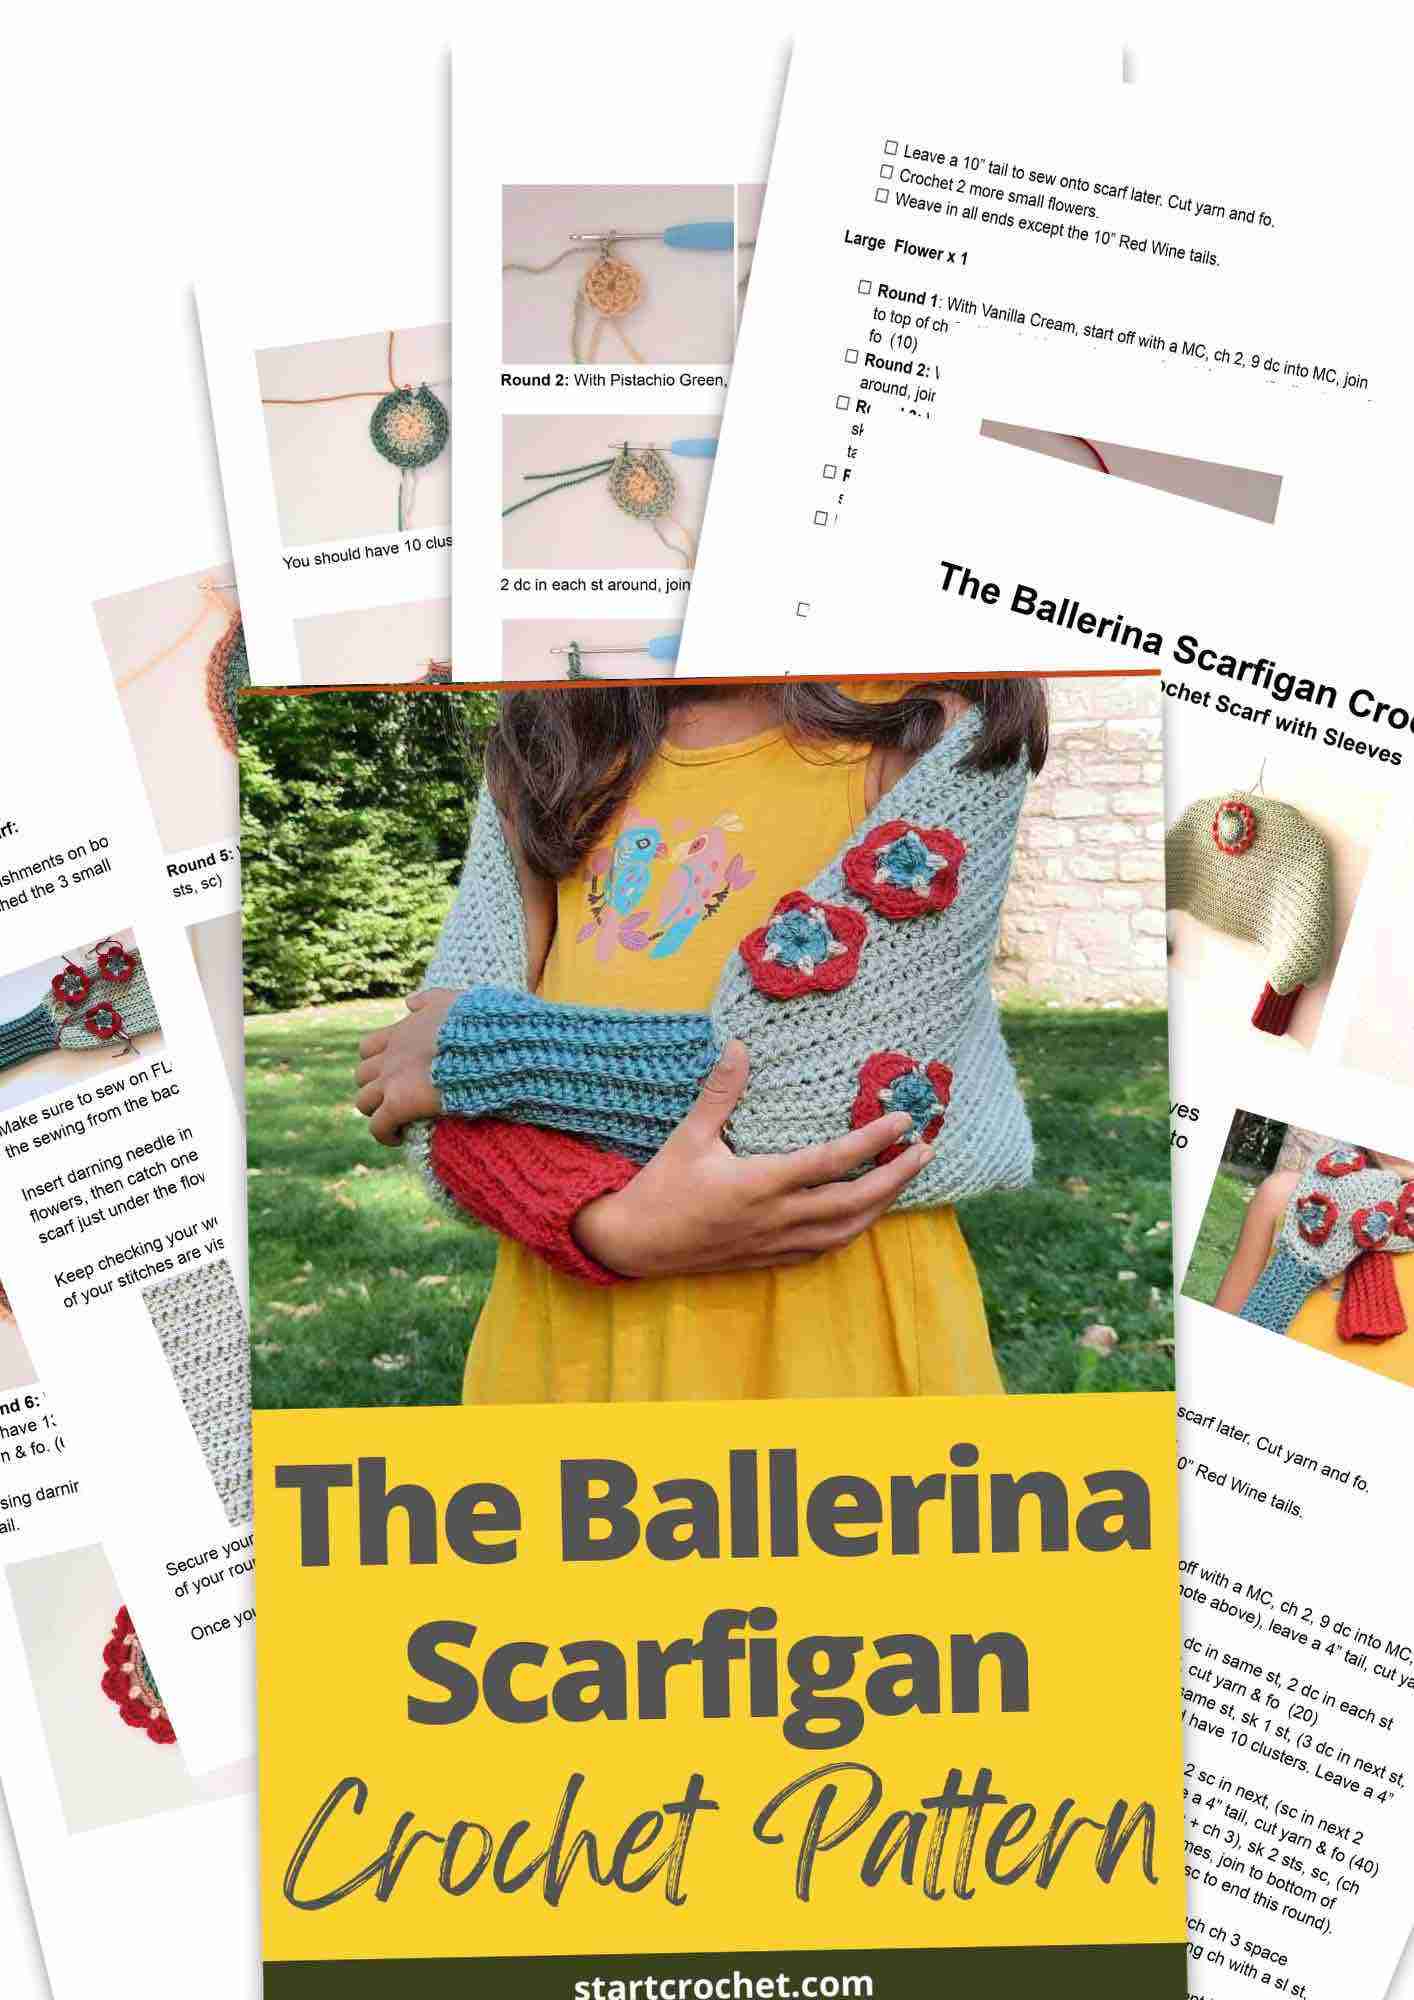
Below you will find a text-only ad-free printable version of the the Ballerina Scarfigan. You can purchase it from my shop or Ravelry for a small fee. It has a few pages of text-only for easy printing as well as the step-by-step photo tutorial.
T'is Christmas Season
and you've just won some FREE
Printable Gift Tags!
The Ballerina Scarfigan Pattern Instructions
Body
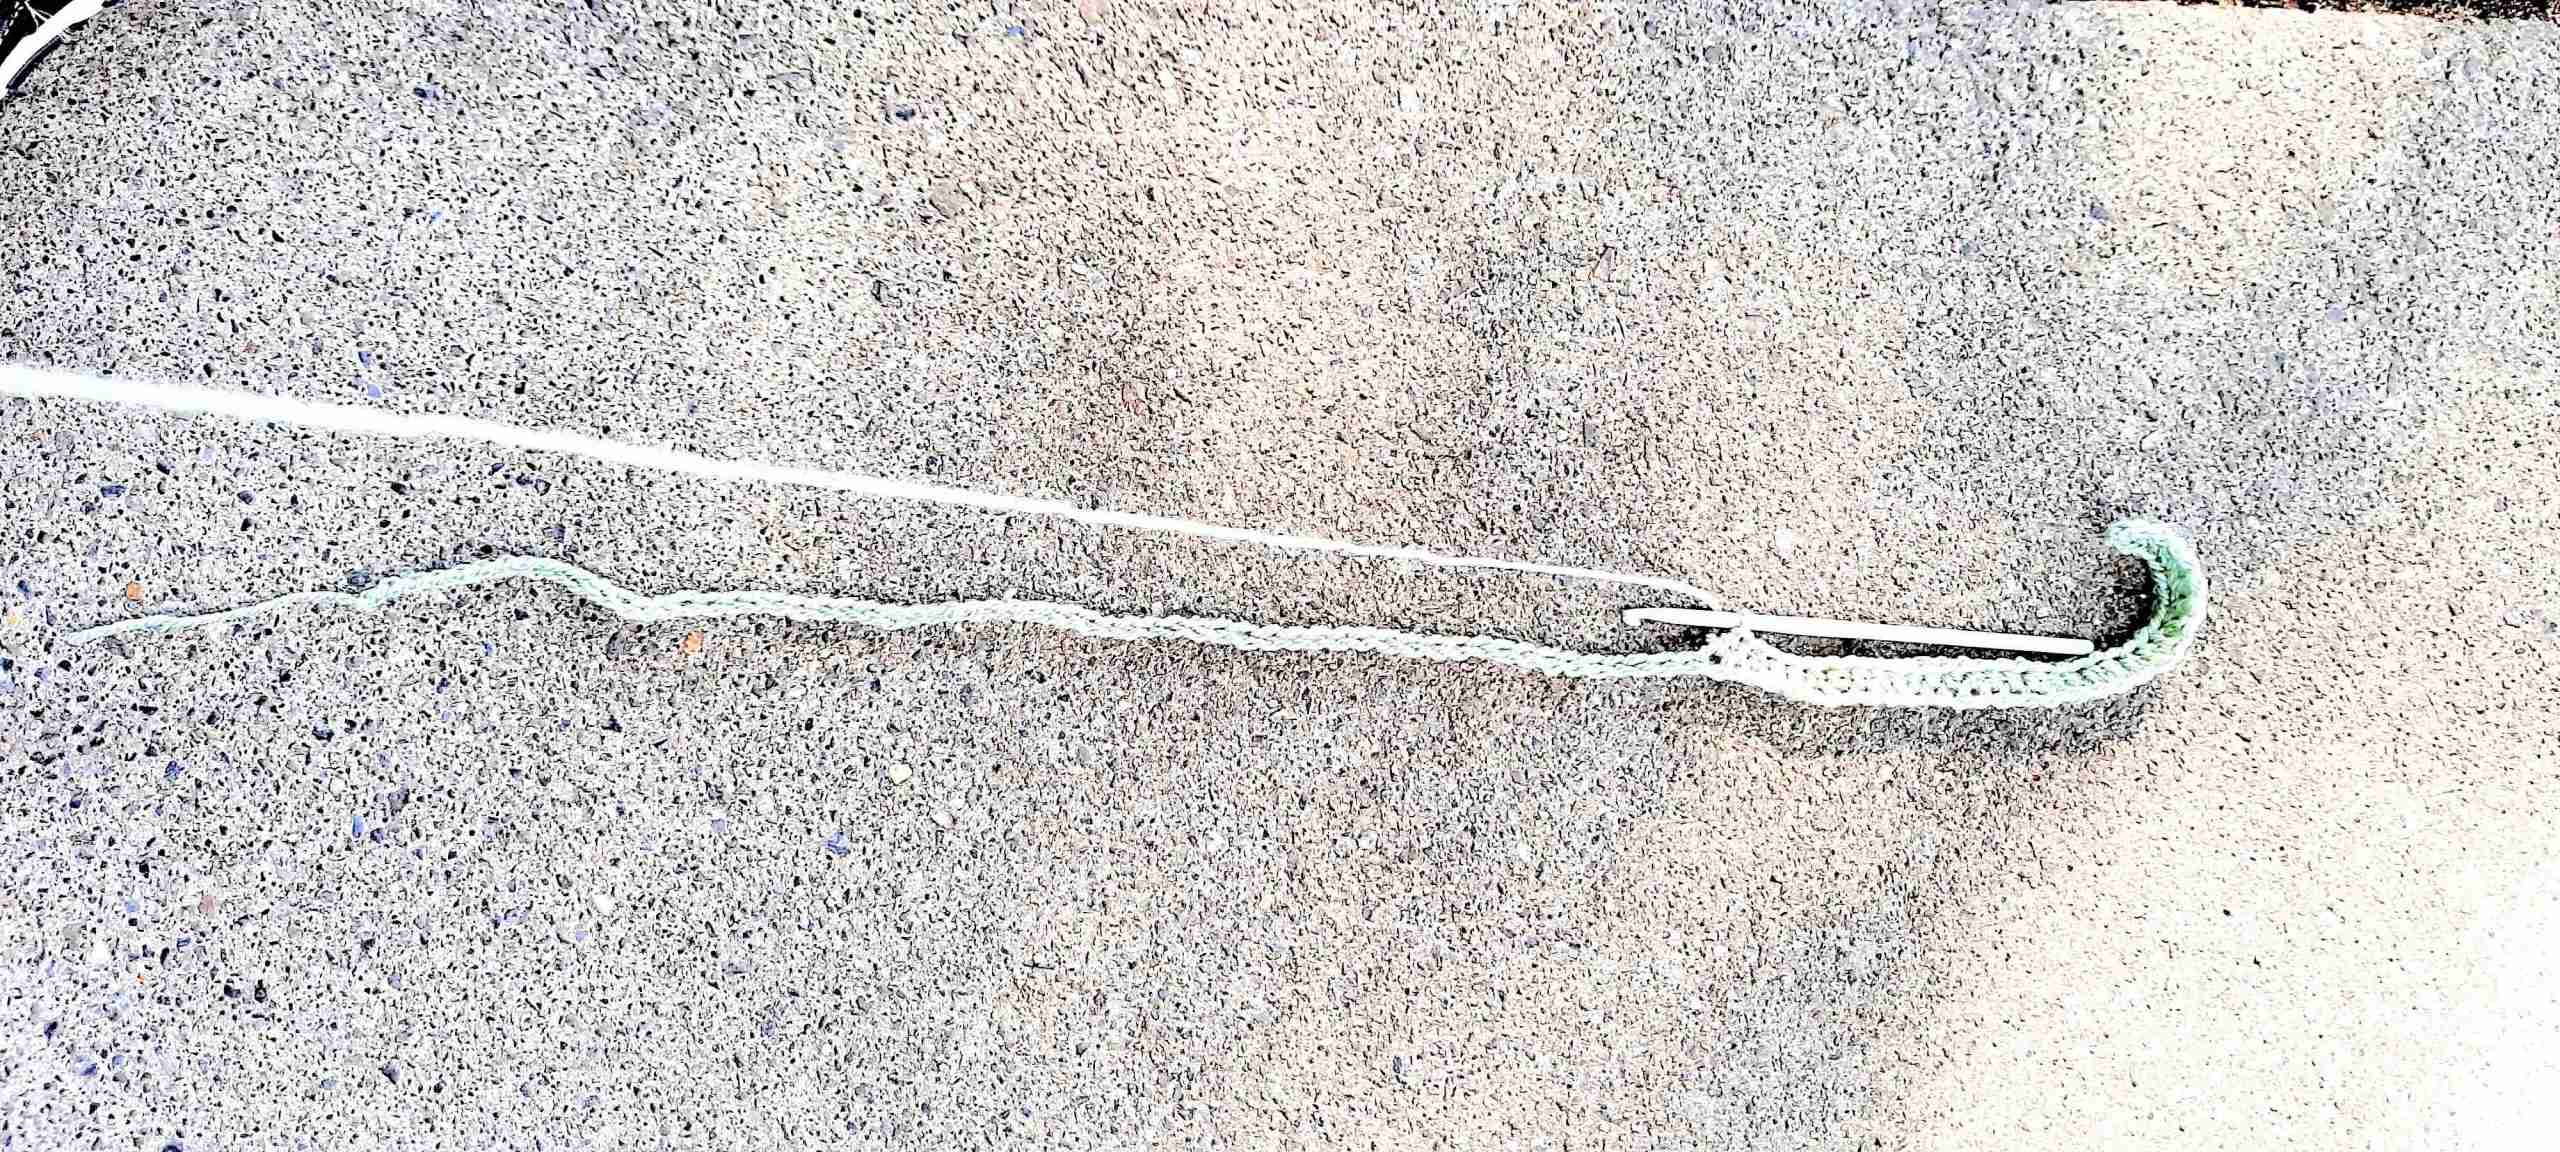
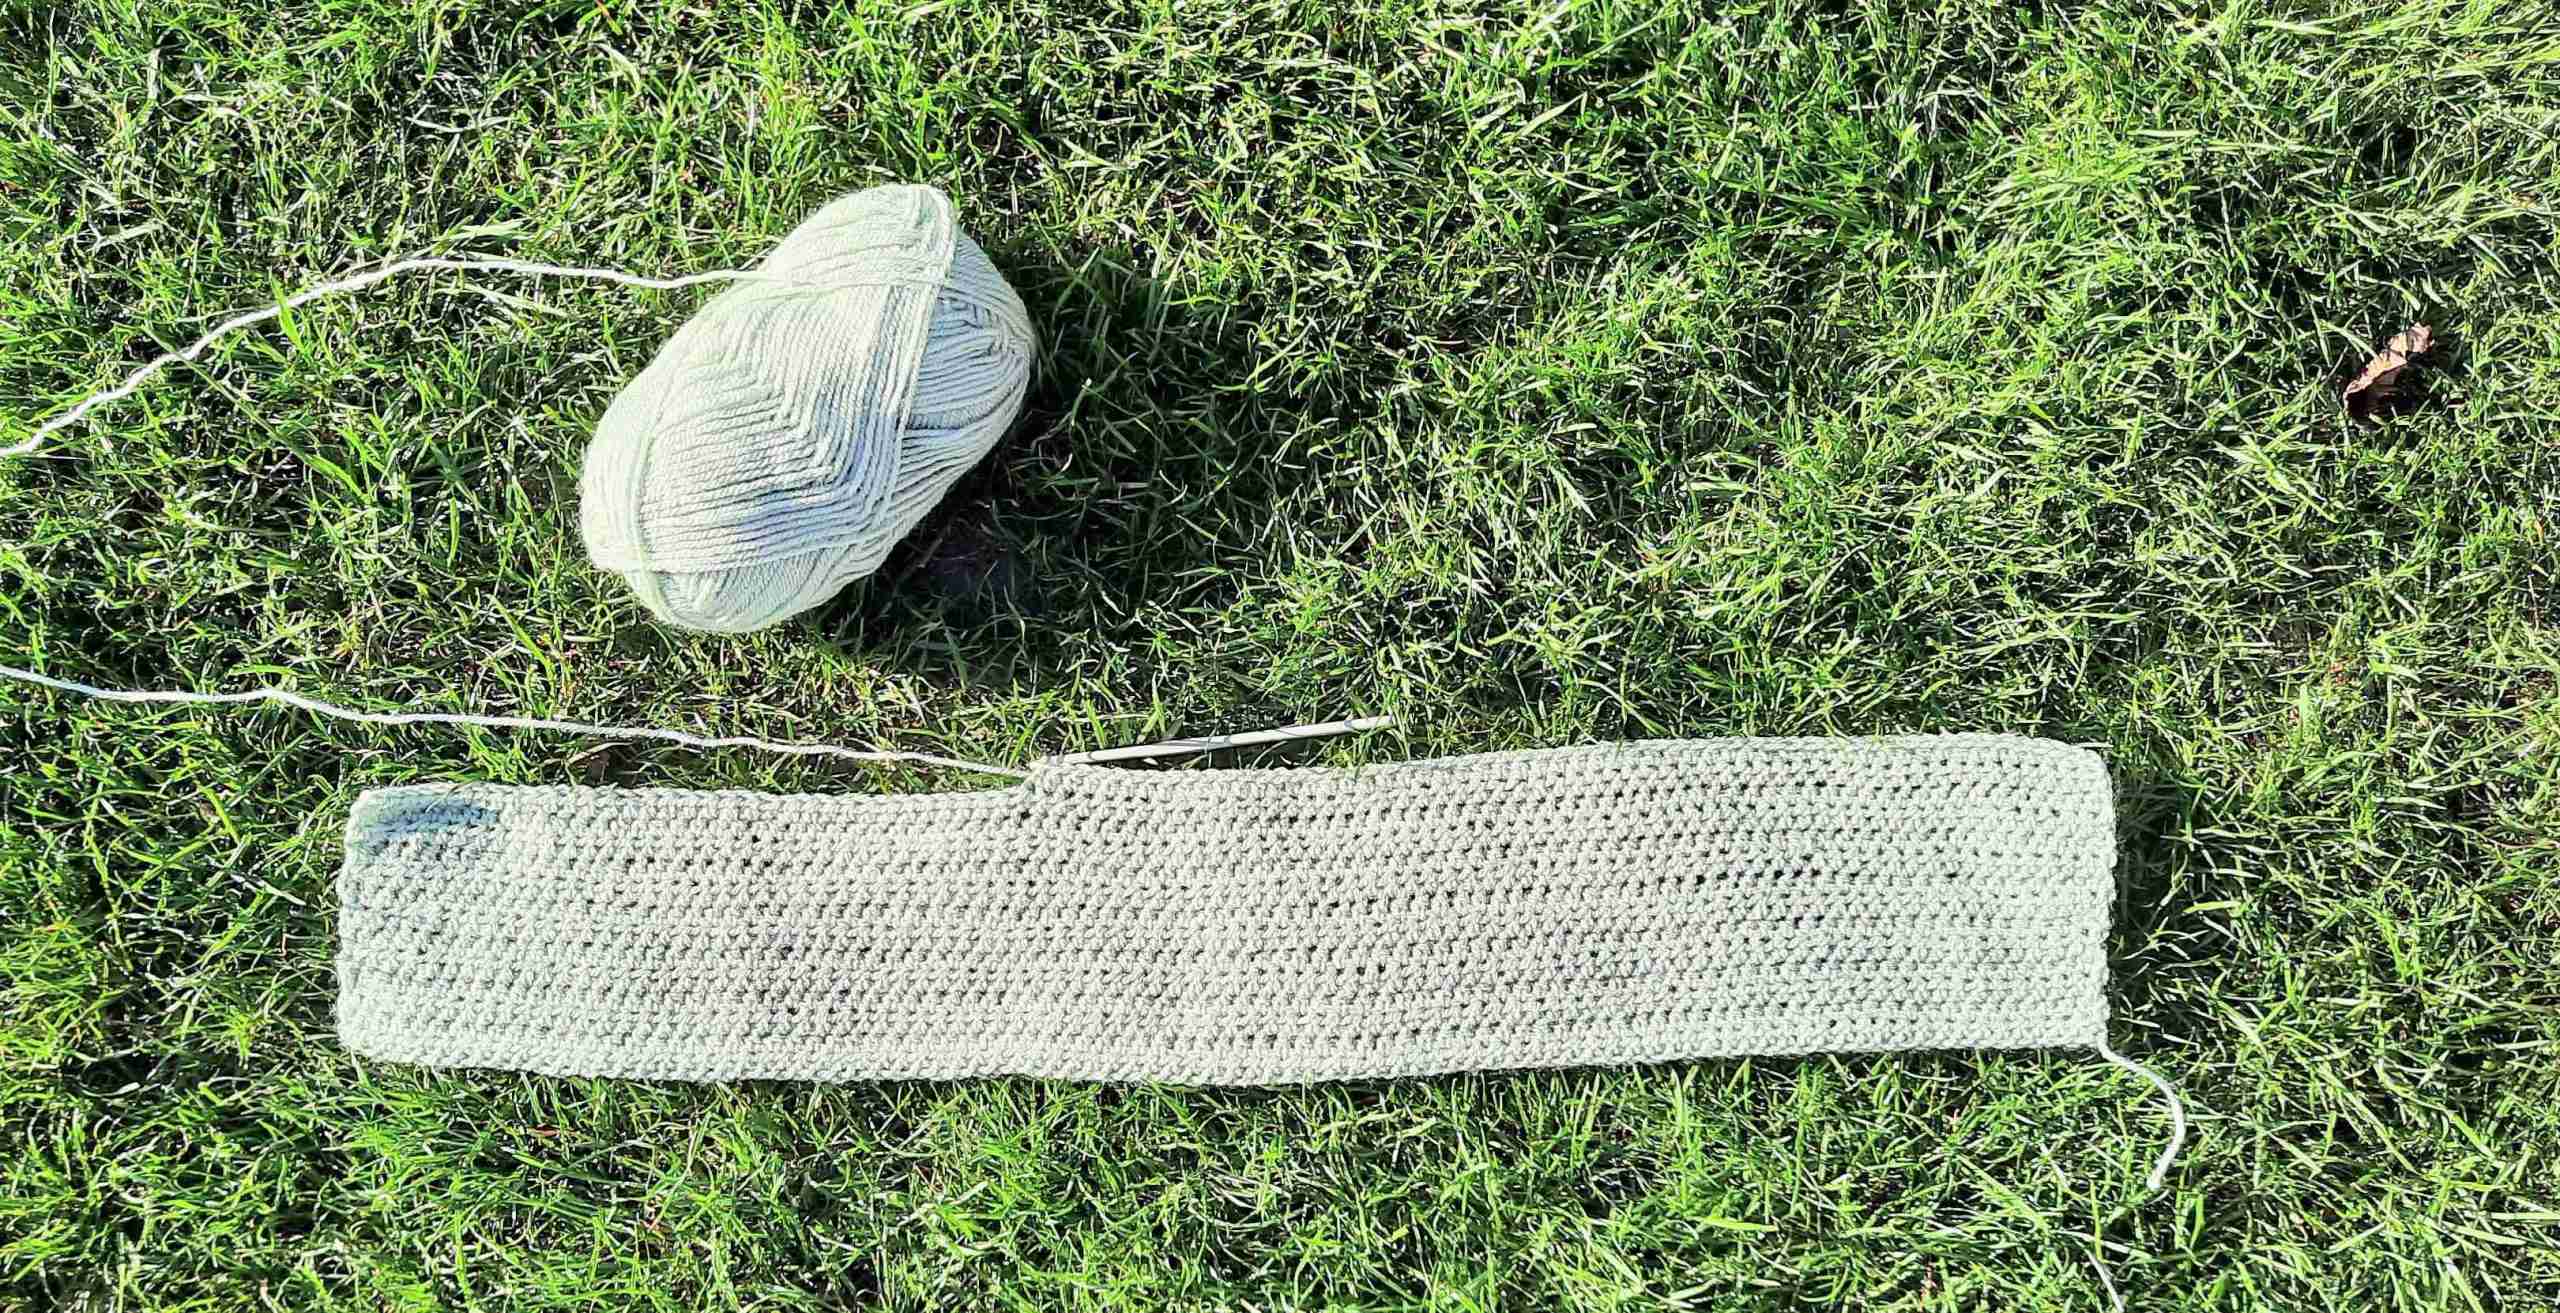
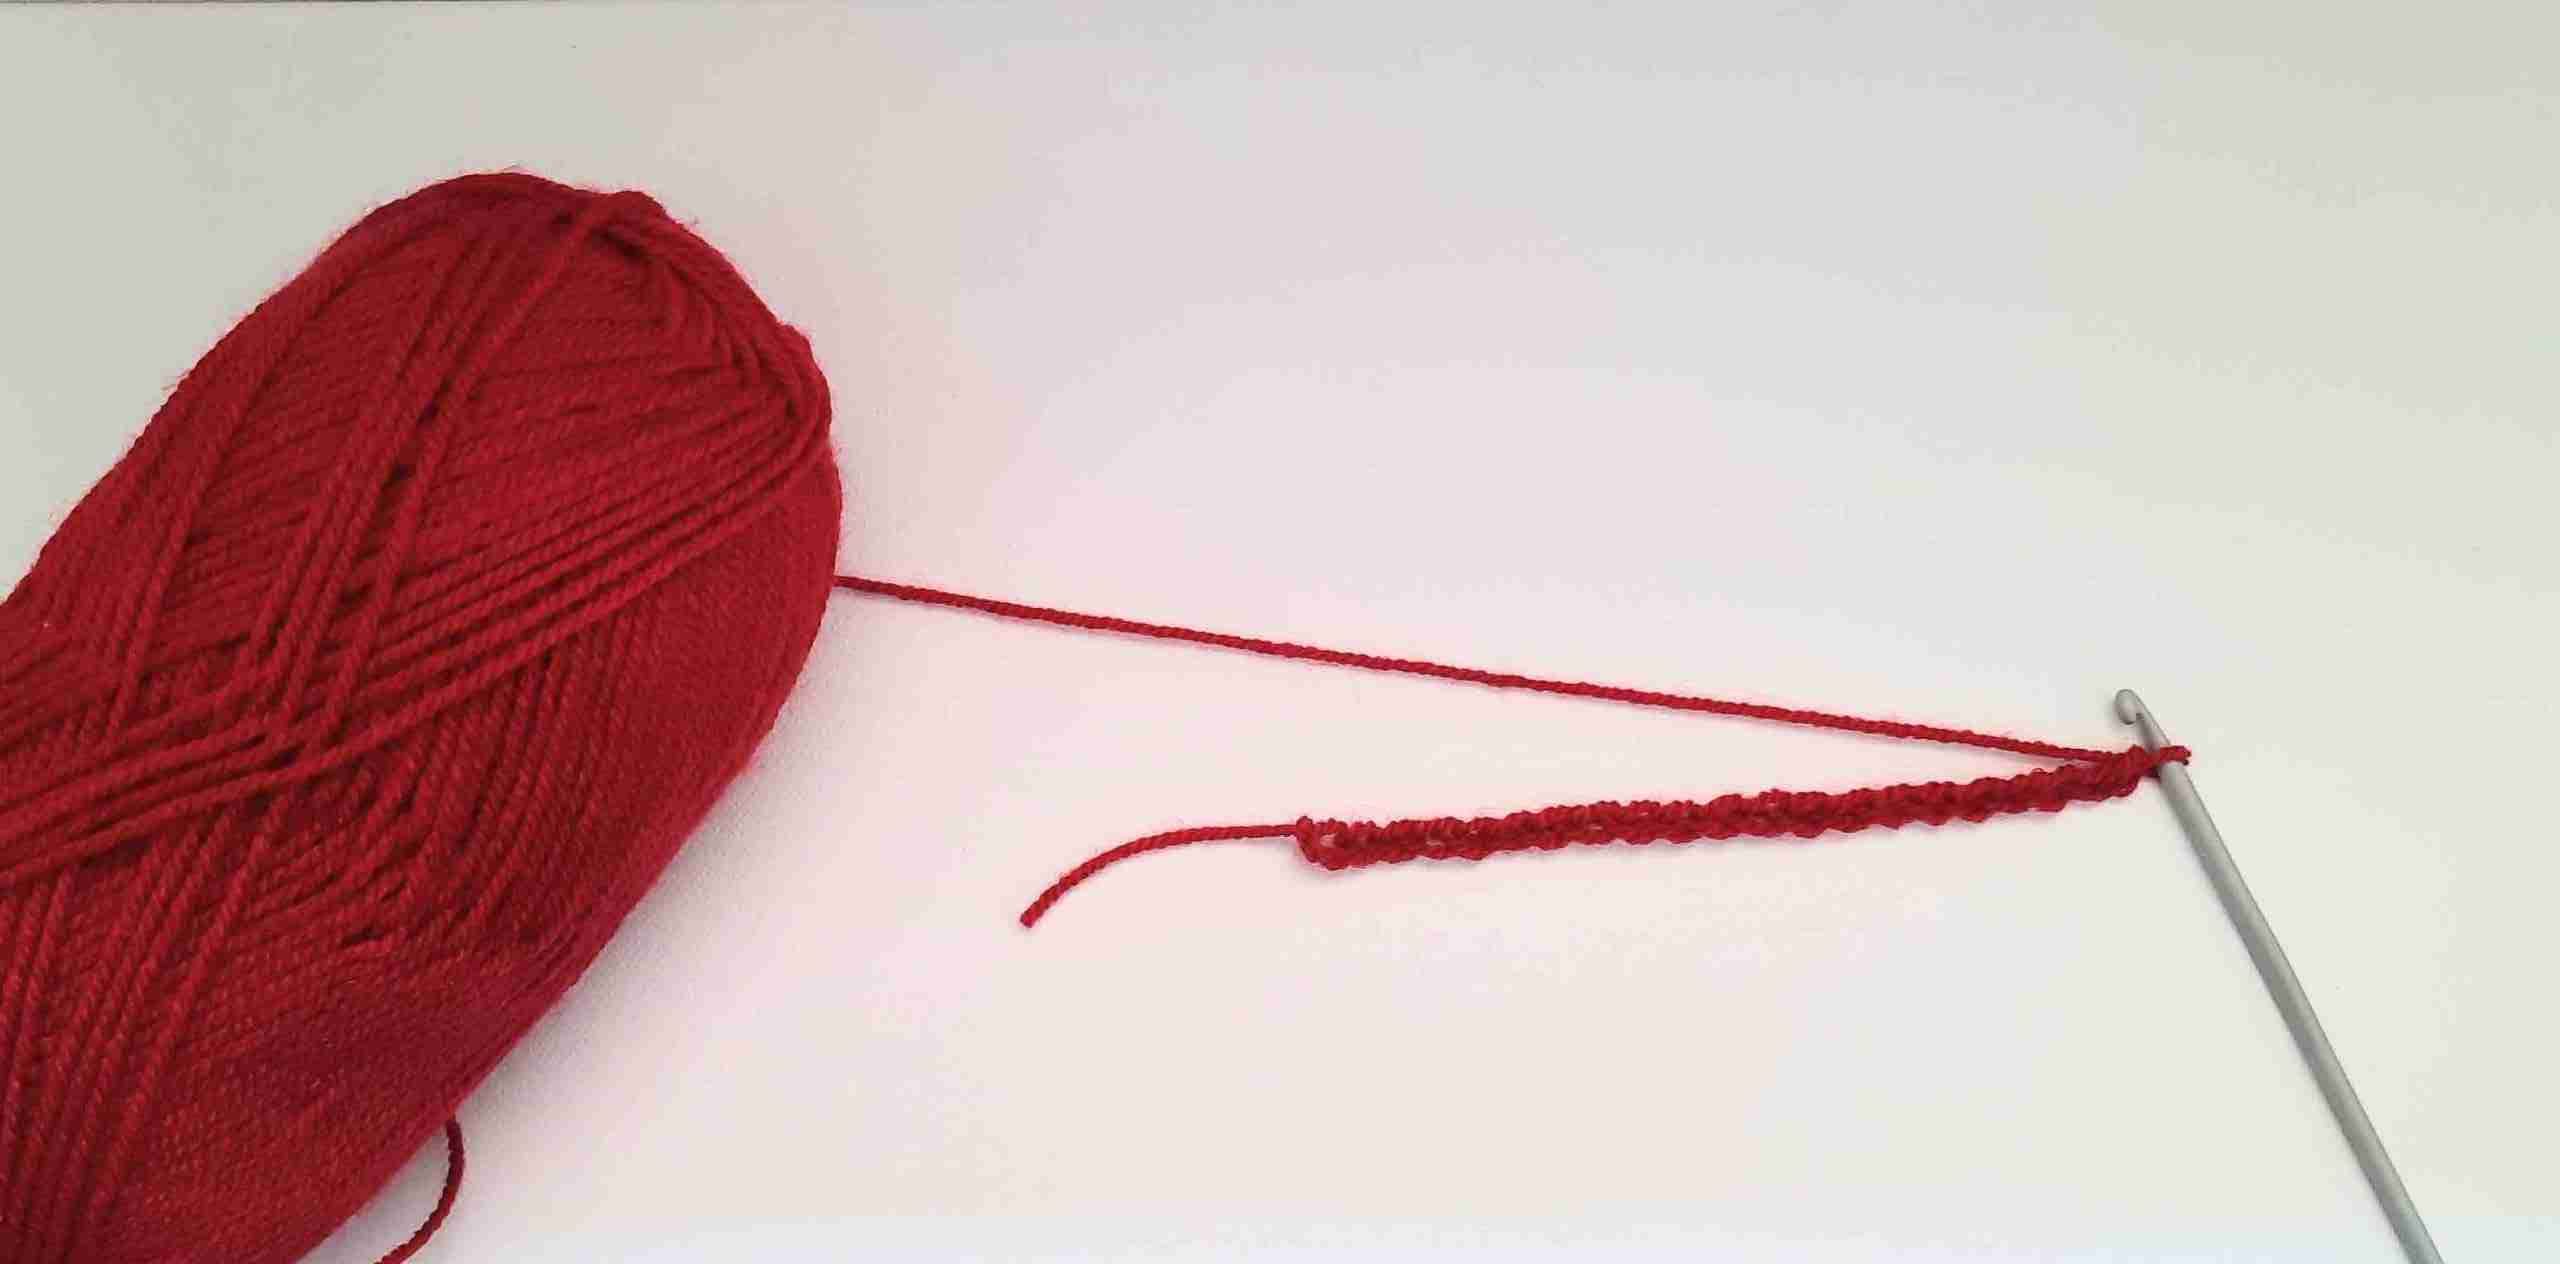
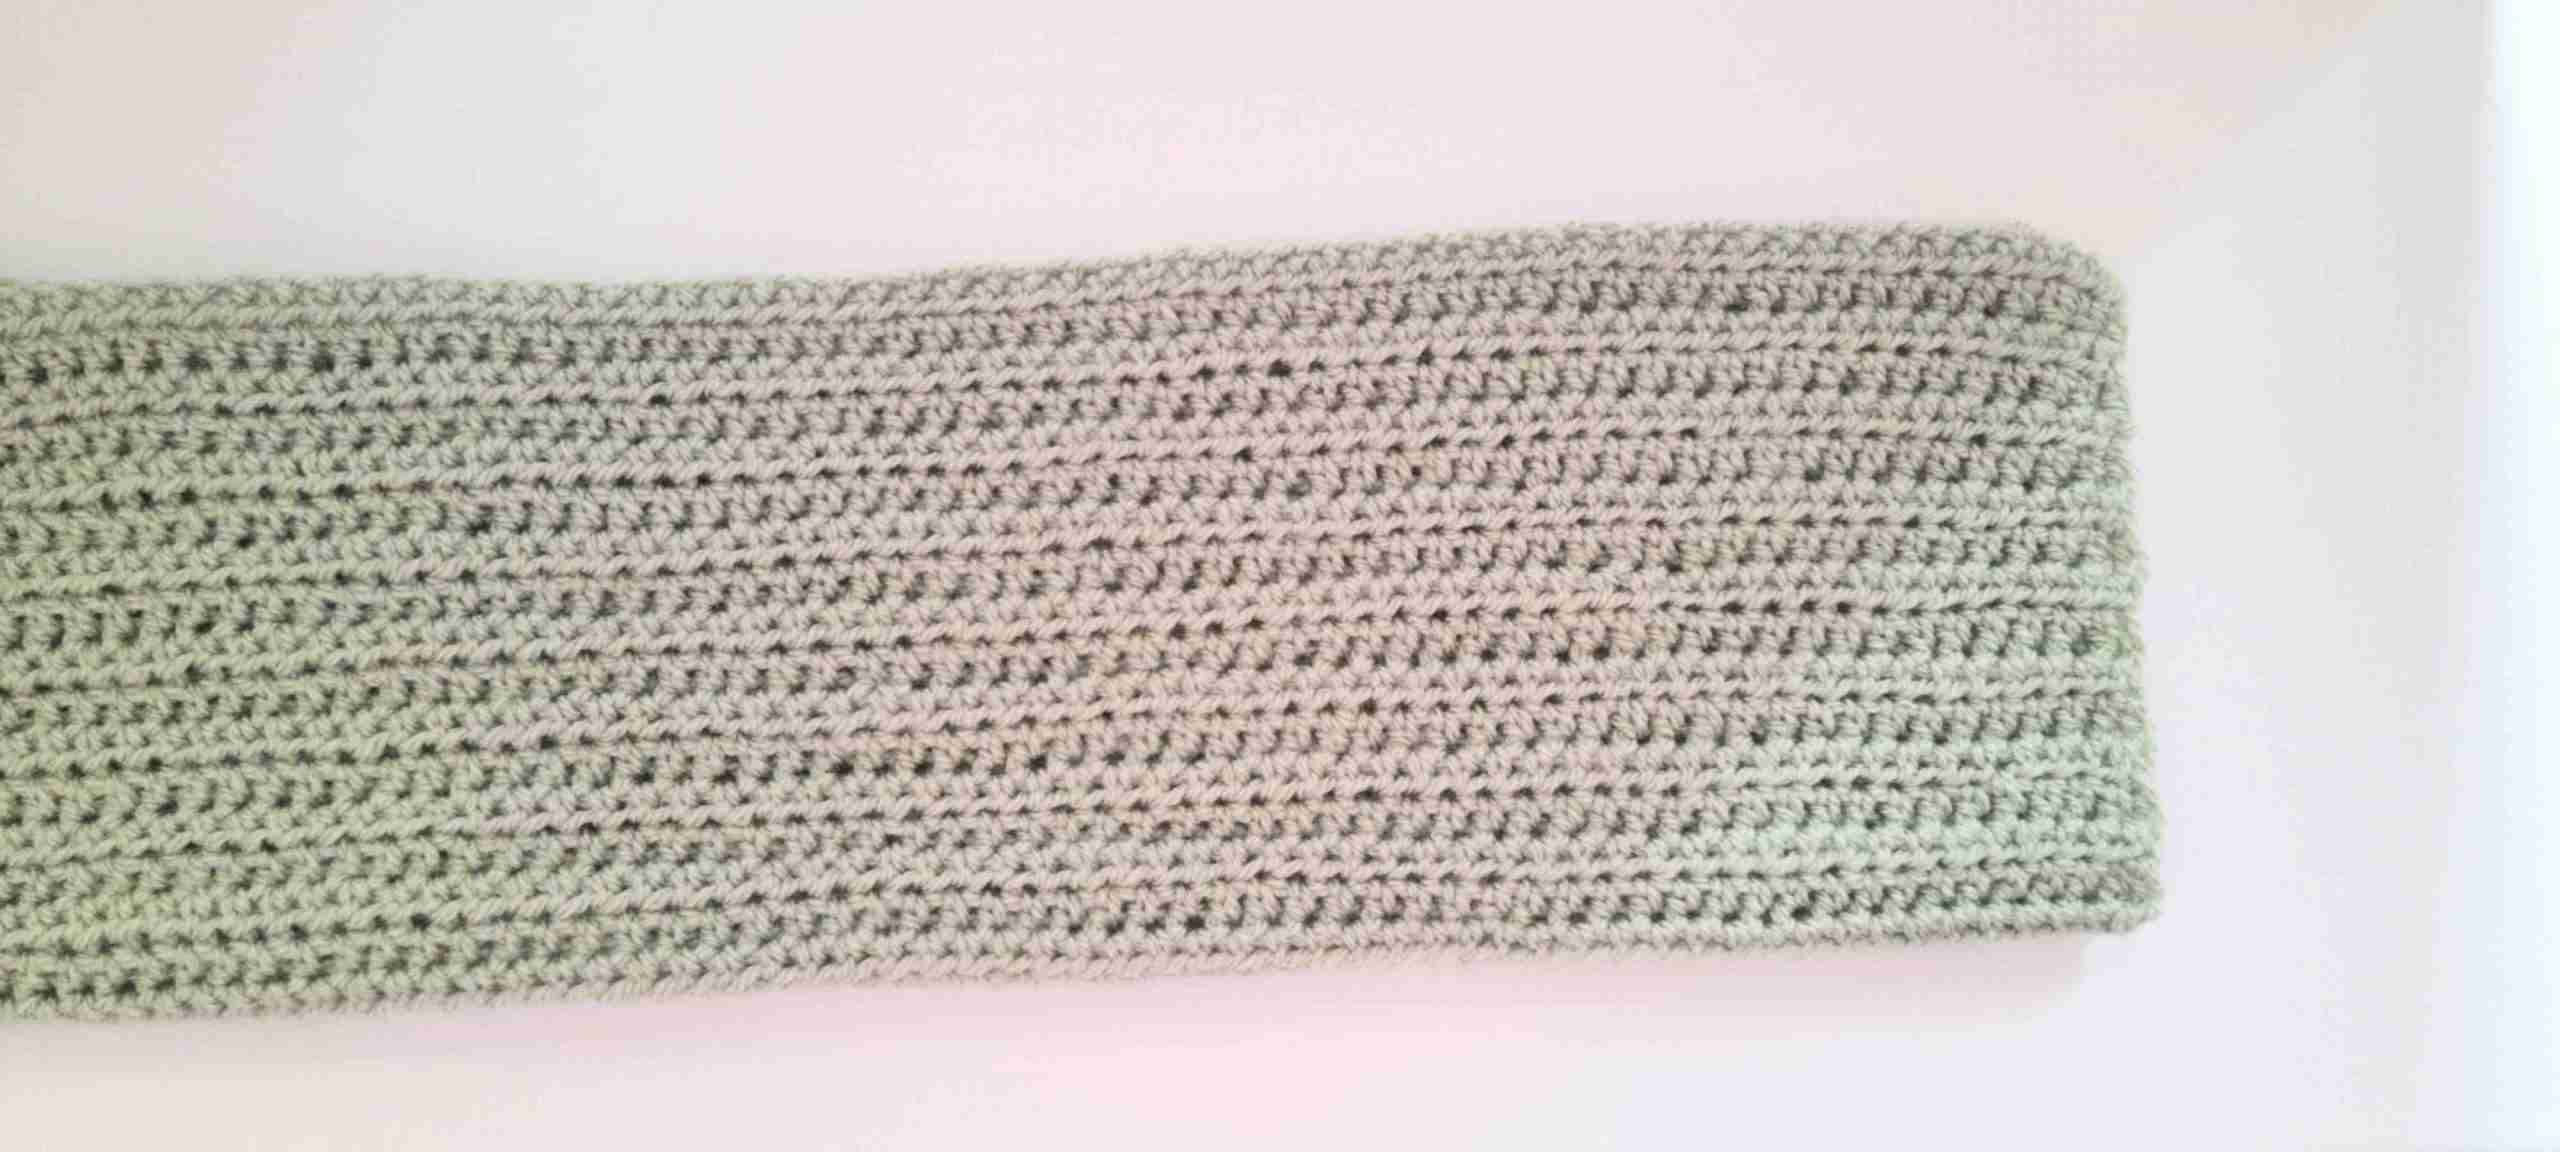
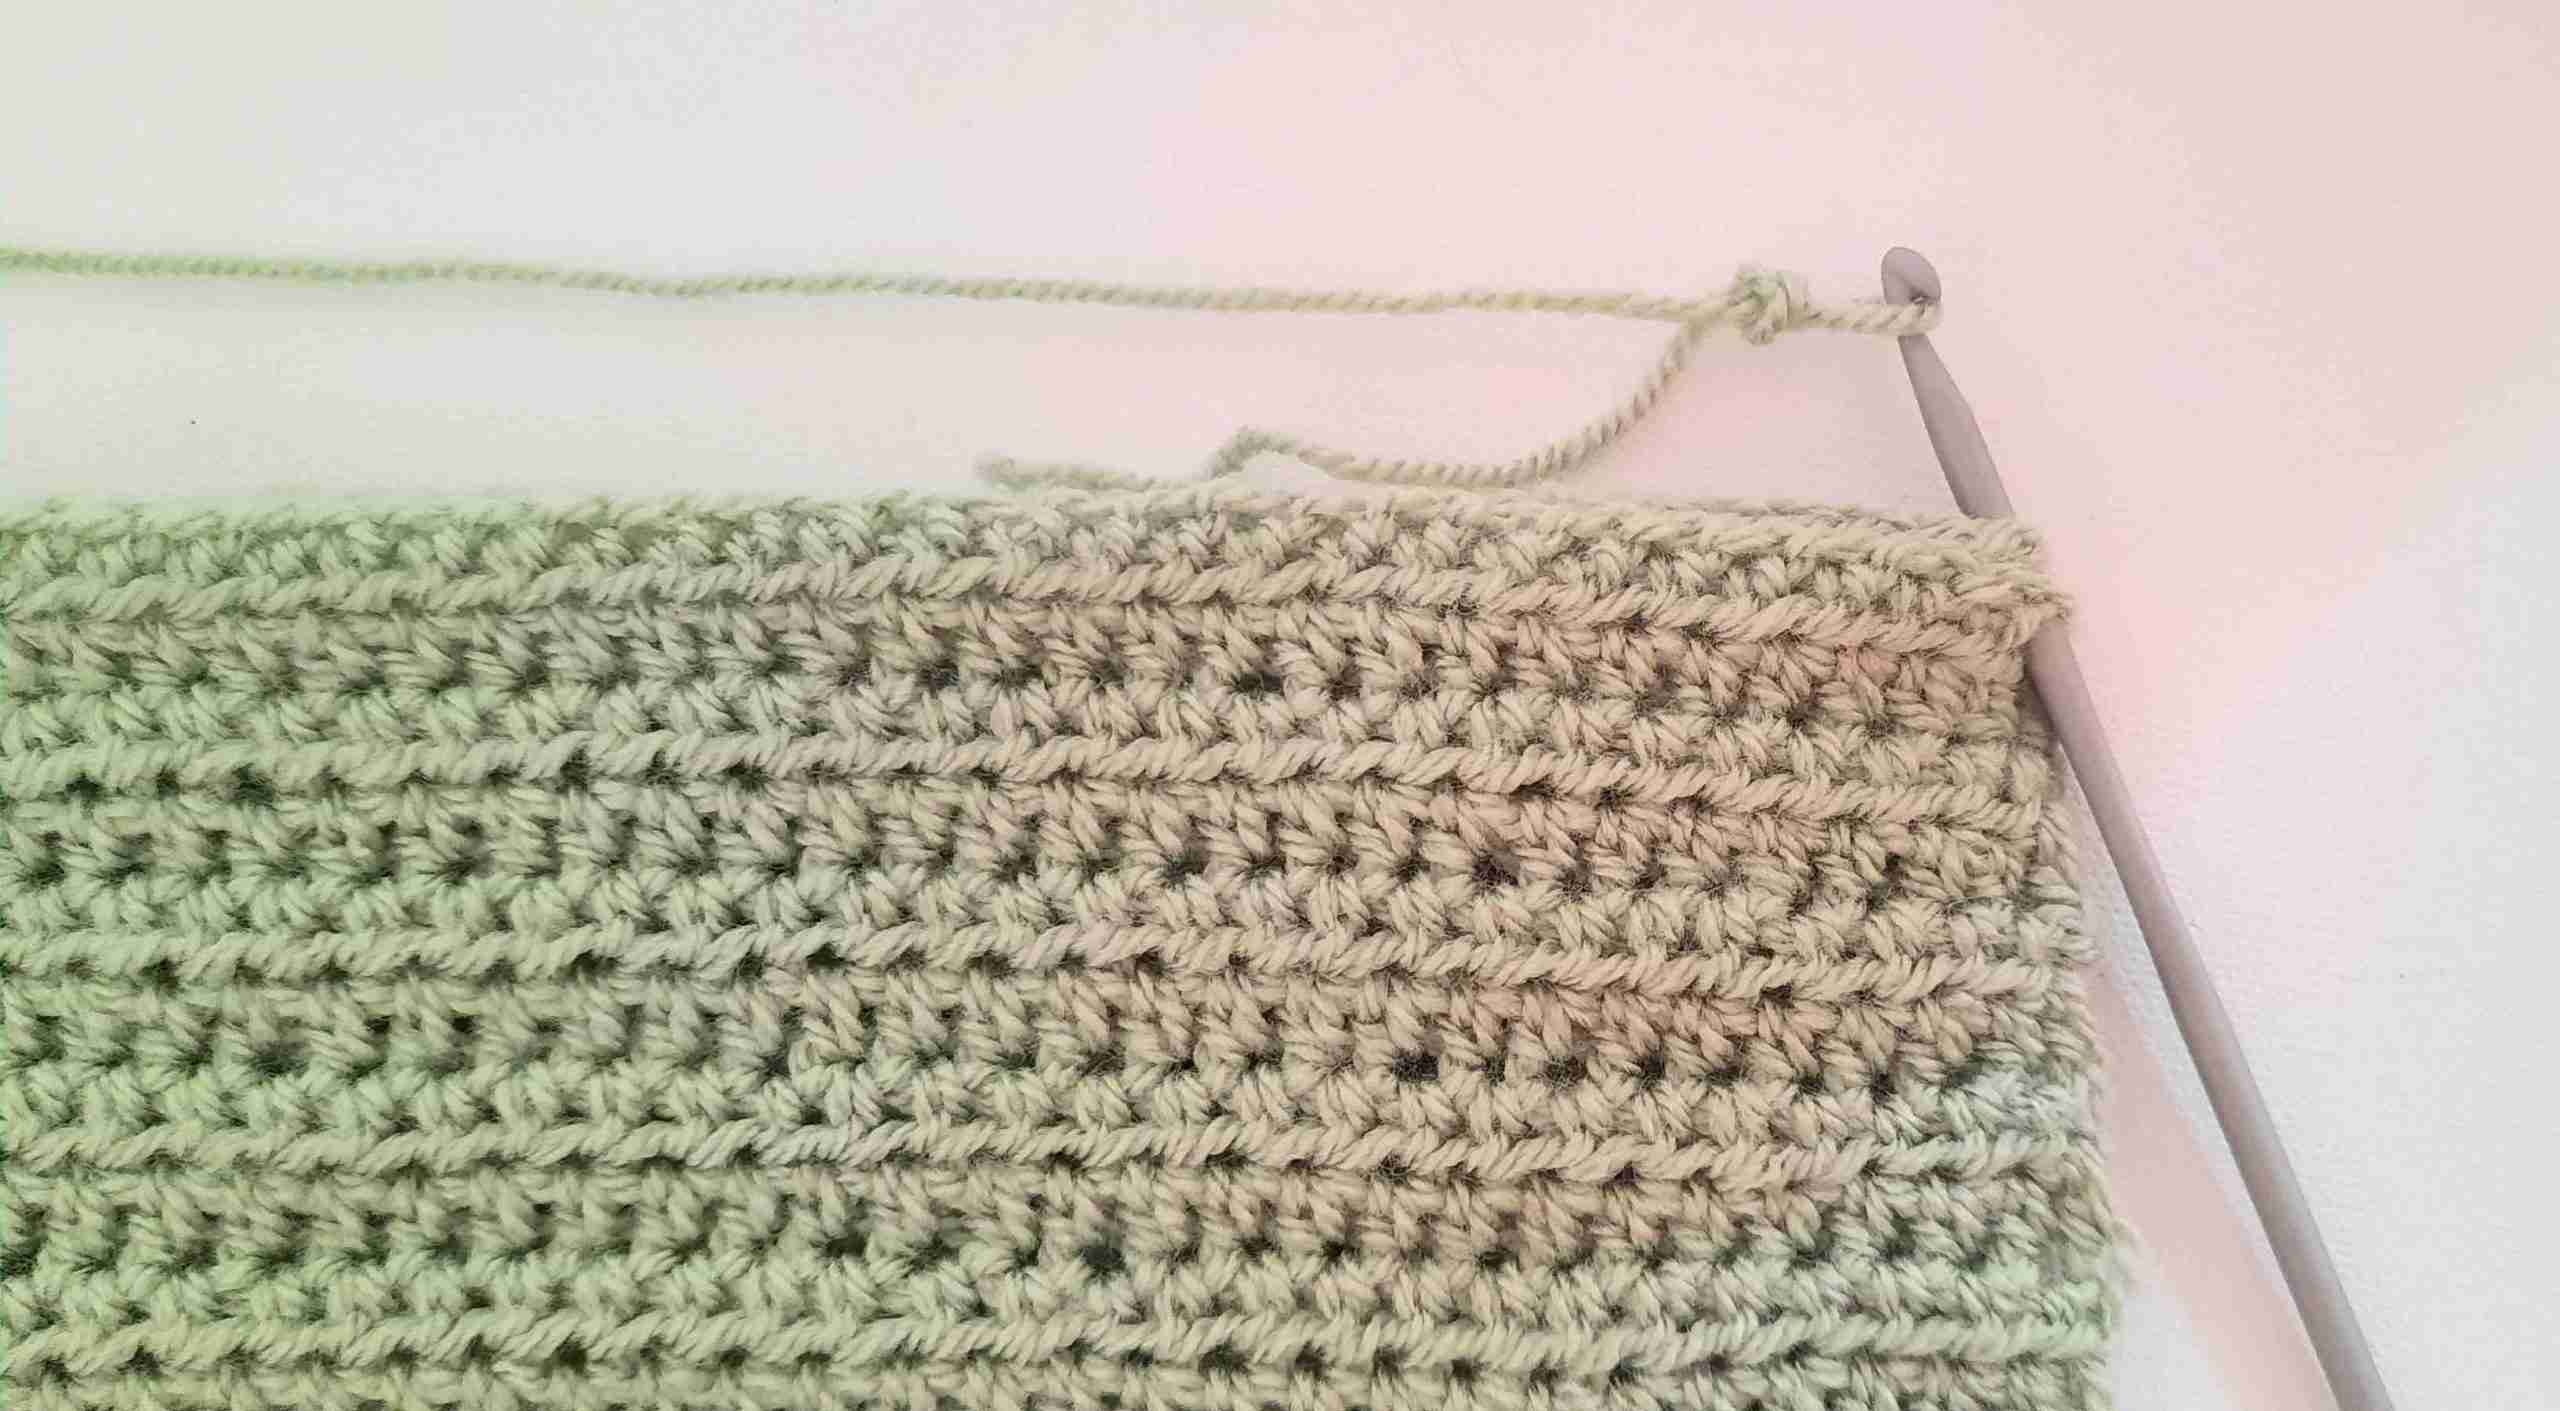
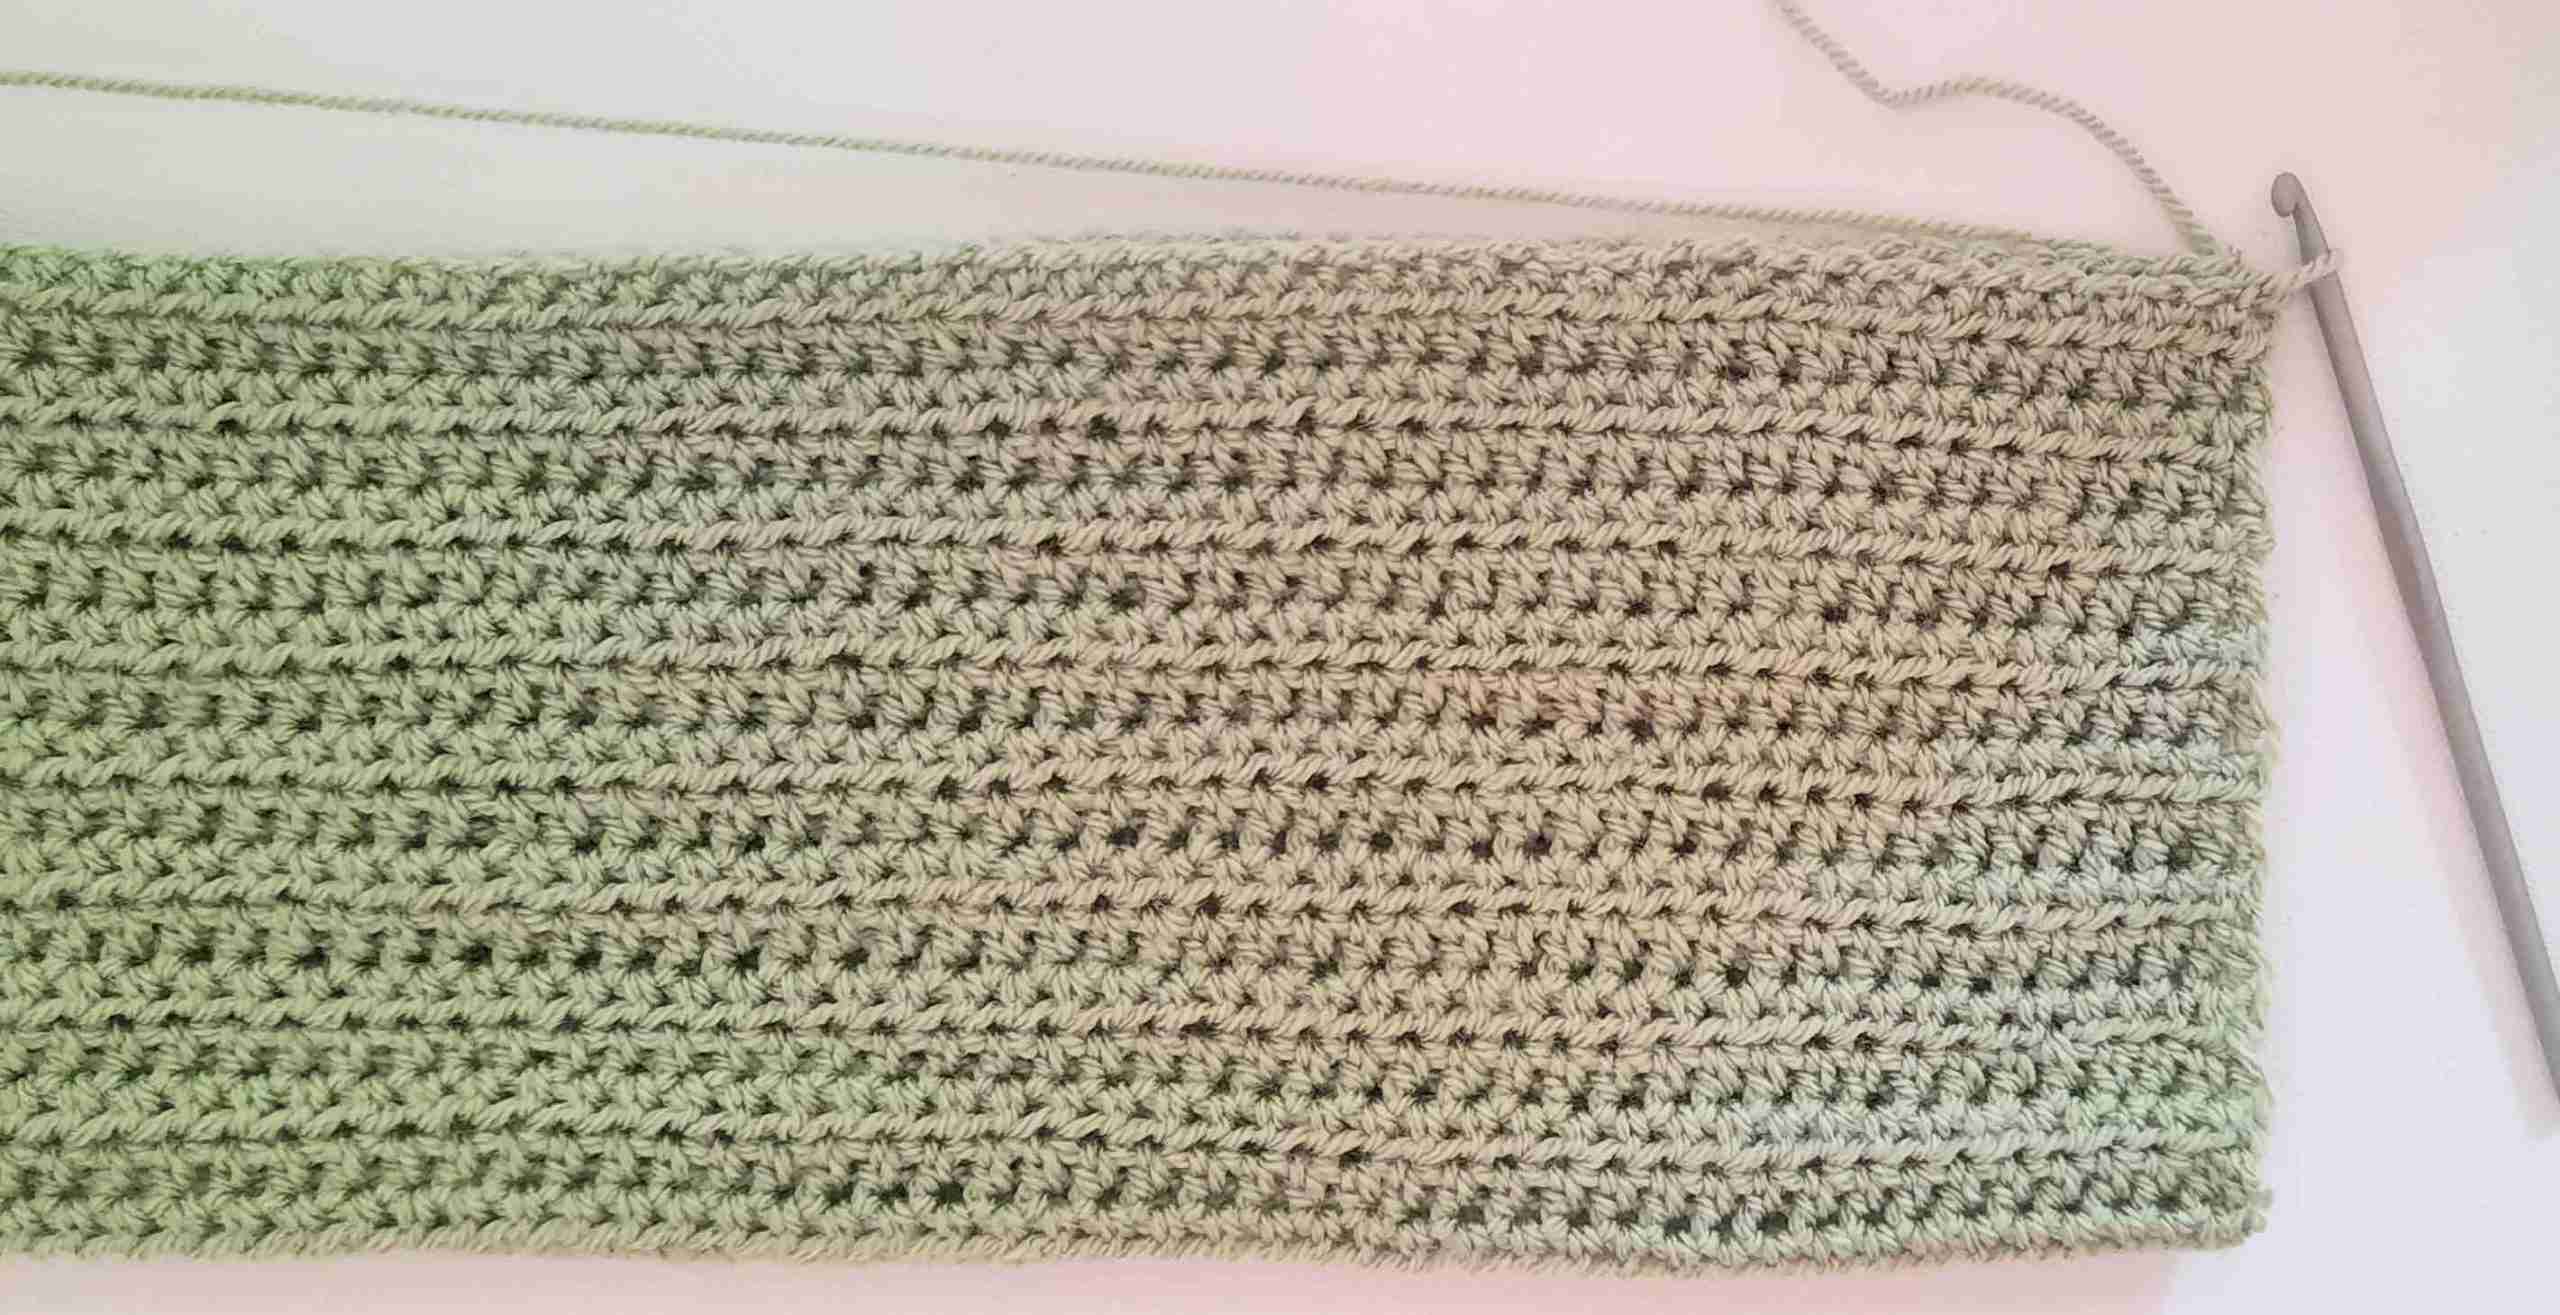
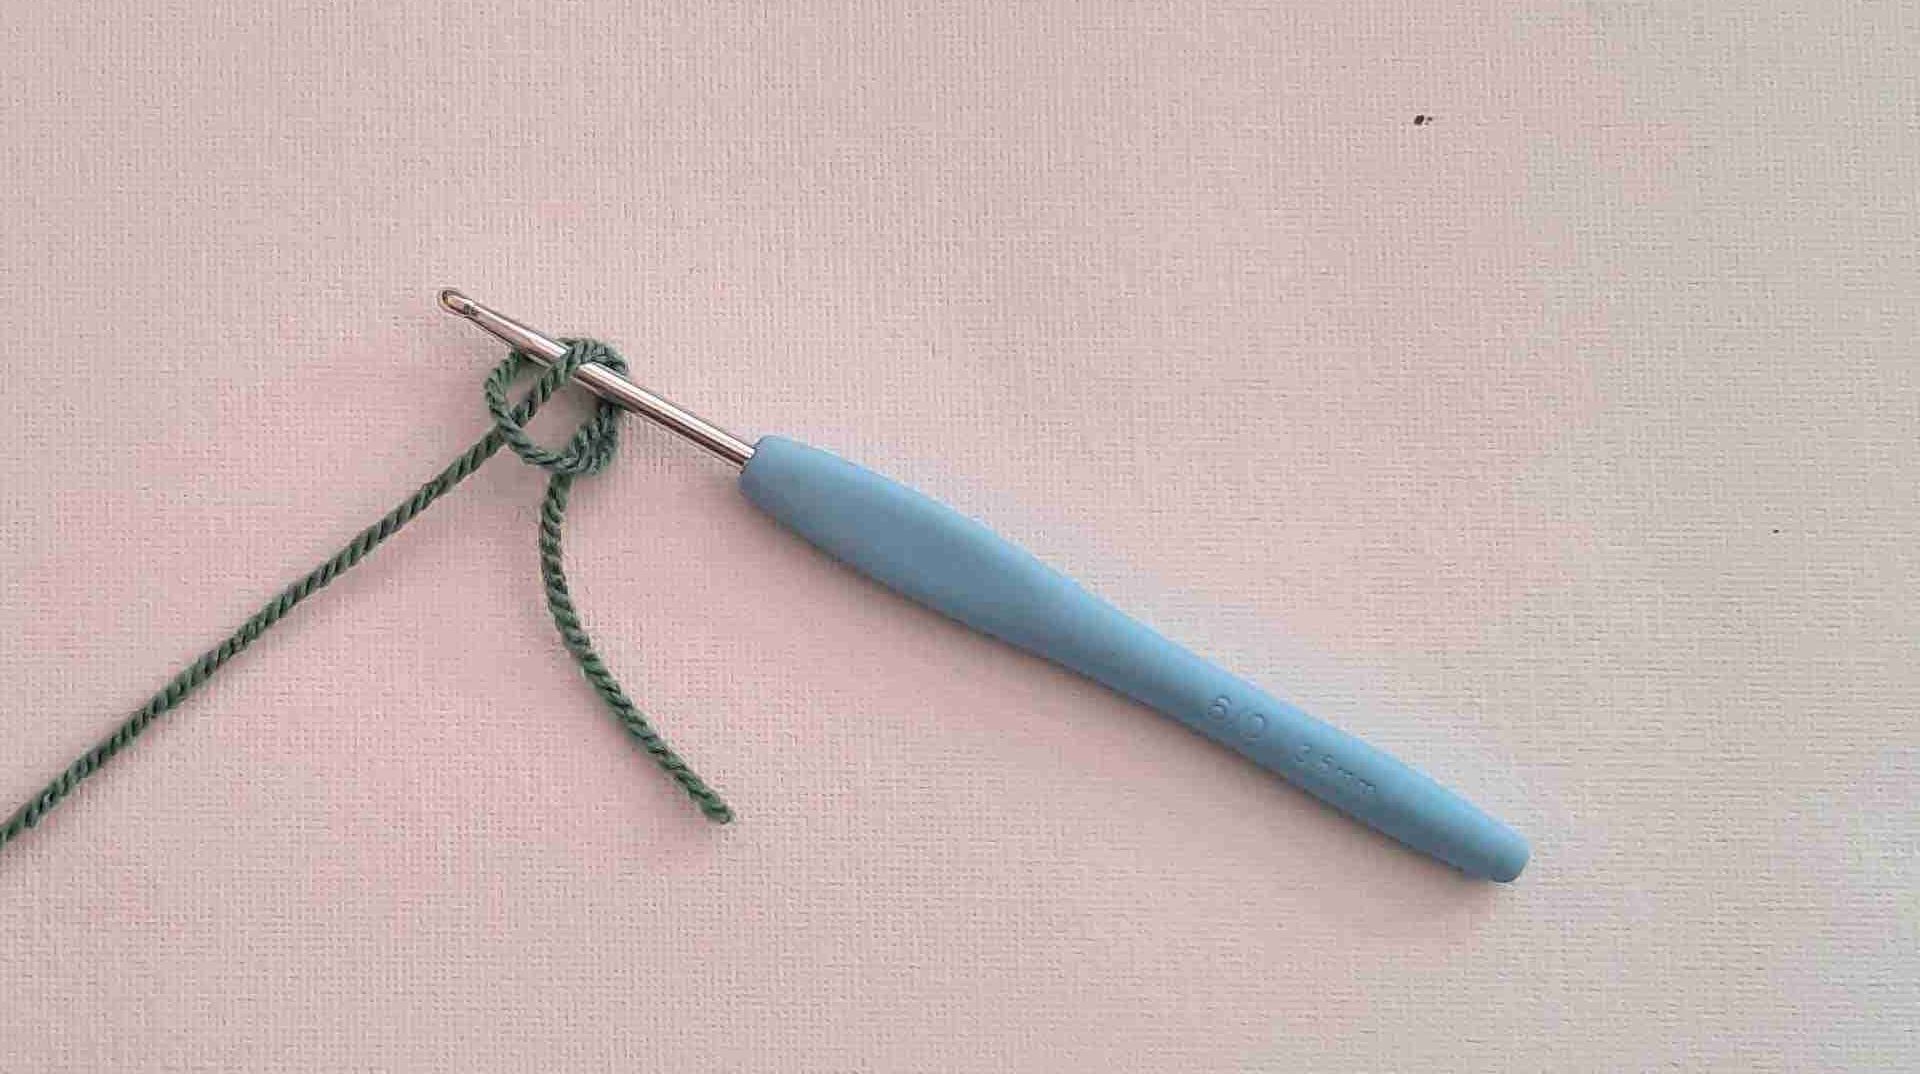
- With US size 7 (4.5 mm) hook & Color 1 (Pistachio Green), leave a 15” tail, tie a slip knot and ch 91 stitches.
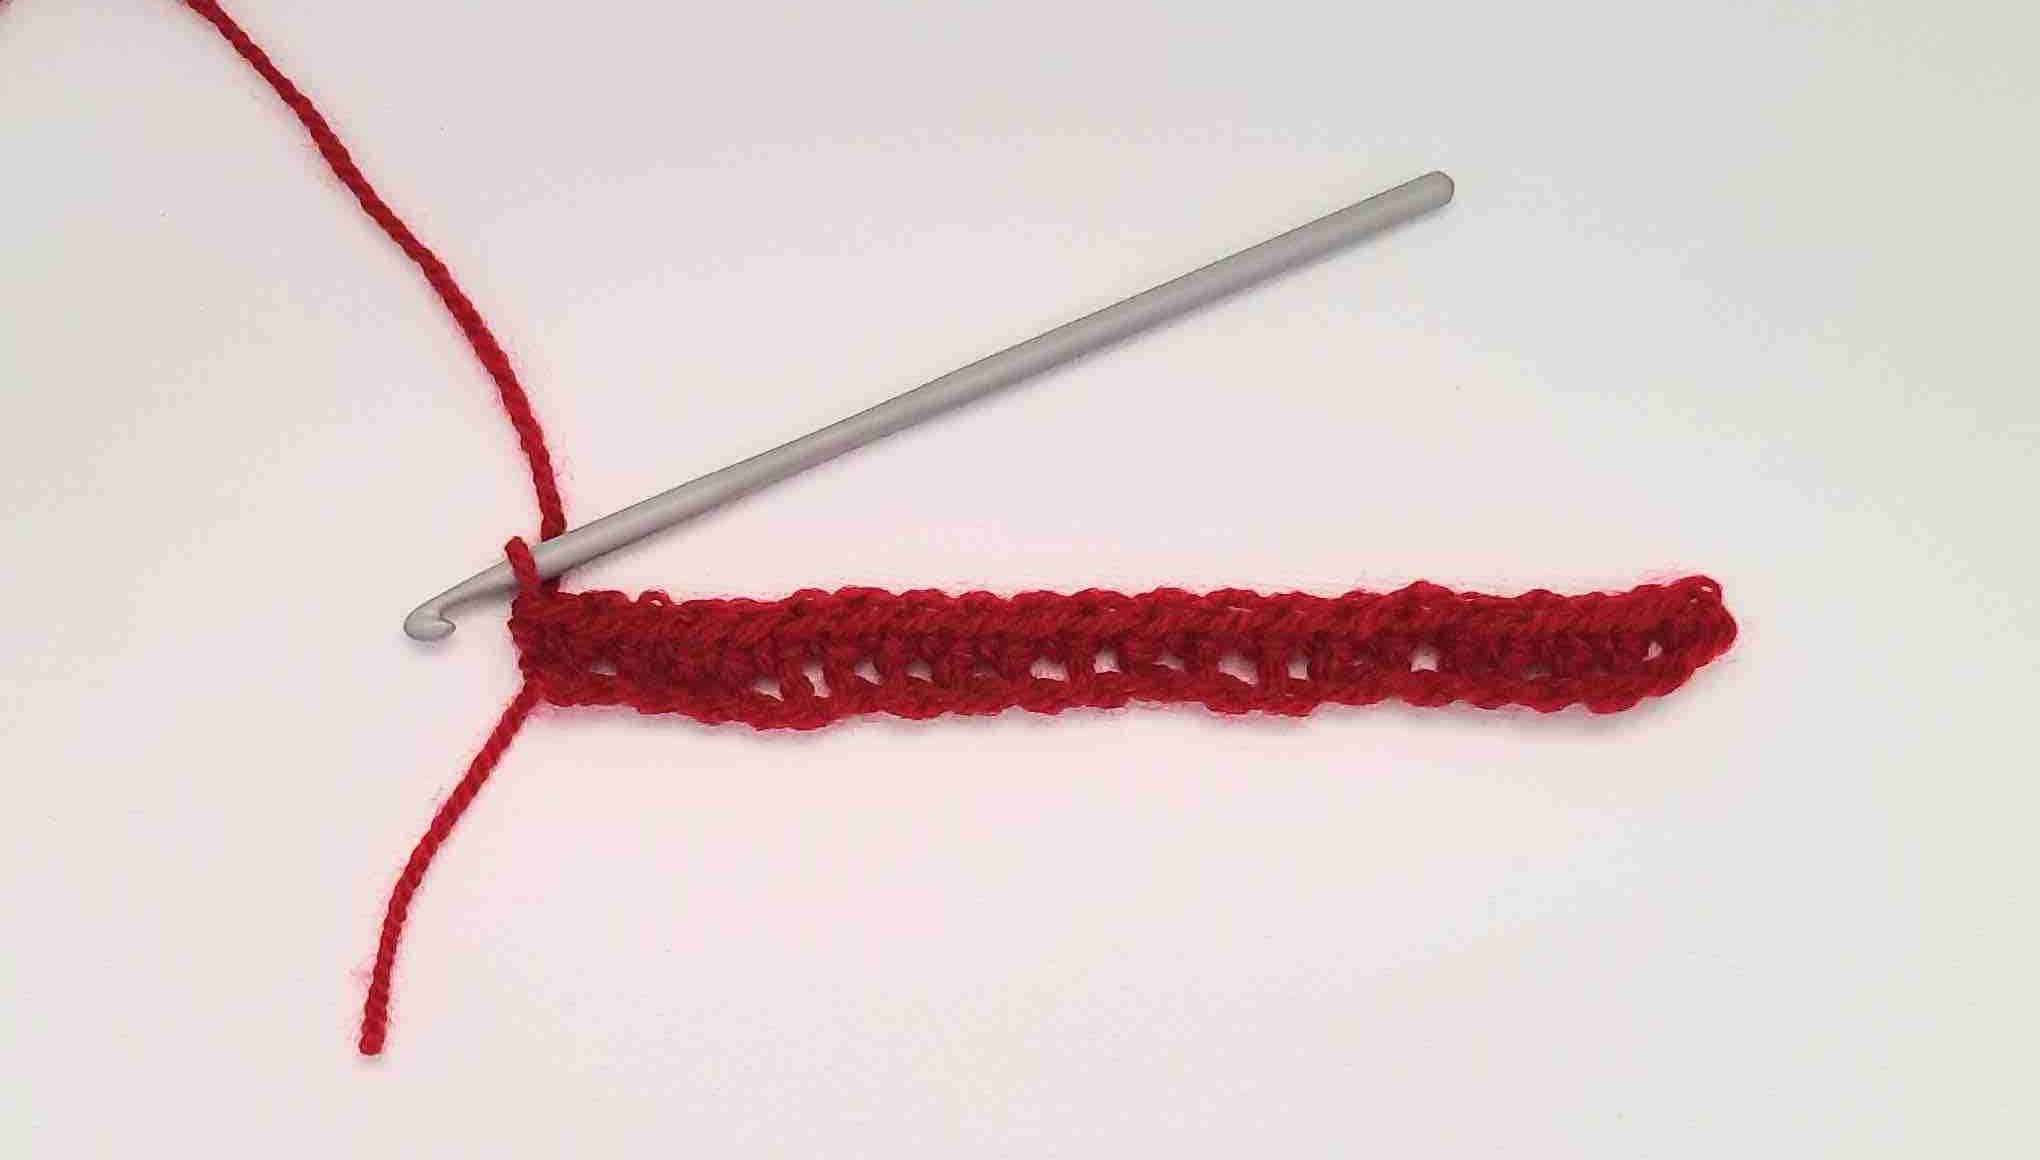
Rows 1: hdc in second ch from hook and in each remaining ch, ch1, turn (90).
Notes: To ensure correct sizing, measure from wrist to wrist with arms wide open with a tape measure. Make sure this measurement = length of beginning chain (scarf body width) + 2 sleeve lengths.
- Insert stitch marker or use this method to ensure your sides end up perfectly straight.
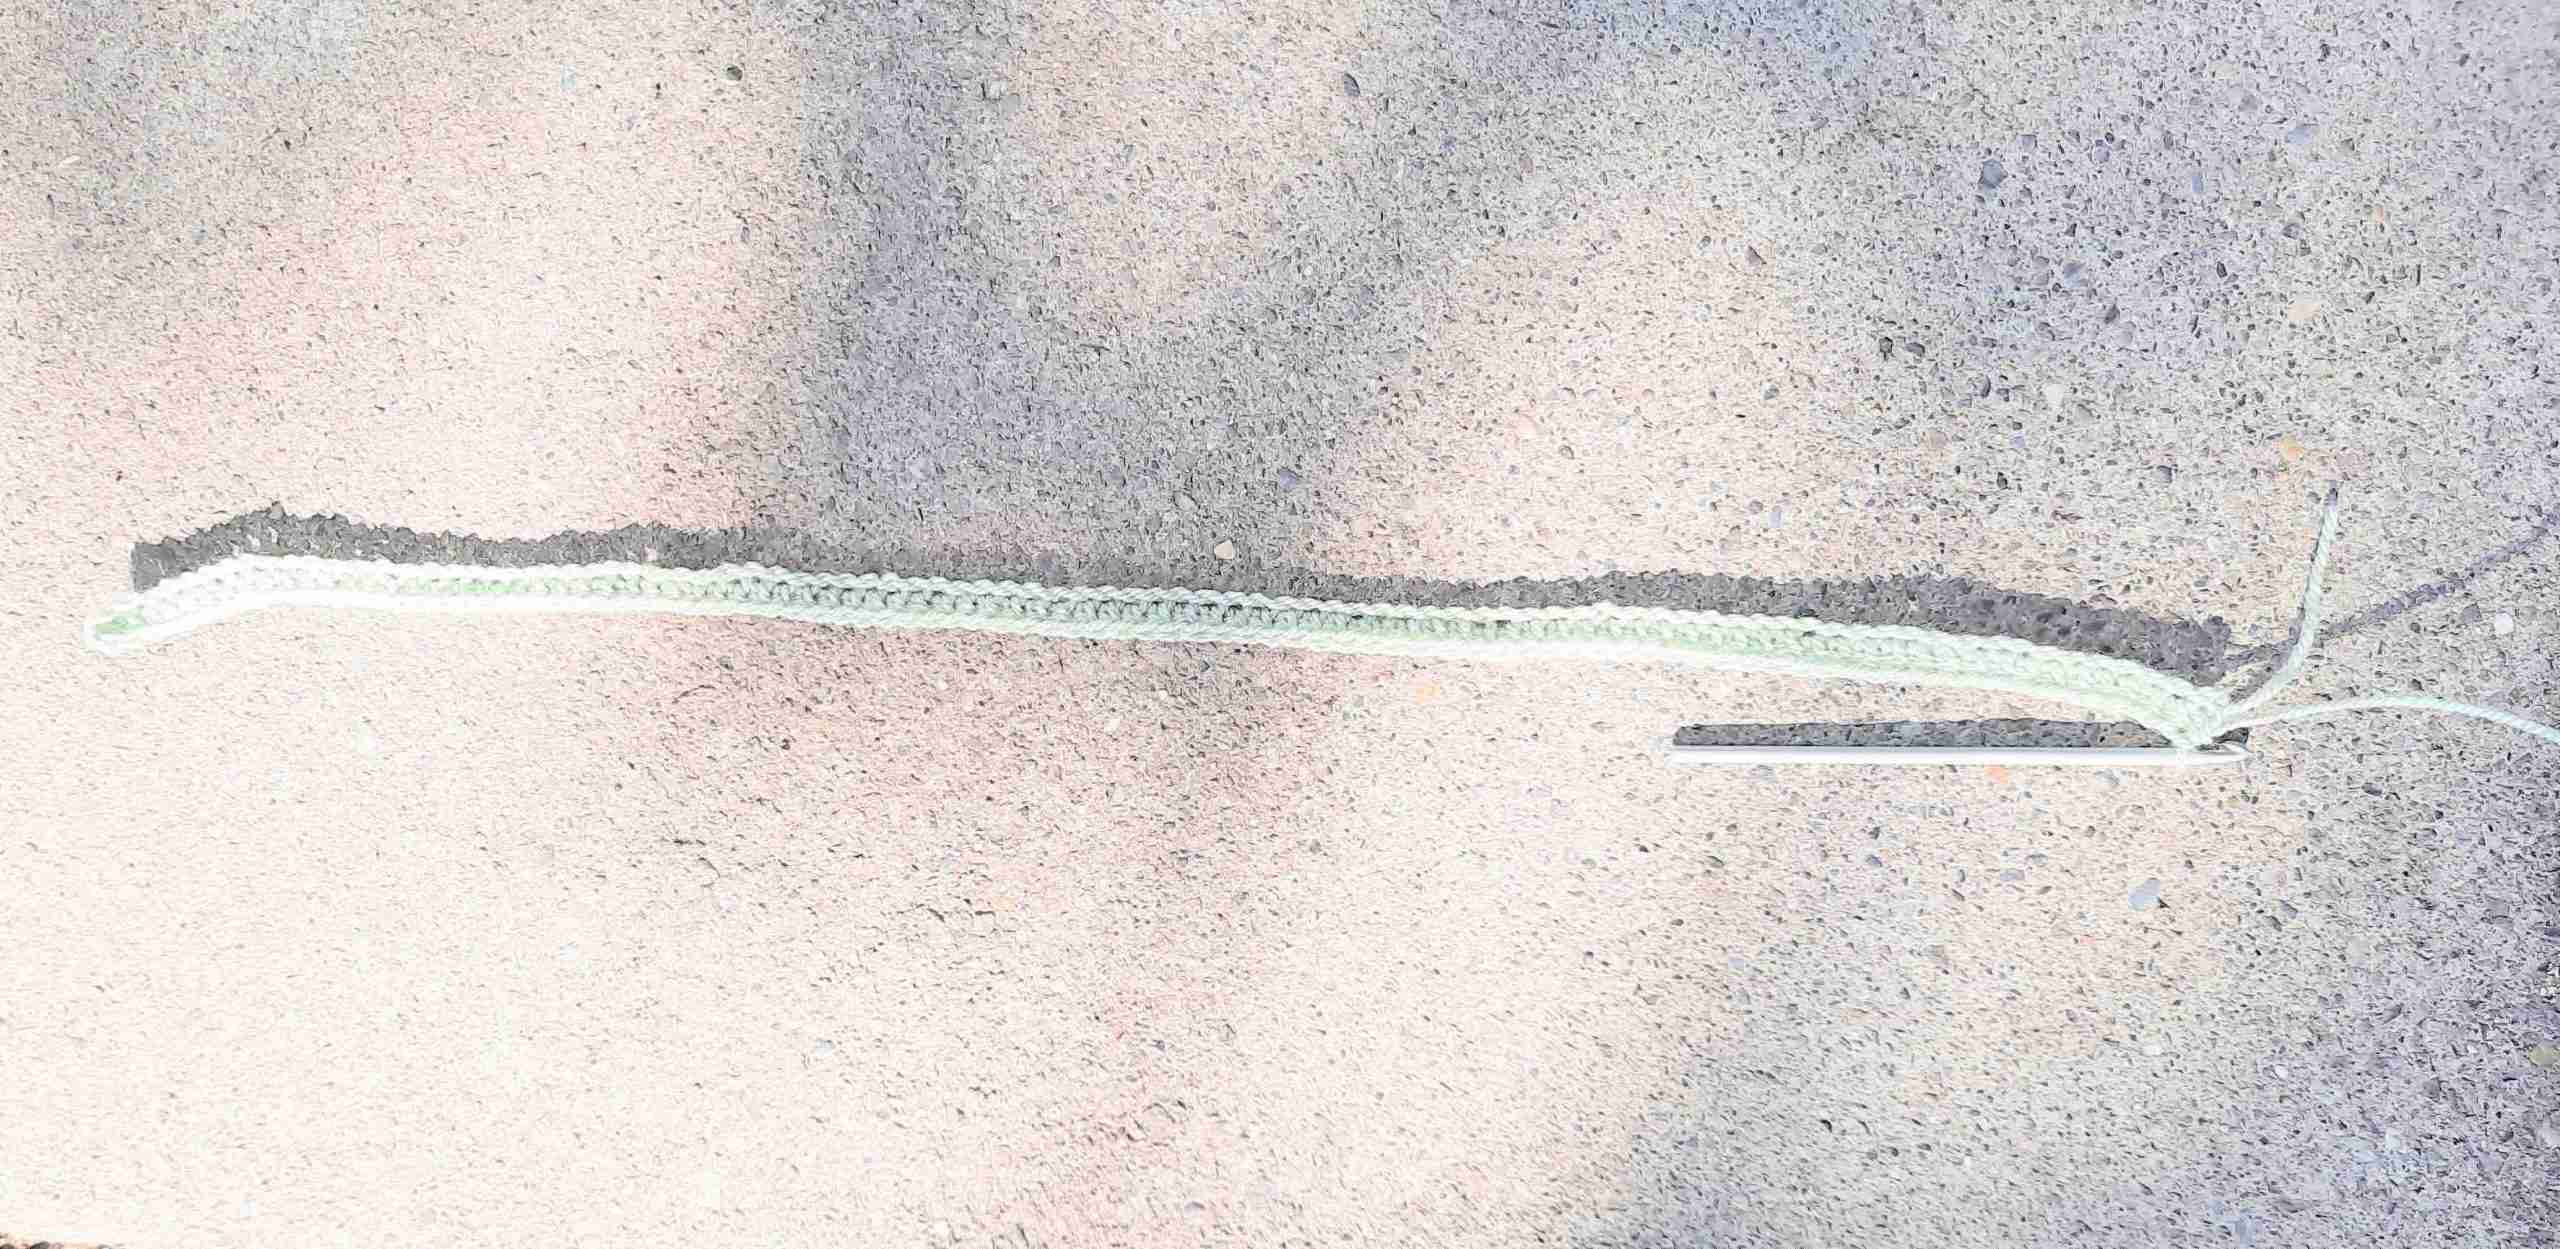
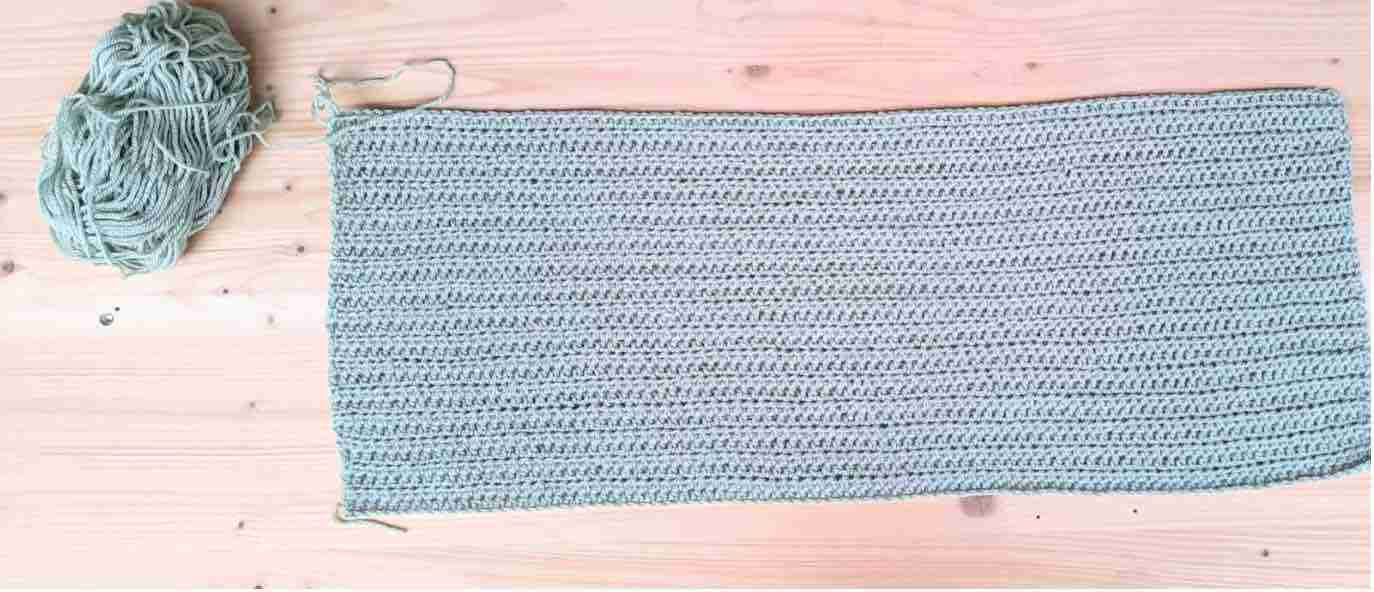
Rows 2-35: hdc in each st across, ch1, turn (90).
Row 36: hdc in each st across.(90).
Do not fasten off.
Sleeve 1
- With US size 7 (4.5 mm) hook & Color 2 (Red Wind), chain (ch) 21 stitches.
Row 1: scBLO in second ch from hook and in each remaining ch, ch1, turn (20).
Rows 2-24: scBLO in next 19 sts, sc in last st, ch 1, turn (20).
Row 25: scBLO in next 19 sts, sc in last st. Leaving a 15” tail, cut your yarn & fasten off.
- Note: We are crocheting a normal sc with both loops on your hook for last st of each Row for a clean finished look of your sleeve sides.
Sleeve 2
Repeat pattern above with Color 3 (Slate Green).
Decrease Body Sides
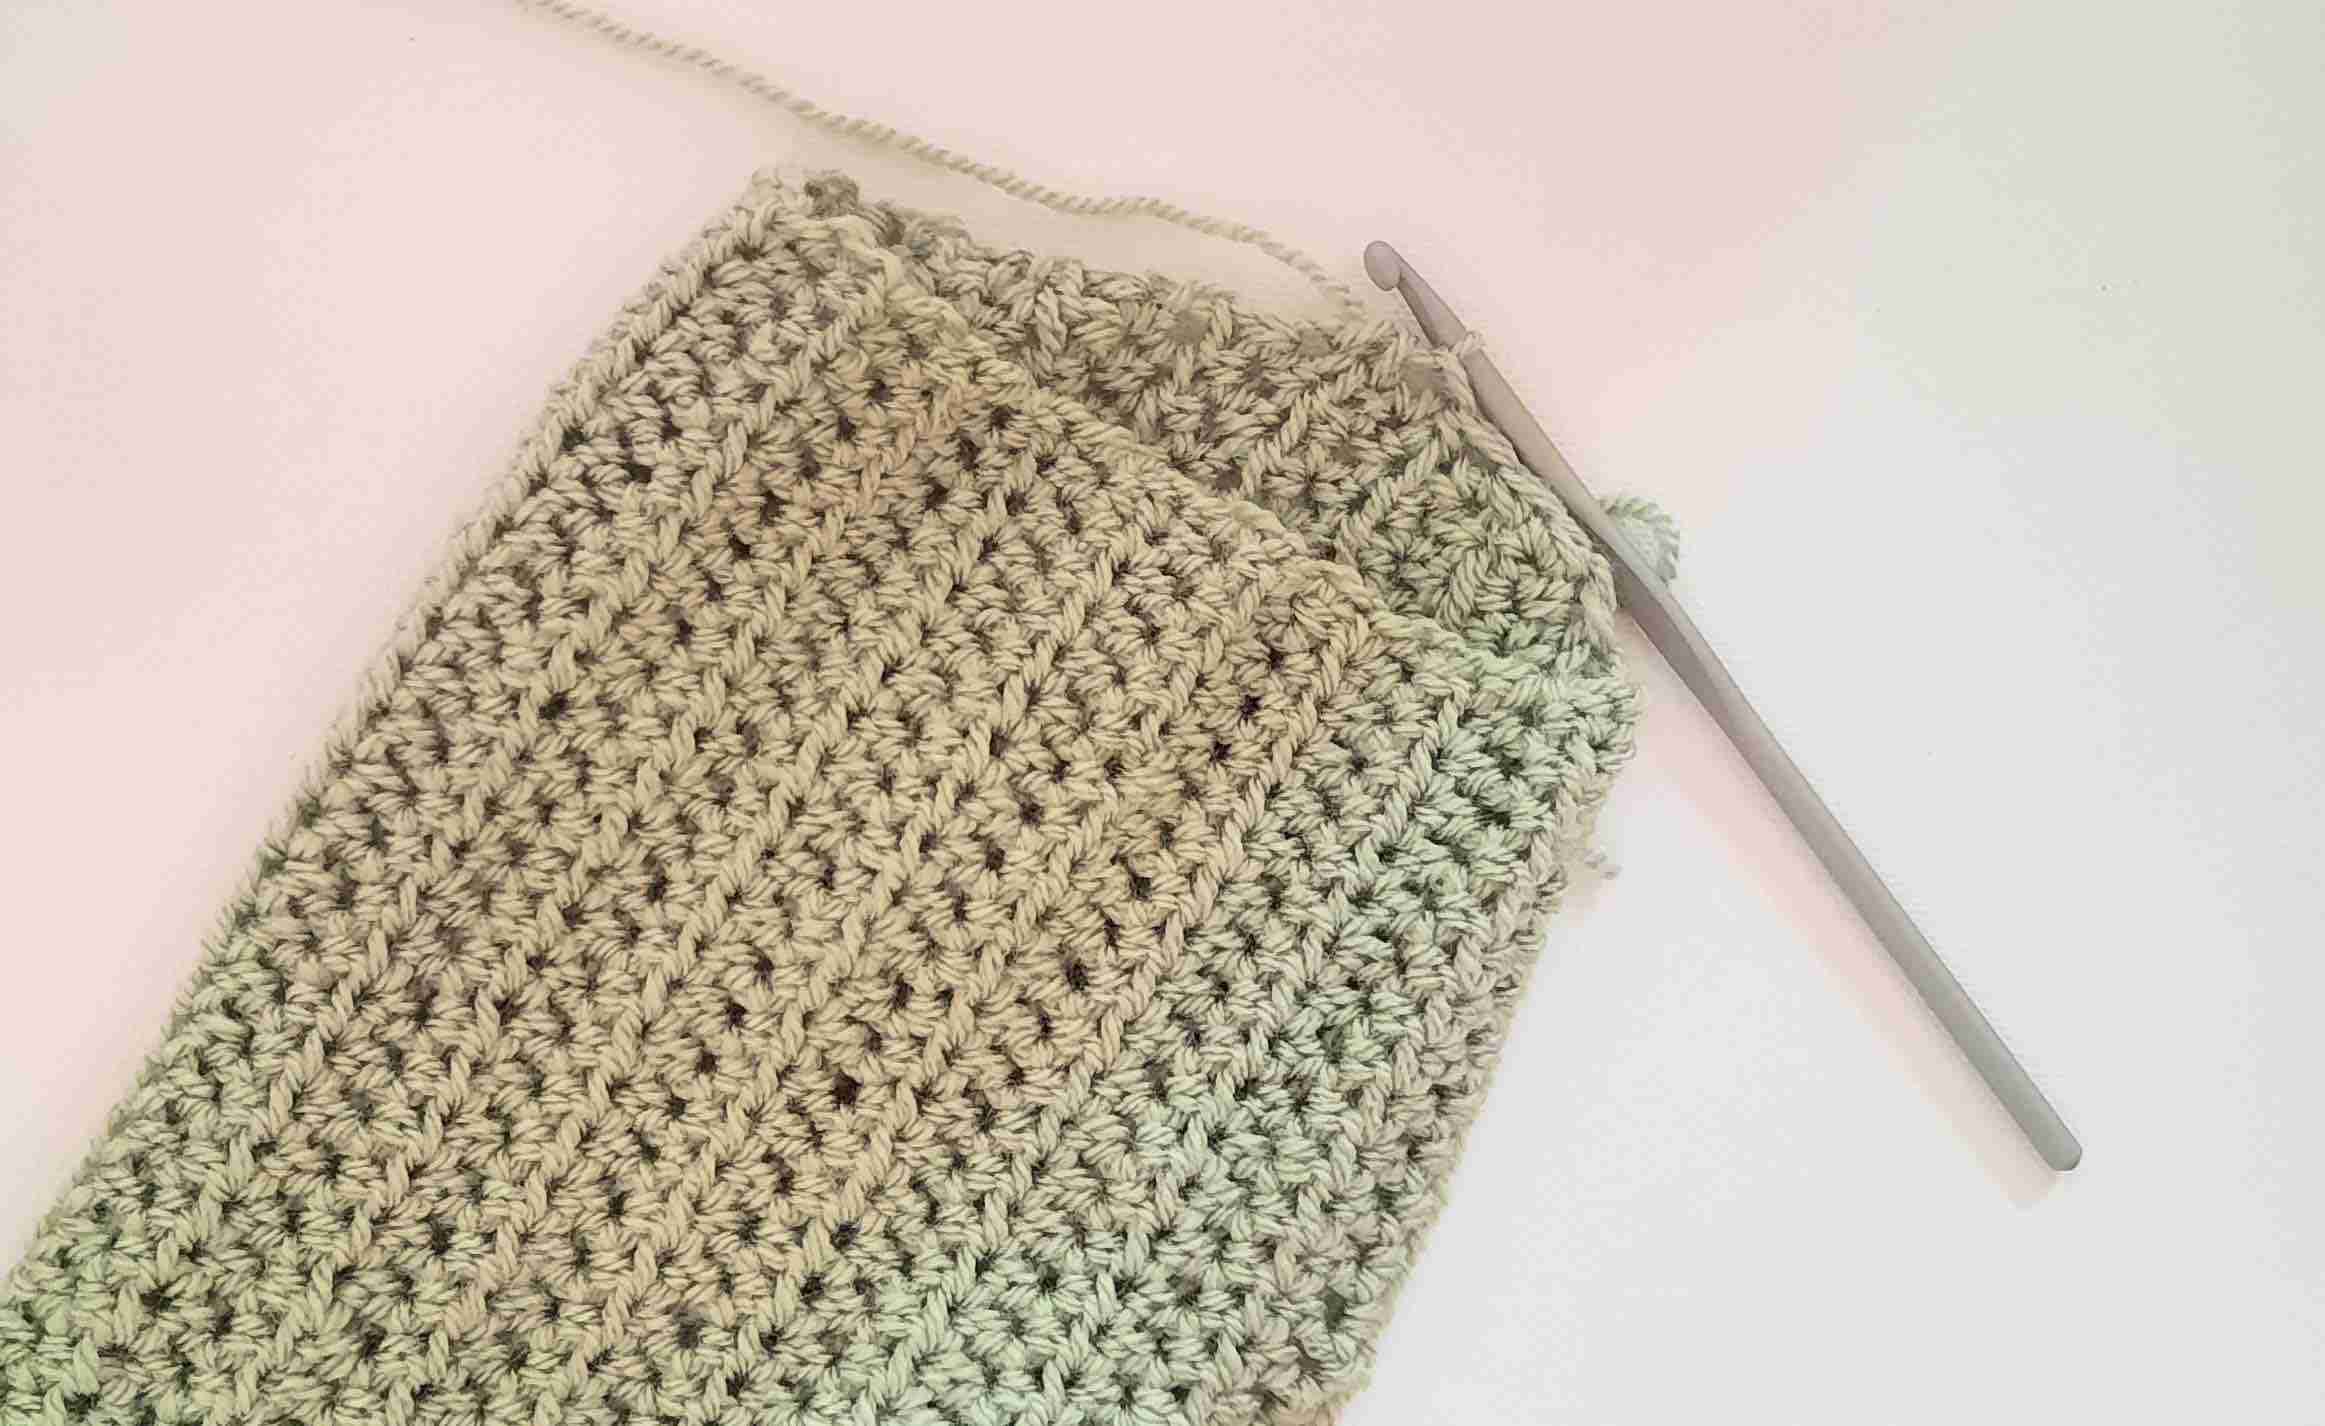
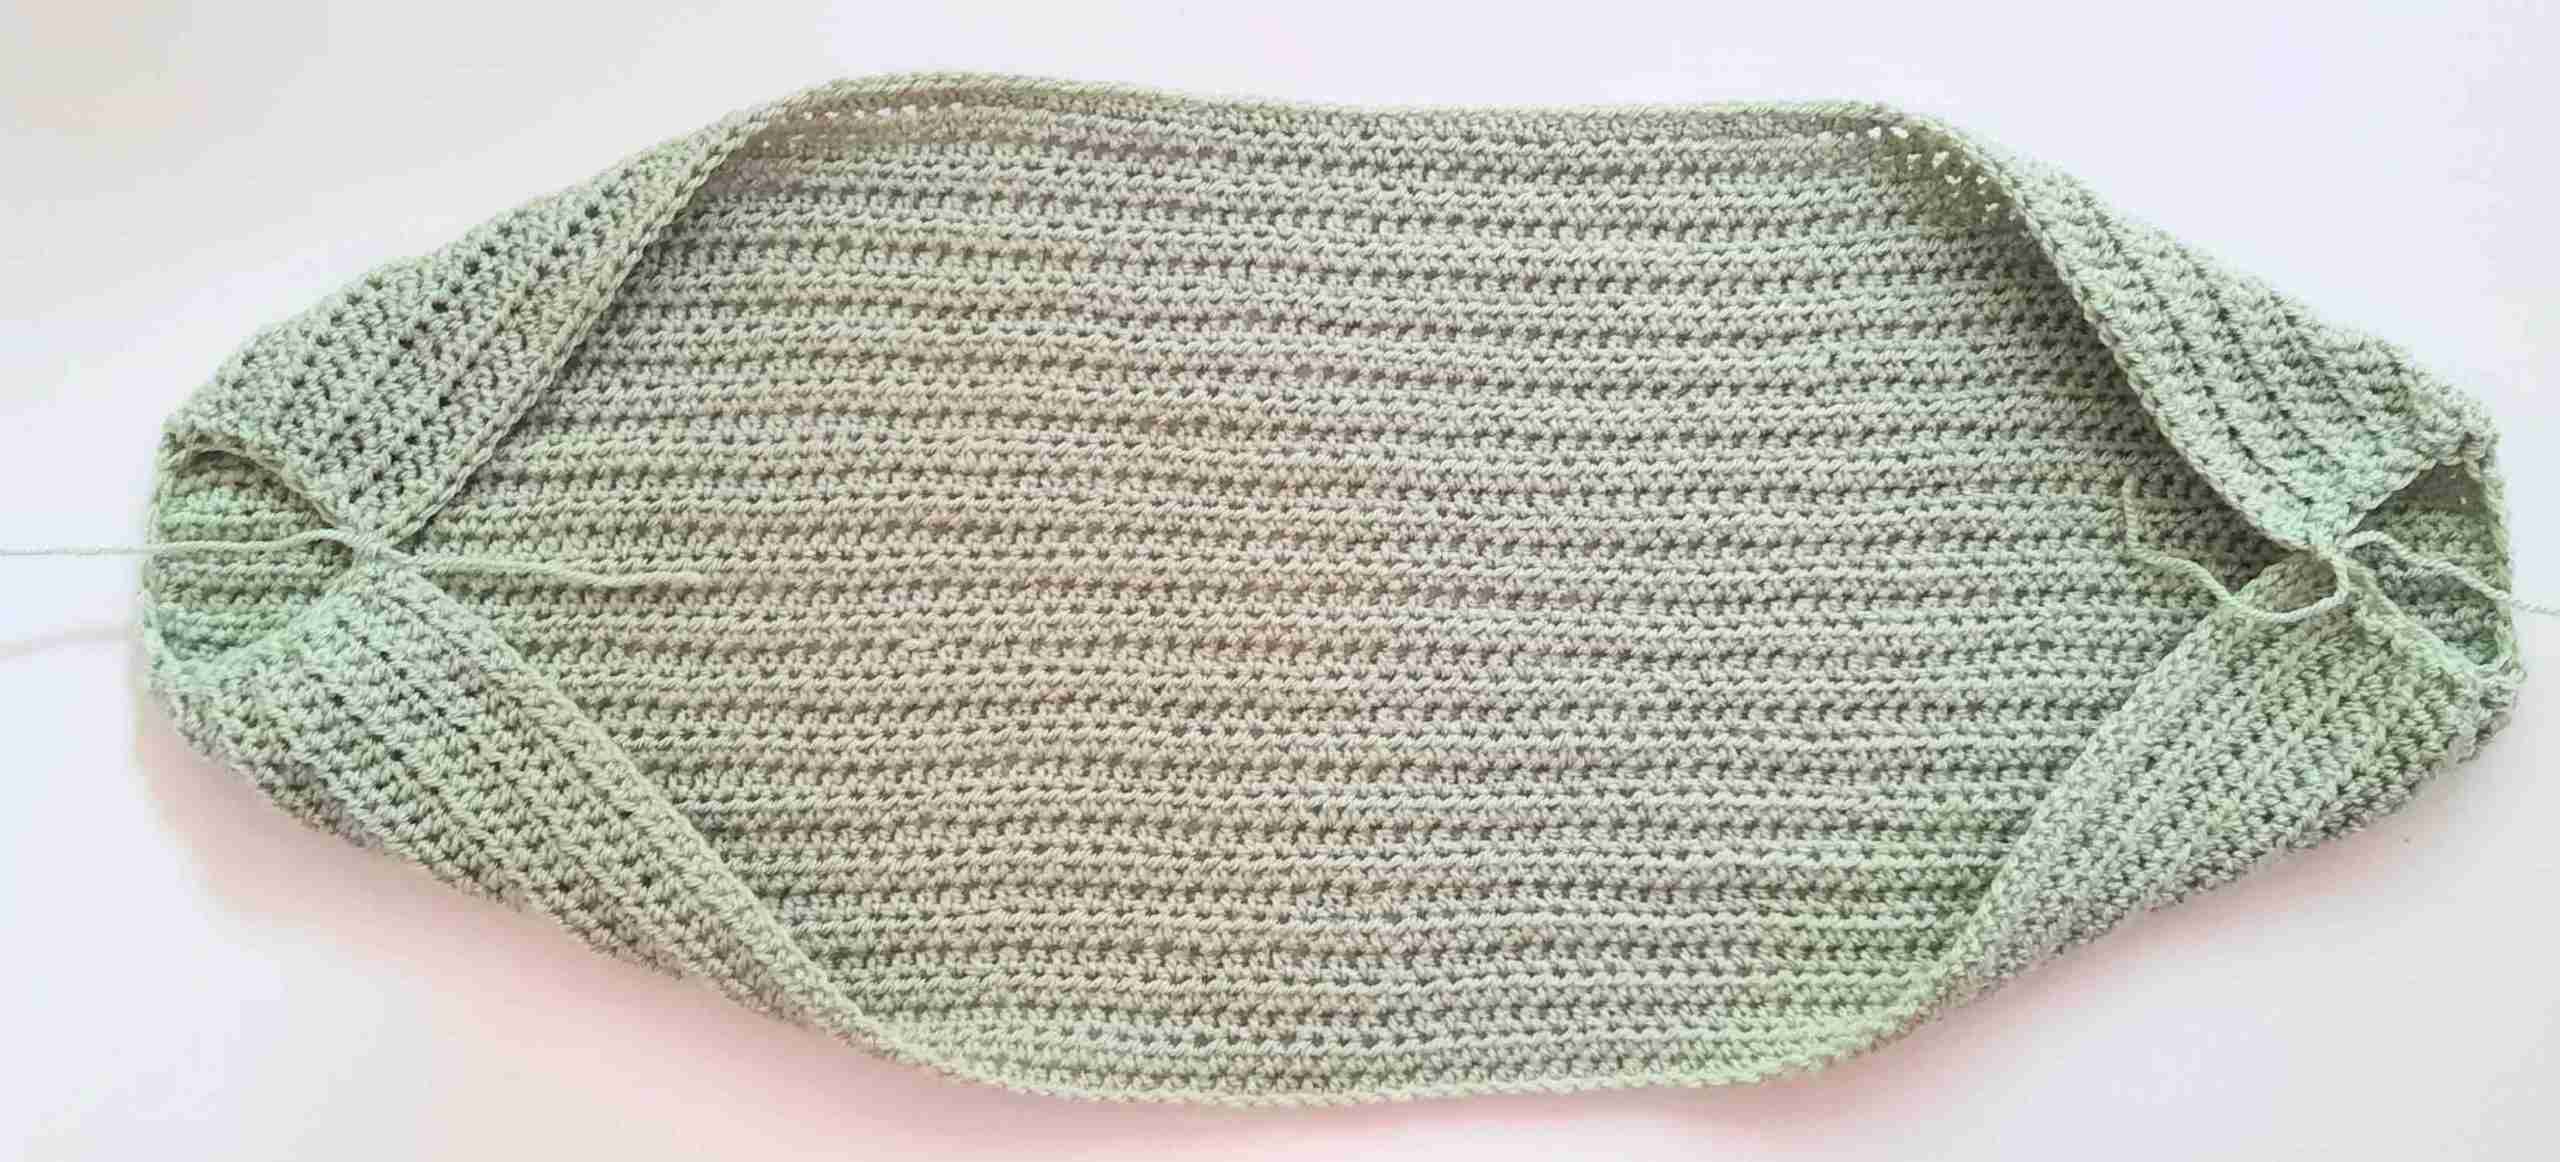
Fold the Body.
Side 1:
Fold the main section of your scarf (body) in half lengthwise (horizontally) so that the right side of your work is facing up.
Starting on the side where your yarn is still attached to the scarf:
- Insert your hook in the first stitch (corner) of one side of scarf body,
- Insert hook in first stitch (corner) of opposite side.
- Yo, pull through both sides of scarf, ch1 to join, pull tight to fasten.
Note: You are now going to make sc decrease stitches along the sides of the scarf (vertical part). It might be a little difficult to see those side stitches, but try to count one stitch for each row. Make sure you catch 2 loops (both loops of last stitch of each row) for each sc2tog.
- * Sc2tog in each st around, join to first st with a sl st (18)
- Leave a 10” tail, cut yarn & fo.
Side 2
- With Pistache Green yarn make a slip knot. Do not insert your hook into slip knot just yet.
- Insert your hook in the first stitch (corner) of the side facing you.
- Insert hook in first stitch of opposite side (side farthest away from you)..
- Hook on your slip knot from behind your 2 sides.
- Pull yarn through both sides of scarf, ch1 to join, pull tight to fasten.
- Repeat rest of instructions as above *.
Attach Sleeves To Body
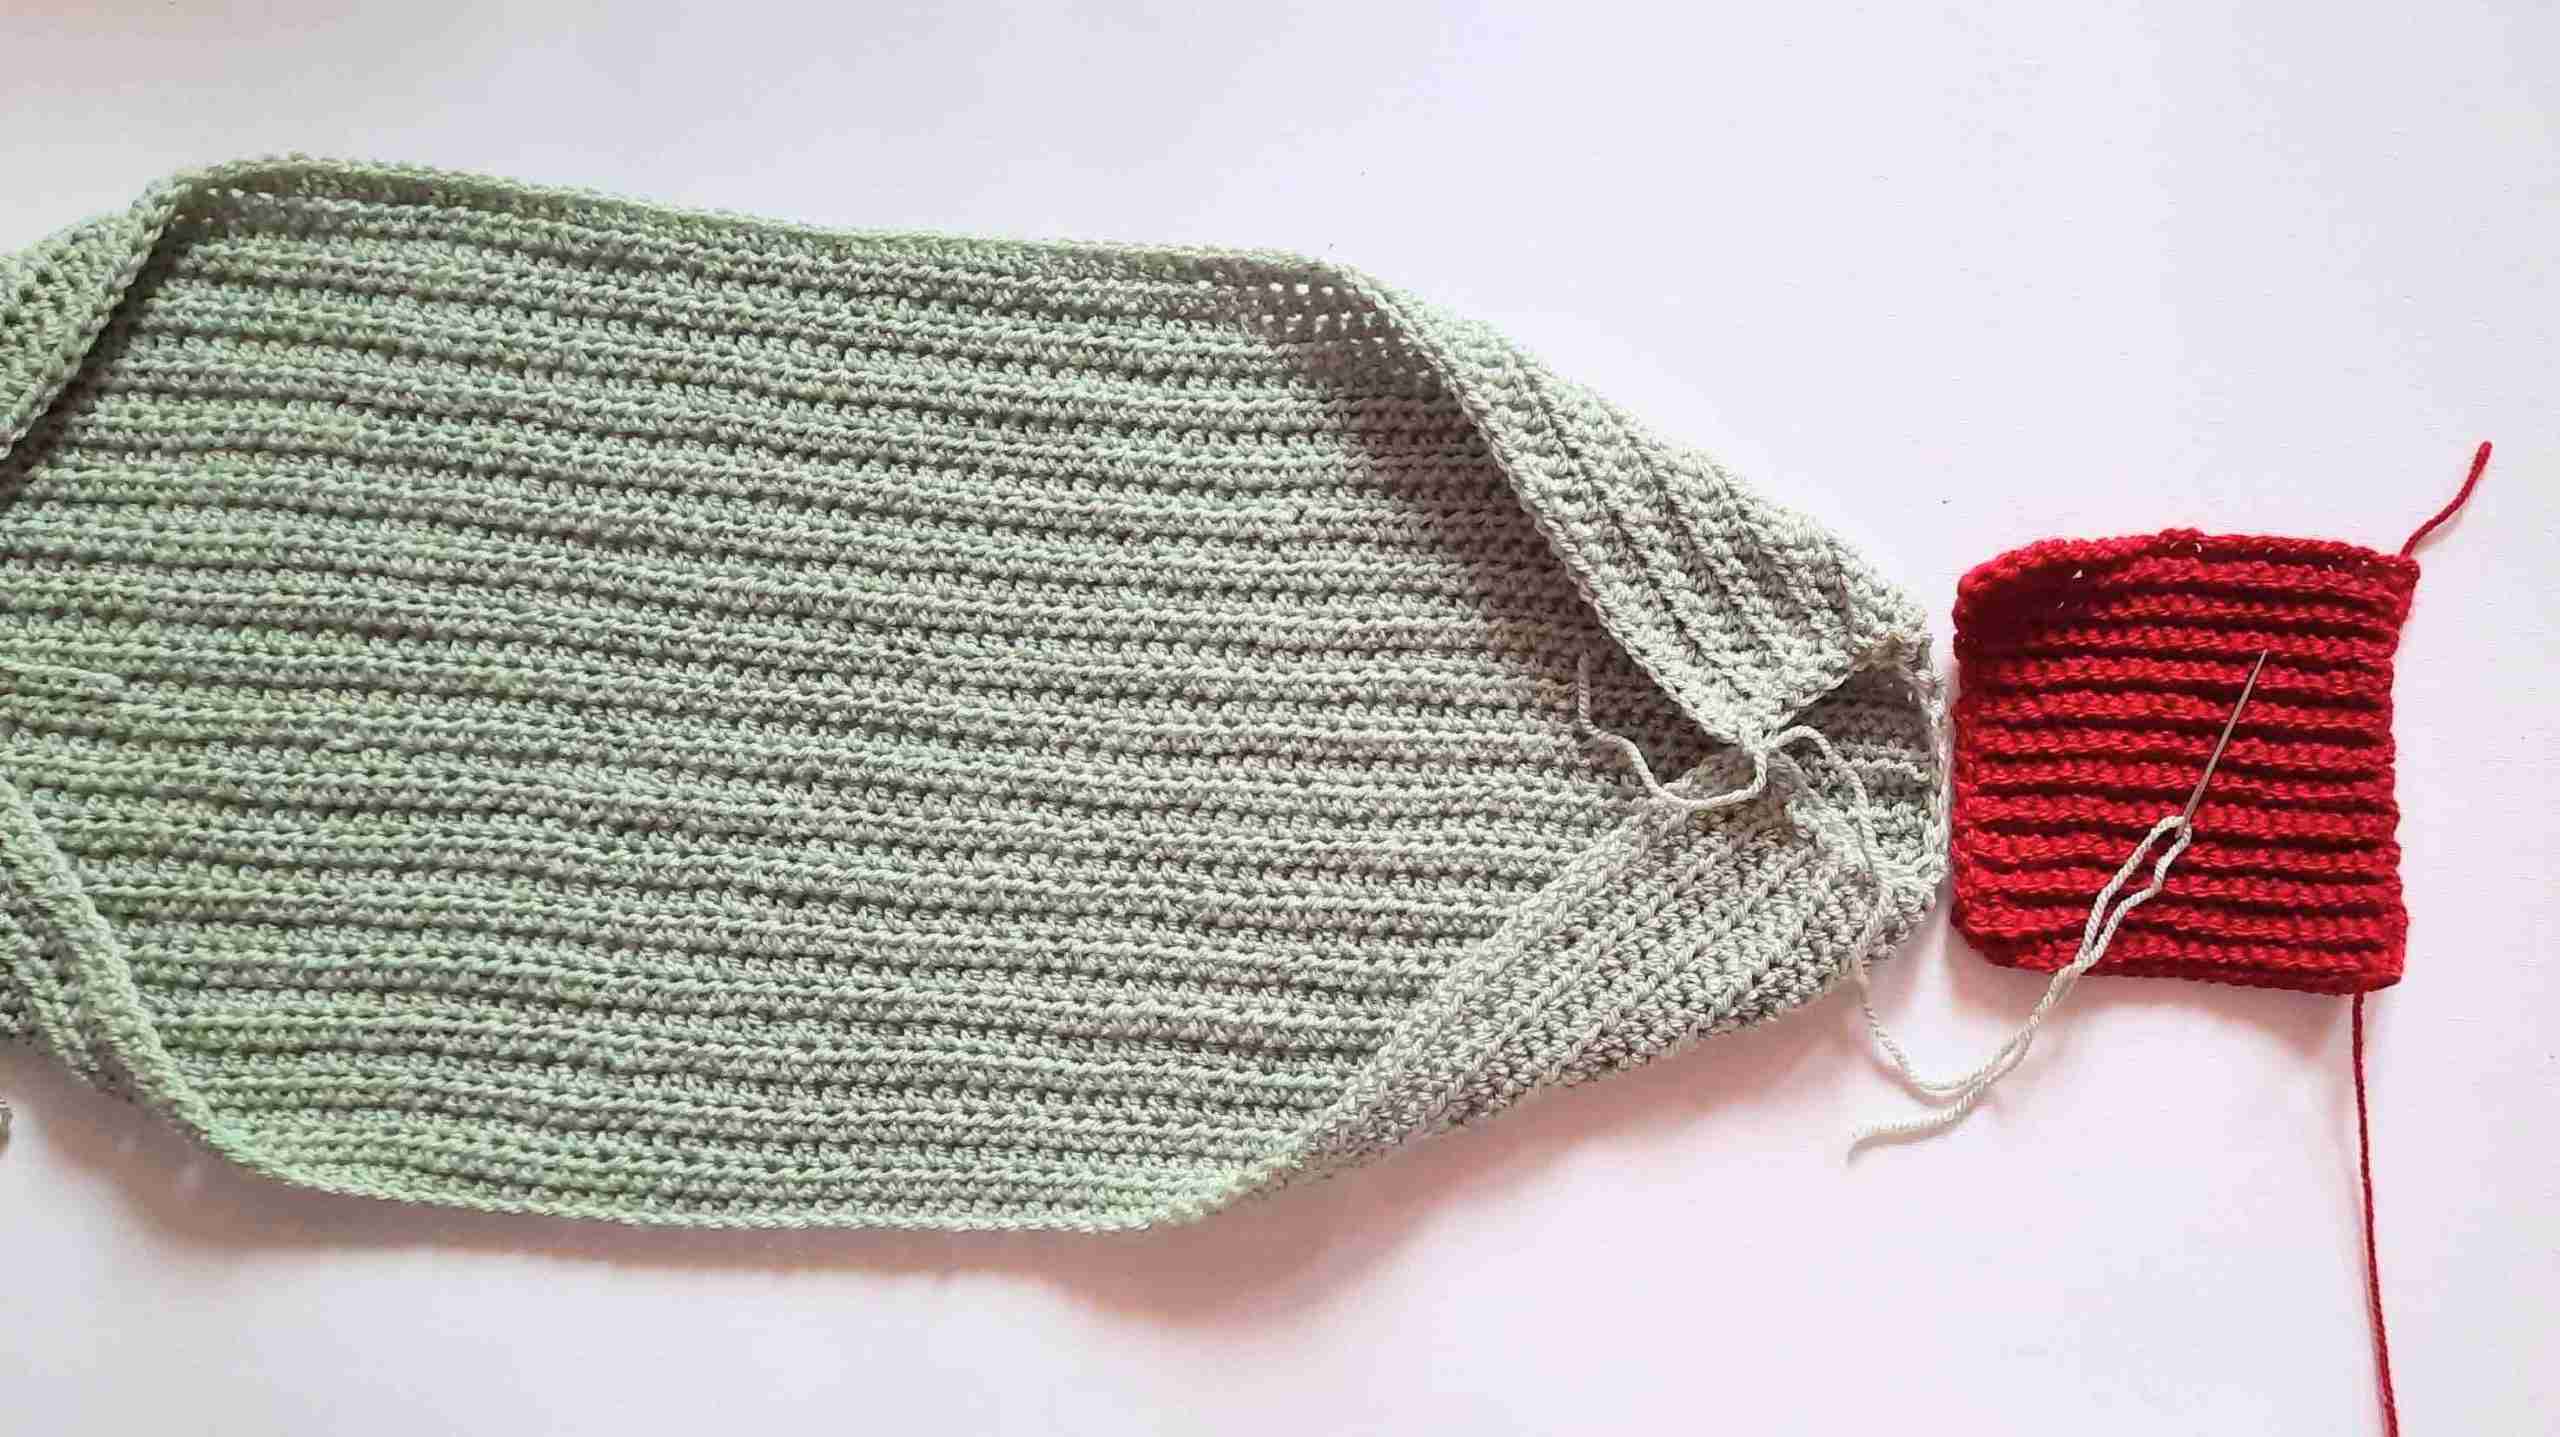
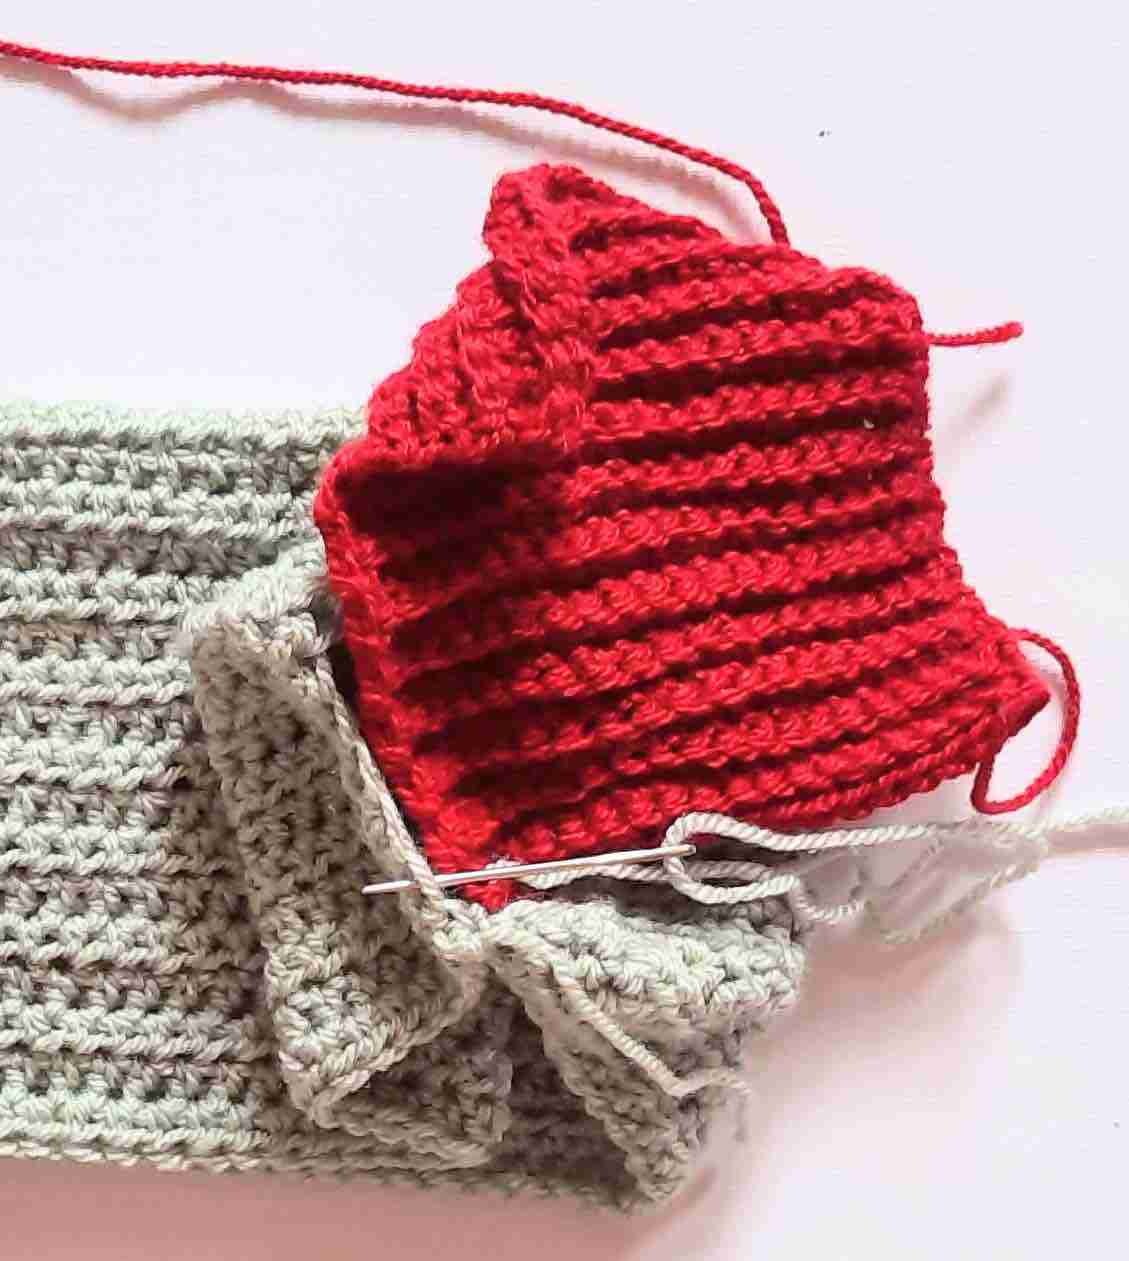
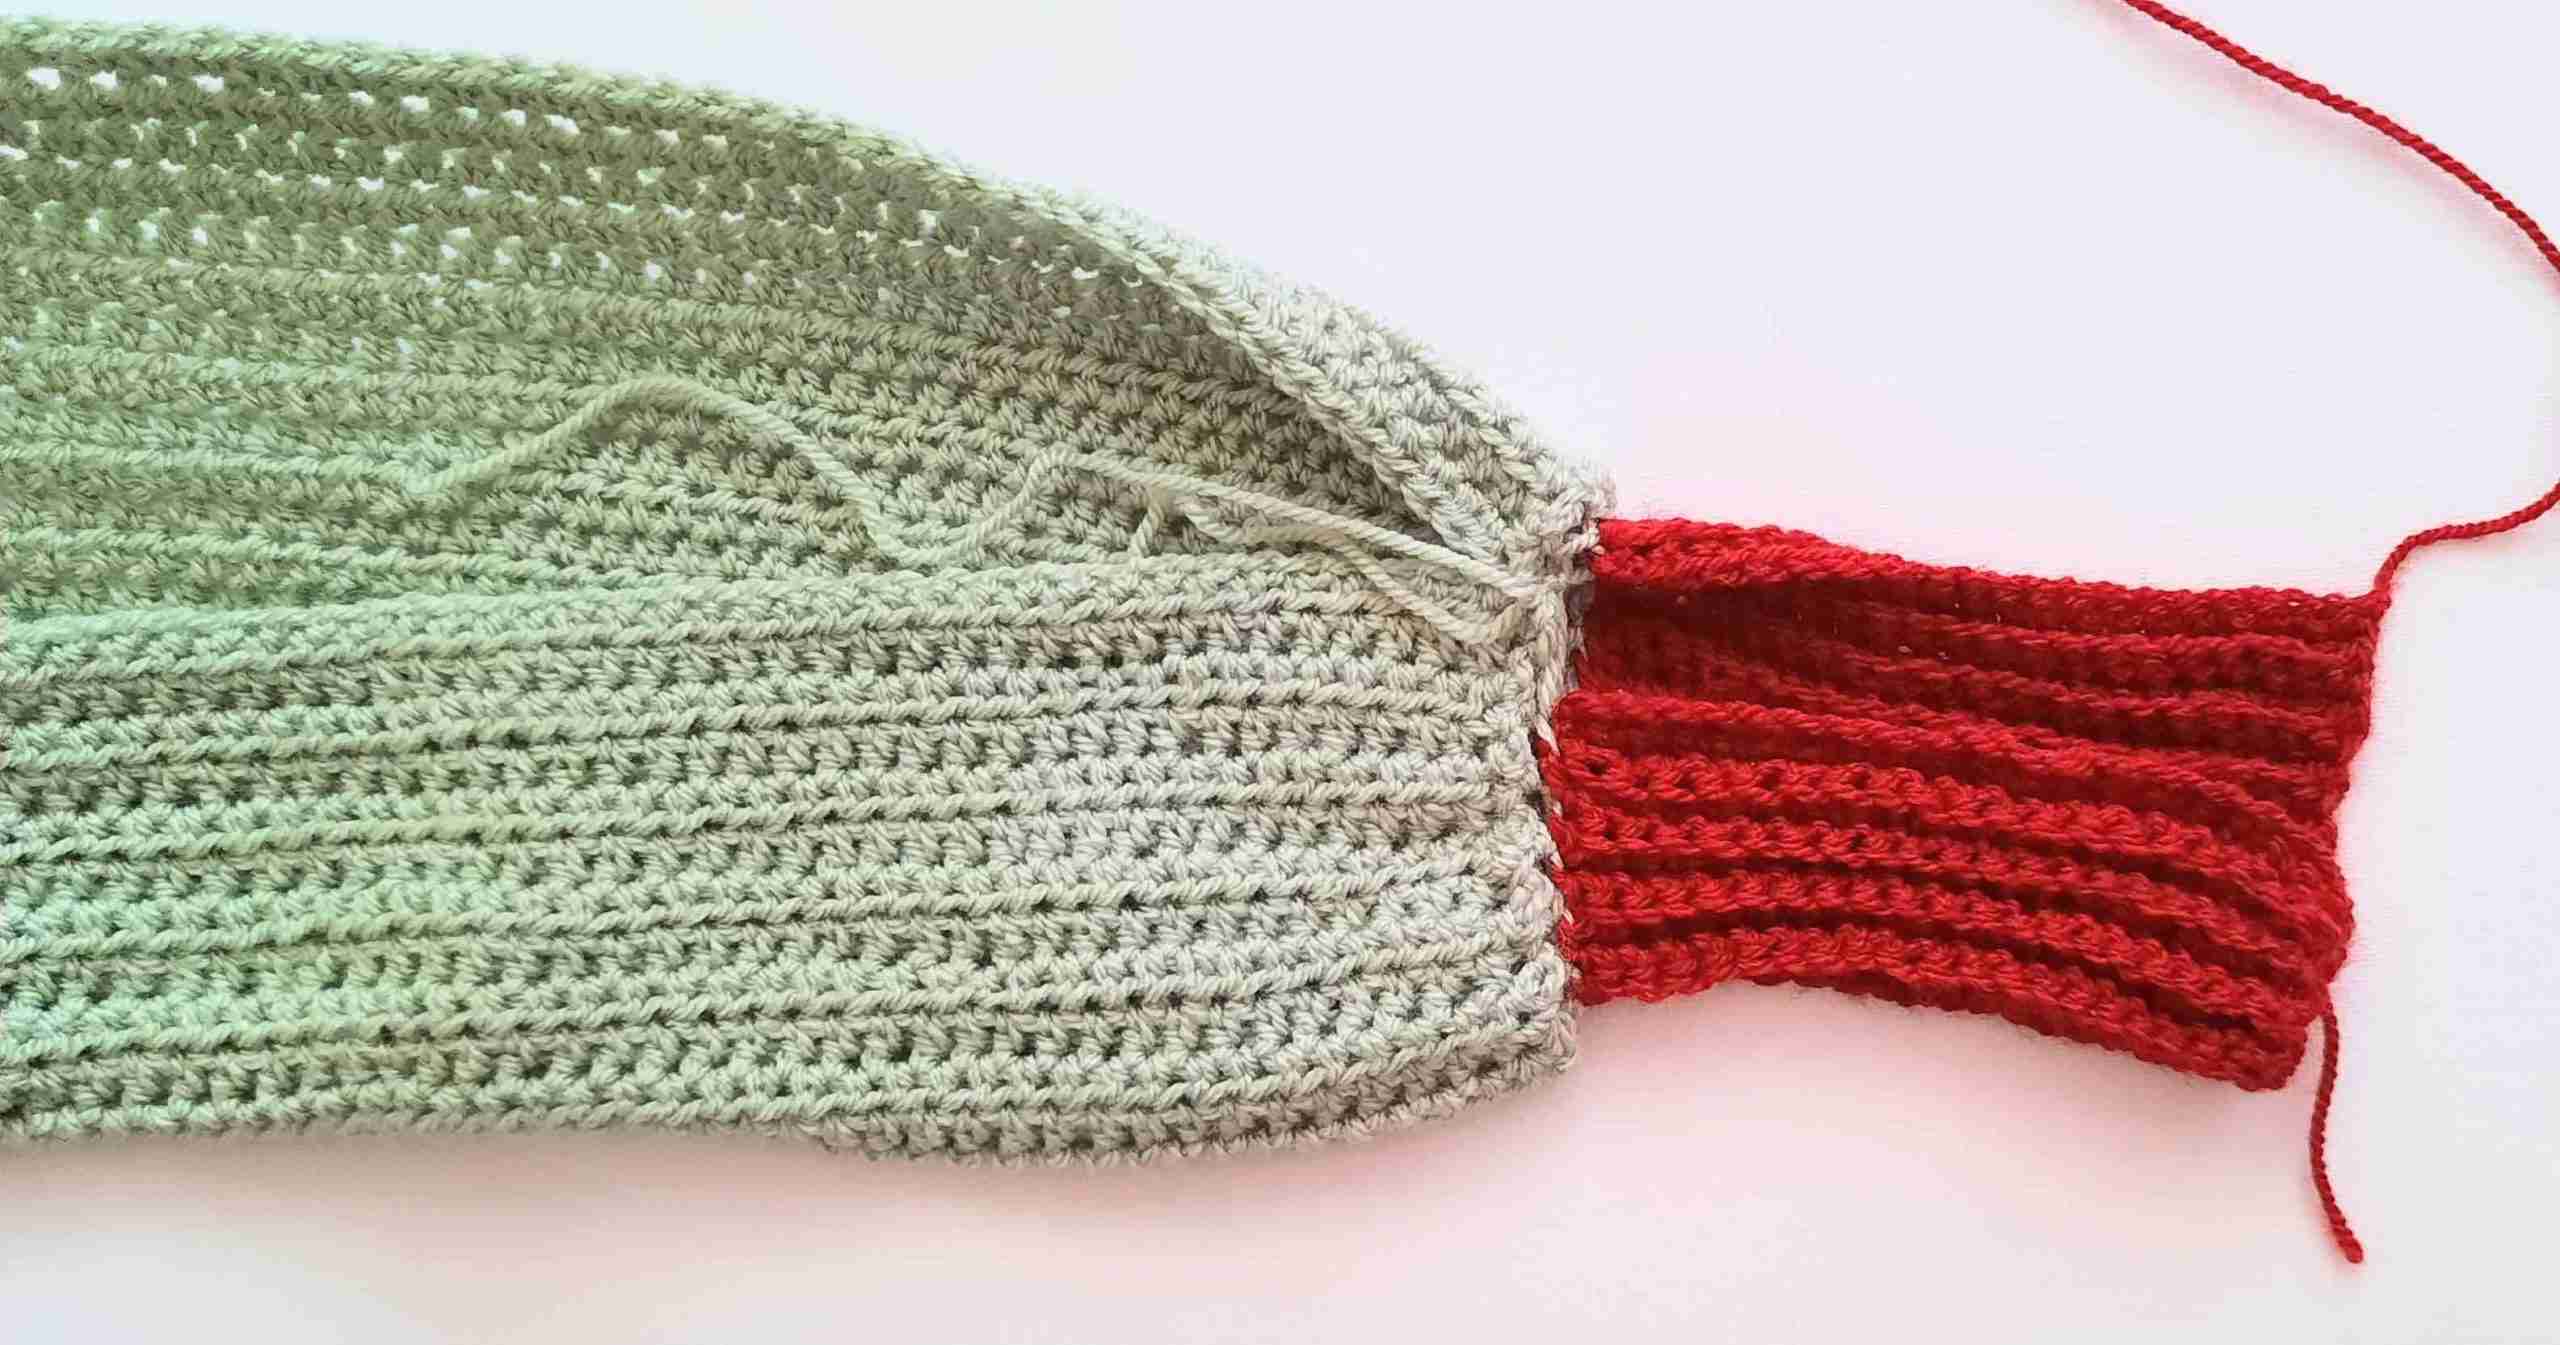
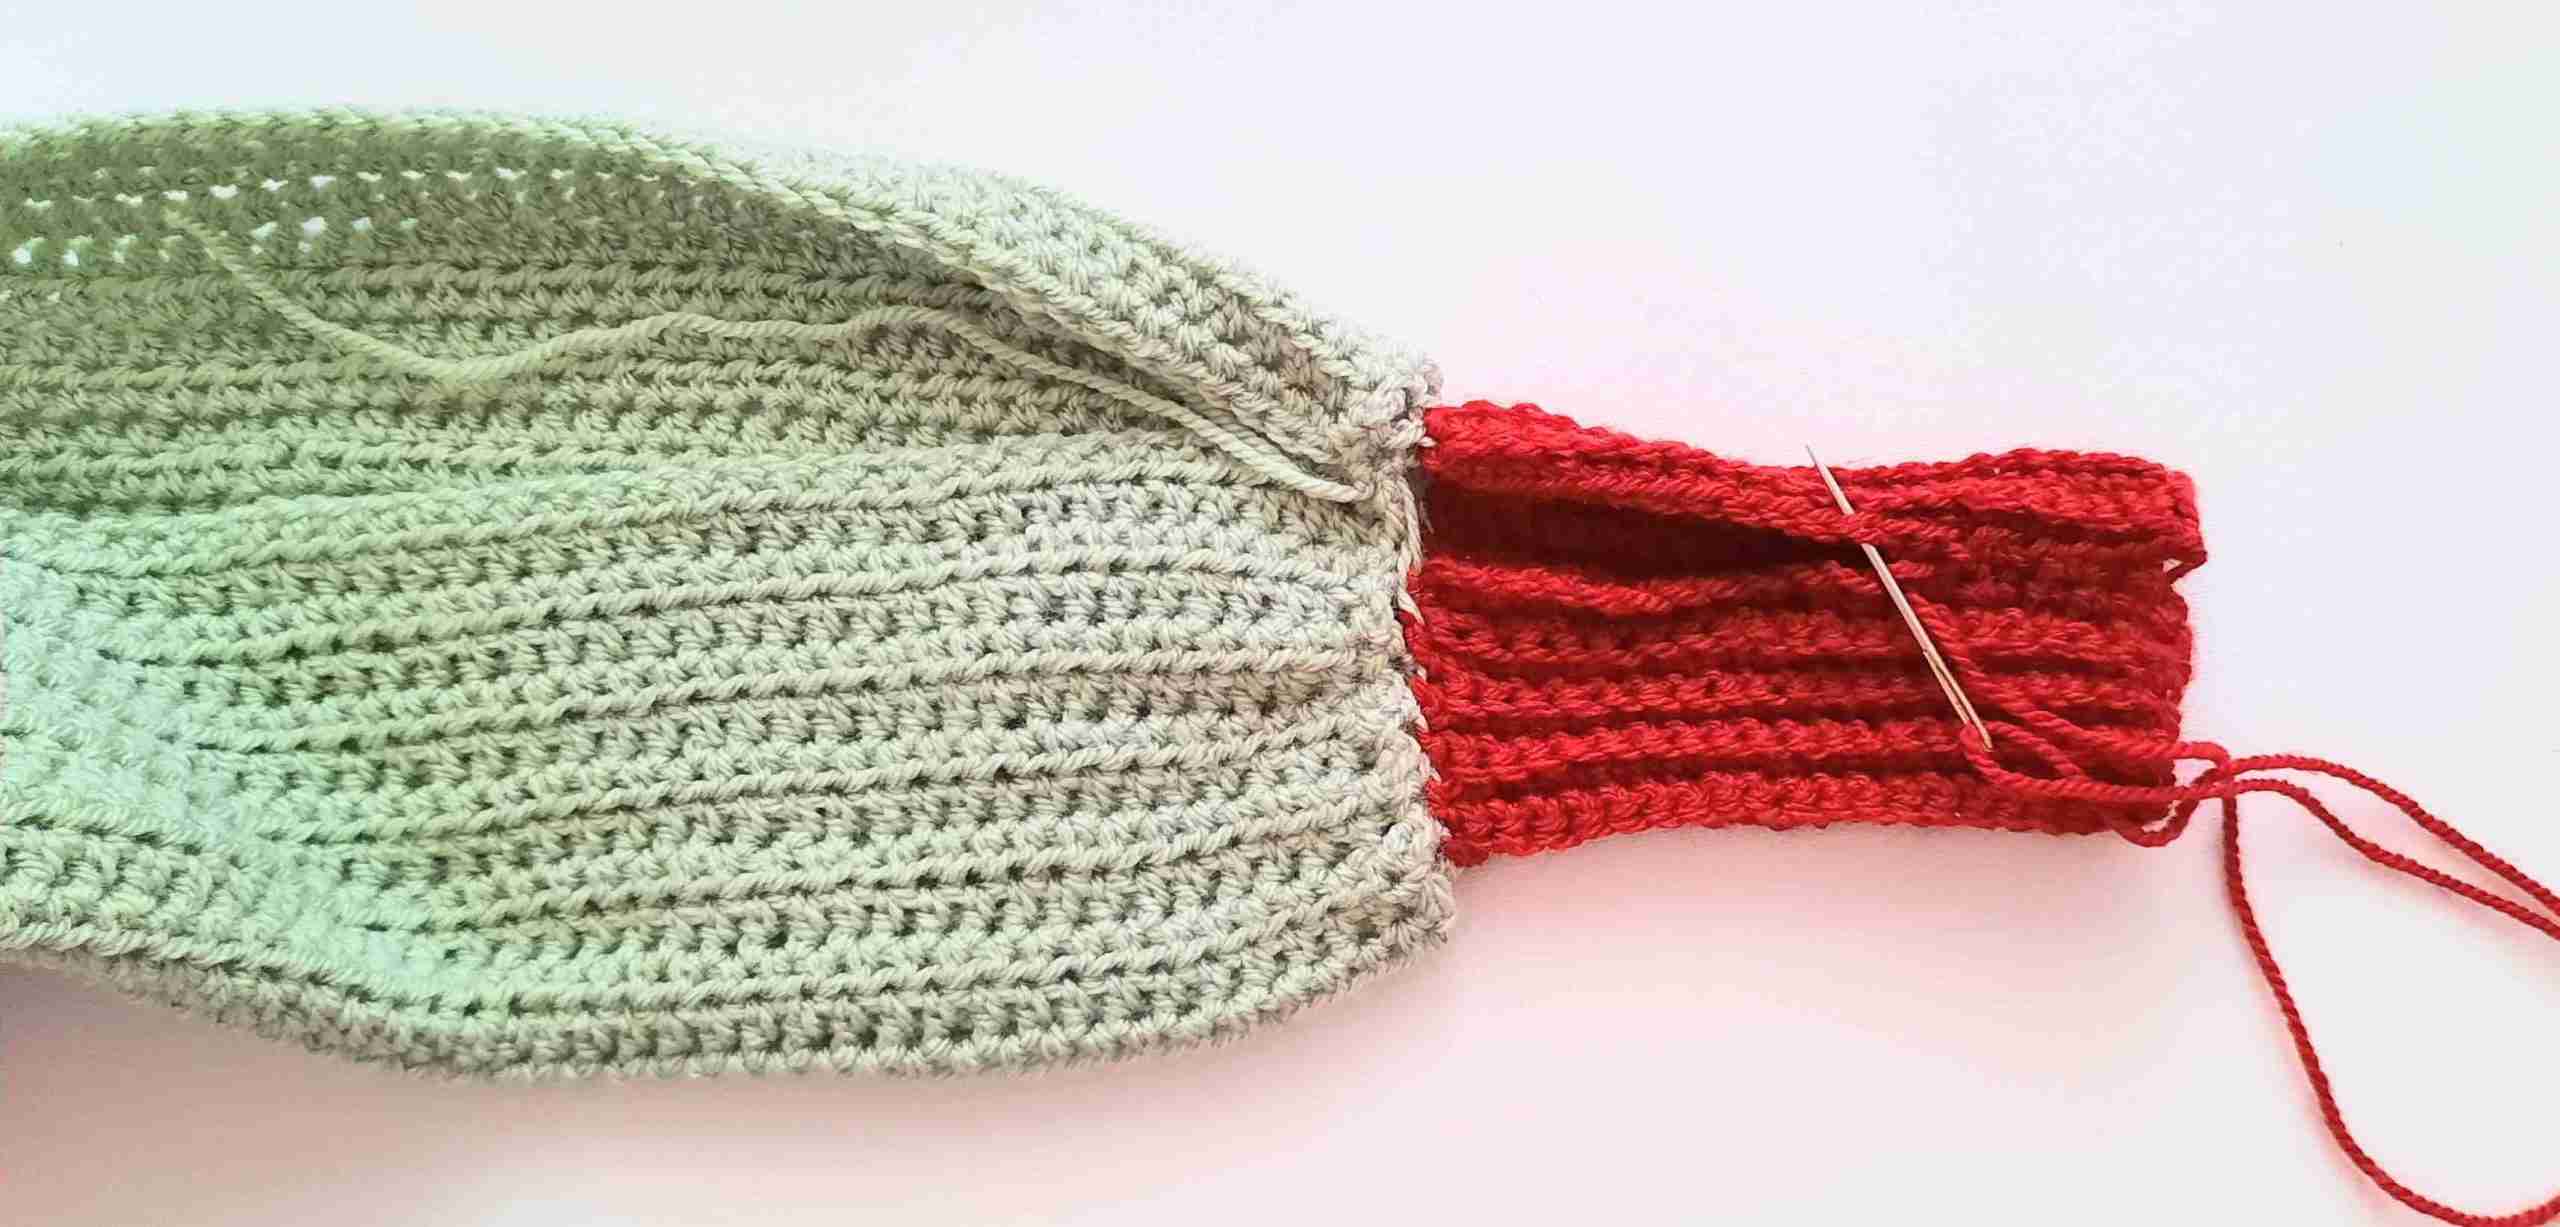
- Using your darning needle and the 15” tail you left at the beginning of your body section (Pistachio Green), place right sides of both body section and sleeve facing upward.
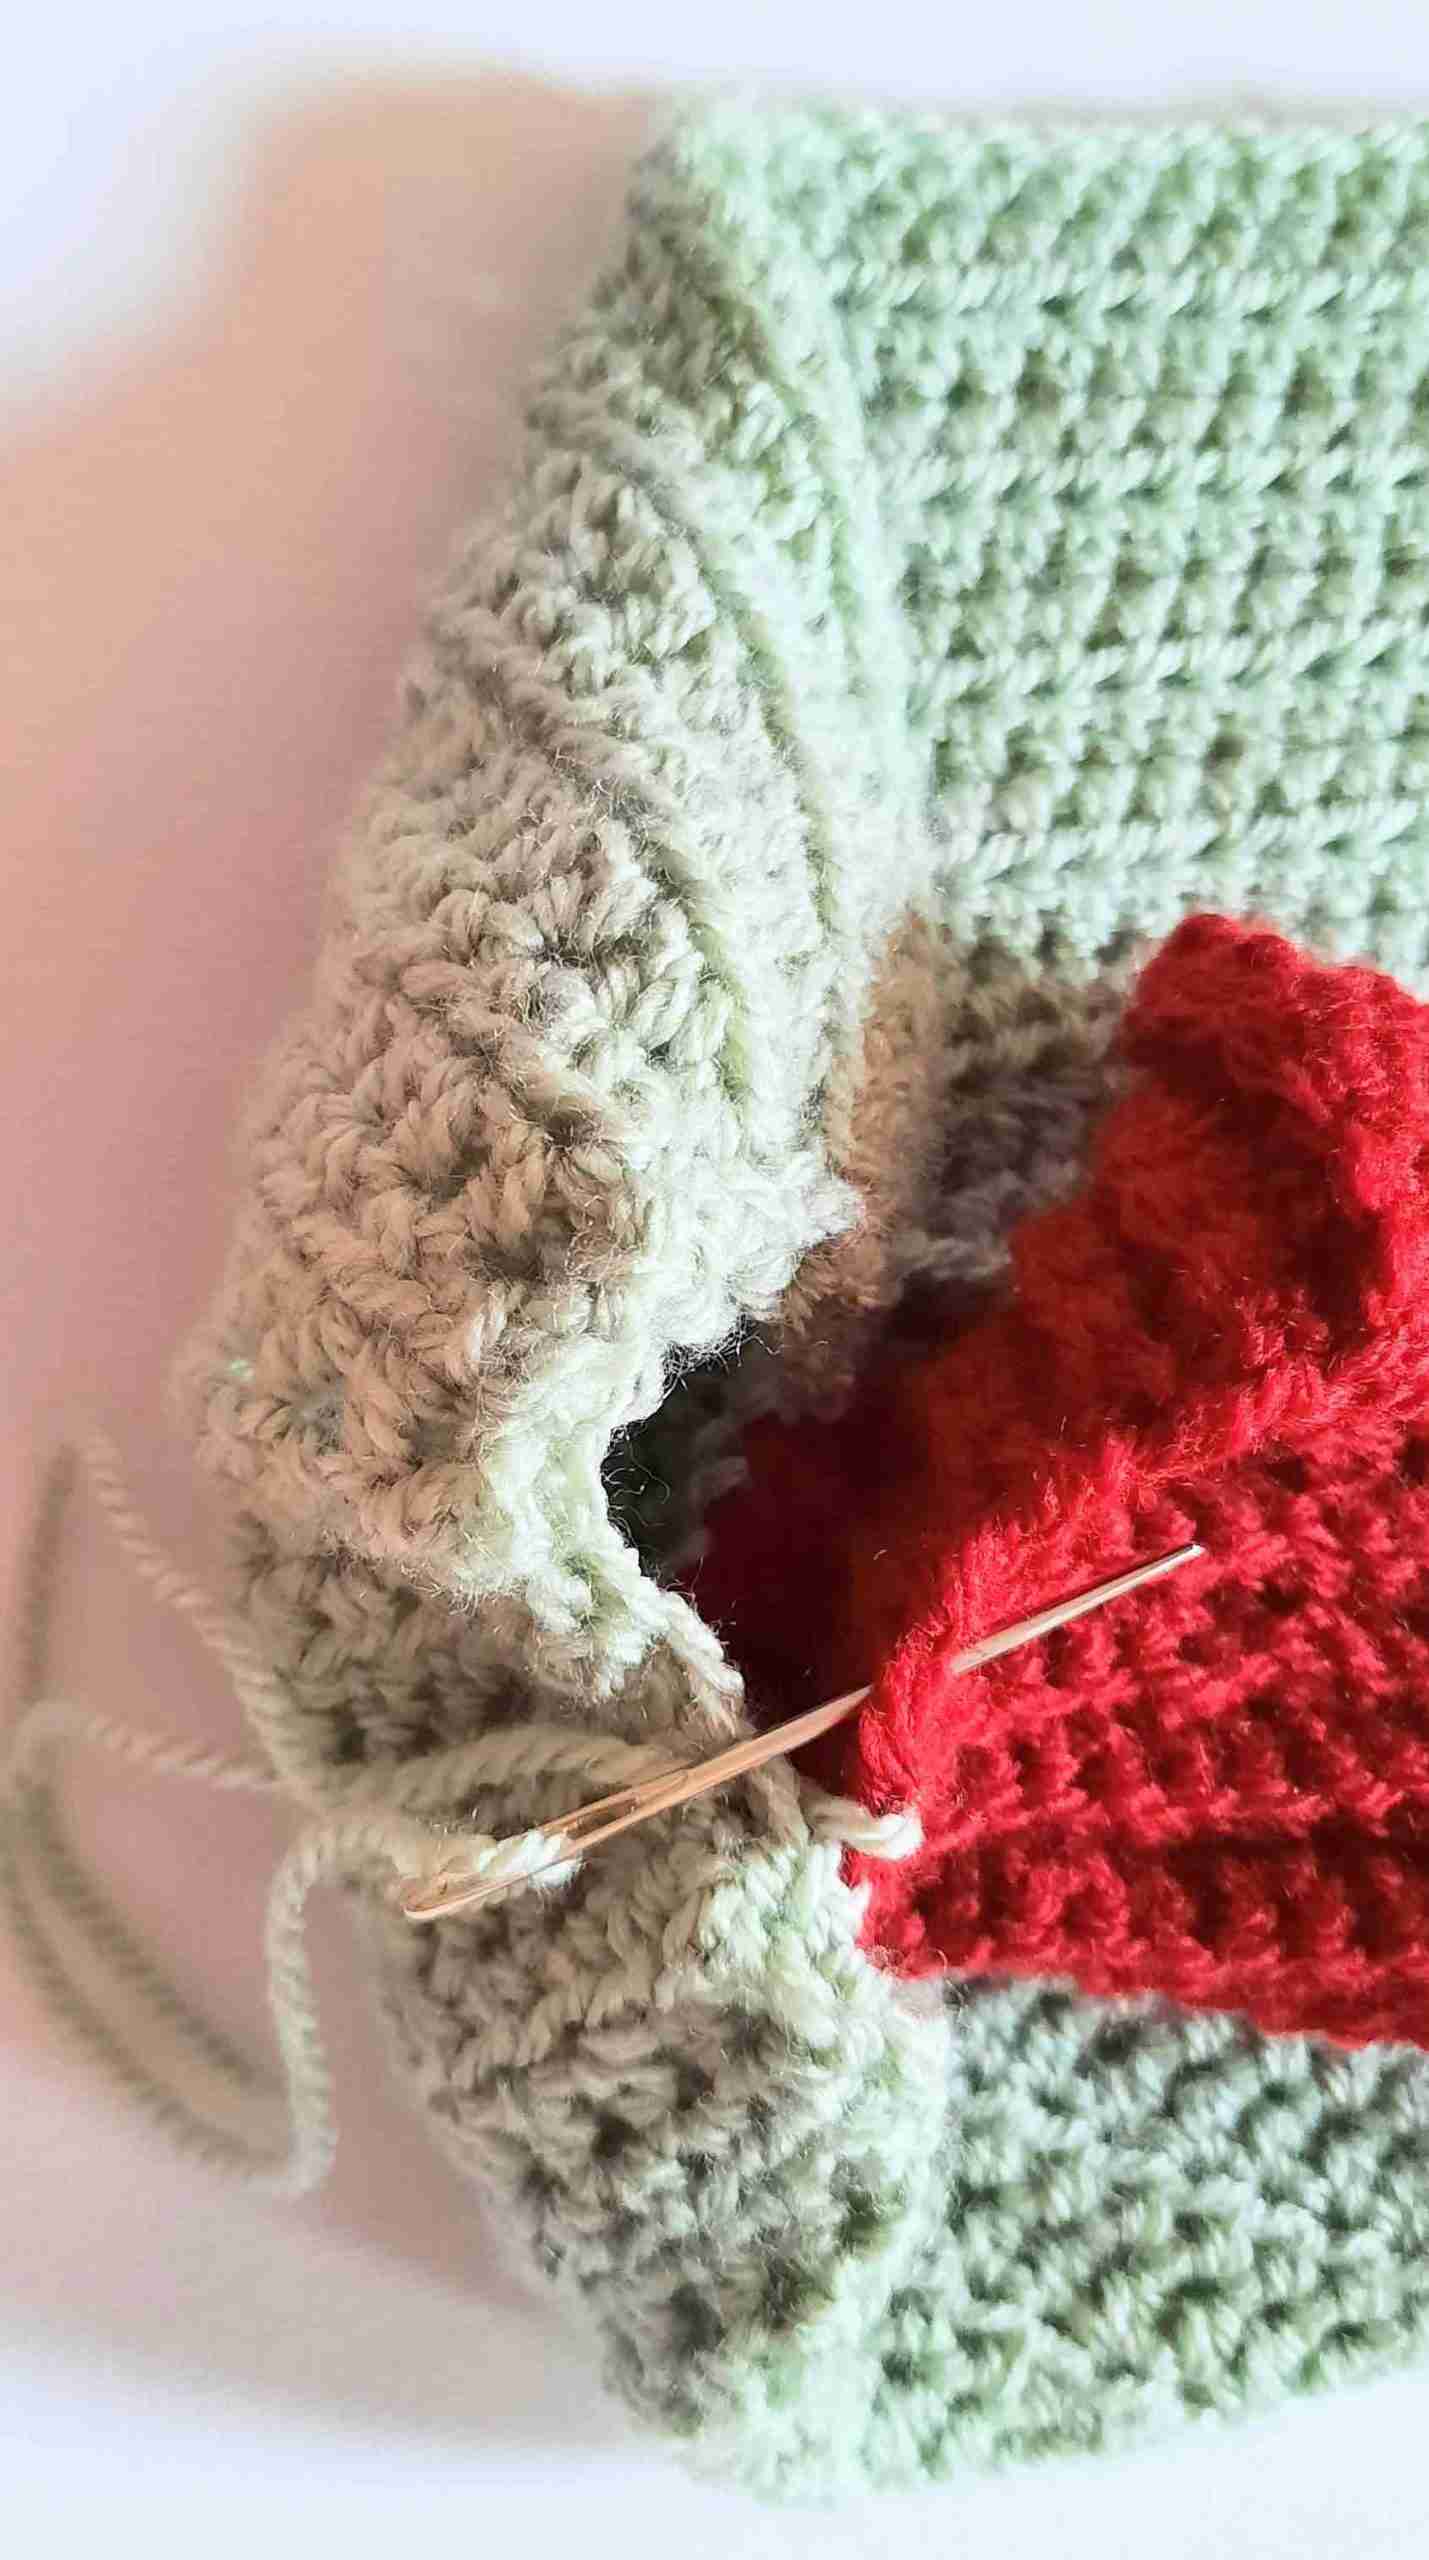
- Sew sleeves onto body using the Mattress Stitch. Hold two sides together (insides facing each other) while stitching from the center outward, once up, once down. Stitch loosely so as not to make the cuff too tight.
- Check to ensure hand can fit inside sleeve comfortably.
- Attach to first stitch to join.
- Tie a double knot to the other tail end to secure.
Sleeves
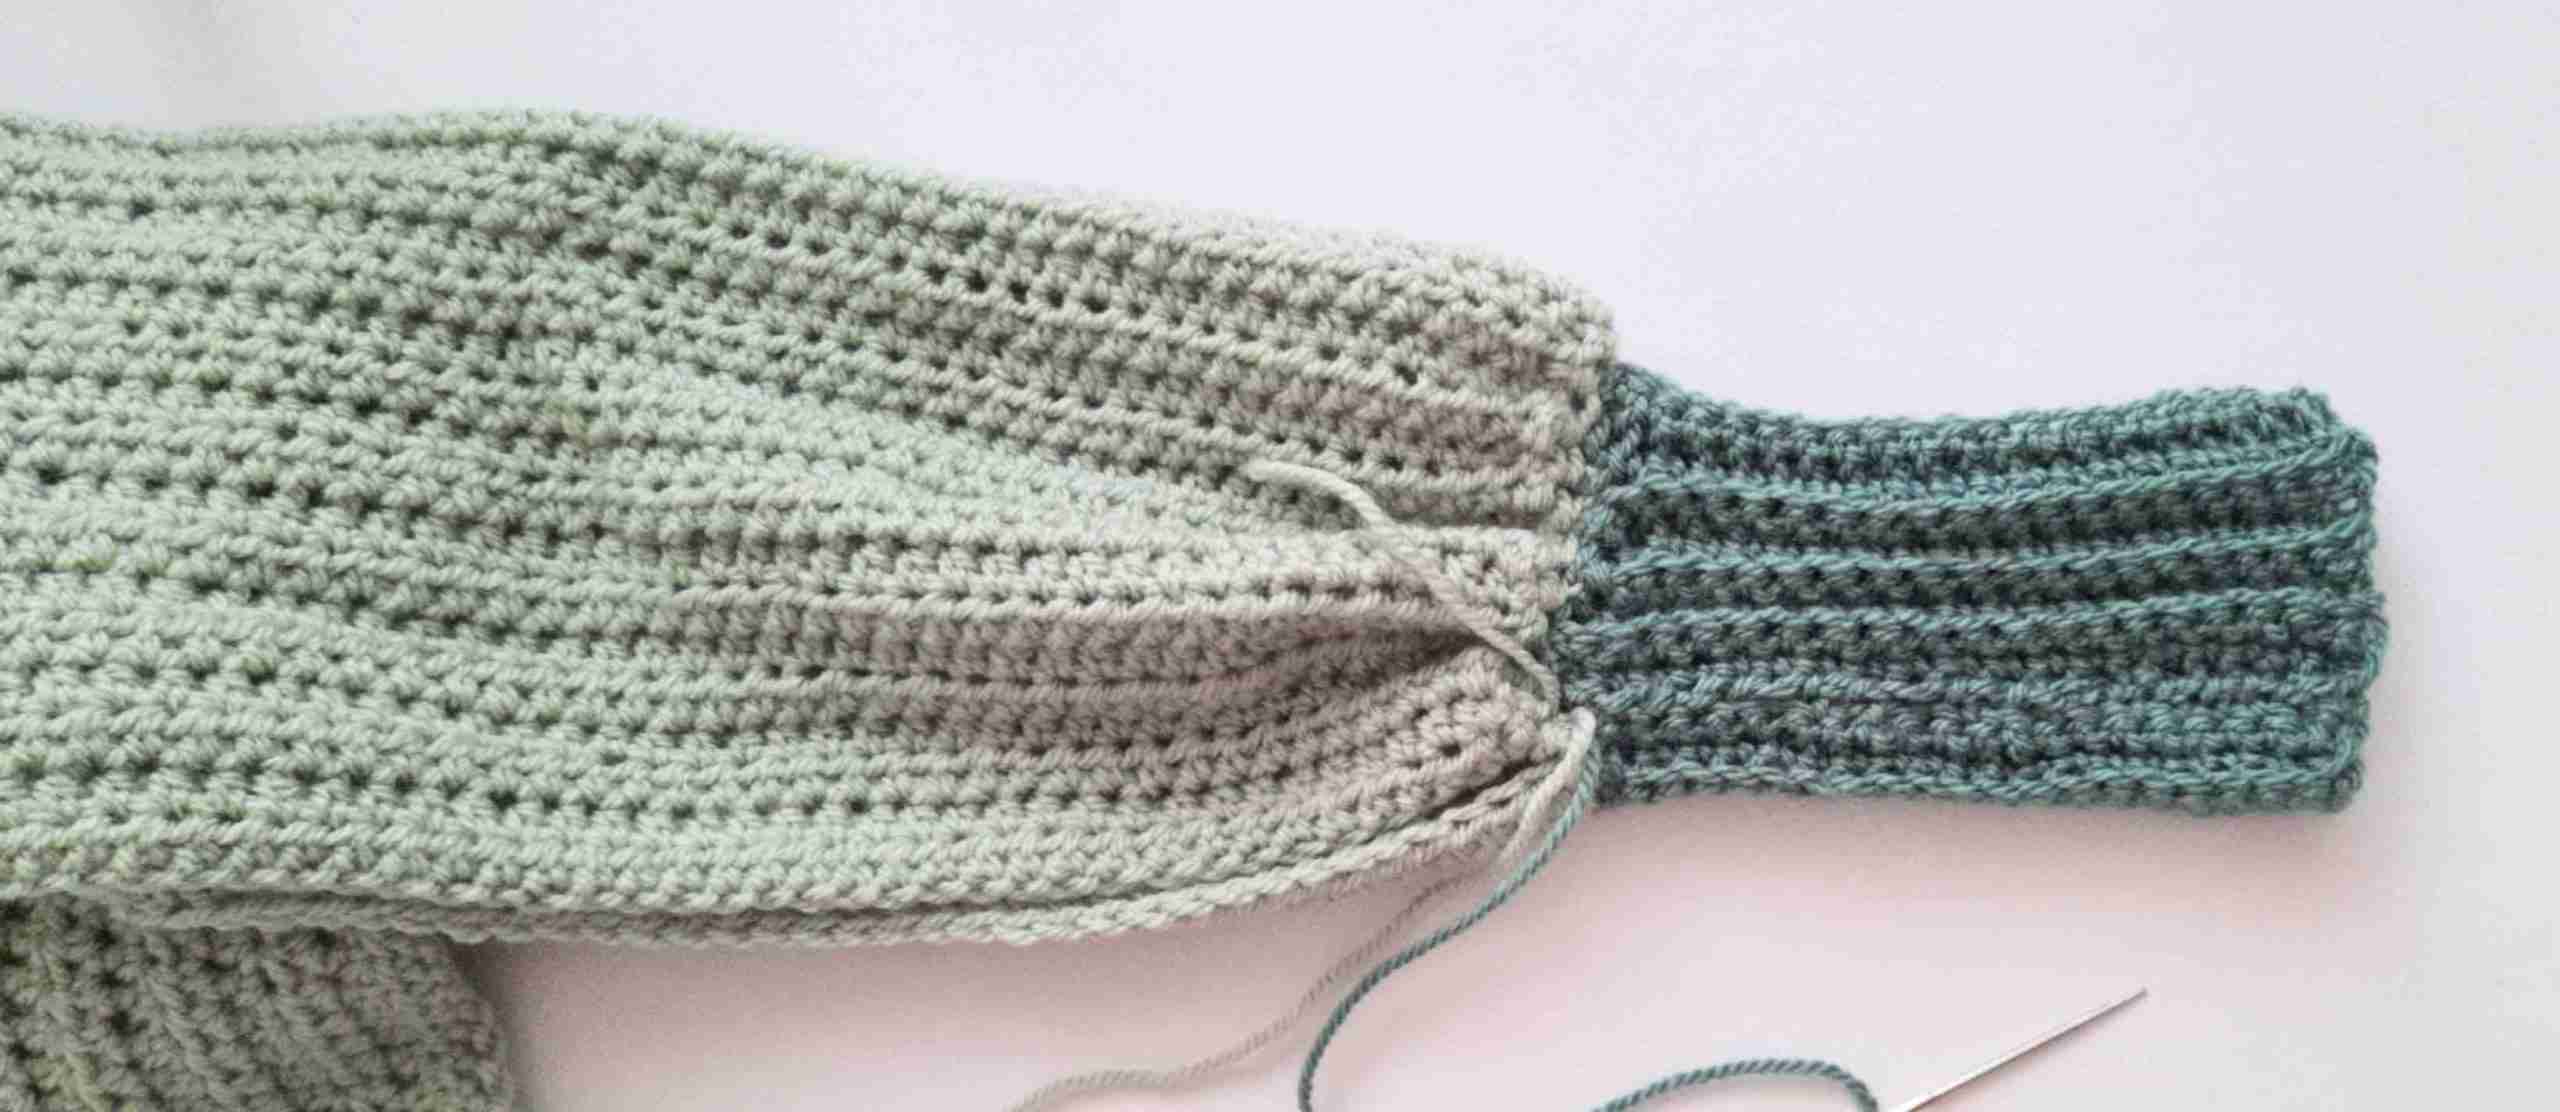
- Using your darning needle and the 10” strand of Red Wine yarn you left at the end of your sleeve sides, sew the sides together using the Mattress Stitch. Your sleeve should now look like a tube with both ends open.
- Repeat for second sleeve with Slate Green yarn.
- Secure at the end with a couple of stitches into the body of the scarf.
- Tie a double knot with the yarn tail from body of scarf.
Embellishments
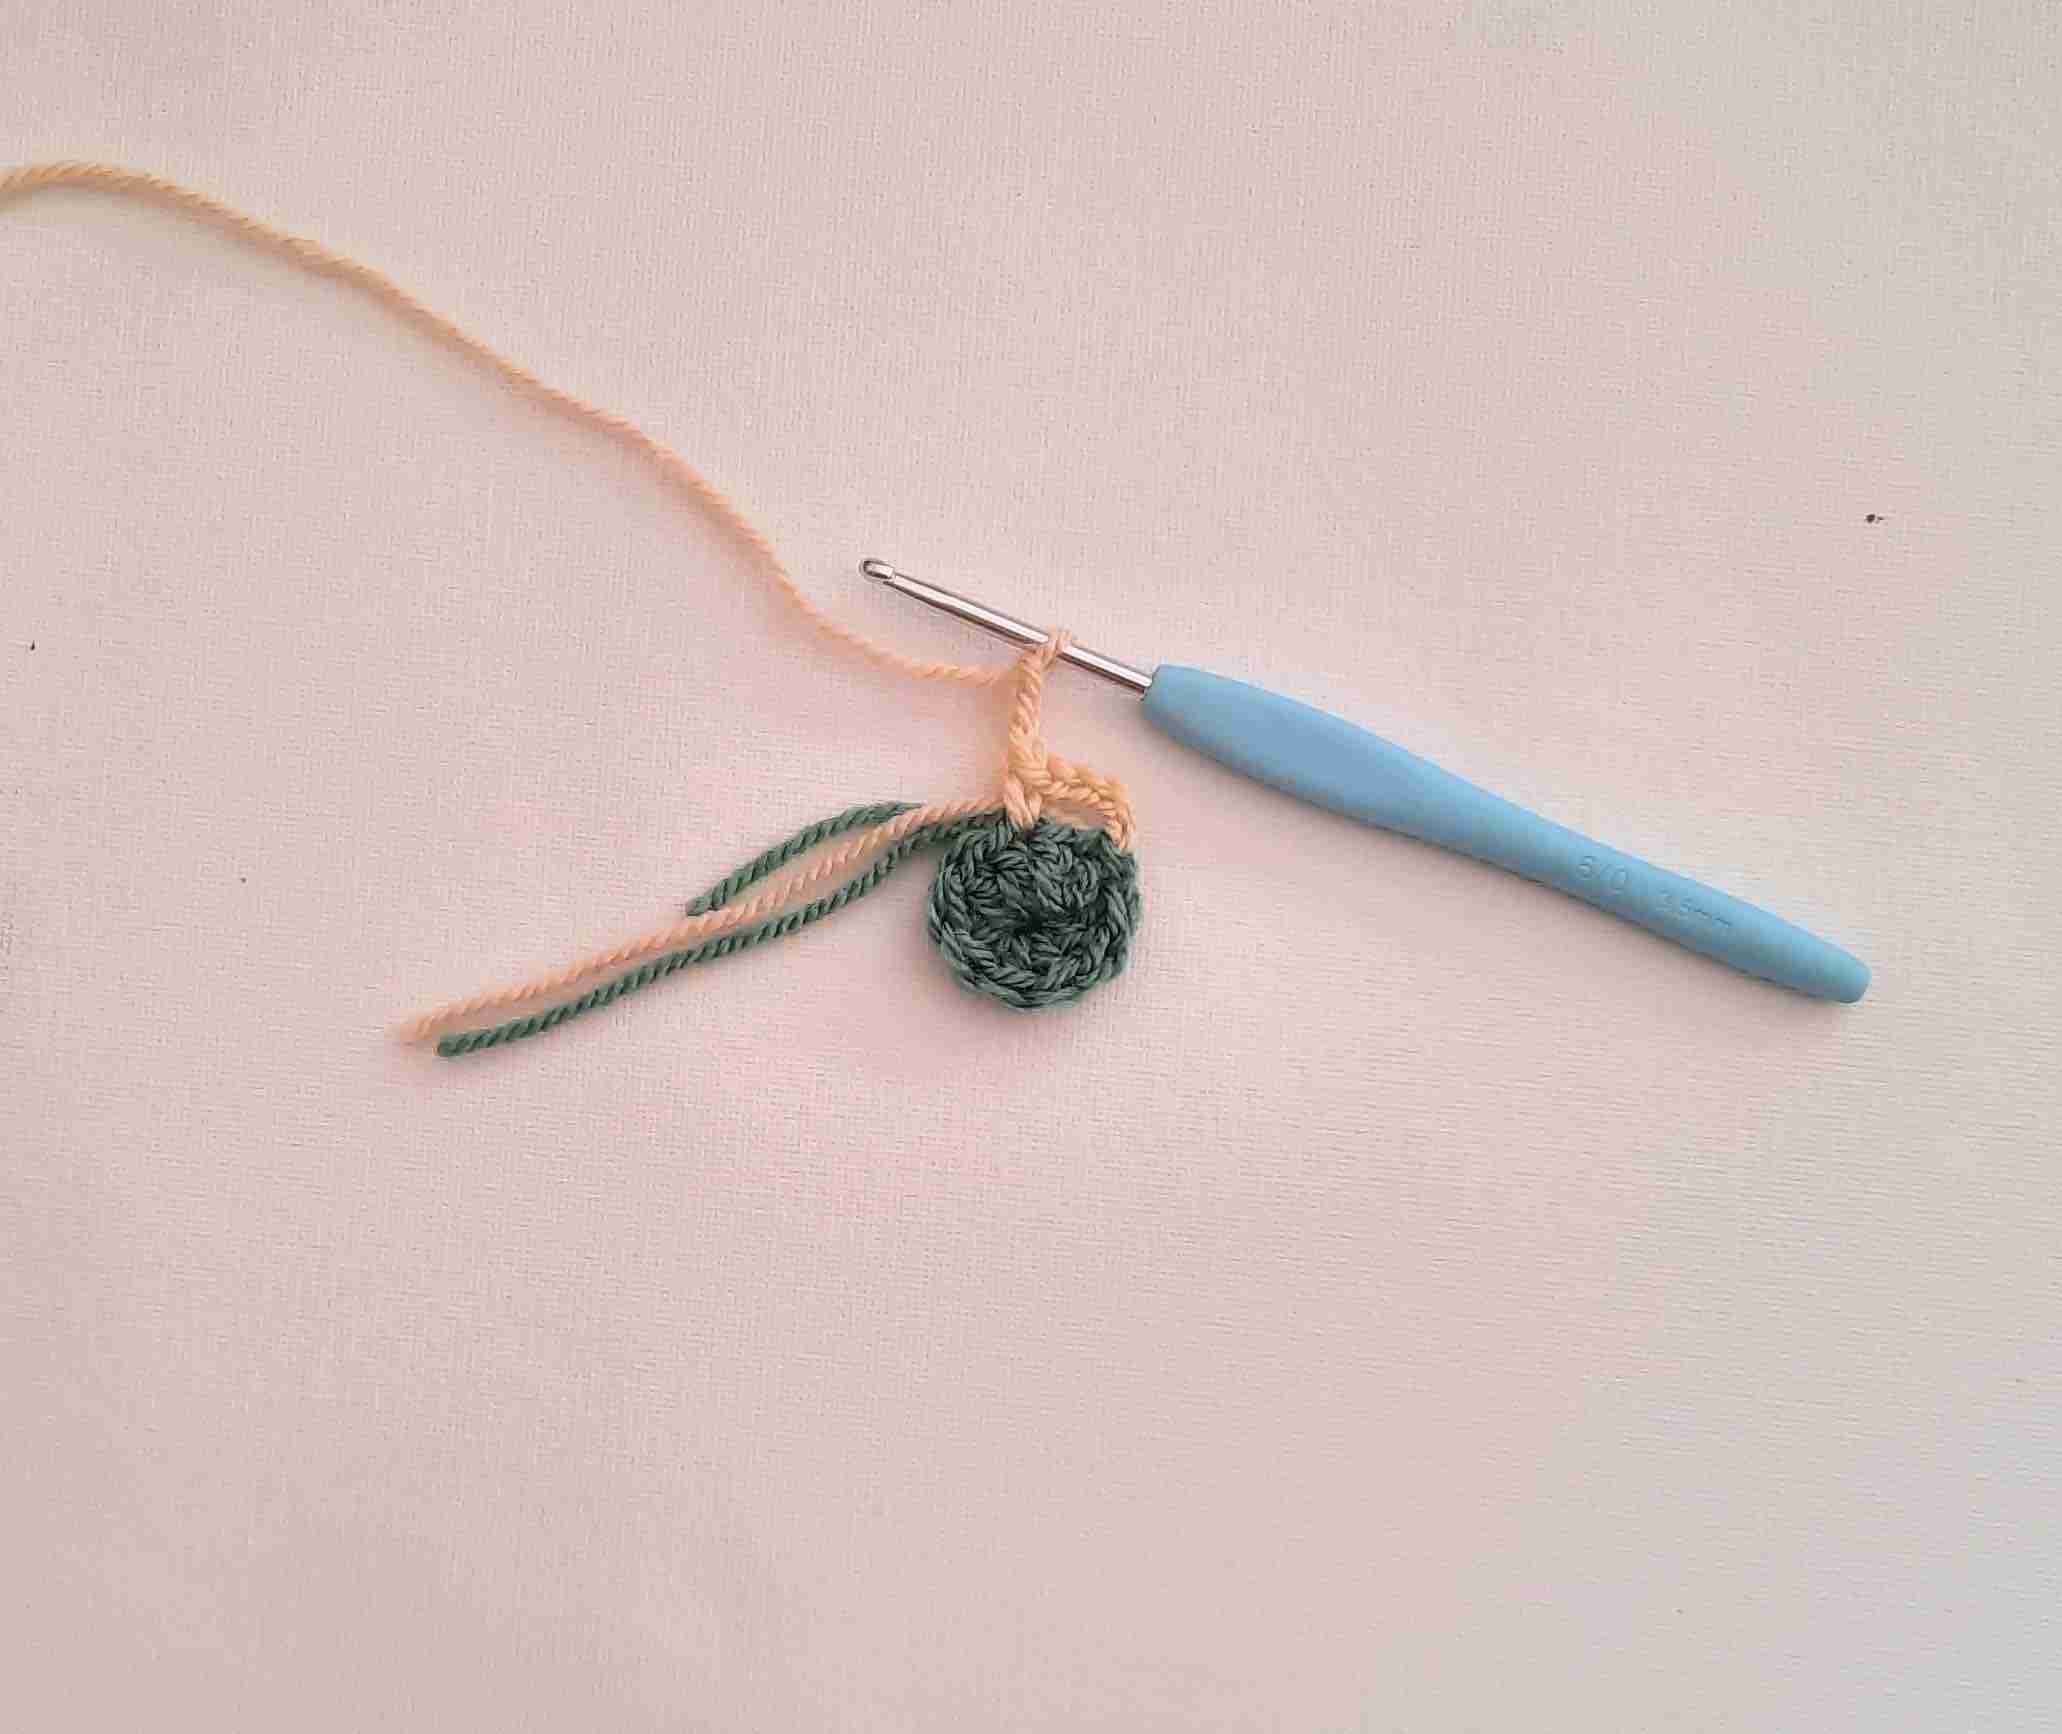
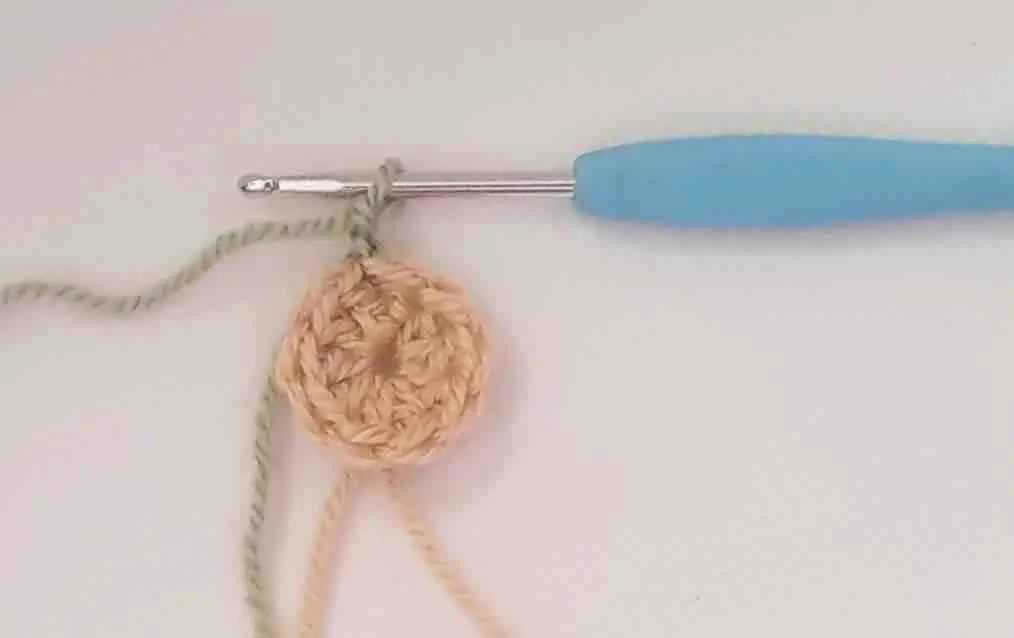
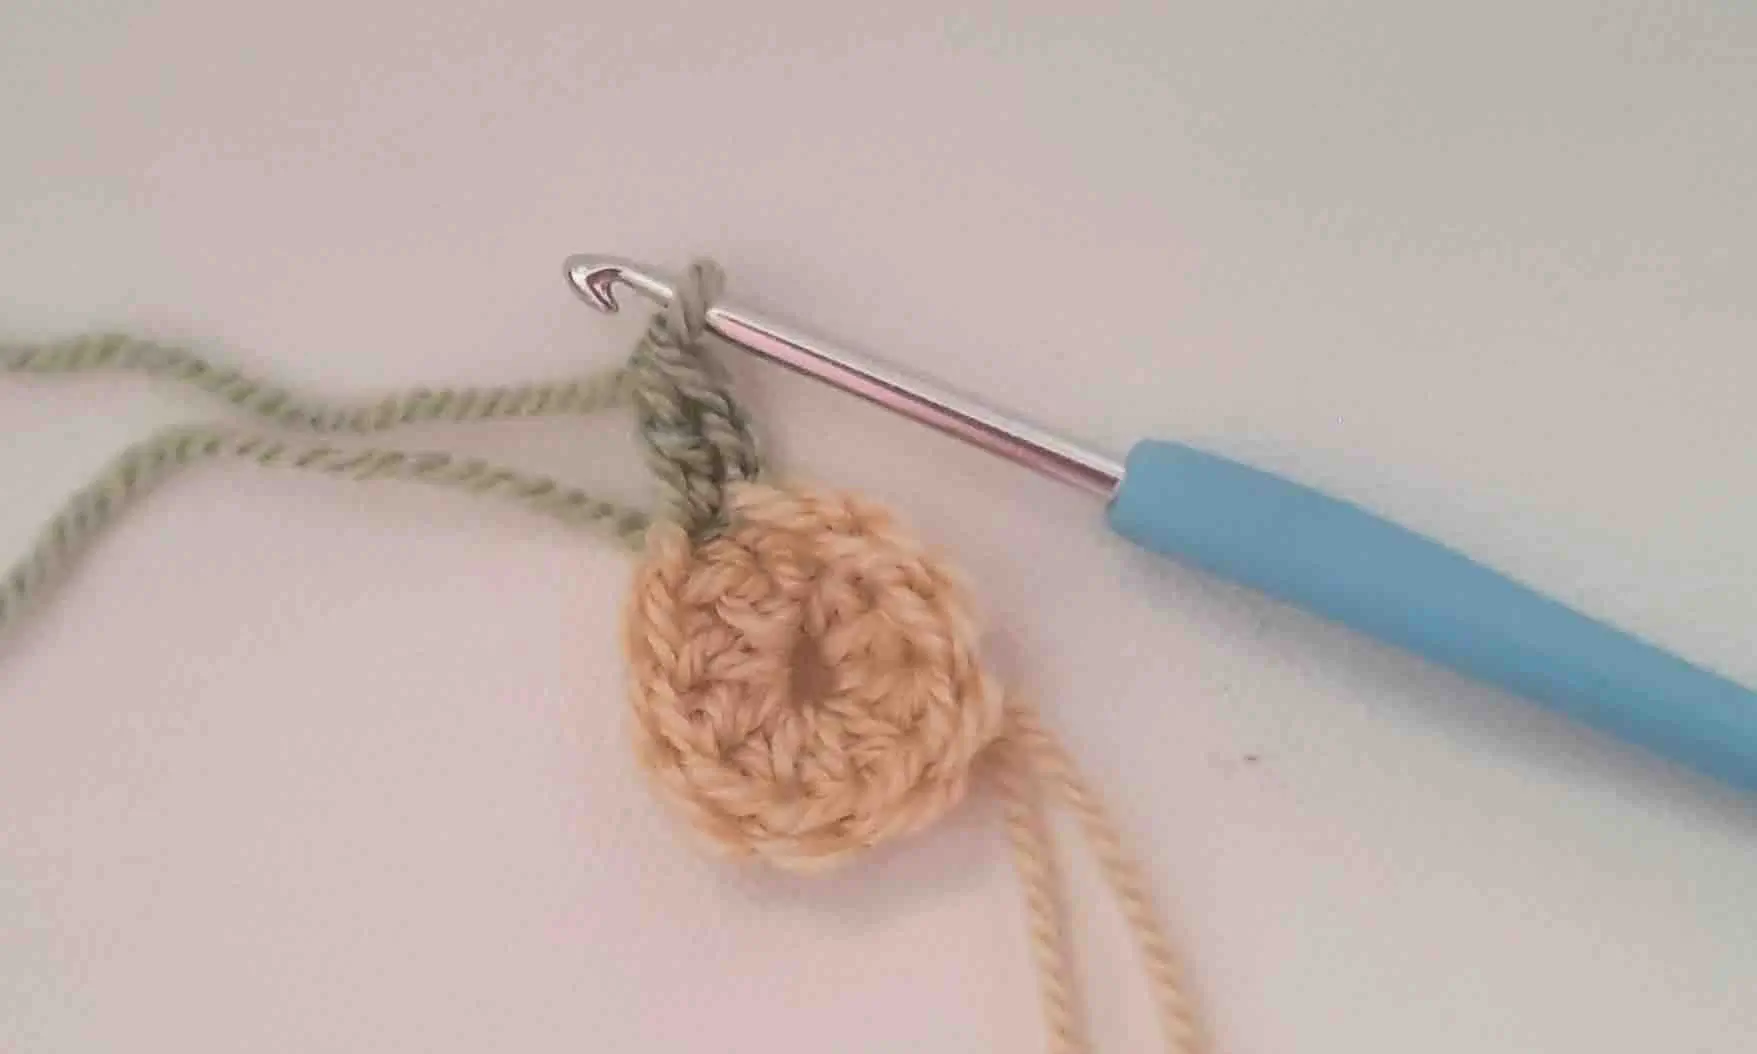
Note for changing colors for each round: when you sl st to join the last st of each round, insert your hook into the top of beginning ch, drop your working yarn, yo with new color yarn and finish your sl st with the new color. Ch 1 or 2 as instructed for each round and continue the following round with the new color.
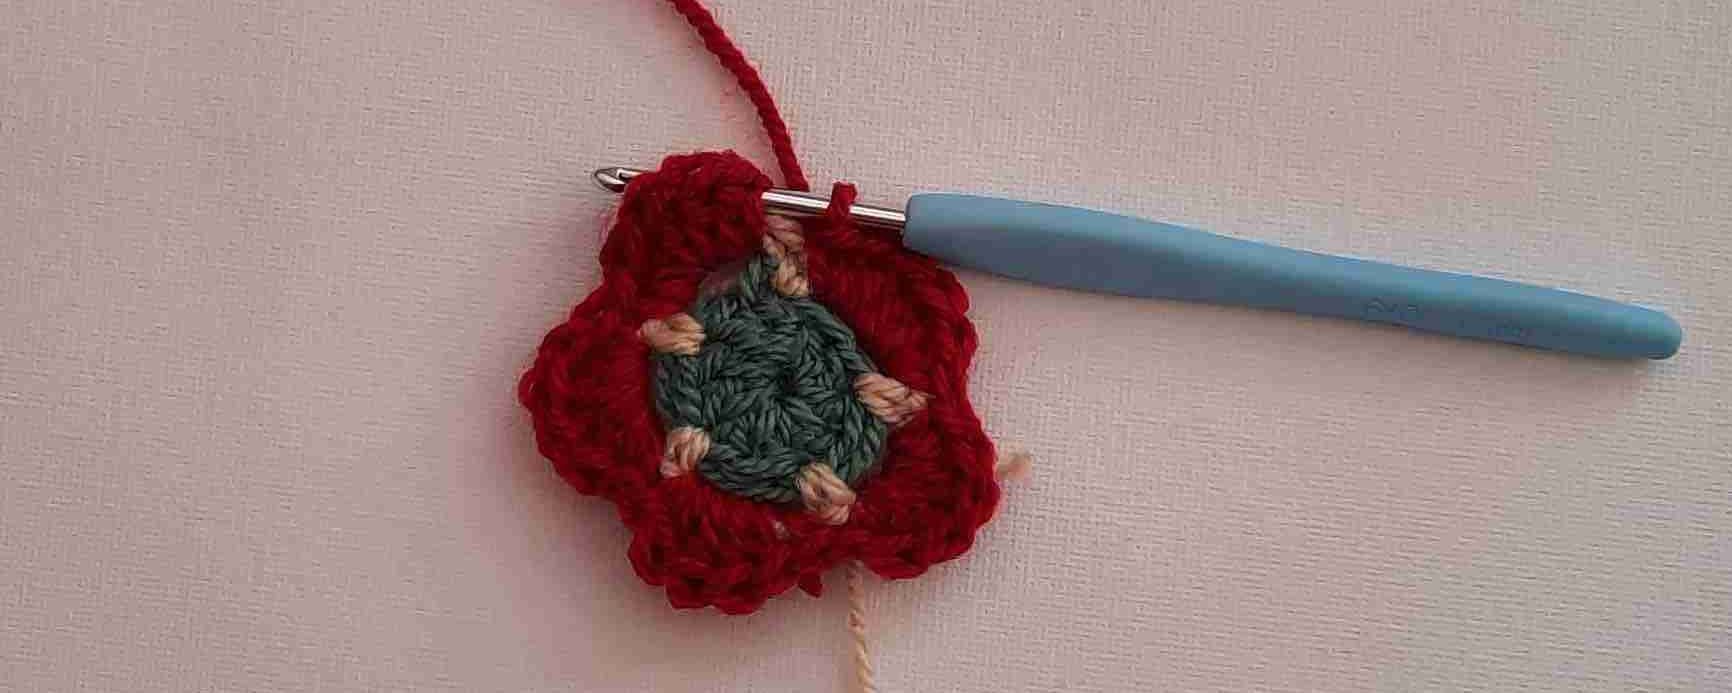
Small Flower x 3
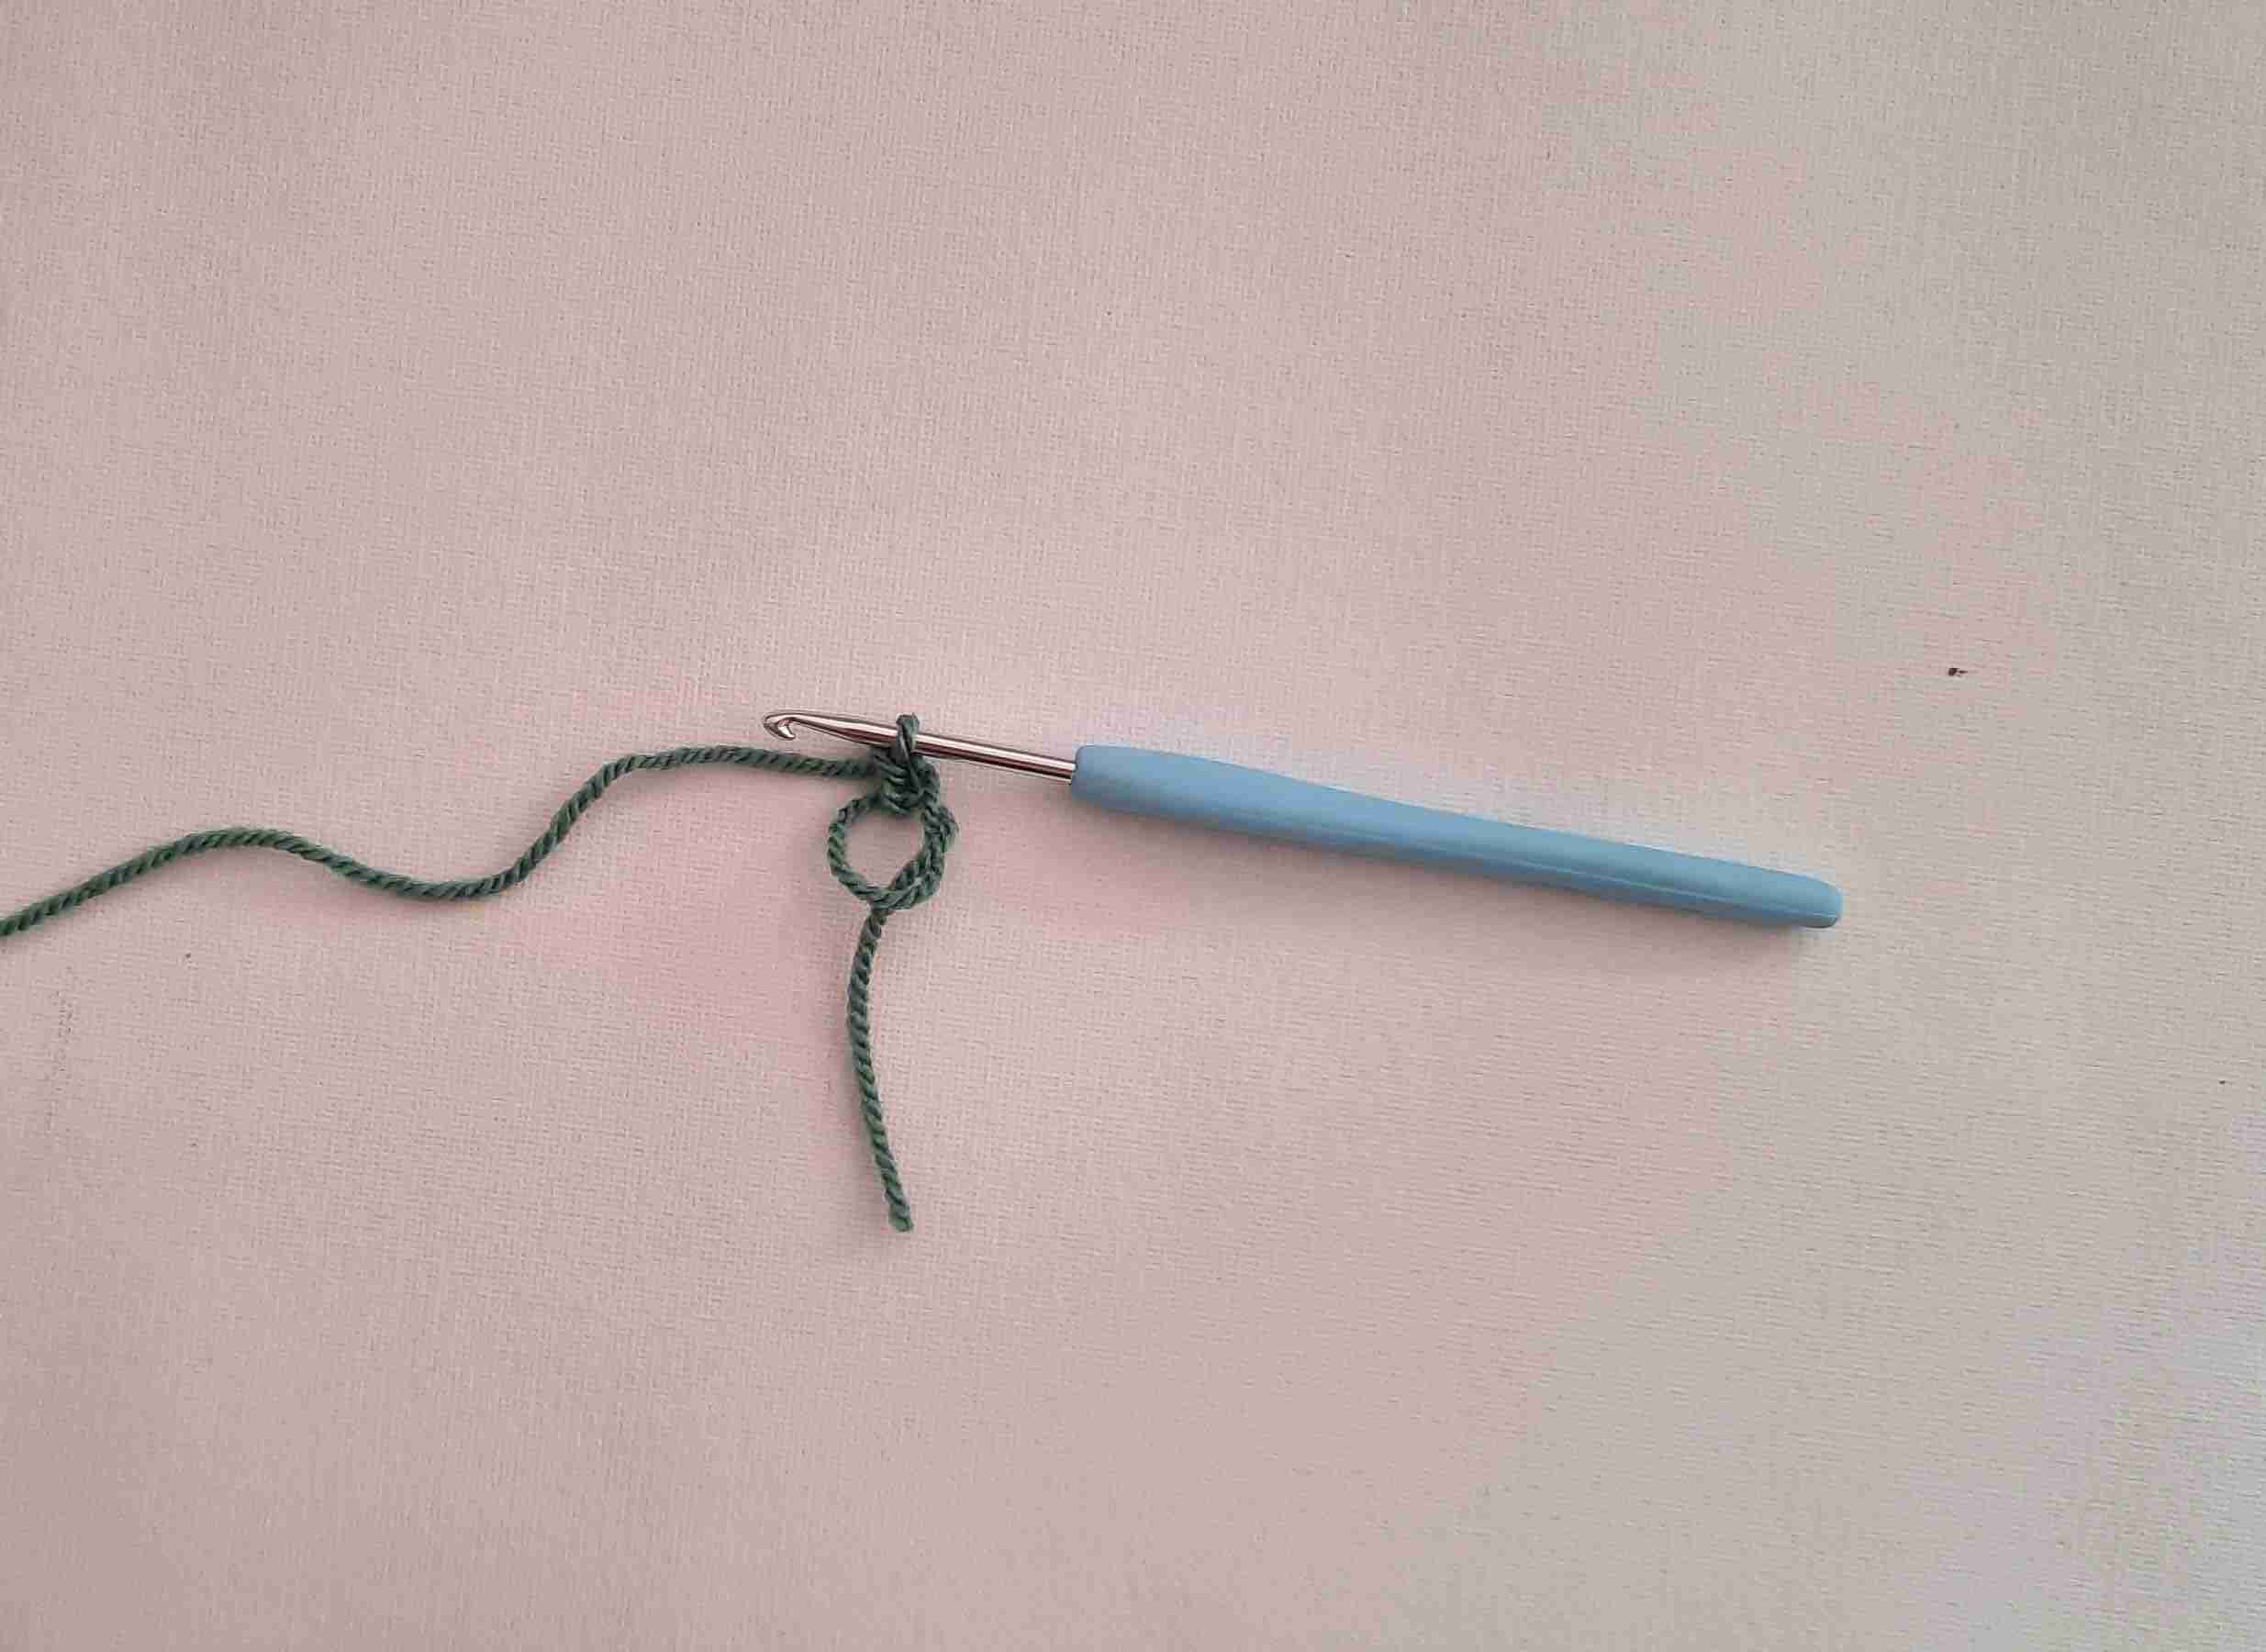
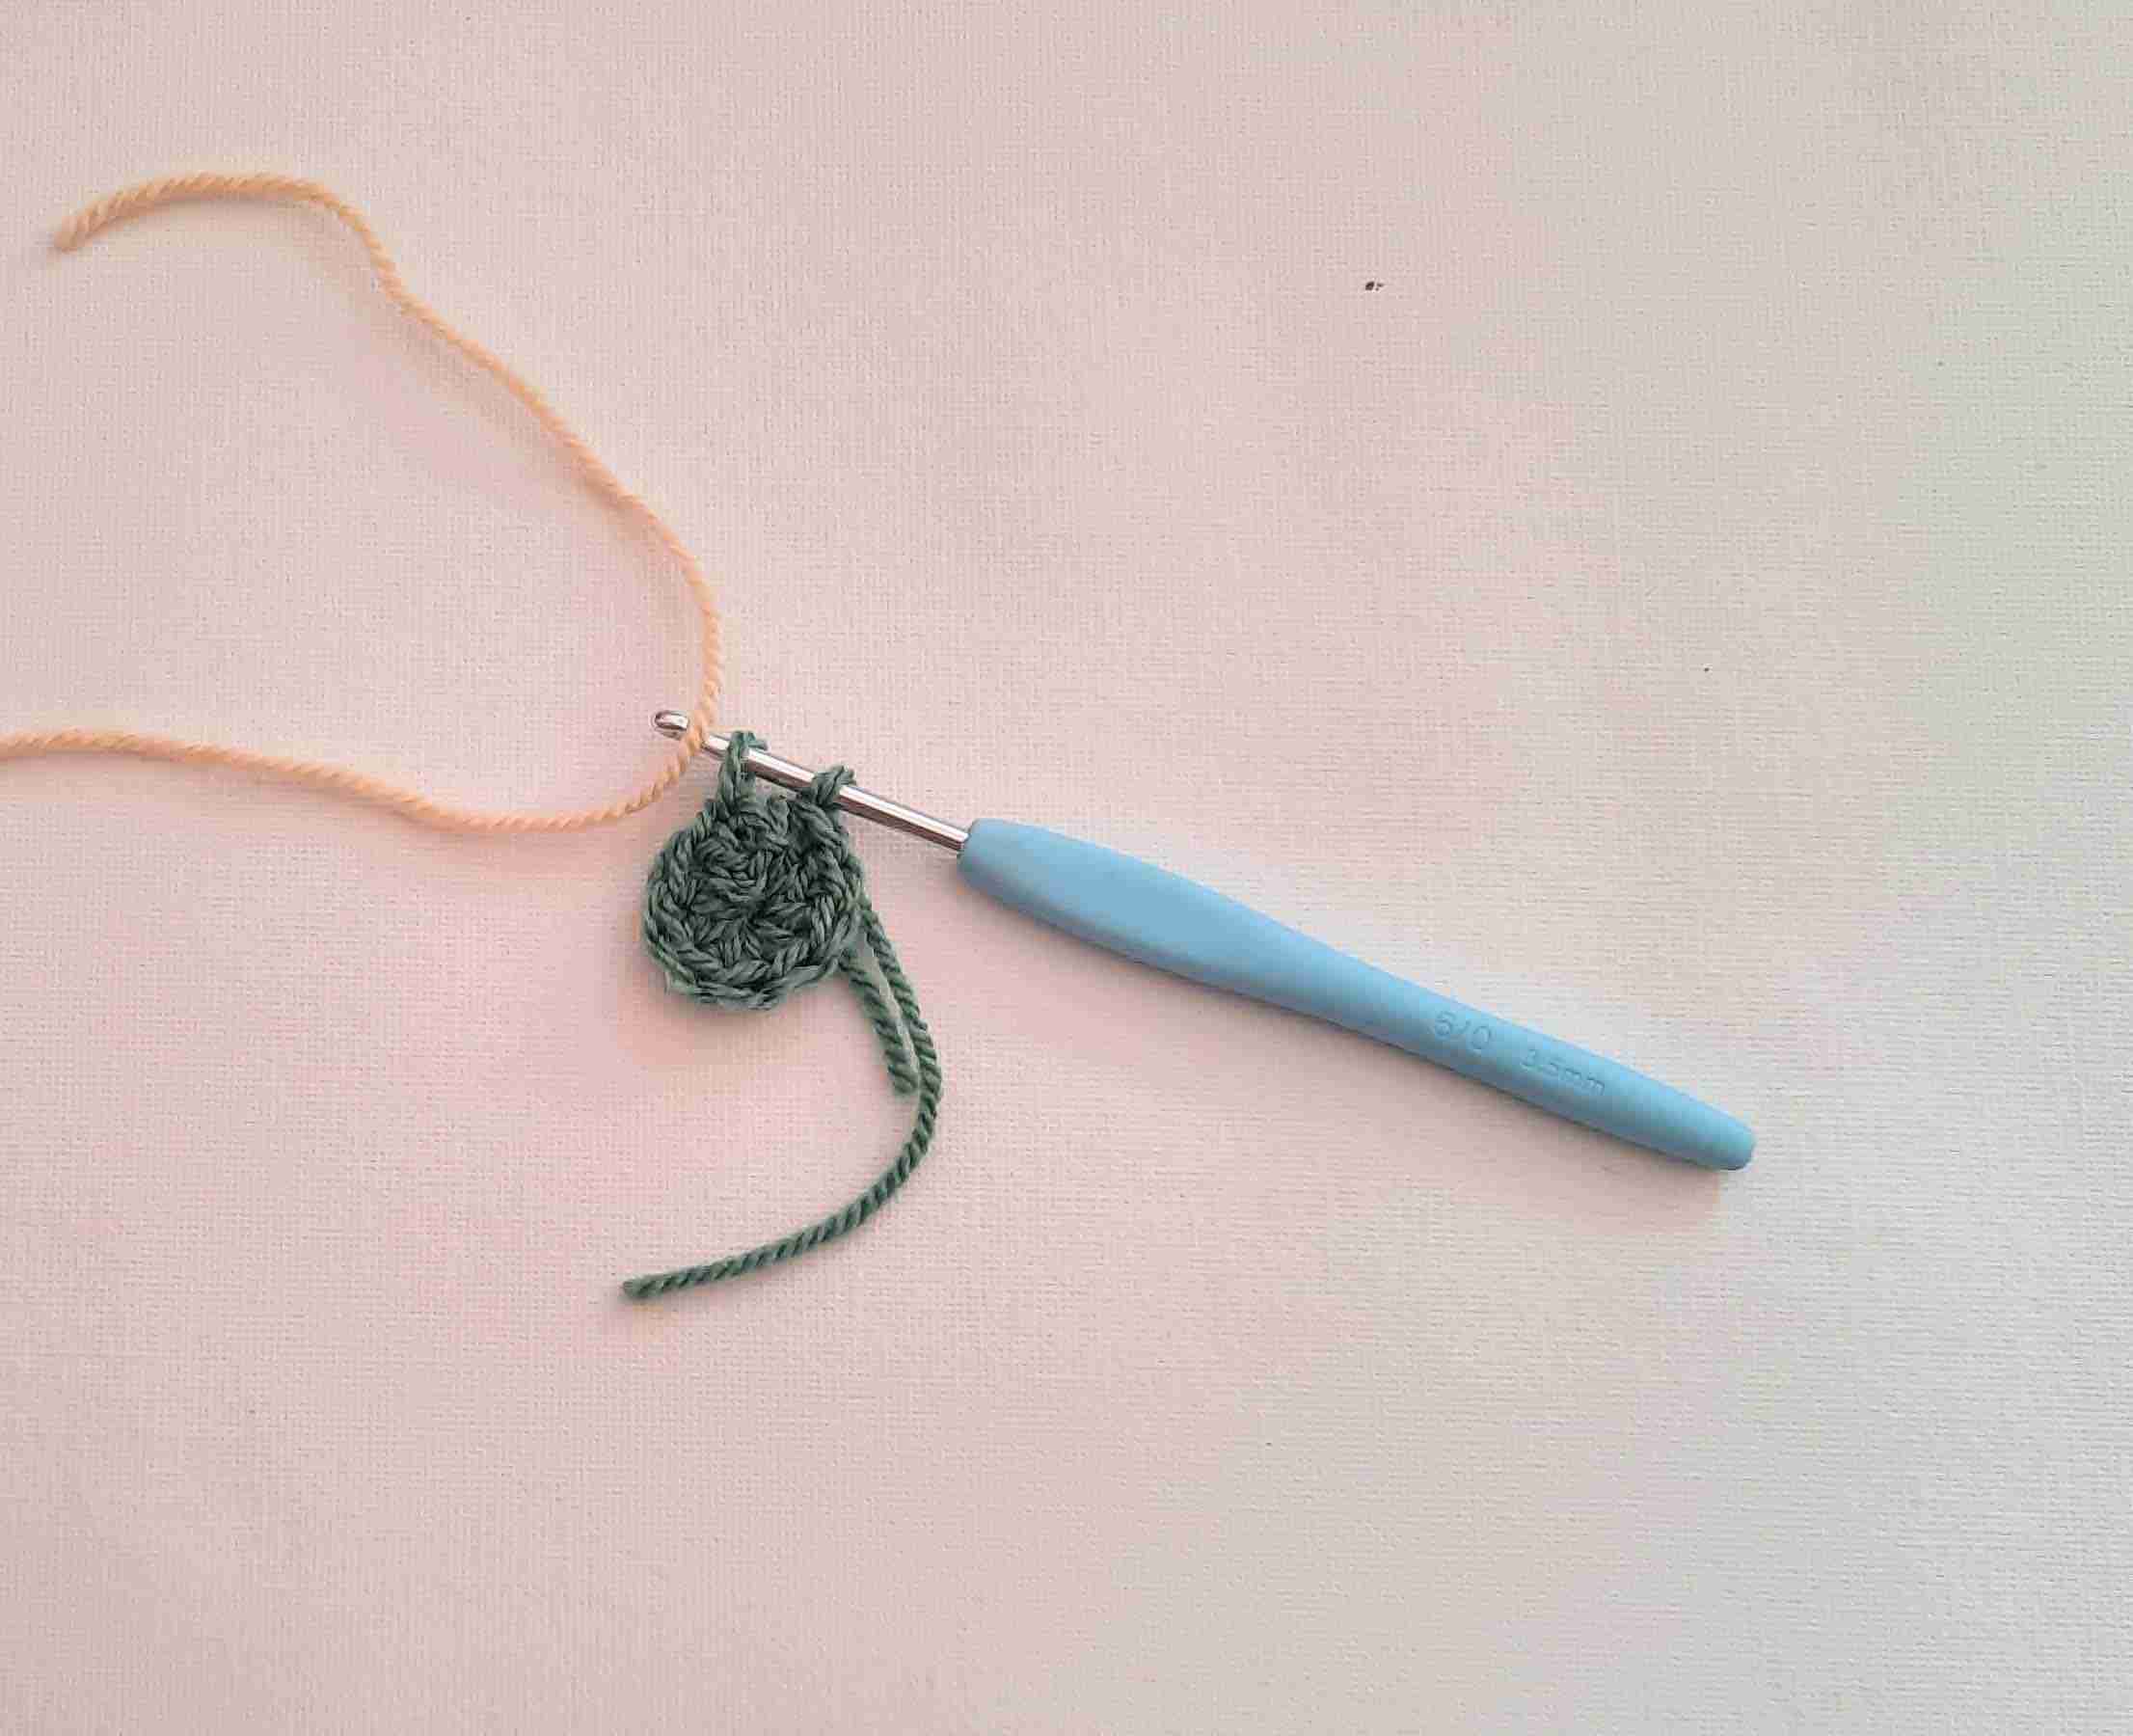
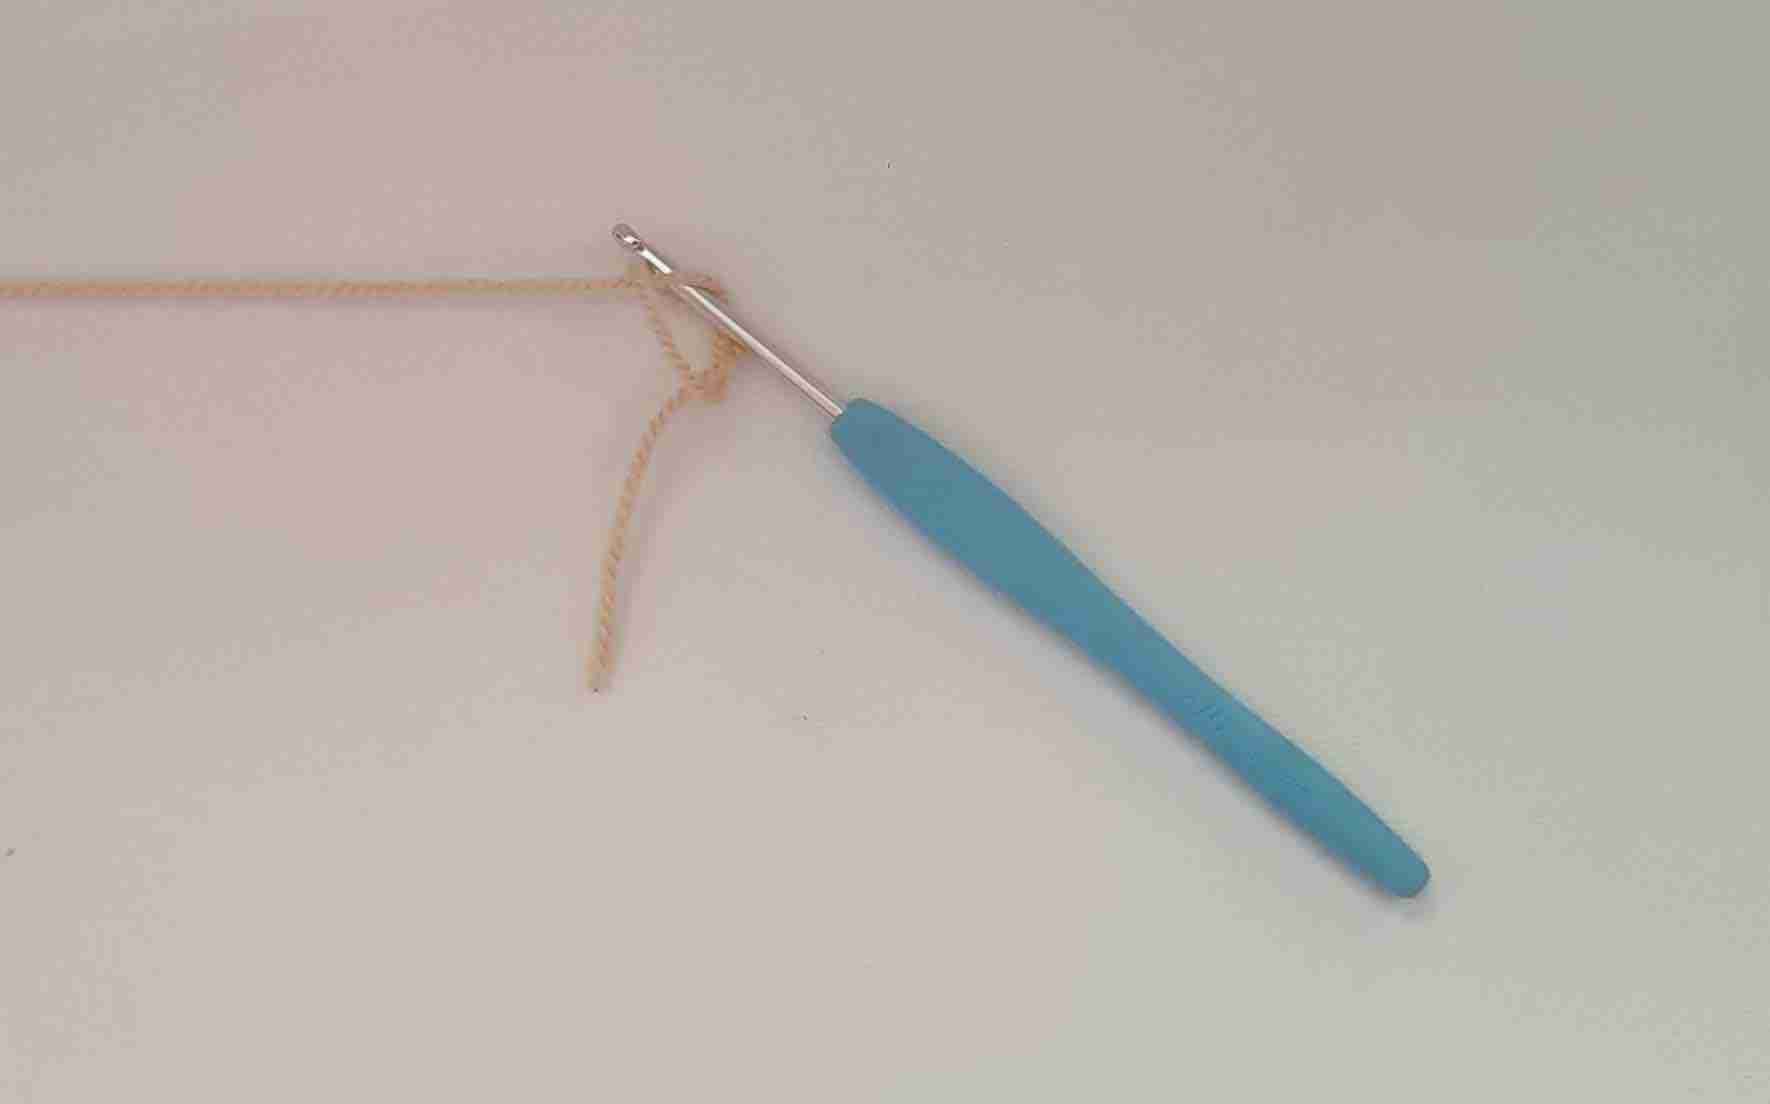
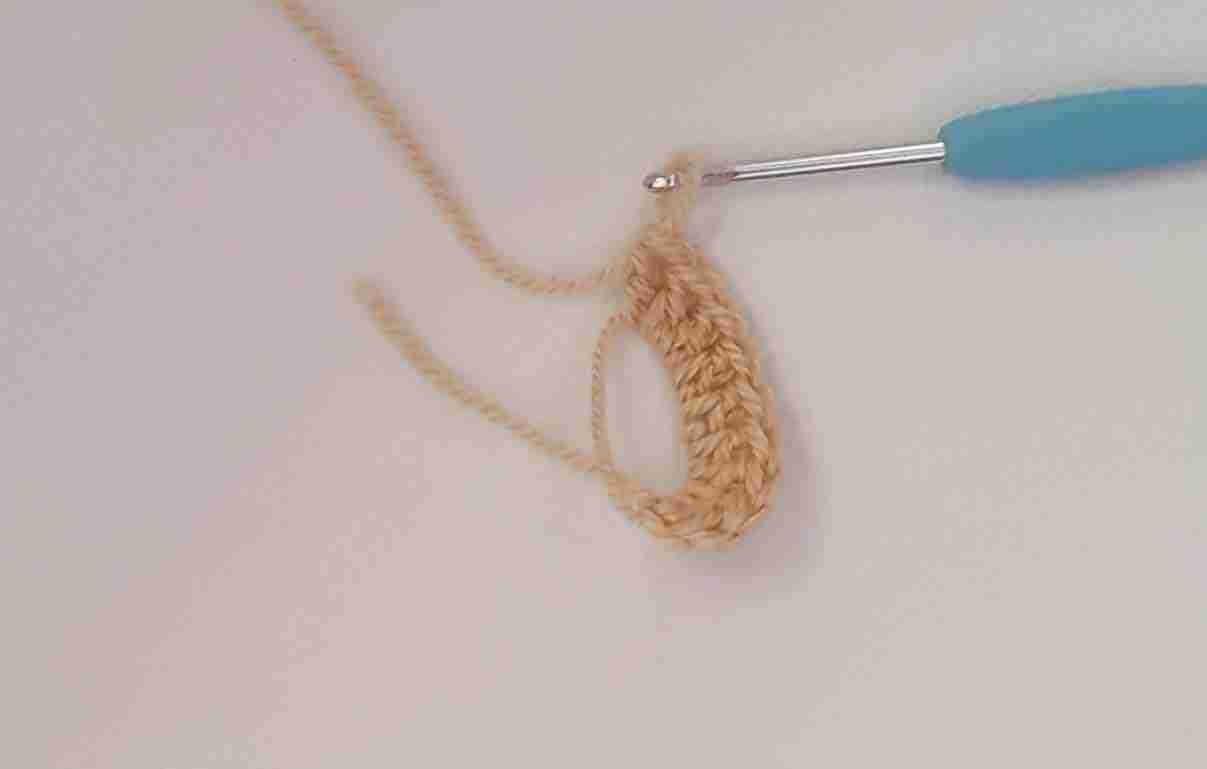
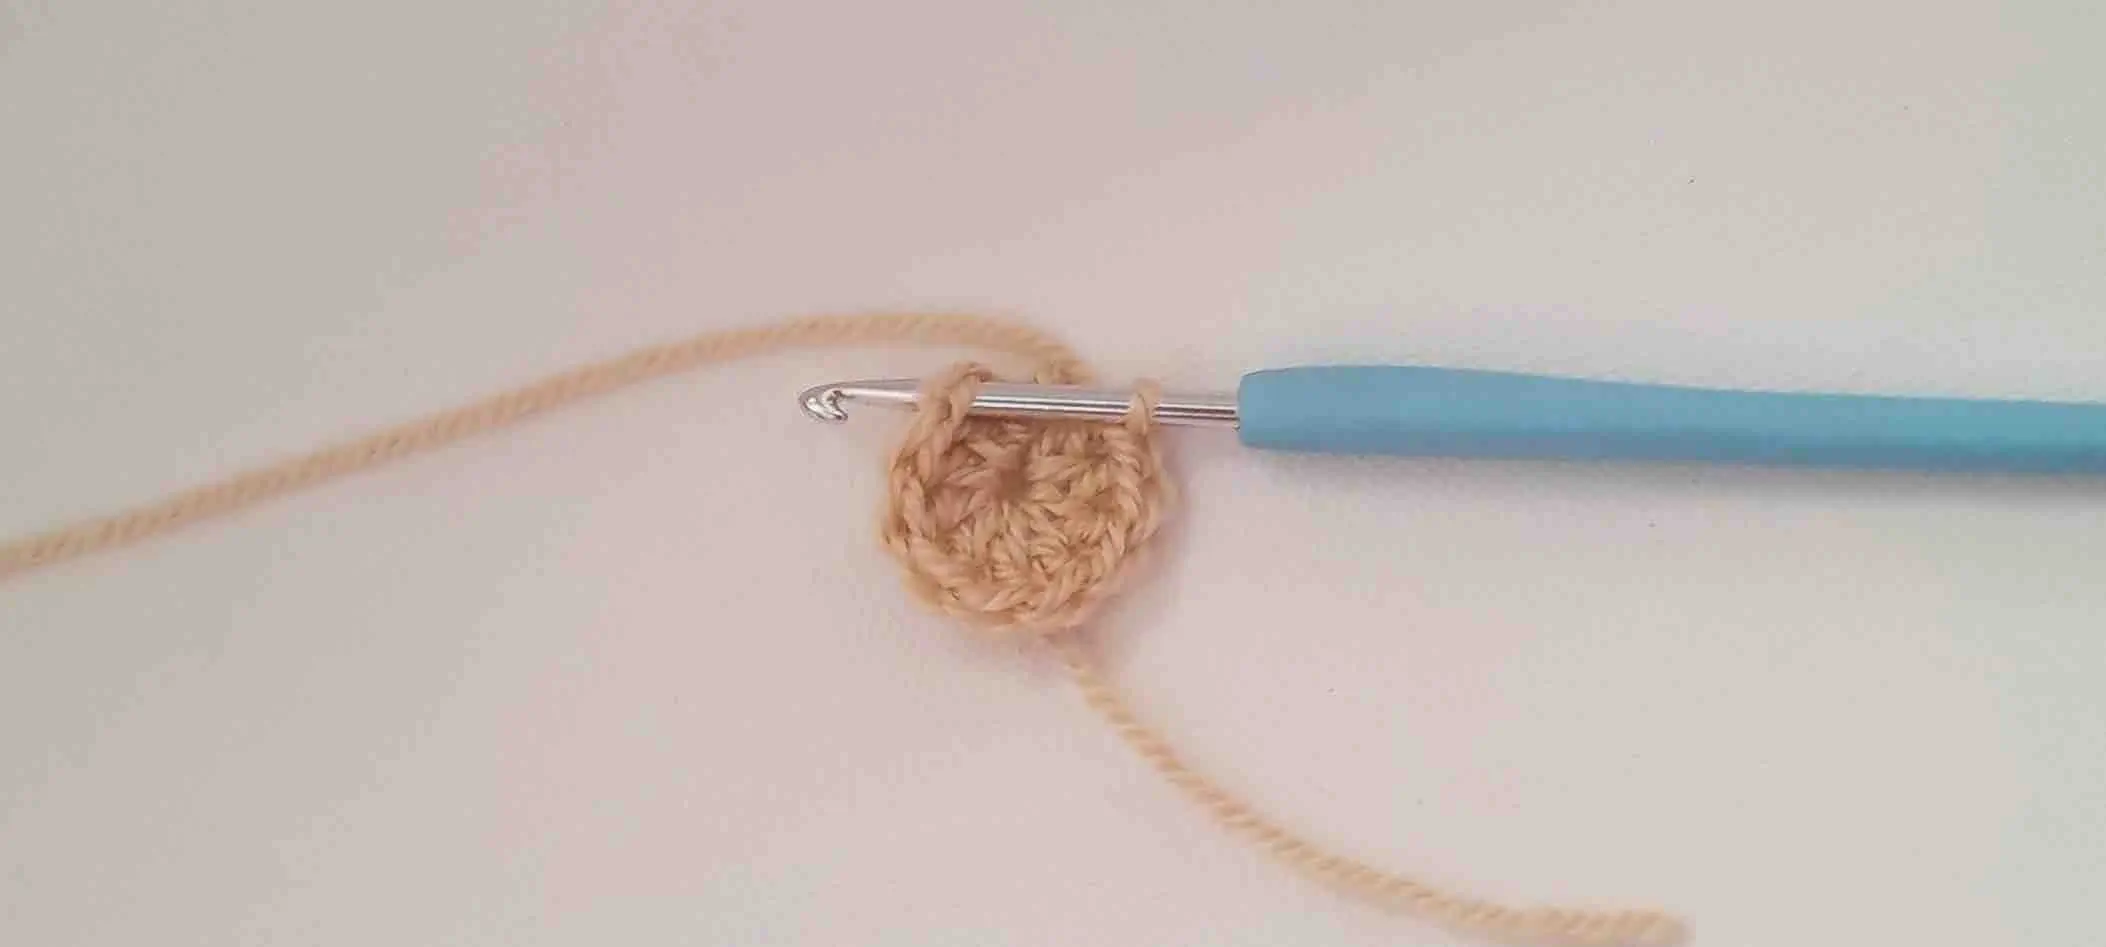
- Round 1: With US size E-4 (3.5) hook and Slate Green yarn, start off with a MC, ch 2, 9 dc into MC.
- Join to top of ch 2 with a sl st (remember note above for changing color to Vanilla Cream), leave a 4” tail of Green yarn, cut & fo. (10)
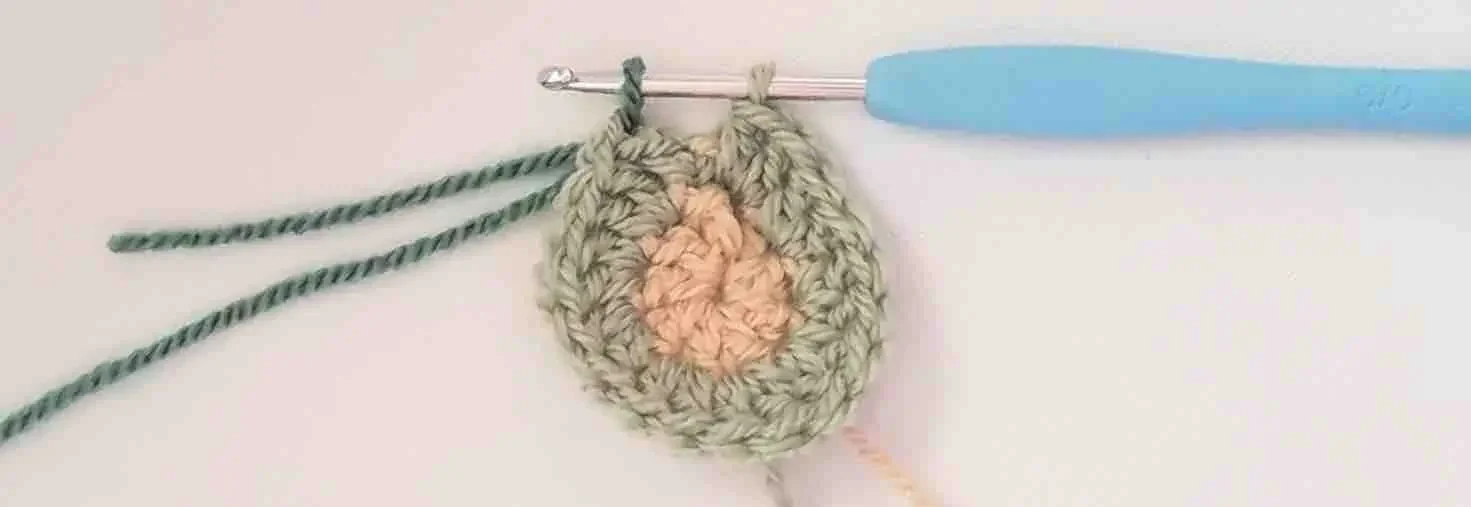
Round 2: With Vanilla Cream attached, ch 4 (= ch1 + ch 3), skip a stitch, sc in next stitch,(ch 3, sk a st, sc), repeat around (25).
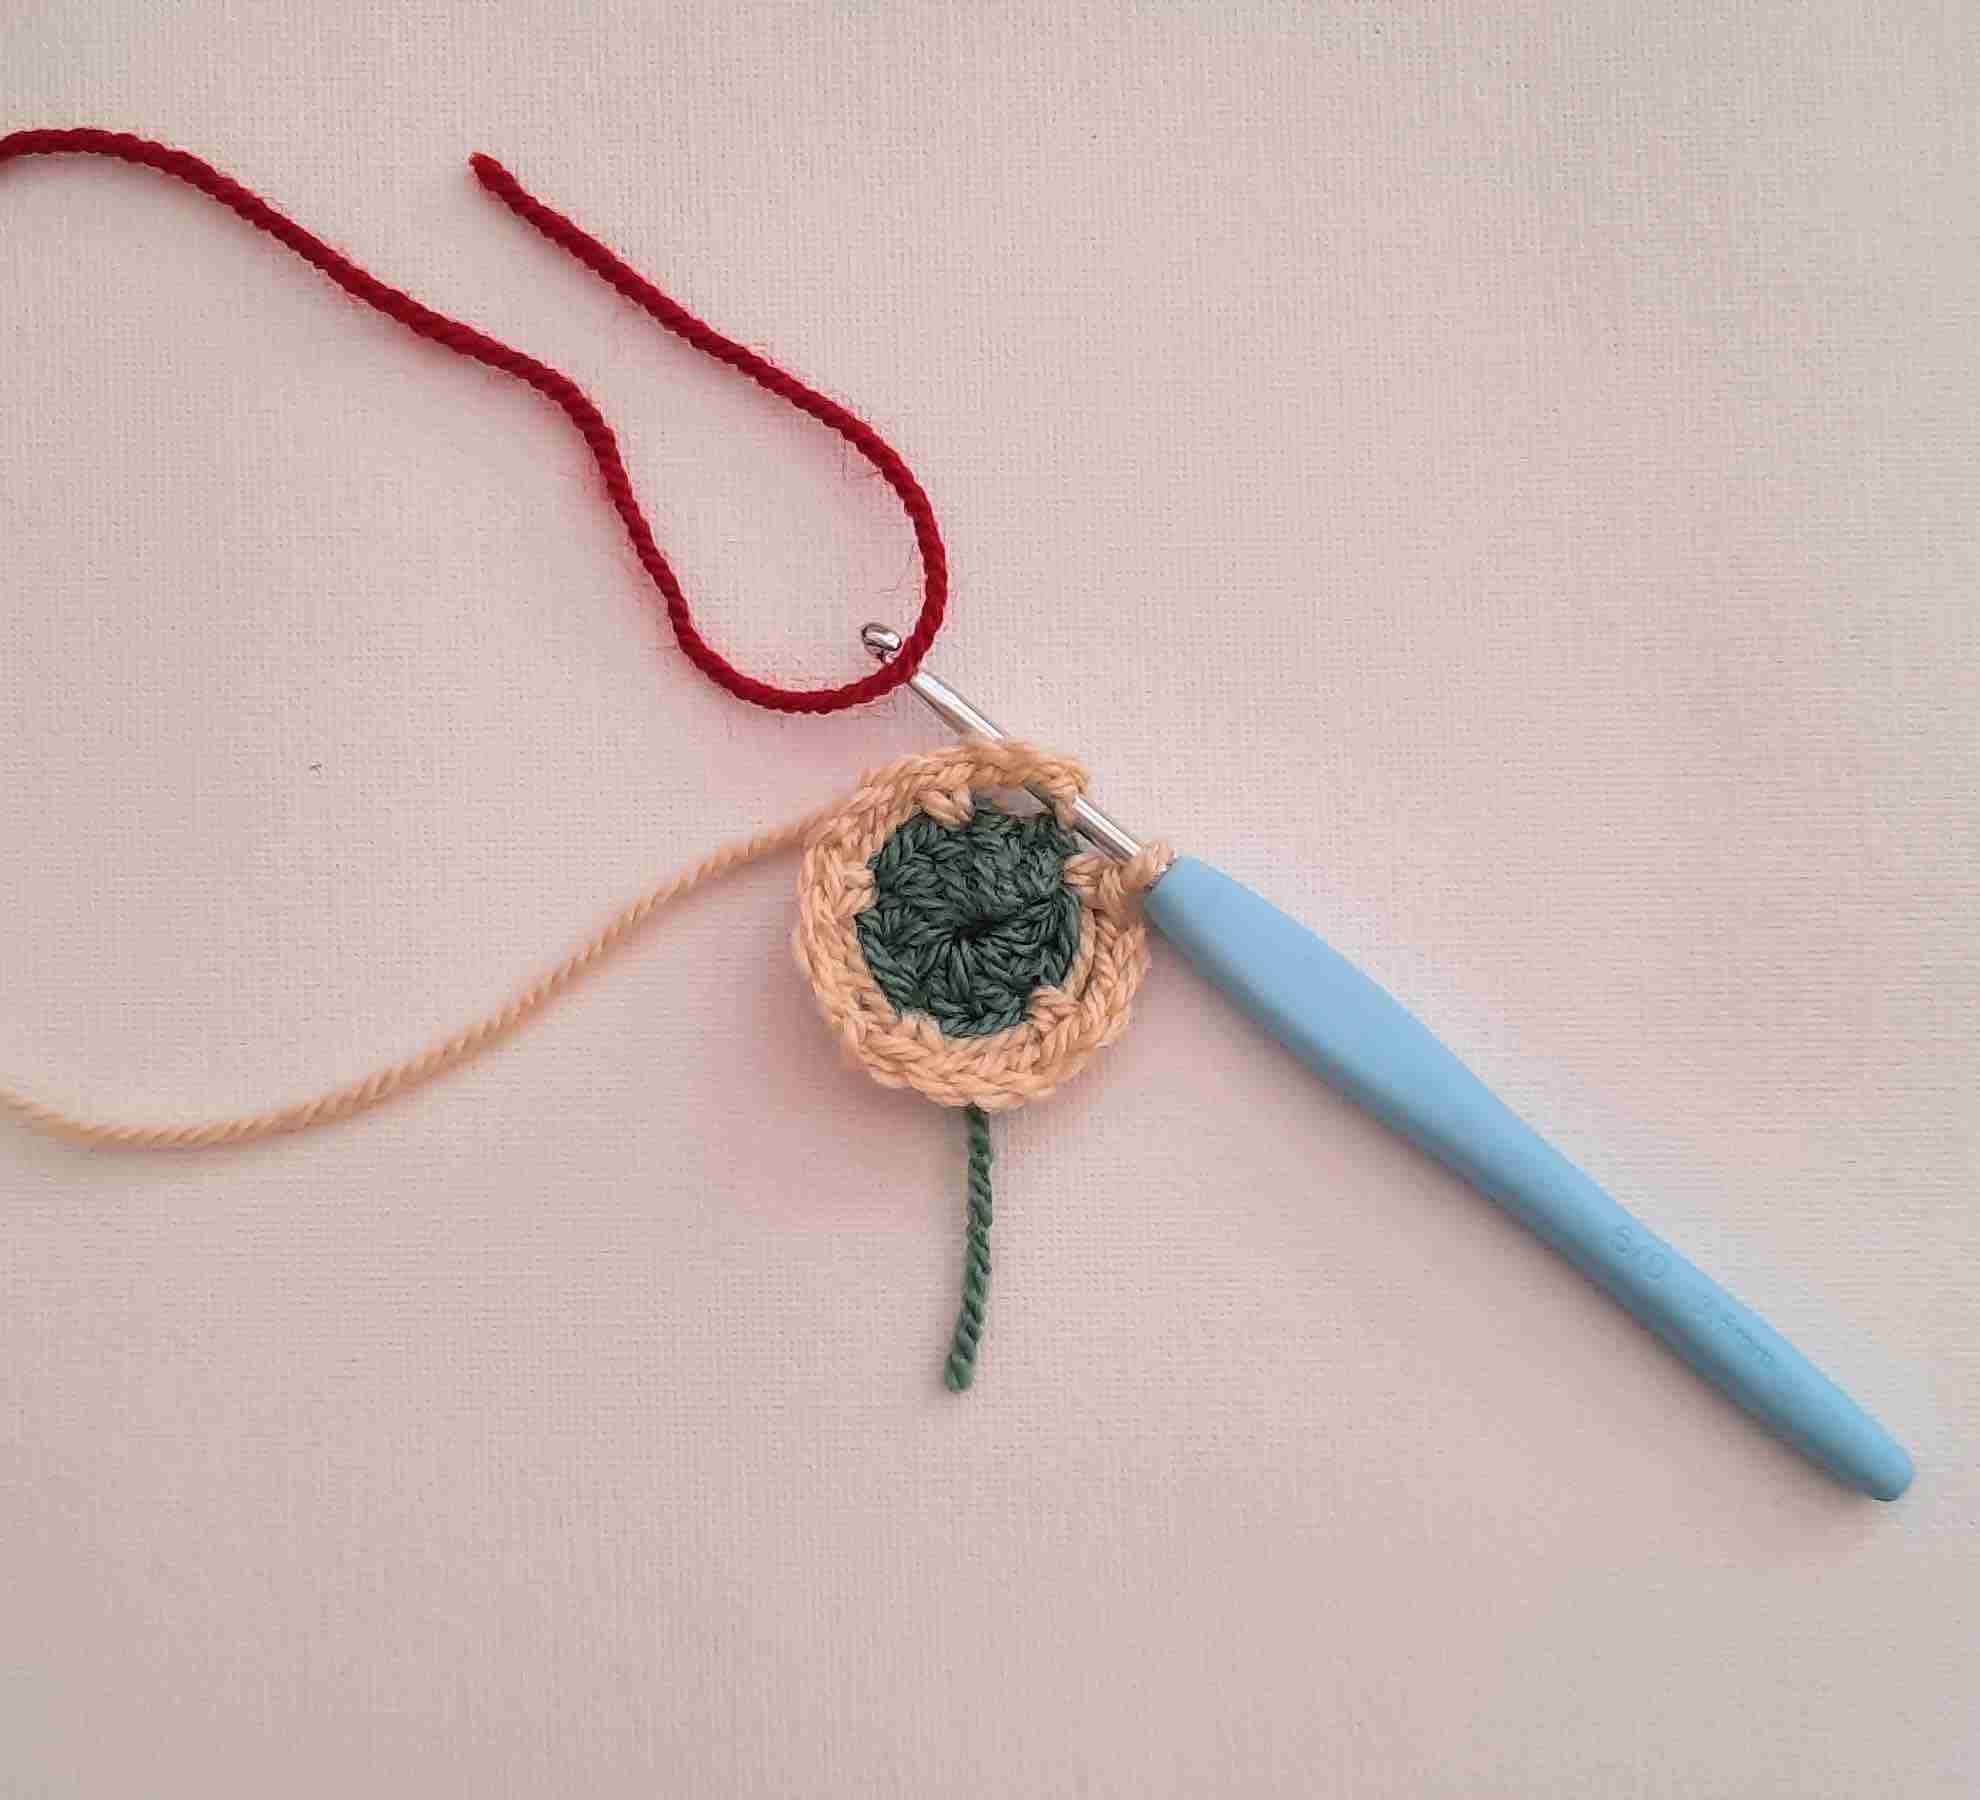
- Make sure to change color to Red Wine using method noted above for last stitch.
- Leave a 4” tail of Vanilla Cream yarn, cut & fo.
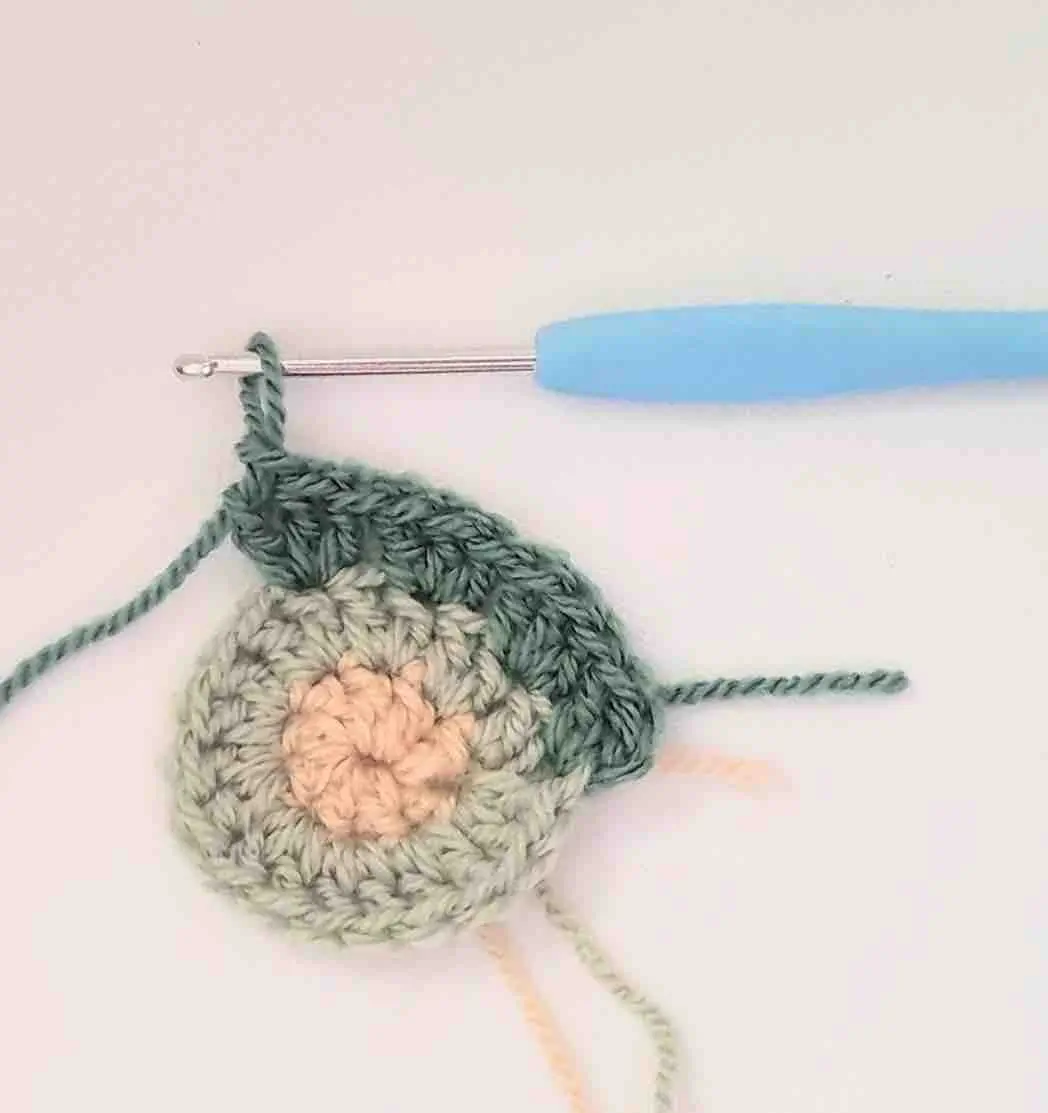
- Round 3: With Red Wine attached, ch1, then work into ch 3 spaces: (sc, 4 dc, sc) in each sp around. Join to top of first sc stitch of this round. You should have 5 petals. (30)
- Leave a 10” tail to sew onto scarf later. Cut yarn and fo.
- Crochet 2 more small flowers.
- Weave in all ends except the 10” Red Wine tails.
Large Flower x 1
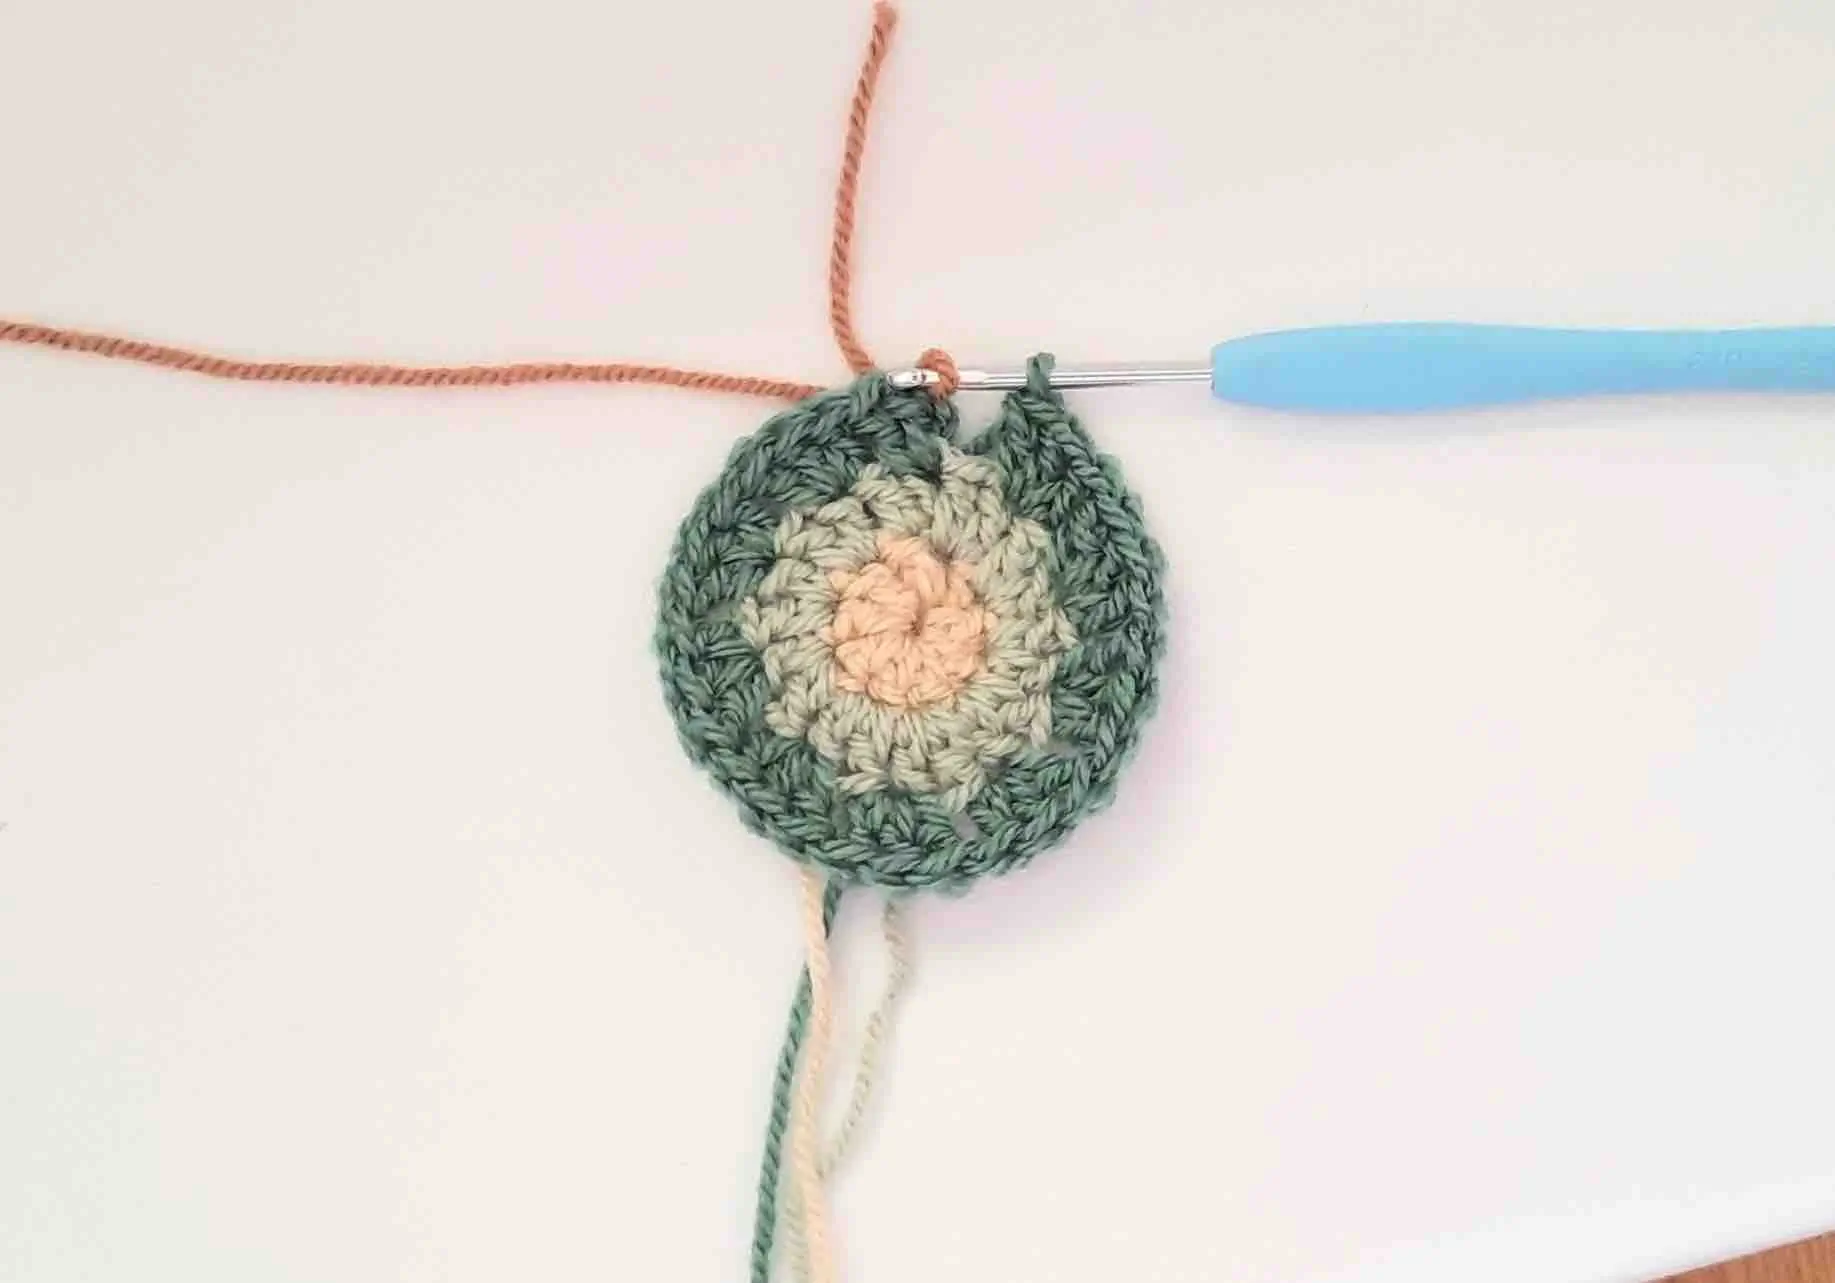
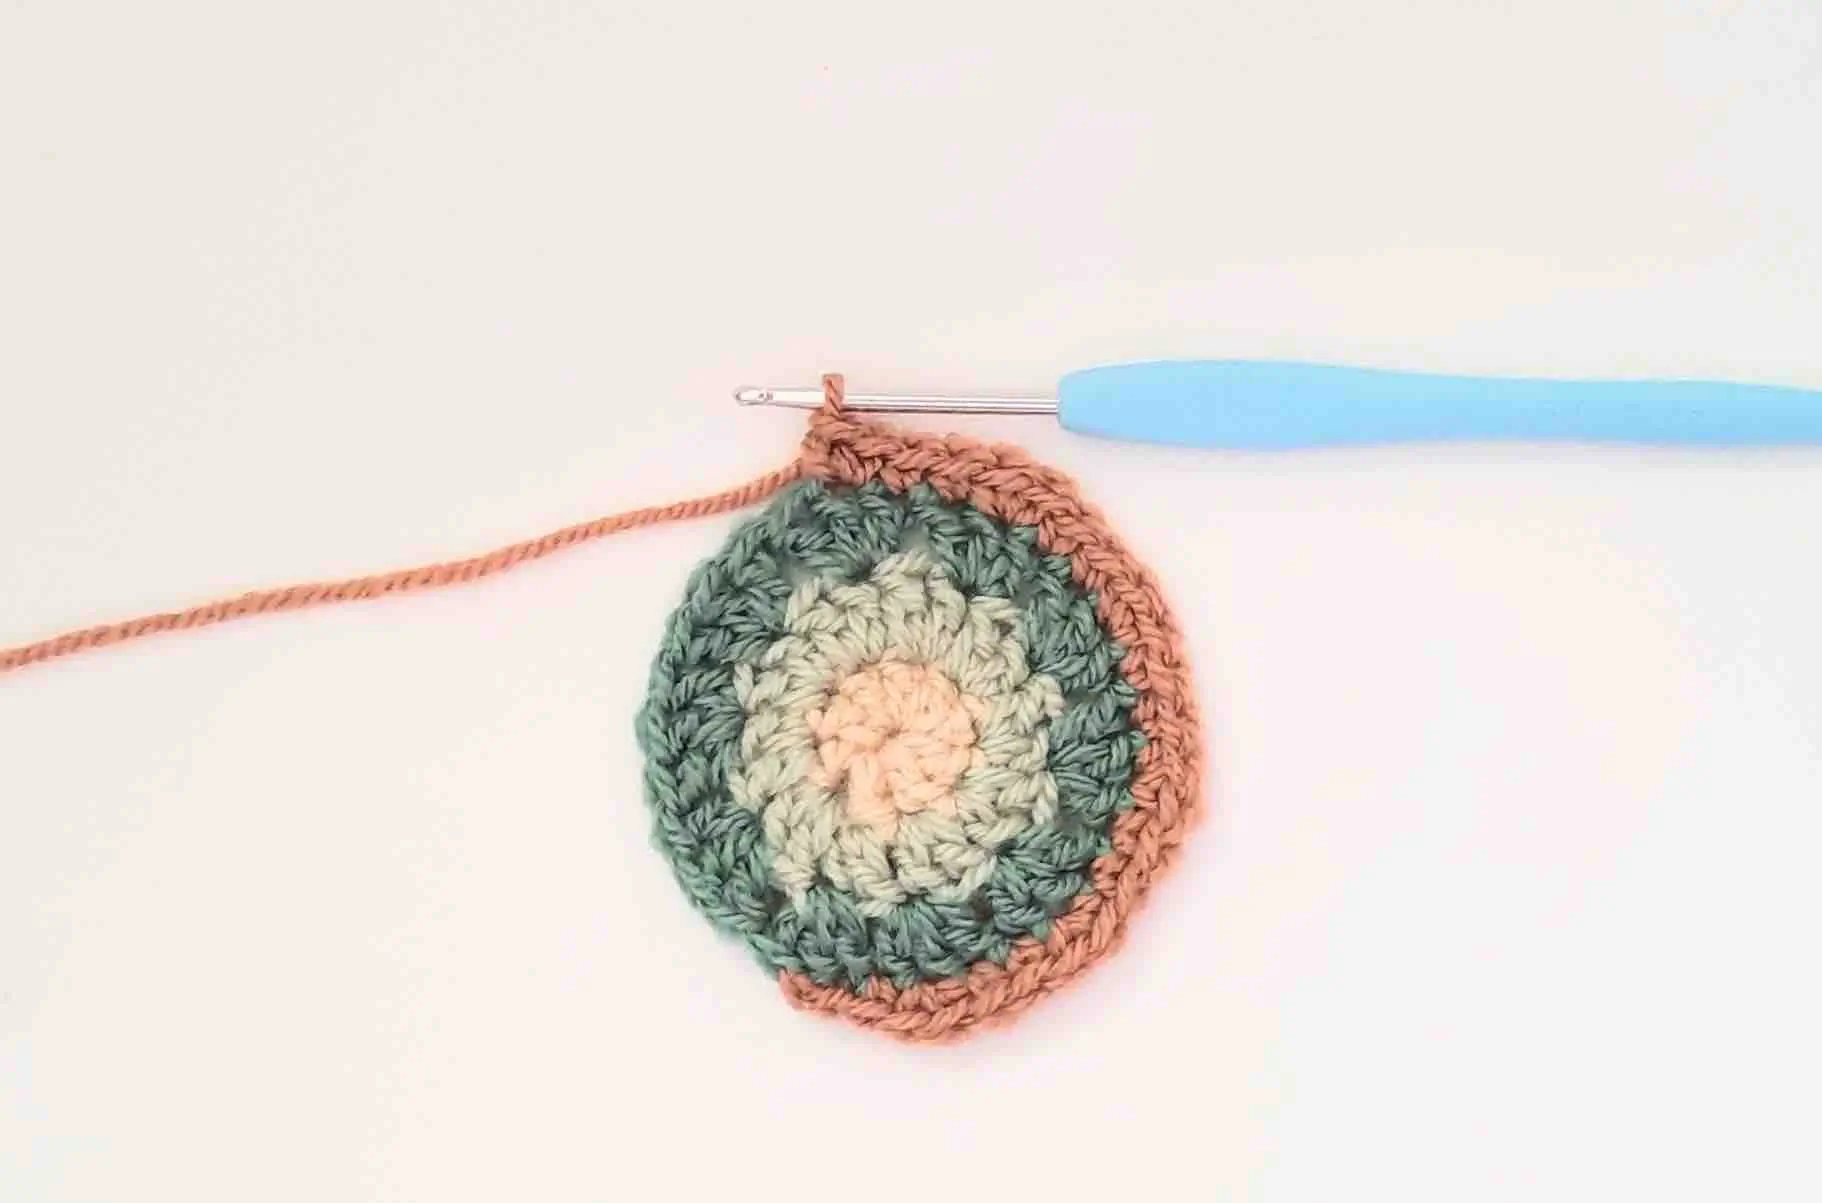
- Round 1: With Vanilla Cream, start off with a MC, ch 2, 9 dc into MC, join to top of ch 2 with a sl st (remember note above), leave a 4” tail, cut yarn & fo (10)
Round 2: With Pistachio Green, ch 2, 1 dc in same st, 2 dc in each st around, join to top of ch 2. Leave a 4” tail, cut yarn & fo (20)
Round 3: With Slate Green, ch 2, 2 dc in same st, sk 1 st, (3 dc in next st, sk 1 st), repeat brackets around. You should have 10 clusters. Leave a 4” tail, cut yarn & fo (30)
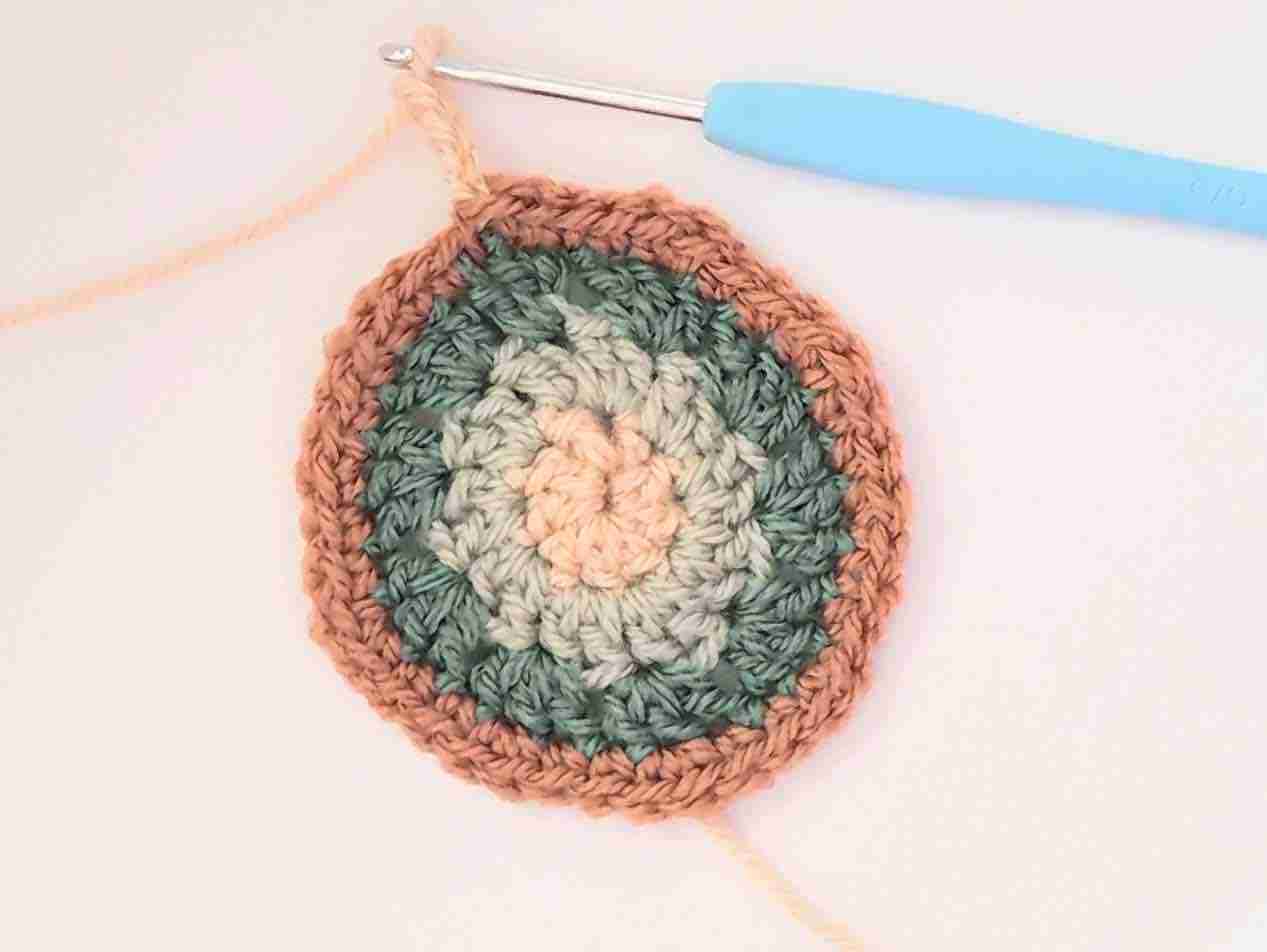
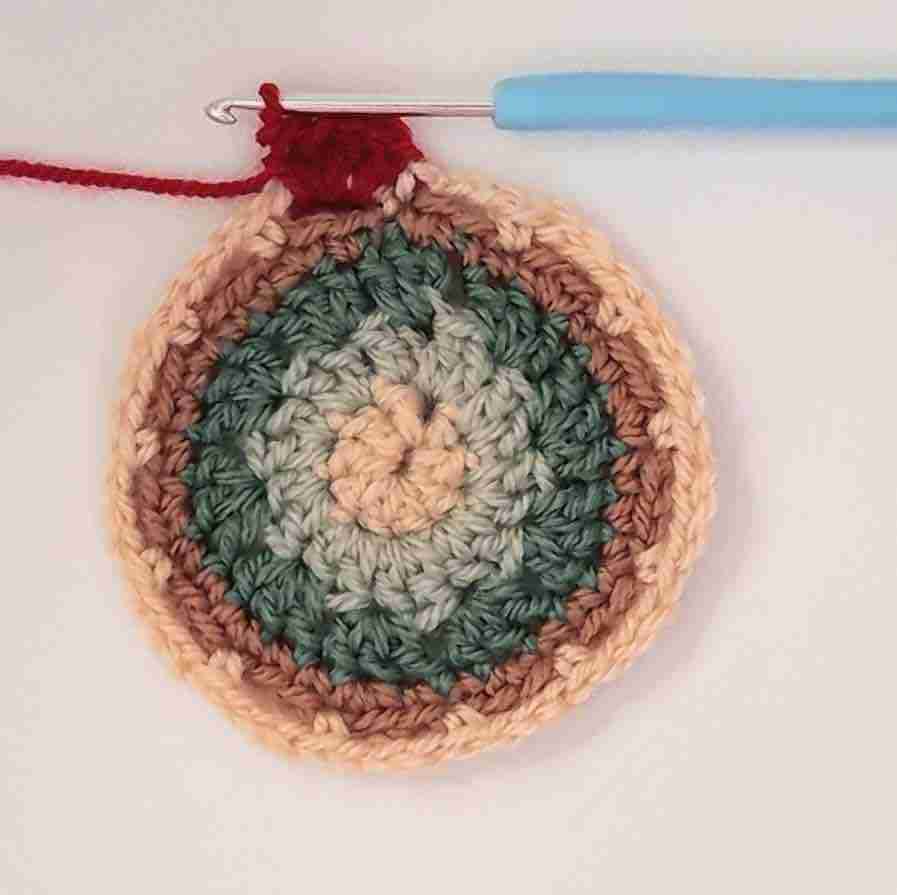
- Round 4: With Soft Fudge, ch 2, sc in next st, 2 sc in next, (sc in next 2 sts, 2 sc in next), repeat brackets around. Leave a 4” tail, cut yarn & fo (40)
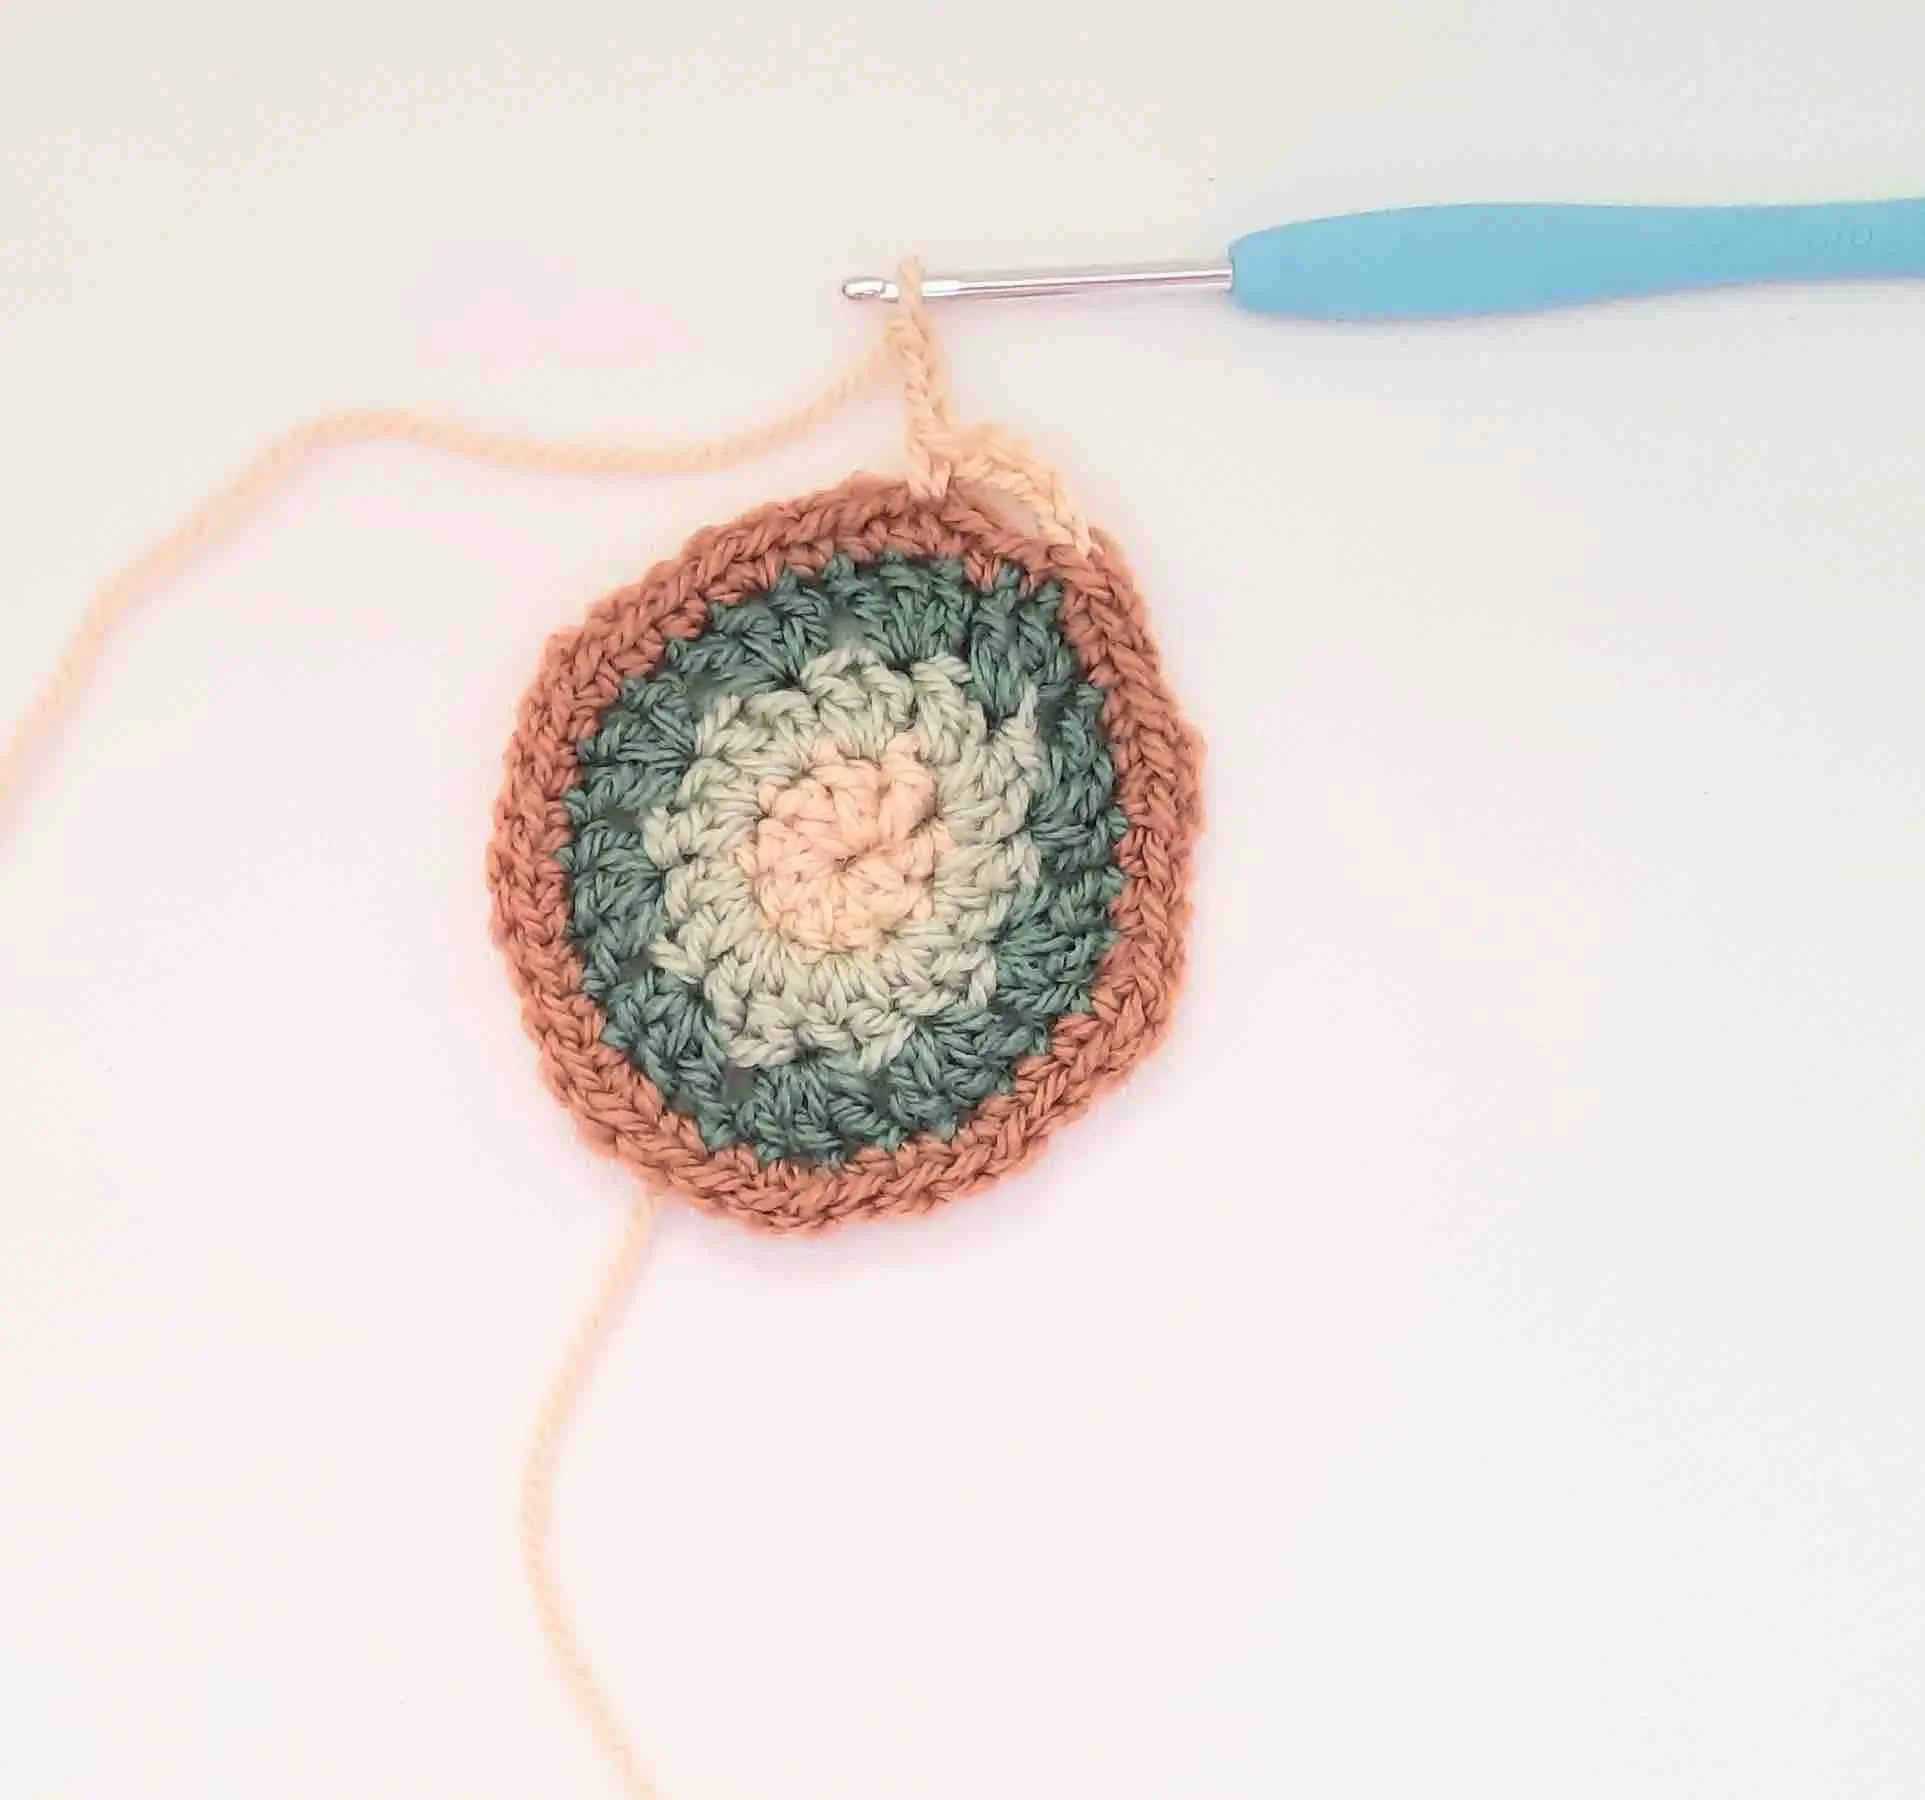
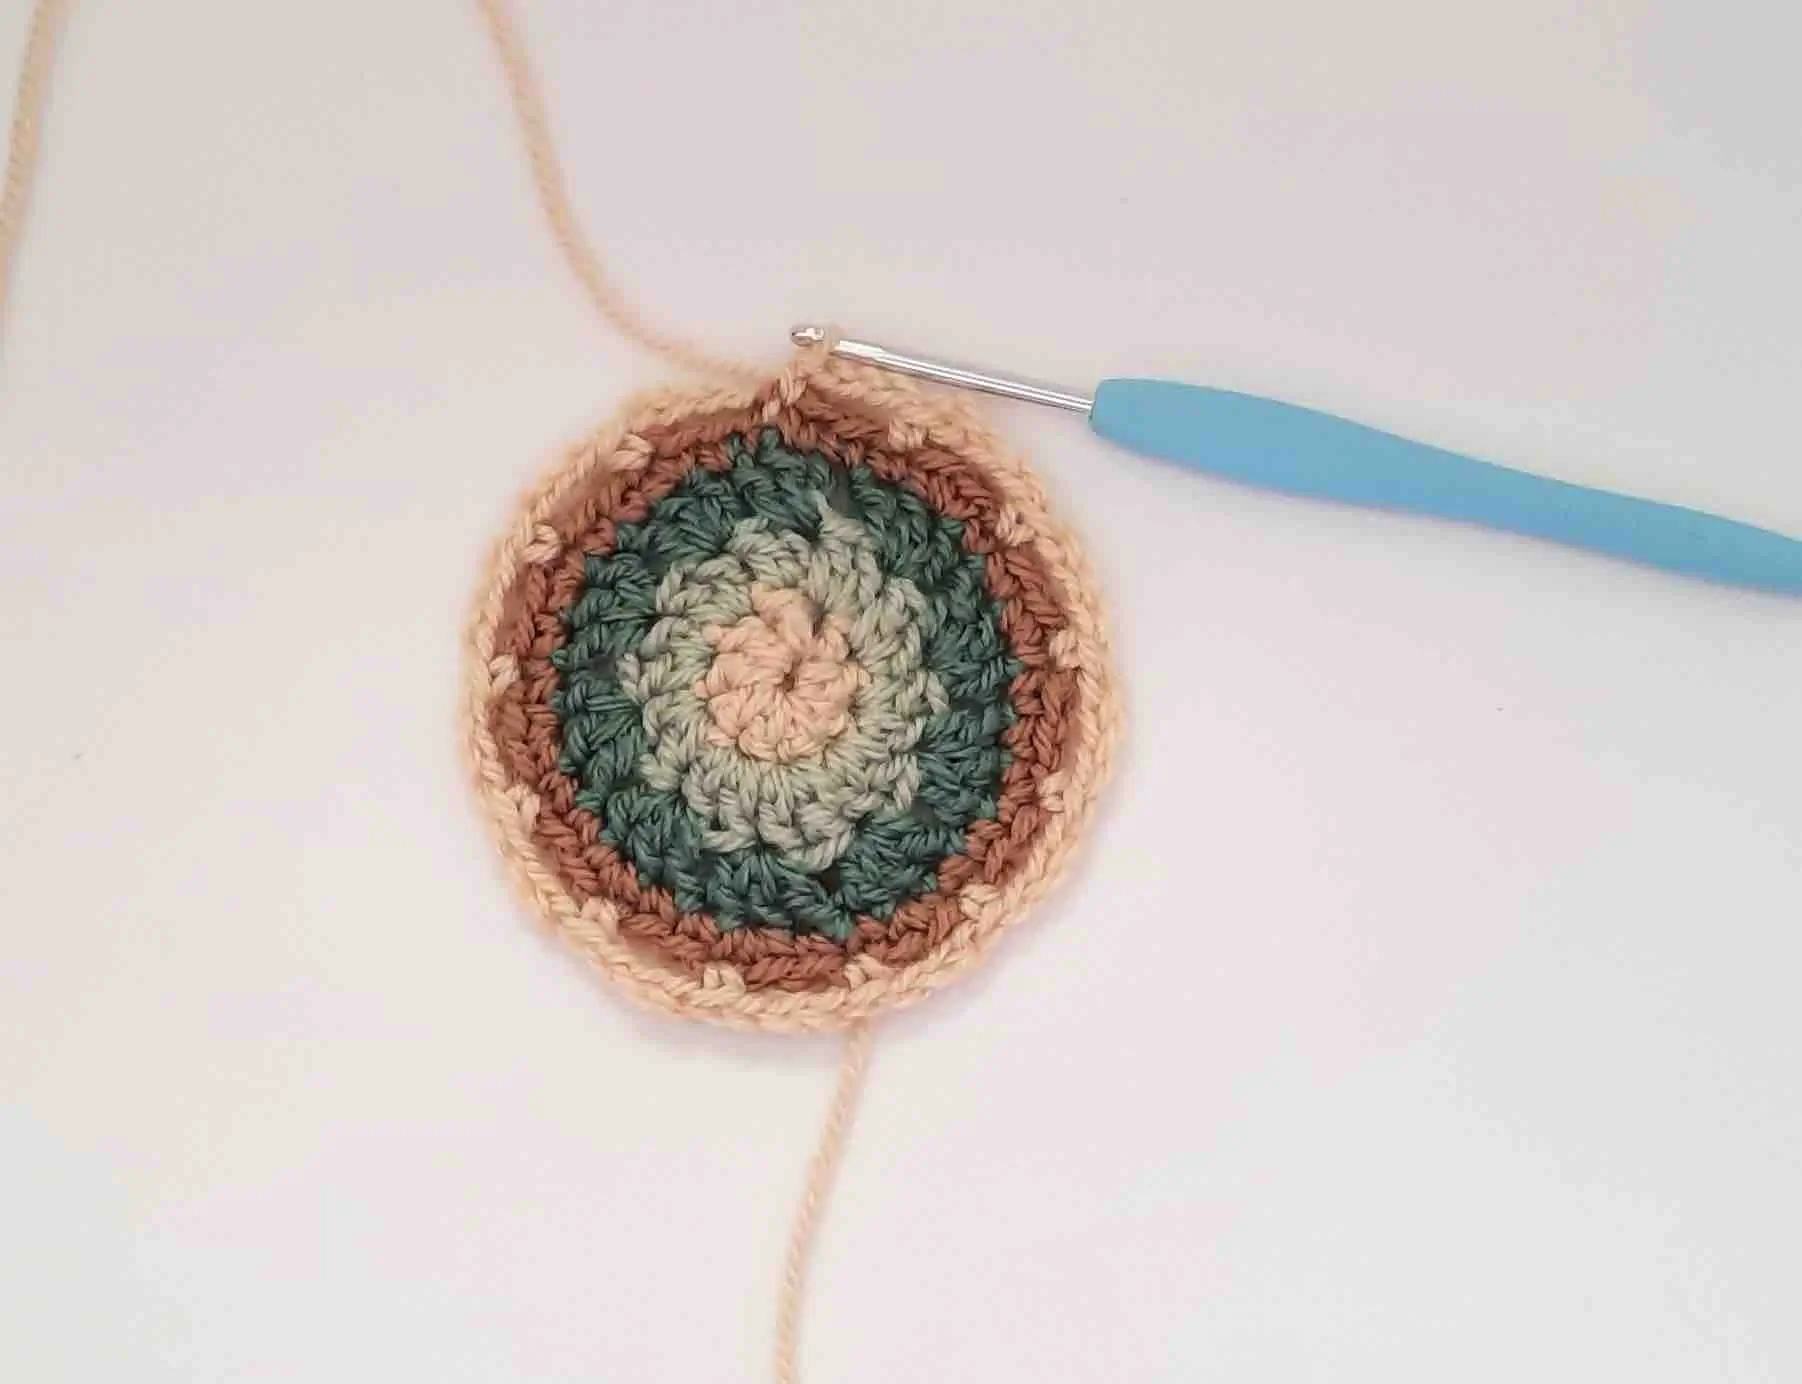
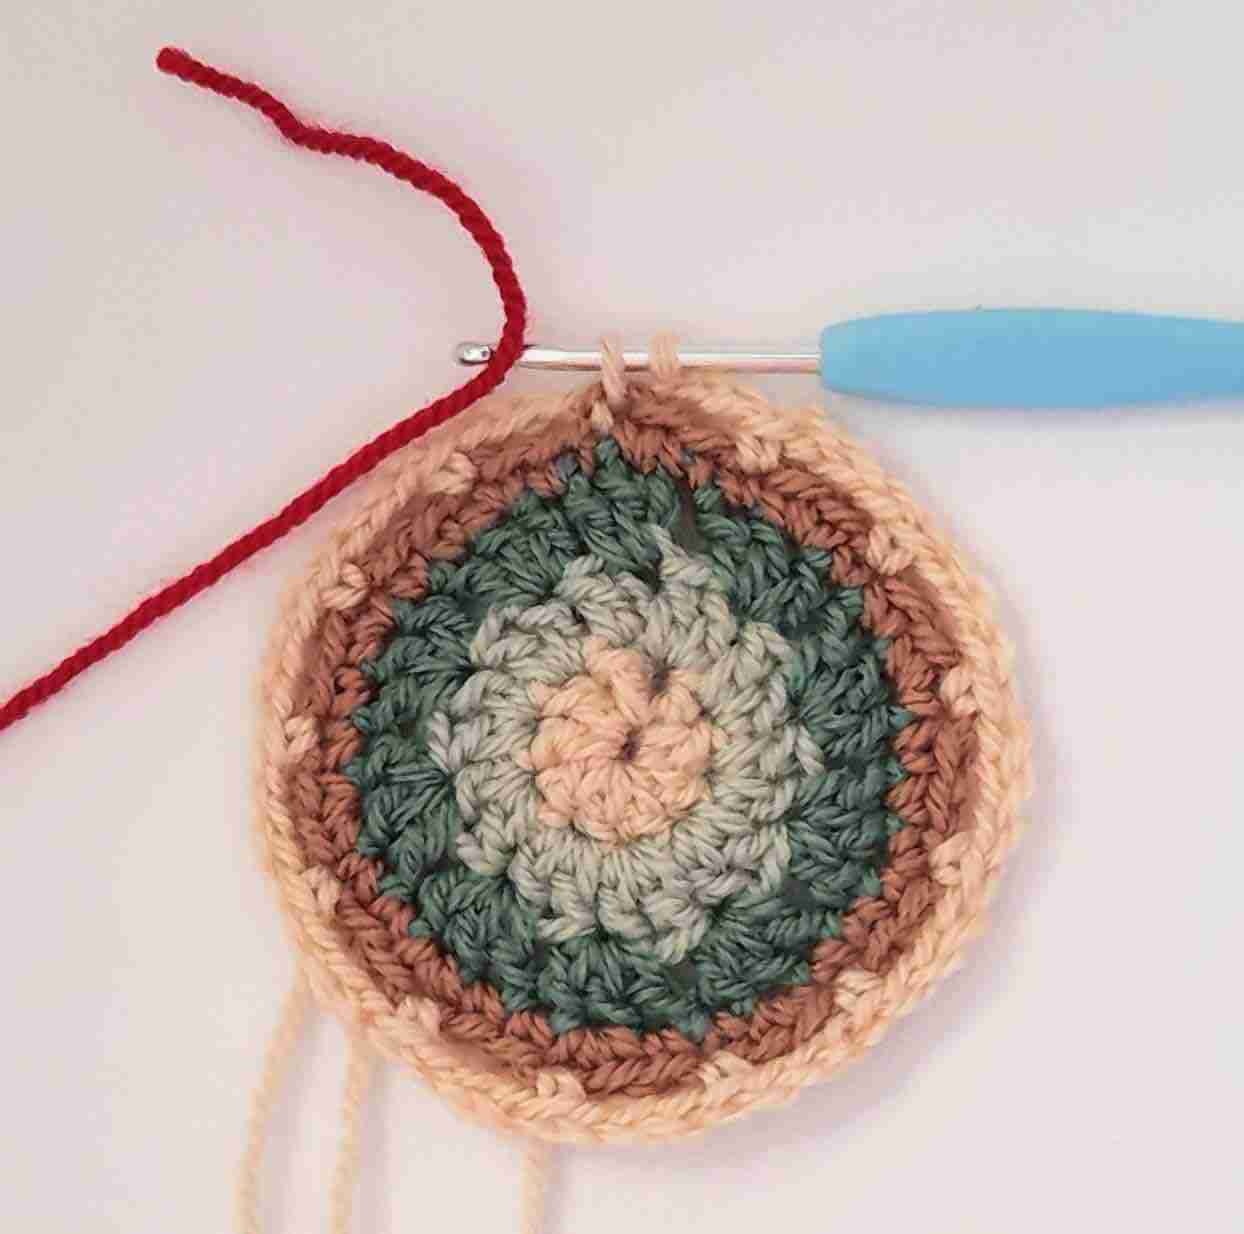
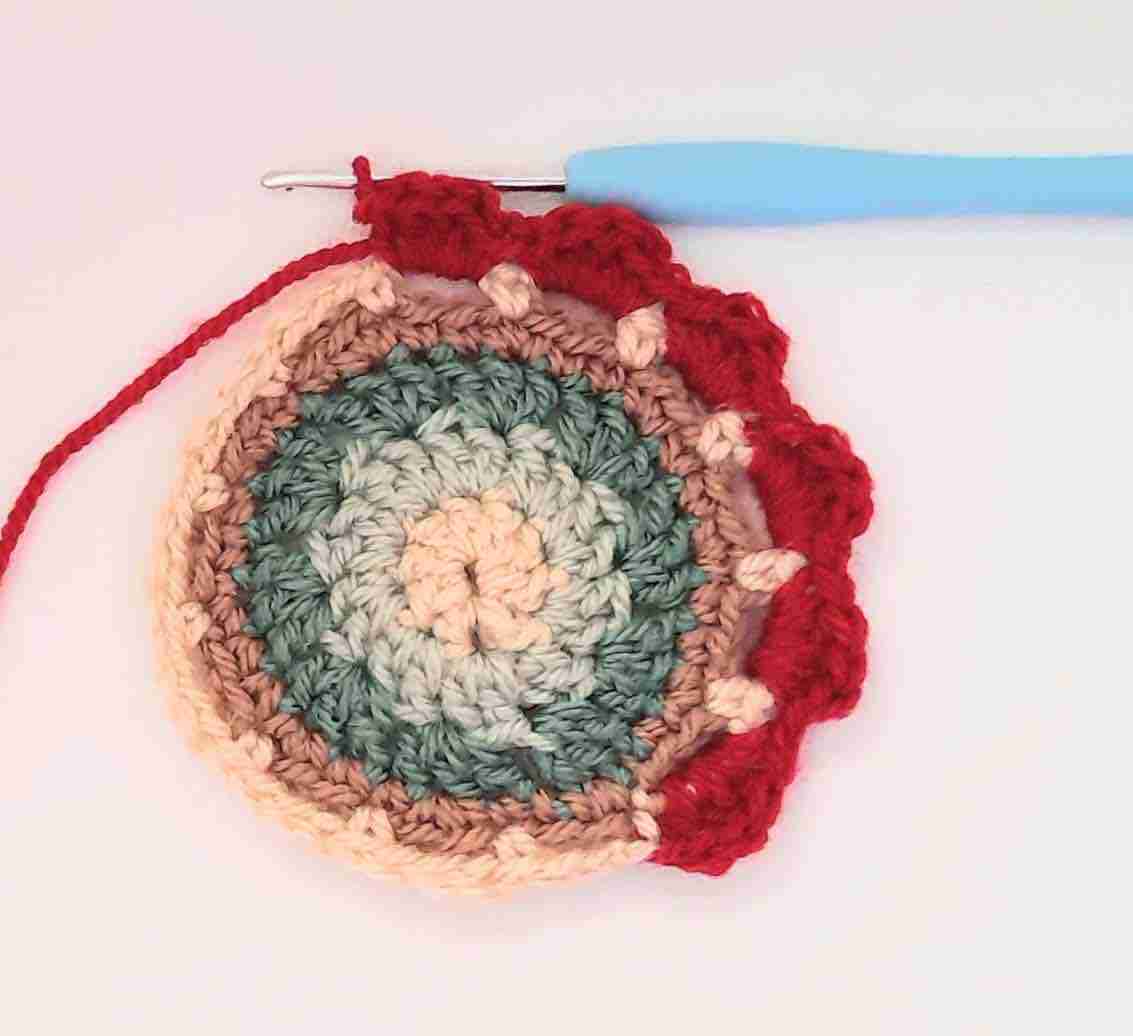
- Round 5: With Vanilla Cream, ch 4 (counts as sc + ch 3), sk 2 sts, sc, (ch 3, sk 2 sts, sc), repeat brackets around 12 more times, join to bottom of first st with a sc. (Note: join Red Wine on 2nd yo of sc to end this round). Leave a 4” tail, cut yarn & fo. (52)
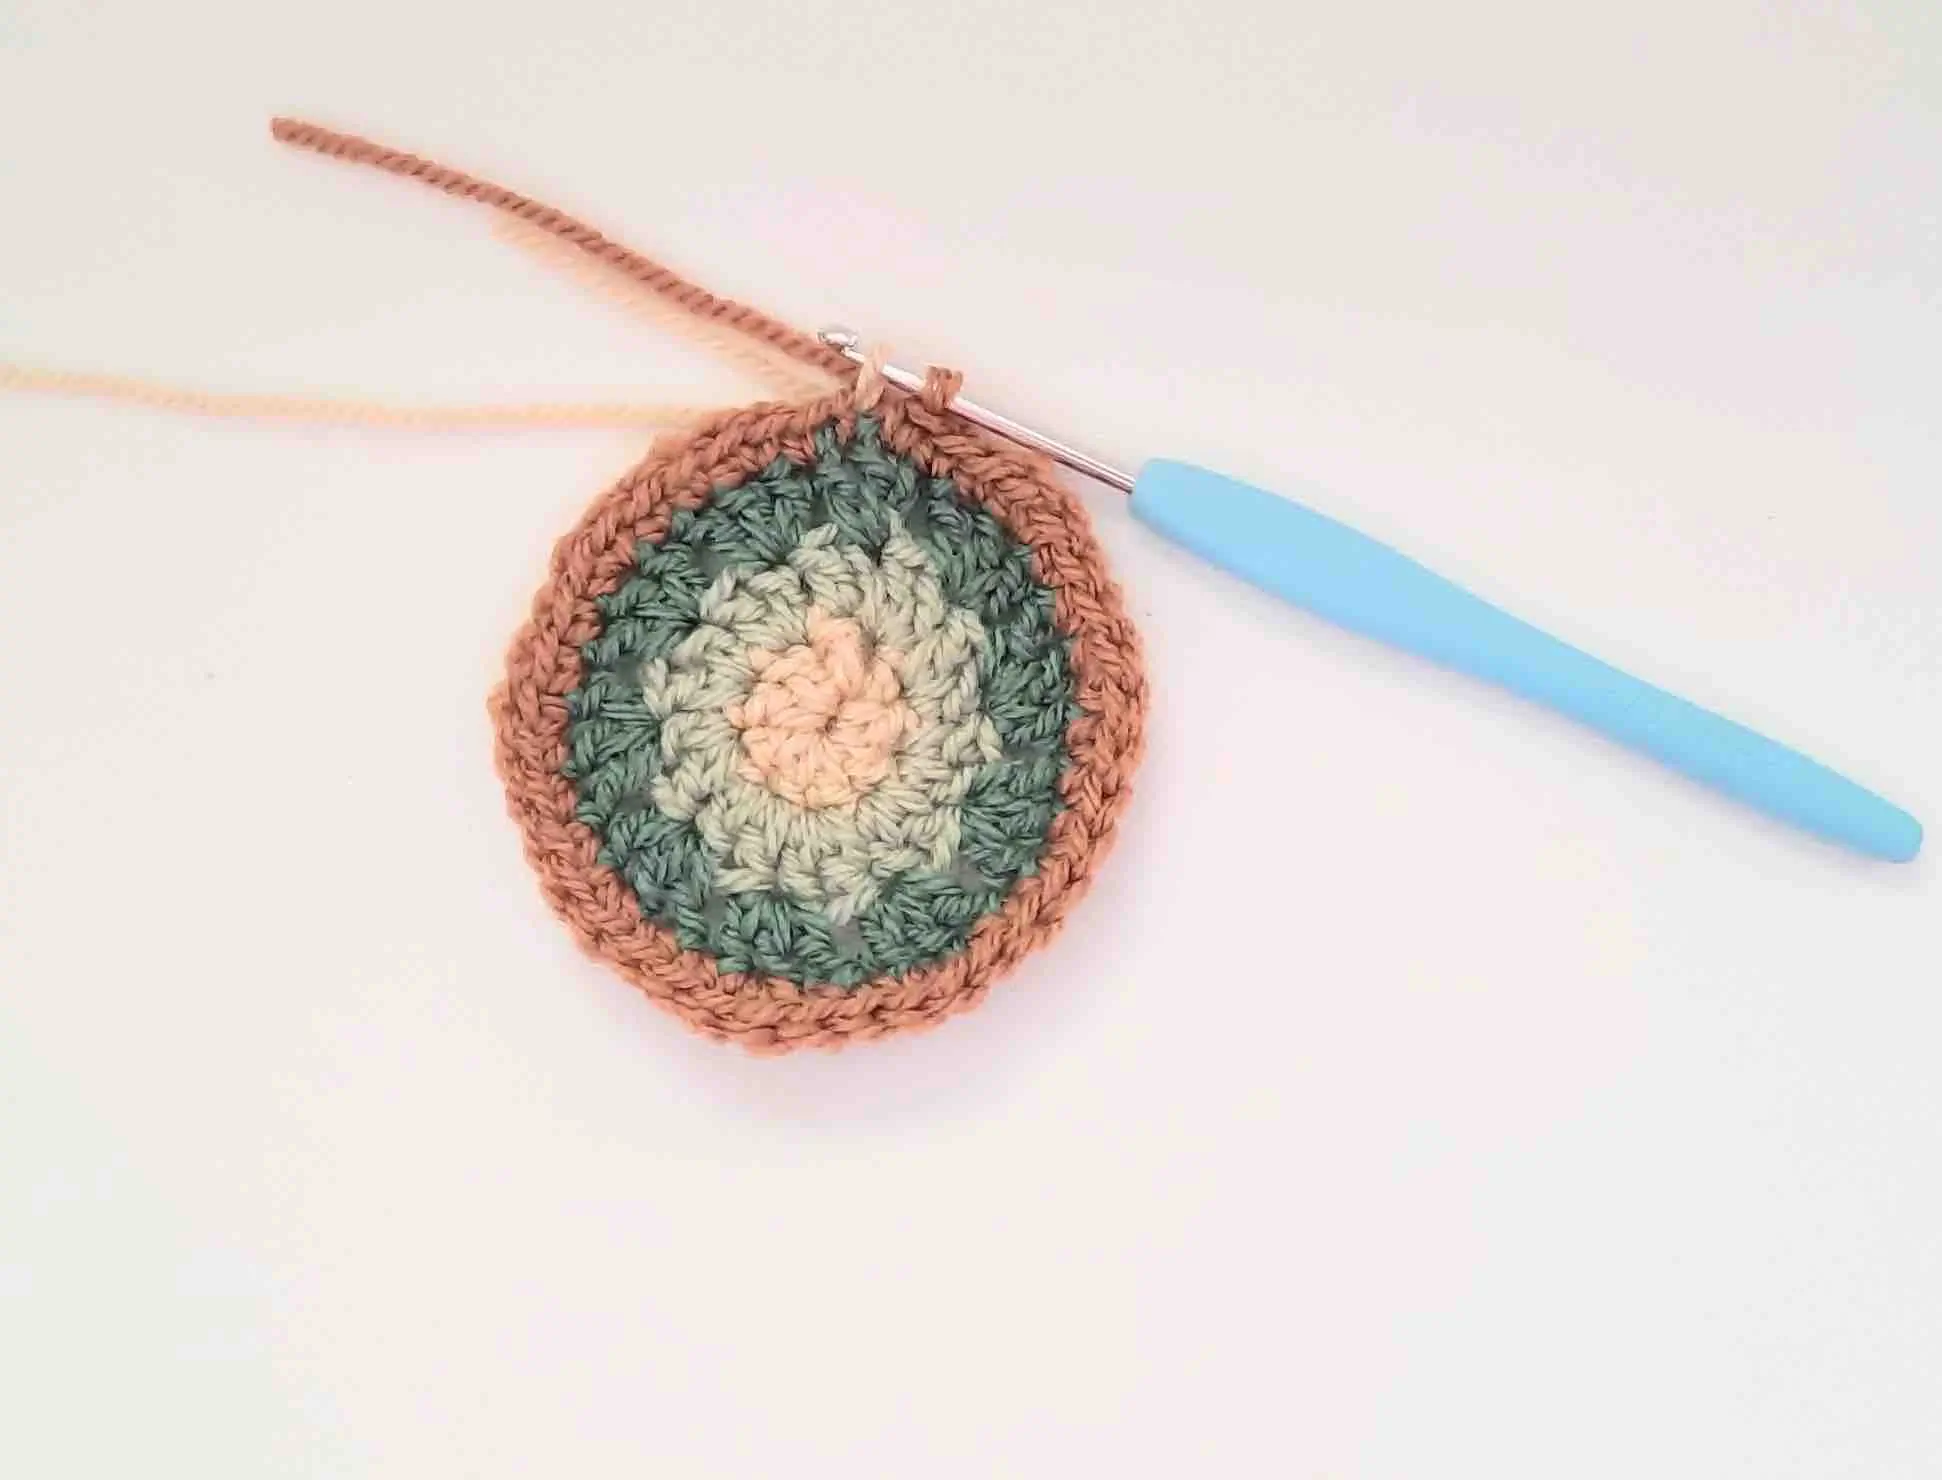
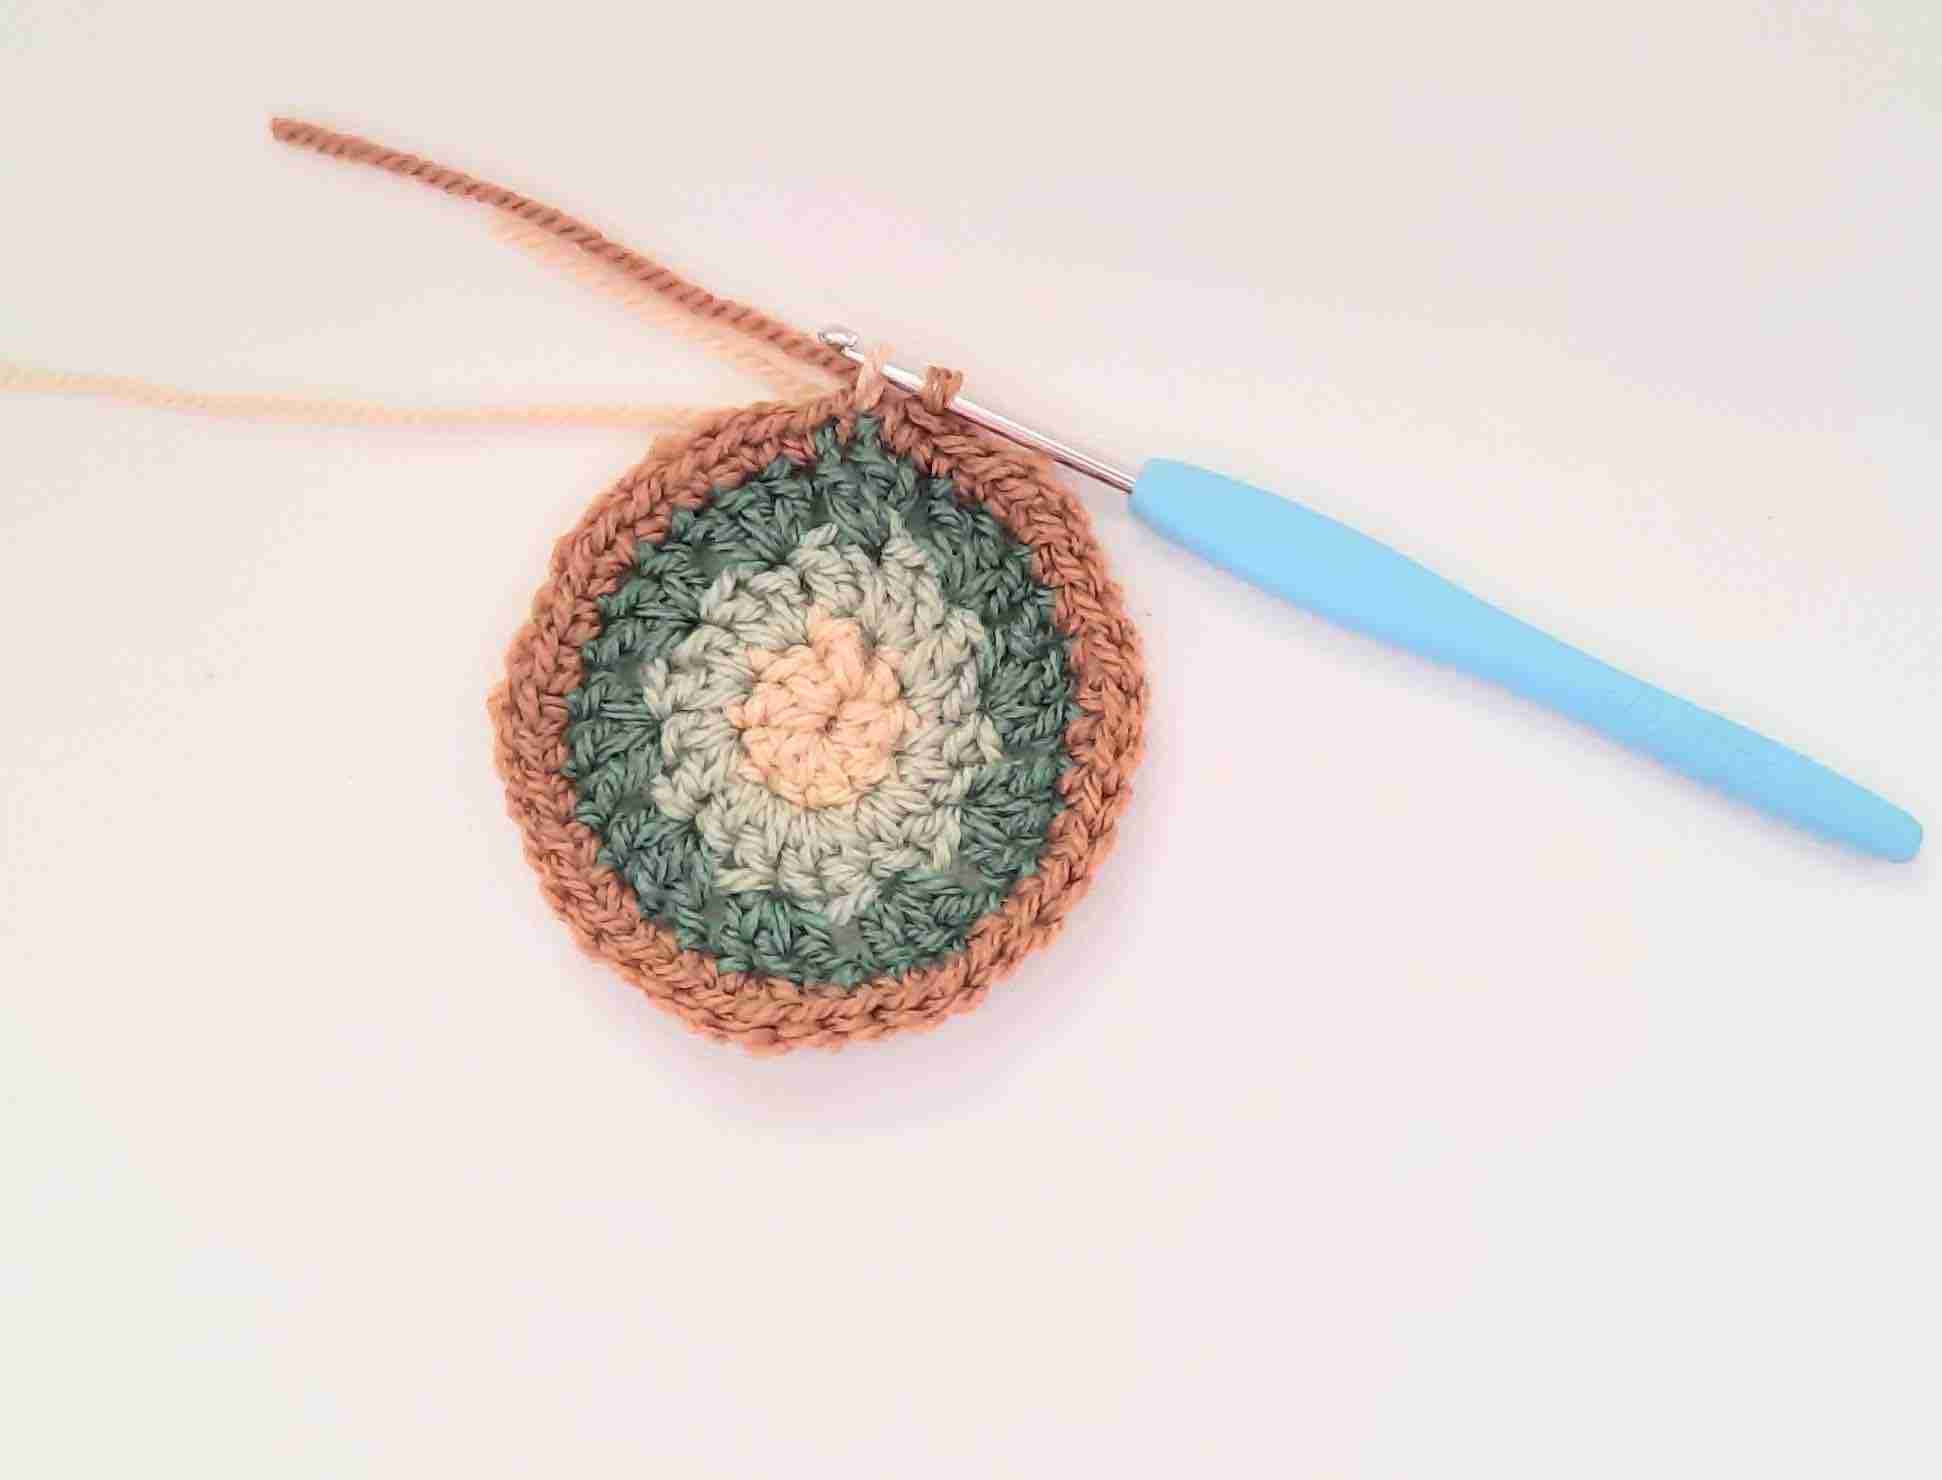
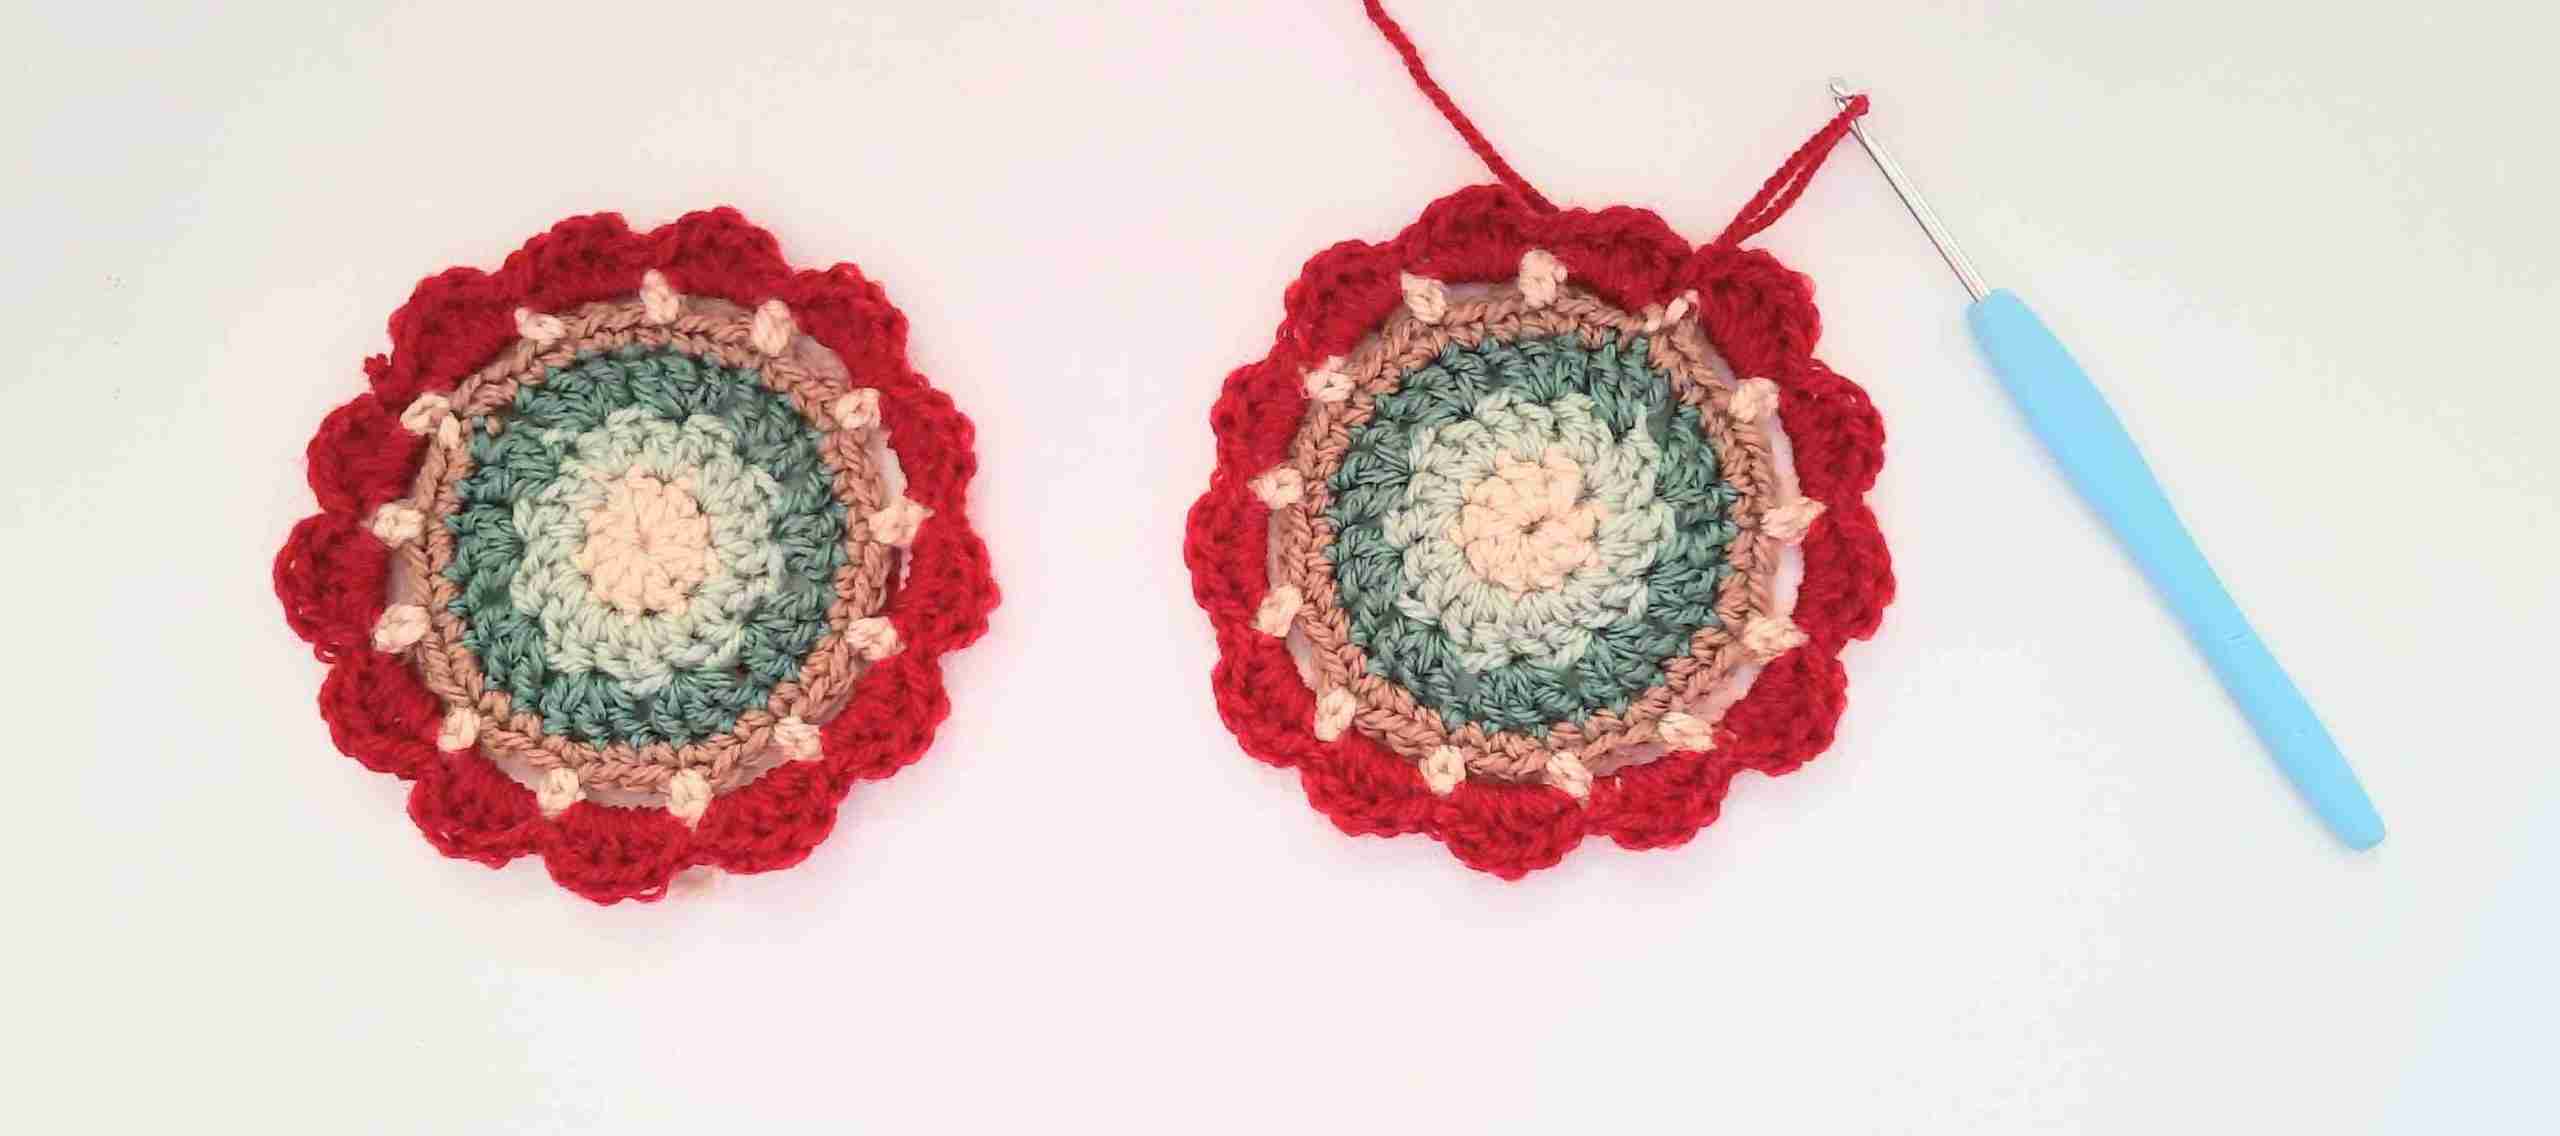
Round 6: With Red Wine, ch 1, (1sc, 3dc, 1sc) into each ch 3 space around (you will have 13 clusters), join to top of beginning ch with a sl st, leave a 10” tail, cut yarn & fo. (65)
- Using darning needle to weave in all loose yarn ends except long 10” Red Wine tail.
Decorate Scarf:
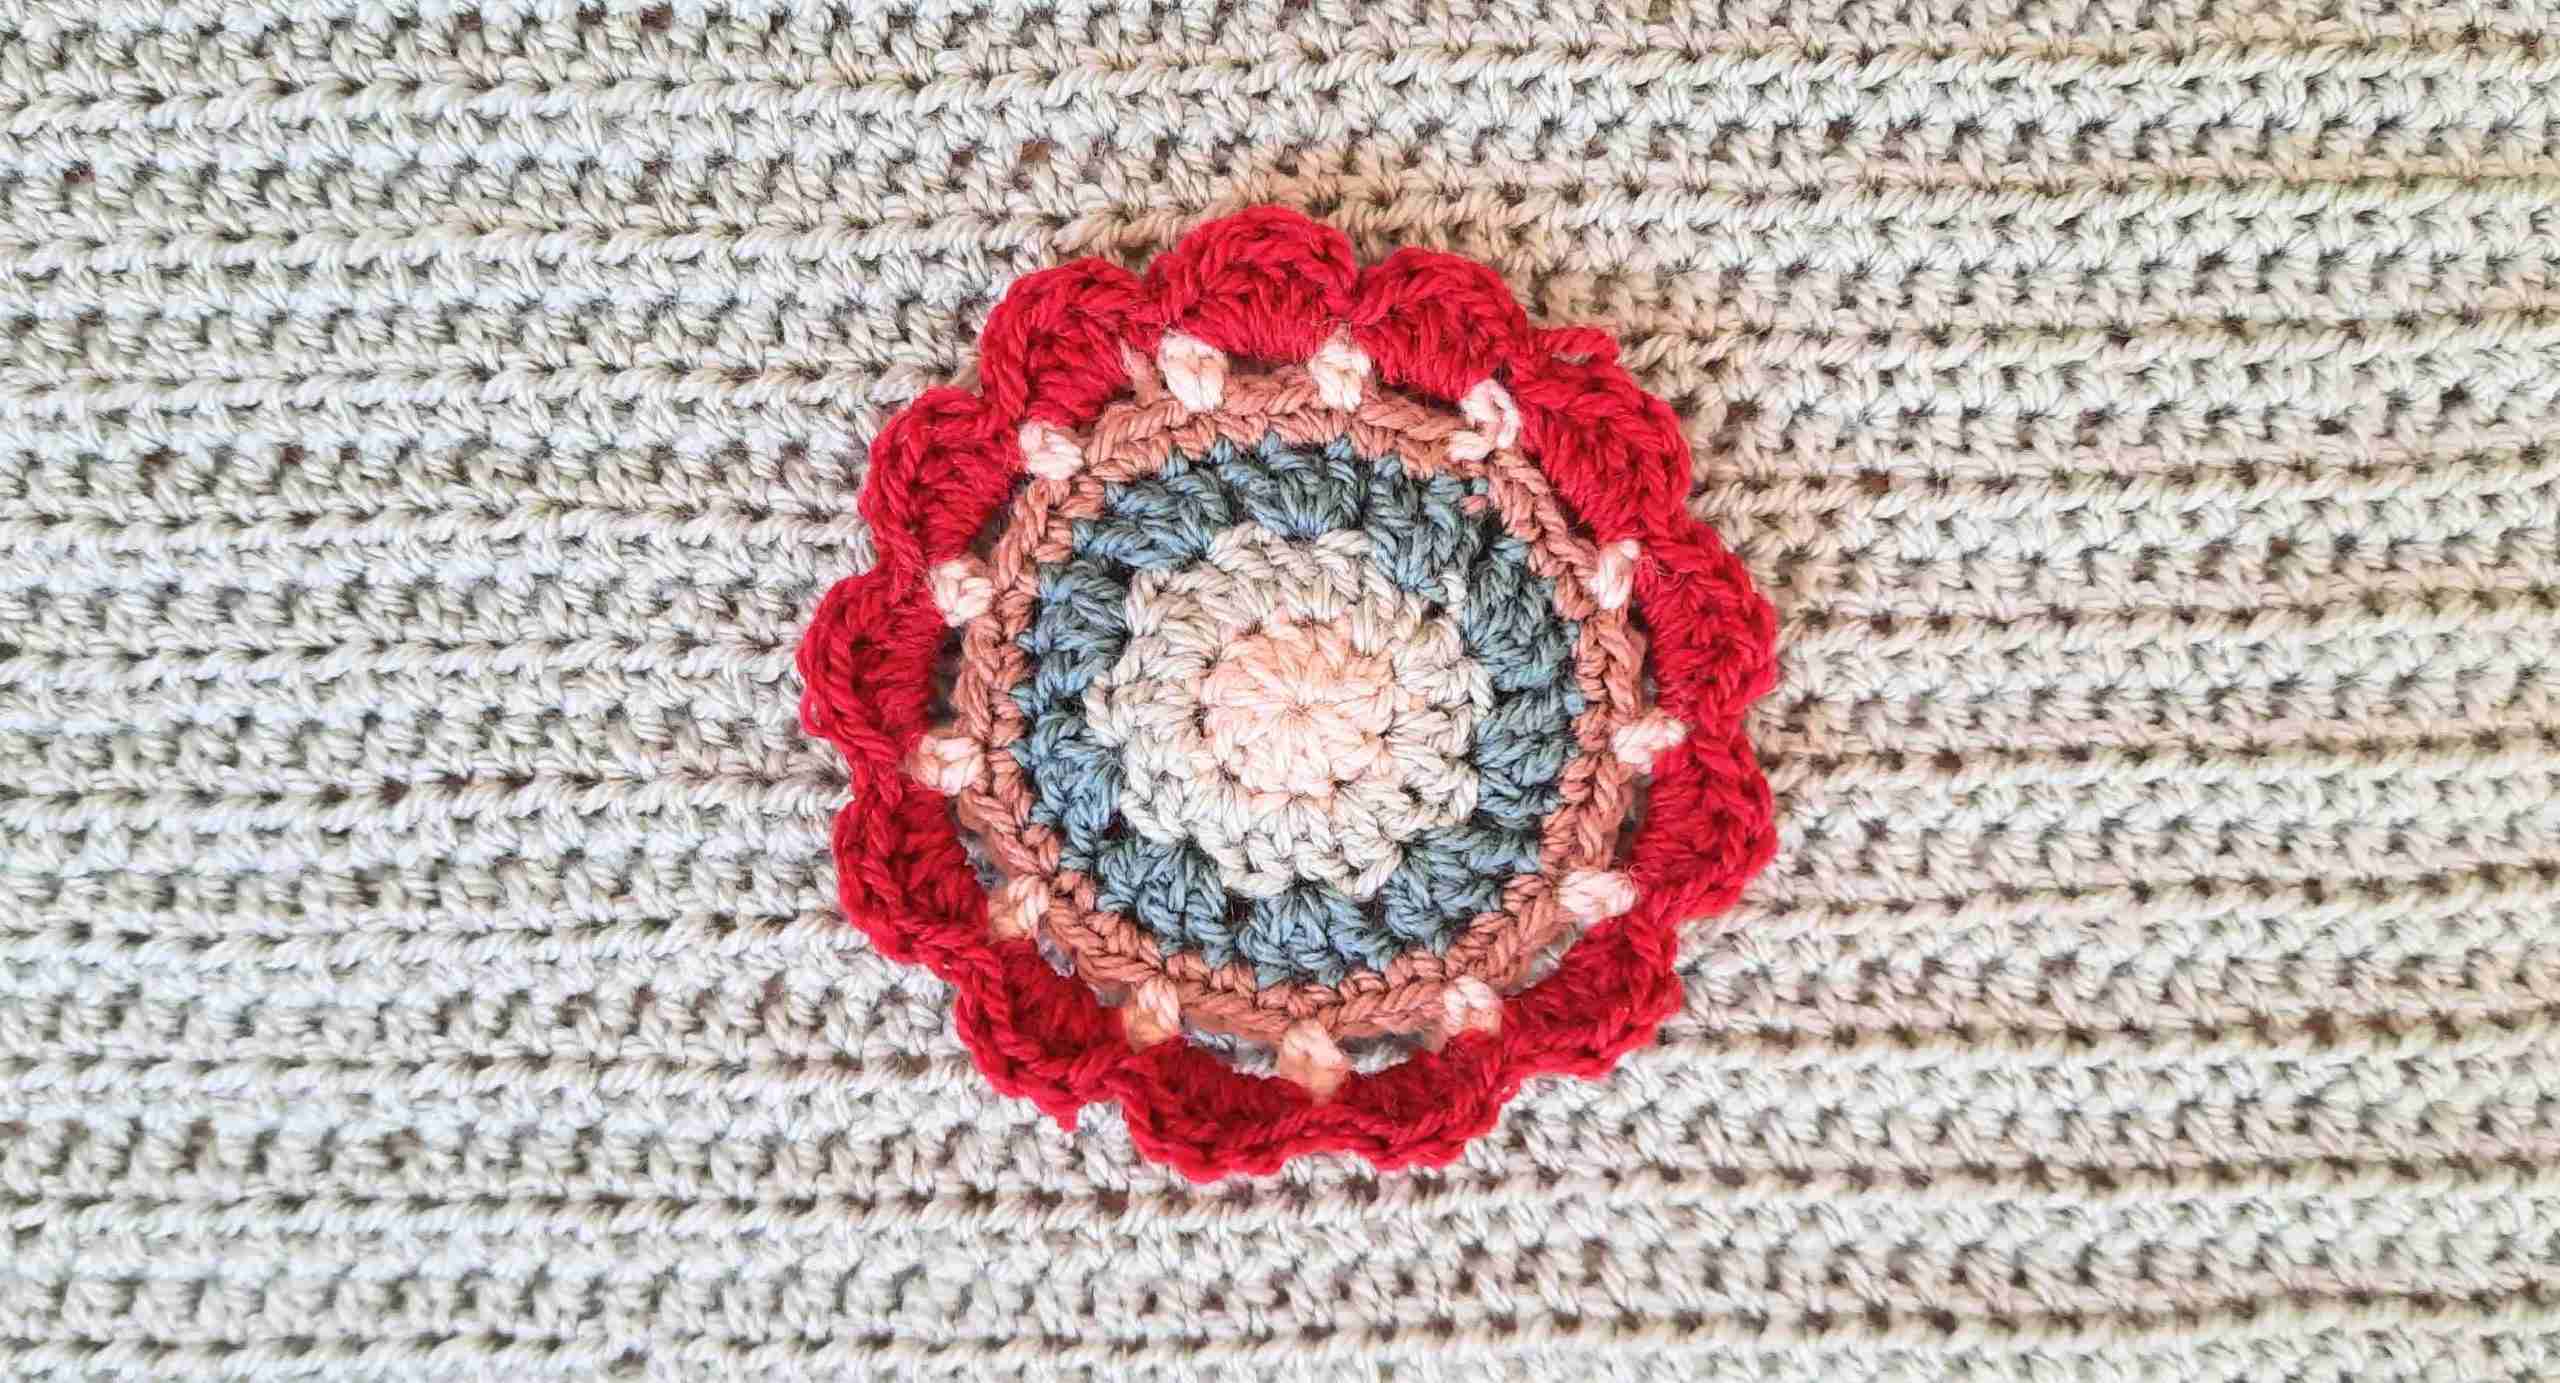
- Sew embellishments on body of scarf with a darning needle. Use positioning you like. I attached the 3 small flowers on one side and the large flower in the center back.
- Make sure to sew on FLO (front loop only) of the hdc stitches so as not to see the sewing from the back of the scarf.
- Here’s a video of how to do this.
- Insert darning needle into the dc stitches of the last round (Red Wine) of the flowers, then catch one loop from the top of a hdc stitch from the body of the scarf just under the flower to join. Repeat for each petal around.
- Keep checking your work from the back side of the main body to make sure none of your stitches are visible from the back.
- Secure your flowers by making a couple of extra stitches back & forth at the end of your round for each flower.
Once you’re done with all 4 flowers, snip off excess strands and you’re DONE!!
Enjoy your Ballerina Scarfigan! You can wear it whichever way you like! 🙂
Want to see some last-minute Christmas Gift Toppers? Have a look at these:
You can get all my patterns from my Online Shop or from Ravelry.










Thank you for joining in the blog hop. Your crochet garment is so lovely. The coupon code doesn’t seem to be working for today, just wanted to let you know.
Hi Lee, thanks for getting in touch. Could you please tell me which blog hop and pattern you’re referring to? Today isn’t my featured day, but I’d be happy to forward your message to the featured designer. Thanks so much!