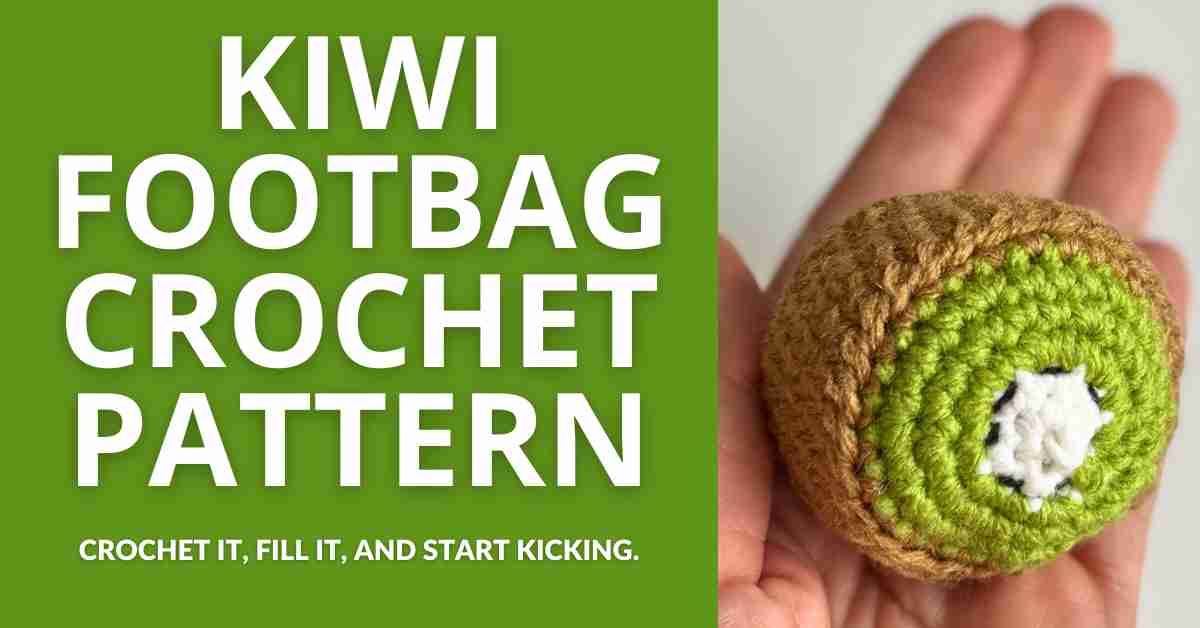
Kiwi Footbag Crochet Pattern
Easy DIY Juggling Ball
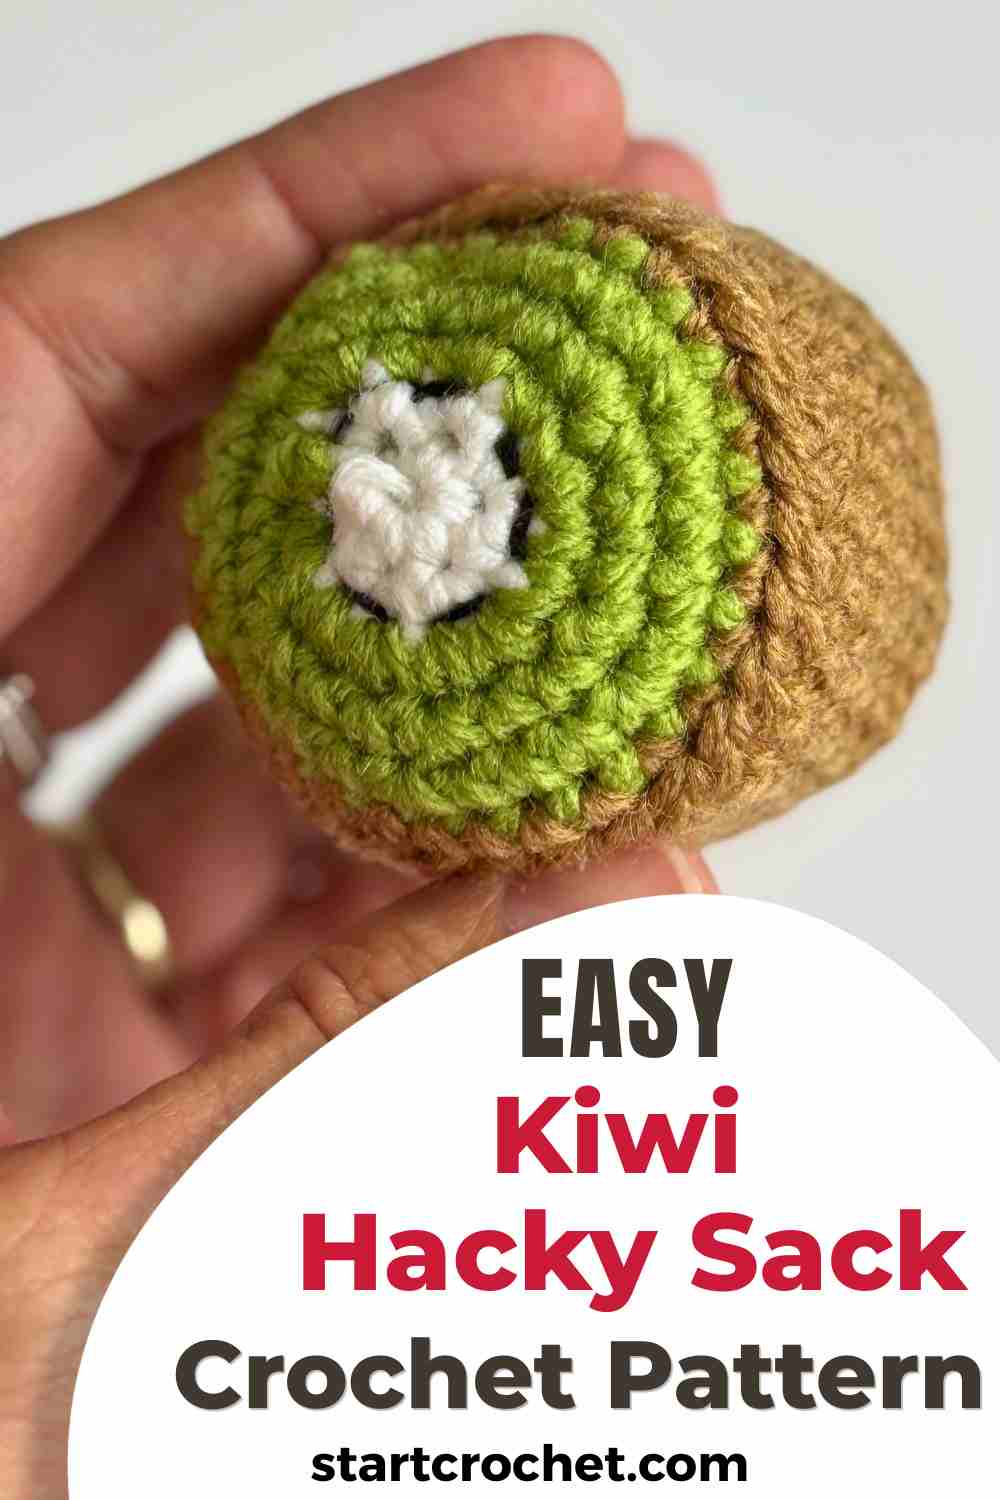
Looking for a fun crochet project that's quick to make and fun to use? With this Kiwi Footbag Crochet Pattern I'll teach you how to create a playful fruit-inspired footbag that looks just like a sliced kiwi. And if you're new to crochet, this is a super easy pattern that doesn't require you to know how to work decreases.
This little kiwi is perfect for kids, teens, and adults. They can use it as a juggling ball, footbag games, coordination practice, outdoor activities, and they could also serve as party favors, stocking stuffers, and fun summer activities.
Scroll down for the Free version, but if you prefer an ad-free printable, you can purchase it for a small fee from in my shop.
This pattern is available in an Ad-Free PDF Format in my shop, Ravelry & Etsy.


Why You'll Love This Crochet Kiwi Footbag
- Quick and beginner-friendly project (no decreases)
- Uses only small amounts of yarn
- Great stash buster
- Portable and travel-friendly
- Fun summer gift idea
- Perfect for retro 90s-inspired crochet collections
What Is a Footbag (Hacky Sack)?
A footbag, often called a hacky sack, is a small ball designed to be kicked and kept in the air without using your hands. You're allowed to use only your feet, knees, shoulders, and head. Popularized in the 1980s and 1990s, footbags remain a fun outdoor activity that encourages coordination, balance, and movement.
It's a fun activity that helps improve coordination, balance, and agility while encouraging active play.
This Kiwi version adds a cheerful fruity twist to a classic game.
How To Play the Hacky Sack
Basic Circle Game
- Stand in a circle with one or more players.
- One player drops the hacky sack and kicks it into the air.
- Players take turns kicking, kneeing, or otherwise redirecting the sack.
- The goal is to keep it from touching the ground for as long as possible.
- If it drops, simply start again and try to beat your previous record.
What Body Parts Can You Use?
Most casual players use:
- Feet
- Knees
- Thighs
- Shoulders
- Head
Hands and arms are generally not allowed.
Disclaimer: This post contains affiliate links, which means I receive a small commission, at no extra cost to you, if you make a purchase using the Start Crochet links. Please see my disclosure for more details.
Subscribe To My Newsletter
Would you like to stay updated with new free patterns, crochet tips & tricks, and delightful crochet inspiration sent straight to your inbox? Please enter your Name & Email below 🙂
Materials Needed
- DK weight yarn in white, green, brown and black.
- 3.0 mm crochet hook
- Stitch marker
- Yarn needle
- Scissors
- Filling (see options below)
Filling Options
You want your footbag to be the correct weight so that people can actually play with it properly. Ideally, you're aiming for 40 to 60 grams To create a properly weighted footbag, you have various filling options, each with their pros & cons:
- Poly pellets
- Plastic craft pellets
- Virgin polypropylene pellets
- Recycled plastic pellets
- Sand
- Dried beans, corn, rice, chickpeas, split peas or lentils work fine, but any food item risks moisture damage, attract insects & pests, and have a limited lifespan.
Most people put loose filling inside a small fabric pouch, balloon or pantyhose before inserting into the crochet piece to make sure they don't leak out. However, I have heard some hacky sack players say they actually like taking out some of the filling to adjust and get the perfect weight for their sack.
Like this pattern, but not ready to work it yet? Save it to Pinterest!
Abbreviations Used in Pattern
- mc = magic circle
- sc = single crochet
- inc = work 2 single crochet into the same stitch
- sl st = slip stitch
- st = stitch
- sts = stitches
- fo = fasten off
Skill Level
Easy
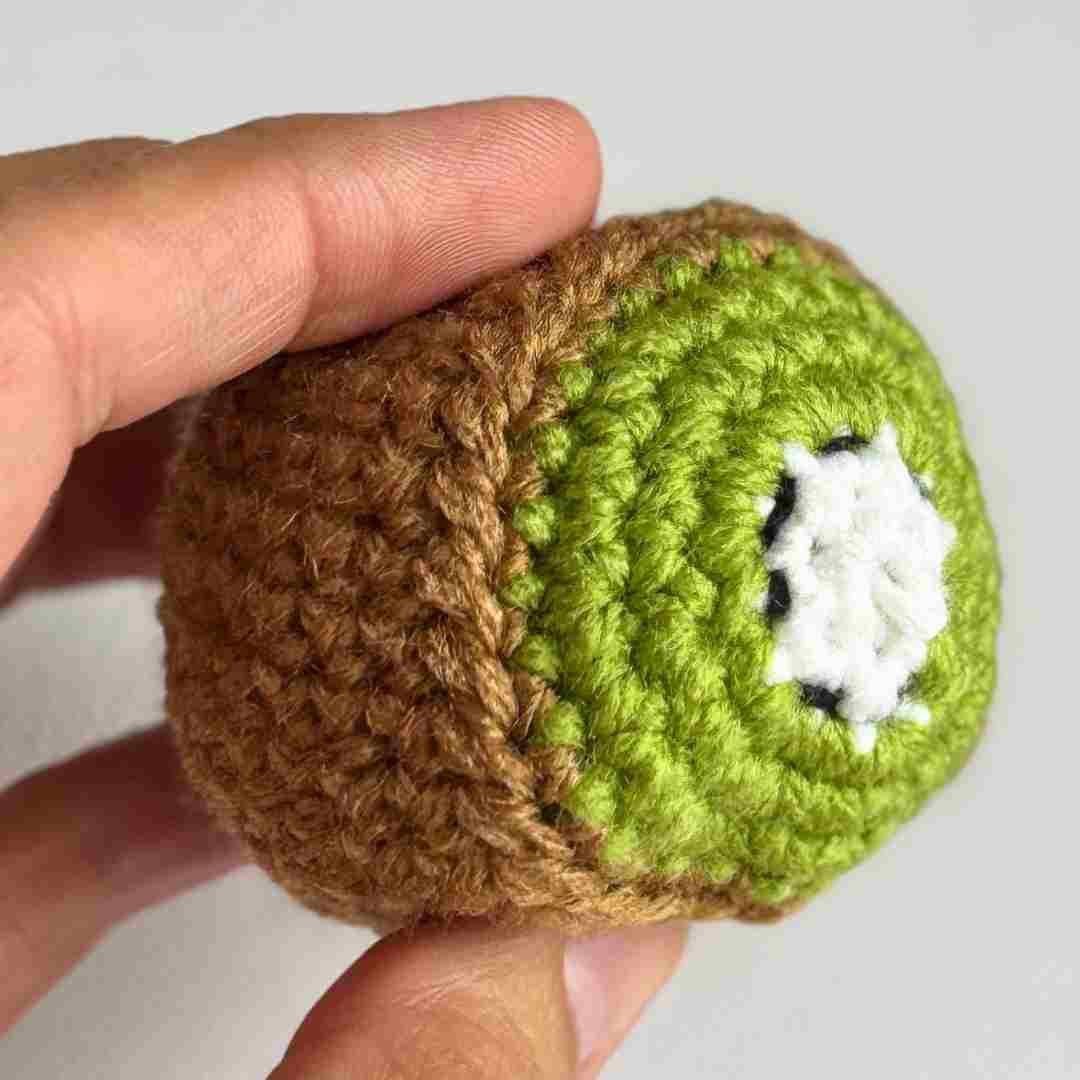
Measurements/Size
Approximately 2.5" (6.5 cm) wide x 3.5" (8 cm) high x 6" (15.5 cm) in circumference.
Yardage
I used about 20 m for this project (22 yards)
Gauge
10 stitches and 10 rows = 5 cm
Notes
You can make the pattern larger or smaller by either: changing the yarn weight and/or hook size, adding or reducing the number of rounds of Part 2 (bottom).
- Numbers at the end of each row (in brackets) indicate the number of final stitches in that row.
- We will be working in continuous rounds.
- Use a stitch marker to mark the beginning of each round.
- Adjust hook size if your stitches are too loose.
- Please note that I use US crochet terms.
US vs. UK Crochet Terms & Symbols
Free Printable

Your info is 100% secure and will never be shared.
Kiwi Footbag Crochet Pattern (PDF Printable)
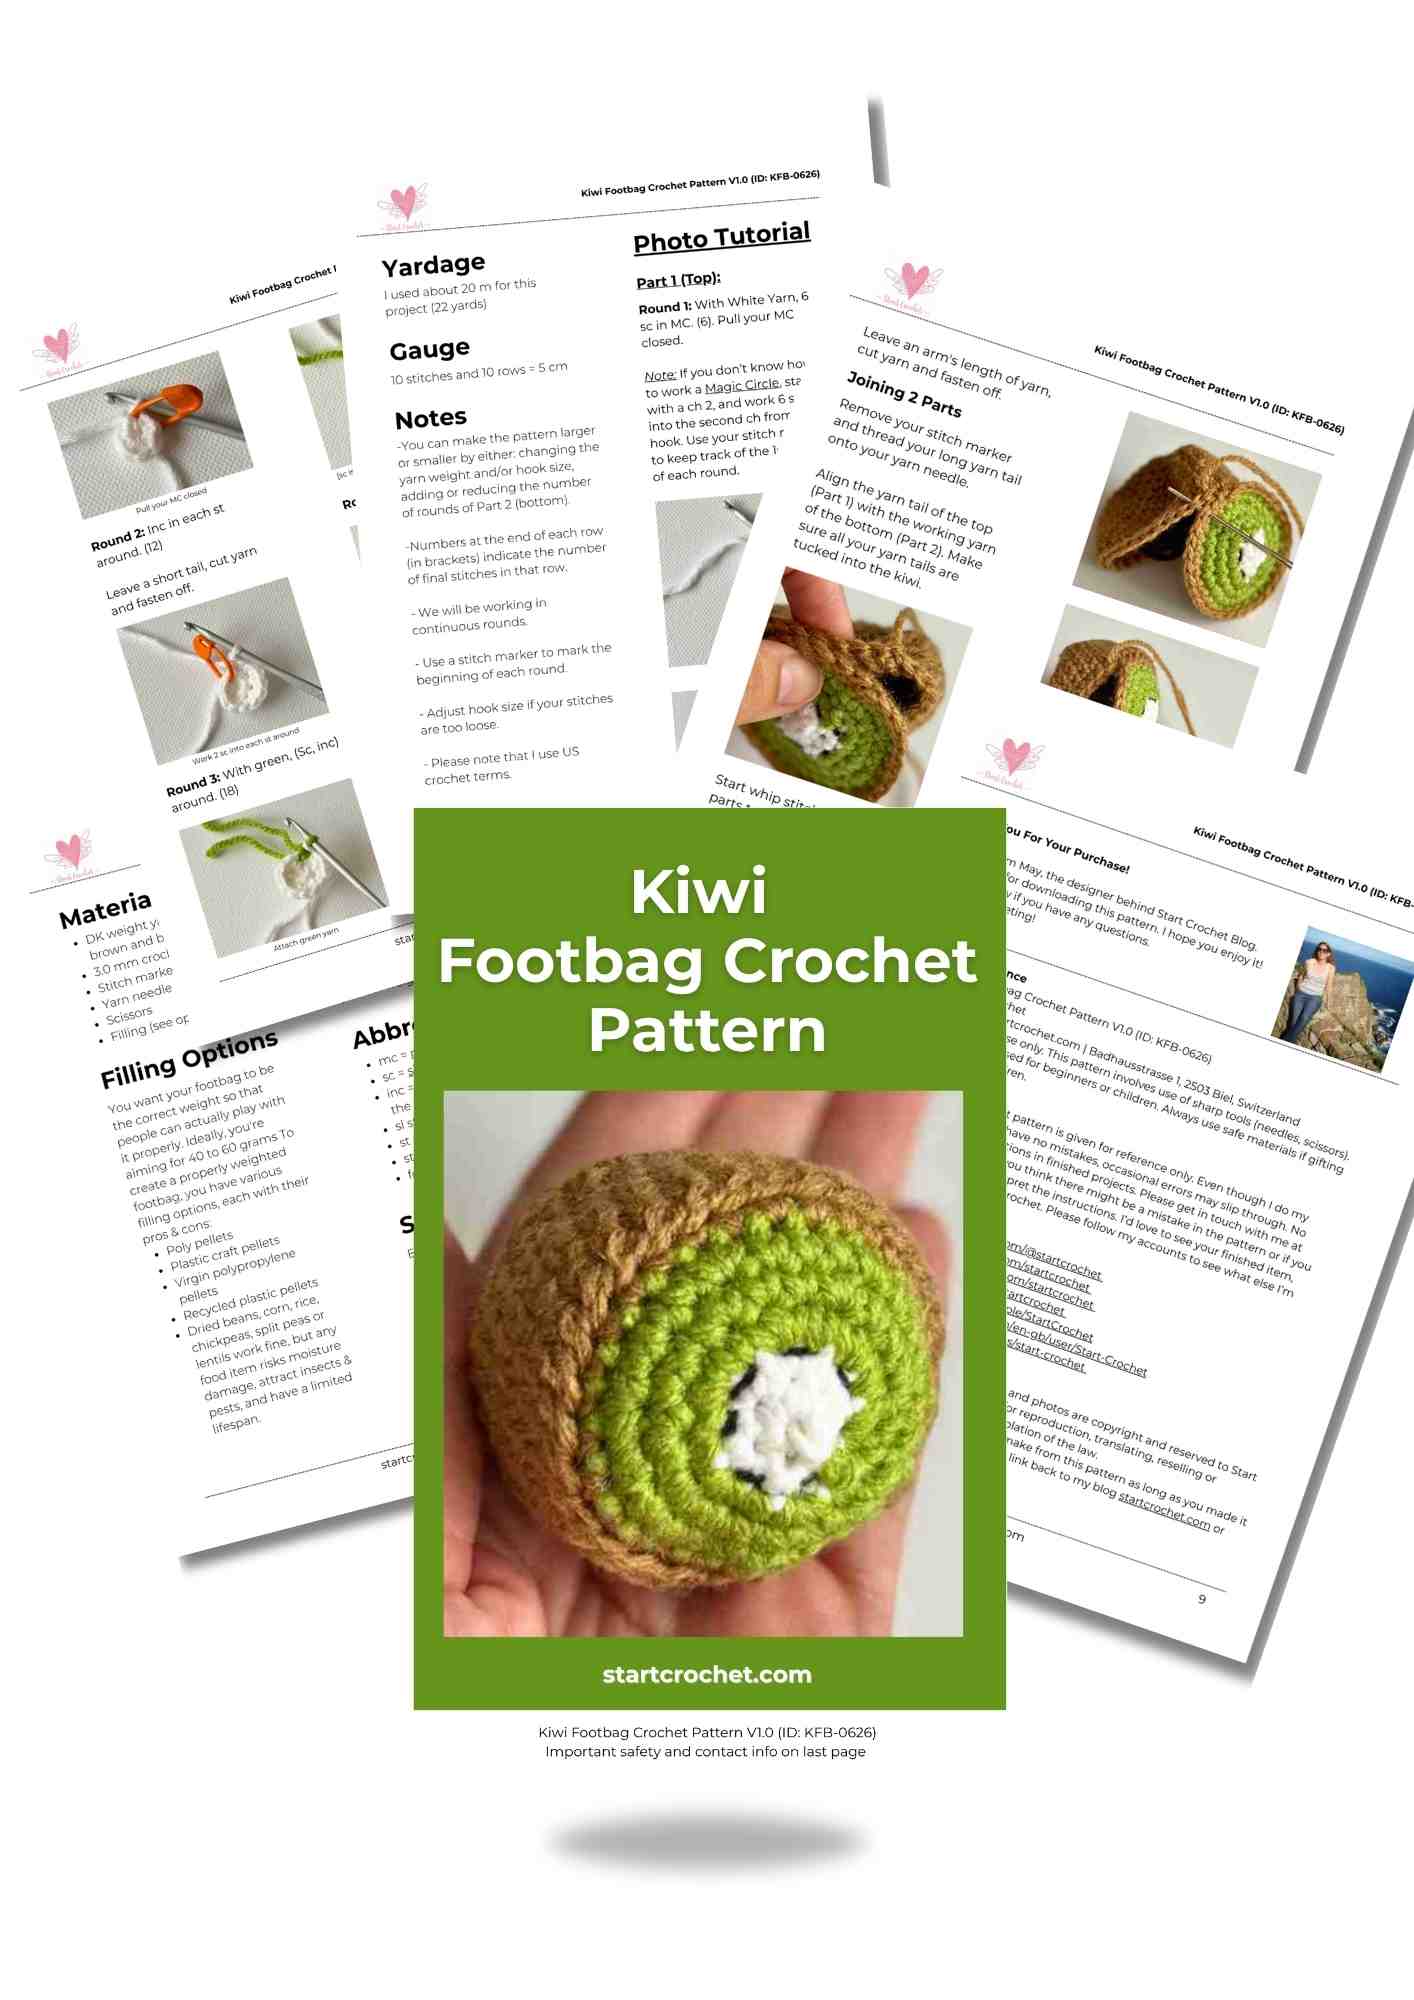
Would you rather have an Ad-Free PDF version of this pattern to print out? Click below to access this downloadable document for a small fee. You'll have the text-only version of the pattern in a couple of pages + all progress photo instructions separately.
Kiwi Footbag Crochet Pattern Instructions
Instructions
Part 1 (Top):
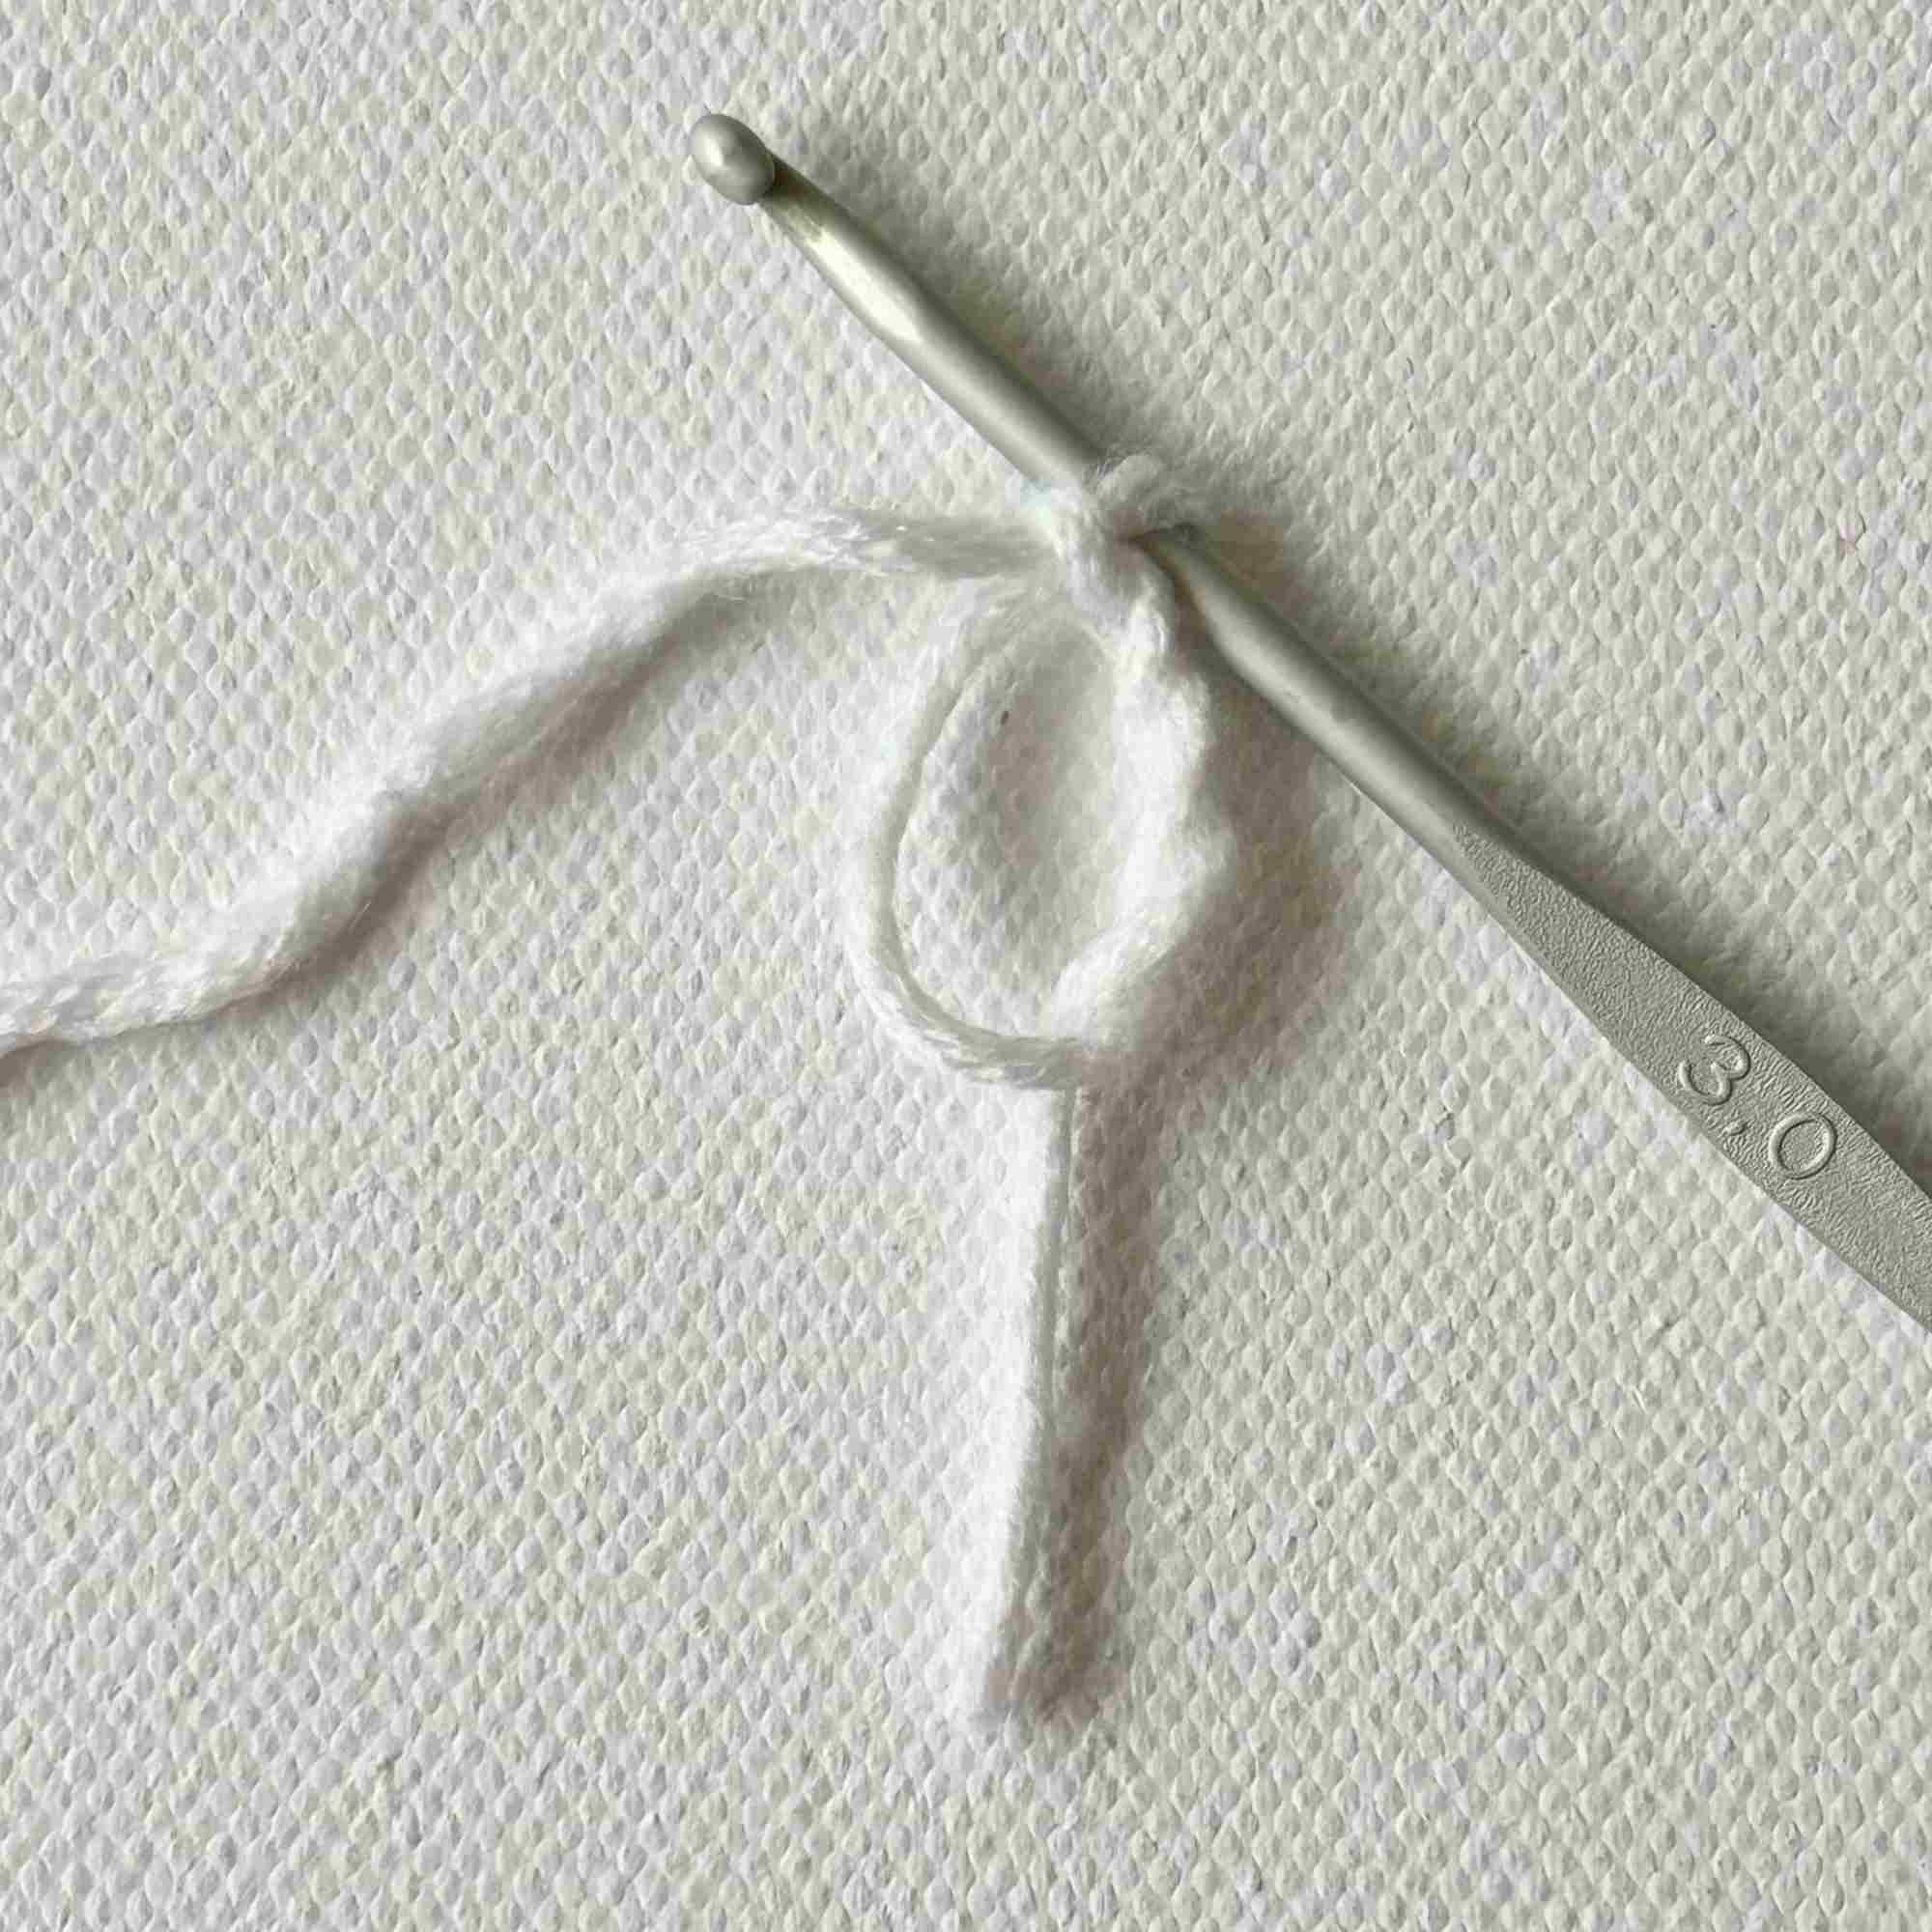
Round 1: With White Yarn, 6 sc in MC. (6). Pull your MC closed.
Note: If you don’t know how to work a Magic Circle, start with a ch 2, and work 6 sc into the second ch from your hook. Use your stitch marker to keep track of the 1st stitch of each round.
Magic Circle (MC)
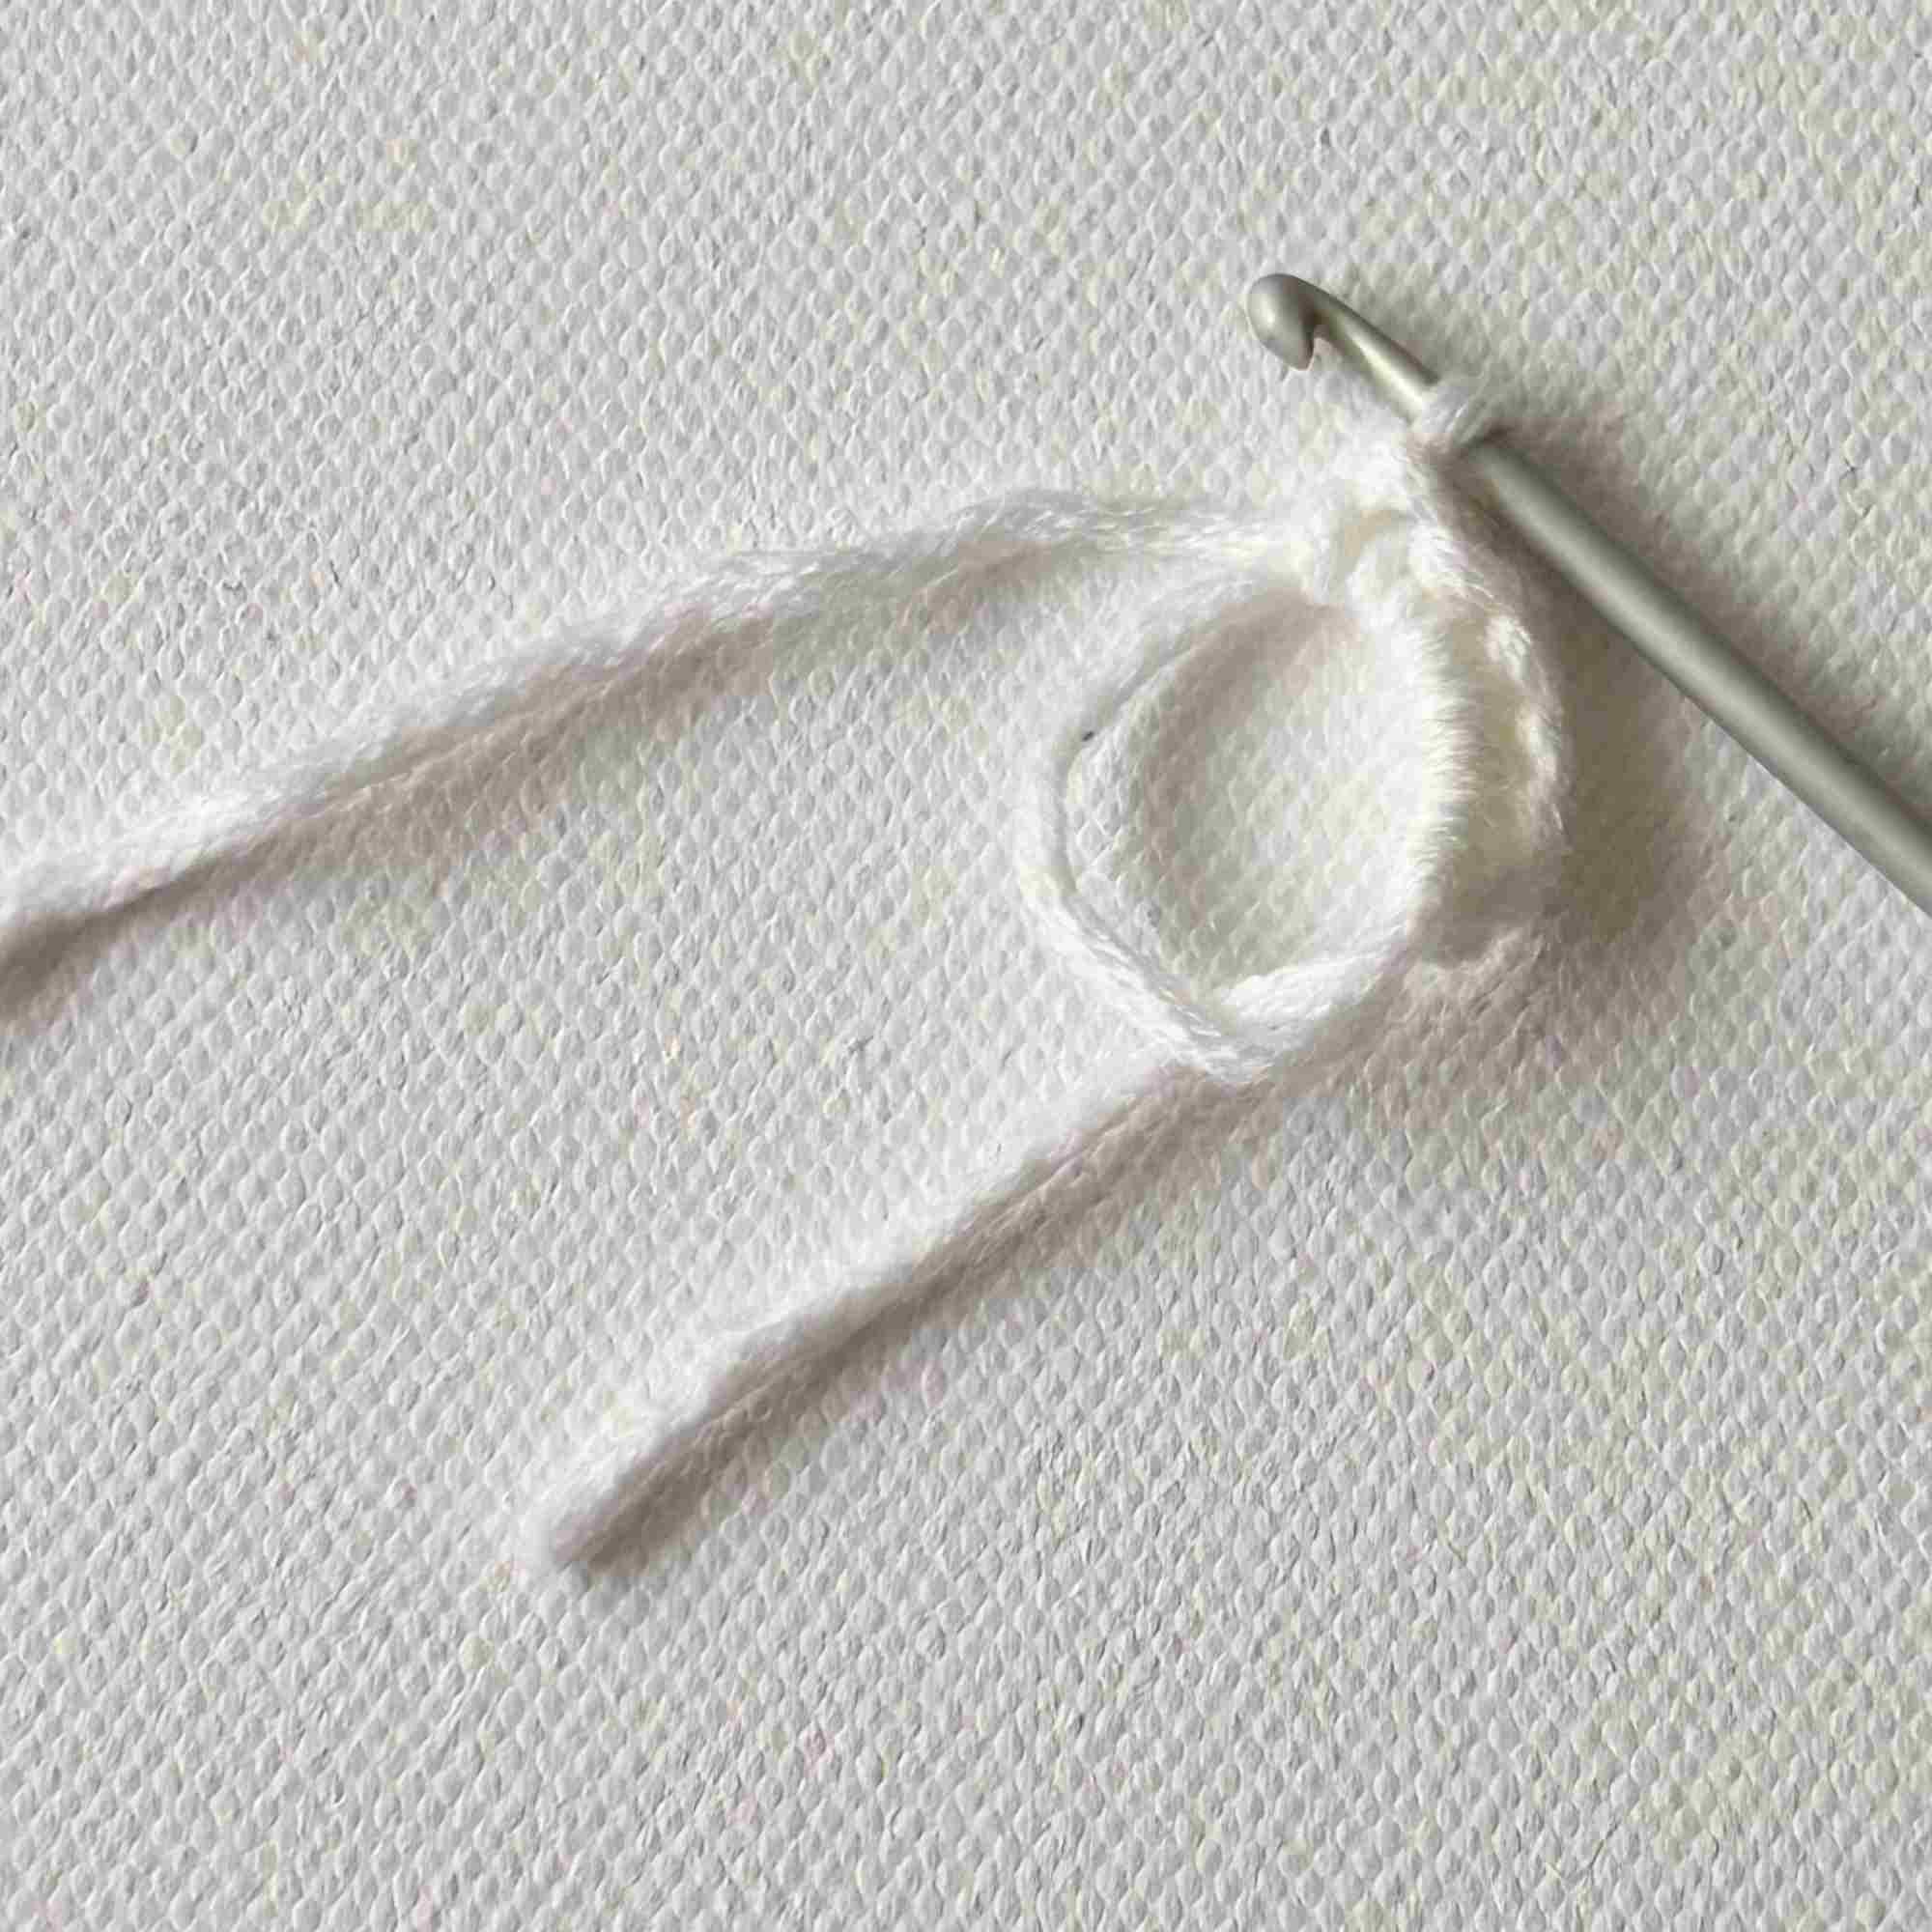
6 sc in MC
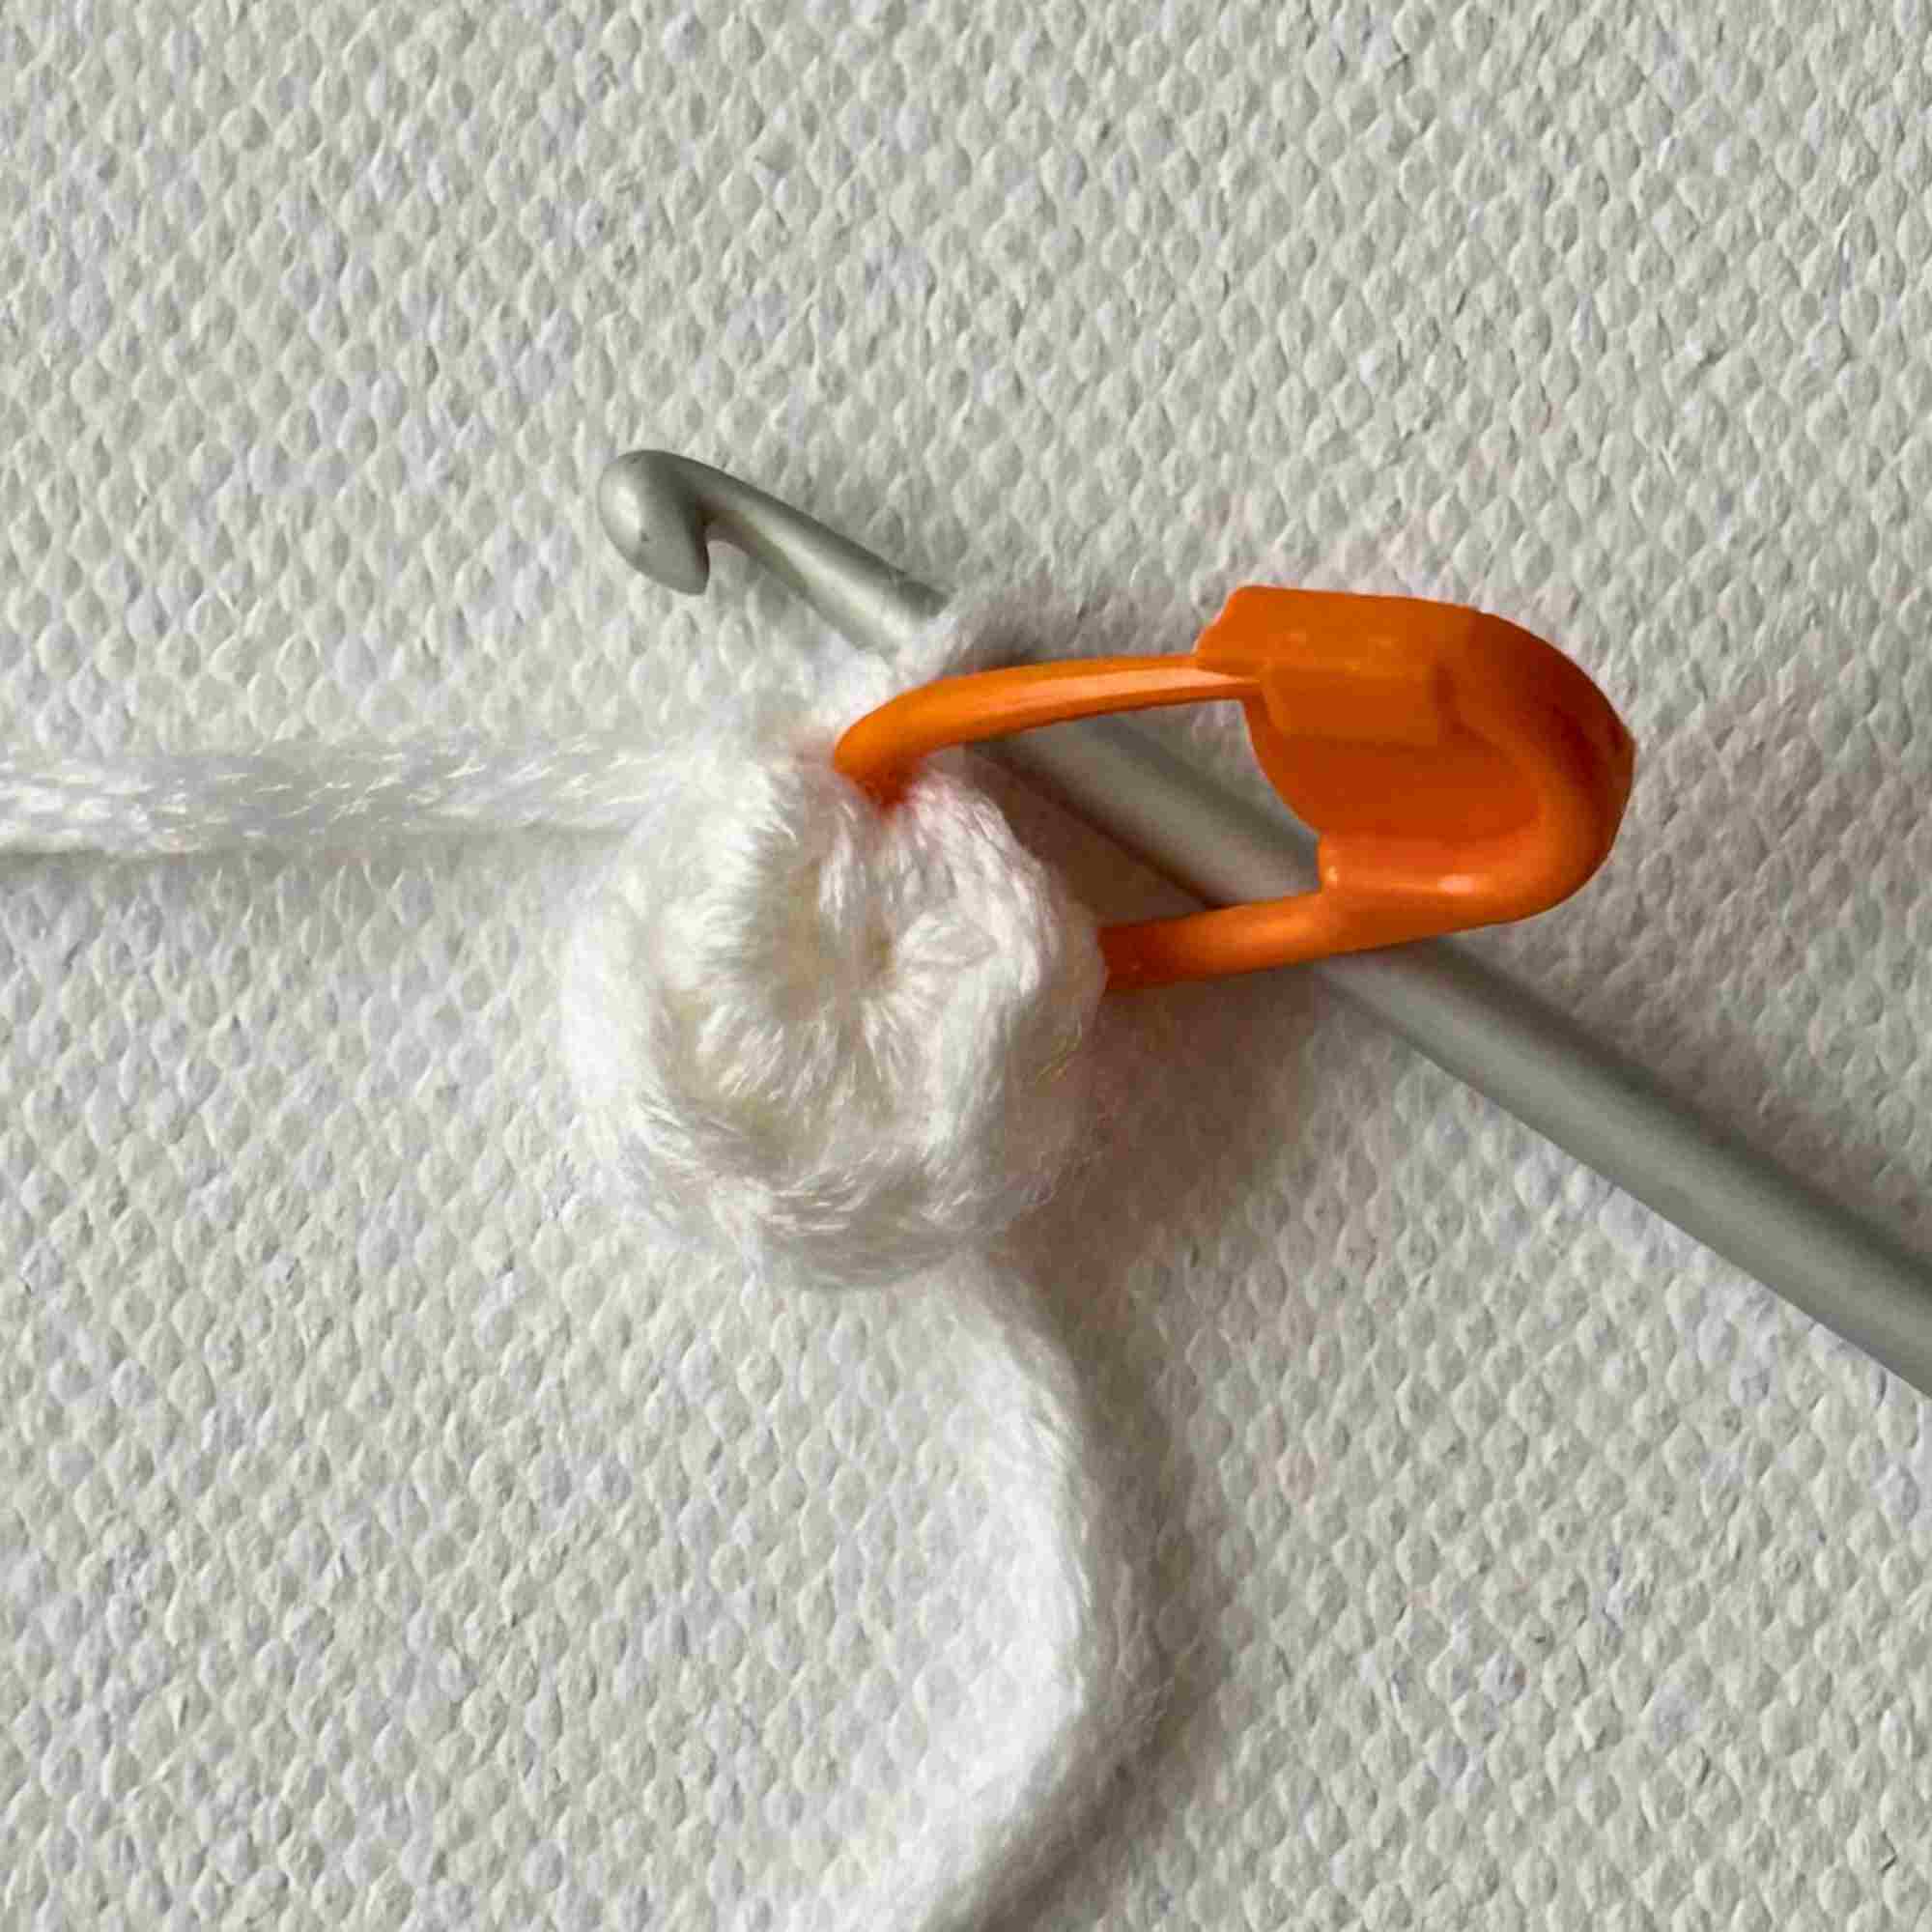
Pull your MC closed.
Round 2: Inc in each st around. (12)
Leave a short tail, cut yarn and fasten off.
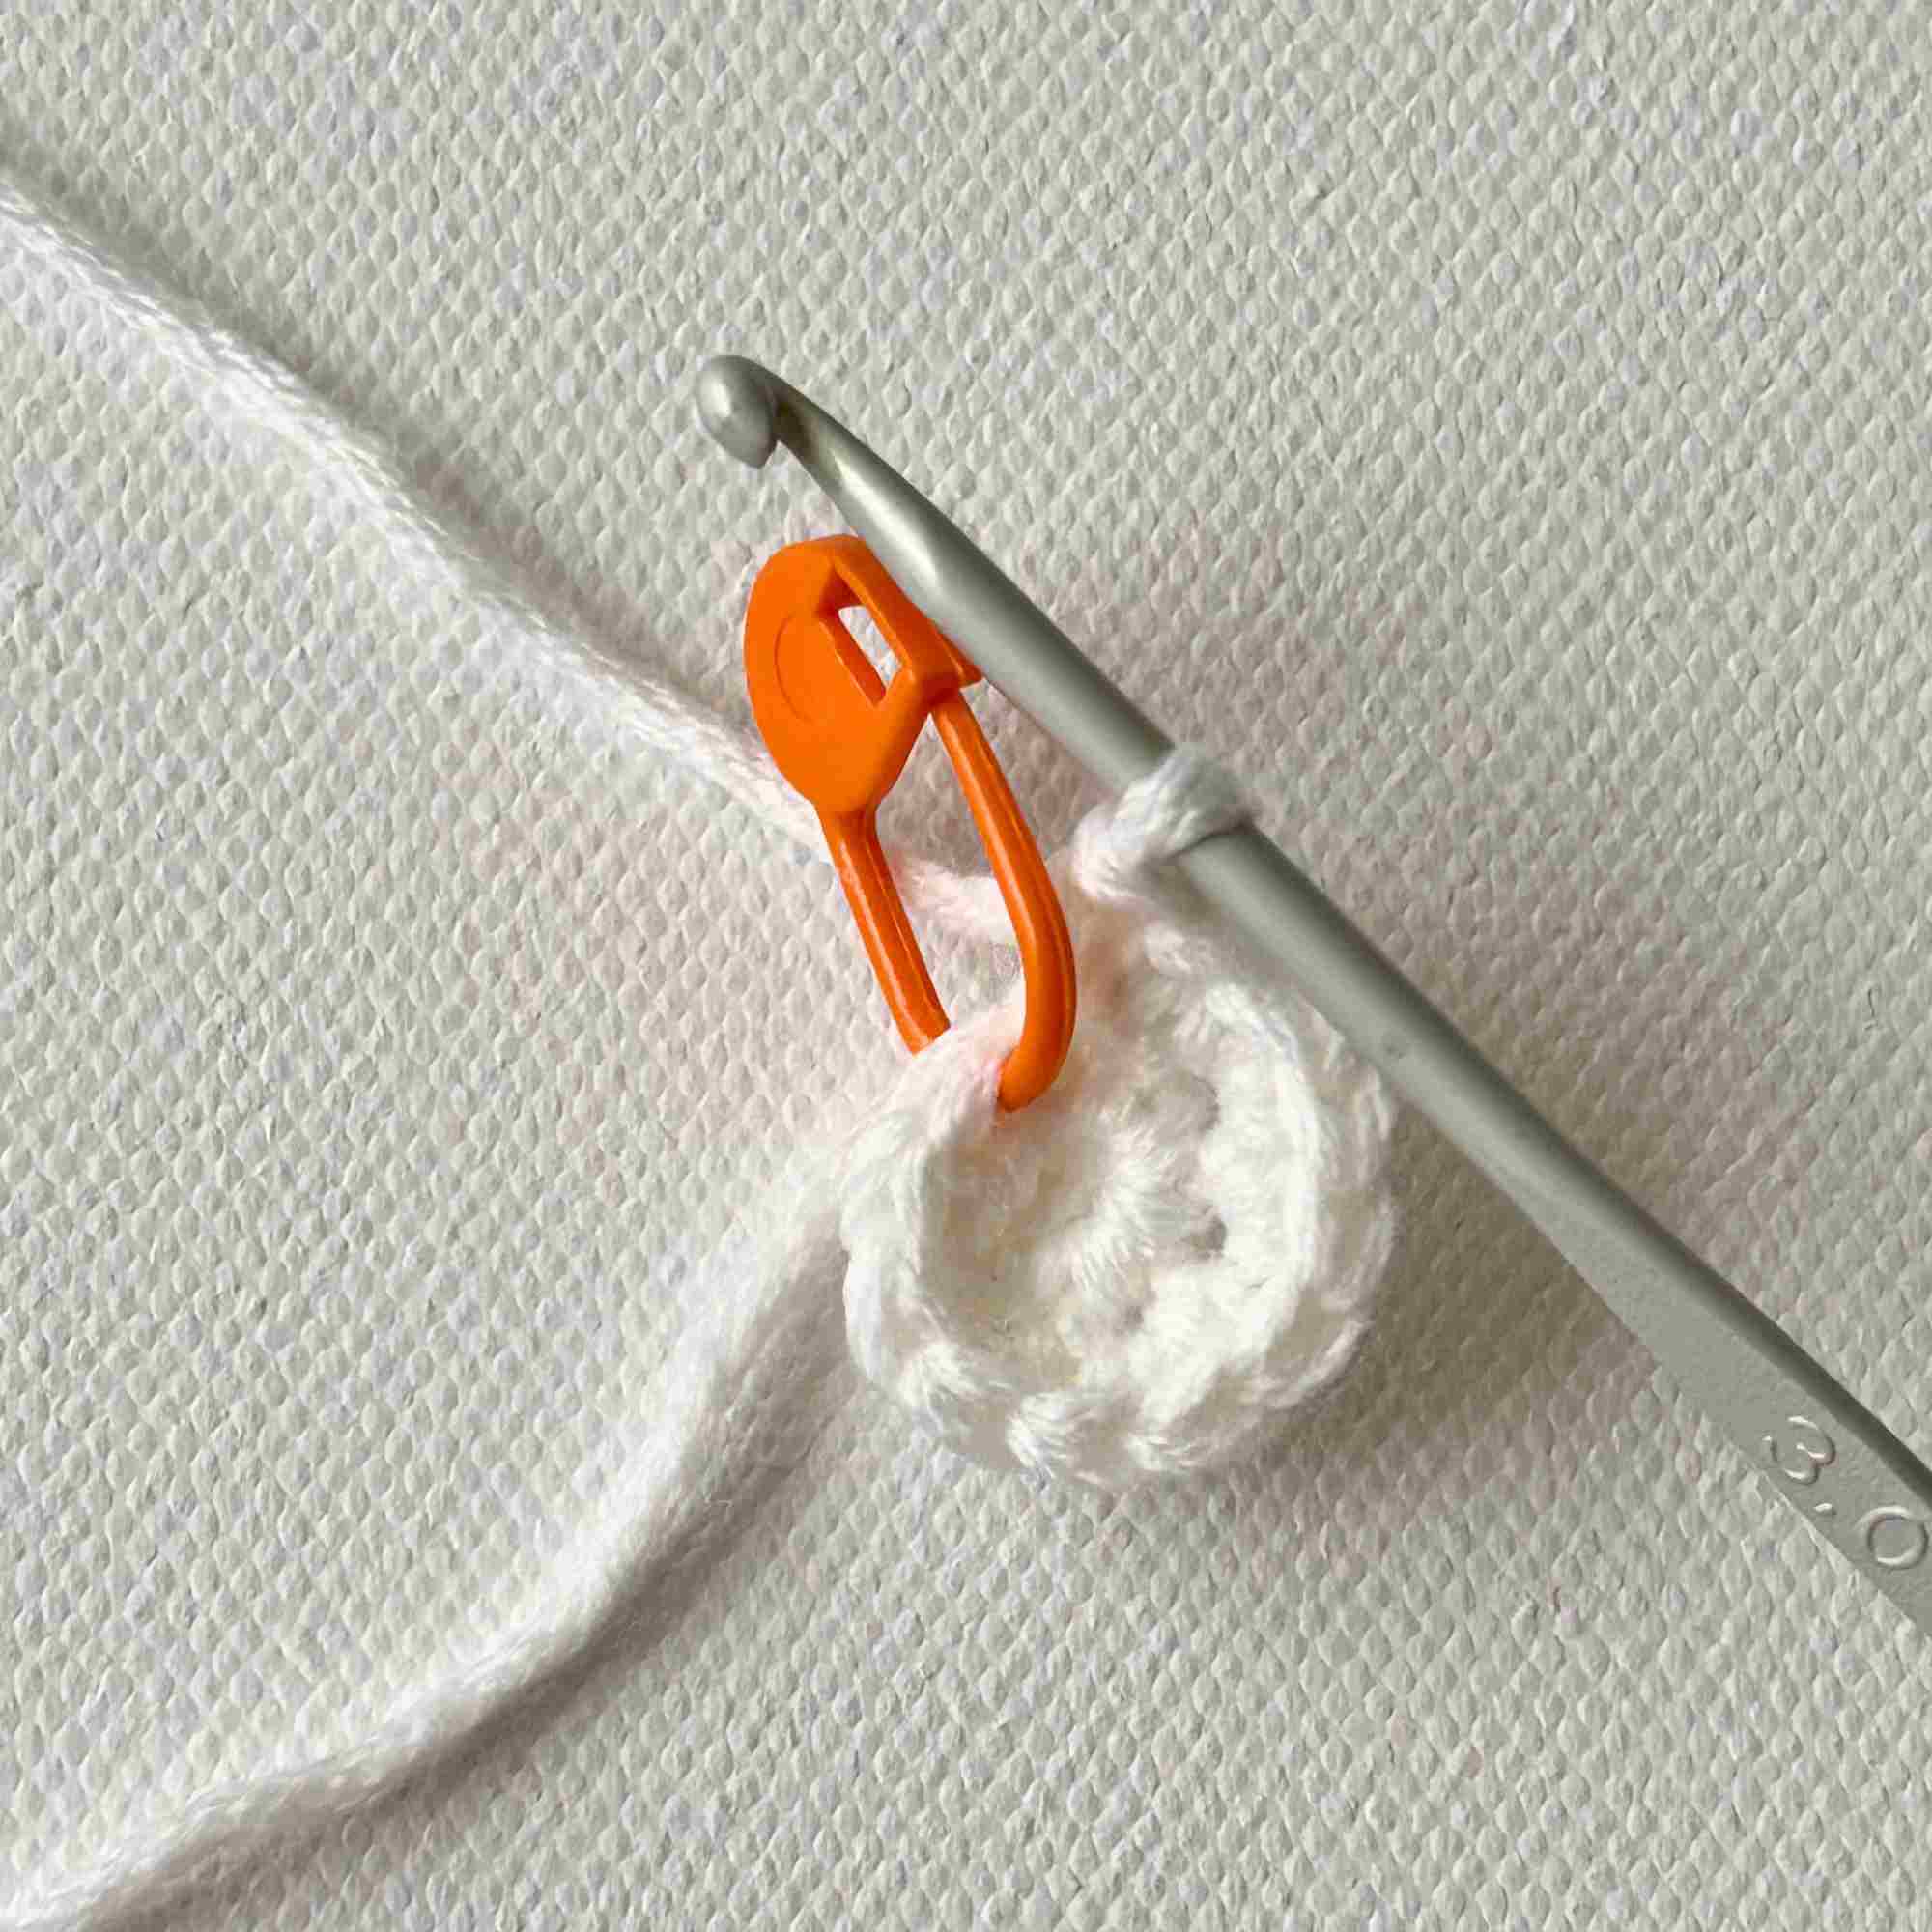
Work 2 sc into each st around
Round 3: With green, (Sc, inc) around. (18)
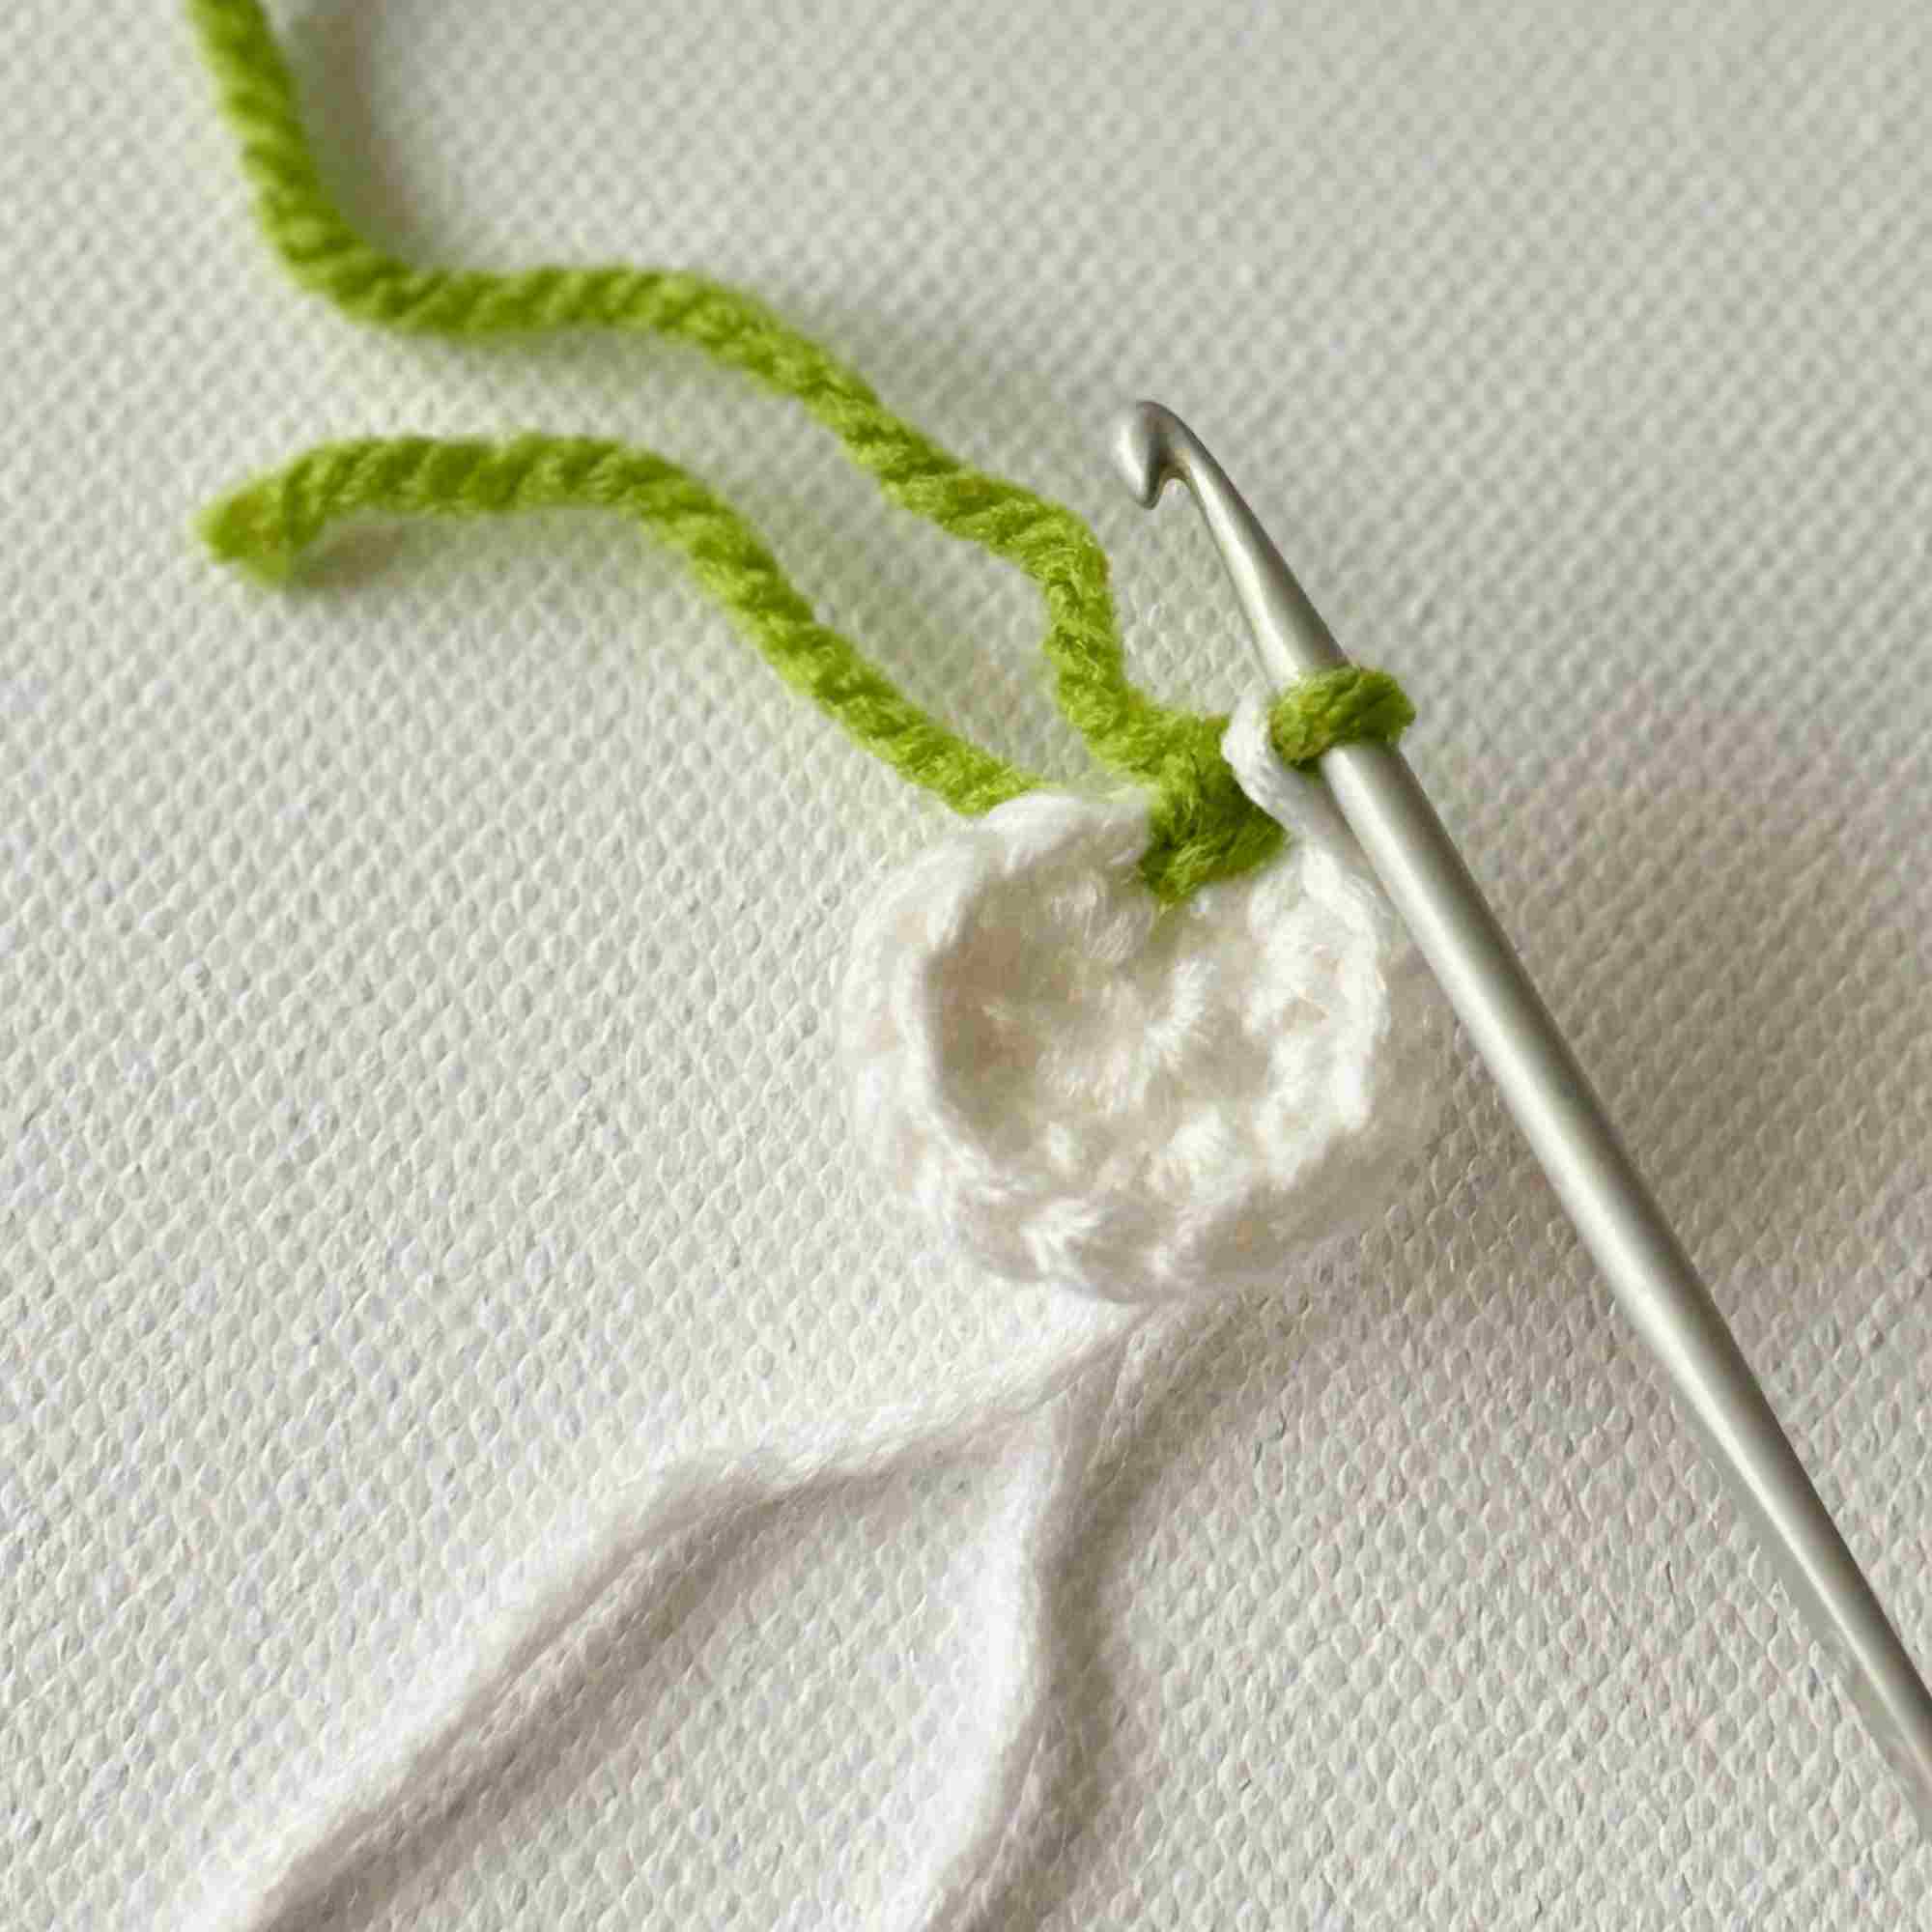
Attach green yarn
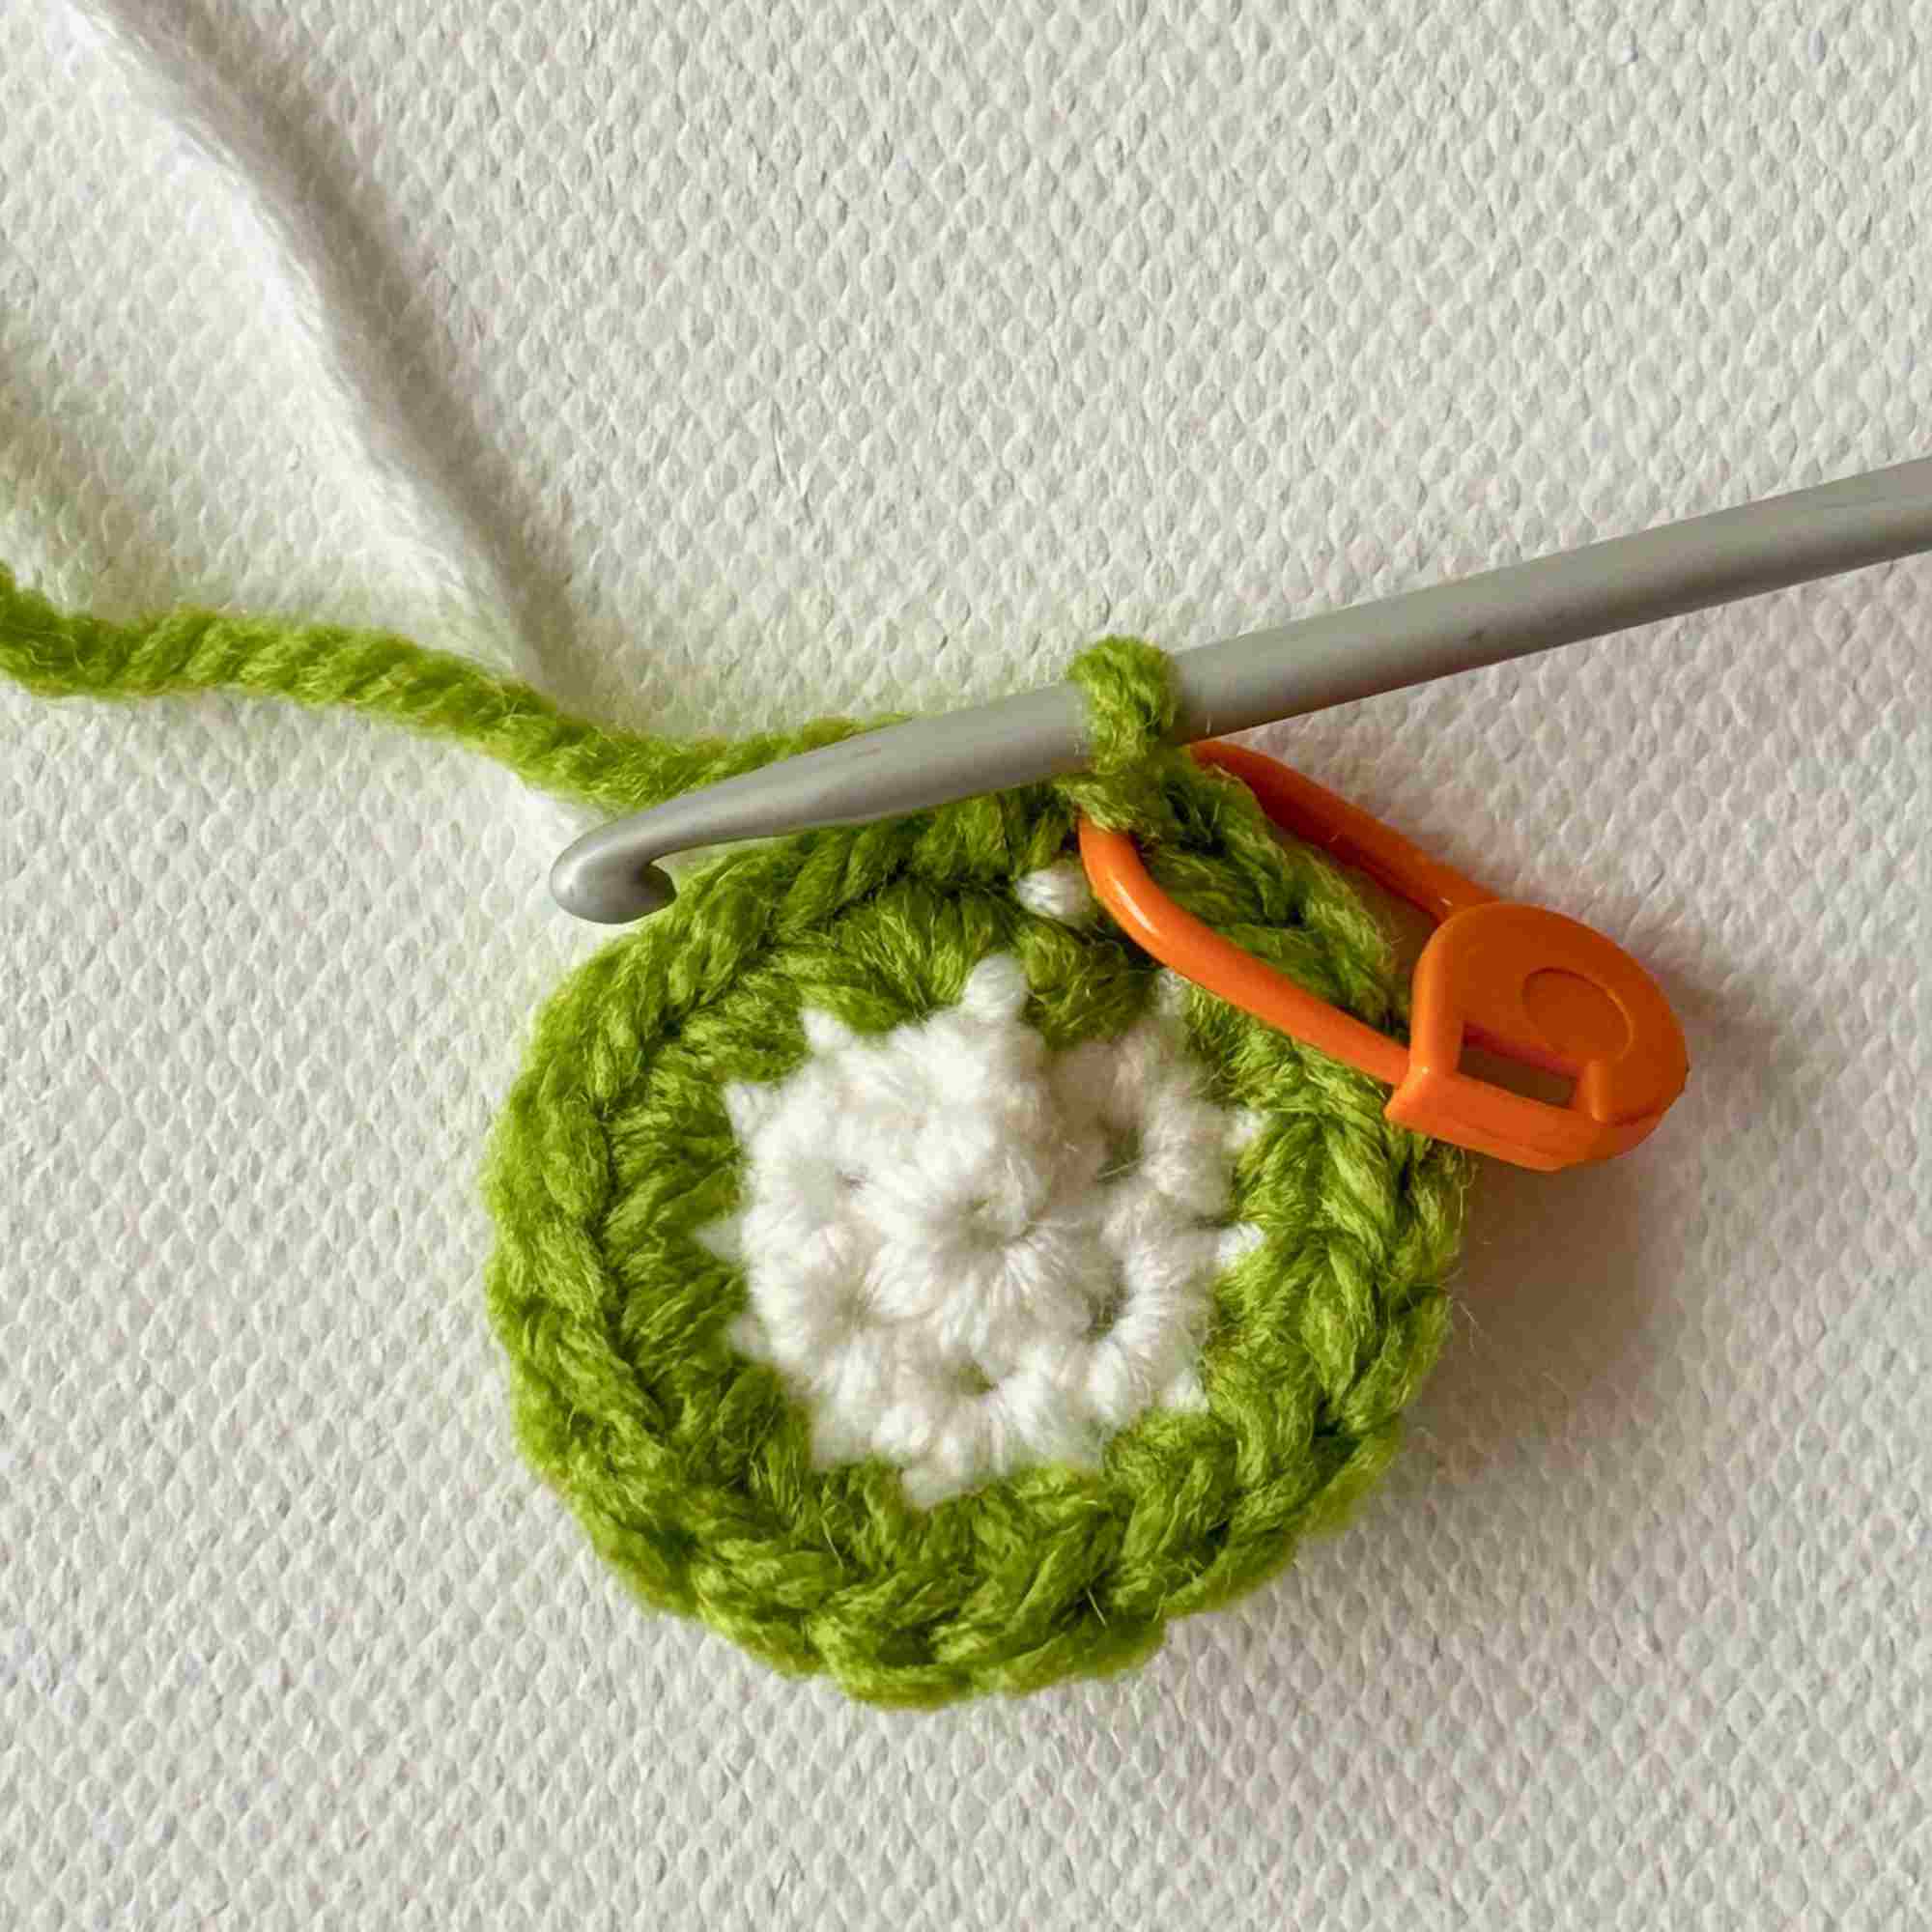
[sc in first st, then 2 sc into the next st], repeat [ ] around
Round 4: (2 sc, inc) around. (24)
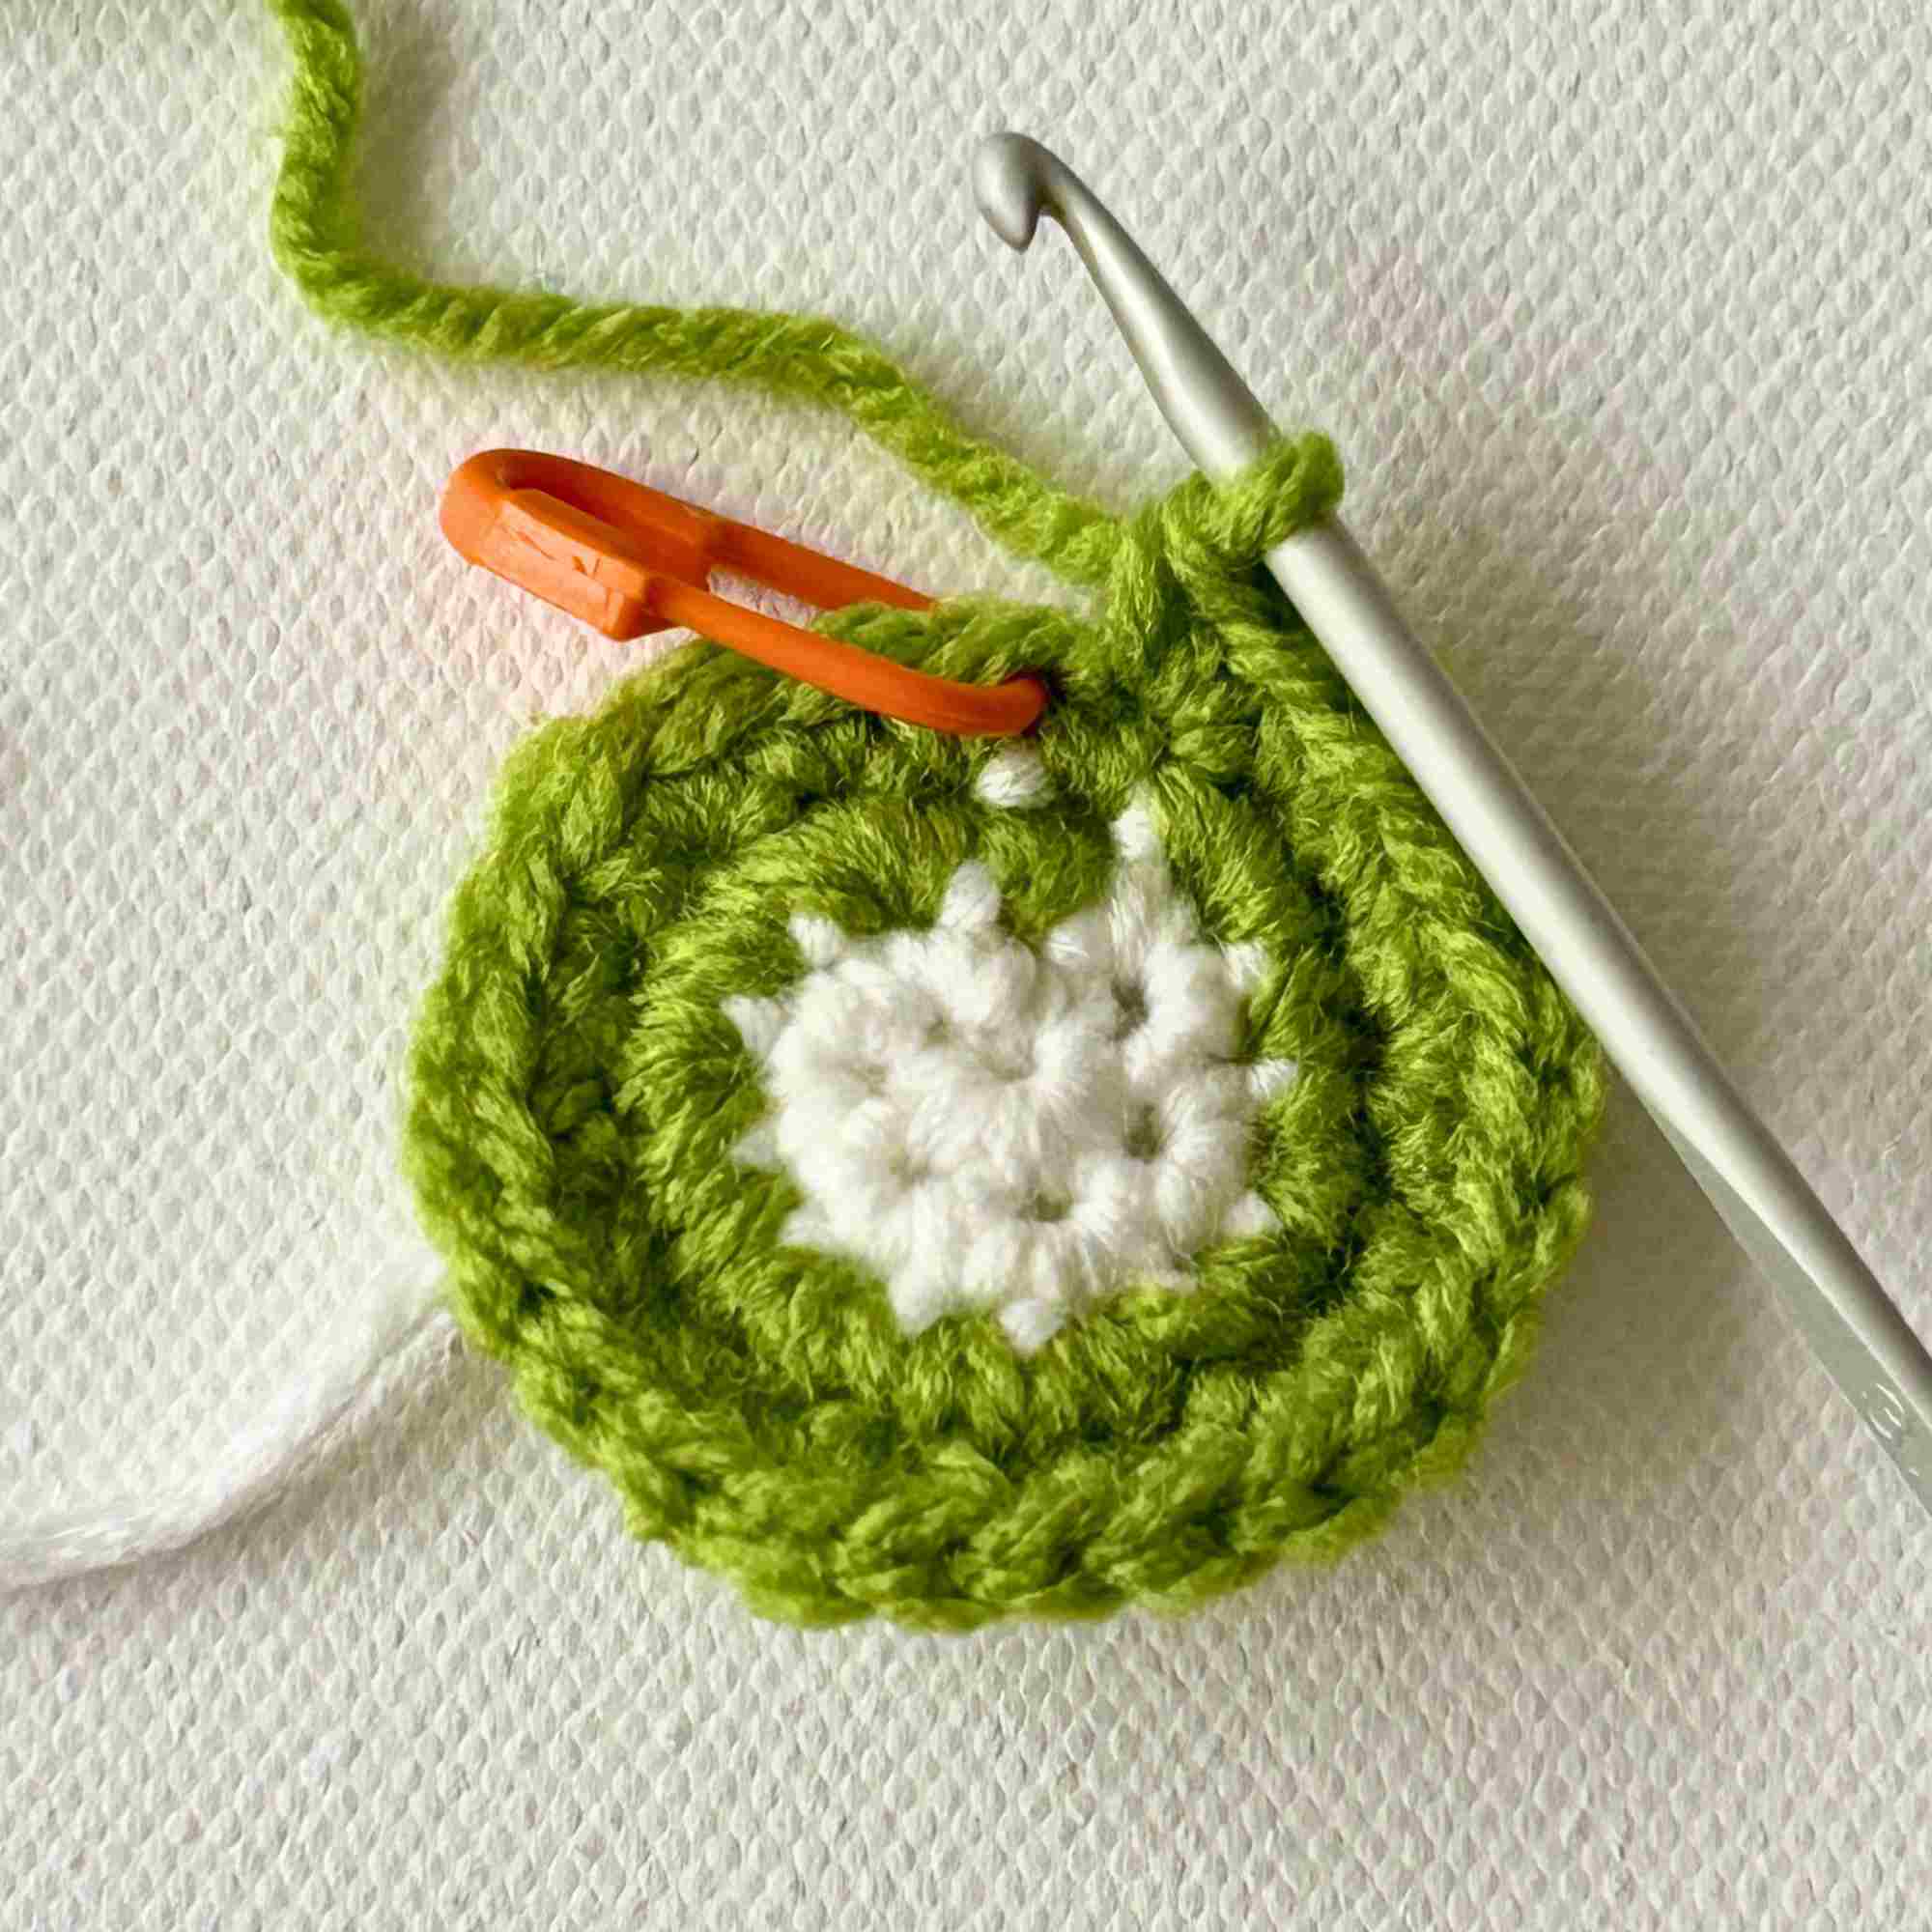
[sc in first 2 sts, then 2 sc into the next st], repeat [ ] around
Round 5: (3 sc, inc) around. (30)
Leave a short tail, cut yarn and fasten off.
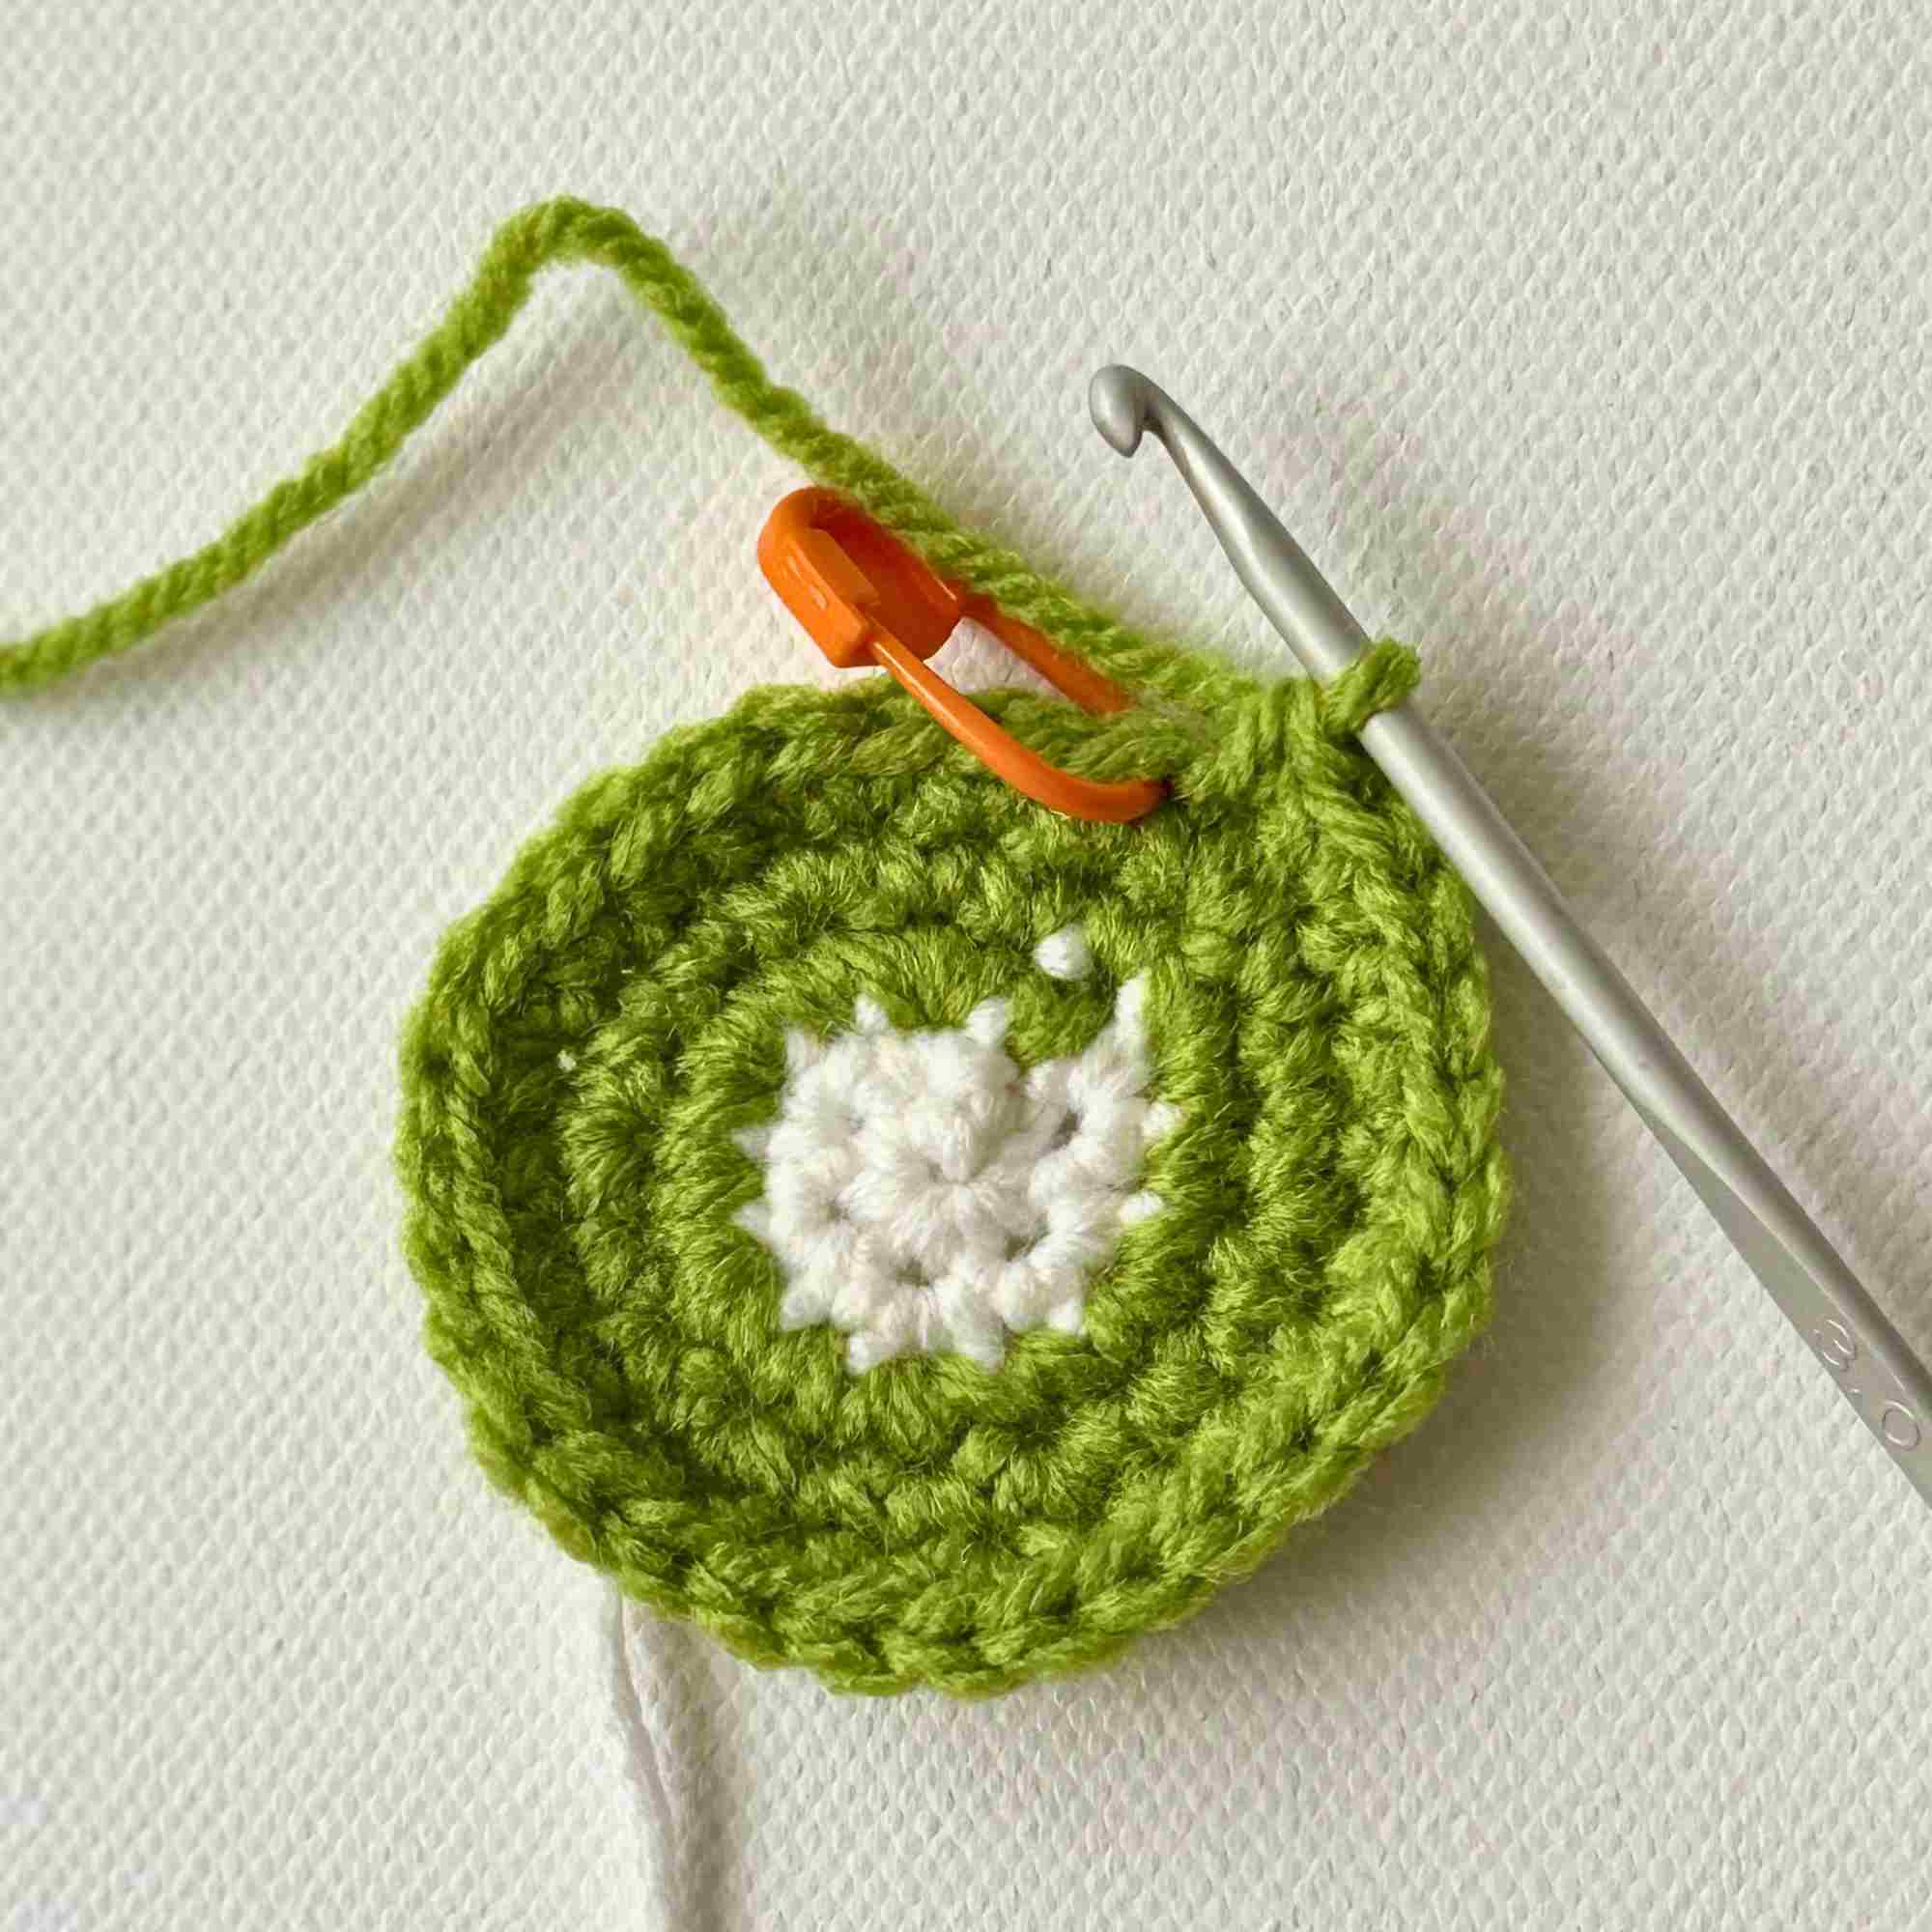
You now have 30 sts in Round 5
Round 6: With brown, sc around. (30)
Leave a short tail, cut yarn and fasten off.
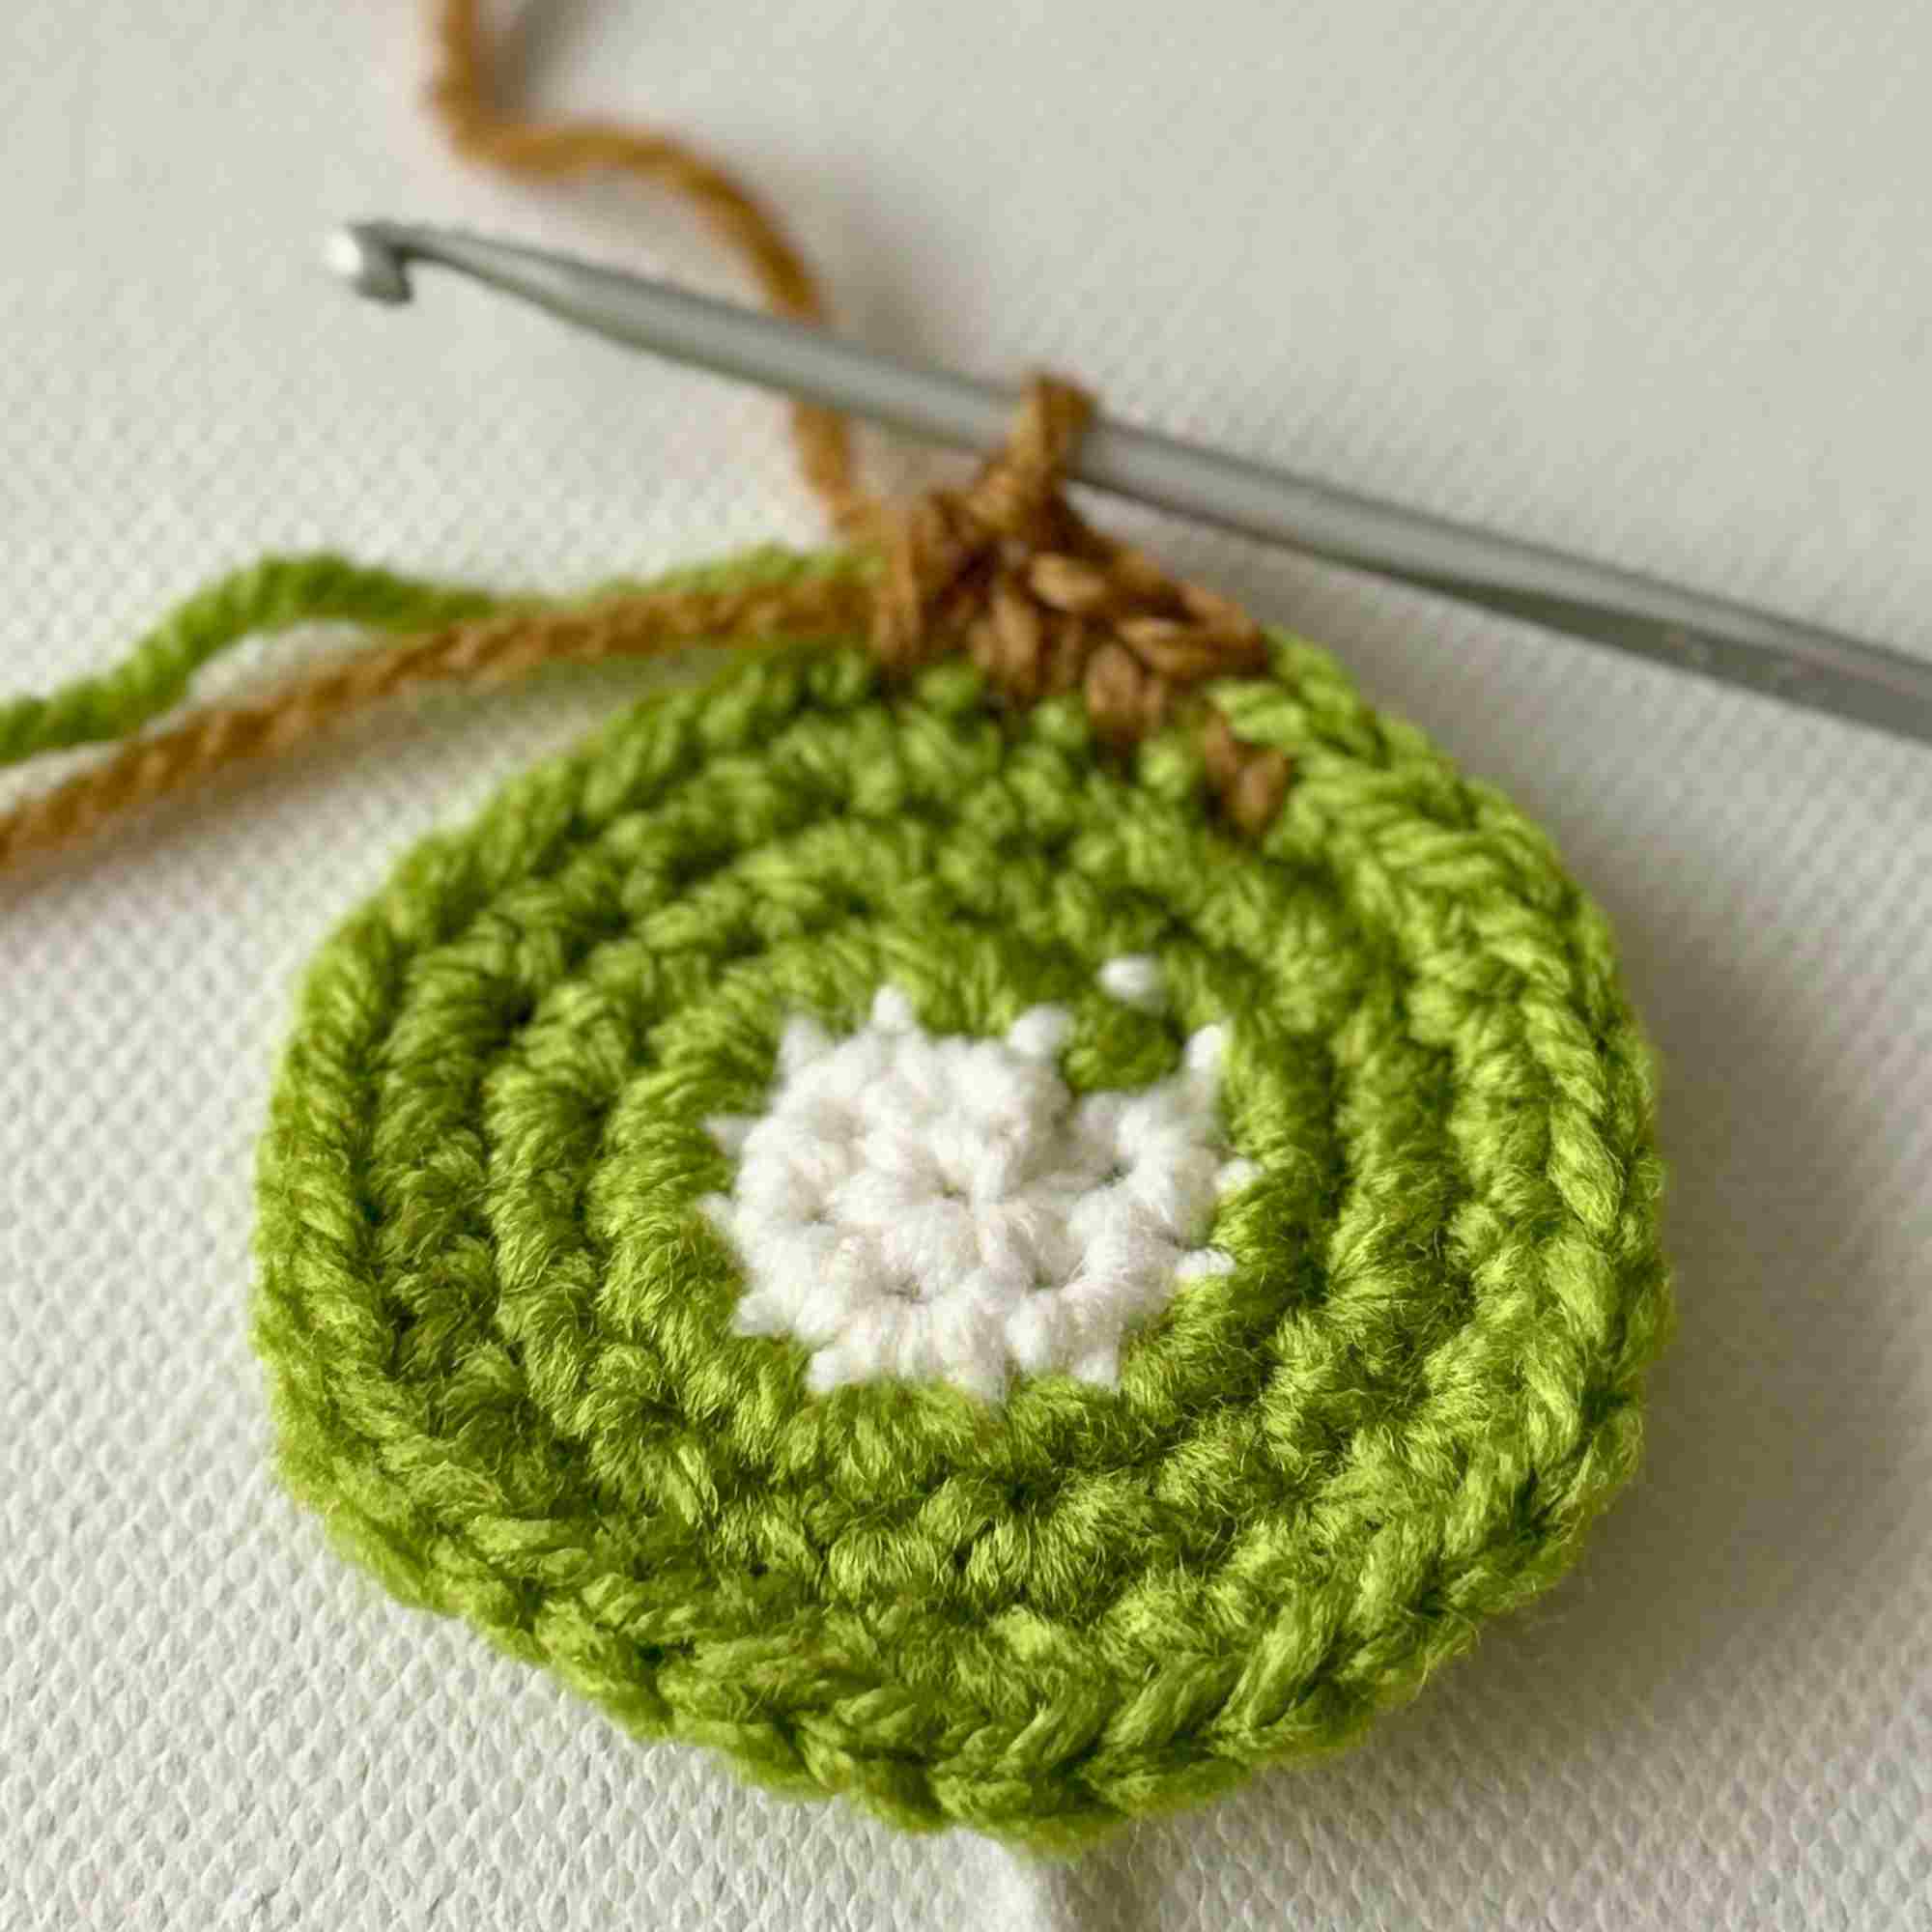
Attach brown yarn
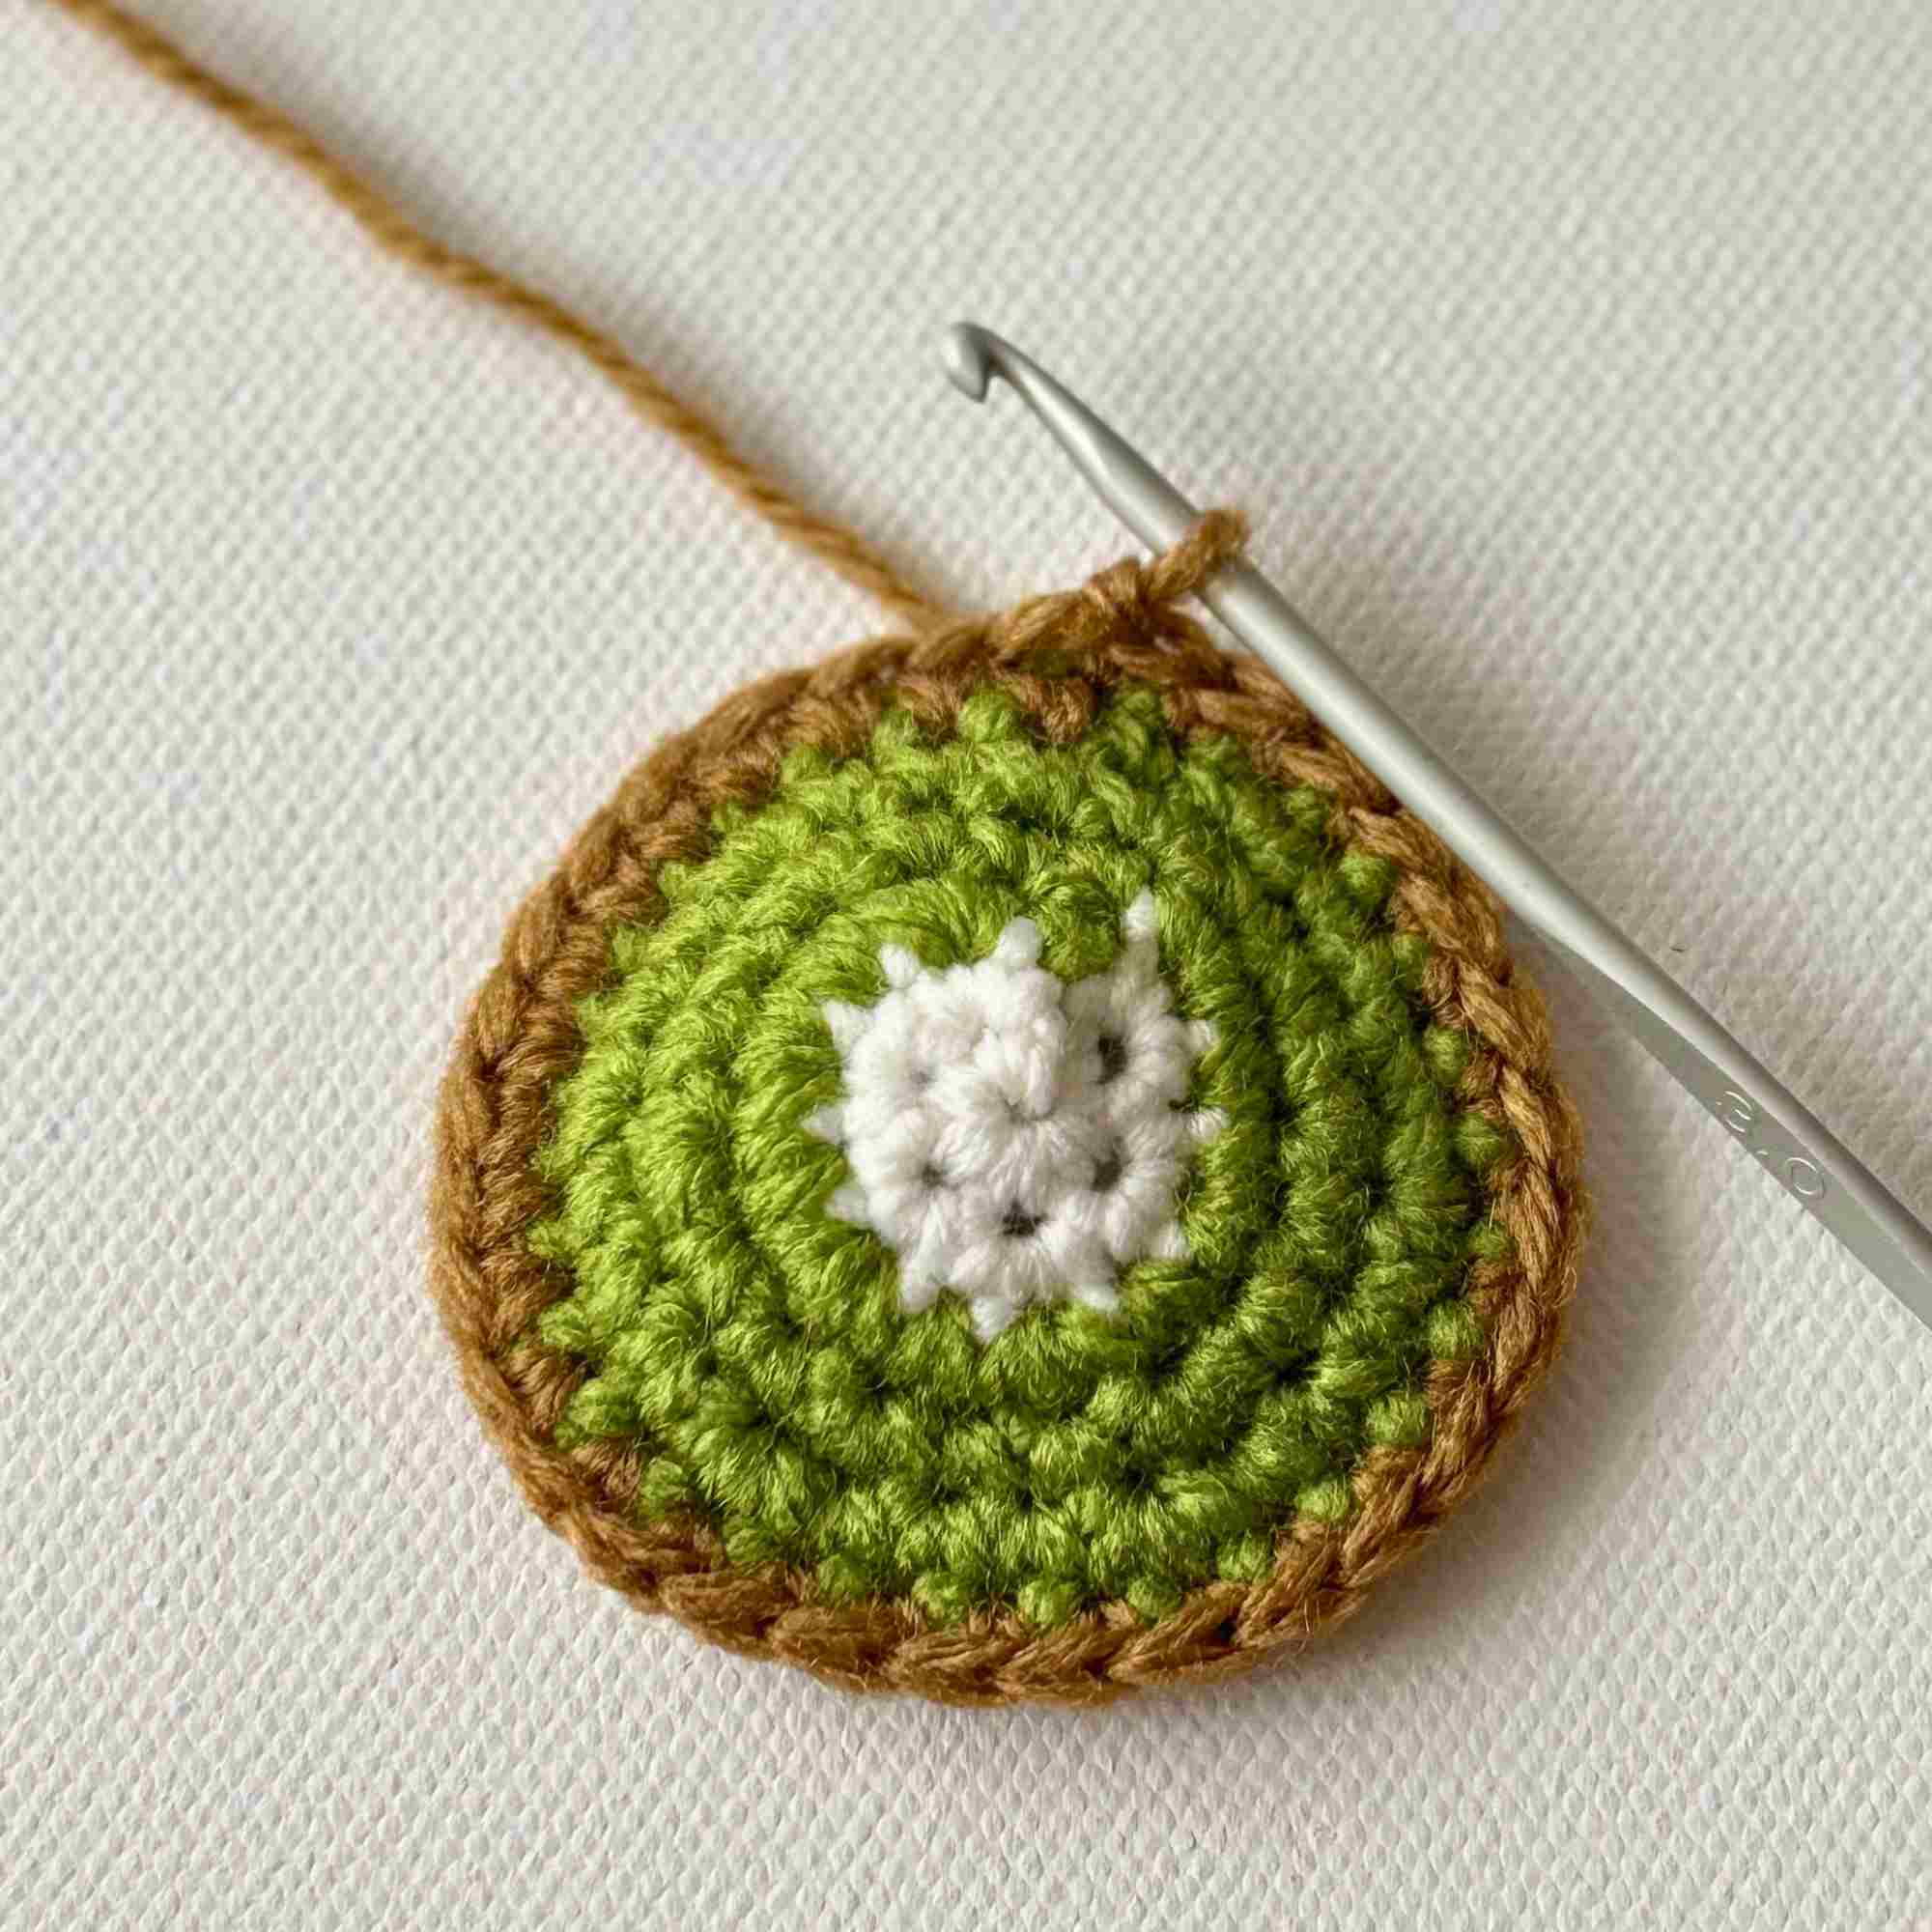
sc around. (30)
Kiwi Seeds
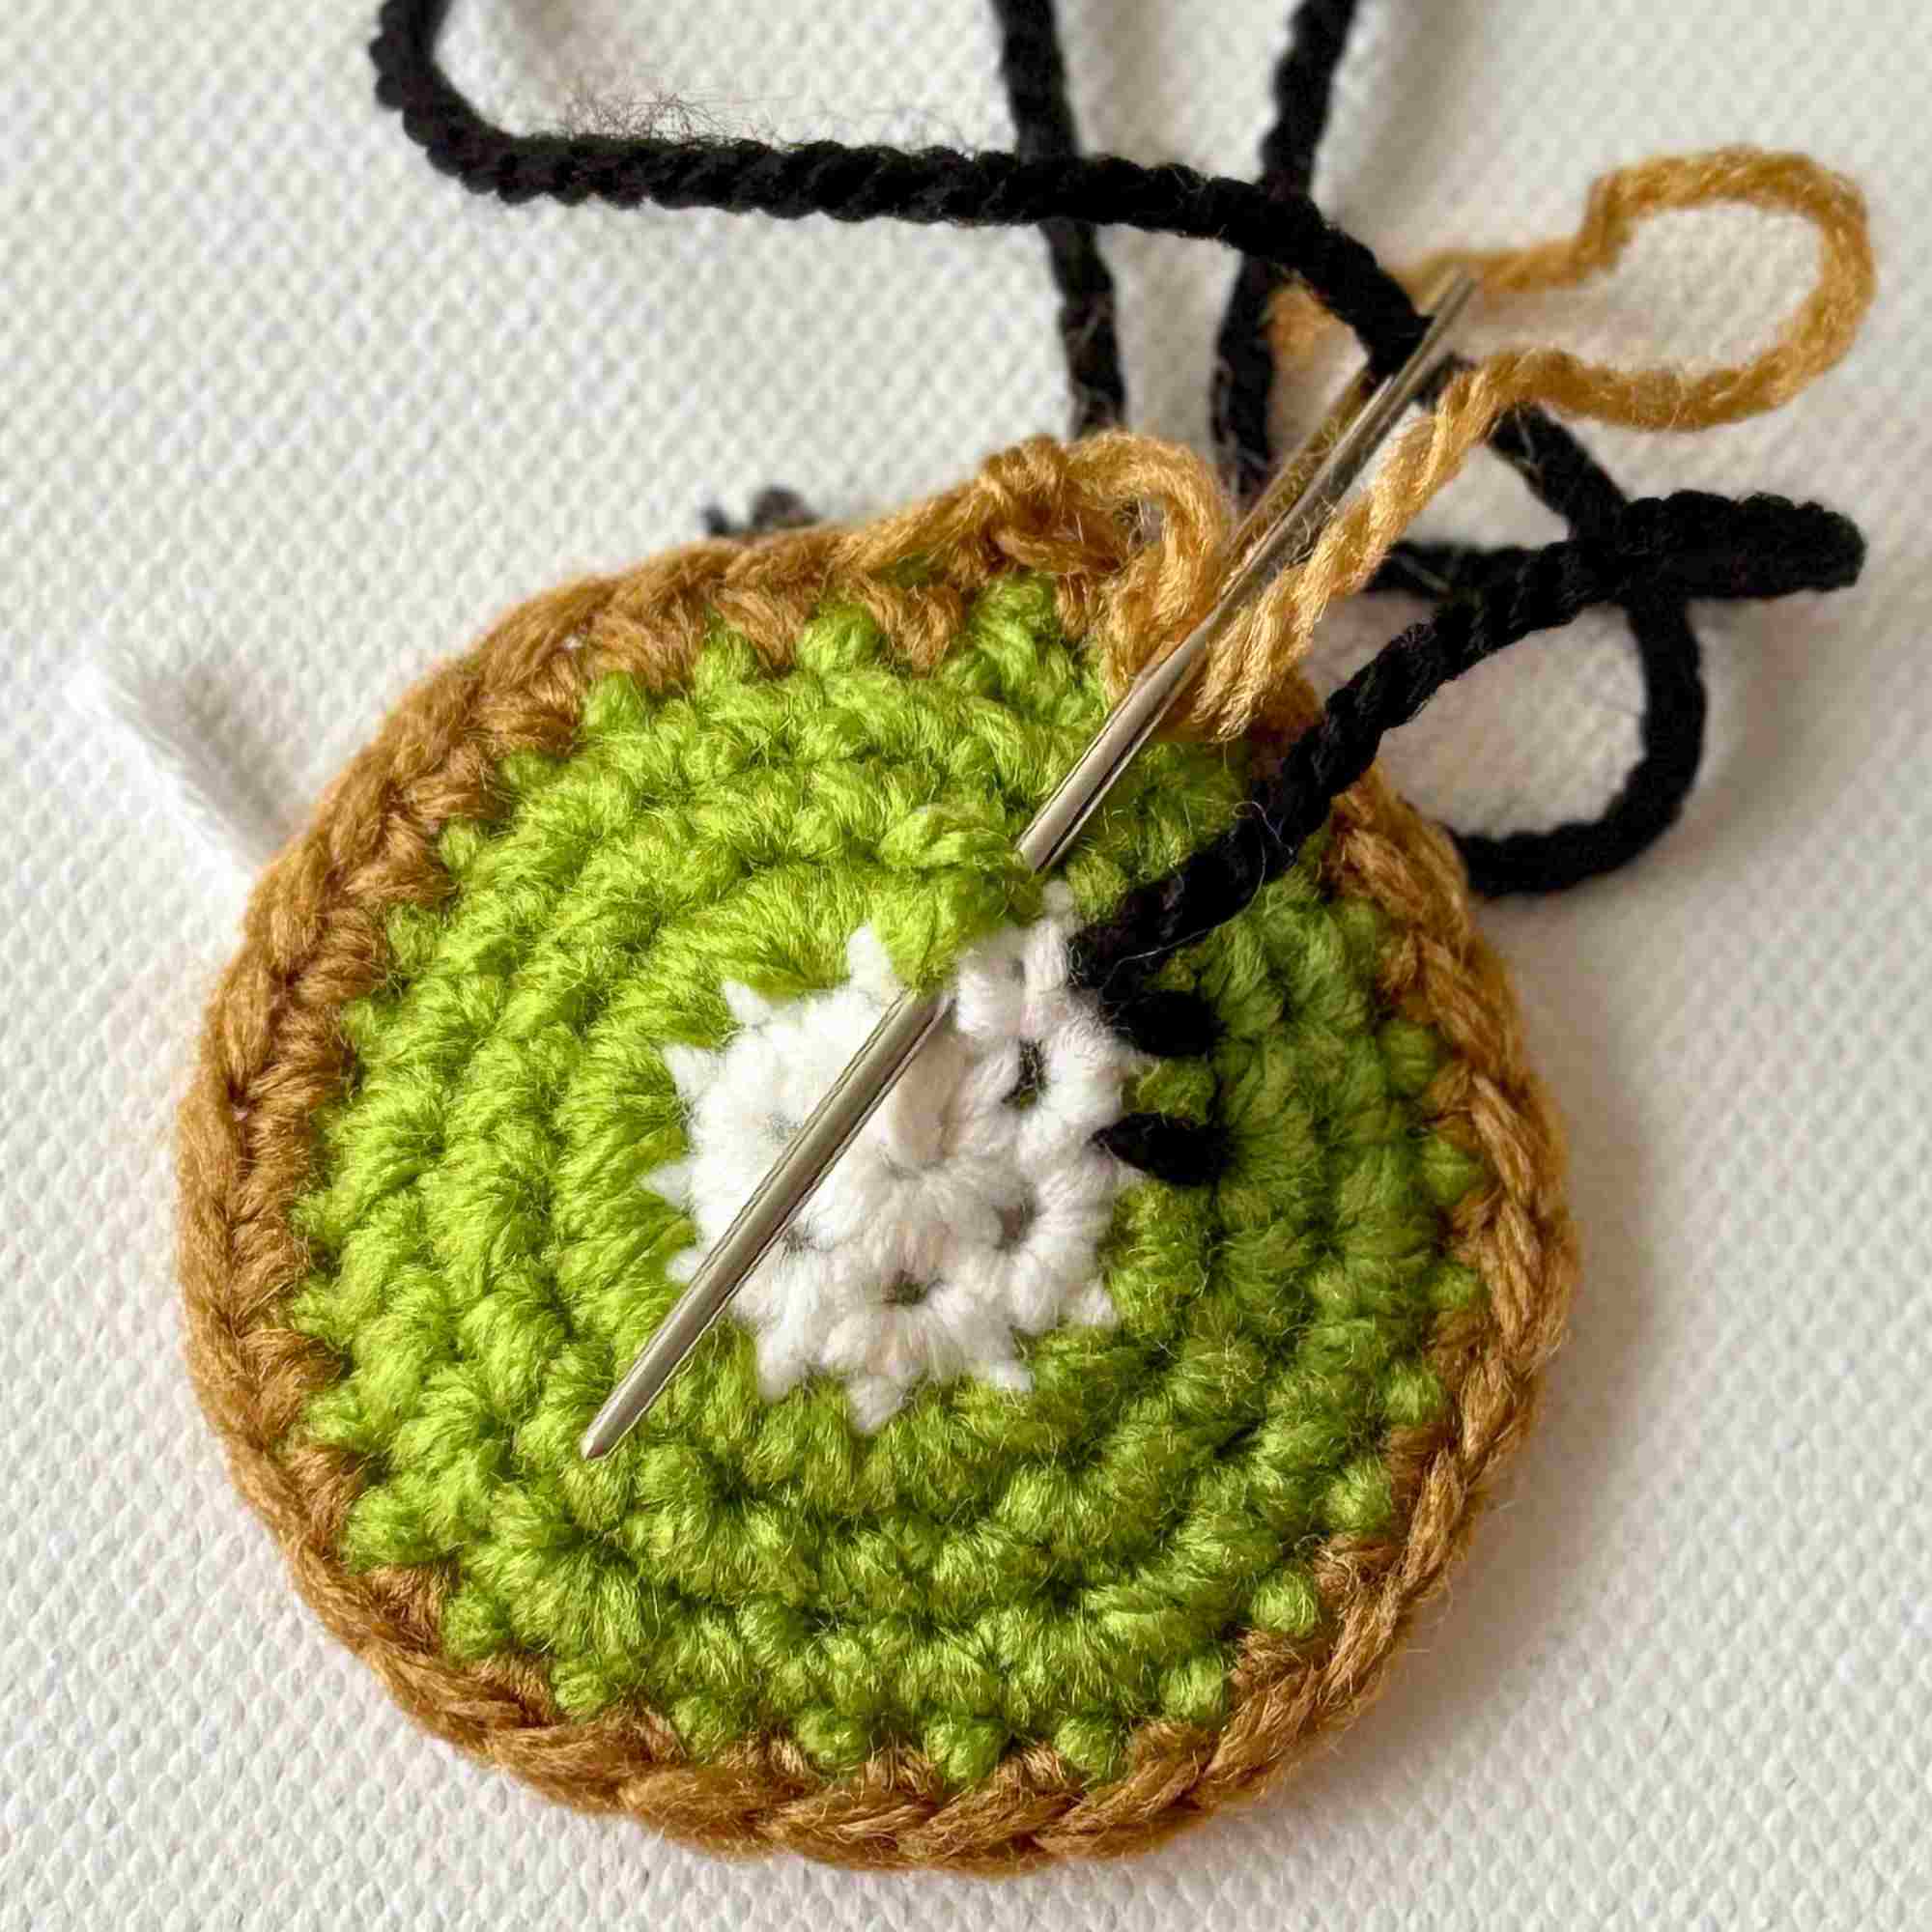
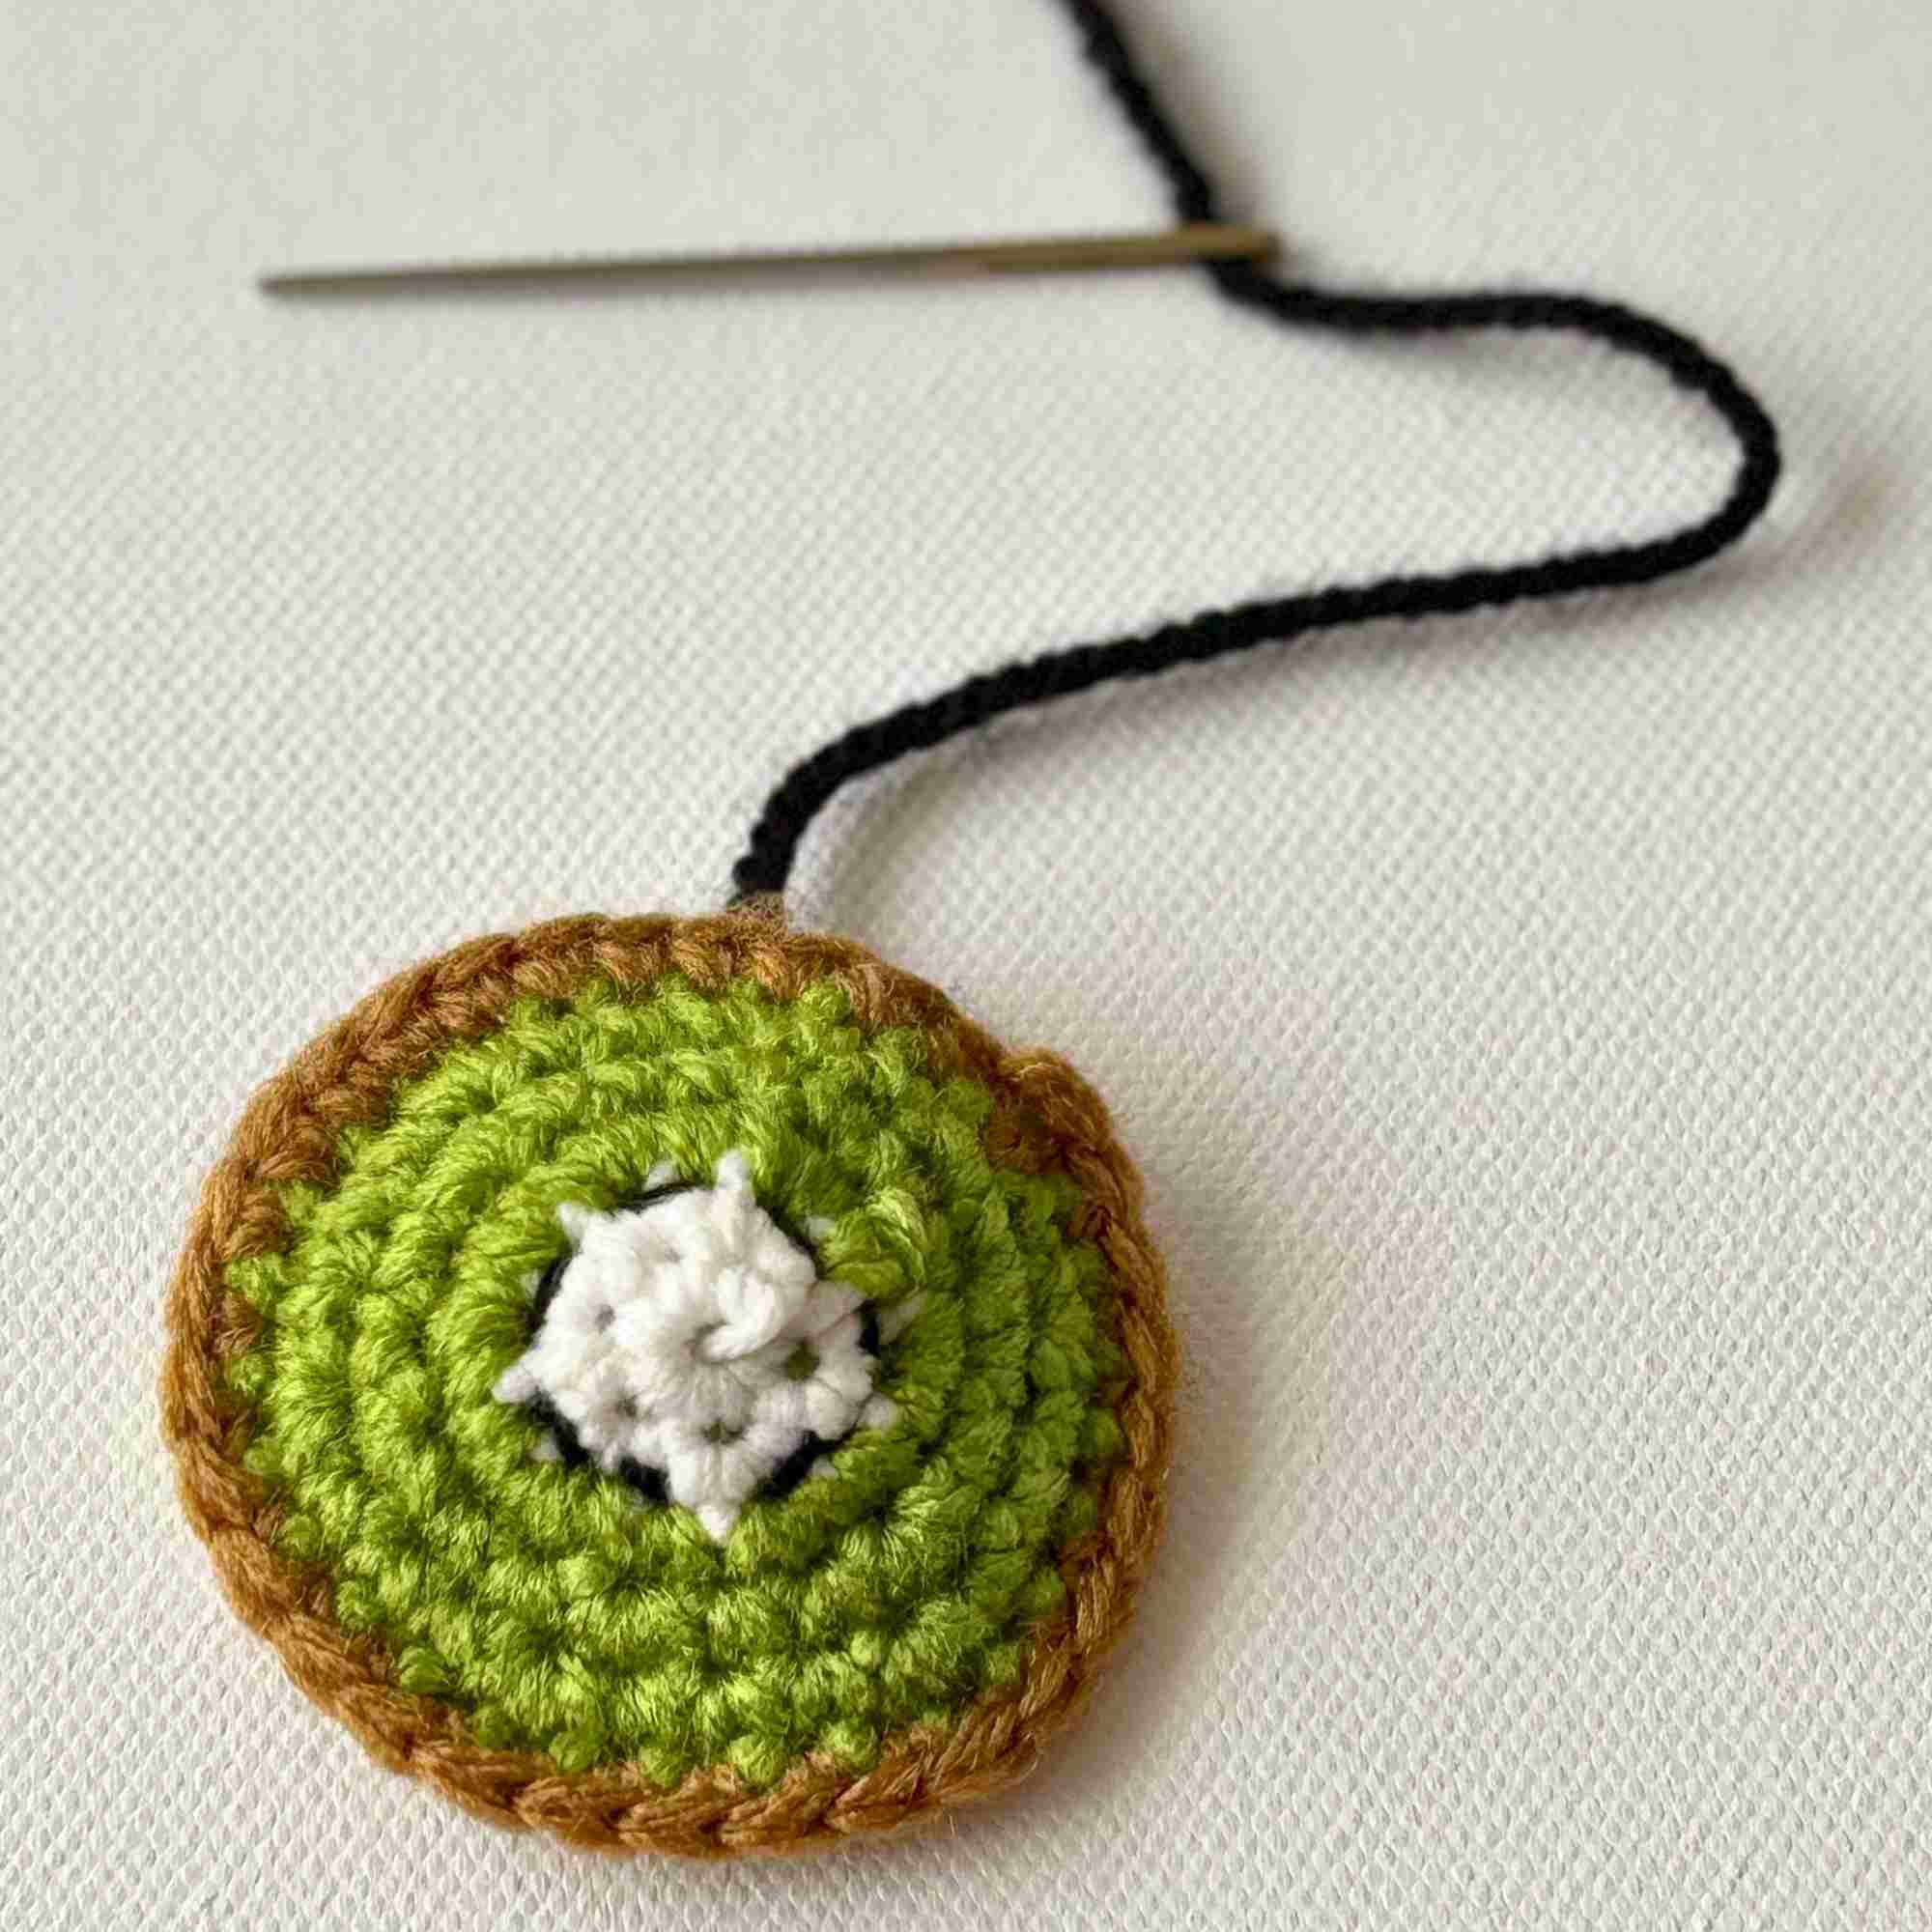
Cut an arm's length of black yarn, thread it on your yarn needle and embroider small seed shapes around Round 2 of the Kiwi.
Part 2 (Bottom):
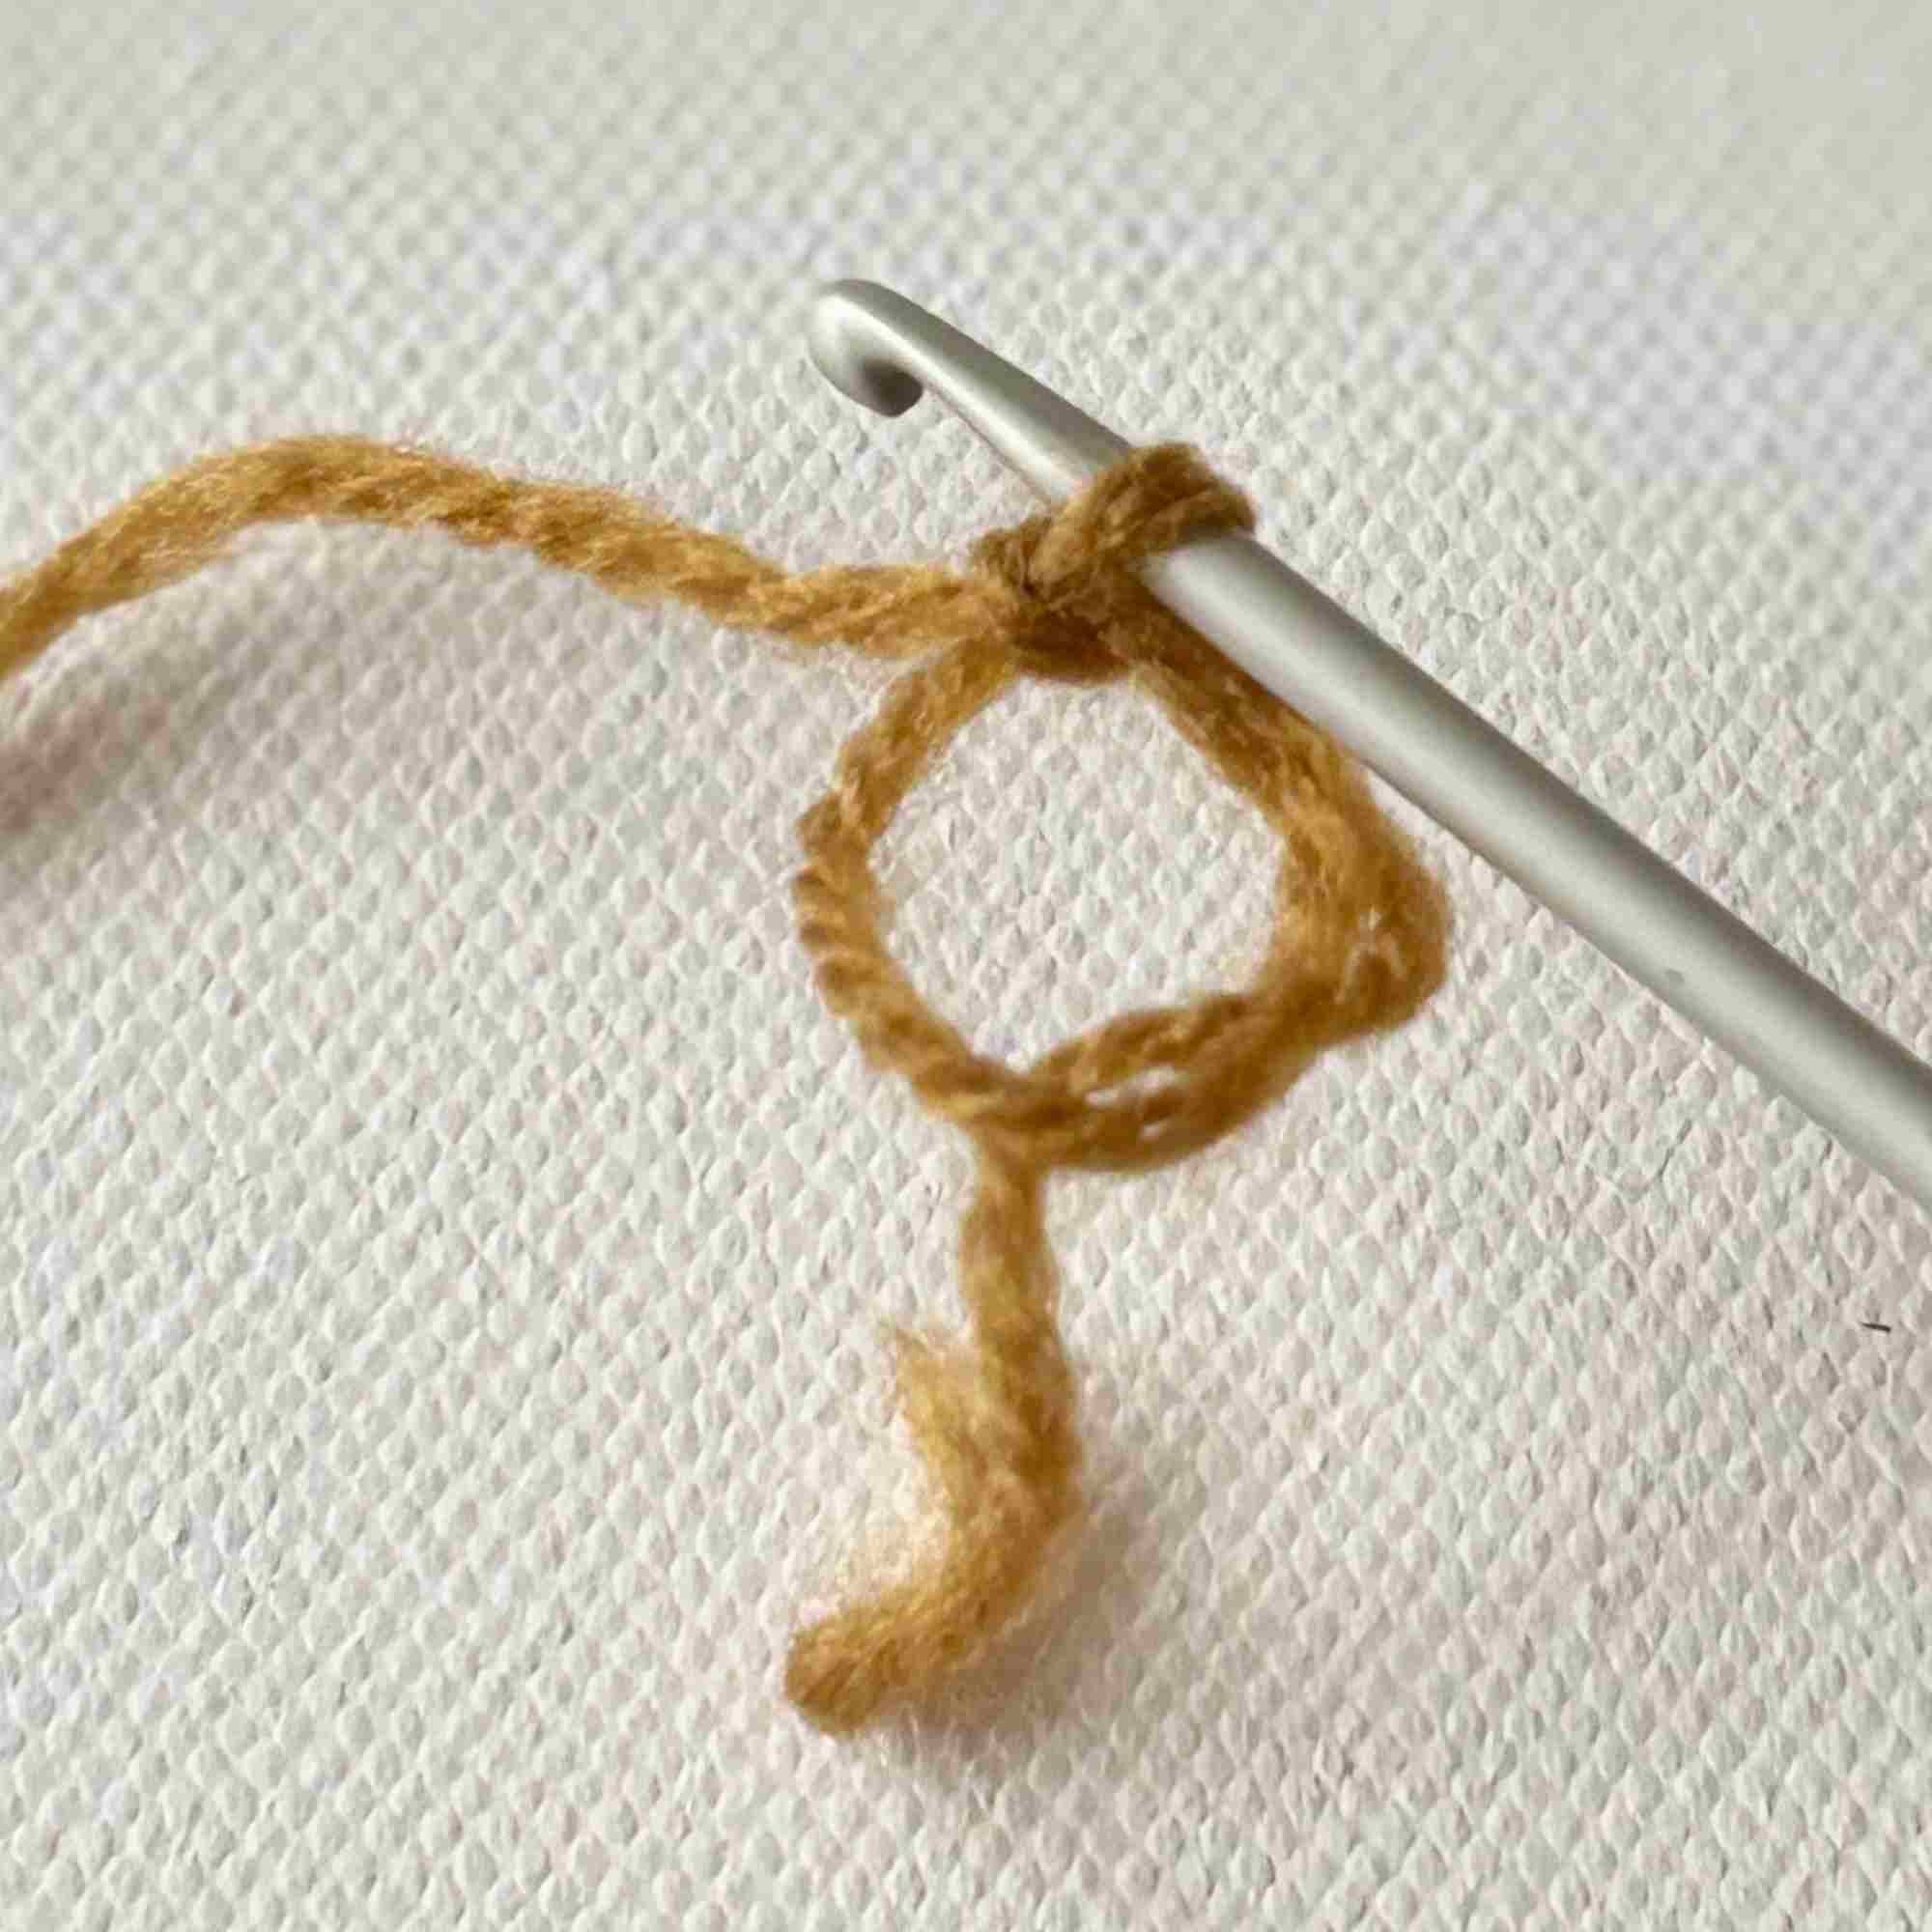
Round 1: With Brown Yarn, 6 sc in MC. (6) Pull you MC closed. Place stitch marker in the first stitch of the next round.
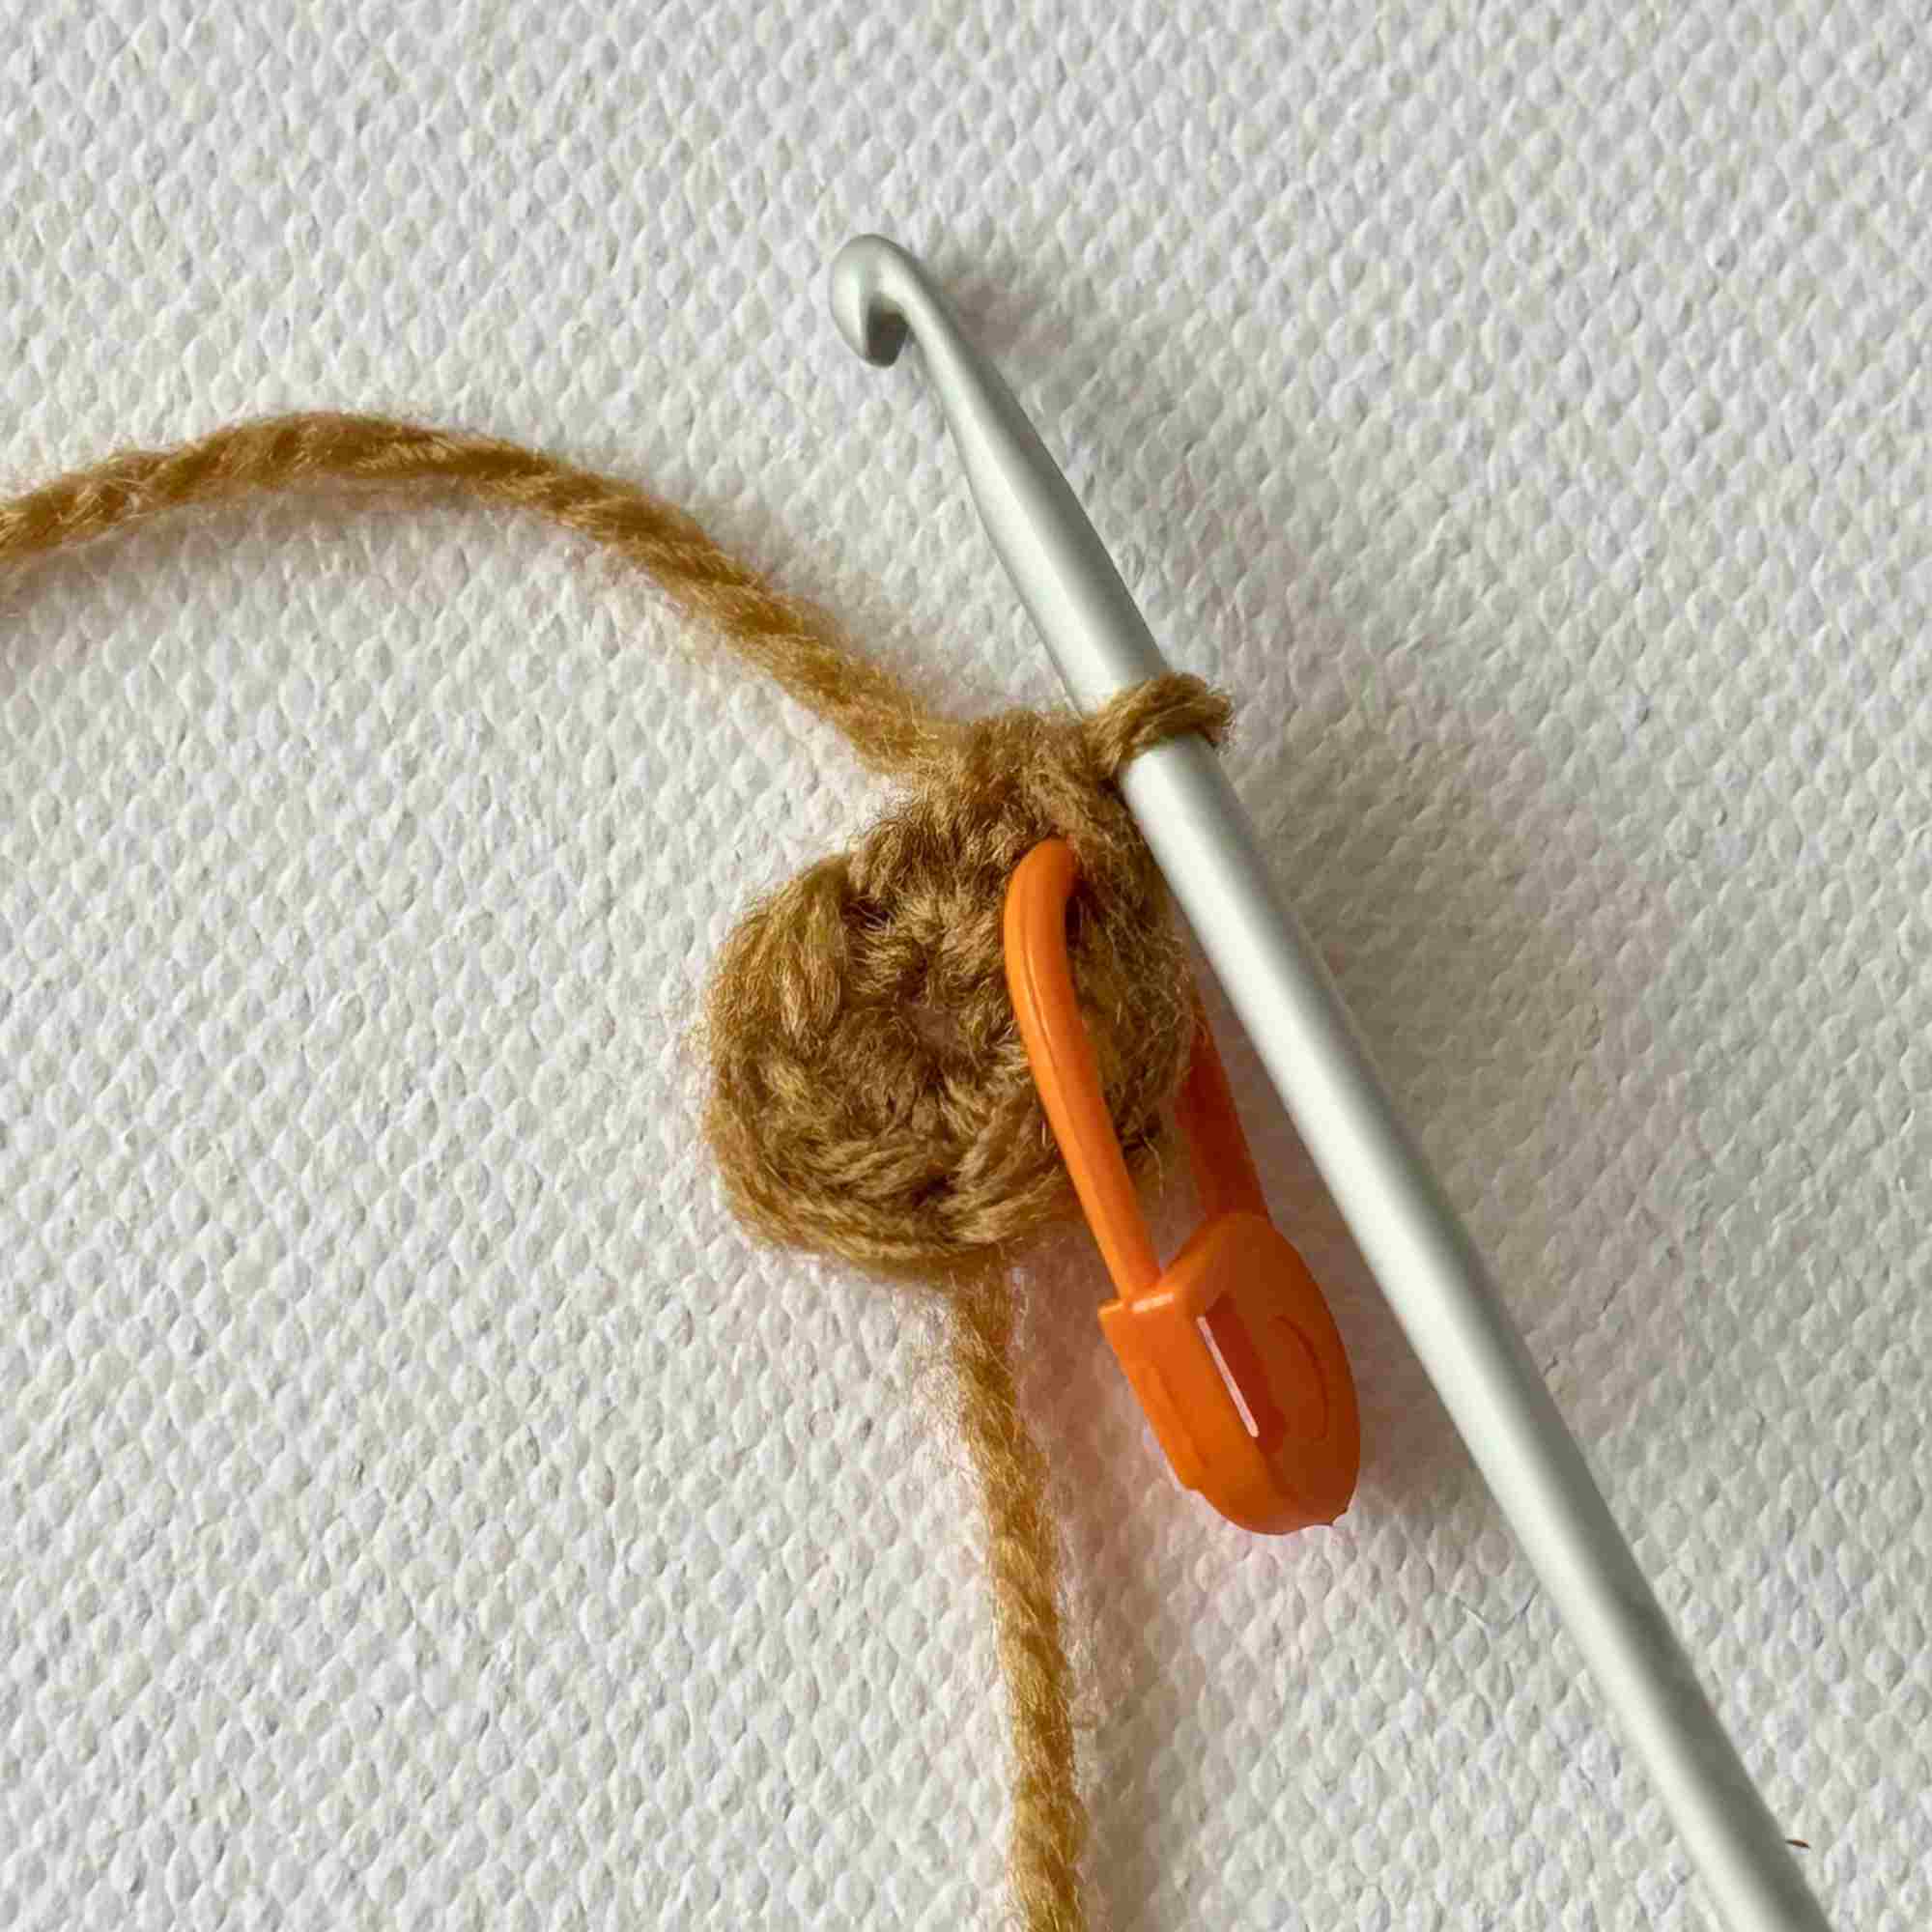
Round 2: Inc in each st around. (12)
Round 3: (Sc, inc) around. (18)
Round 4: (2 sc, inc) around. (24)
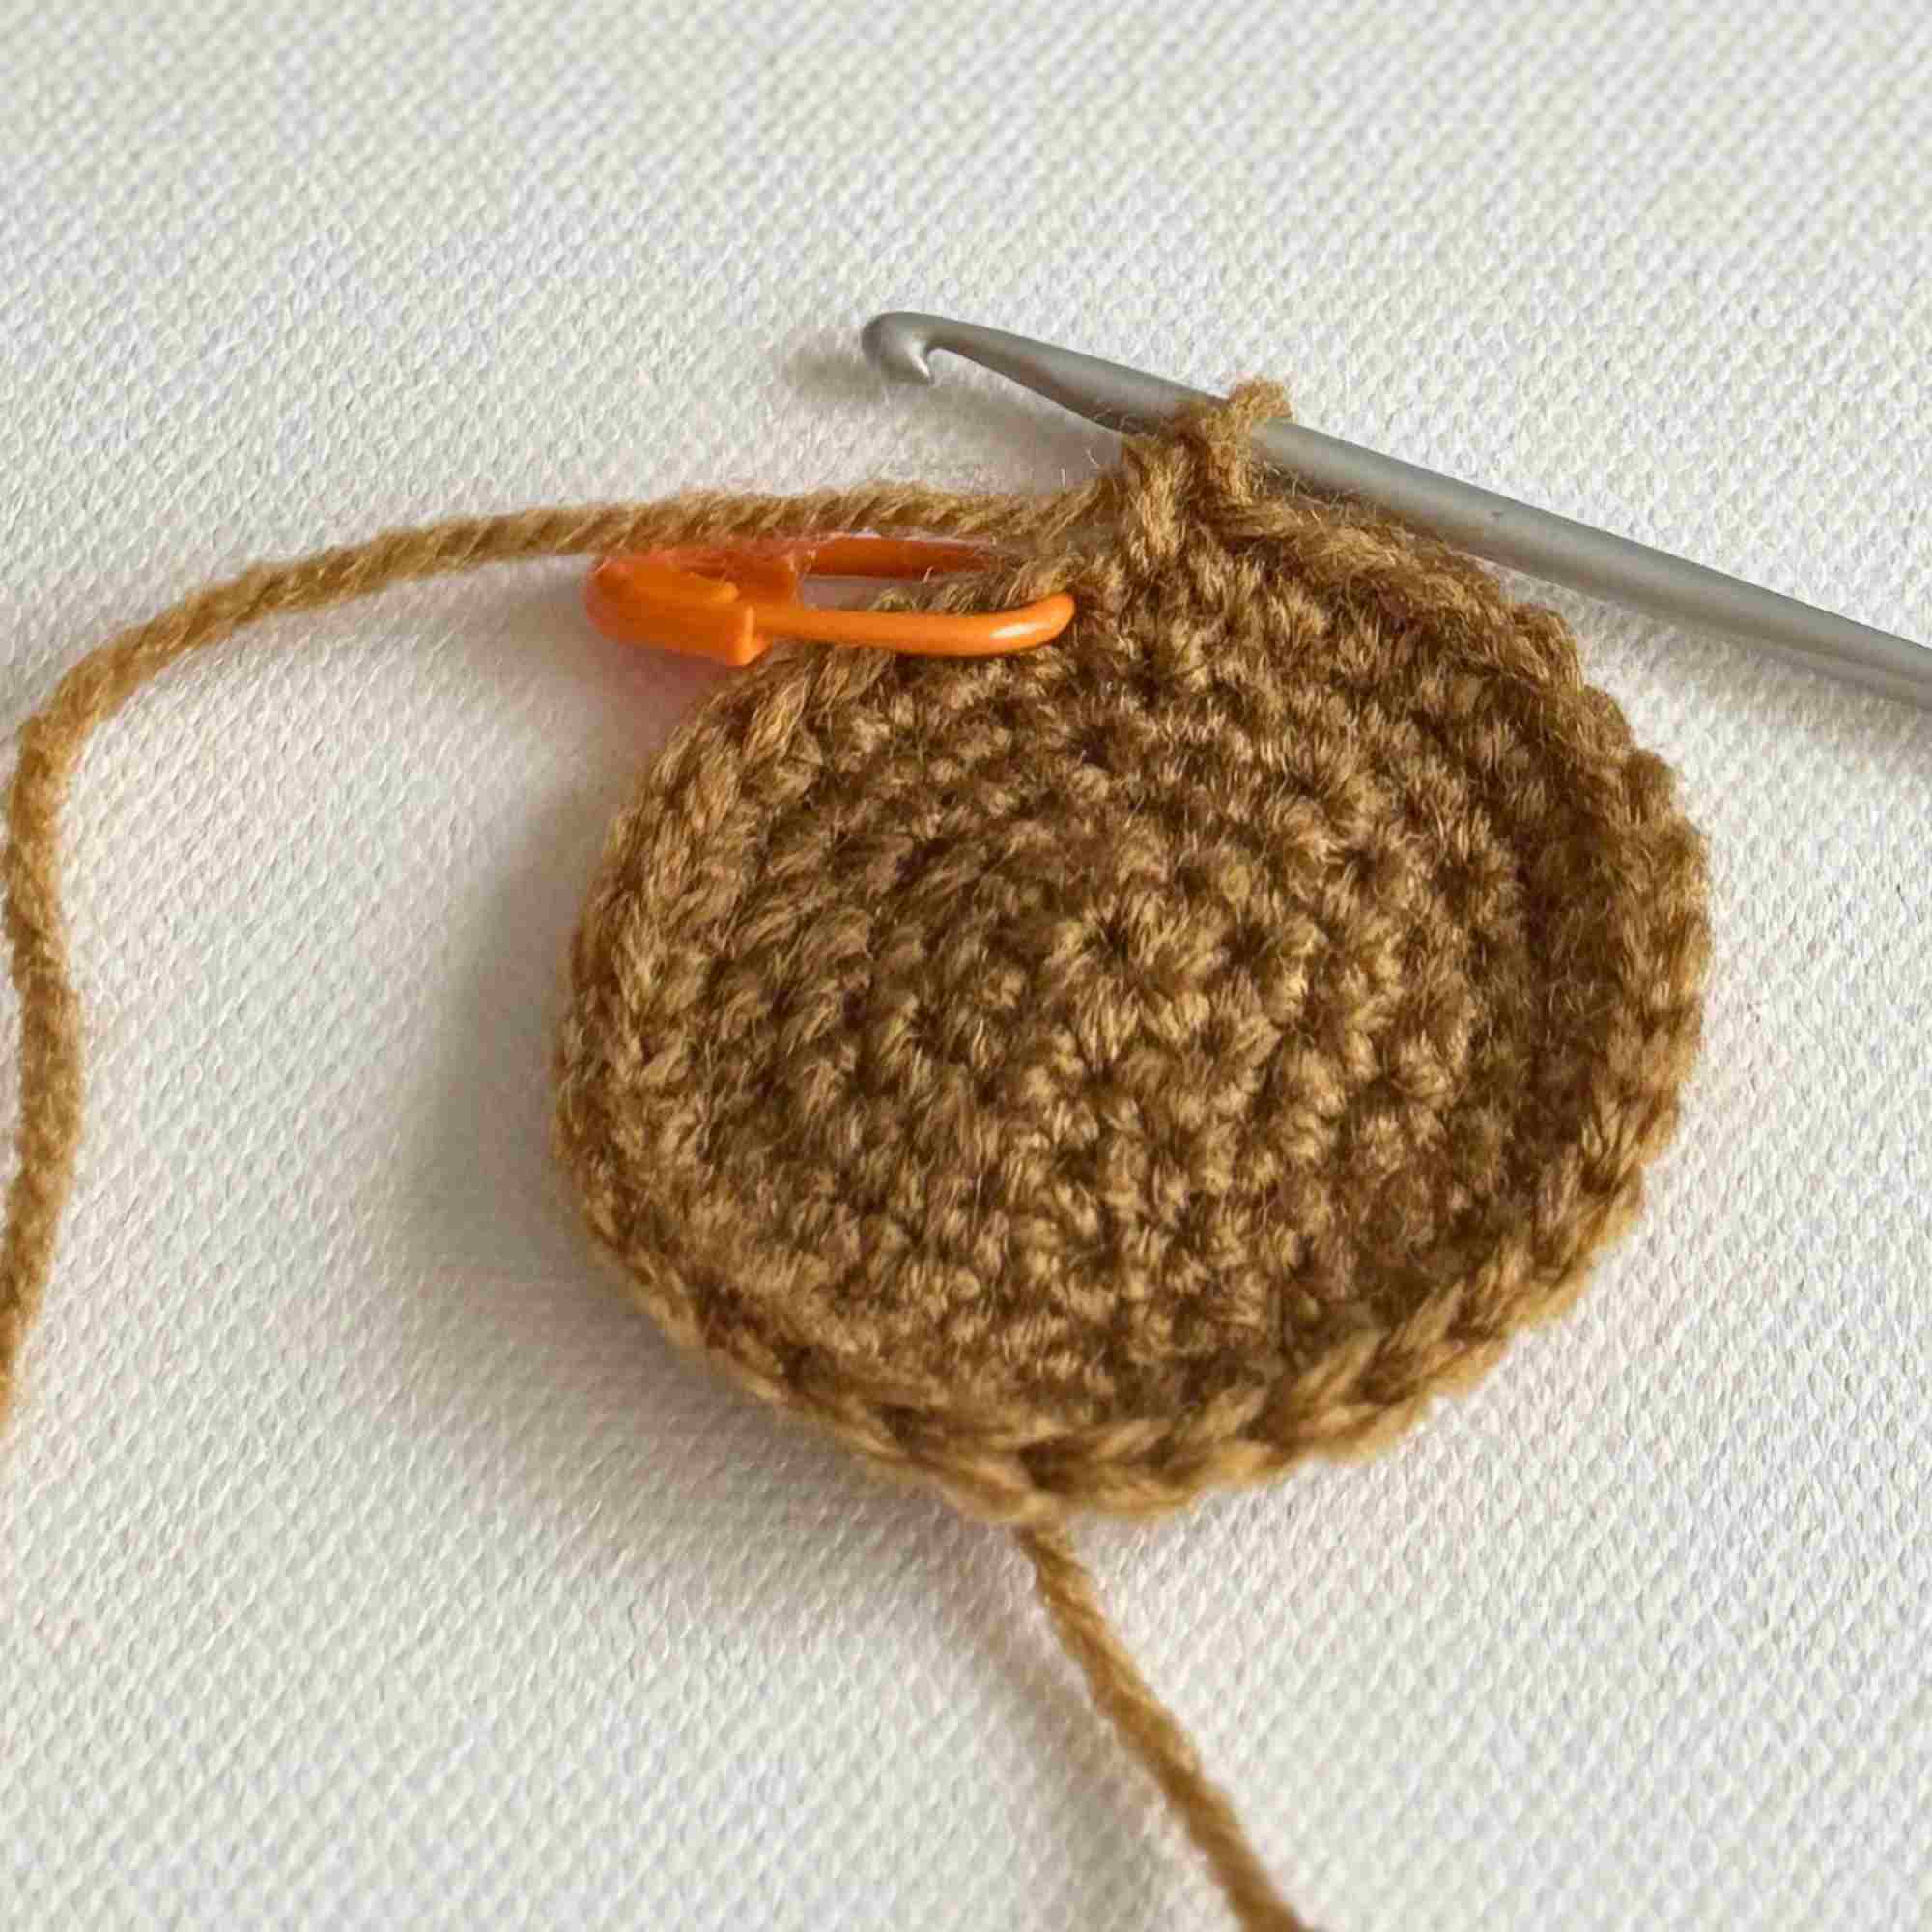
Round 5: (3 sc, inc) around. (30)
Round 6-12: Sc around. (7 rounds, 30 sts)
Note: Add your filling and weigh your footbag. If you're making this for more advanced players, add a couple of rounds to make a heavier footbag. Remove filling.
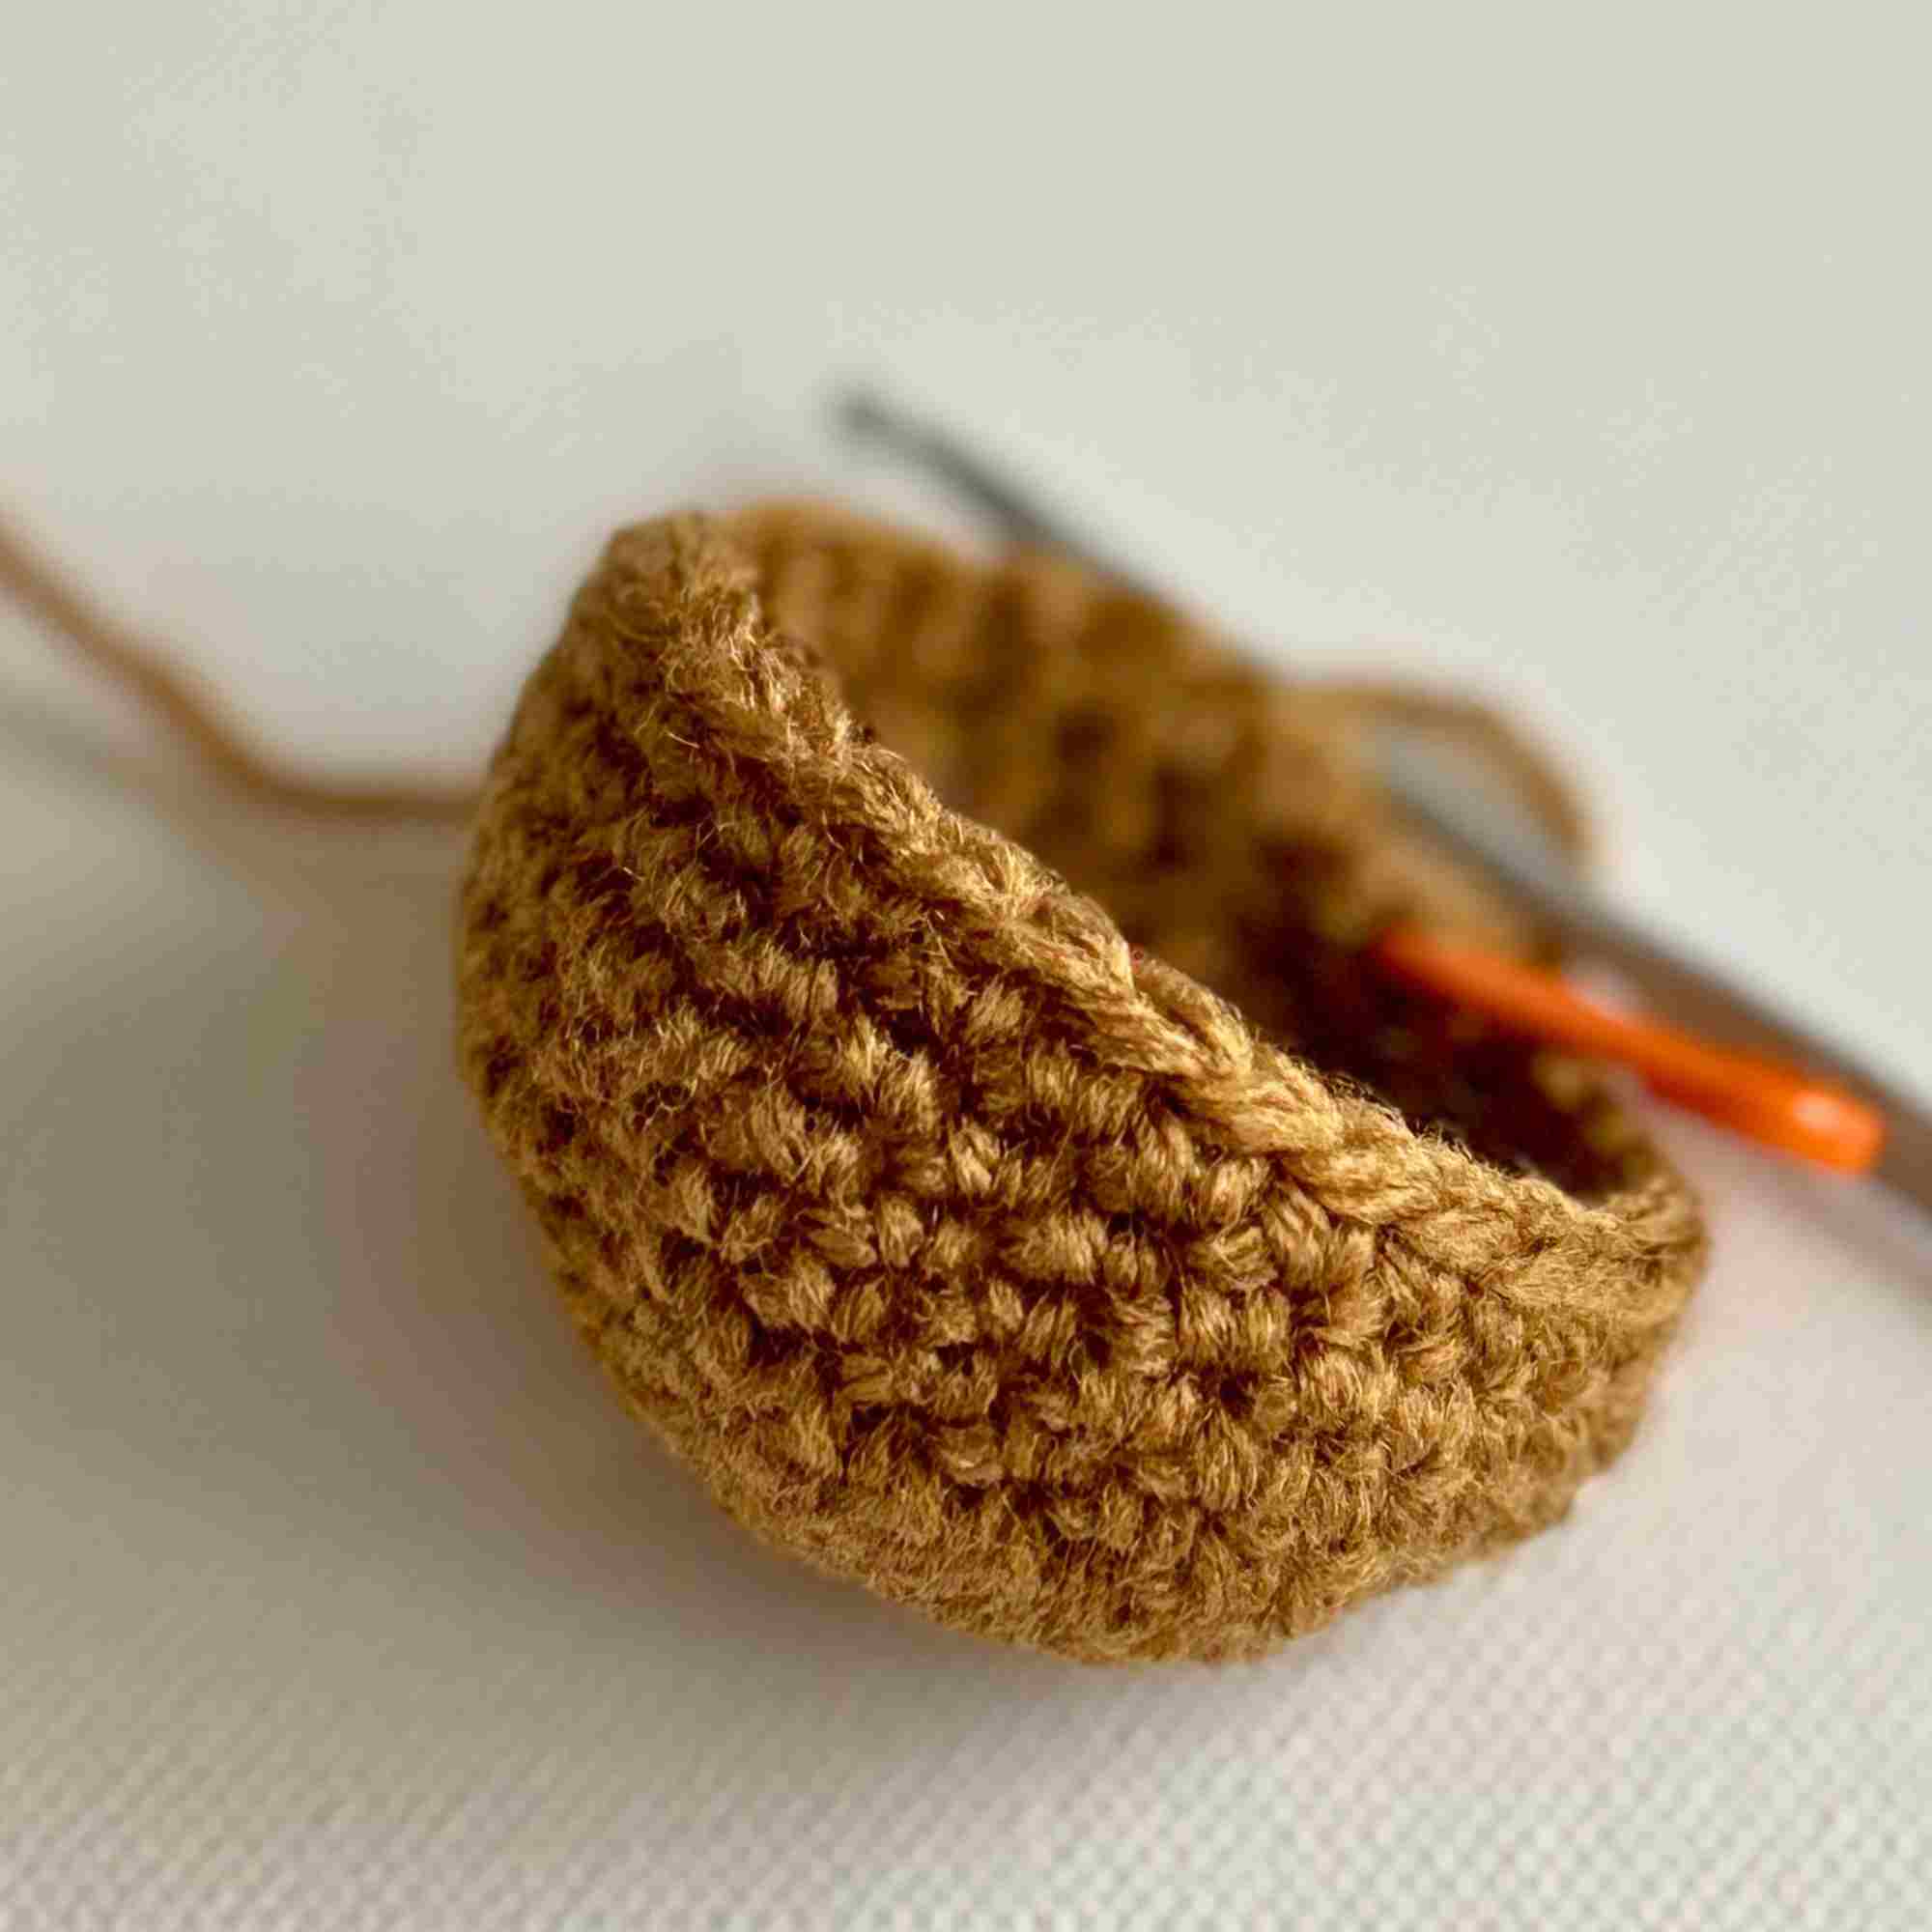
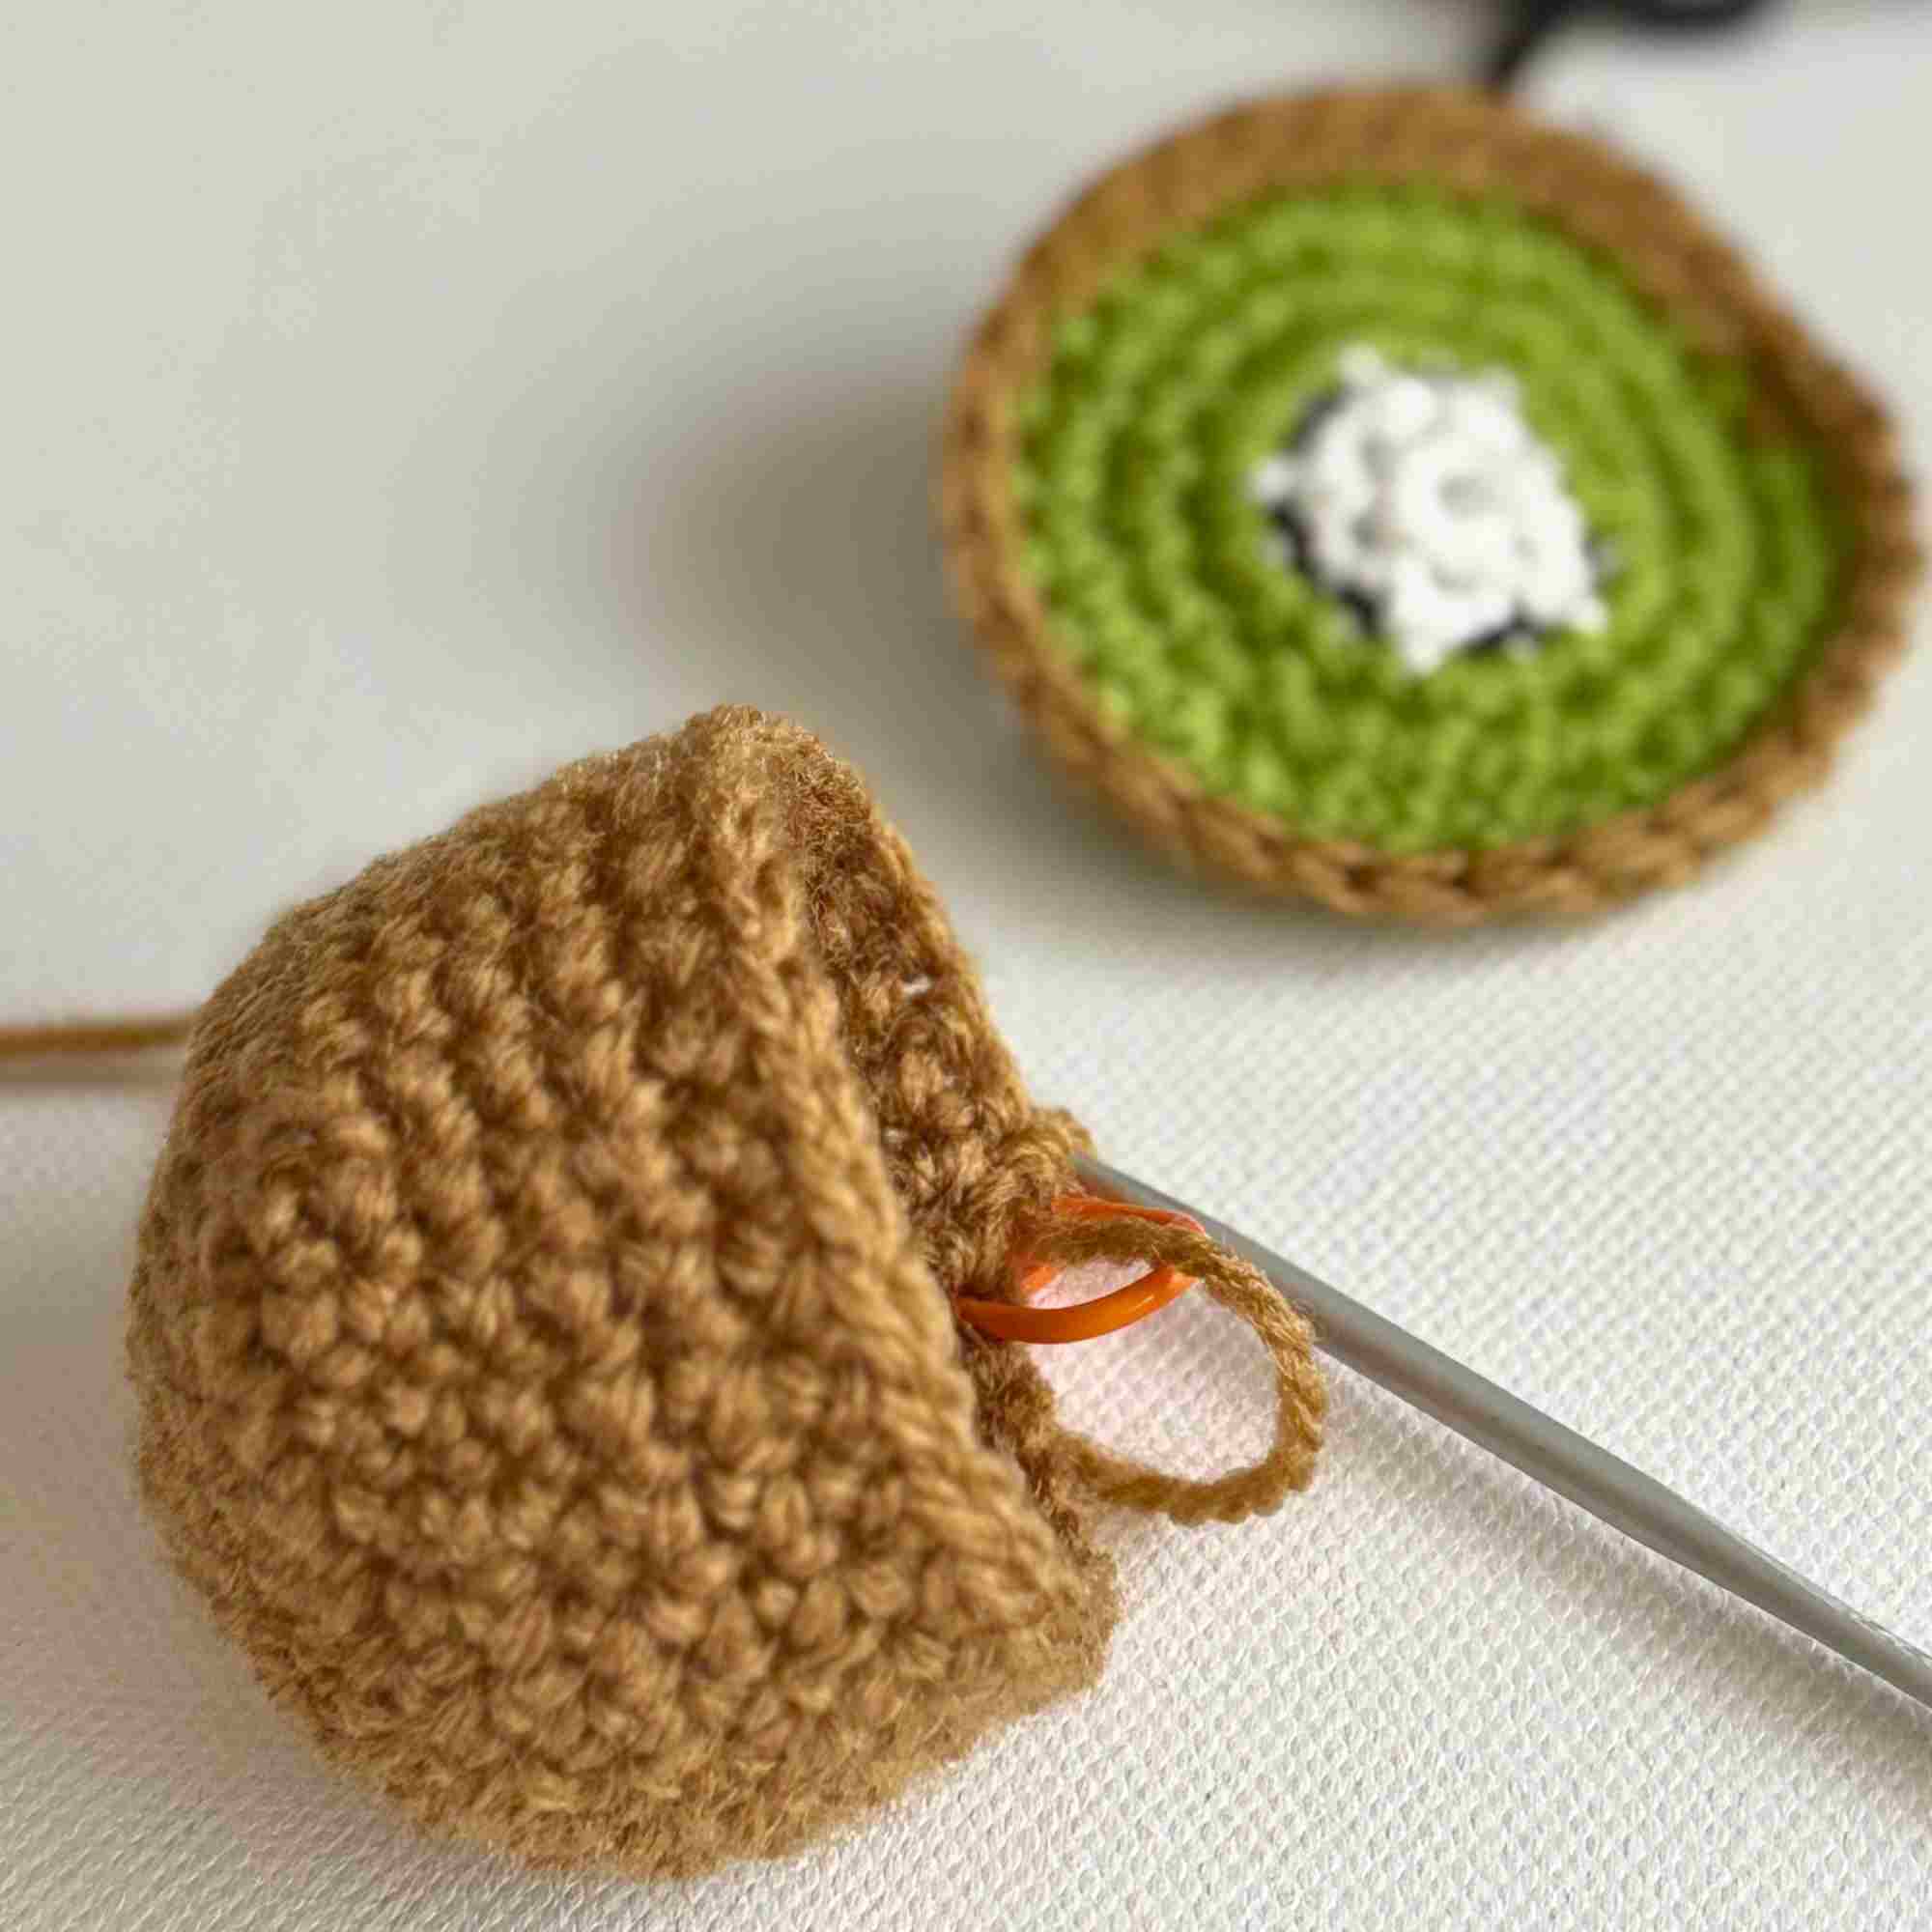
Leave an arm's length of yarn, cut yarn and fasten off.
Joining 2 Parts
Remove your stitch marker and thread your long yarn tail onto your yarn needle.
Align the yarn tail of the top (Part 1) with the working yarn of the bottom (Part 2). Make sure all your yarn tails are tucked into the kiwi.
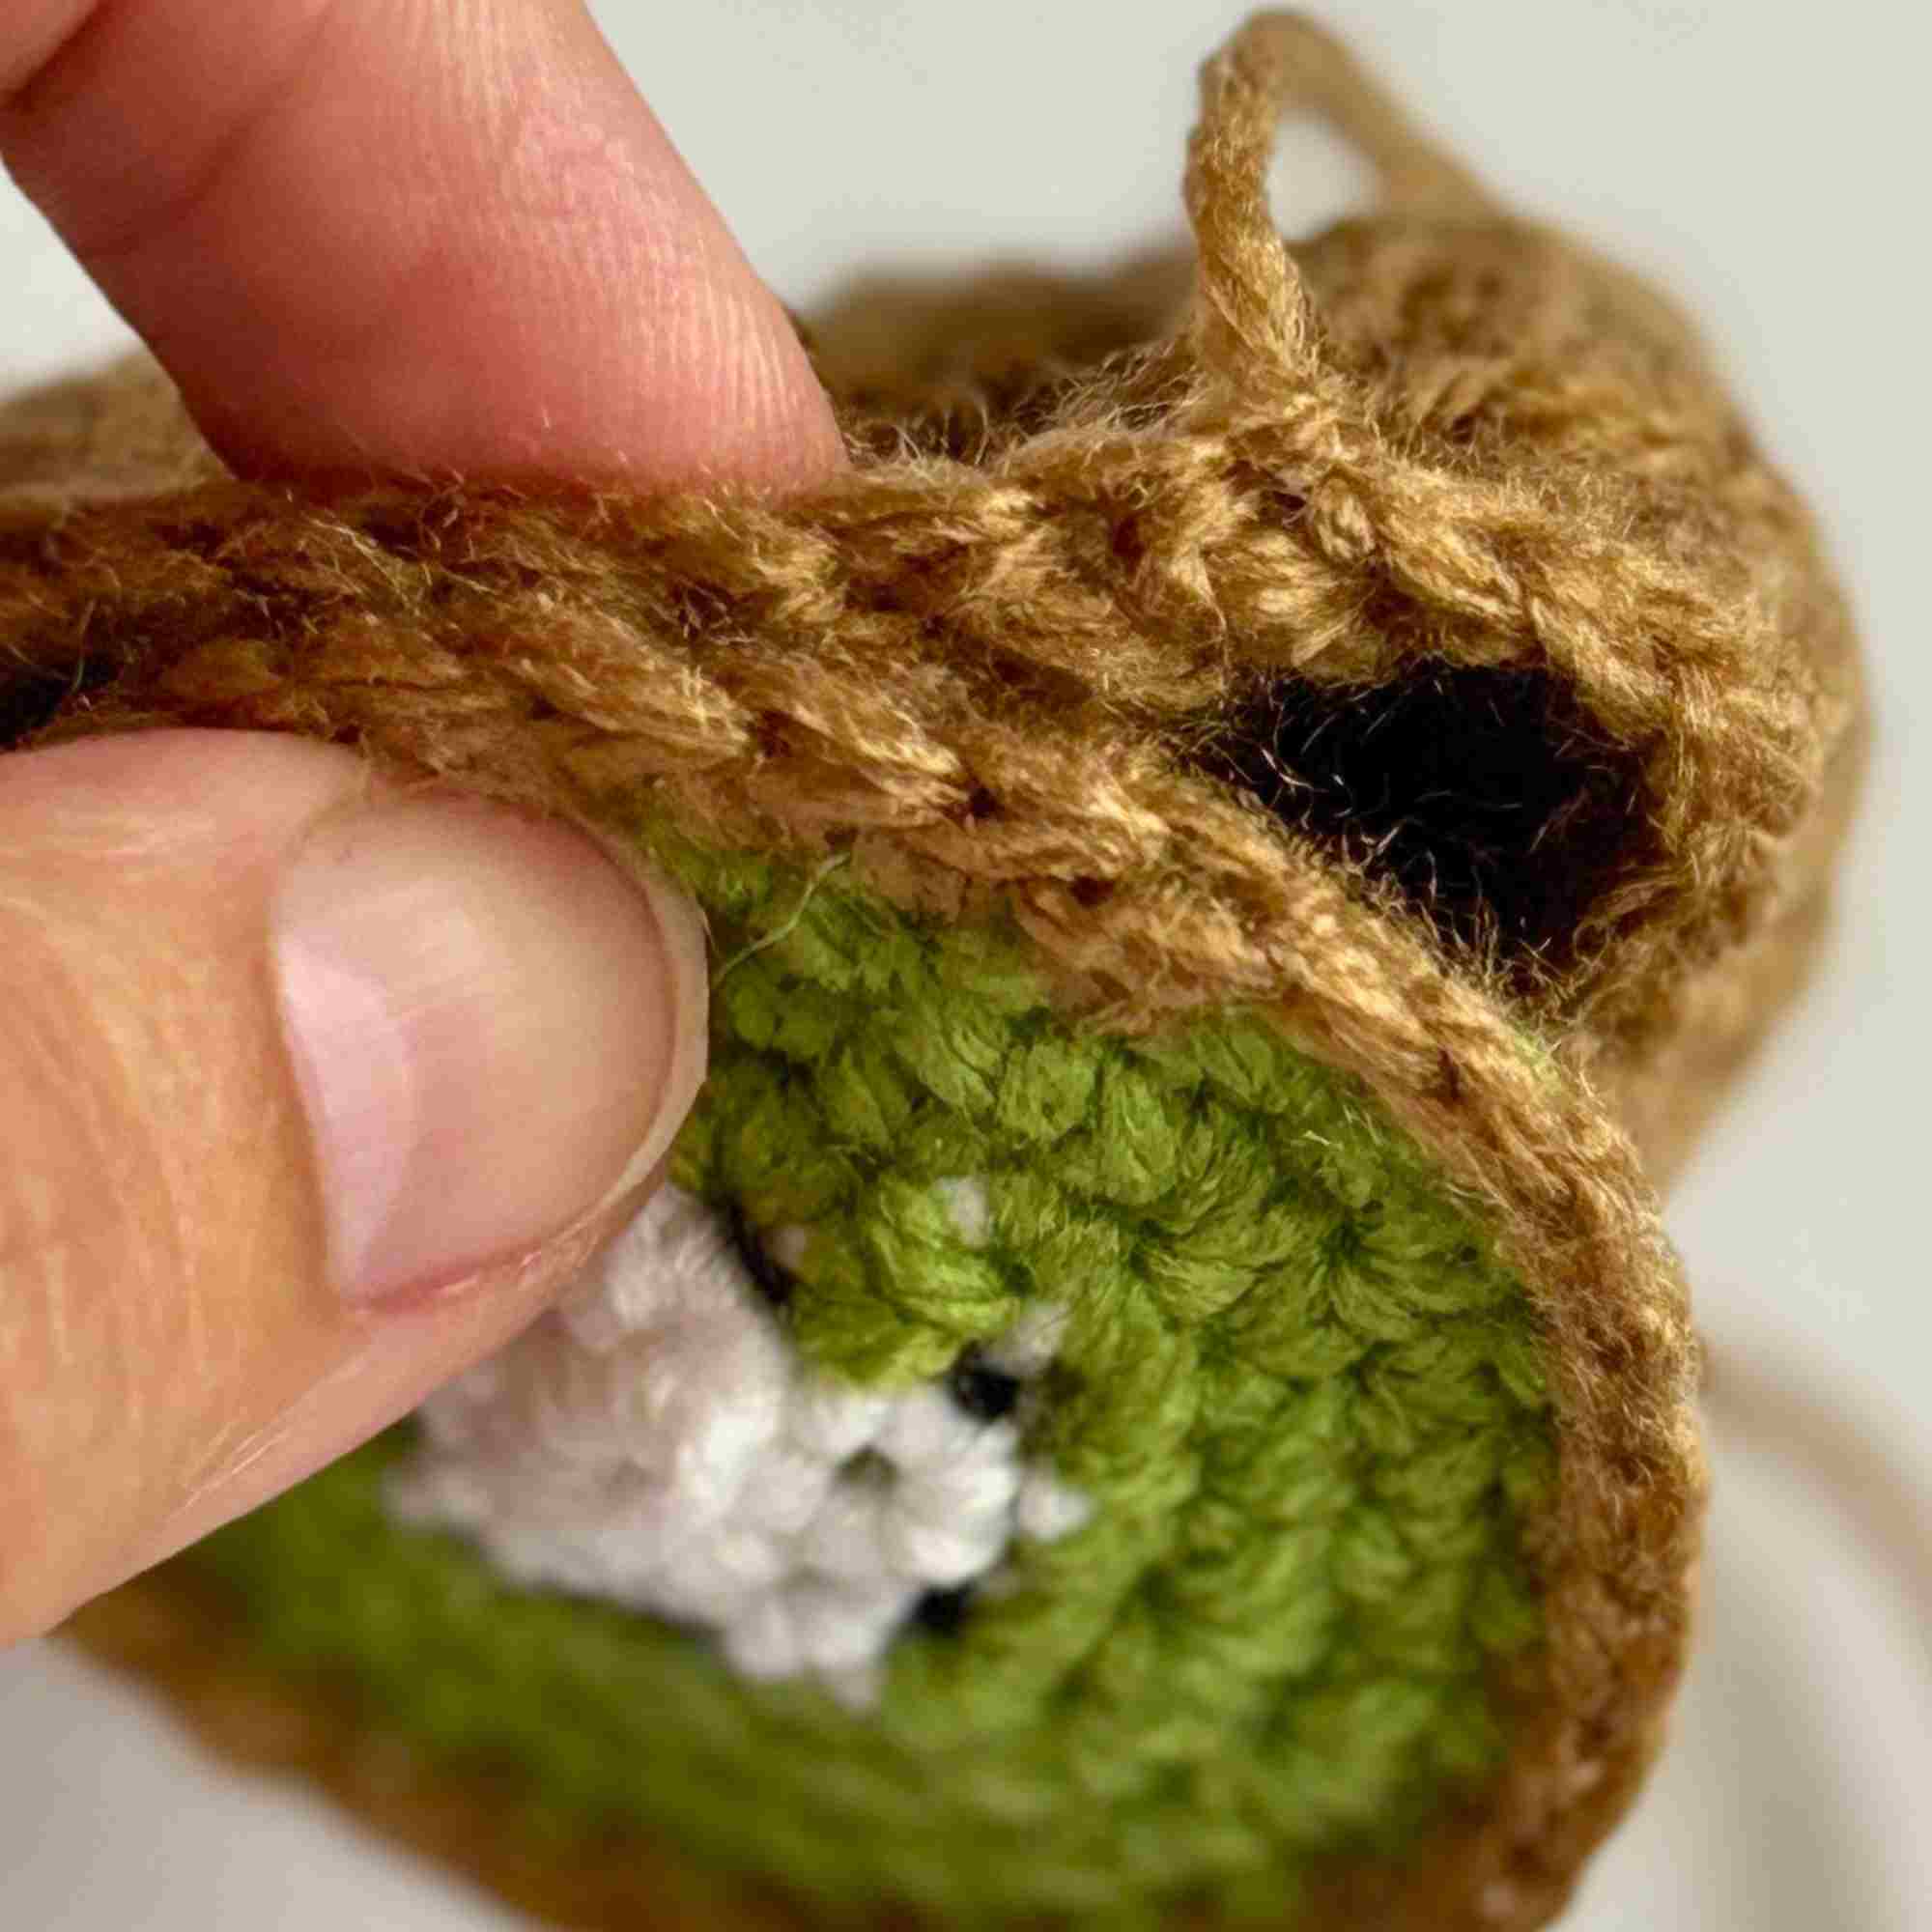
Start whip stitching the 2 parts together one stitch at a time (through both loops of the either part) about 2/3 of the way around. Pull tightly after each stitch and make sure you stitch consistently in the same direction throughout.
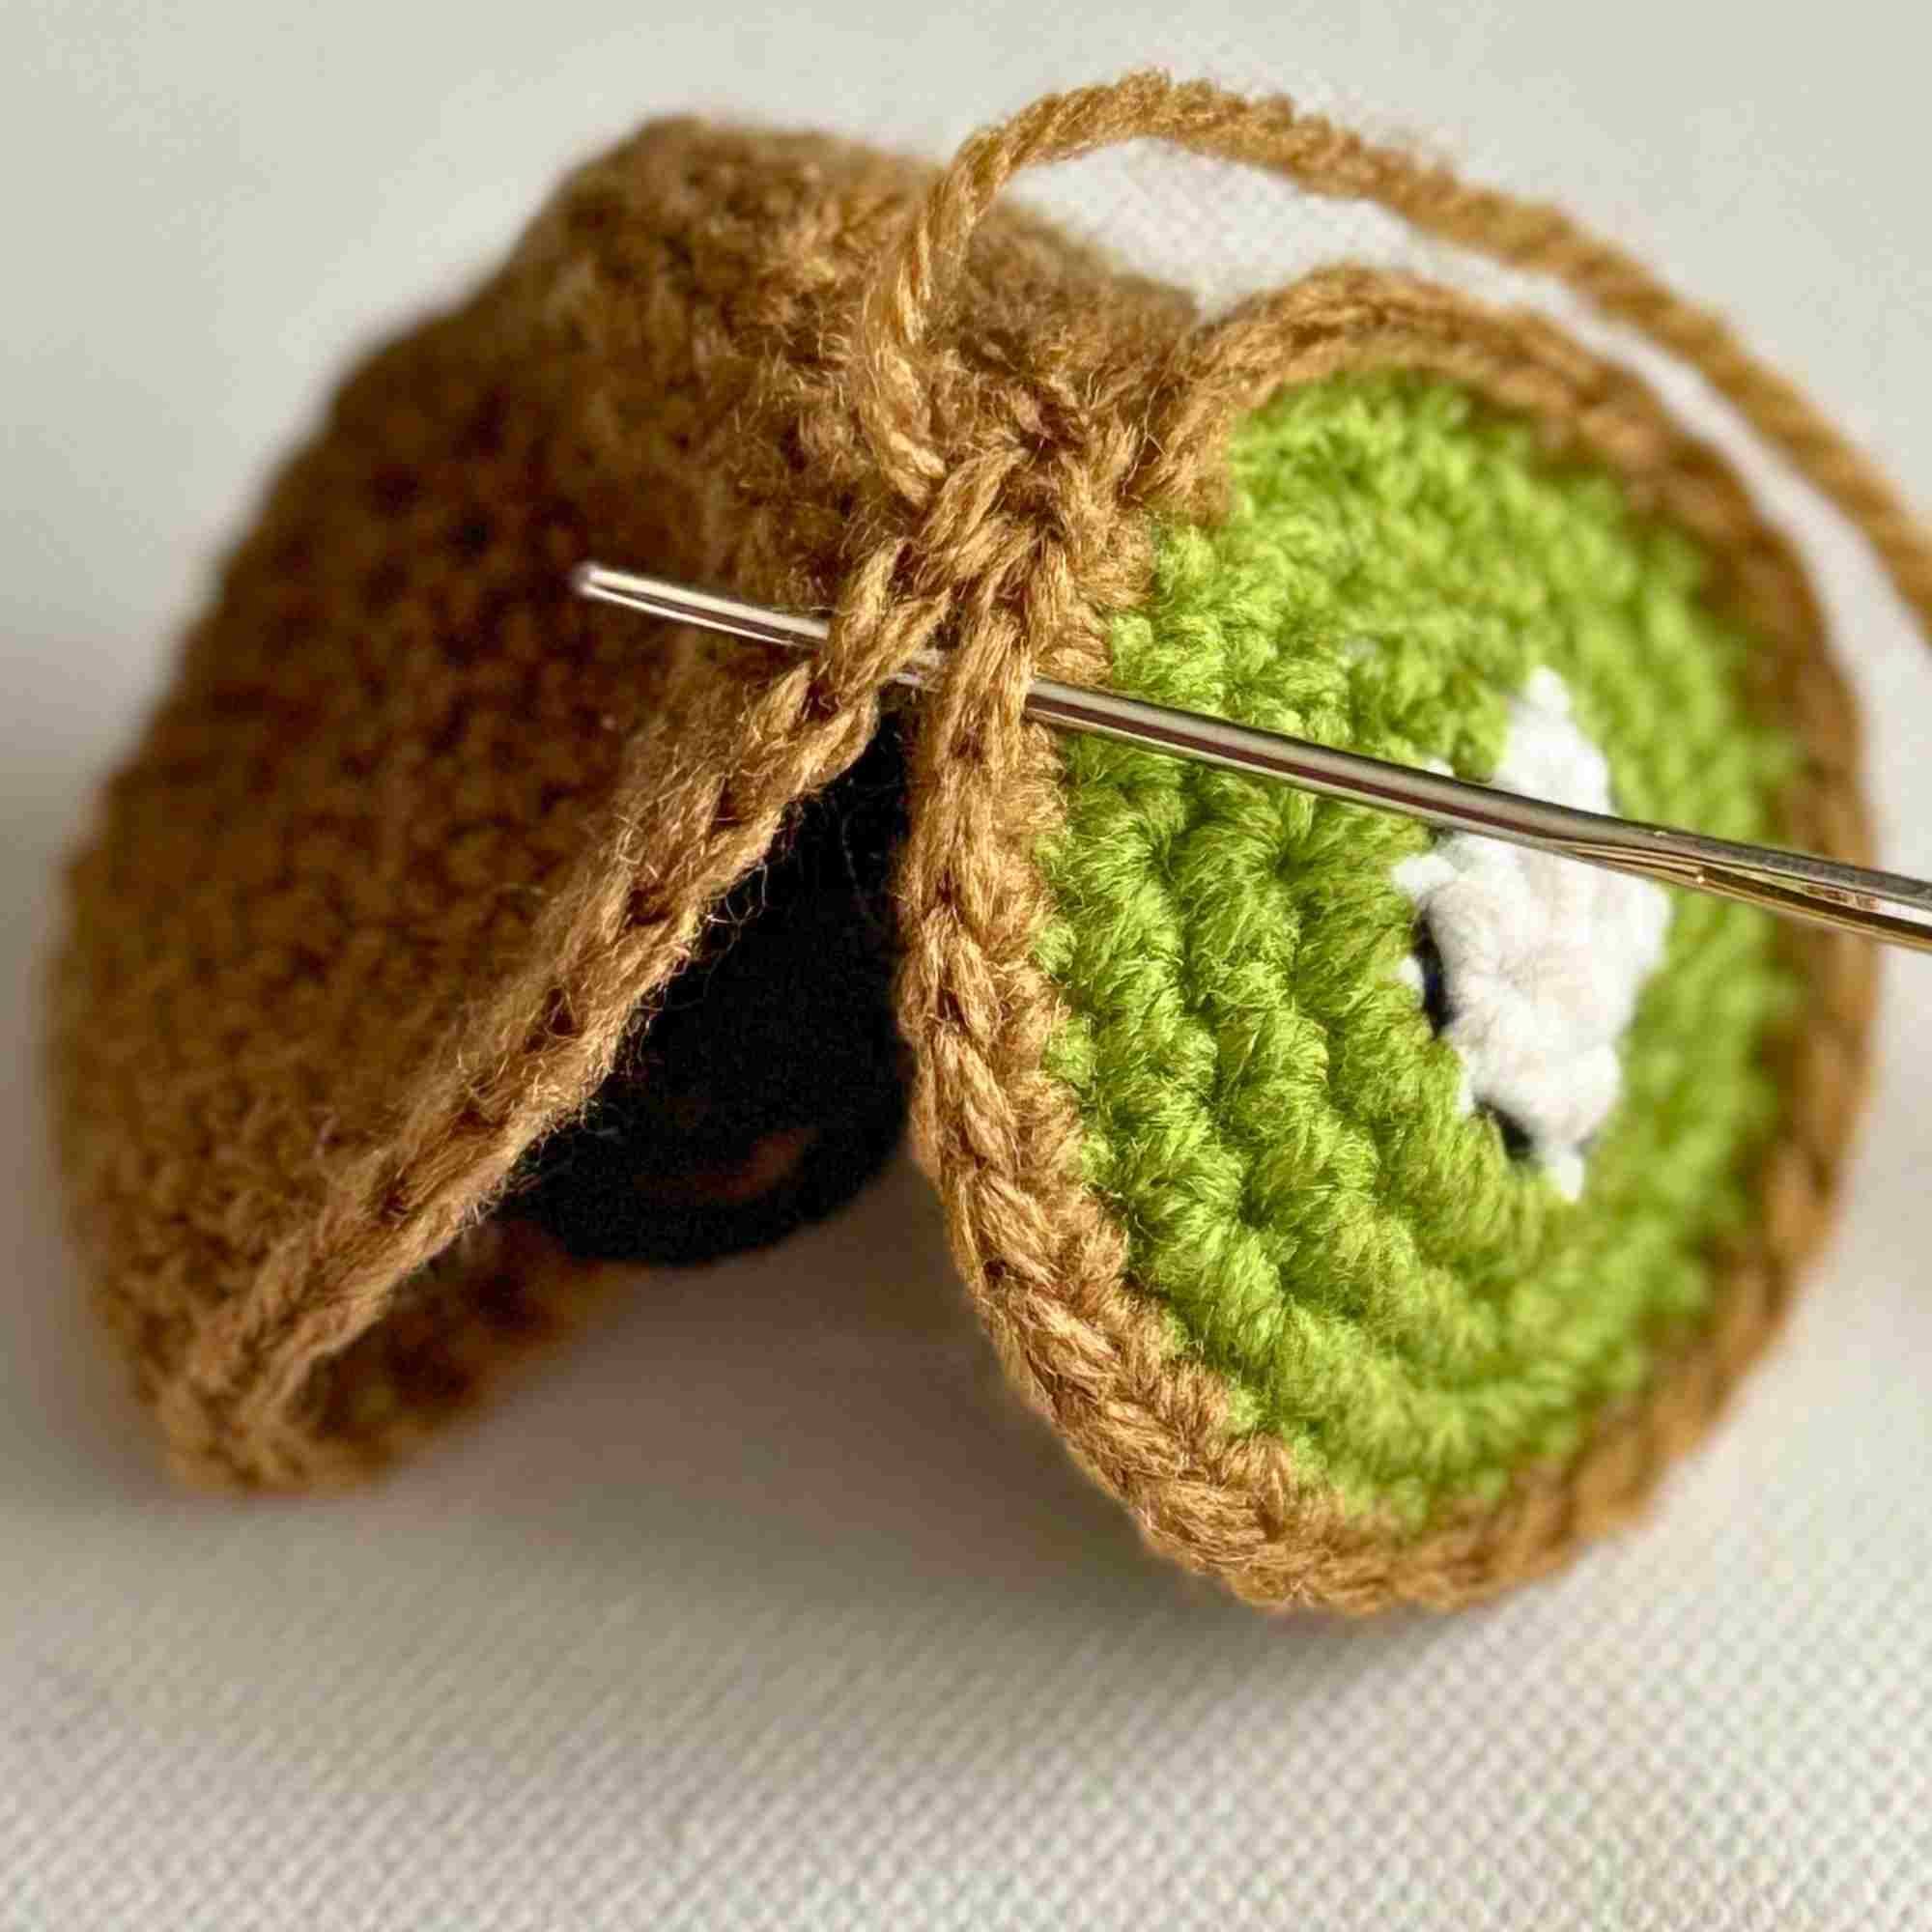
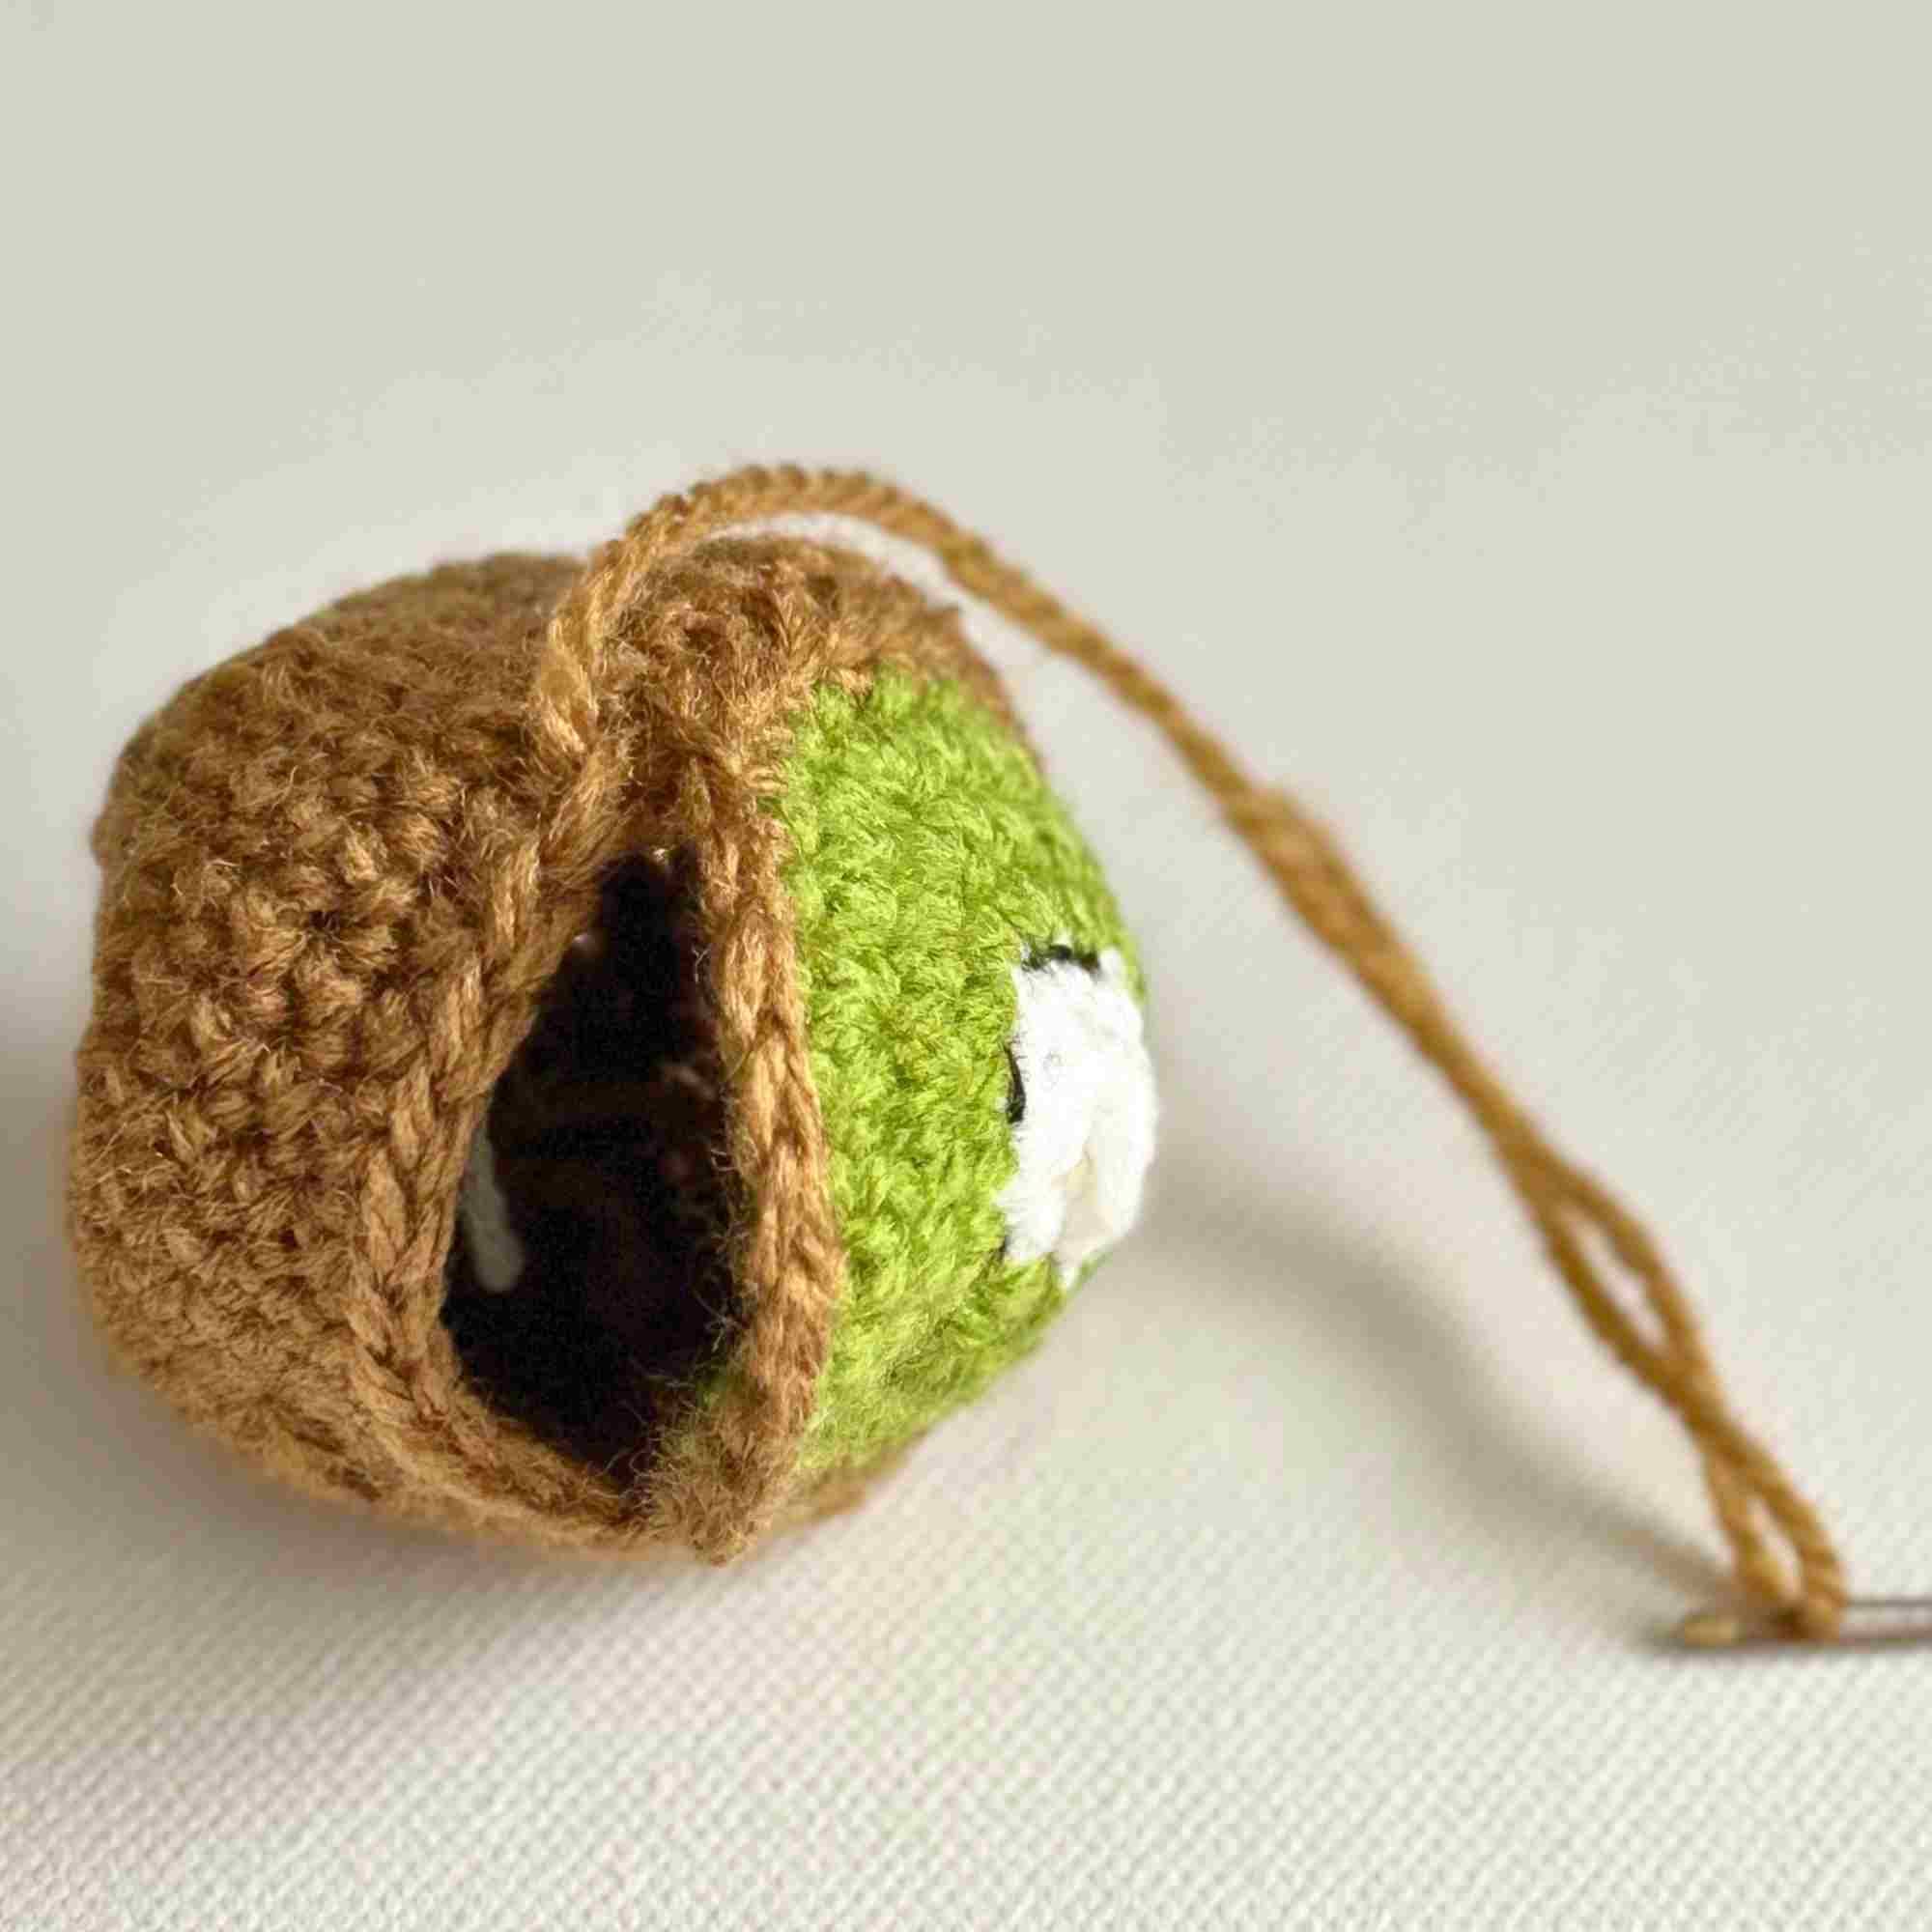
Begin stuffing firmly with your chosen filling (see options above)
Continue to stitch the remaining 1/3rd of the sack.
Leave a short tail, cut yarn and fasten off.
Weave in your ends neatly.
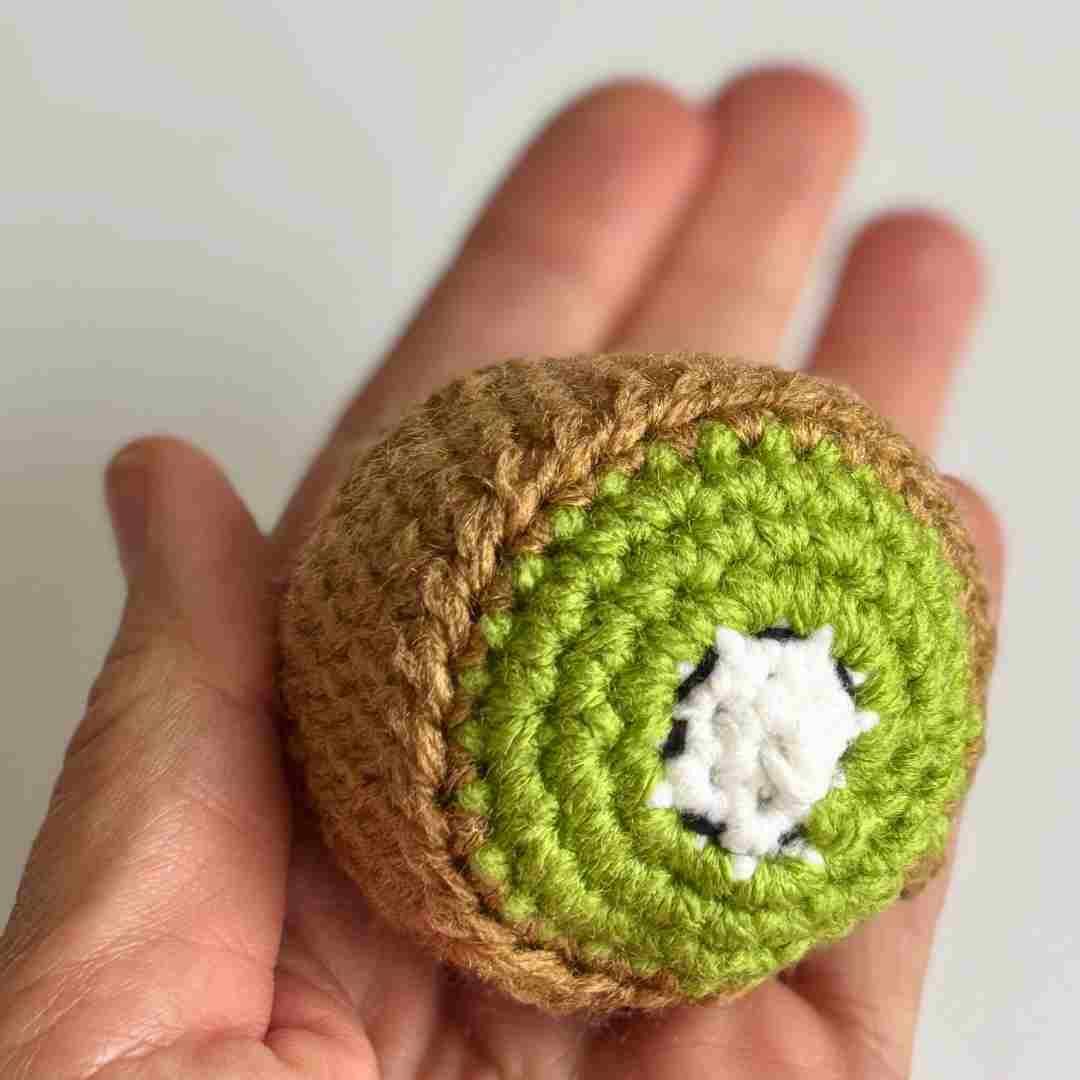
And there you have it! Your very own Kiwi hacky sack footbag! Who are you making this for? Let me know in the commends below.
Happy hooking!
May
More Fun Crochet Projects
If you enjoyed this Kiwi footbag, you might also like:
Share Your Project
I'd love to see your finished Kiwi Footbag! If you make one, share your photos and tag me on social media so I can admire your work.
Are you just learning how to crochet? Have a look at these awesome crochet kits that are perfect for beginners! They make great gifts too 🙂

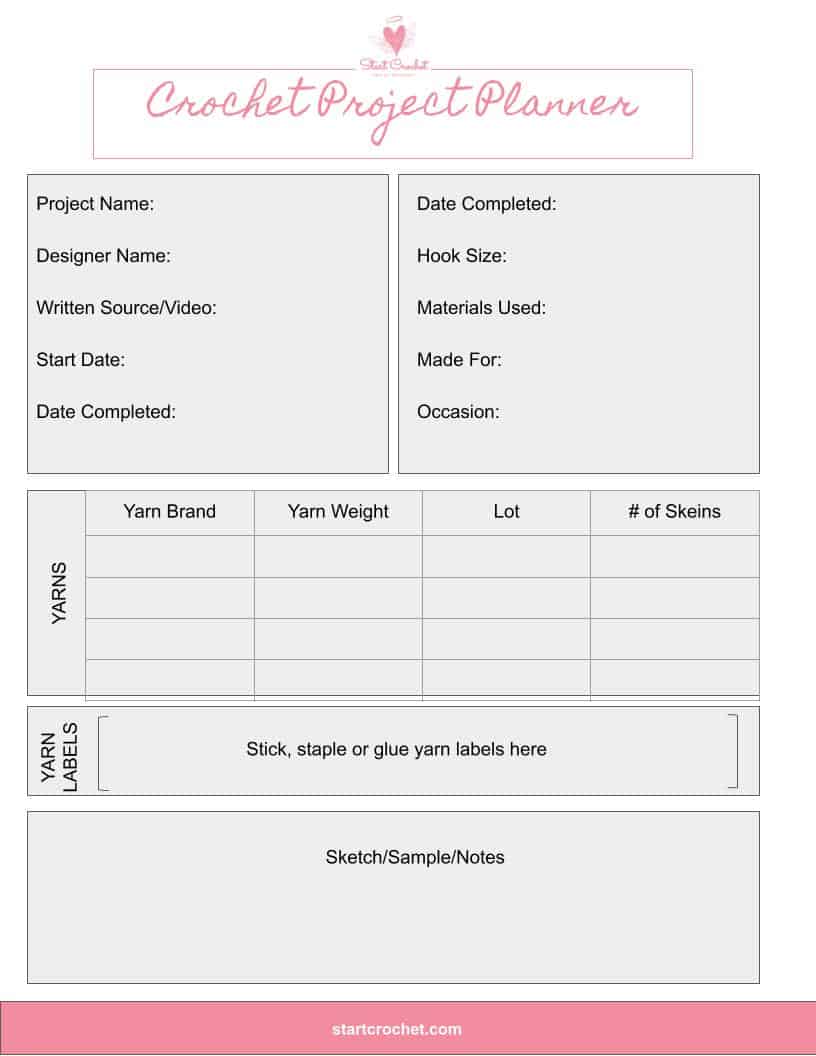
Have you started several crochet projects and are worried you won't remember your hook size, the yarn you used or which pattern you were following? Download this Free Crochet Project Tracker and keep it in your projects folder.
Crochet Project Tracker
Free Printable
Keep track of your crochet projects with these printable sheets.
Your info is 100% secure and will never be shared.
Disclaimer: Information in this crochet pattern is given for reference only. Even though I do my best to ensure all patterns have no mistakes, occasional errors may slip through.
No liability is accepted for variations in finished projects. Please get in touch with me at admin@startcrochet.com if you think there might be a mistake in the pattern or if you are unsure about how to interpret the instructions.
I’d love to see your finished item, so please tag me using @startcrochet.
Please follow my accounts to see what else I’m up to and to keep in touch:
YouTube: https://www.youtube.com/@StartCrochet
Facebook https://www.facebook.com/startcrochet
Pinterest: https://www.pinterest.com/startcrochet
Instagram https://www.instagram.com/startcrochet
Ravelry https://www.ravelry.com/people/StartCrochet
Etsy: https://startcrochetdesigns.etsy.com
LoveCrafts: https://www.lovecrafts.com/en-gb/user/Start-Crochet/5fccc556-8c97-4521-bcf0-0aadf9853faf
You may sell any finished products that you make from this pattern. However, when selling online, please include a link back to my blog startcrochet.com or tag me on social media with @startcrochet or with hashtag #startcrochet
Thank you!
© All rights for this crochet pattern design and photos are copyright and reserved to Start Crochet (May Shehab © 2025) . Copies and/or reproduction, translating, reselling or creating video tutorials of this pattern is a violation of the law.
Let's Keep in Touch :)
You May Also Like

About the Author
May
Follow me on socials here: