
Finger Worry Worms
For Kids To Make
Have you wanted to join the Worry Worm craze, but don't know how to crochet (yet)? Or do you have/know a child who would like to learn how to make worry worms without a crochet hook?
Well, my 8-year old daughter just came up with this new worry worm pattern using only her fingers. No crochet hook, no knitting needles, just her fingers, some bulky yarn and a bead!
I think her special version of worry worms will be a real hit! It takes her under 7-minutes to finish one and she's already made a few to give to her friends at school. We just had to order some more face-painted wooden beads for the heads so she can keep going!
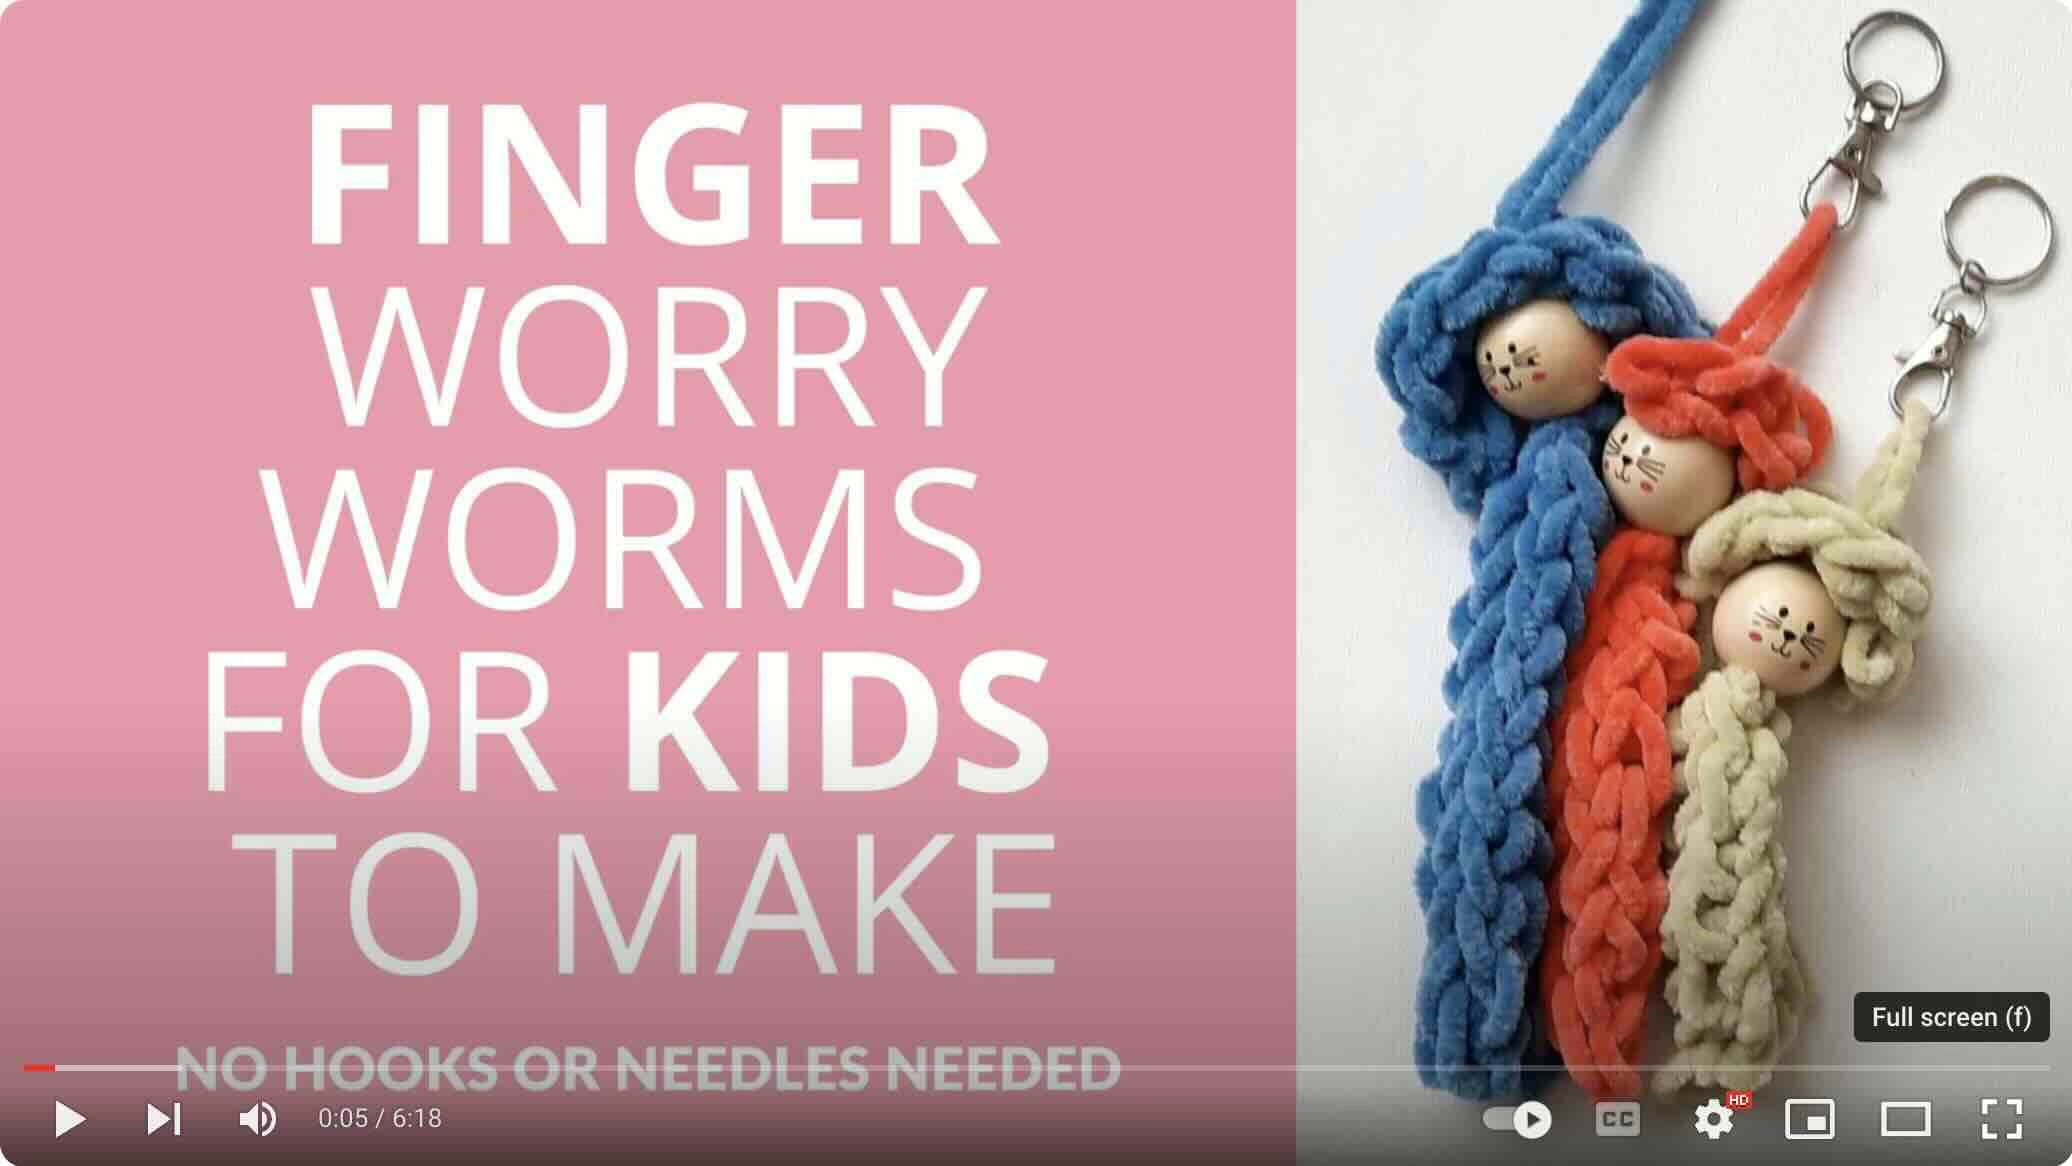
She wants to make them in all colors & sizes. The taller ones are the mommies and the daddies and the shorter ones are the kids and babies...
These would work well as keychains and of course, as Random acts of kindness to be left out and about for people to find.
Would it make your day if you found one of these? Let me know in the comments below.

easy crochet patterns for kids To Make
Are you interested in getting easy kid-friendly crochet patterns? Sign up below and I'll send them straight to your inbox as they're released.
By signing up you agree to the terms & conditions
Disclaimer: This post contains affiliate links, which means I receive a small commission, at no extra cost to you, if you make a purchase using the Start Crochet links. Please see my disclosure for more details.
Special Offer!
15 Worry Worm Patterns
Mega Bundle Sale

Like this pattern, but not ready to work it yet? Save it to Pinterest!

Video Tutorial
Are you more of a visual learner? Watch this step-by-step video tutorial on YouTube.
Materials Needed
- Wooden Print Cat Doll Head Beads (30 mm) available on Amazon. These are quite LARGE, so make sure you have the right size. You could also use any other plain beads and draw faces on them.
- Bulky Chenille yarn in any color. I used Samt by MyBoshi.
- A pair of scissors.
- Glue (if you’d like the hat to stay in place).
- A keyring if you'd like to use it as a keychain.
Skill Level
- Beginner (suitable for children from age 6)
Size
These Finger Worry Worms measure between 18 cm (tall) to 12 cm (short) in height including the head & hat. The size of your worry worm will depend on the type of yarn used and the size of the child's fingers.
Gauge
7 stitches and 1 row = 10 cm
Yardage
Weight: 4 grams
Yardage: 4 - 6 meters of yarn
Notes
- You can make the pattern longer or shorter by increasing/decreasing the number of rows.
PDF Pattern To Download & Print
You may also purchase this pattern from Ravelry if you prefer.
Finger Worry Worms For Kids To Make
PDF Printable

Worry Worm Poem Tags
PDF Printable

Special Offer!
6 Themed Worry Worm Patterns
Bundle Sale

6 Themed Worry Worm Patterns Bundle
Finger Worry Worm Pattern Instructions
Create the Foundation
- Leaving about 4 inches, hold the beginning of the yarn between your thumb and your palm to secure it. Use whichever hand feels more comfortable for you.

- Step 1: Begin by weaving the yarn behind your index finger, in front of your middle finger, behind your ring finger, and in front of your pinky finger.
Note: Try to keep this relatively loose. Not too loose and not too tight.

- Step 2: Now wrap the yarn behind your pinky, in front of your ring finger, behind your middle finger and in front of the index finger.

- Repeat Steps 1 & 2 one more time.
- You should have 2 loops of yarn on each finger.

Row 1
- Starting from your index finger, lift the bottom loop (the one closest to your palm) over the top loop and off your finger. Do this for each finger in sequence (index to pinky finger).


Rows 2 - 10
- Push the remaining loops down towards your palm to make space for the next row.

- Pull the yarn tail behind your hand to tighten.
- Wrap the yarn around your fingers again: in front of the index, behind the middle, in front of the ring, and behind the pinky, then back around the front of the pinky, behind the ring, in front of the middle, and behind the index.

- Again, lift the bottom loop over the top loop on each finger.
- Continue repeating the lifting process until your piece reaches the length you want.

Finishing Off
- Once you have reached the length you're happy with, you need to cast off.
- Start at the pinky. Lift the loop off the pinky and place it onto the ring finger. Lift the bottom loop over the top loop on the ring finger and over to the middle finger.

- Lift the remaining loop off the ring finger and place it over the middle finger.

- Lift the bottom loop on the middle finger over the top 2 loops, and over to the index finger.

- Lift the bottom loop on the middle finger over the top loop, and over to the index finger.

- Lift the remaining loop off the middle finger and place it over the index finger.

- You should have 4 loops left on your index finger.
- Cut the yarn, leaving about 10 inches, and pull the end through all 4 loops to secure it. Pull tightly.

- Tie a knot with the end of your yarn tail and secure it to the top of your worry worm's body to create a loop.

Insert Bead
- Take your bead head and insert it into the loop you just created. You can pull it through with a small sized crochet hook or yarn needle.

- Set your finger worm aside for now.
Hair
- Repeat the foundation instructions above. (Same as worry worm's body)
- Work 5 Rows.
- Cast off, cut your yarn leaving a 4 inch tail and pull through all 4 loops remaining on your index finger.
- Pull both yarn tails tightly to secure.

Attach the Hair
- Hold the long loop you attached the head bead to and pull it through the center of your worry worm's hat.


- Tie a knot to secure it in place.
- Attach a keyring at the end of this loop (optional)


- Put a dab of glue to secure the hat in place (optional).
Tidying Up

I hope you enjoyed making this cute finger Worry Worm! I'd love to see what your kids worked up!
Let me know if you have any questions.
Happy hooking!
May 🙂
Special Offer!
15 Worry Worm Patterns
Mega Bundle Sale
Looking for more crochet patterns for kids to make? Check out these posts:


Let's Keep in Touch :)
You May Also Like

About the Author
May
Follow me on socials here: