FREE Unicorn Eyeglasses Tray Crochet Pattern
Magically Find Your Eyeglasses Every Time You Put Them Down!
Are you constantly misplacing your eyeglasses, only to find them in the most unexpected places? I've been there too! That's why I designed this delightful Unicorn Eyeglasses Tray Crochet Pattern for you.
You can place it on your desk as a decor piece and make sure your specs have a magical resting spot. That way, you'll never have to search high and low for them again.
This would make a great gift for anyone who tends to lose their glasses!

For this pattern, you have 3 choices of yarn weight. I experimented with Chenille yarn (which is super soft and cute, but can be a little floppy. I also tried doubling Worsted (Aran) weight yarn and tripling DK weight yarn. These gave more sturdy trays. So choose whichever yarn you have on hand and follow the instructions below on how to make them more sturdy.
I shot the photo tutorial in a single strand of worsted weight yarn so that the steps are clear in the photos. It gave a slightly smaller Unicorn Tray which would be ideal for children's glasses.
Prefer the PDF version?
If you'd like the ad-free, printable PDF pattern that you can download to your computer, ipad or cellphone and print at home for convenience, you may purchase it for a small fee from my shop
You will get:
- Text-only version for easy printing,
- Step-by-step photo tutorial.
You may also purchase this pattern from Ravelry if you prefer.

Materials Needed
- Chenille, Worsted weight or DK yarn in white (You can make DK yarn bulkier using this method).
- DK yarn in yellow, blue, pink and black.
- Crochet hook: 5 mm and 3.5 mm
- 4 stitch markers, pins or contrasting pieces of yarn
- A tapestry needle
- A pair of scissors

What You'll Learn
- How to crochet an oval shape.
- How to crochet a simple flower appliqué.
- How to crochet unicorn ears.
- How to crochet a unicorn horn.
Like this pattern, but not ready to work it yet? Save it to Pinterest!

Abbreviations Used in This Unicorn Eyeglasses Tray Tutorial
- ch = chain
- MC = Magic Circle
- dc = double crochet
- dcFlo = double crochet front loop only
- dc inc = 2 double crochet stitches in the same stitch from previous row
- sc dec = single crochet decrease = sc2tog = single crochet 2 together
- sl st = slip stitch
- st = stitch
- sts = stitches
- fo = fasten off
Skill Level
Beginner
Unicorn Gift Tags For Crochet Items
Are you crocheting a Unicorn to gift for someone special or to sell at a market? Download these FREE Unicorn Gift Tags to make your creations even more special!
By downloading this freebie you agree to receive emails from me. Unsubscribe at any time. See my terms & privacy policy here.
Yardage
Approx. 30m (33 yards) of Chenille yarn for the tray.
Gauge
Tray: 12 stitches & 6 rows in dc = 10 cm (4") with a 5 mm hook.
Flower: 13 stitches & 11 rows in sc = 5 cm (2 ") with a 3.5 mm hook.
Size
Tray: Approx. 18 cm (7 inches)
Flower: Approx. 3 cm (1 inch) in diameter.
Notes
- Ch 2 at the beginning of rounds does NOT count as a stitch.
- You can make the pattern larger or smaller by changing the type of yarn and/or hook size.
- Numbers at the end of each row (in brackets) indicate the number of final stitches in that row.
- Please note that I use US crochet terms. Here's a US/UK Conversion Chart. Check the symbols for each stitch so you can understand the symbols drawn on this flower pattern.
US vs. UK Crochet Terms & Symbols
Free Printable


Your info is 100% secure and will never be shared.
Unicorn Eyeglasses Tray Pattern Instructions
Tray
Foundation Chain: Triple up DK yarn to turn it into chunky yarn. Lay your yarn in an "S" shape in front of you.
Tie a slip knot on your hook and ch 12 + 2 (turning chain) (14)

R 1: 5 dc into the 3rd chain from your hook

Dc into each st of the foundation chain (10 sts). (Place a stitch marker in the first and last dc stitch of this set of 10).

5 dc into the last chain

Now working into the other side of your chain work 10 dc, sl st to join. (try working over your tail so you don't have to weave it in later (Total 30 sts in R 1).
Note: make sure you are not working into the slip knot and don't miss any chain sts. Count your stitches and place a stitch marker in the first and last dc stitch of this set of 10.


R 2: Ch 2 (doesn't count as a st), 2 dc (inc) into next 5 sts (10).


10 dc (move stitch markers).

2 dc (inc) into next 5 sts.

10 dc (move stitch markers). Sl st to join (40).

R 3: Ch 2, [2 dc into next st, dc into next]. Repeat 5 times.

10 dc (move stitch markers)

[2 dc into next st, dc into next]. Repeat 5 times.

10 dc (move stitch markers). Sl st to join. (50)

Place glasses on your crocheted oval to check size of your tray. If it's still too small, continue to R 4. Otherwise, skip round 4 and continue to round 5 to create the edges.
R 4: Ch 2, [2 dc into next st, dc into next 2 sts]. Repeat 5 times.


10 dc
[2 dc into next st, dc into next 2 sts]. Repeat 5 times

10 dc
Slip stitch to join (60).

R 5: Ch 2, dc into the front loop only into every stitch around (60).


Do not cut yarn. Continue to ears.
Ears
If you crocheted 3 rounds only, turn your work before you start the first ear.
R 1: Ch 1, 5 sc, turn. (We won't be chaining 1 after turns so we don't have bumps on the sides of the ears. Make sure you crochet your last stitch loosely).

R 2-4: sc along, turn (3 rows)
R 5: sc2tog (dec), 3 sc, turn (4)
R 6: sc2tog (dec), 2 sc, turn (3)
R 7: sc2tog (dec), sc (2)
Leave a tail, cut your yarn and fasten off.

Reattach white yarn 6 sts (10 sts if you have 4 rounds) to the right to start of ear 2 (so you have 5 sts between both ears). Repeat pattern for ear 1.

Horn
Attach yellow yarn 1 stitch from the right ear in the center (between the ears). If you worked 4 Rounds, then leave 3 sts between the ears and horn.
R 1: 3 sc, turn.

R 2: 3 sc, turn.
R 3: sc2tog (dec), sc (2).
R 4: sc2tog (dec)
Leave a tail, cut your yarn and fasten off.

Flowers x 3 (2 pink & 1 blue)
Change to DK yarn in pink and a 3.5 mm hook.
Round 1:
Option 1: Work 5 sc into a MC (5). Pull your magic circle closed and sl st to the first sc of Round 1.

5 sc into Magic Circle

Pull your magic circle closed and sl st to the first sc of Round 1.
Option 2: If you're really not keen on the Magic Circle, you can Chain 2, then work 5 single crochets into the second chain from your hook. Sl st to the first sc of Round 1.
Note: If you don't know how to crochet a magic circle, watch this video to learn how the easy way:
Round 2: [3 dc, sl st all in the same stitch].

Work 3 dc and a sl st into the first st of Round 1

Instructions shown in symbols. (Check symbols chart above).
Repeat 4 more times (once into every stitch of R 1).

Slip Stitch to the bottom of the first stitch to join.

Leave a 4" tail, cut your yarn and fasten off.

Repeat flowers in your colors of choice another 2 times.
Sew flowers between the ears of the unicorn.
Weave in all your ends.
Note: When using heavy weight yarn, you can try to hide your yarn tails while sewing through the centers of the stitches so your colored yarn doesn't show through the white from the back.

Eyes
There are several options for the Unicorn's Eyes. You could either glue some flat backed yes or use amigurumi eyes and cut or melt off the pointy backs. Here are some options:
- Stick-on googly eyes,
- Stick-on black round plastic eyes (with flat back),
- Small black pom-poms,
- Felt eyes (cut our 2 rounds in black),
- Crochet eyes (crochet 2 small flat circles in black),
- Sew on some eyes
- Amigurumi safety eyes (melt with lighter from the back so they don't stick out).
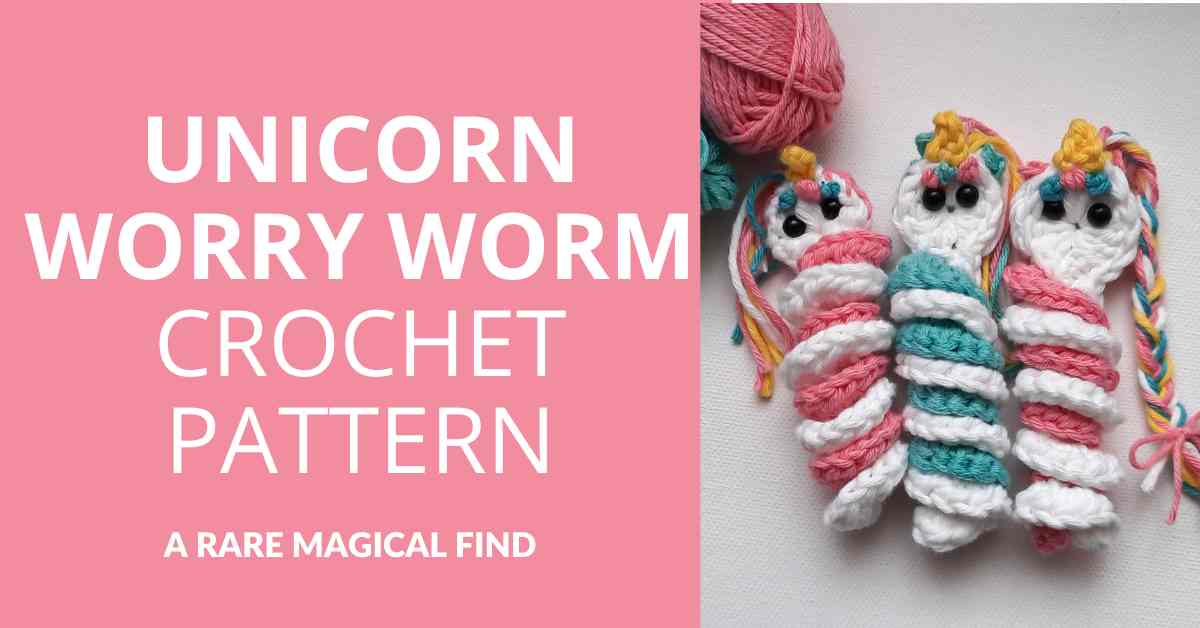
And here are even more eye options I use on my worry worms.
I hope you enjoyed this photo tutorial and learned how to crochet a Unicorn Eye Glasses Tray. What will you be using it for? Let me know in the comments below.
Happy hooking!
May
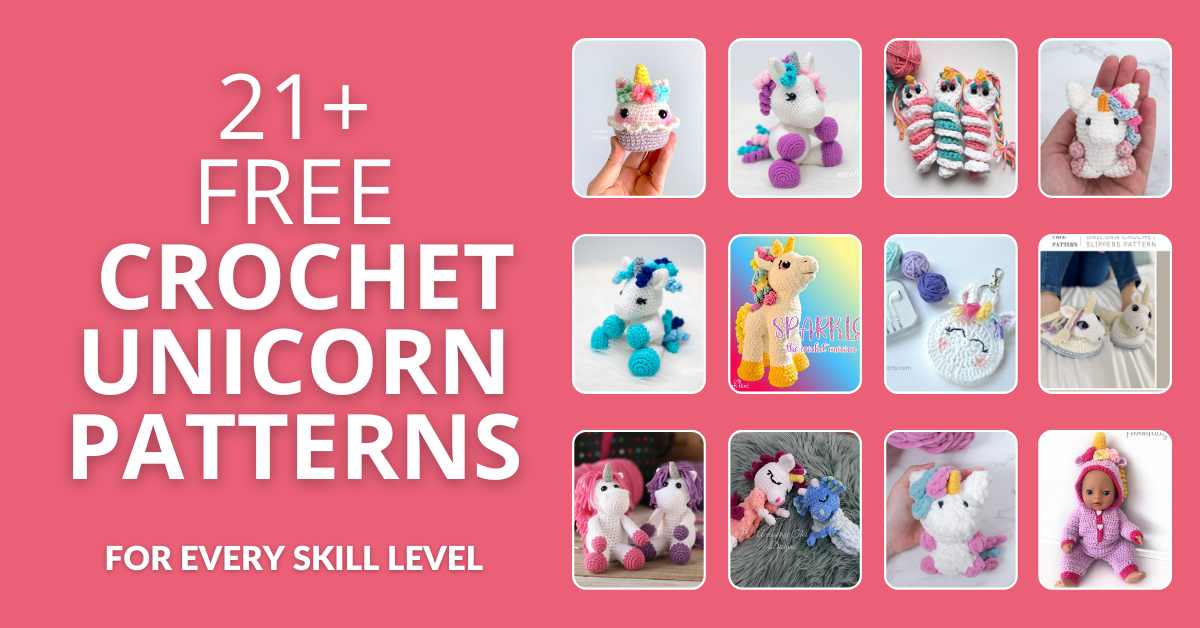
Check out these other Unicorn Crochet Patterns:
Disclaimer: Information in this crochet pattern is given for reference only. Even though I do my best to ensure all patterns have no mistakes, occasional errors may slip through.
No liability is accepted for variations in finished projects. Please get in touch with me at admin@startcrochet.com if you think there might be a mistake in the pattern or if you are unsure about how to interpret the instructions.
I’d love to see your finished item, so please tag me using @startcrochet.
Please follow my accounts to see what else I’m up to and to keep in touch:
YouTube: https://www.youtube.com/@StartCrochet
Facebook https://www.facebook.com/startcrochet
Pinterest: https://www.pinterest.com/startcrochet
Instagram https://www.instagram.com/startcrochet
Ravelry https://www.ravelry.com/people/StartCrochet
Etsy: https://startcrochetdesigns.etsy.com
LoveCrafts: https://www.lovecrafts.com/en-gb/user/Start-Crochet/5fccc556-8c97-4521-bcf0-0aadf9853faf
You may sell any finished products that you make from this pattern. However, when selling online, please include a link back to my blog startcrochet.com or tag me on social media with @startcrochet or with hashtag #startcrochet
Thank you!
© All rights for this crochet pattern design and photos are copyright and reserved to Start Crochet (May Shehab © 2024) . Copies and/or reproduction, translating, reselling or creating video tutorials of this pattern is a violation of the law.


